
Last Updated on May 13, 2026
From the bustling streets of Konohagakure to the heat of the Fourth Shinobi World War, Naruto Uzumaki has captured the hearts of manga and anime fans around the world. Learning how to draw this iconic character, especially his face, is a rite of passage for many aspiring artists. In this guide, we’ll dive into the world of Team 7 to help you capture the essence of Naruto’s character in your drawings.
Diving into Naruto’s Features
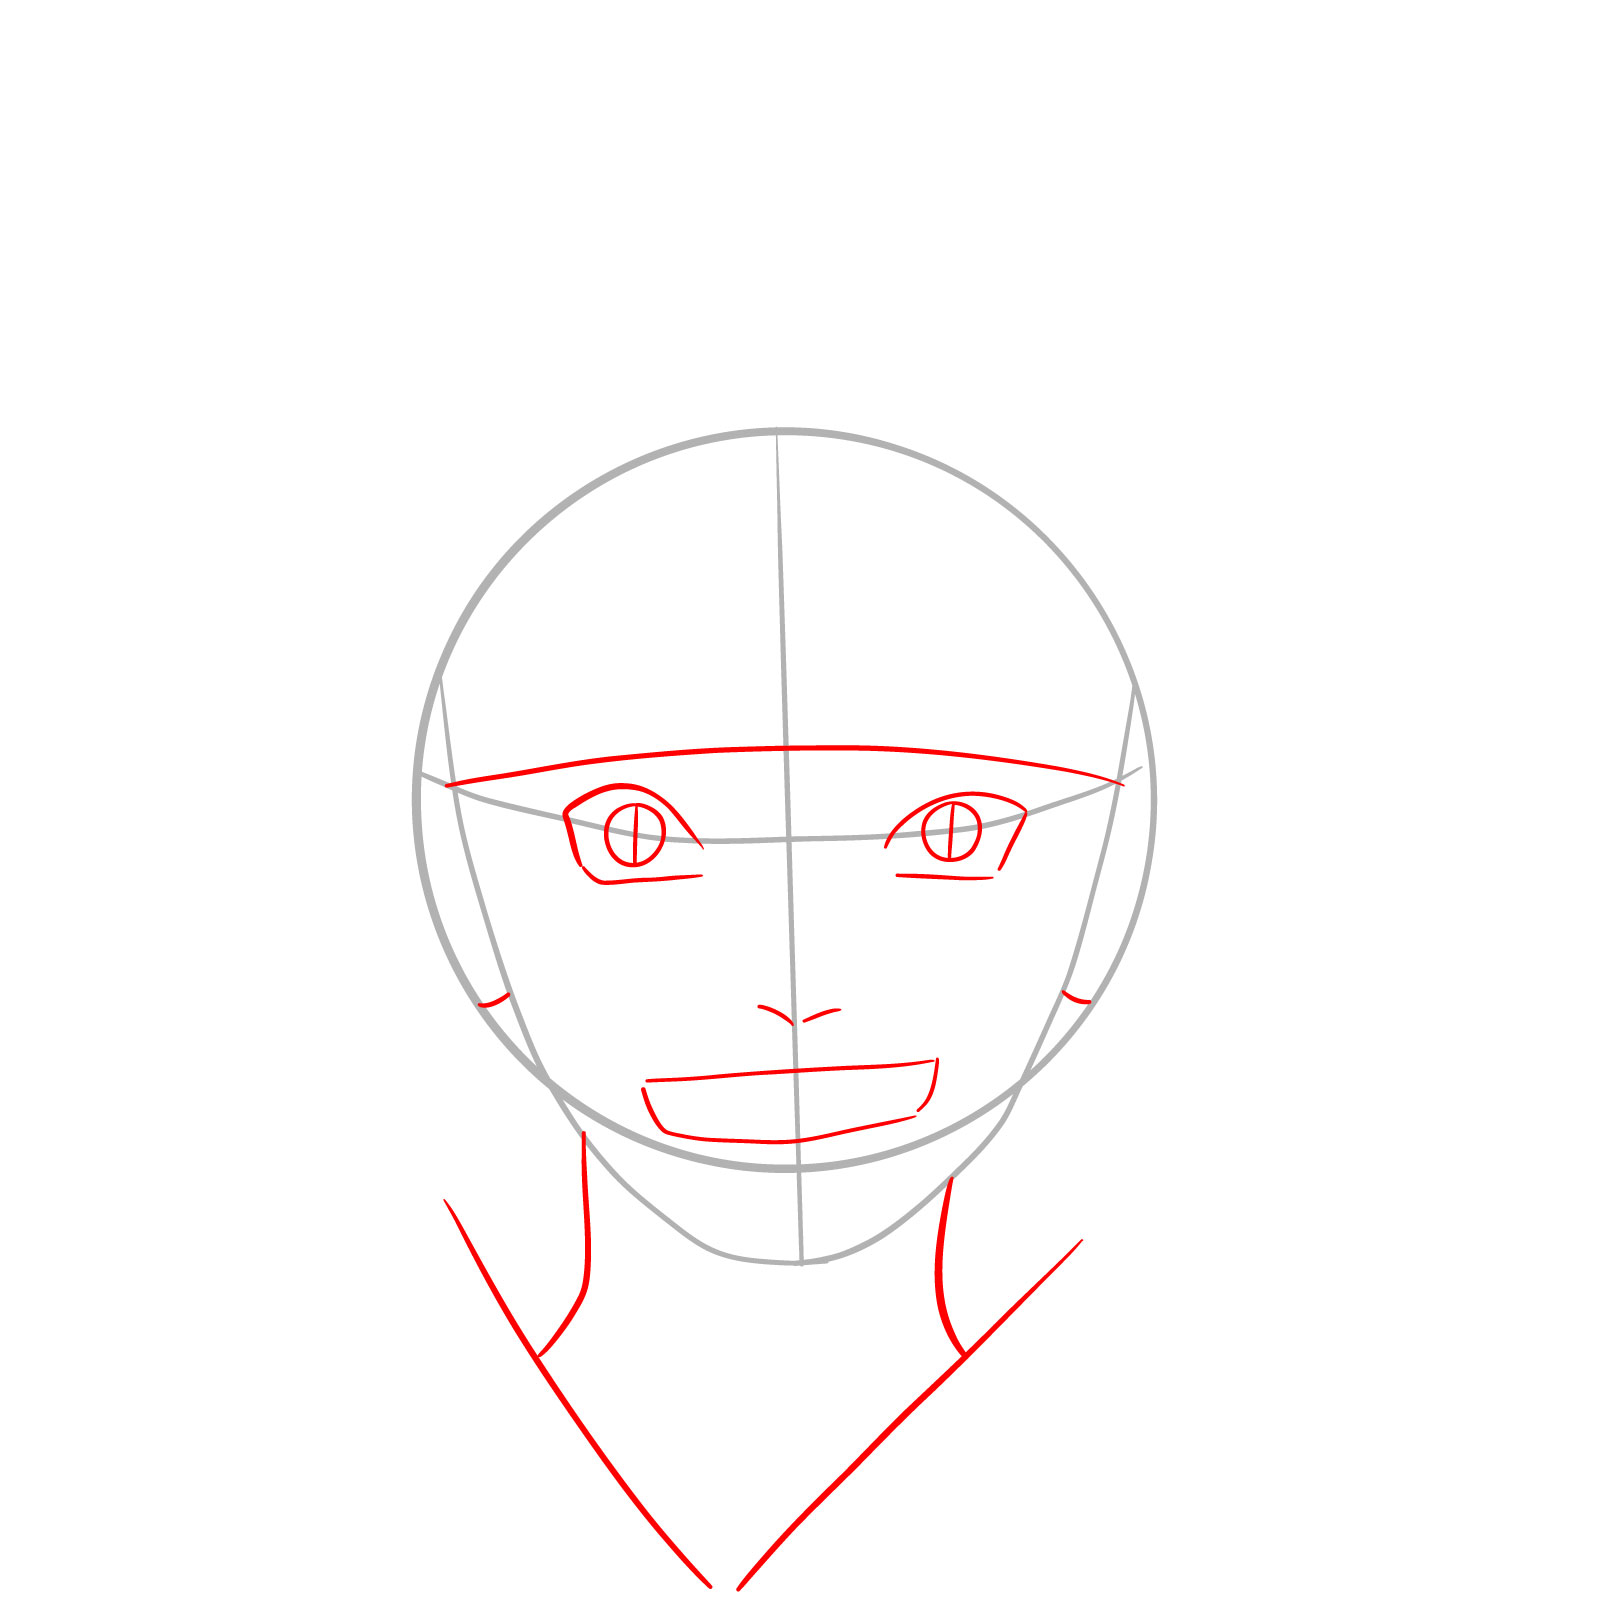
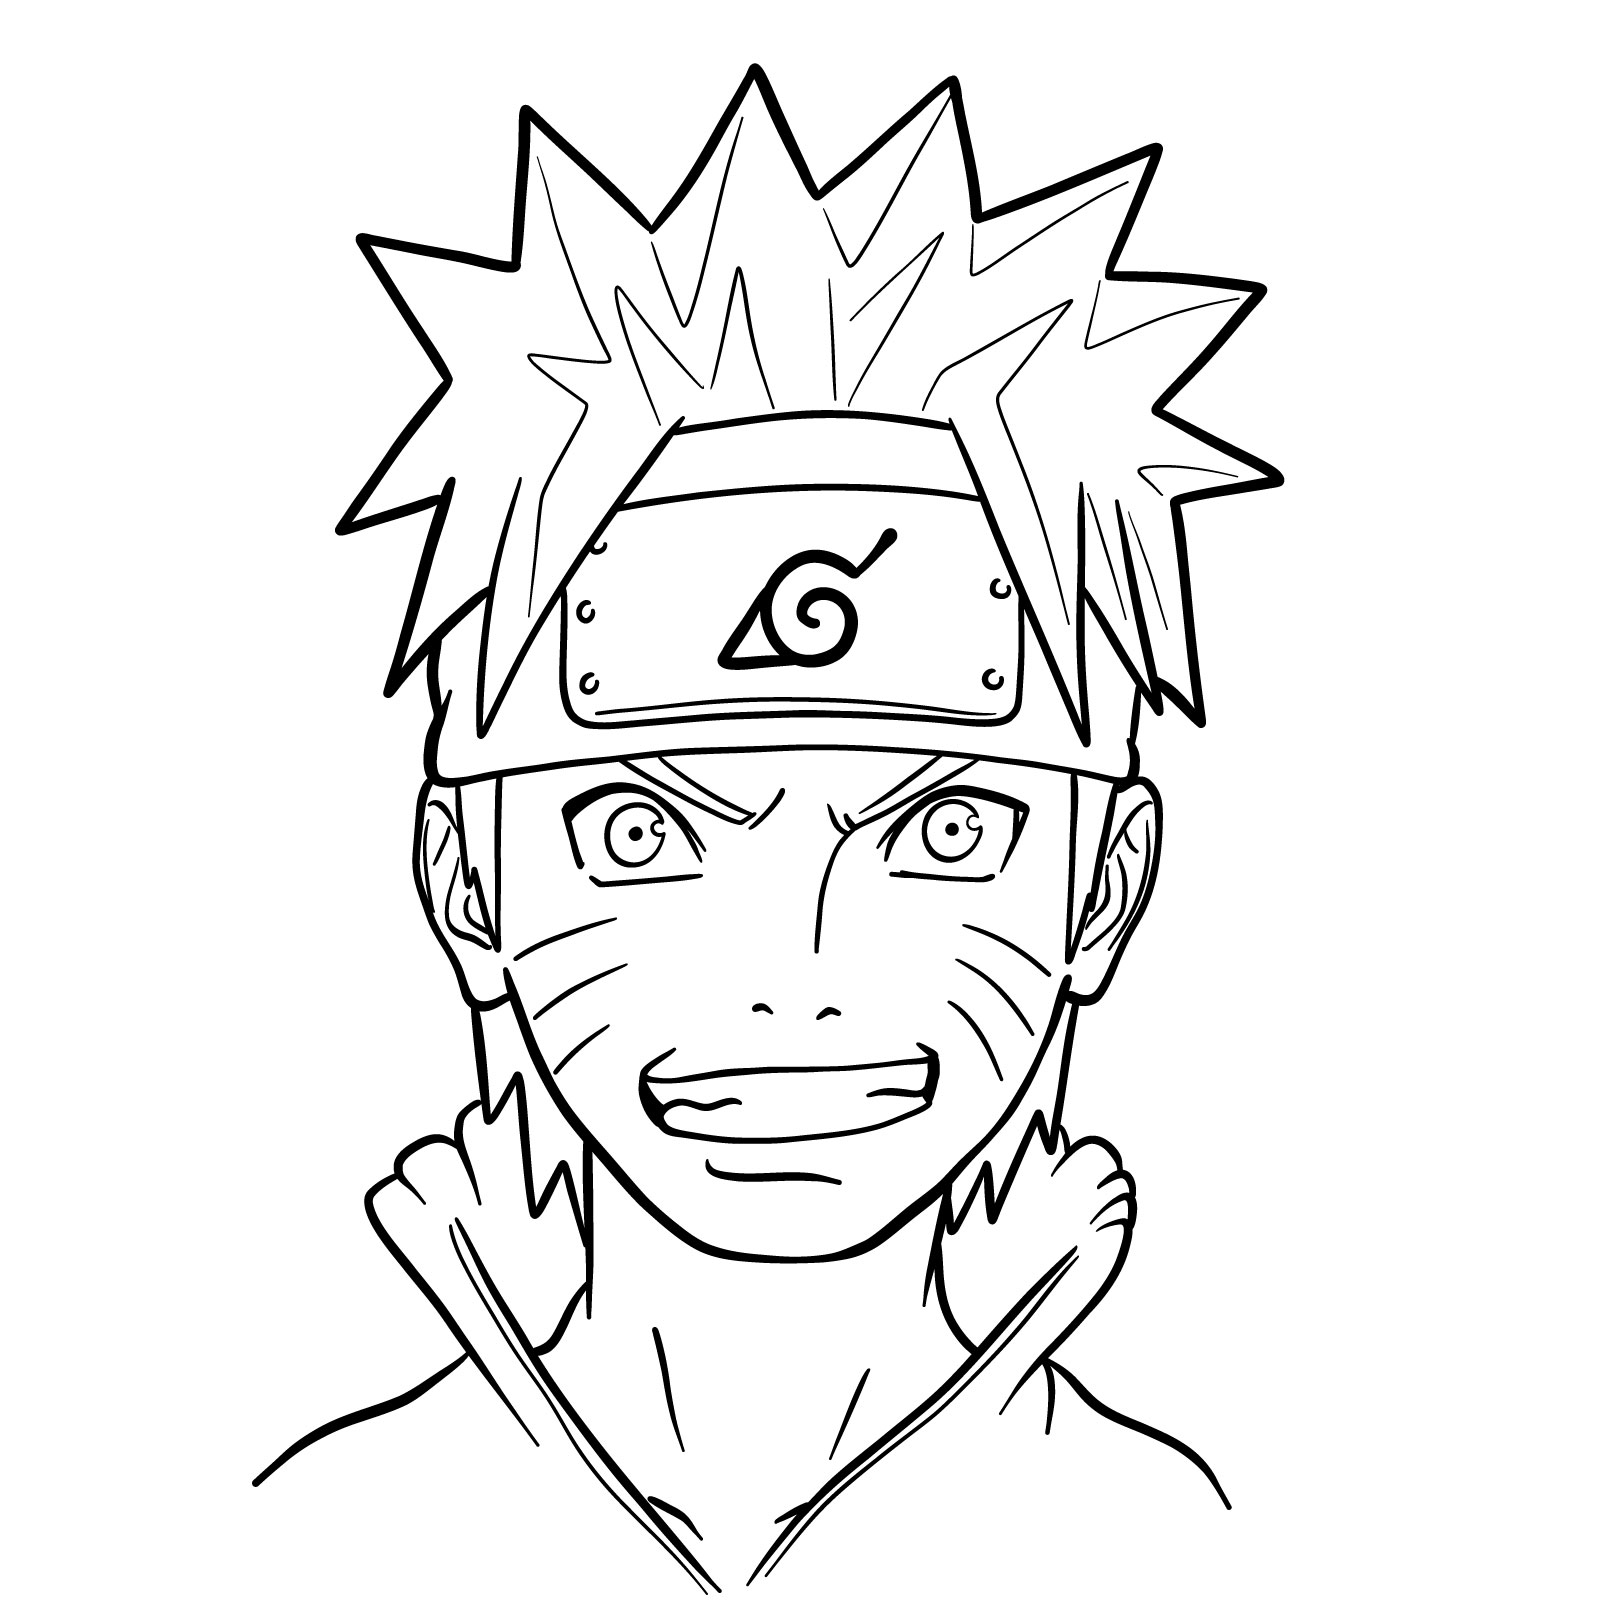
Drawing Naruto’s face requires keen attention to his unique features, including:
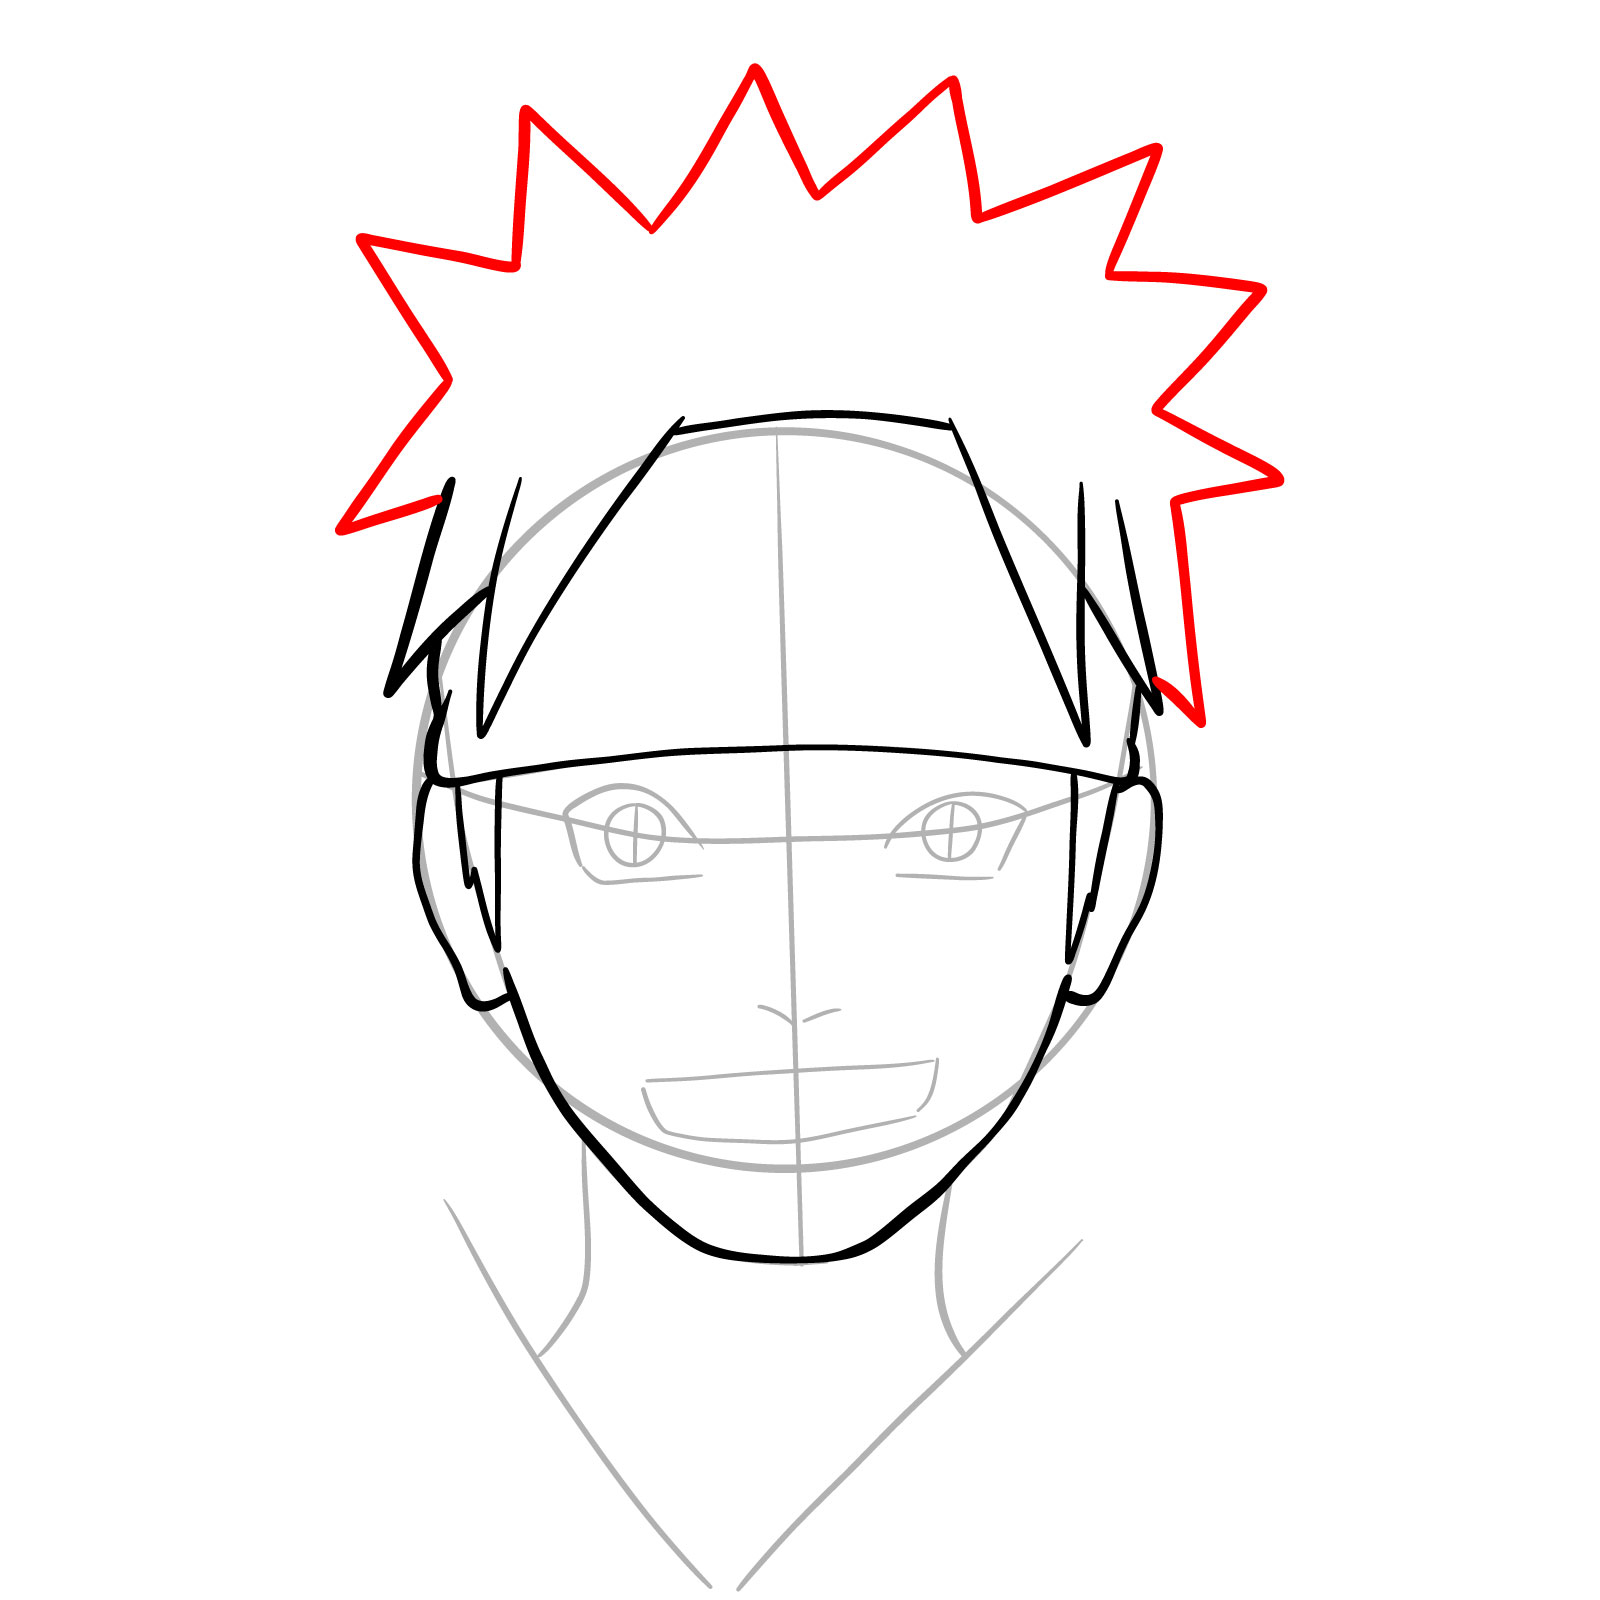
- Yellow-blond, spiky hair: reminiscent of his father’s look
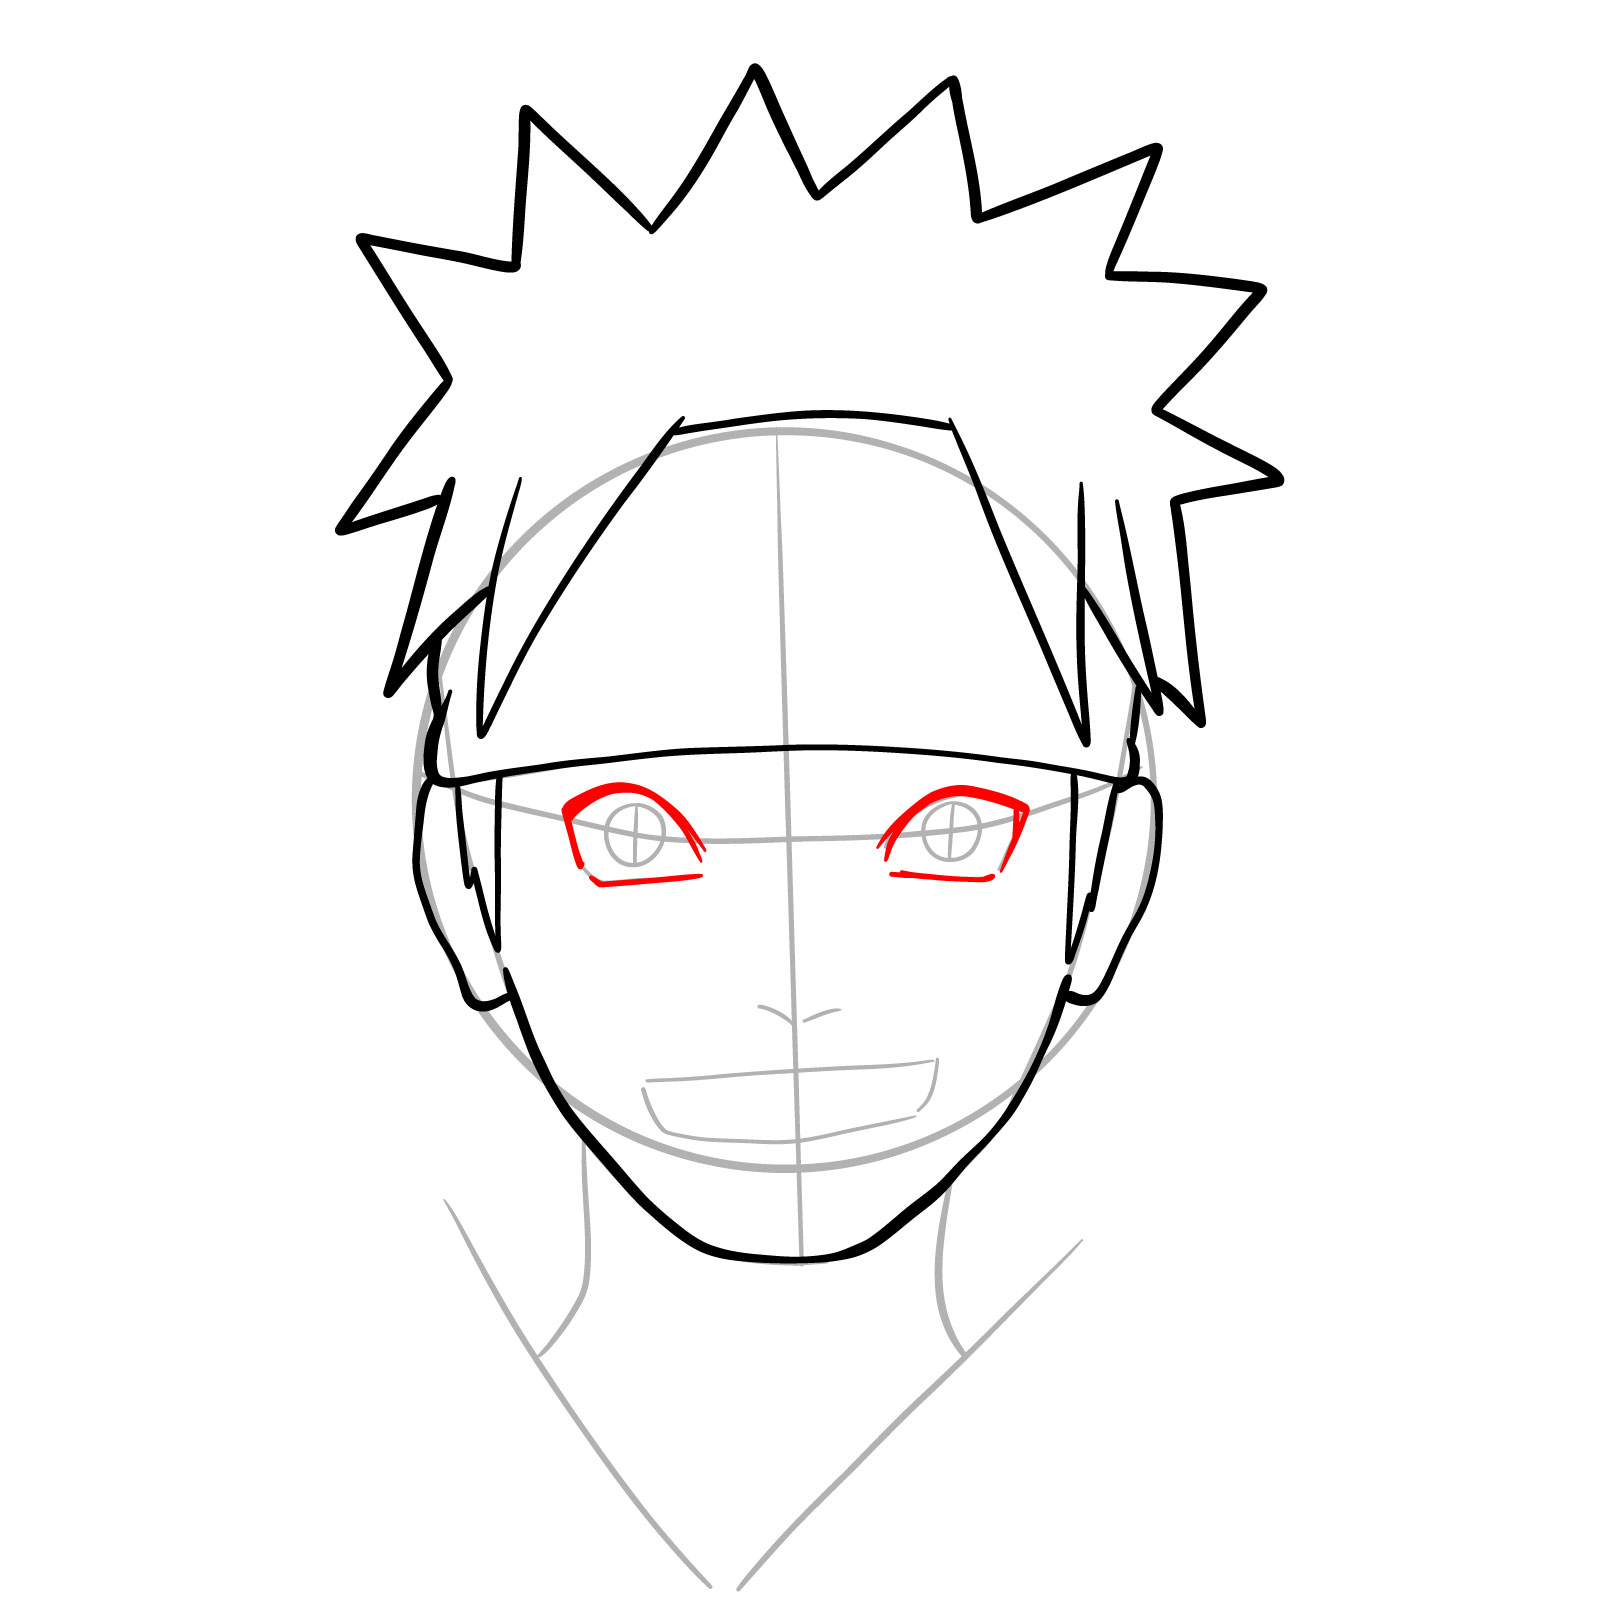
- Expressive blue eyes: showcasing the depth of his emotions
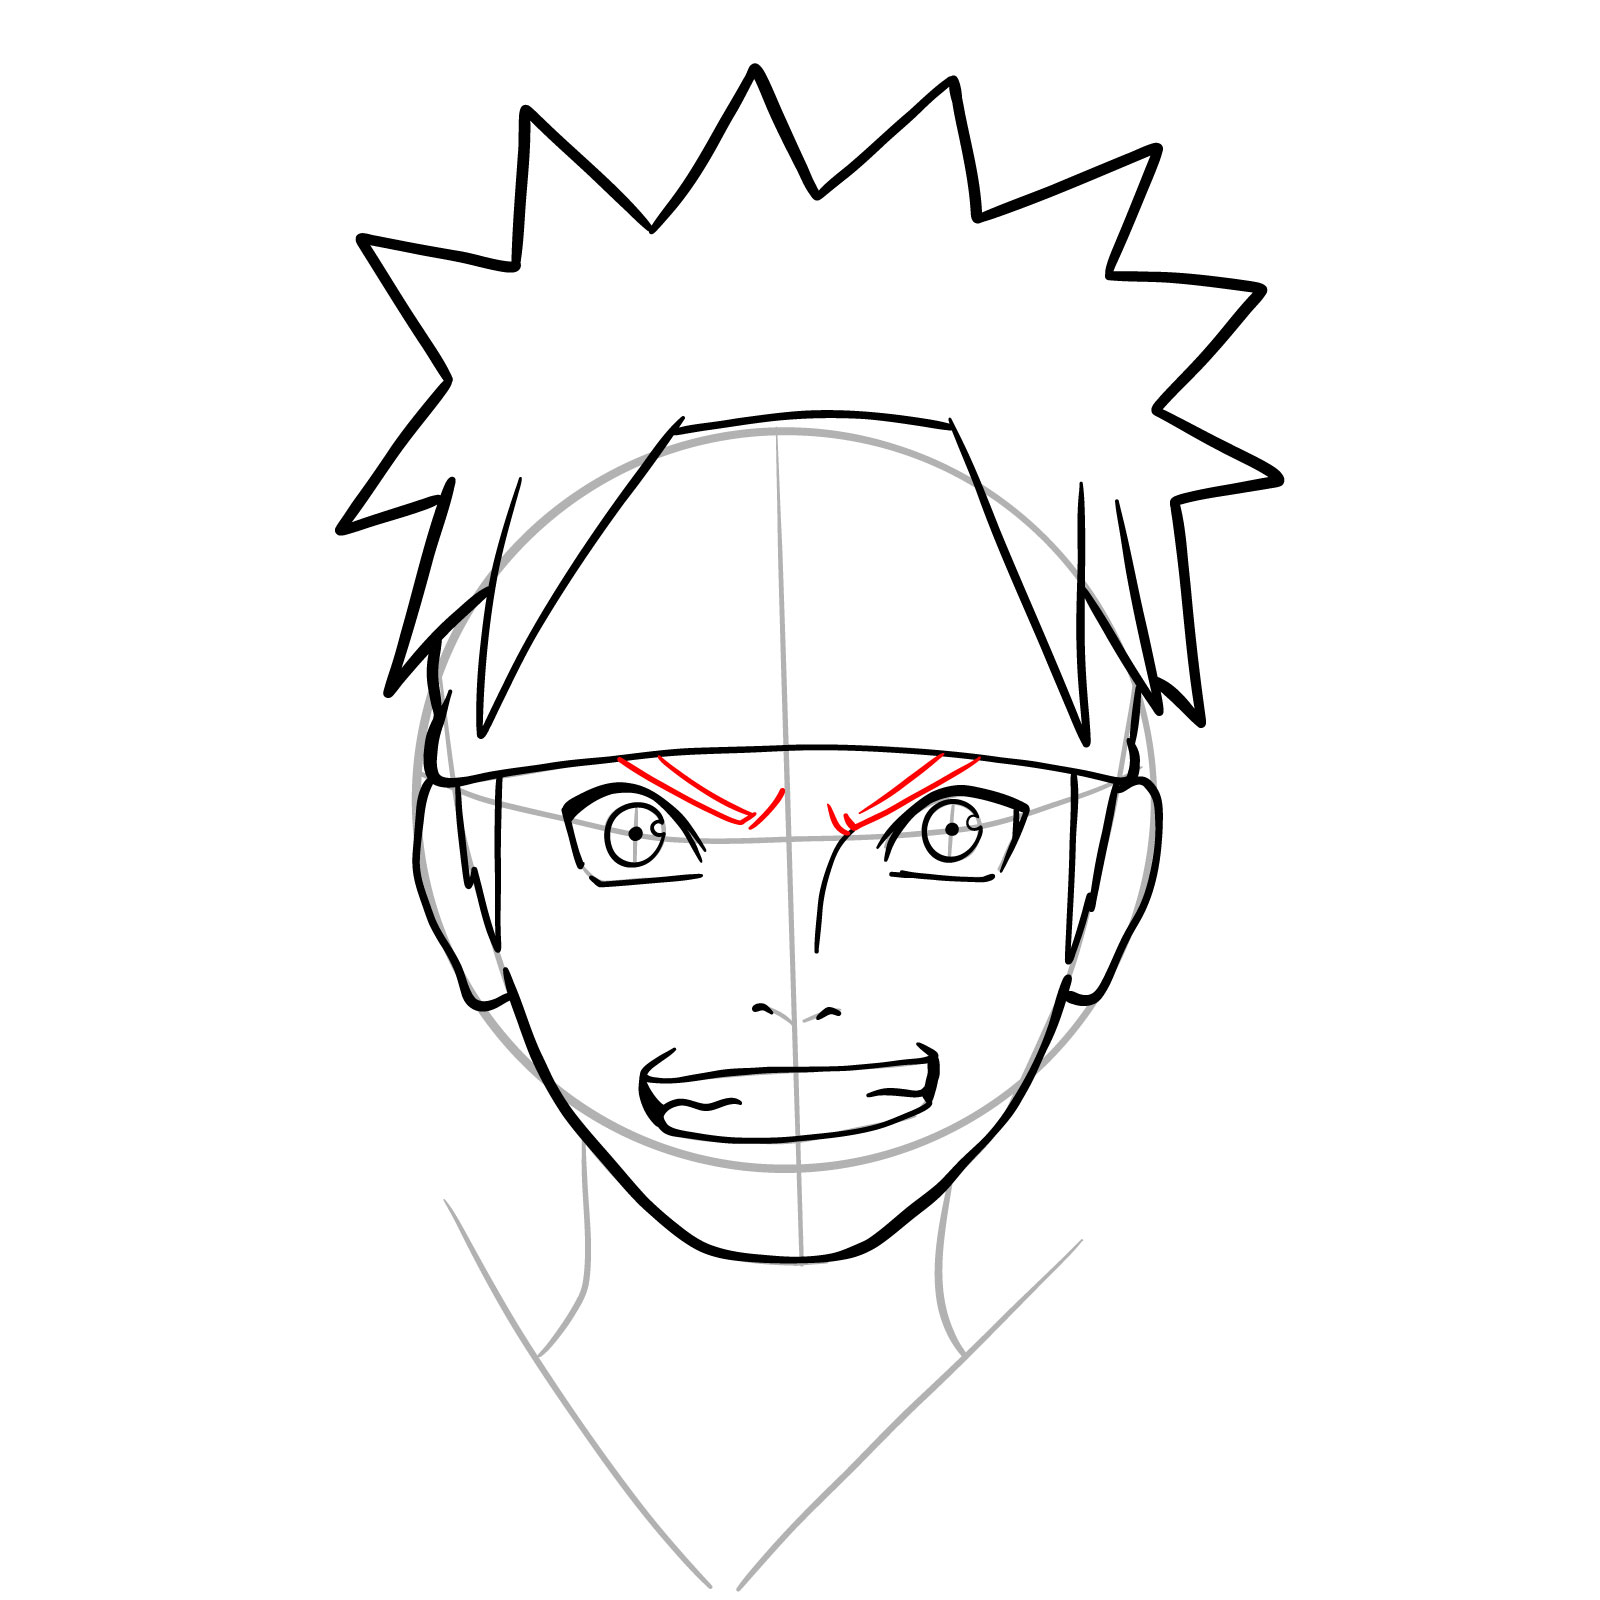
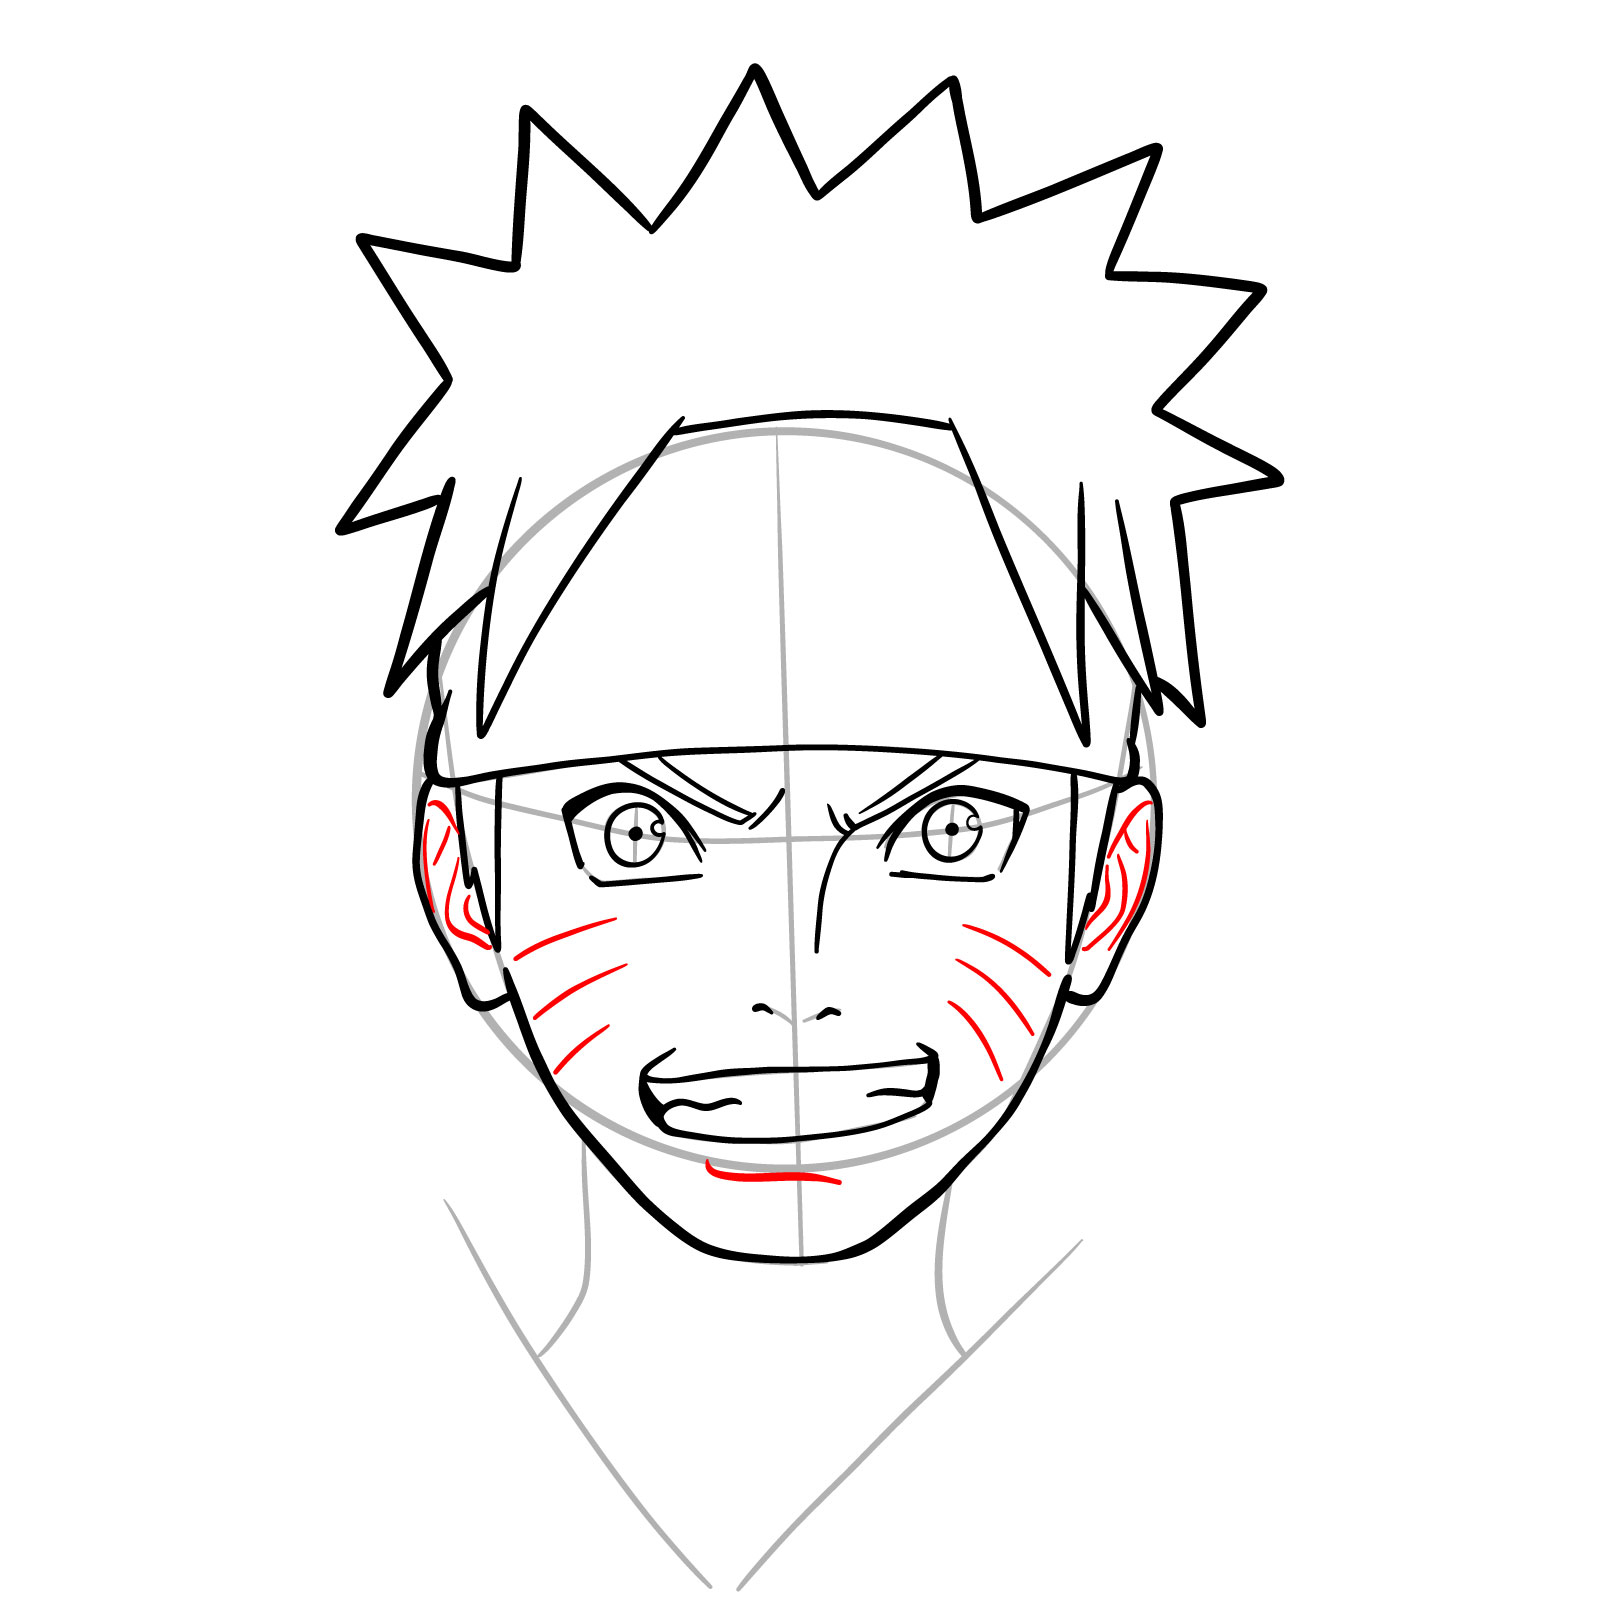
- Trademark whisker markings: three on each cheek
- The shape of his mother’s eyes and face: a hint of his Uzumaki lineage
While mastering Naruto’s appearance, why not consider drawing his comrades? Sasuke, Sakura, and Kakashi all have unique facial structures that would complement a Team 7 ensemble piece.
Understanding the Sketching Guide
This drawing guide consists of 24 steps to help you craft Naruto’s visage. Here’s a quick breakdown of the color-coding to keep you on track:
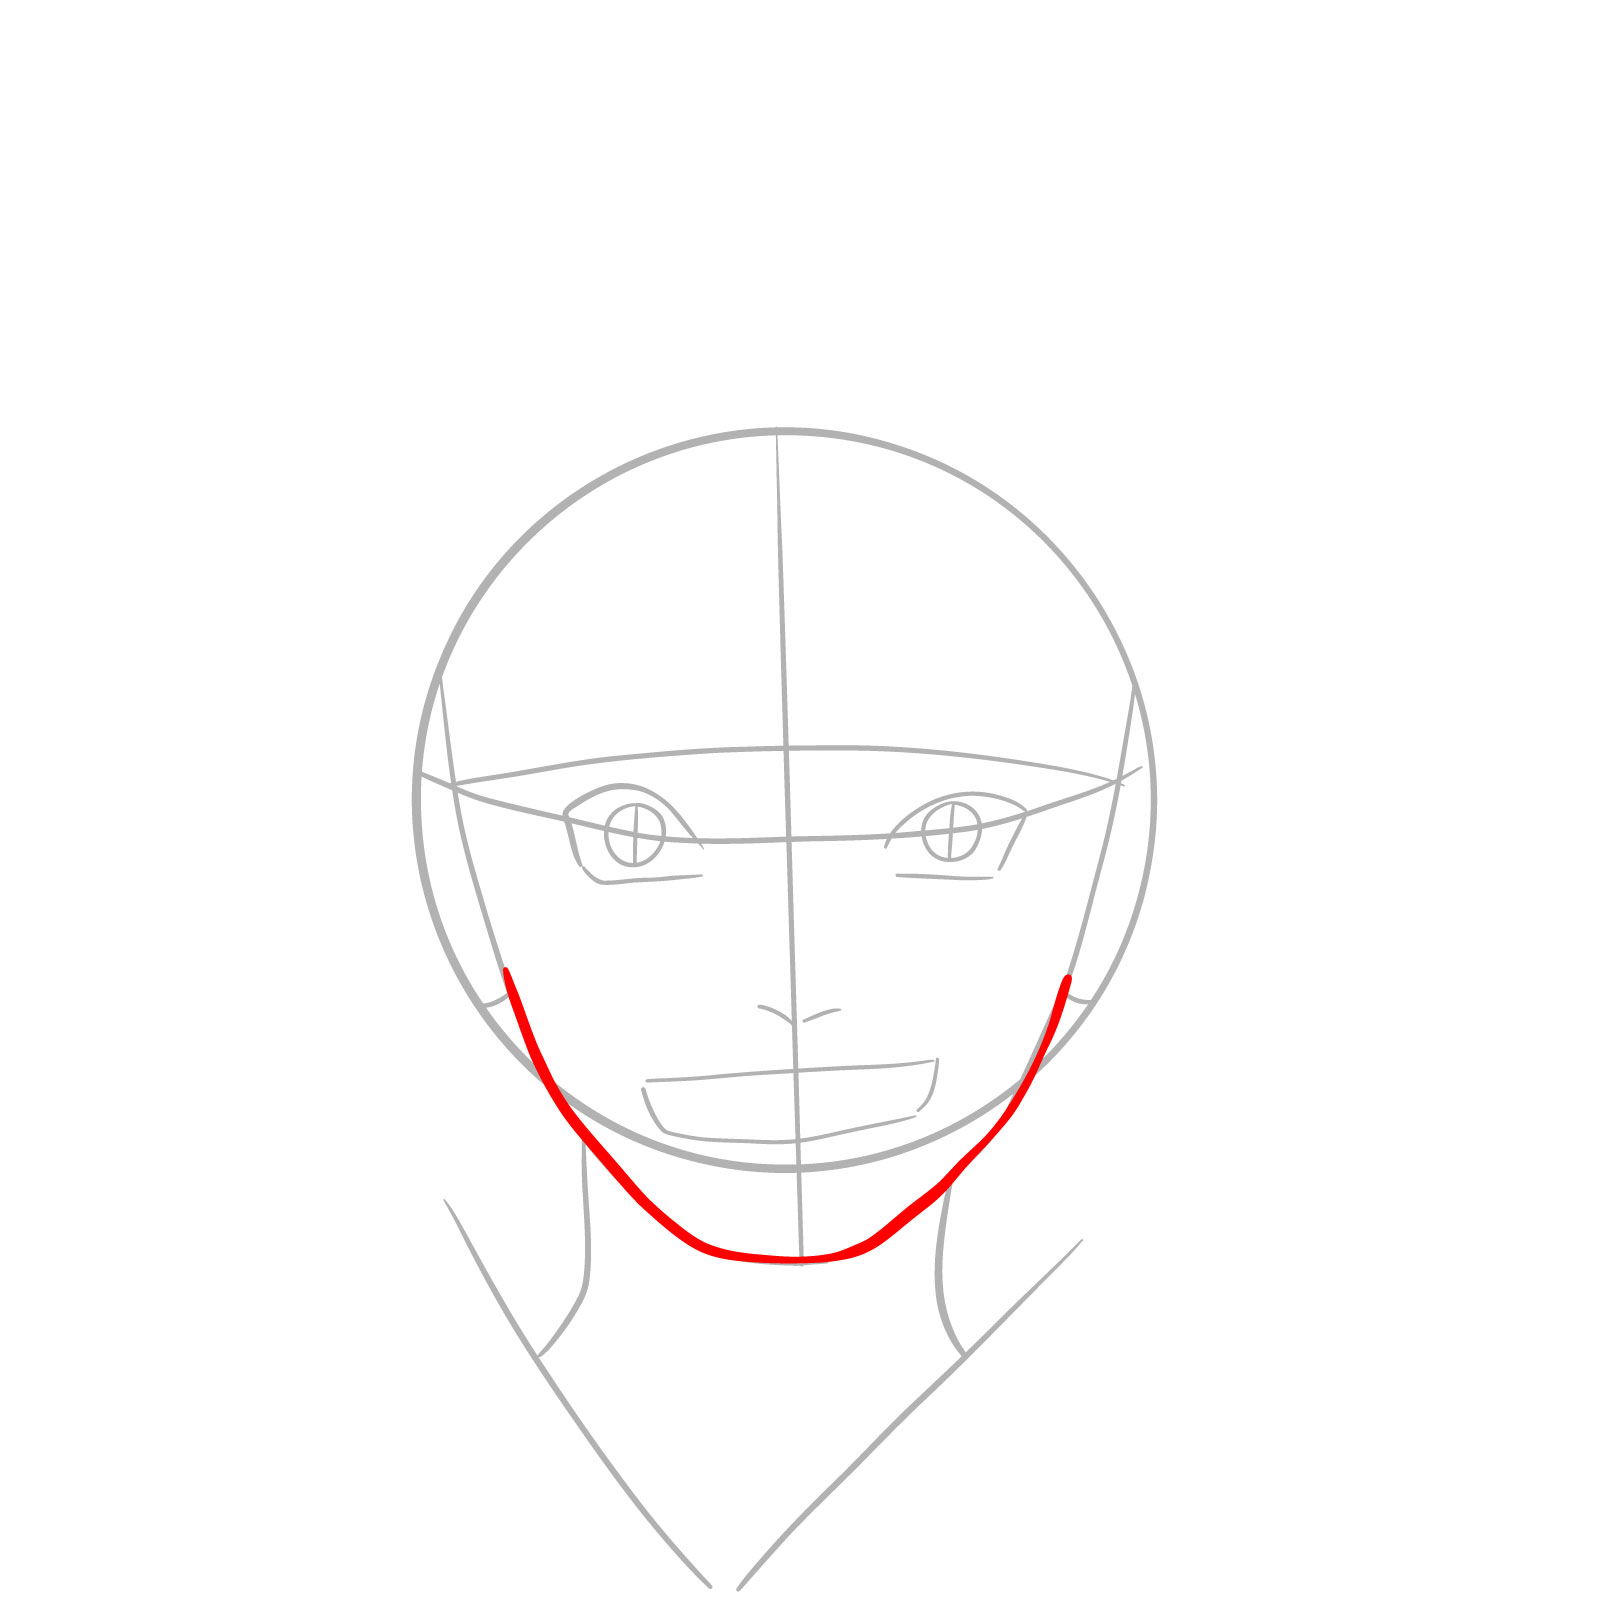
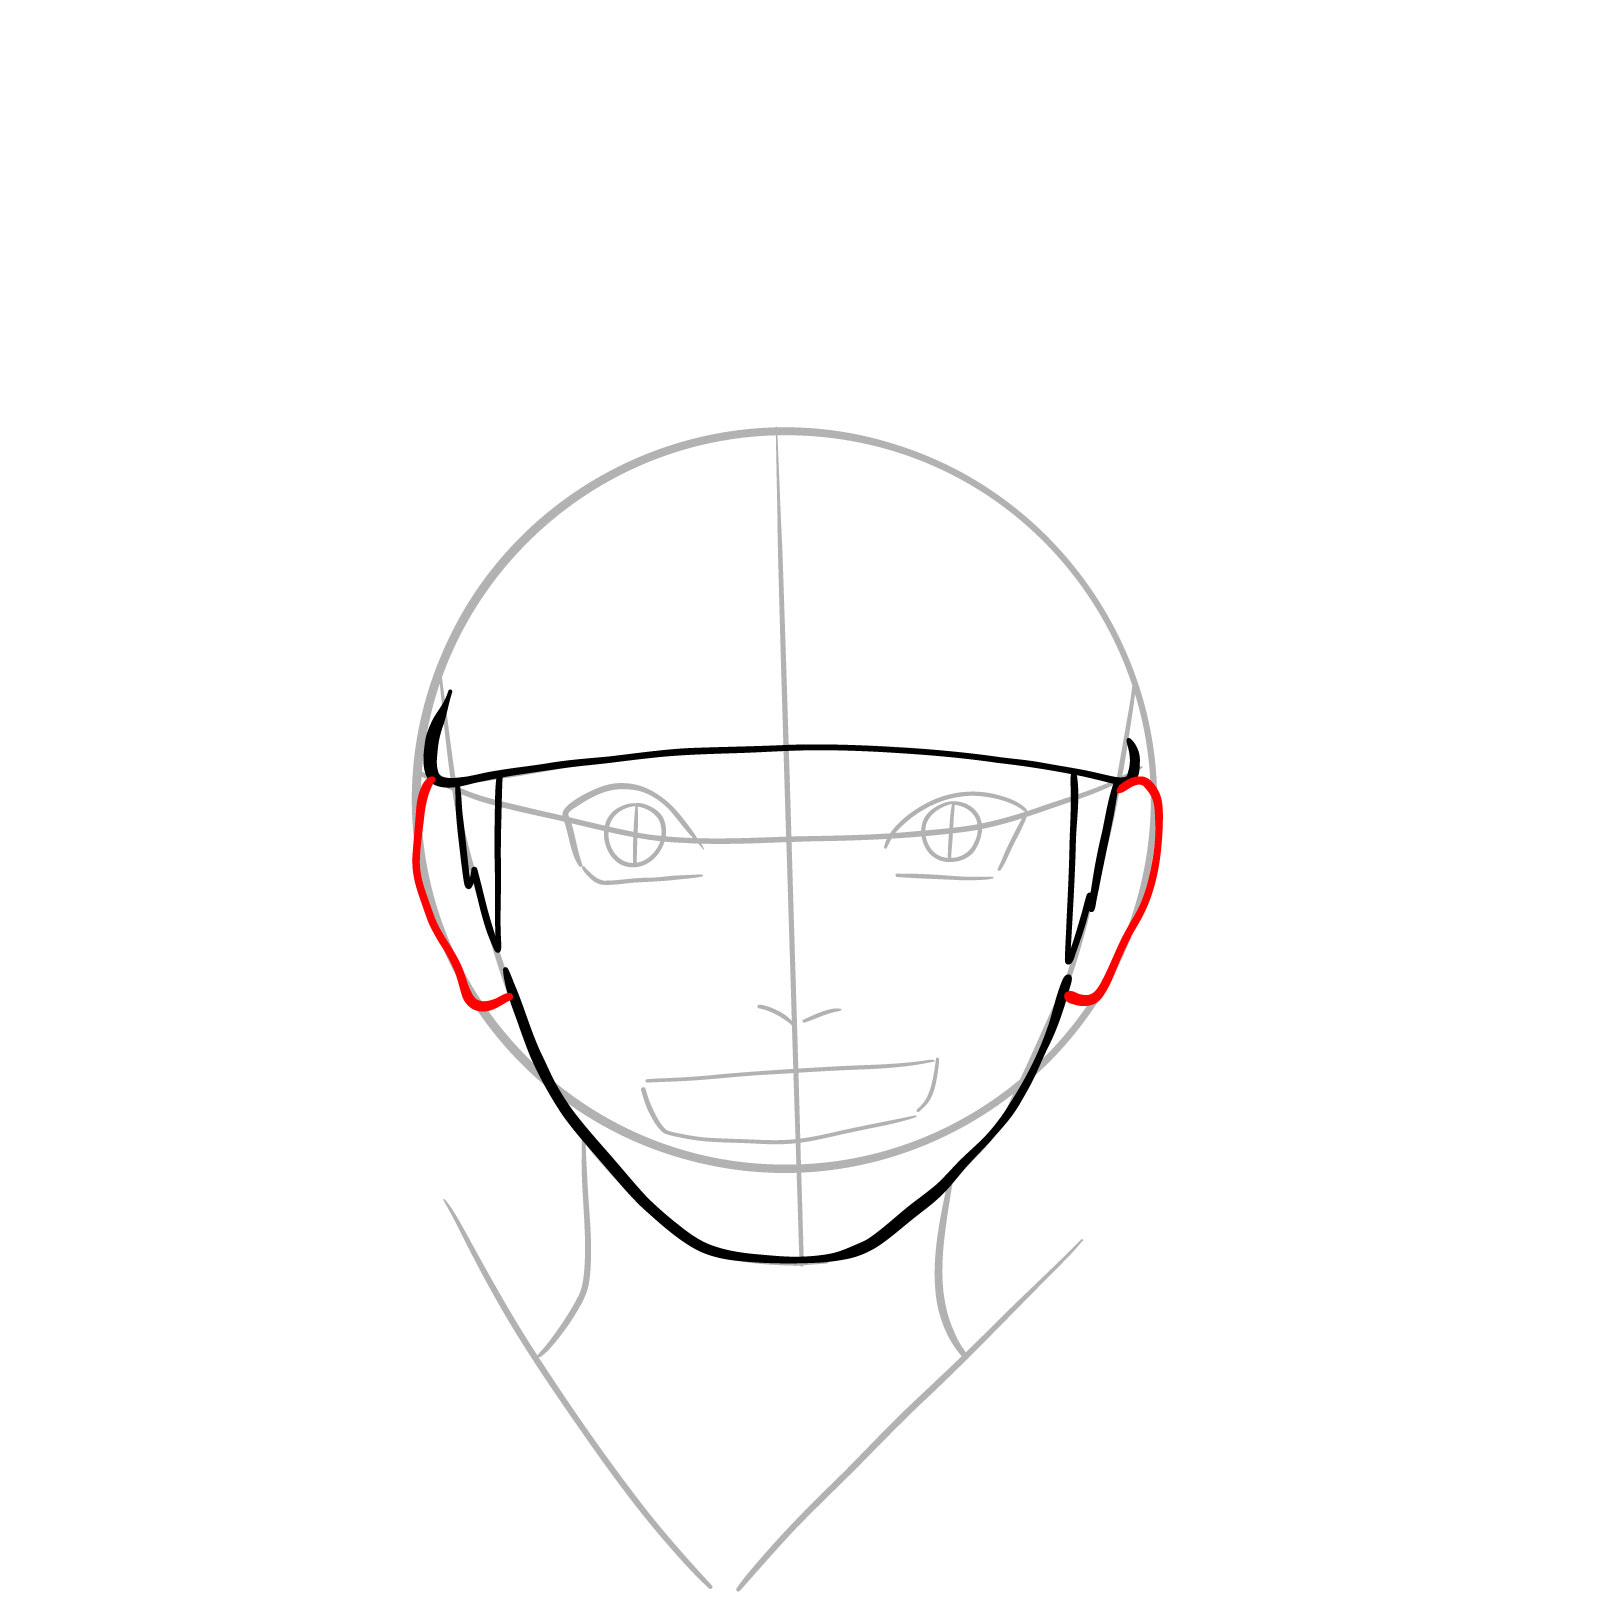
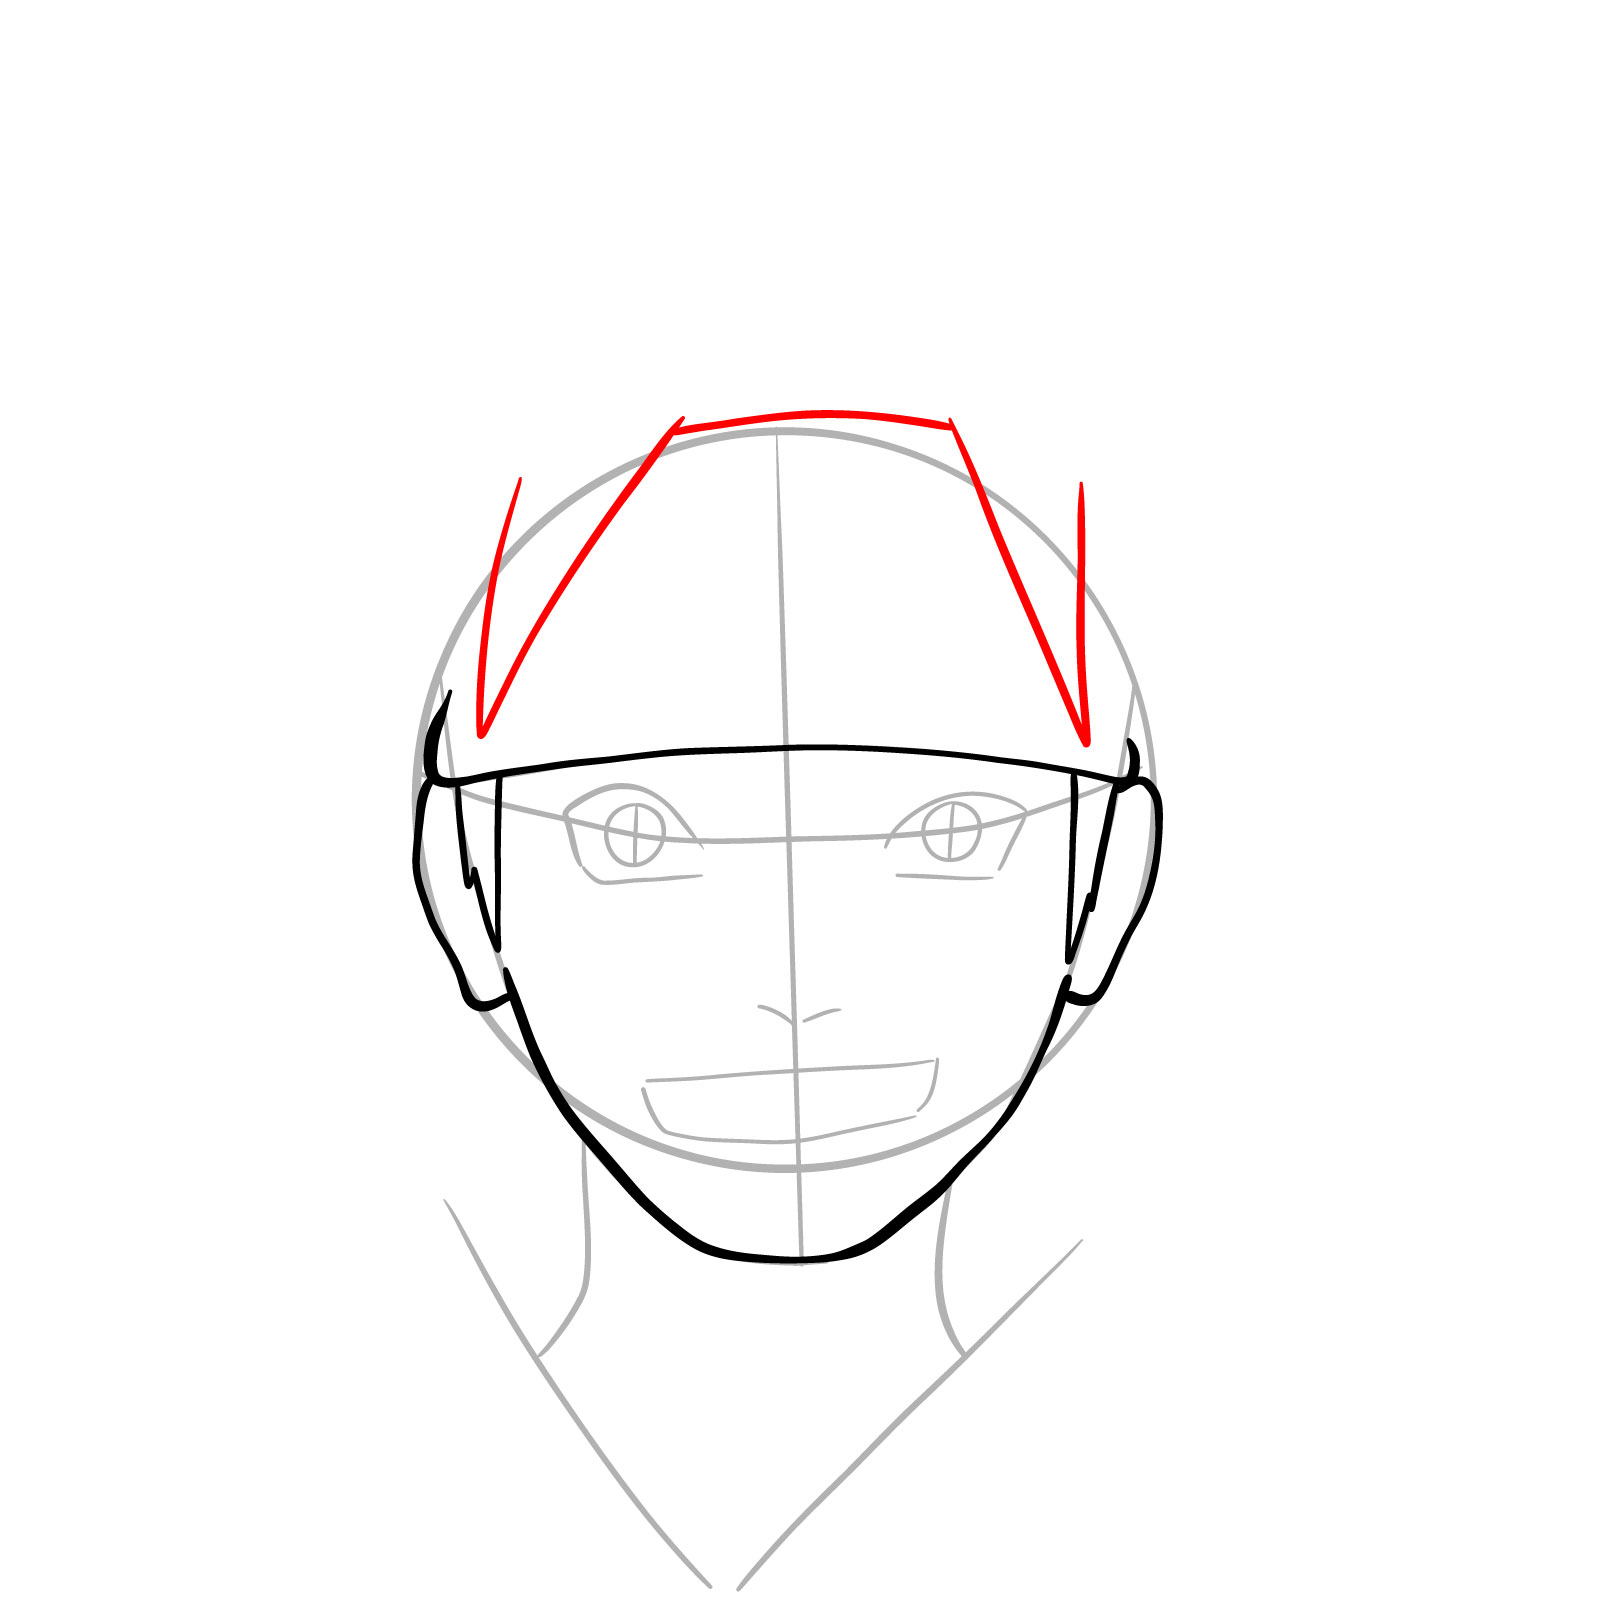
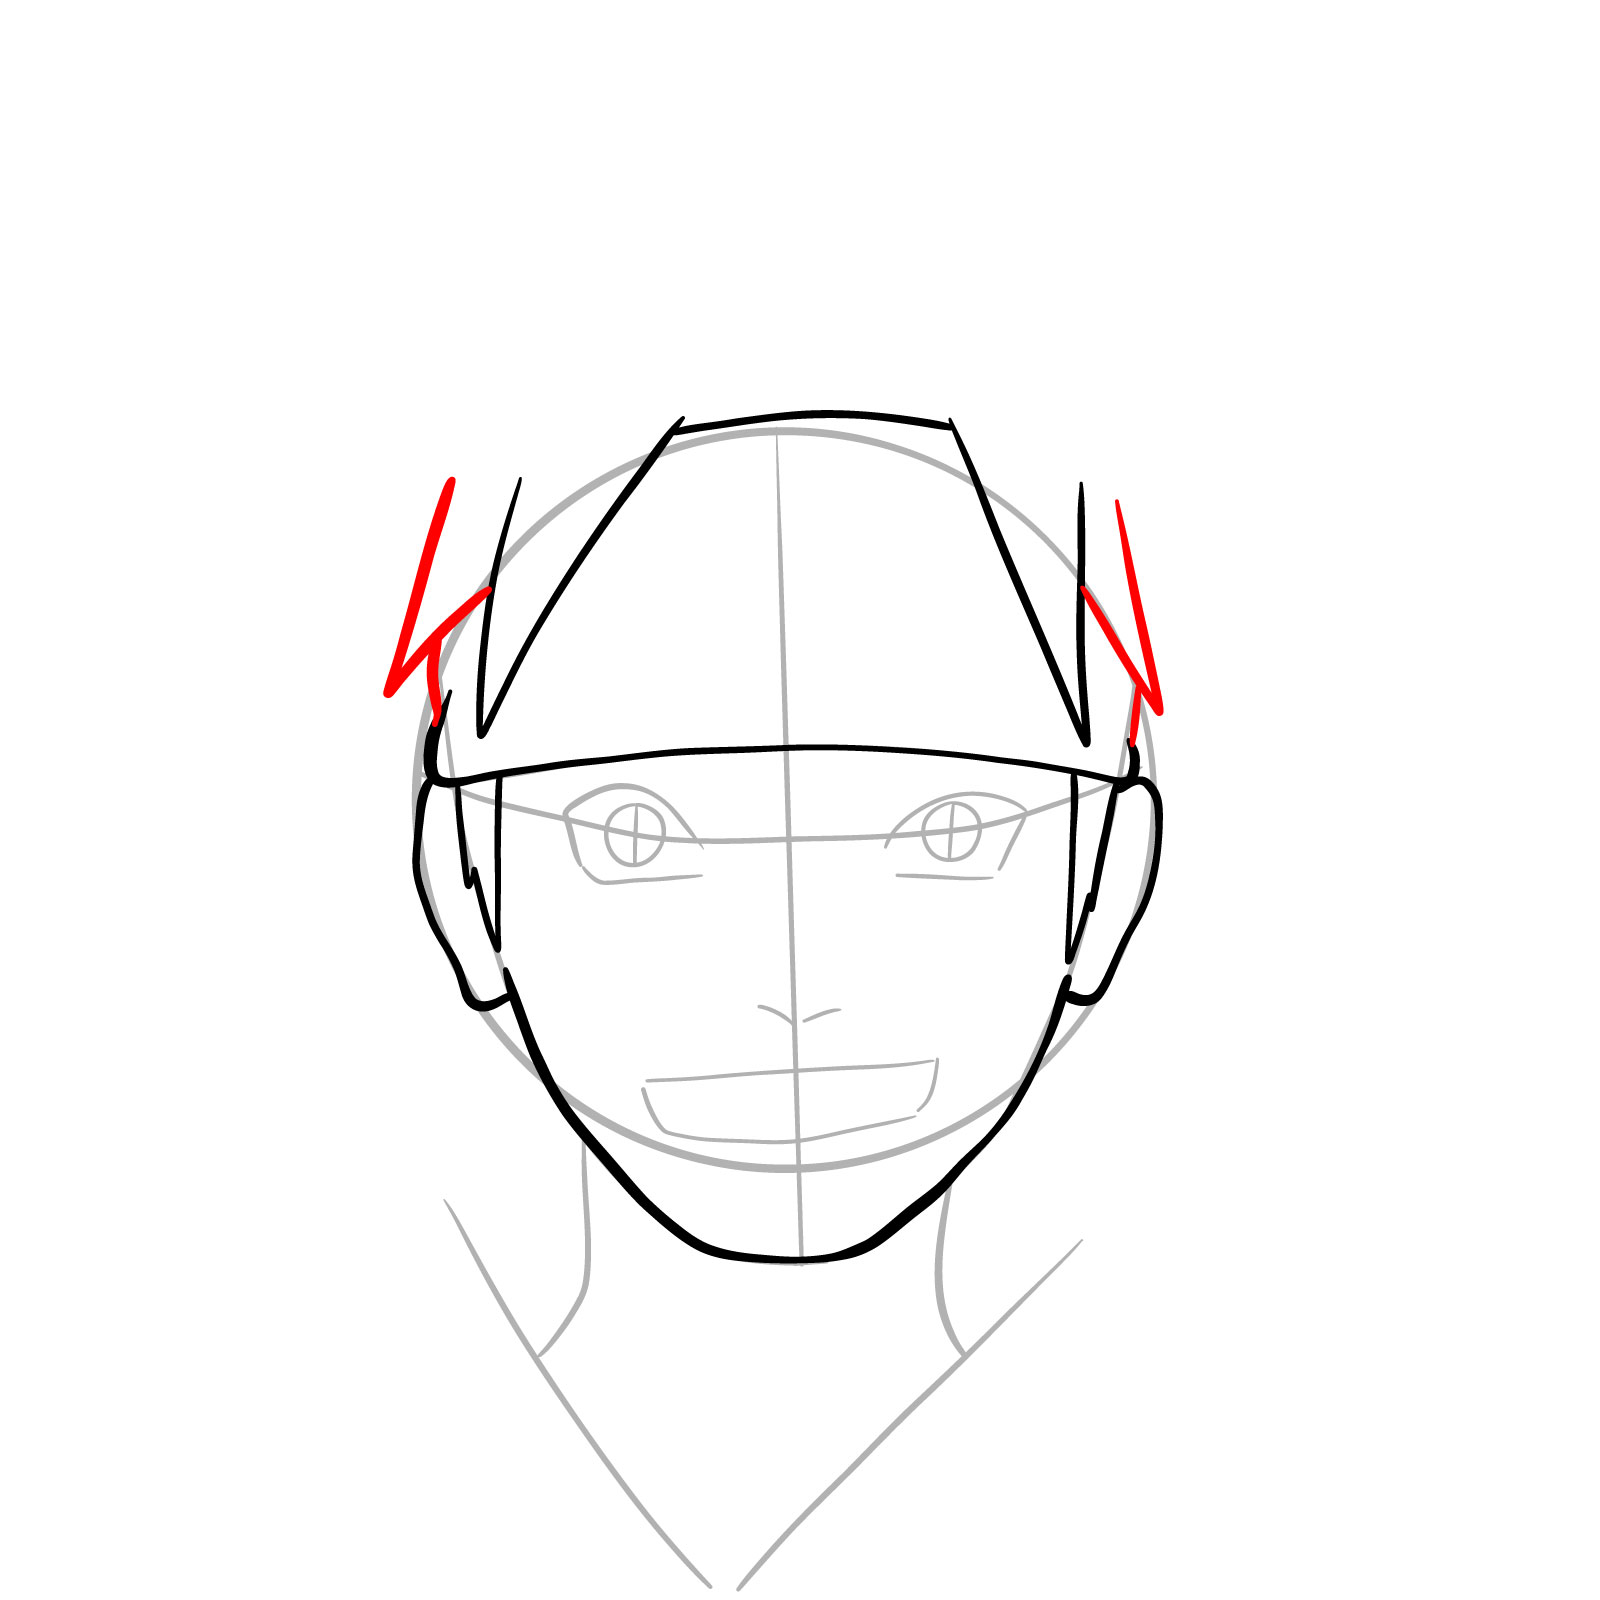
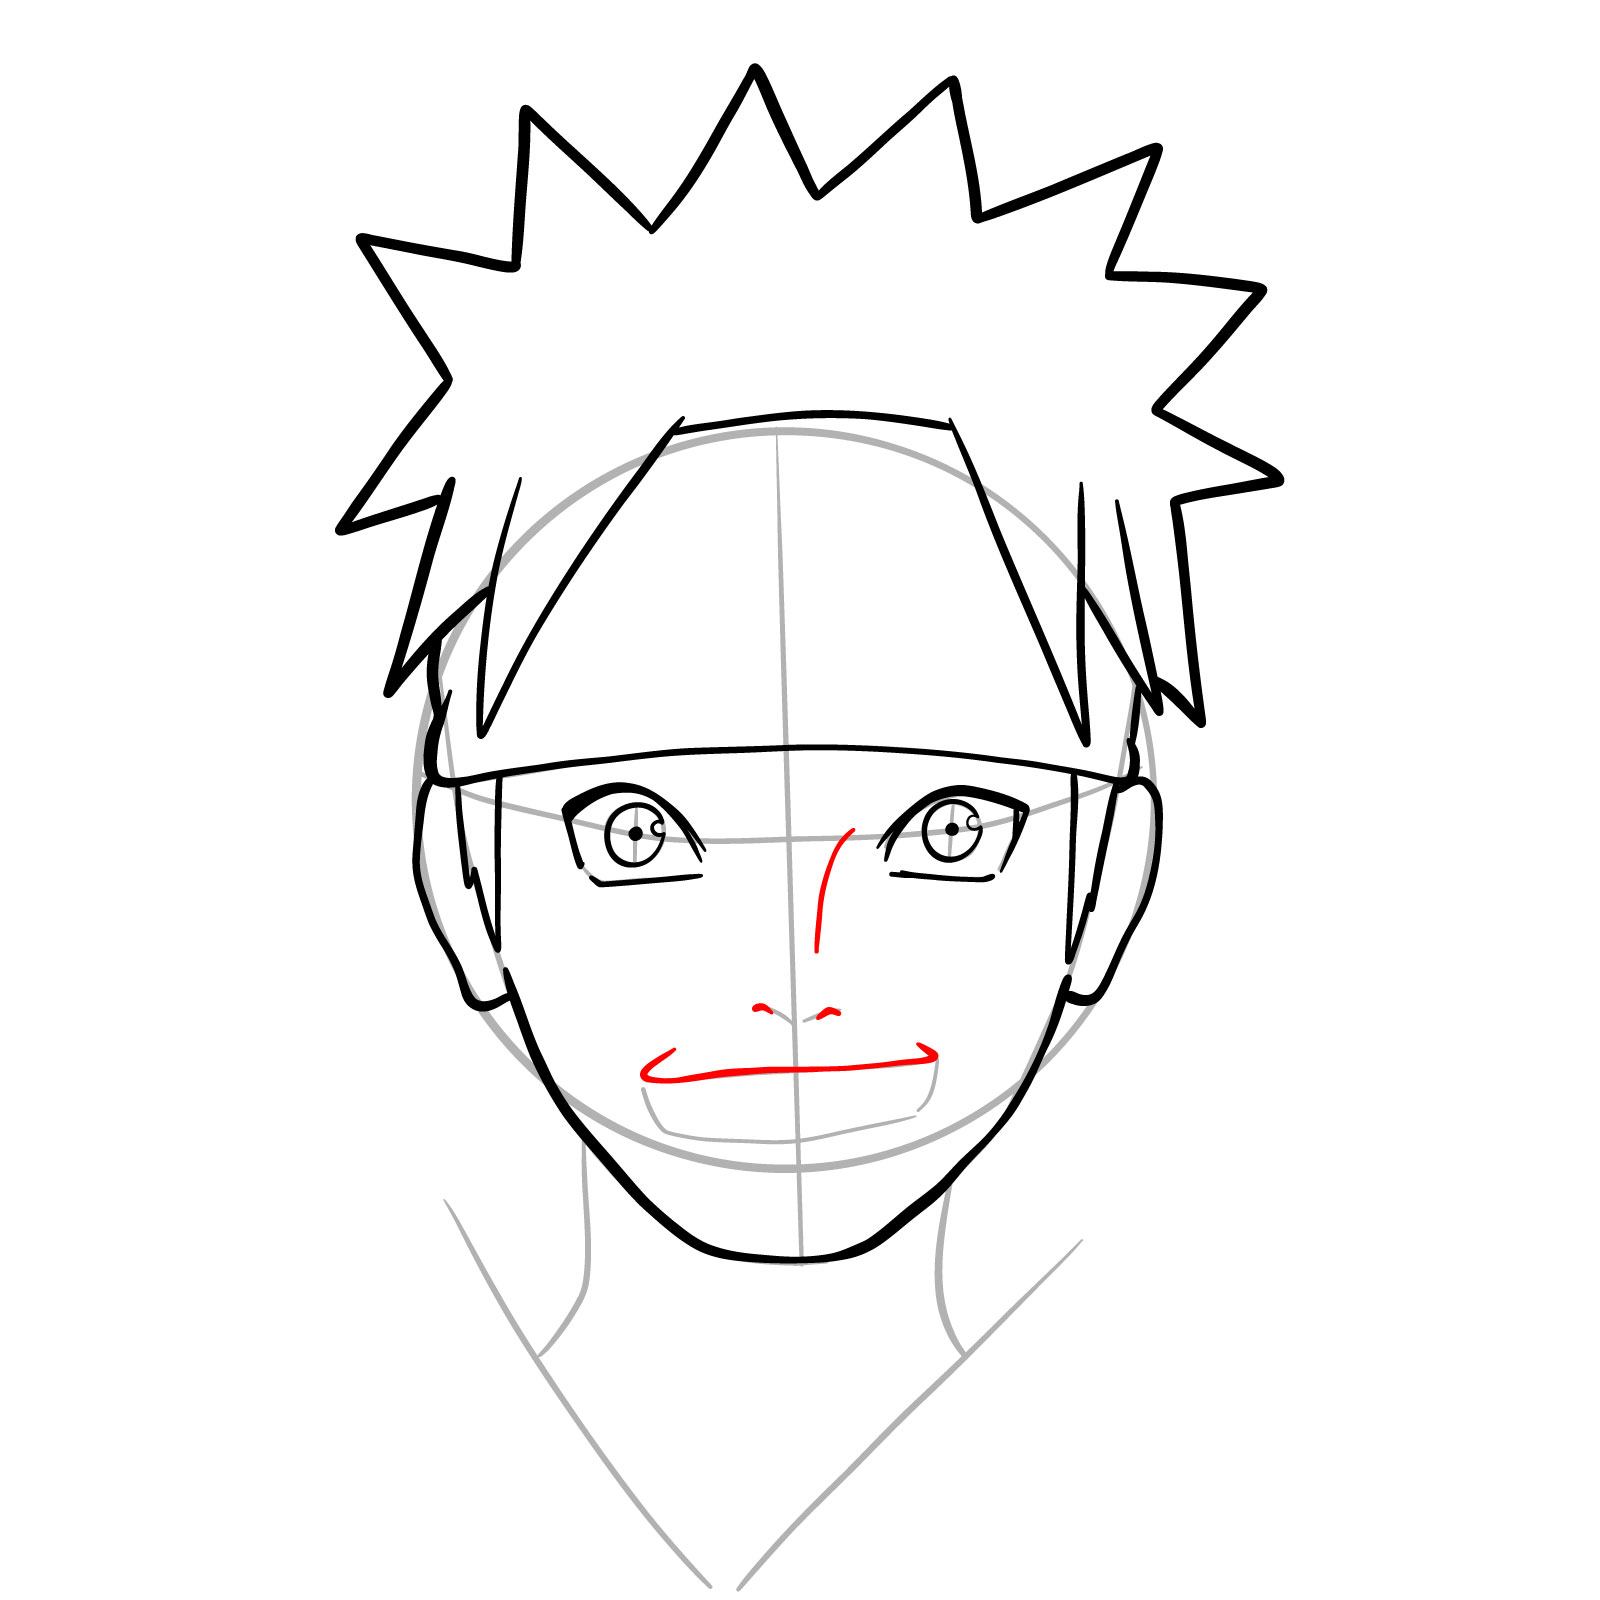
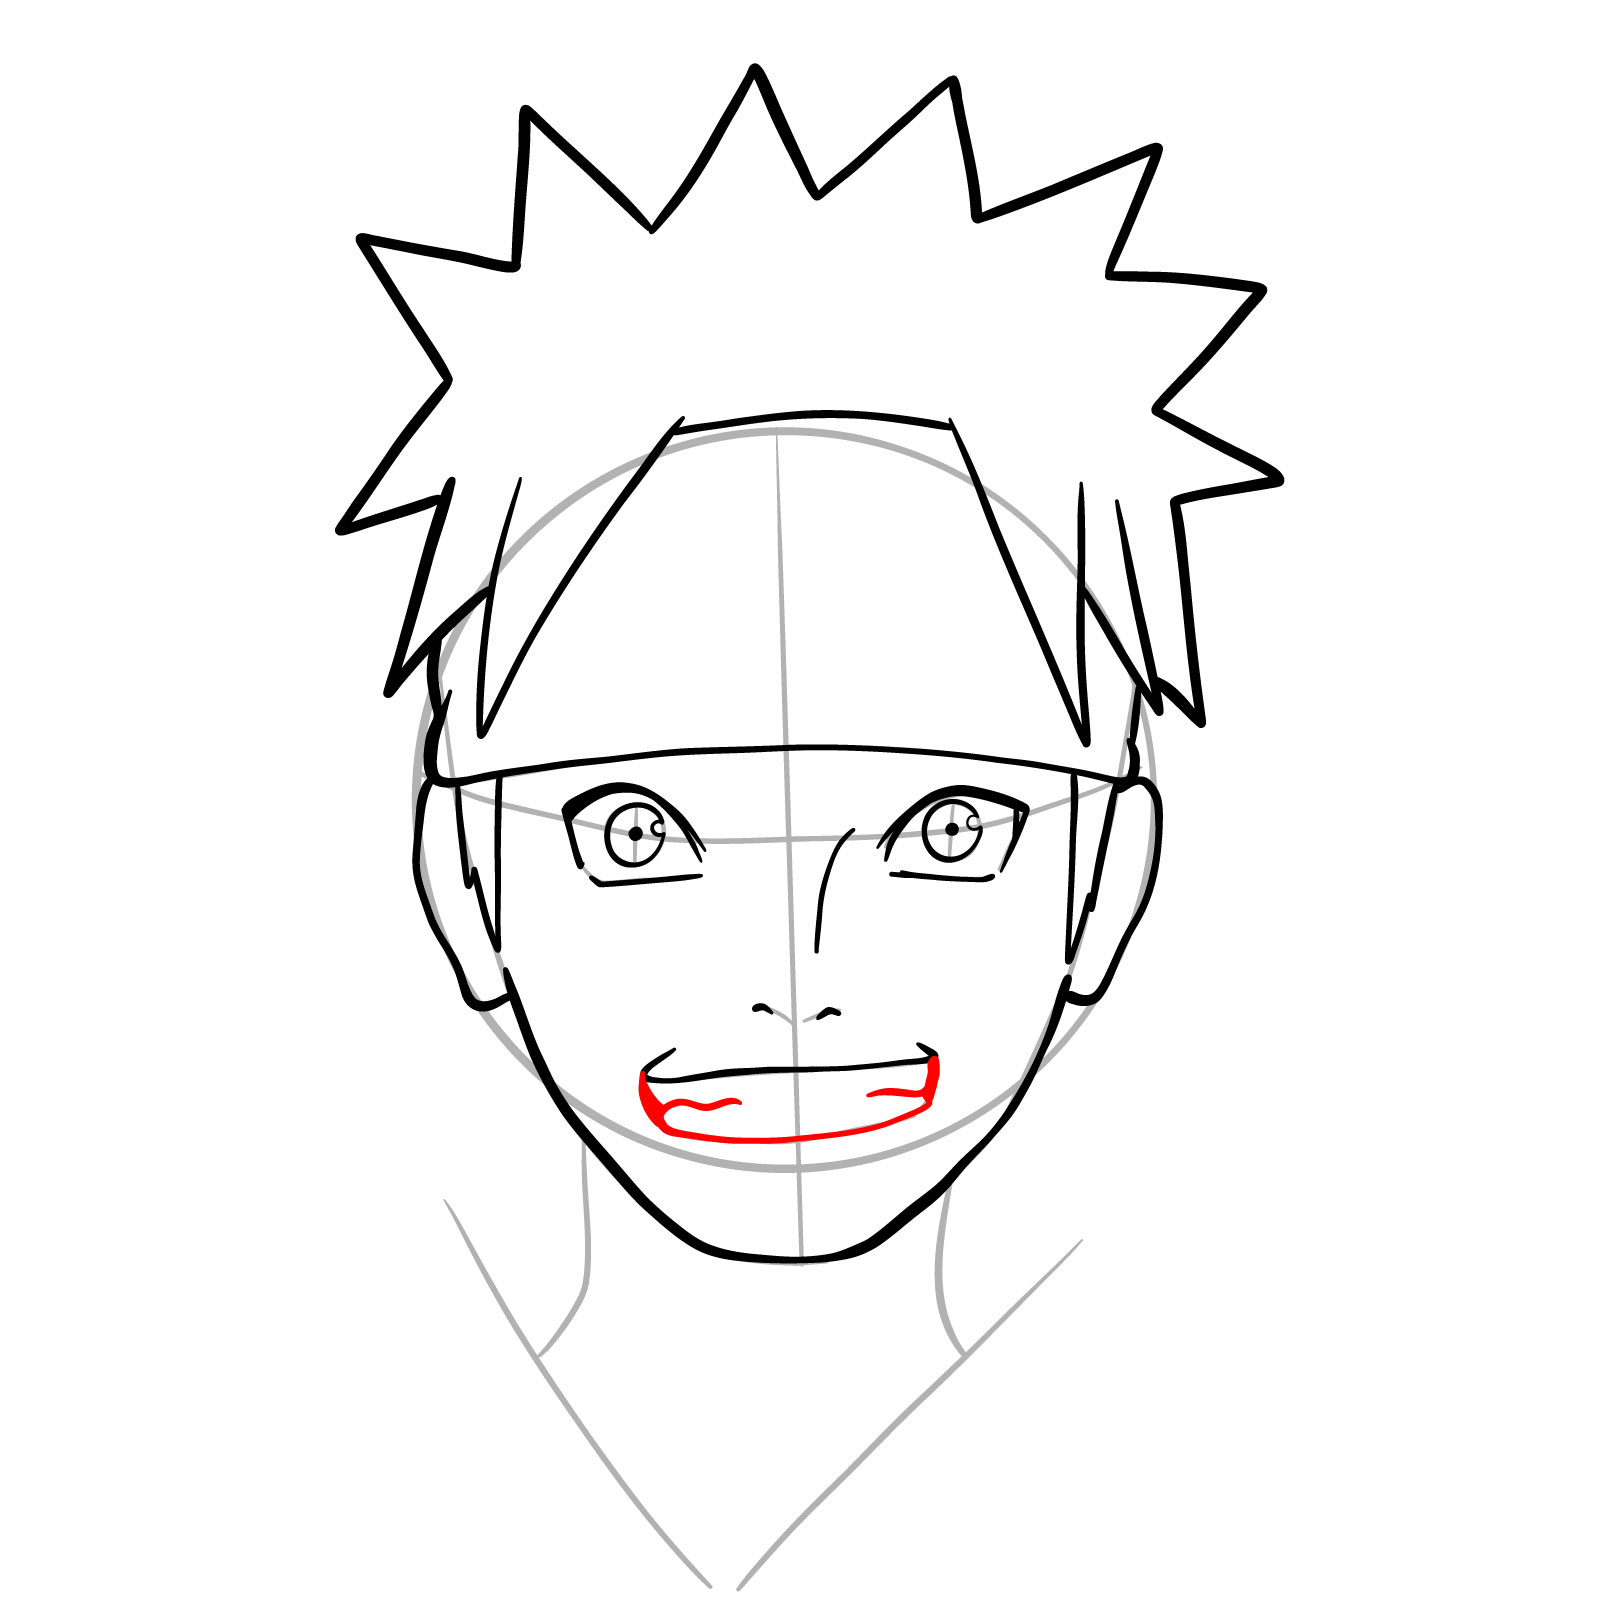
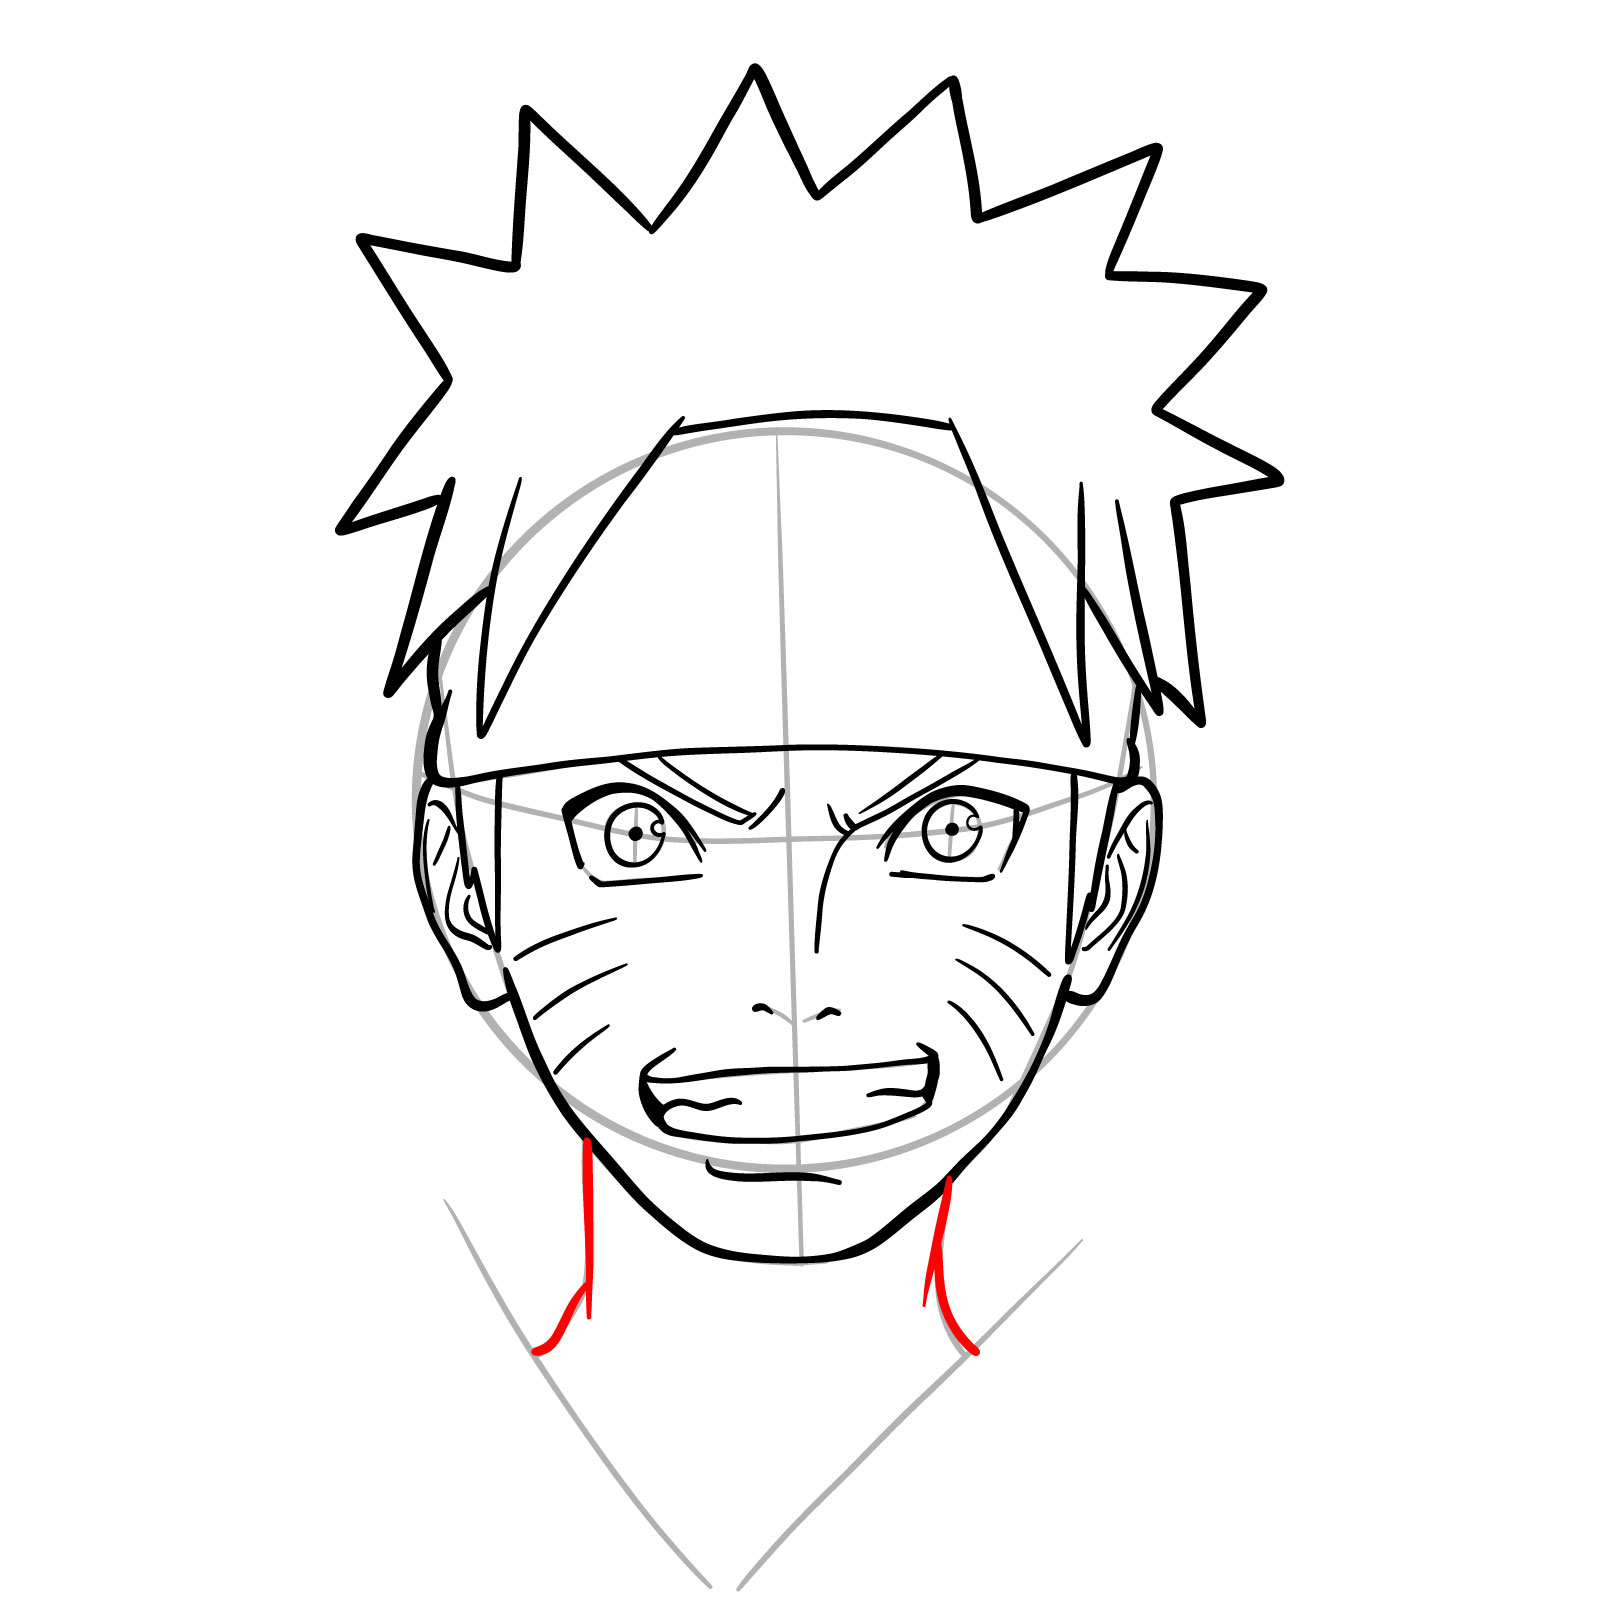
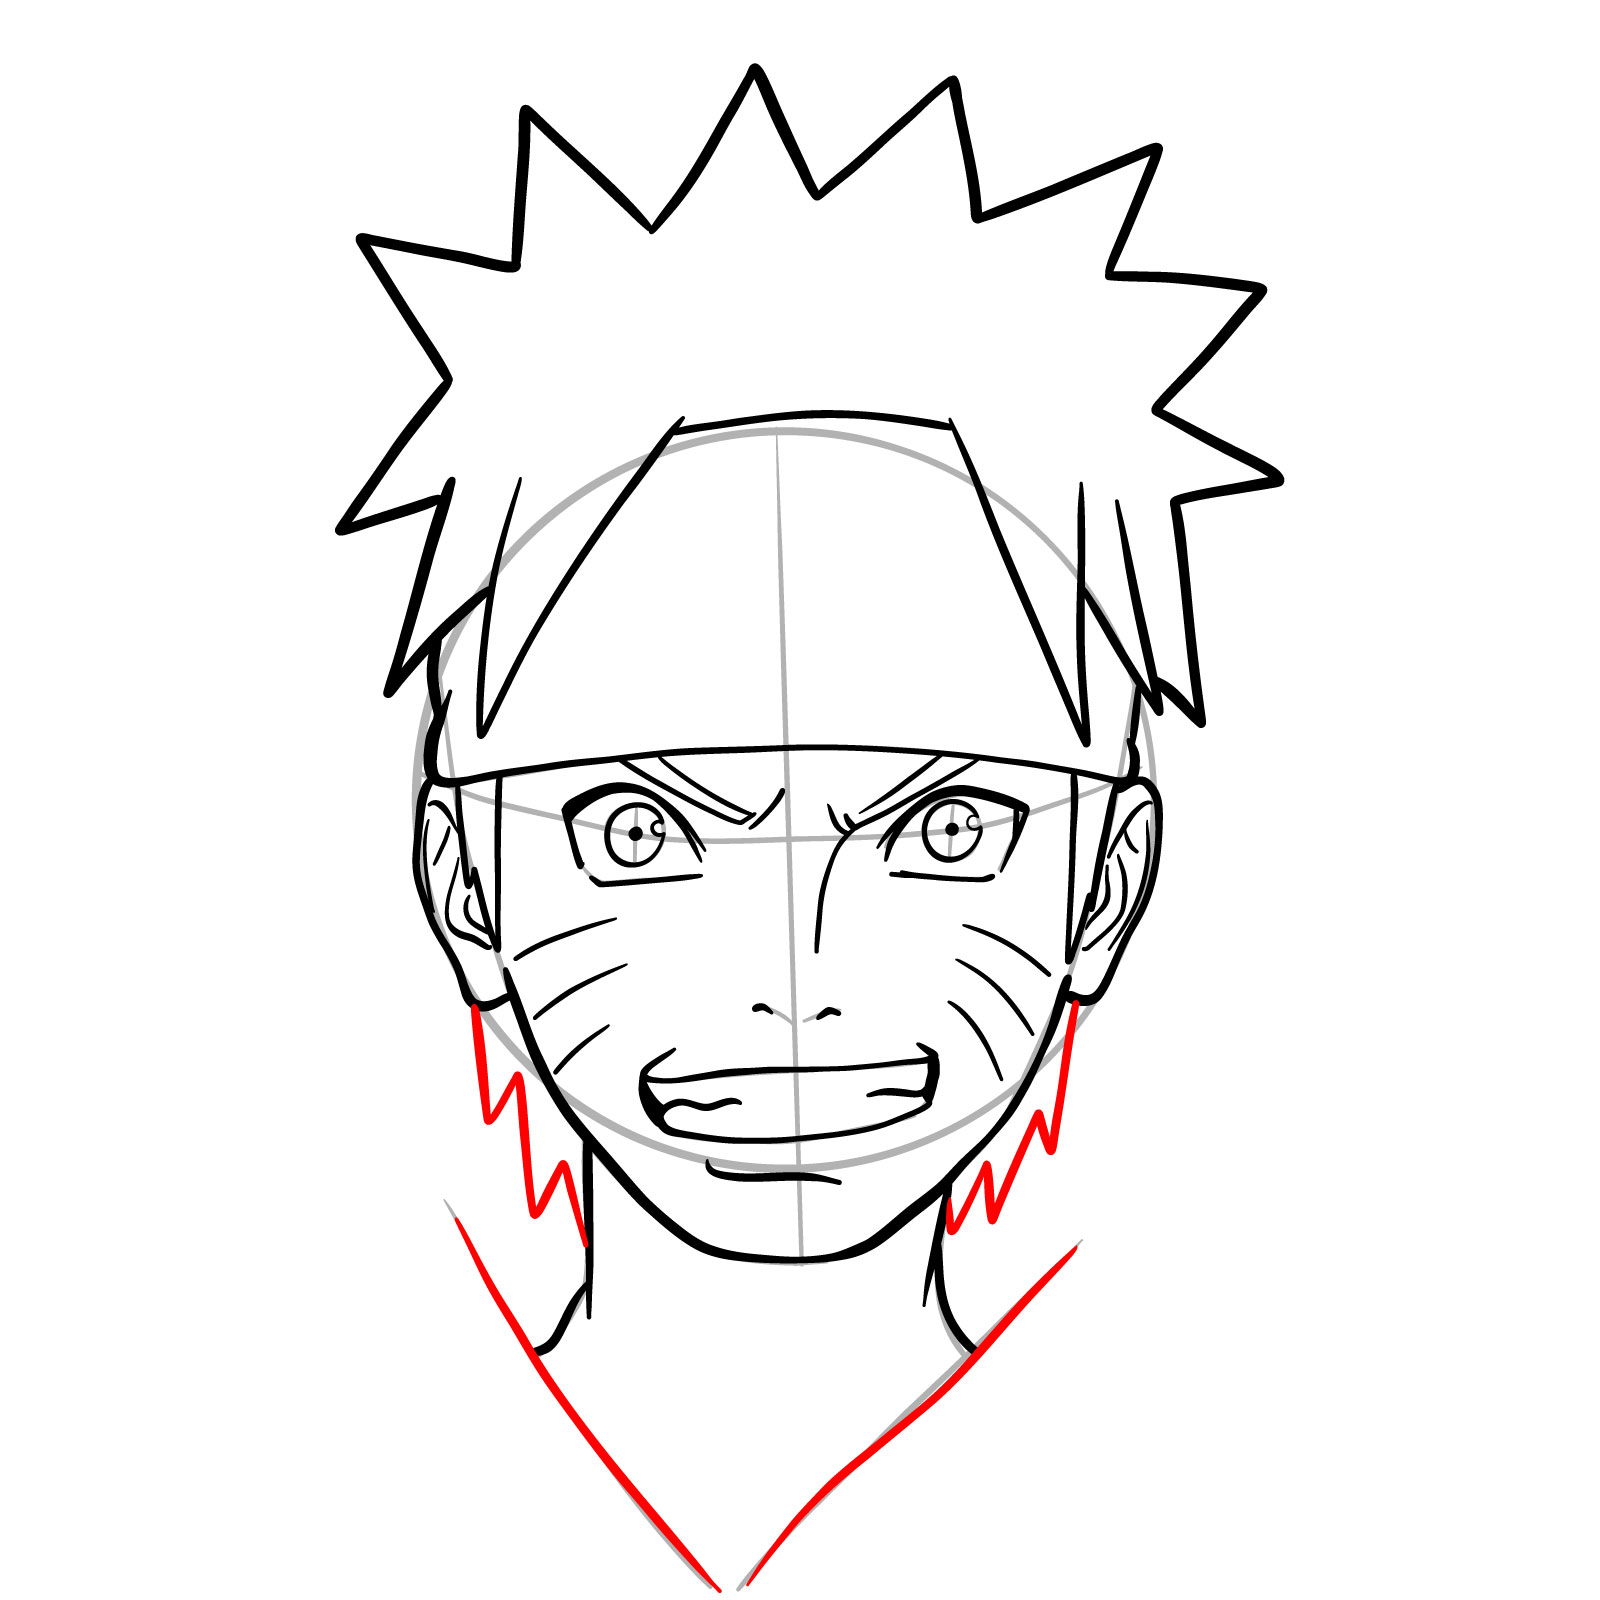
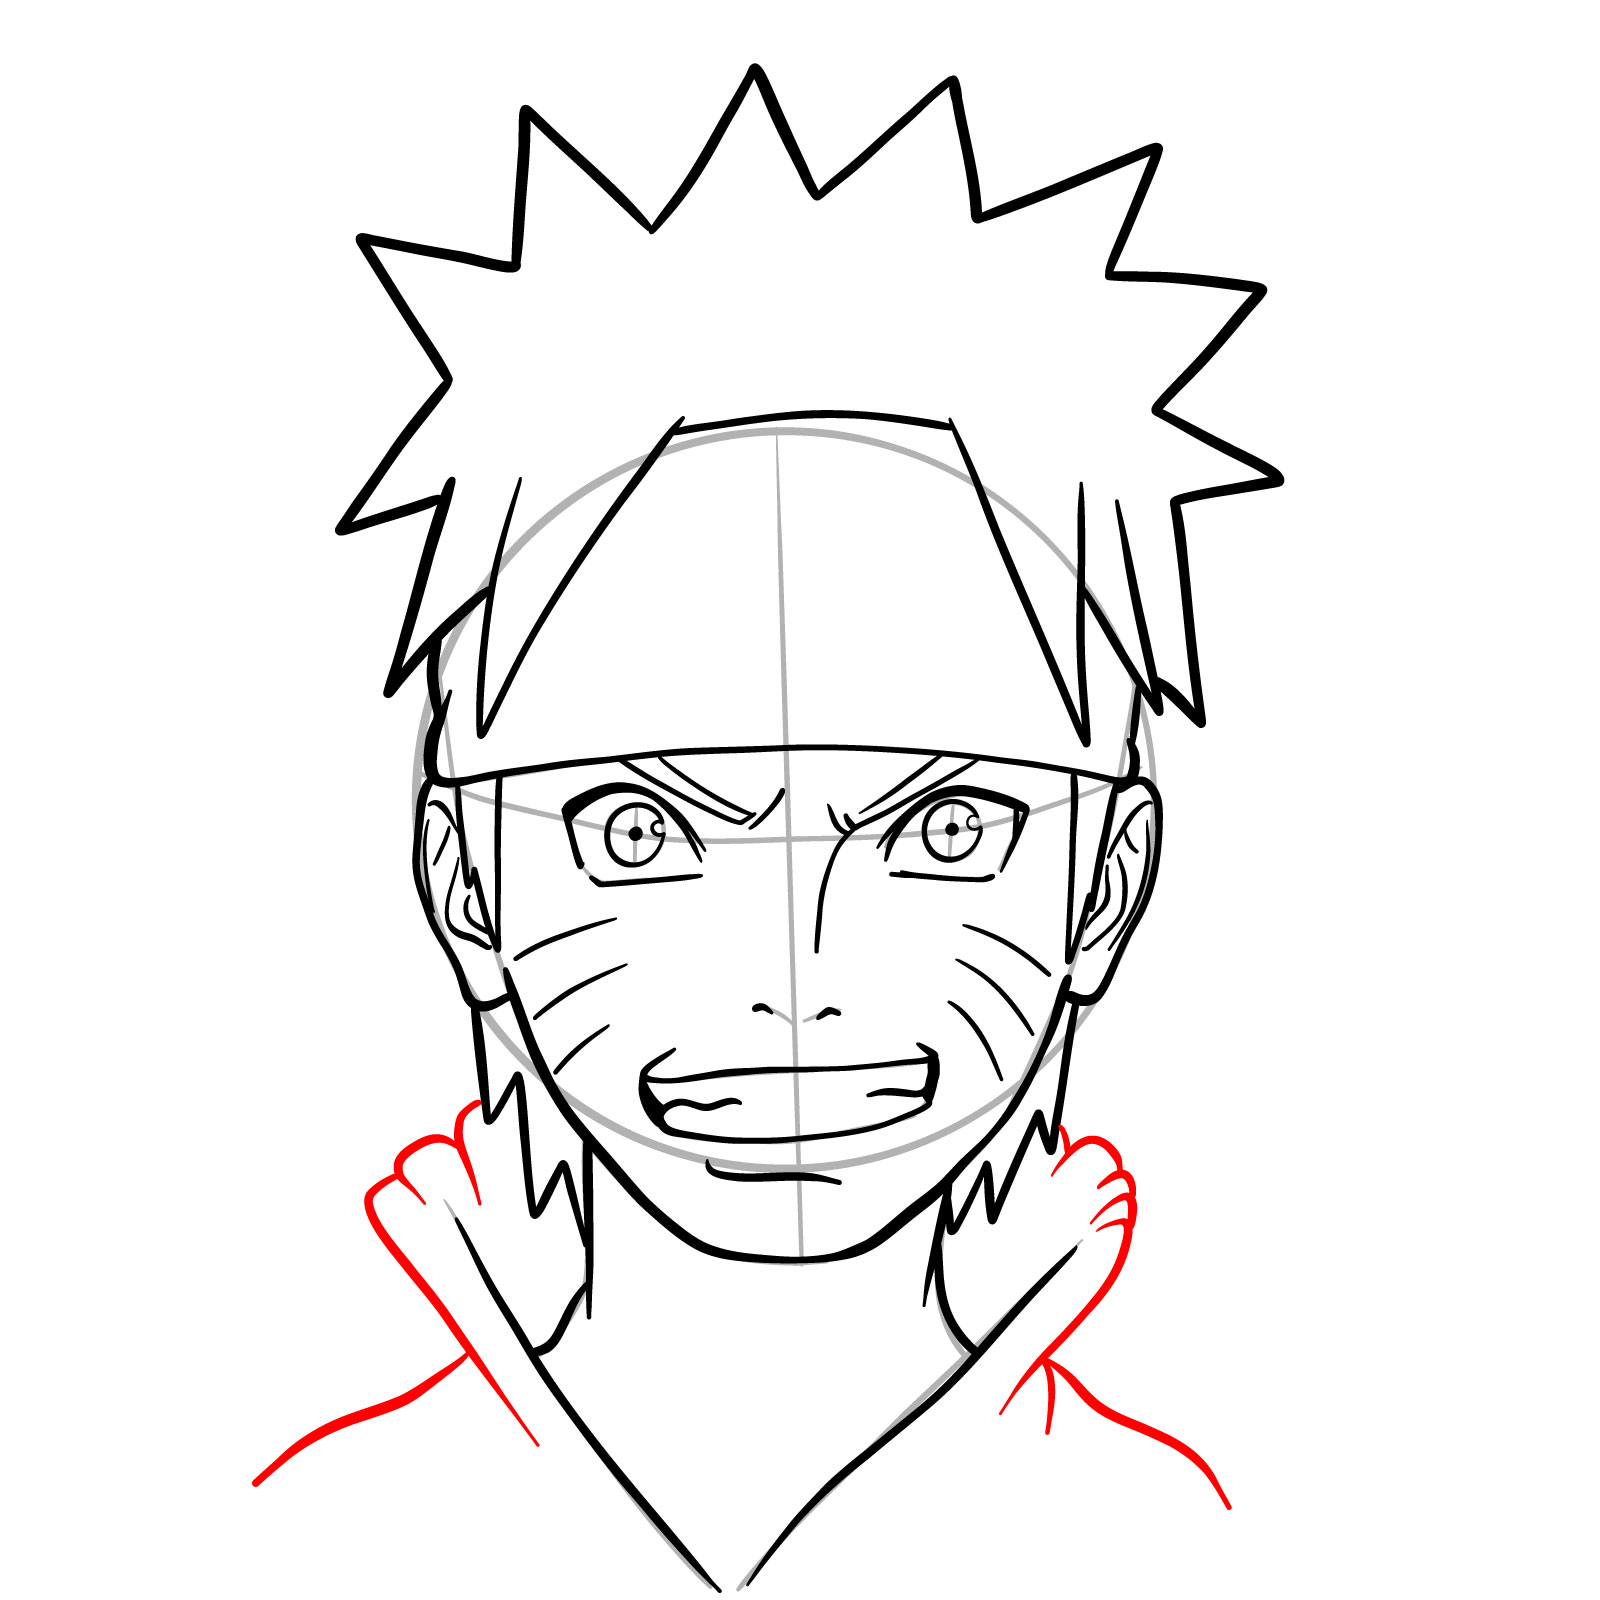
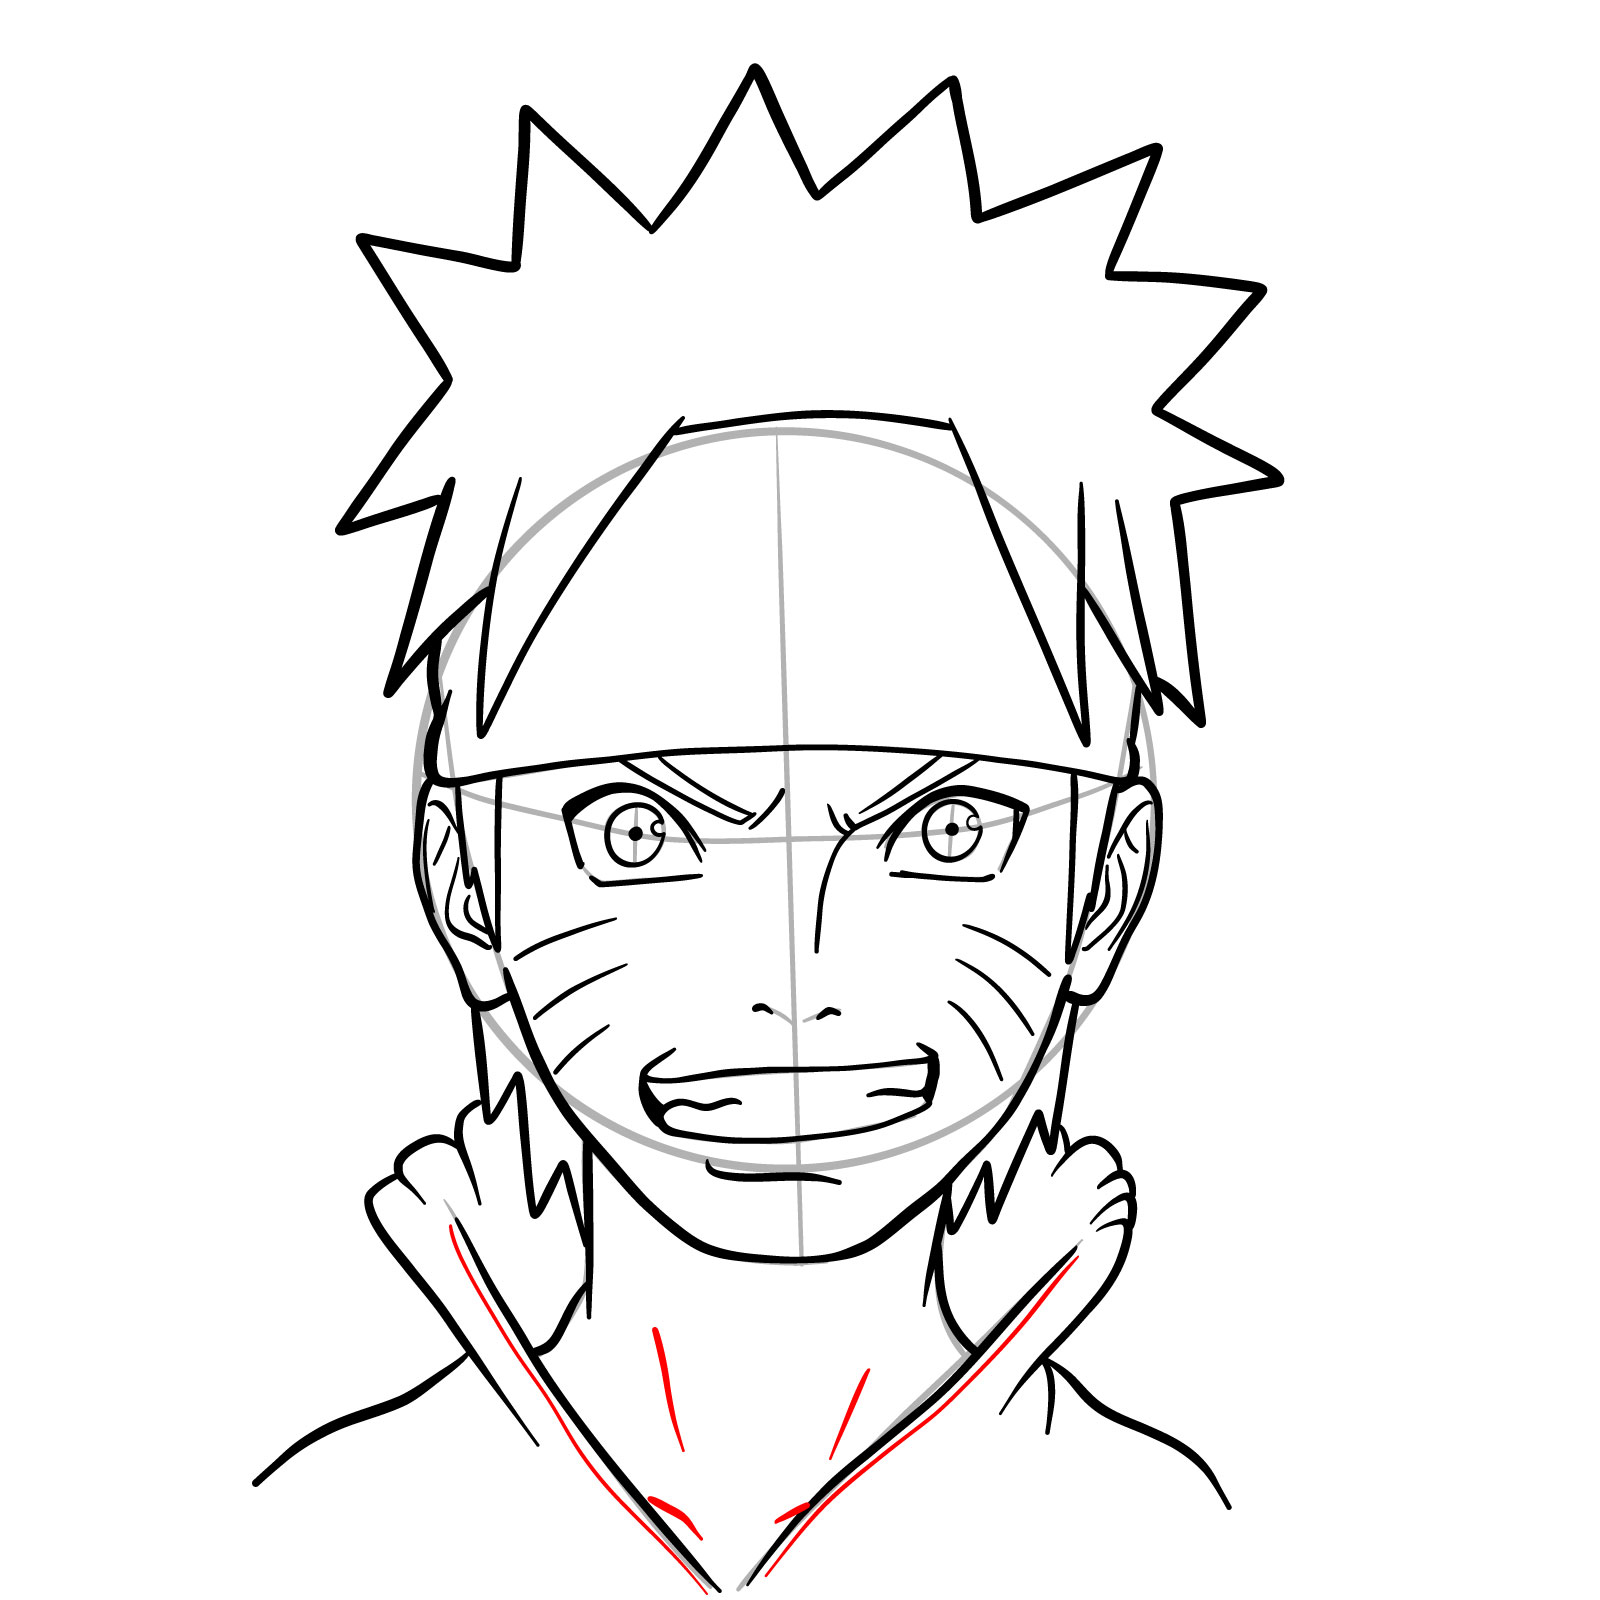
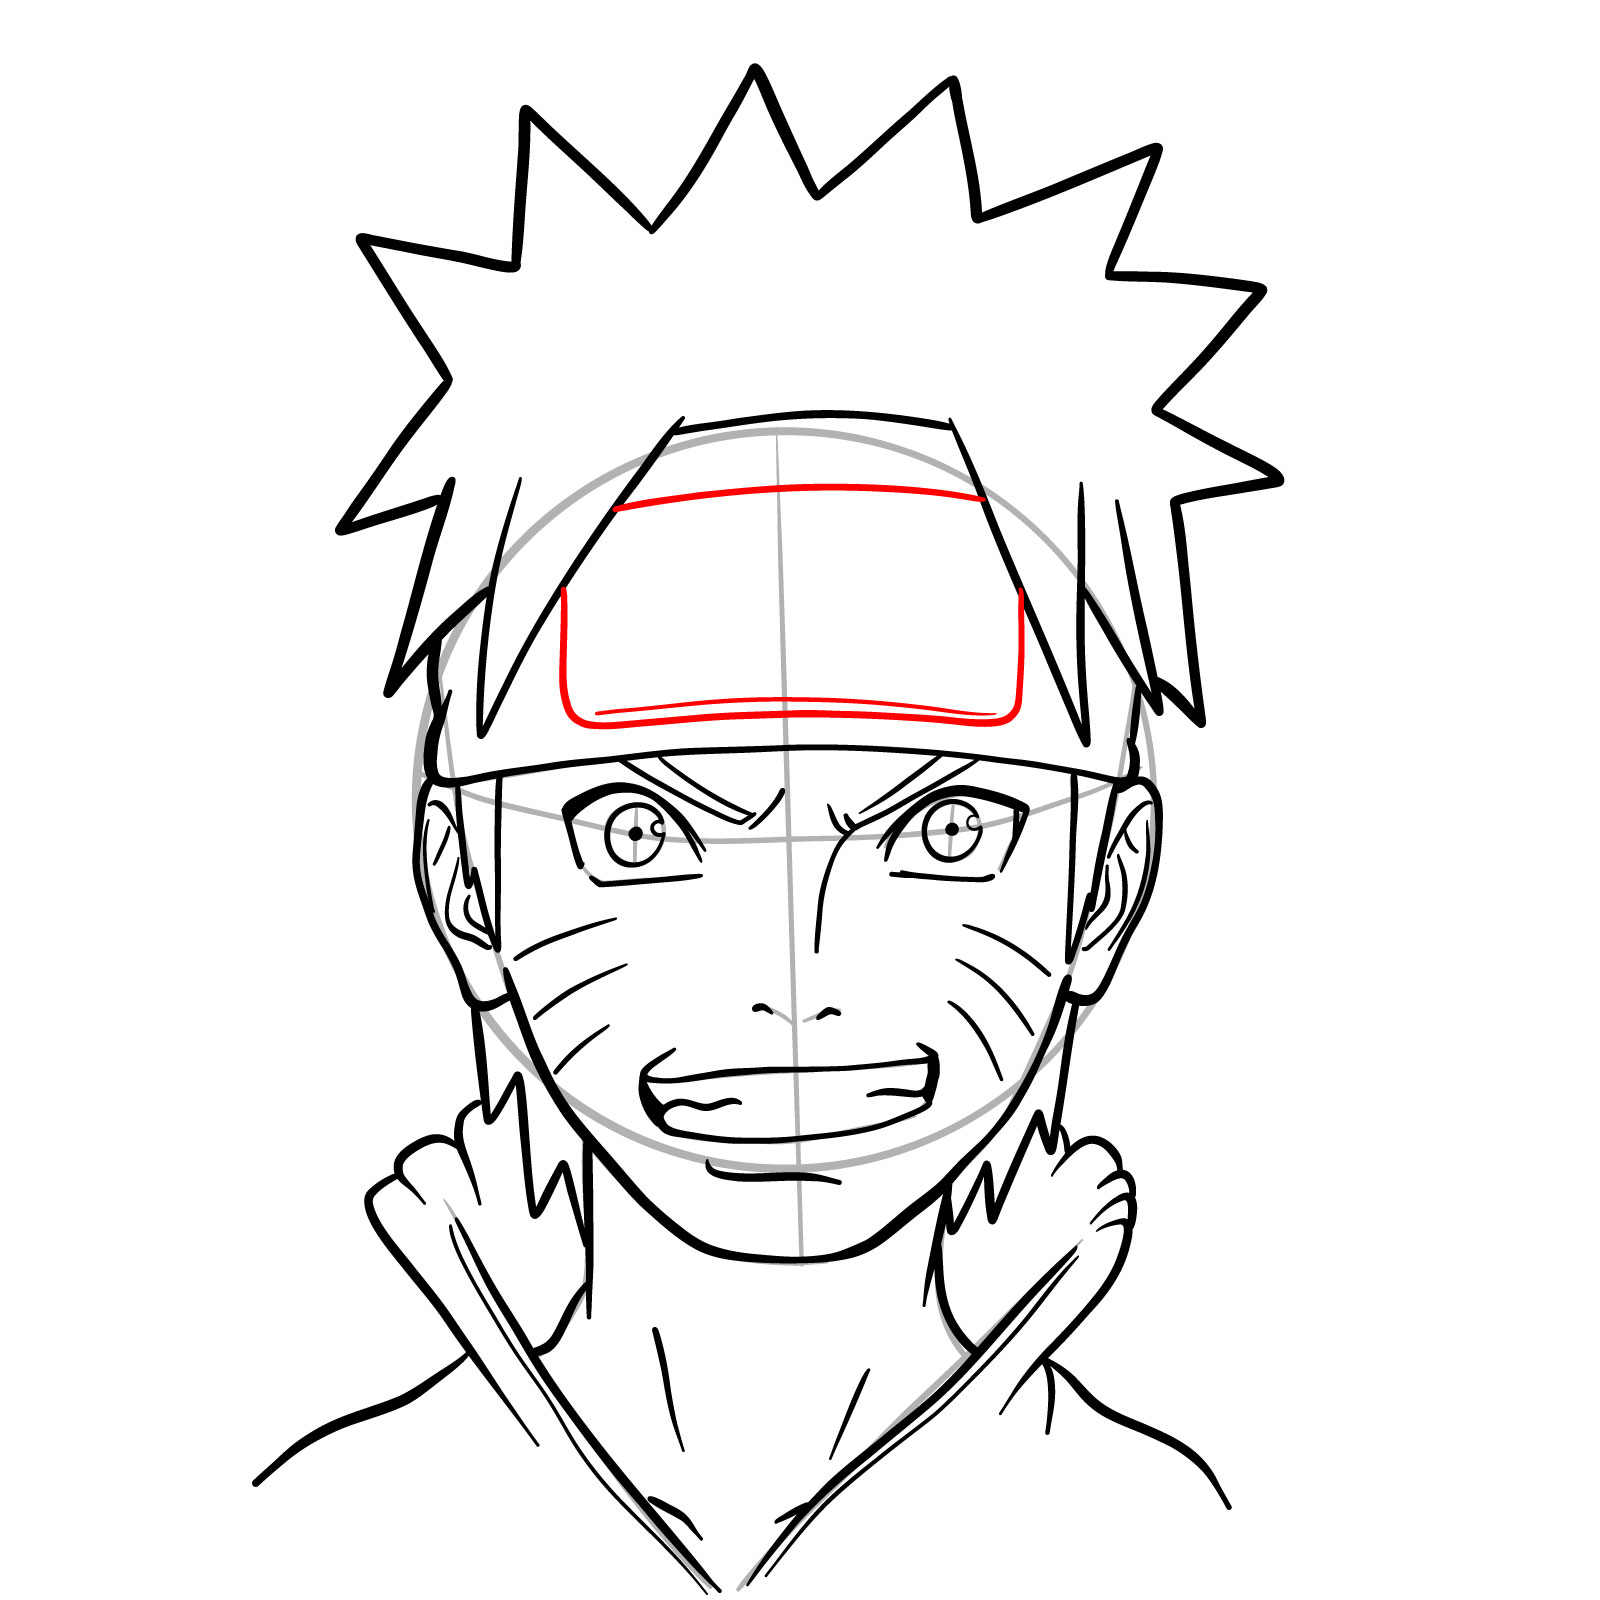
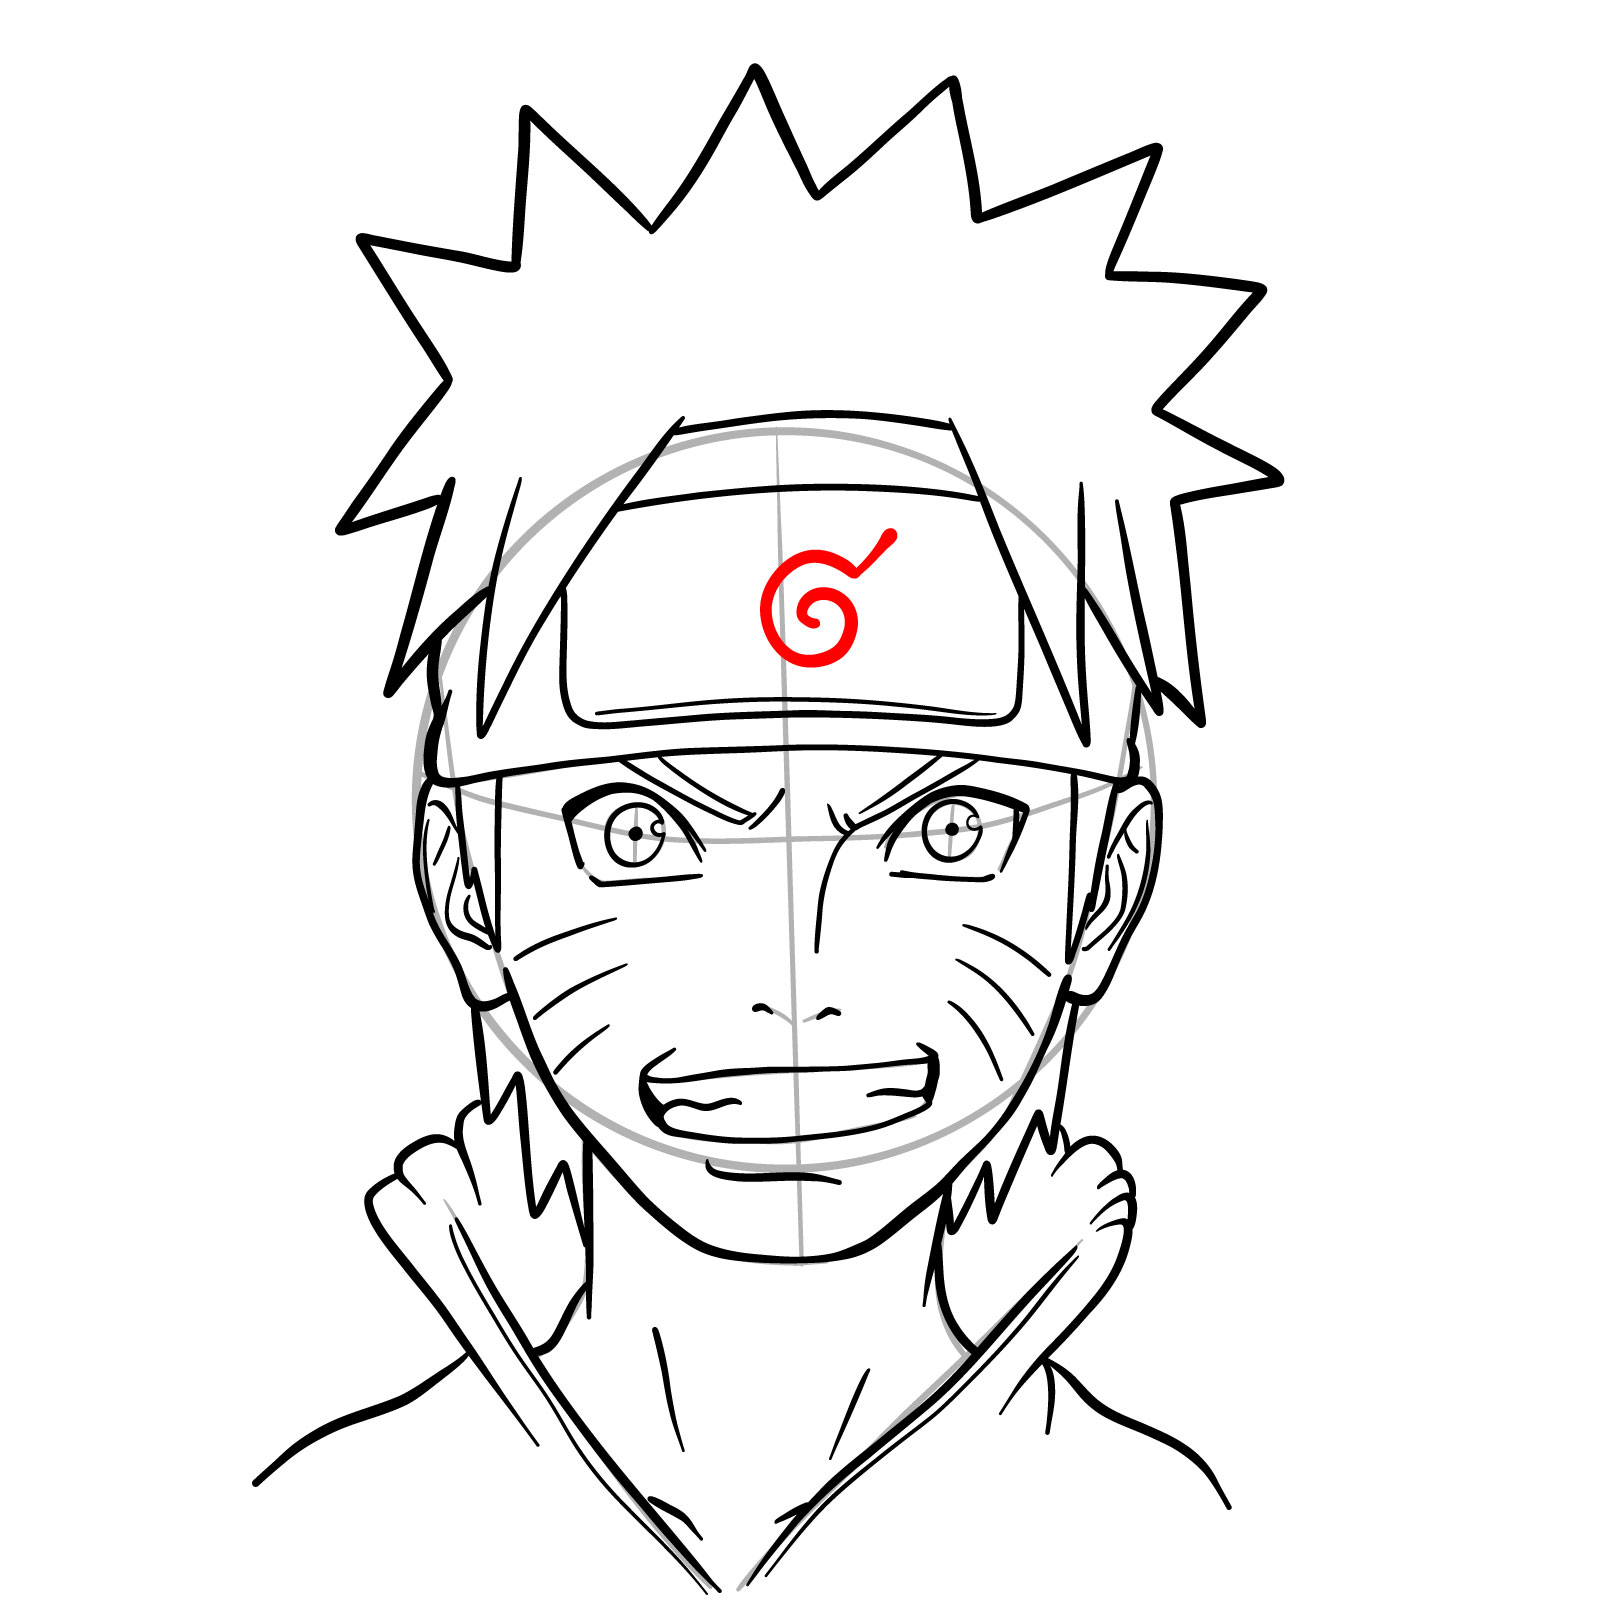
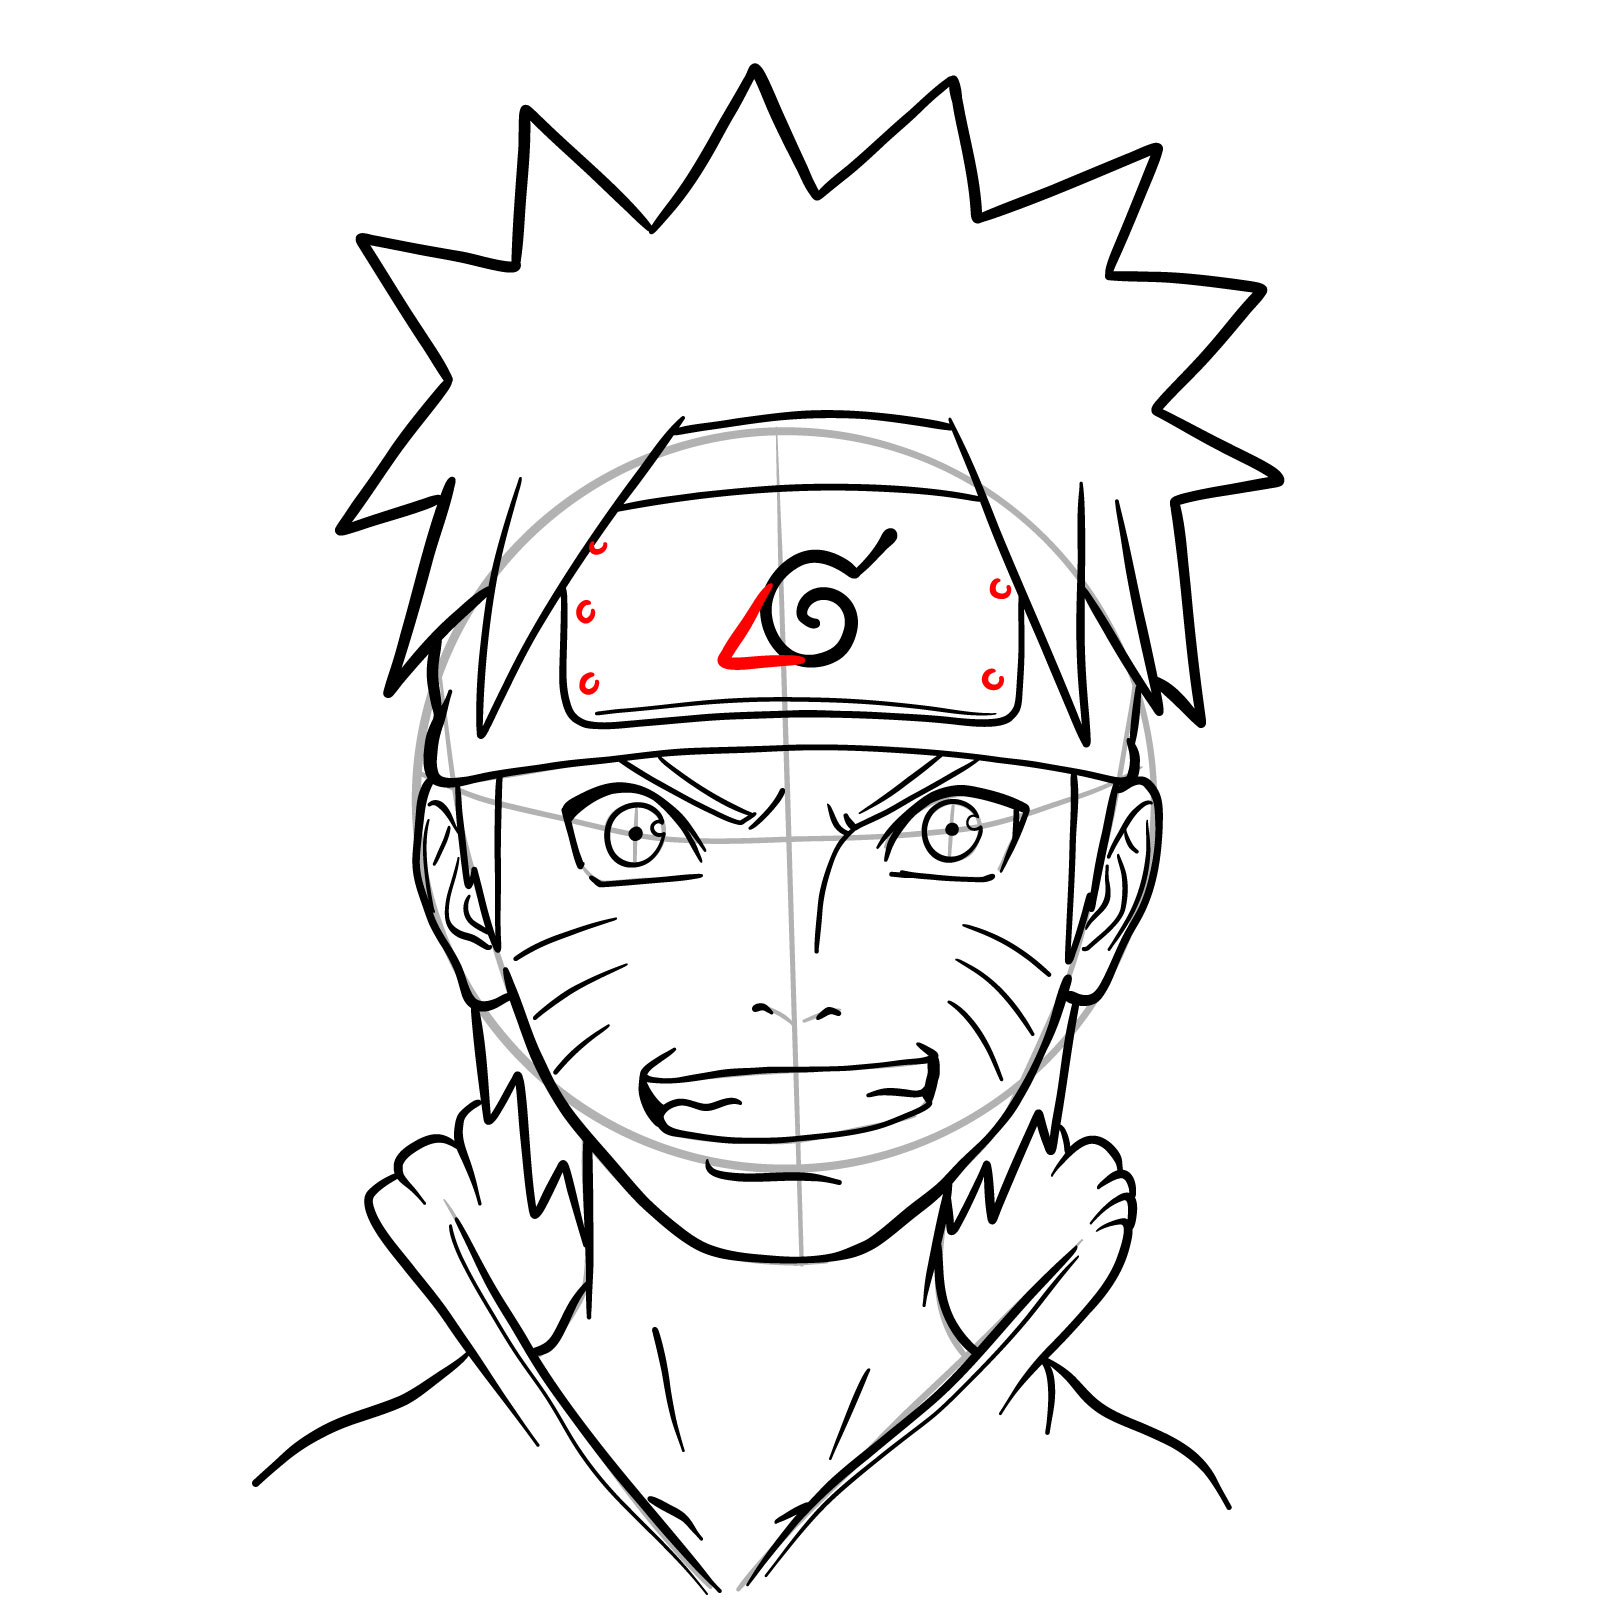
- Red Color: This represents the current step you should be focusing on.
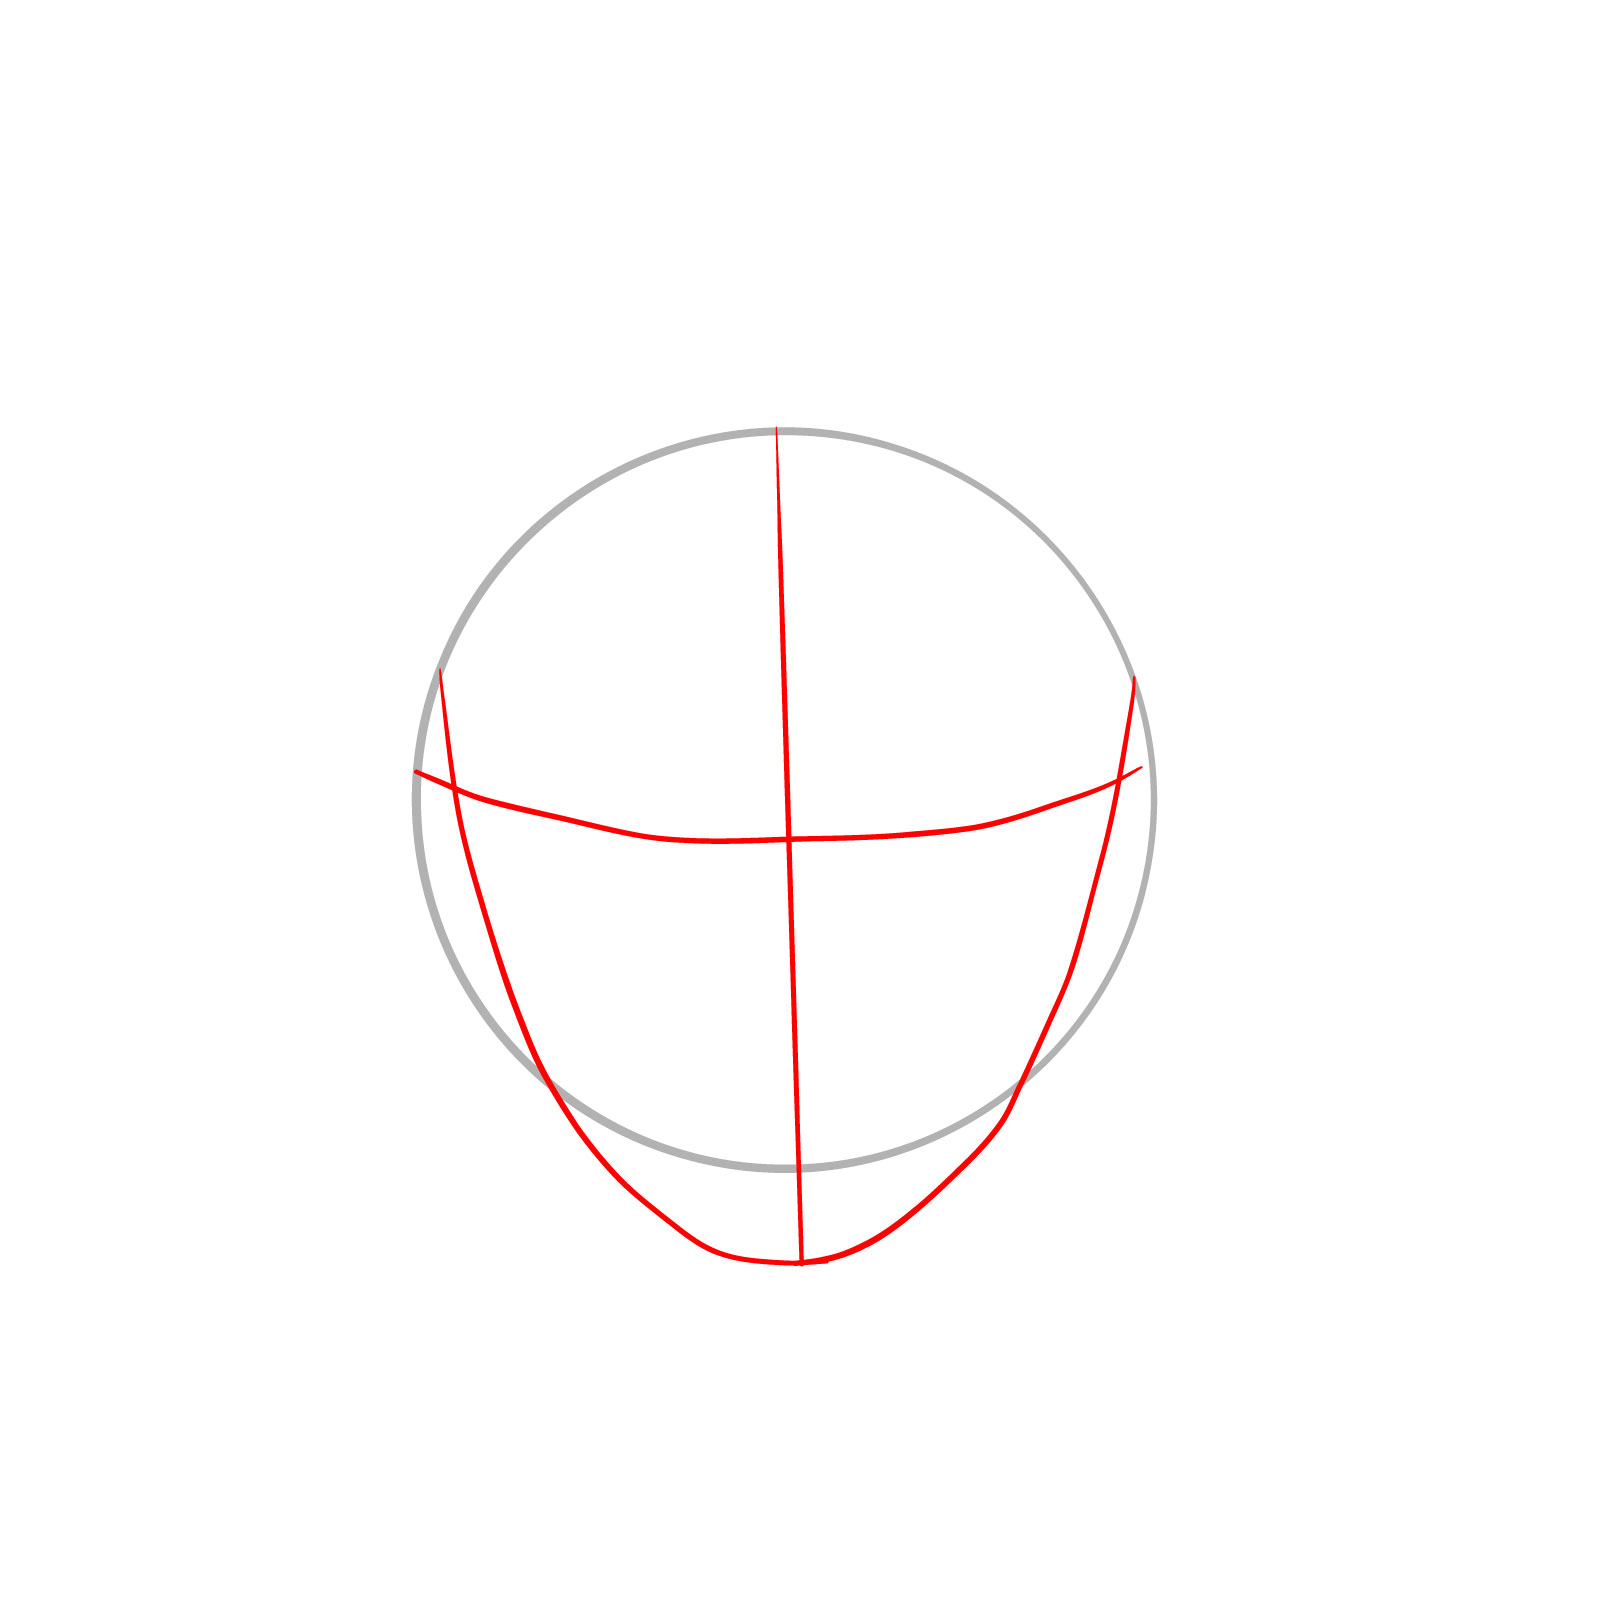
- Grey Color: Illustrates the basic proportion sketch. The initial three steps focus on this, so ensure your strokes are light!
- Black Color: Showcases the lines drawn in prior steps.
Once you’ve followed all the steps, you might consider inking your sketch. Use fine-tip pens to ink over your pencil lines, letting the ink dry completely before gently erasing the underlying pencil sketch. This ensures a cleaner, more professional finish.


That wraps up how to draw Naruto’s face, from those signature whisker marks to his determined expression. If you want to keep up with new guides, there’s an email signup at the top of the page, or you can follow SketchOk on Pinterest where people also drop their own Naruto sketches in the comments.
Do you draw Tails Doll phase 2?
Don’t you mean soulless tails doll