Welcome to the exciting challenge of drawing Mash from Mashle. Whether you’re an experienced artist or just starting, this guide is tailored to help you create a detailed full-body drawing of Mash, the magicless protagonist of manga and anime series.
Capturing Mash’s Muscular Might
Sturdy Build: Focus on his muscular physique, which sets him apart in a world where magic is everything.
Bowl-Cut Hairstyle: Pay attention to the distinct shape and simplicity of his hair.
Standard School Uniform: Recreate the details of his uniform meticulously, from the red tie to the black cloak.
Sketching Tip: Start with light strokes to outline Mash’s robust frame and uniform, ensuring that proportion and posture are accurate before detailing.
Your Blueprint to Drawing Mash
Our guide is a compilation of high-quality images, designed to be followed sequentially. Each image is a step, building upon the last.
Red Color: indicates the current step,
Black: illustrates previously drawn lines, and
Grey Color: represents the underlying sketch.
The guide encompasses 19 steps, starting with a basic stick figure to capture Mash’s stance. The subsequent steps refine the sketch, adding layers of complexity and detail, culminating in a full-body representation of Mash’s powerful presence.
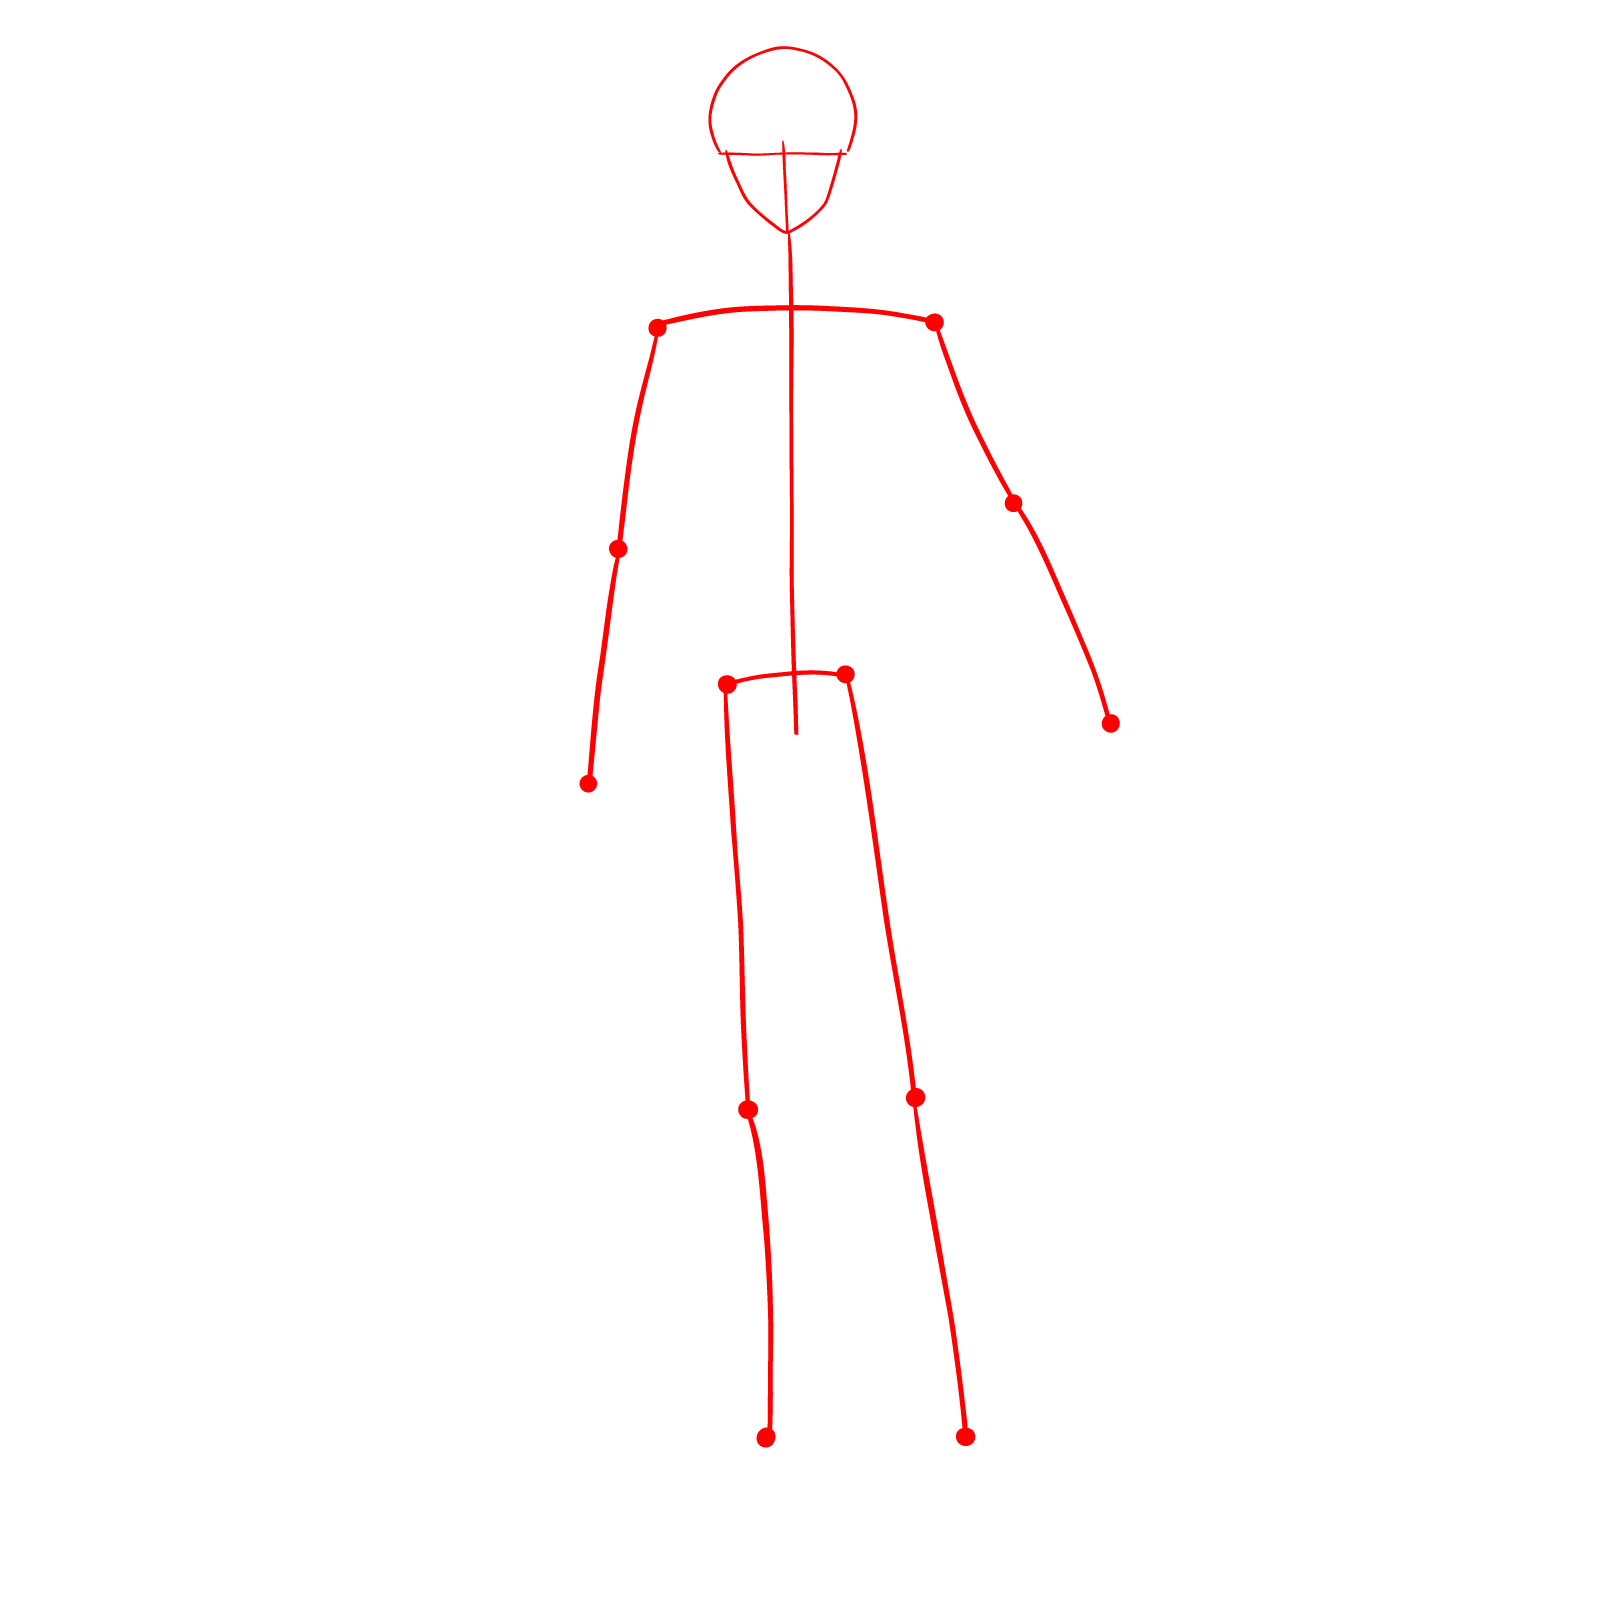
Step 01 – Start your journey on how to draw Mash by sketching an acorn-like shape for the head and a basic stick figure for the body. This simple structure is vital for proportion and balance
Laying the Groundwork for the Head and Body
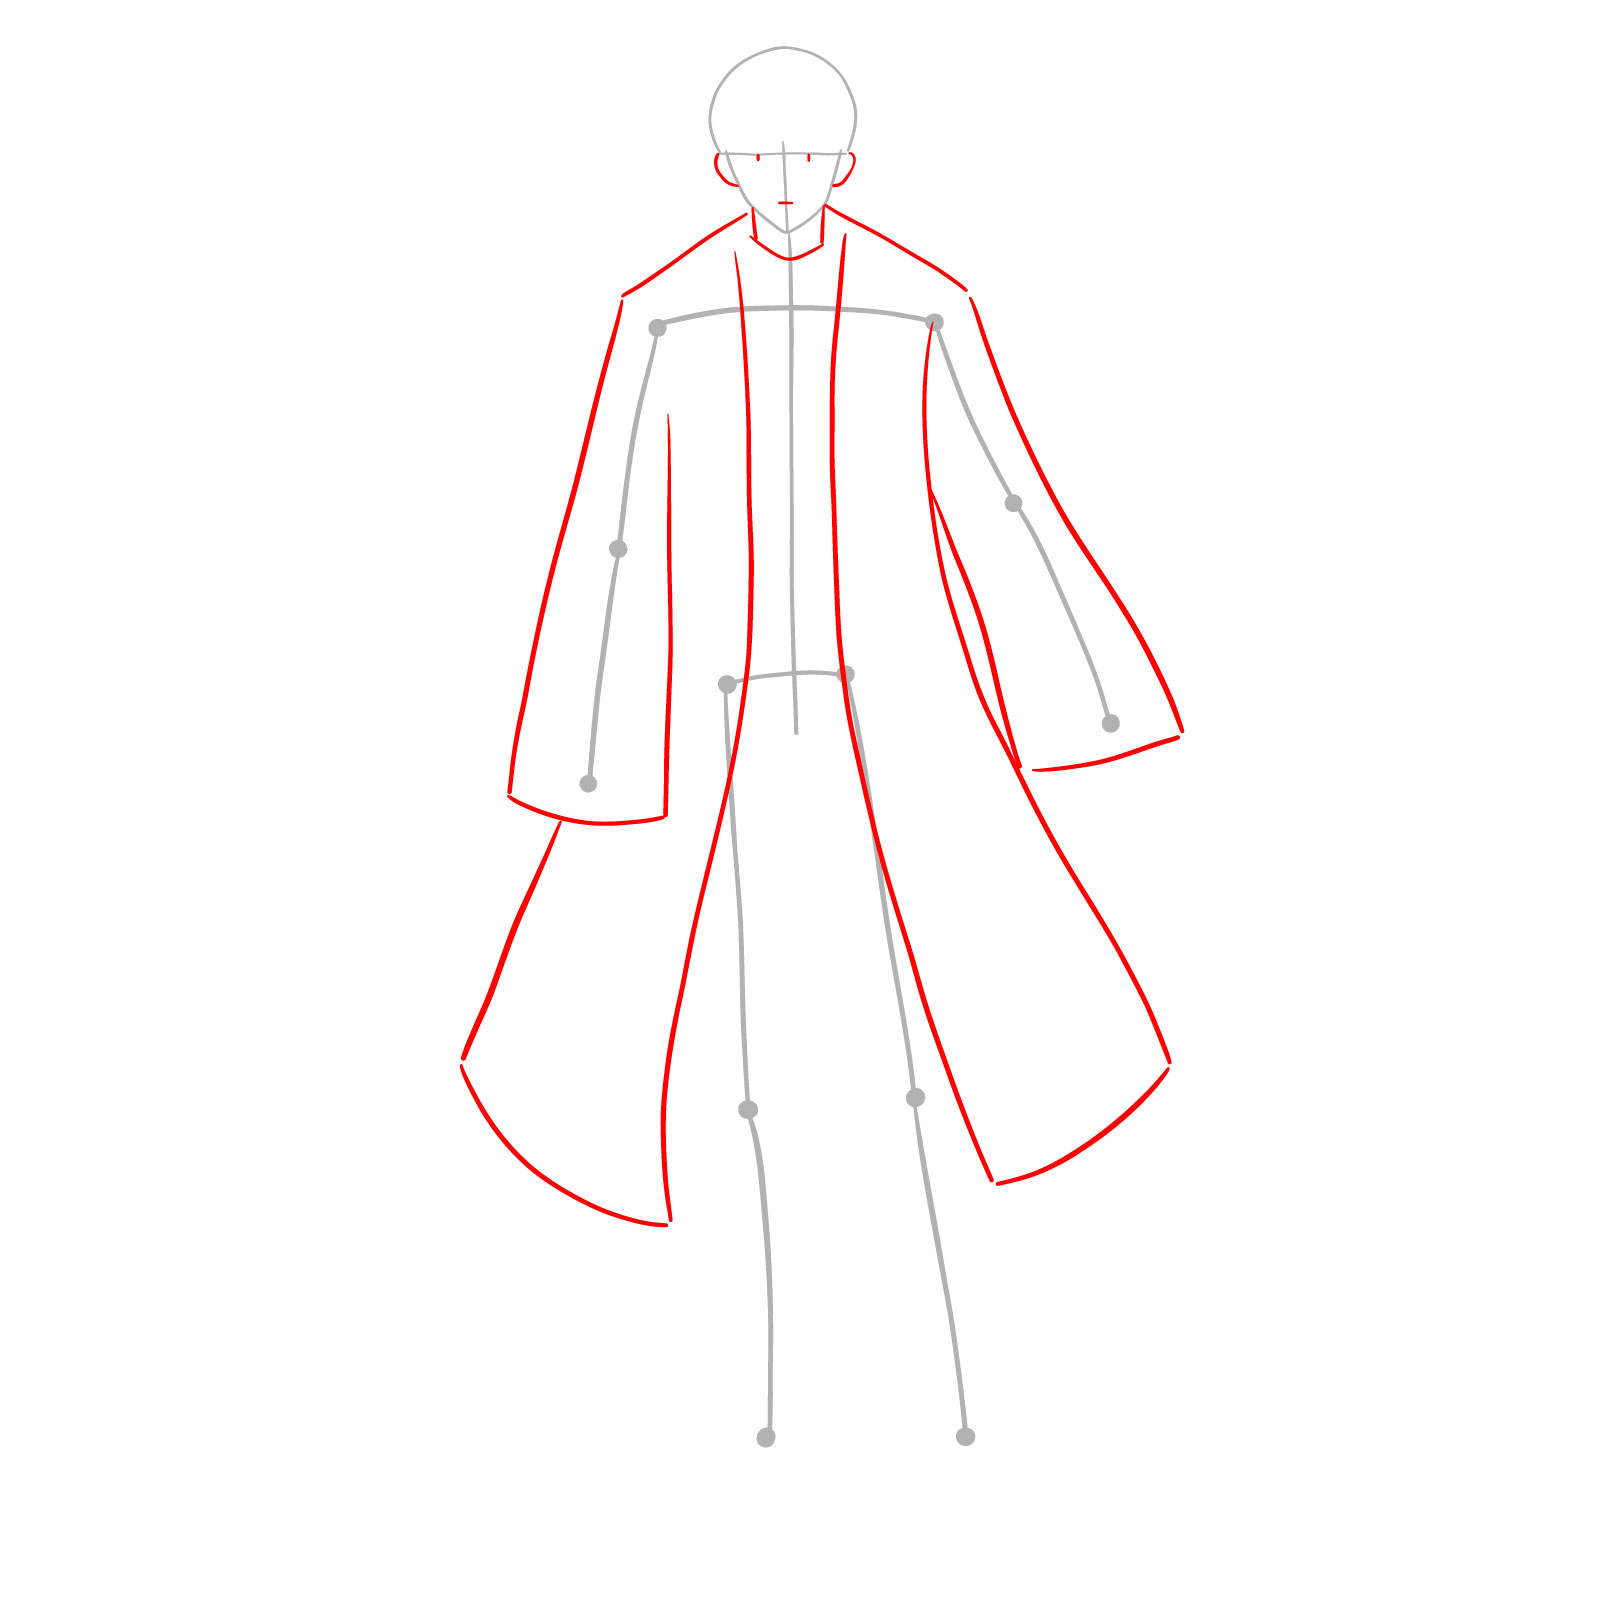
Step 02 – For the second step in your Mash drawing, map out the placement of the eyes, mouth, and nose. Add the neck and a rough outline of his distinctive cloak to the figure
Defining the Essentials in Mash Drawing
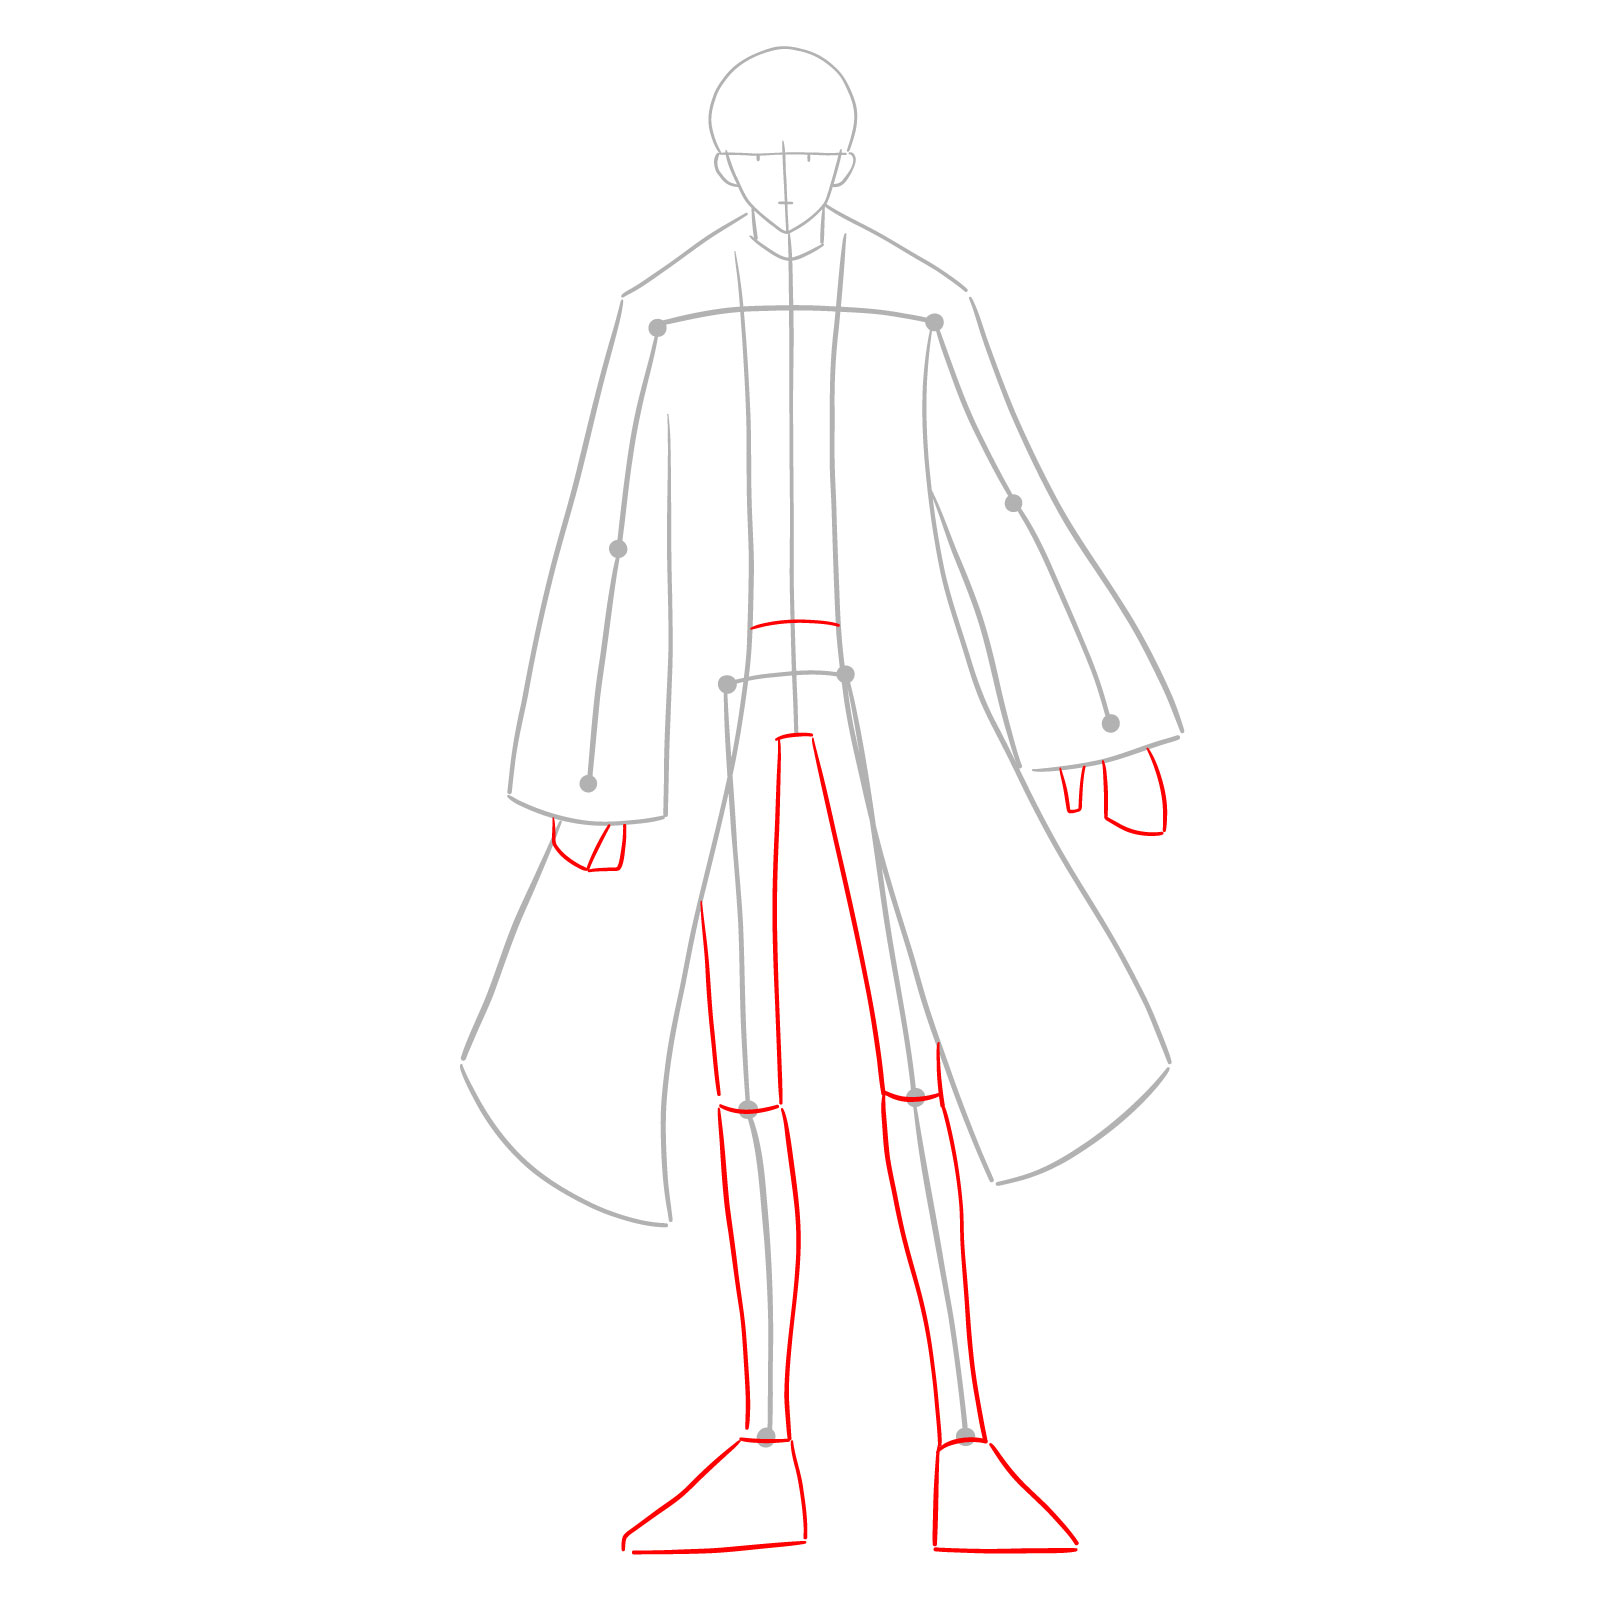
Step 03 – Progress your drawing by sketching simple shapes to define the proportions of Mash’s hands and legs, ensuring accurate representation of his physique
Shaping the Form for a Mash Full Body Drawing
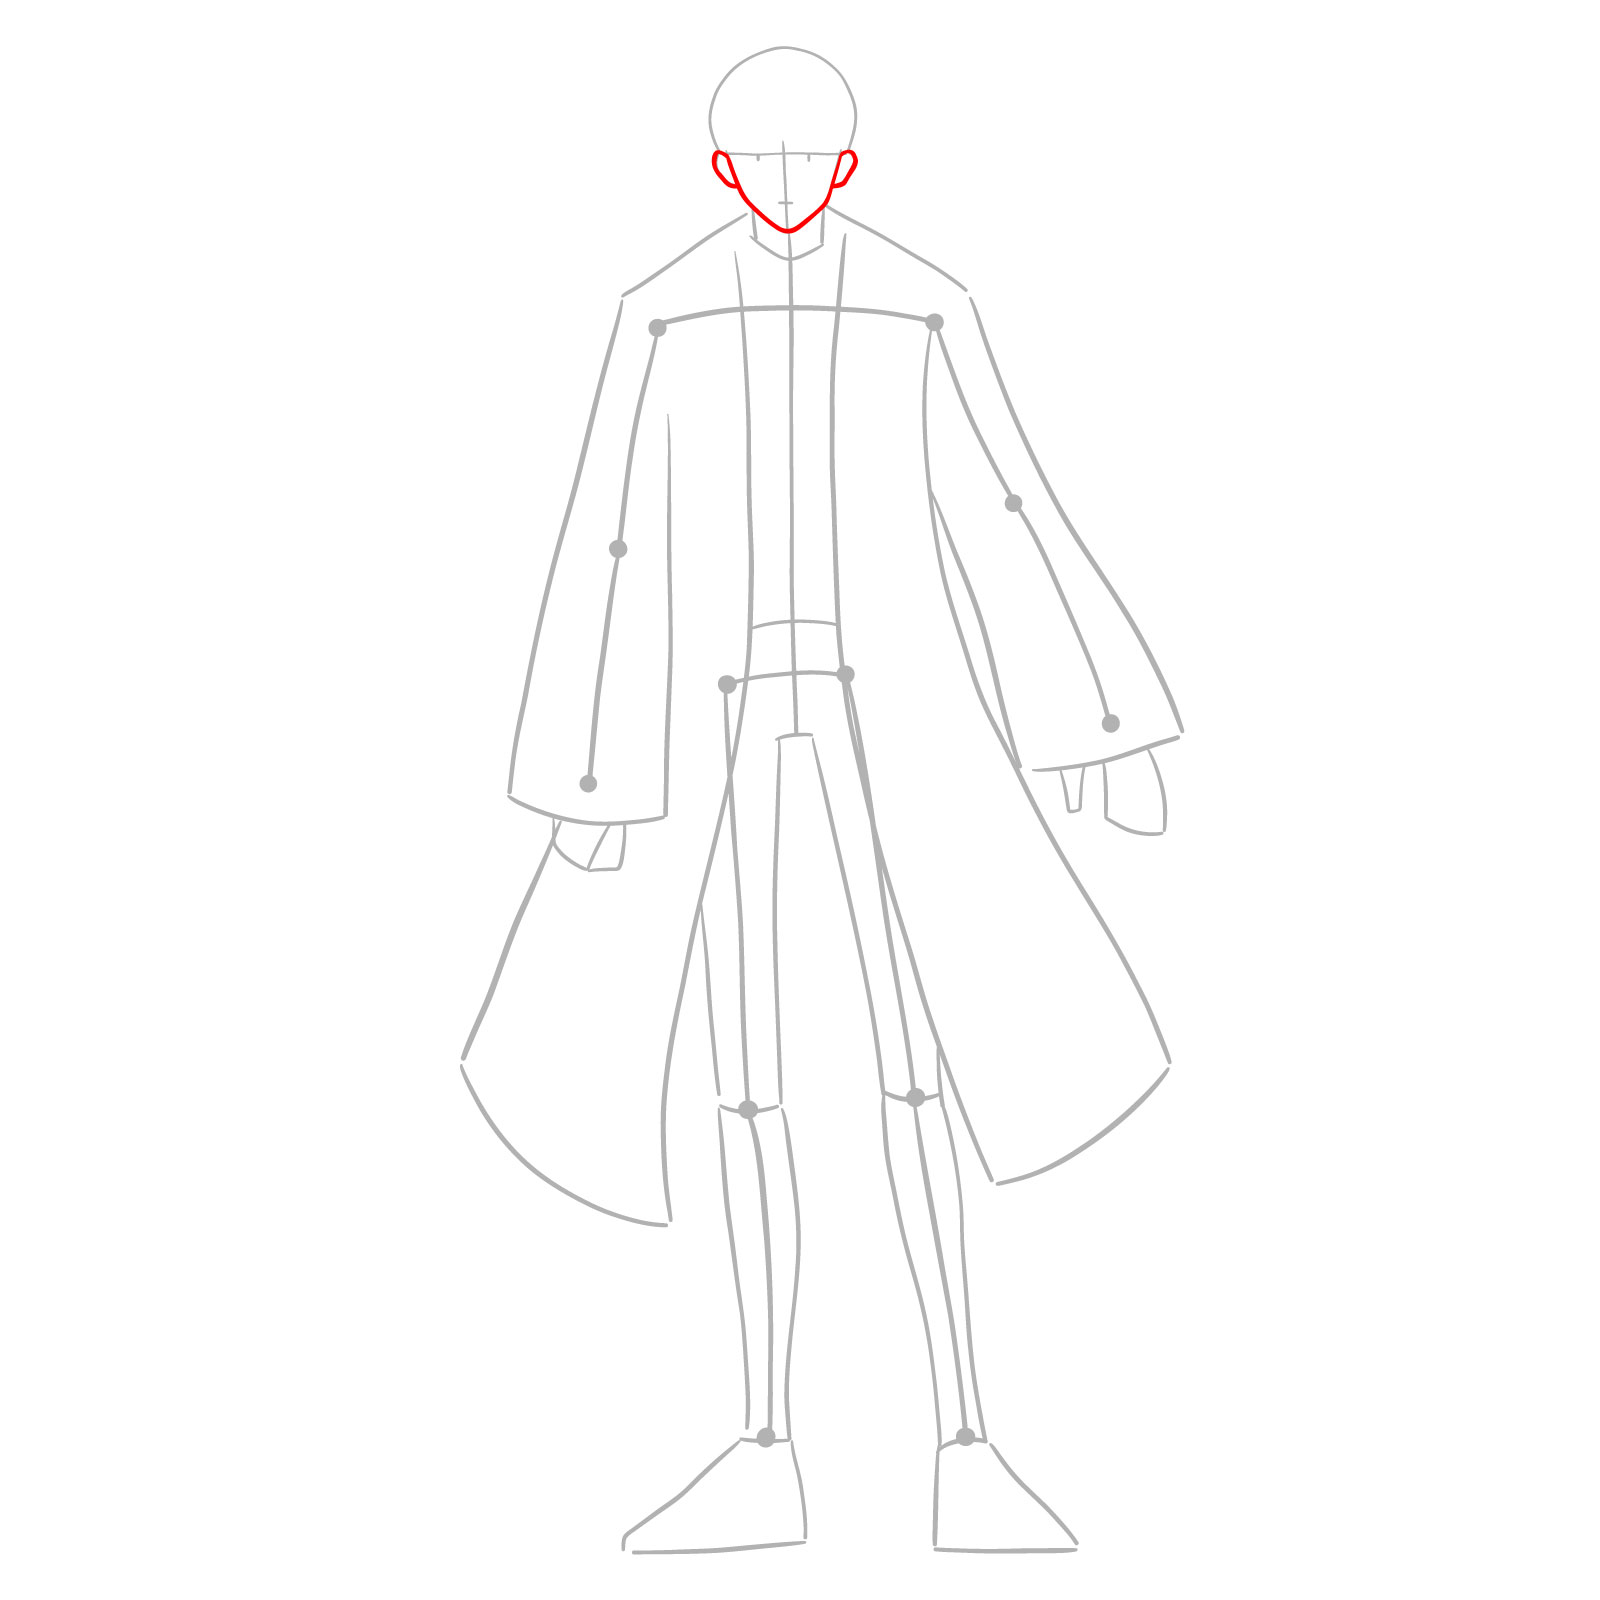
Step 04 – Now let’s start refining our drawing by sketching the face frame and ears. This step begins to bring Mash’s character to life with more defined features
Refining Mash’s Face
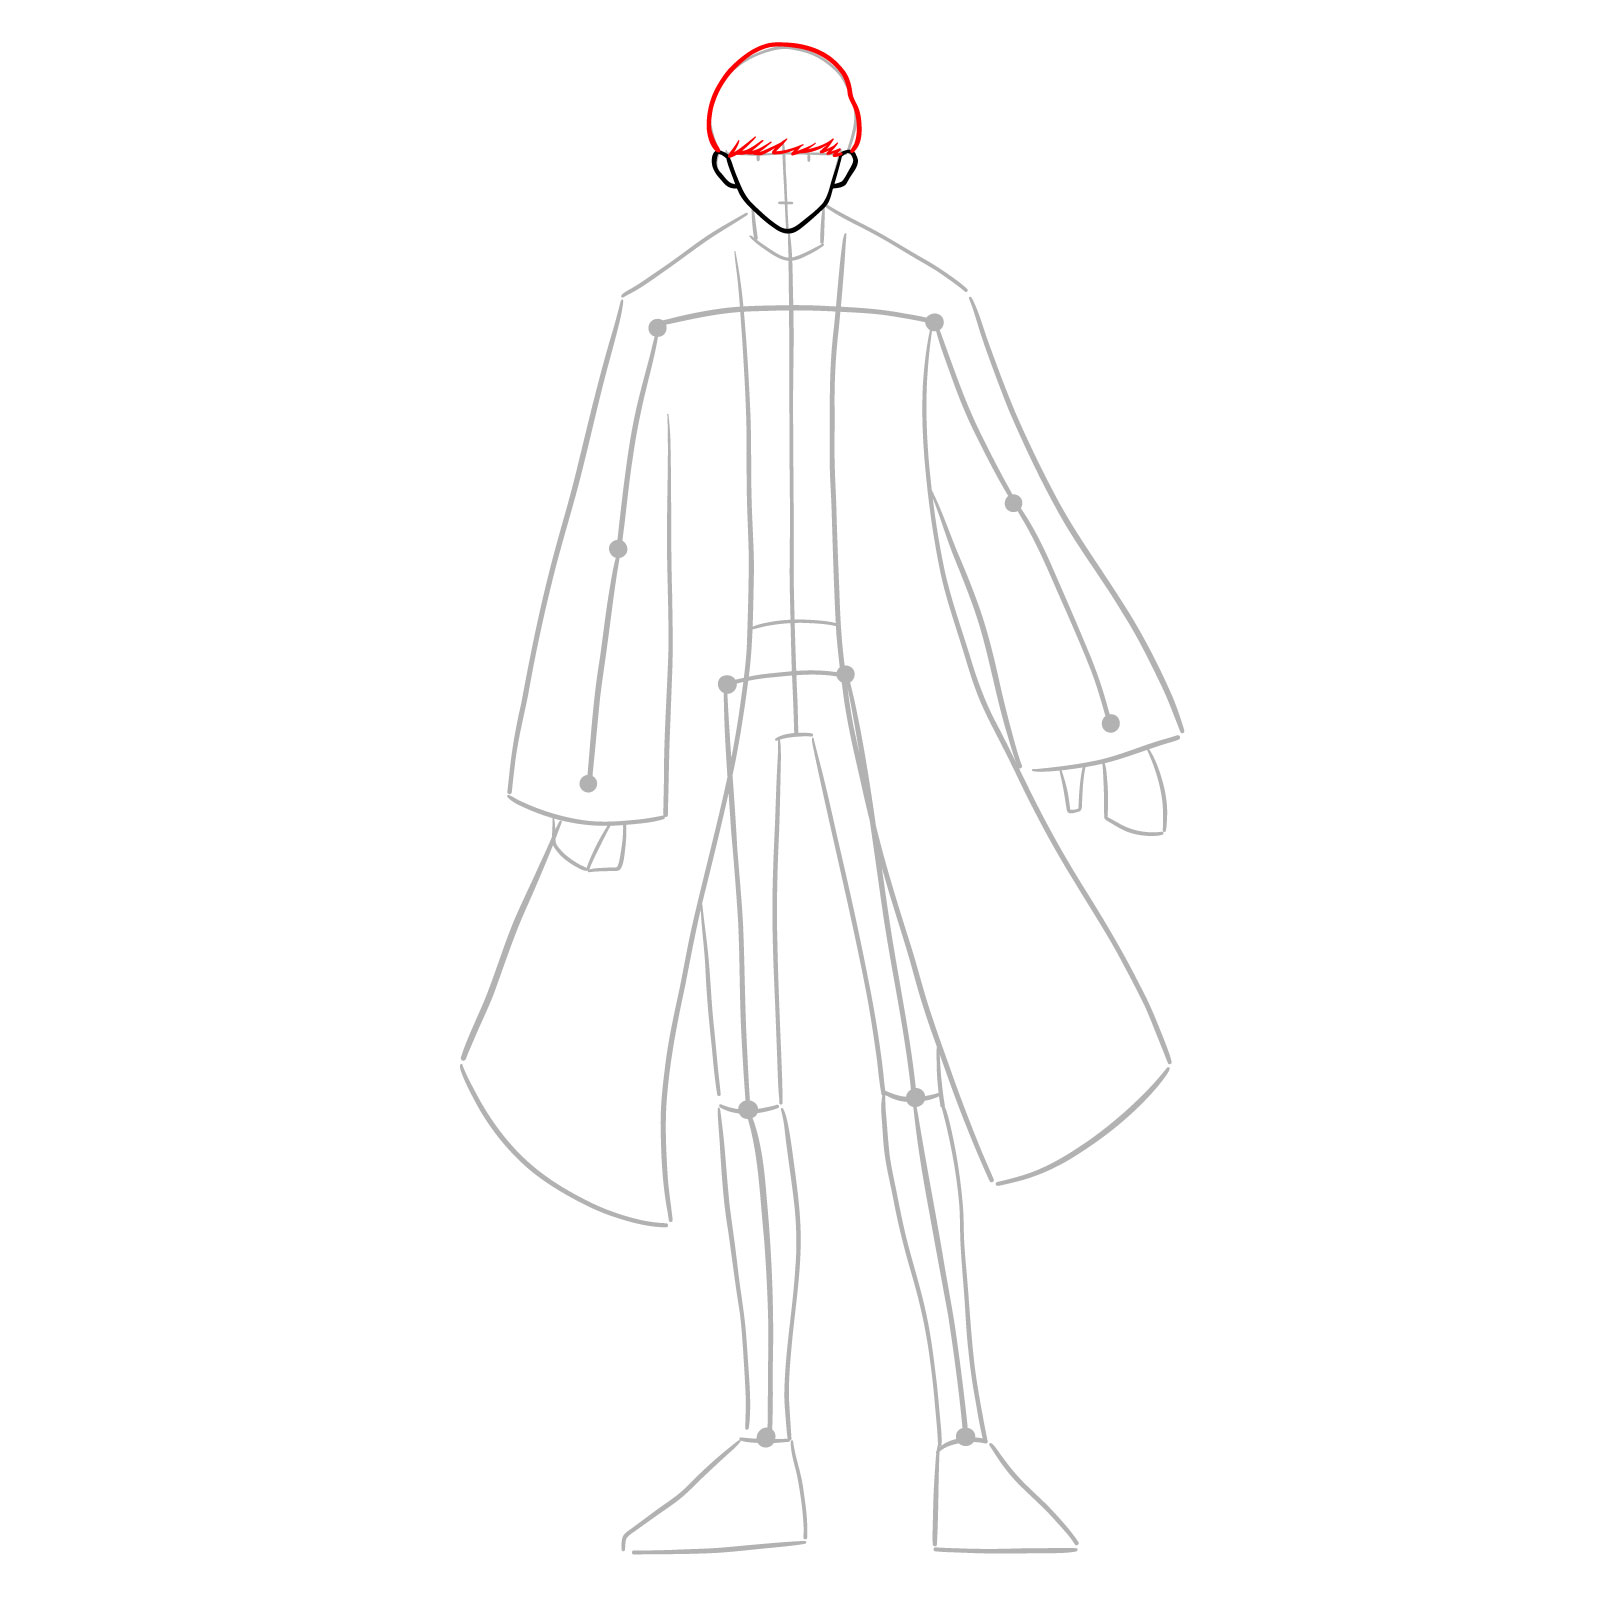
Step 05 – Begin adding personality to your Mash drawing by sketching the hair outline. Focus on the bowl-cut shape and flow to capture his character’s essence
Outlining Mash’s Hairstyle
Step 06 – Shape the frame of Mash’s eyes with attention to their size and position on the face. Then sketch his mouth and nose with gentle pencil strokes. This step sets the stage for a vivid expression in your Mash drawing
Framing the Eyes for a Lively Expression
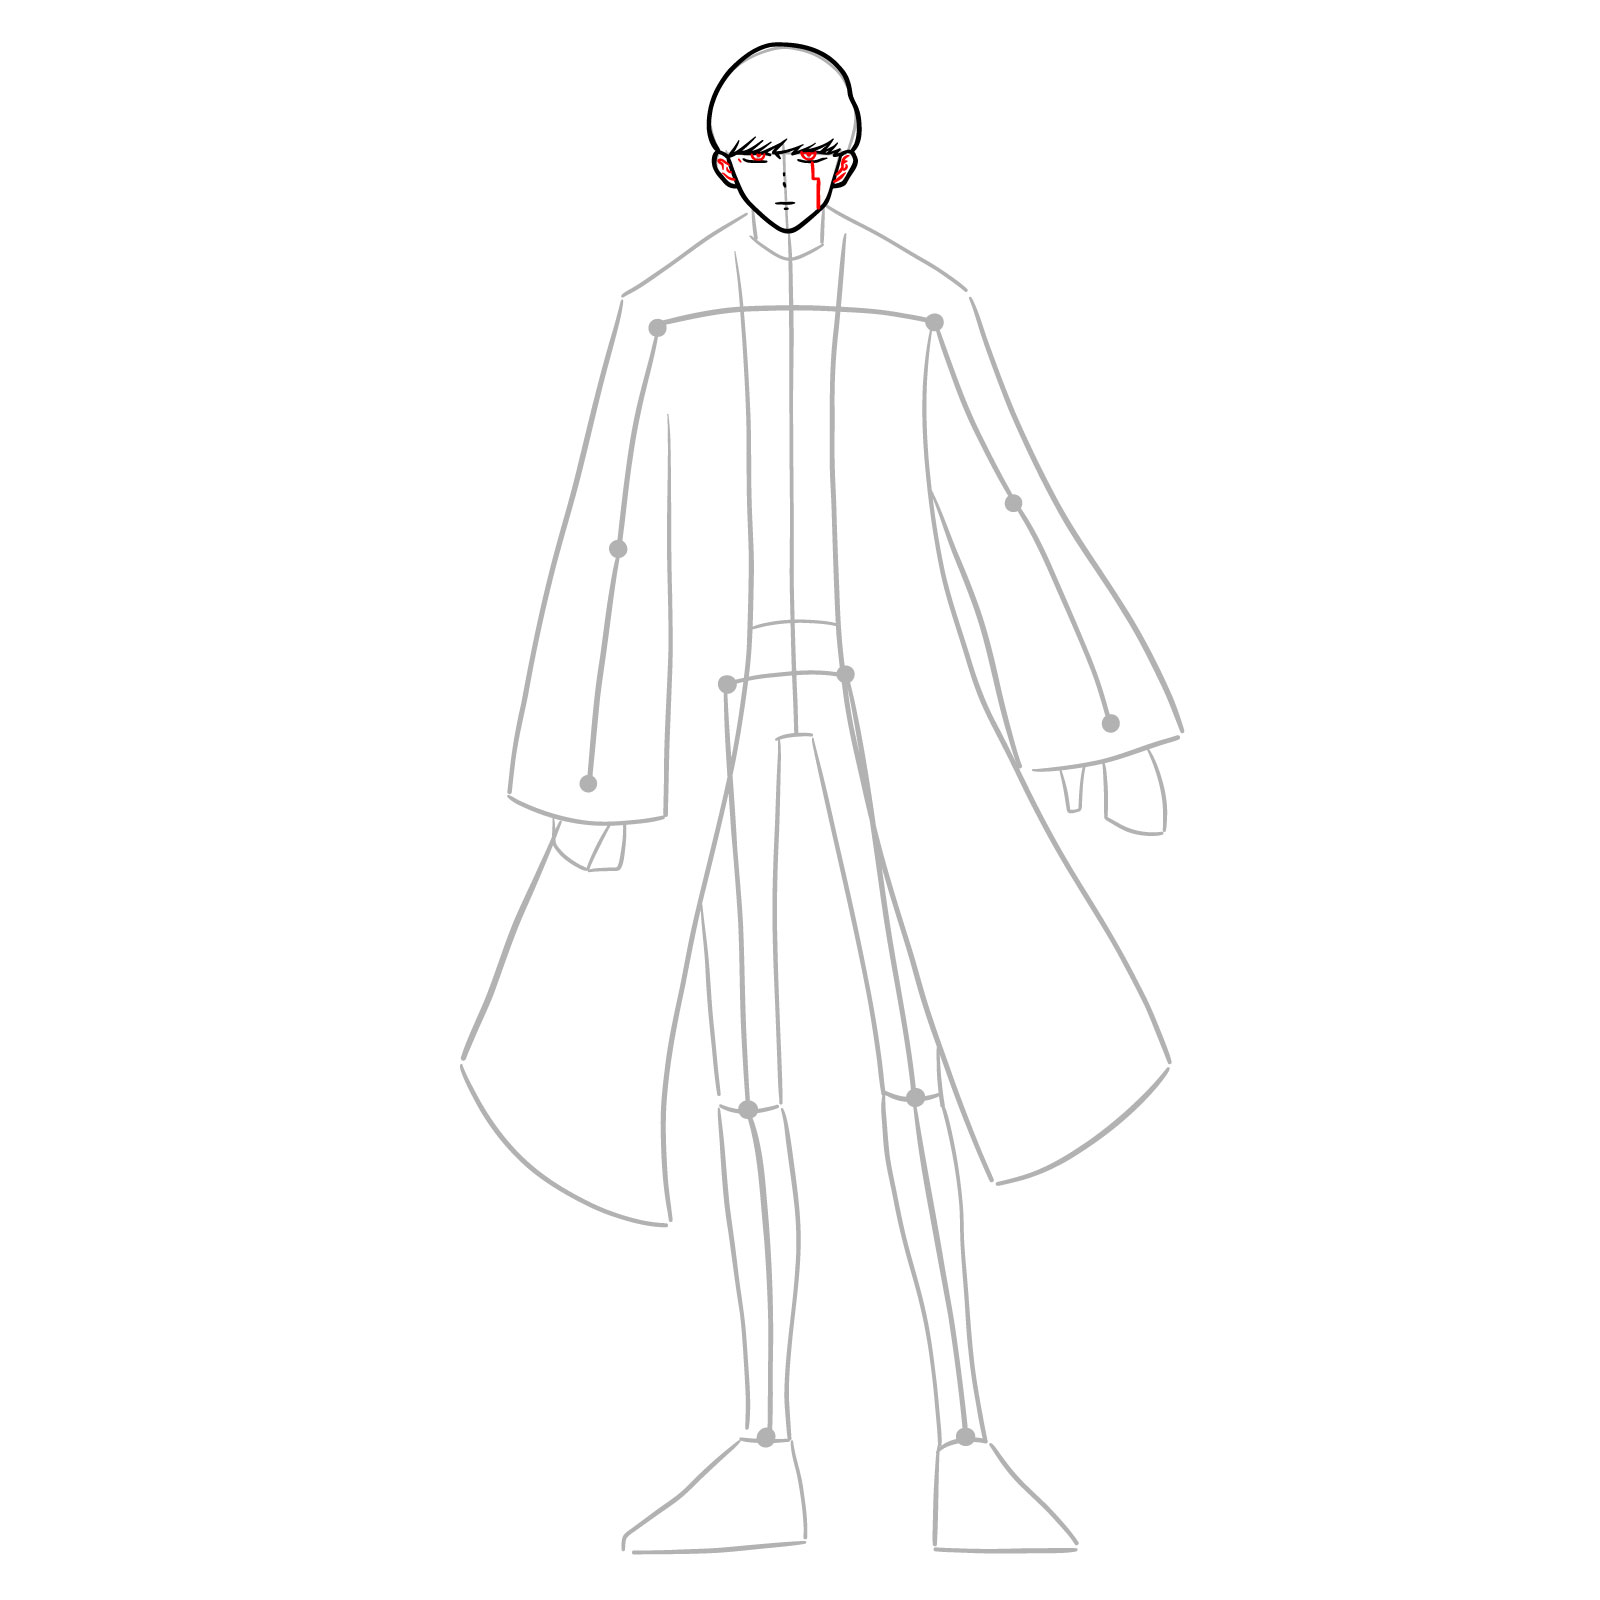
Step 07 – Add detailing to the ears, finish the eyes, and sketch the distinctive mark on his left cheek, which adds to his unique identity
Finalizing Facial Features
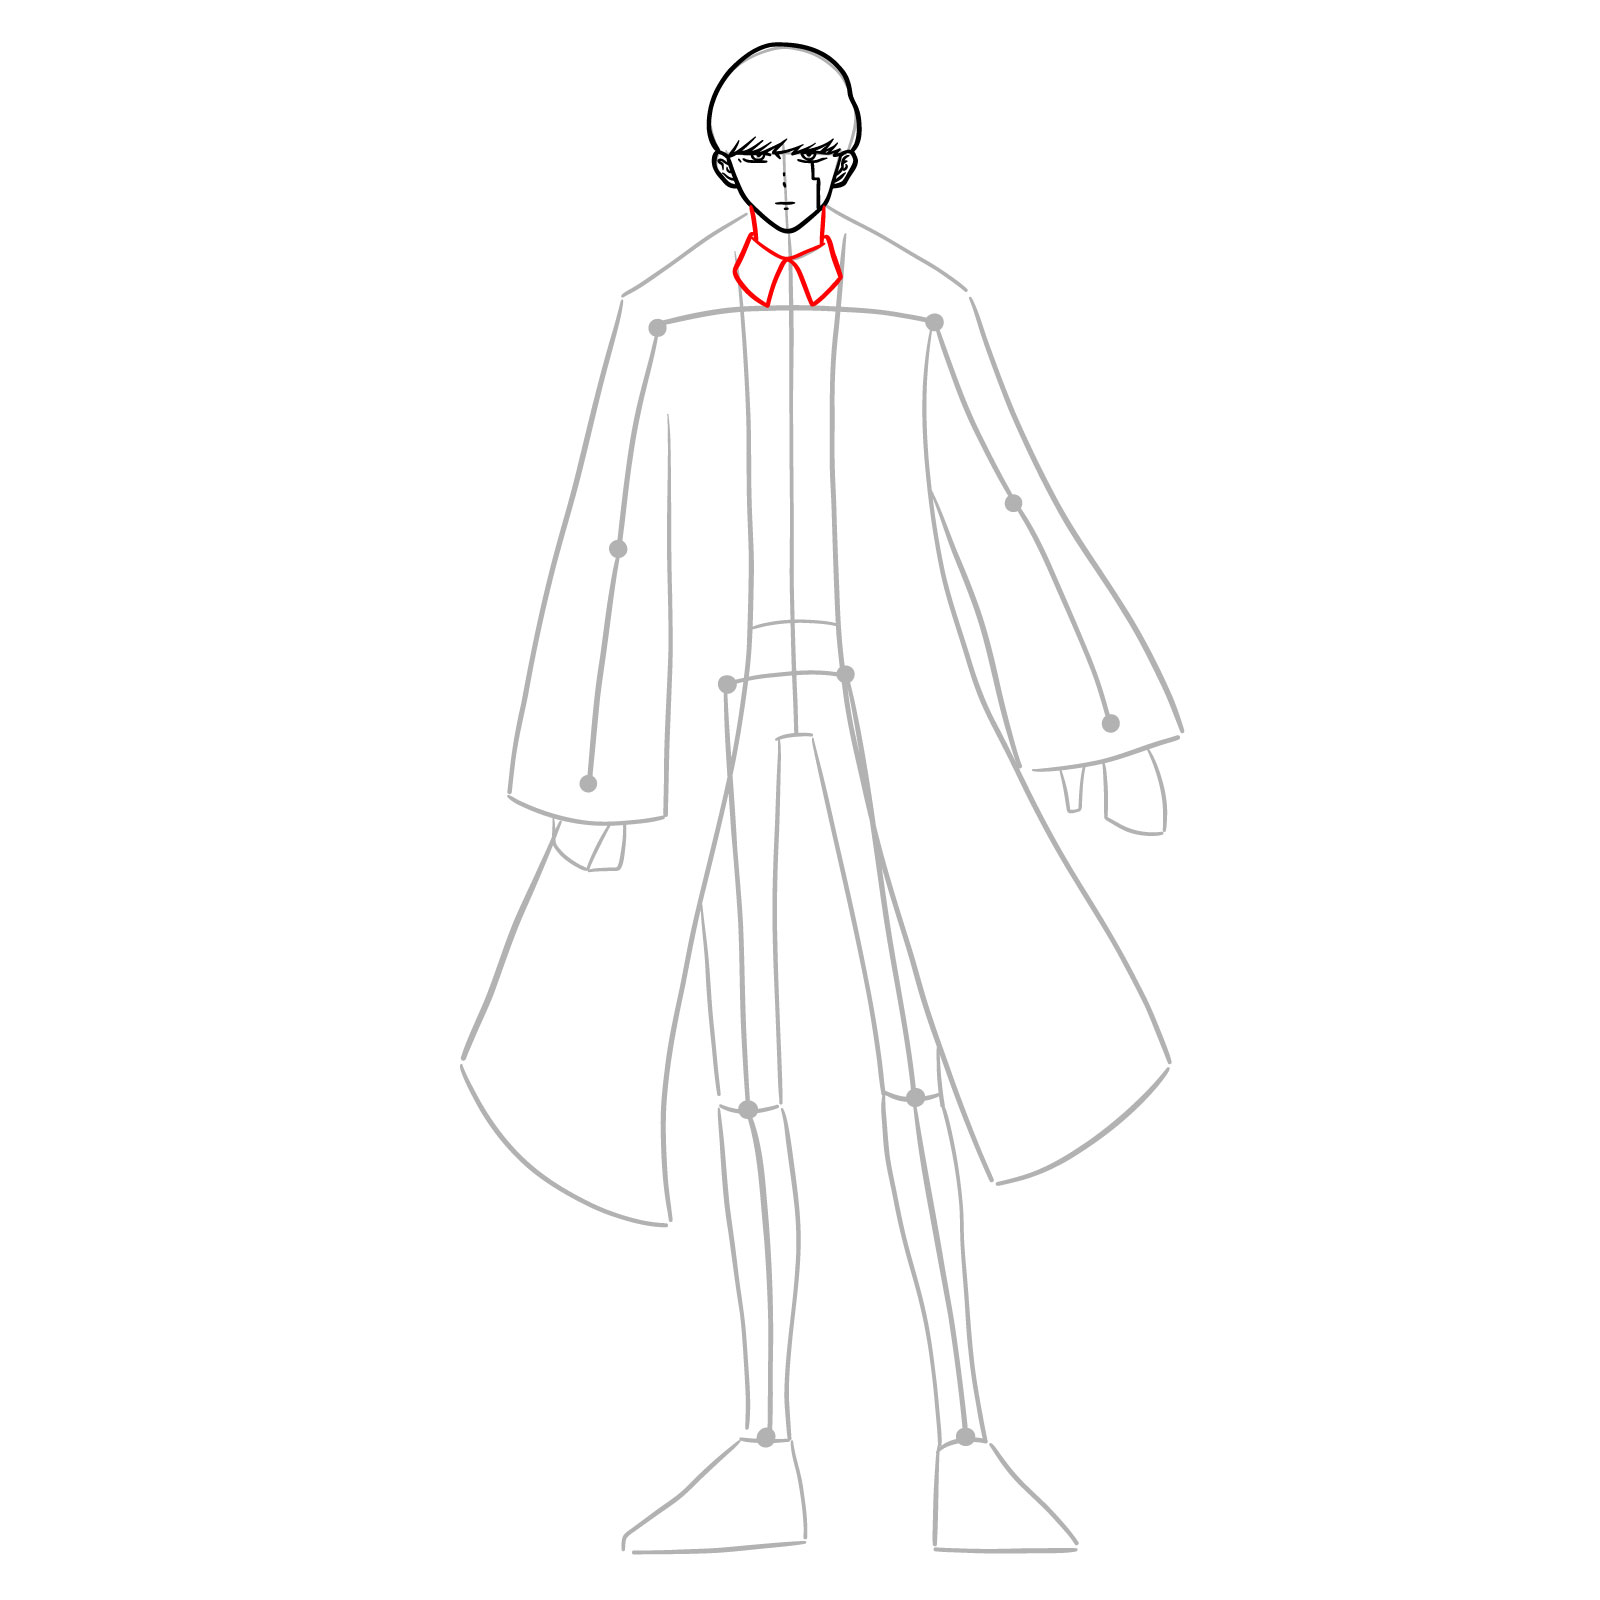
Step 08 – Draw the neck and the collar of Mash’s shirt, ensuring these elements are in proportion to the head and shoulders for a realistic Mash drawing
Defining the Neckline and Collar
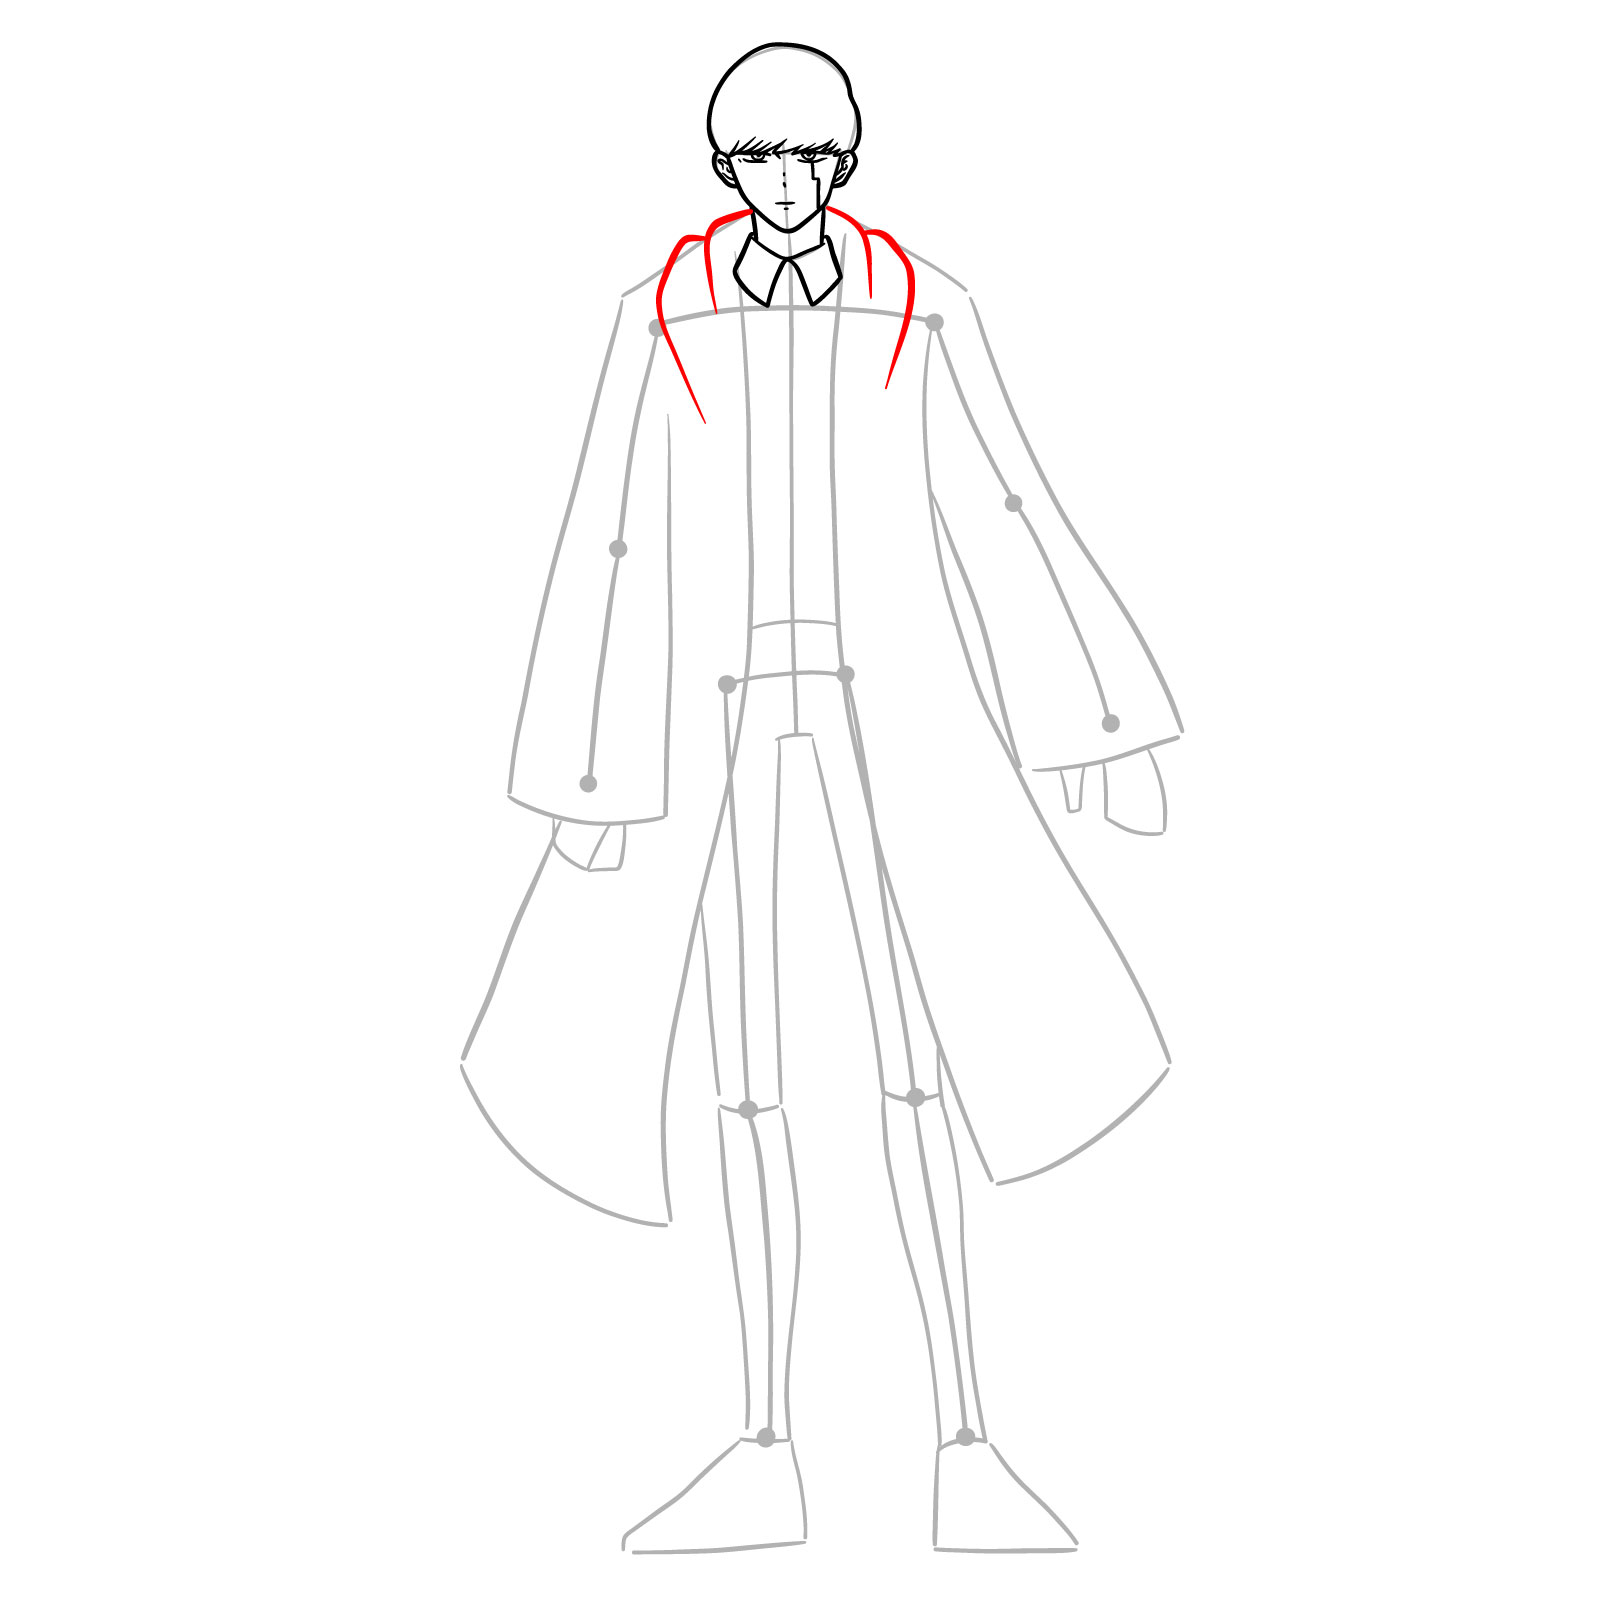
Step 09 – Begin detailing the upper garment by drawing the collar of Mash’s cloak. Ensure it drapes properly
Crafting the Collar of the Cloak
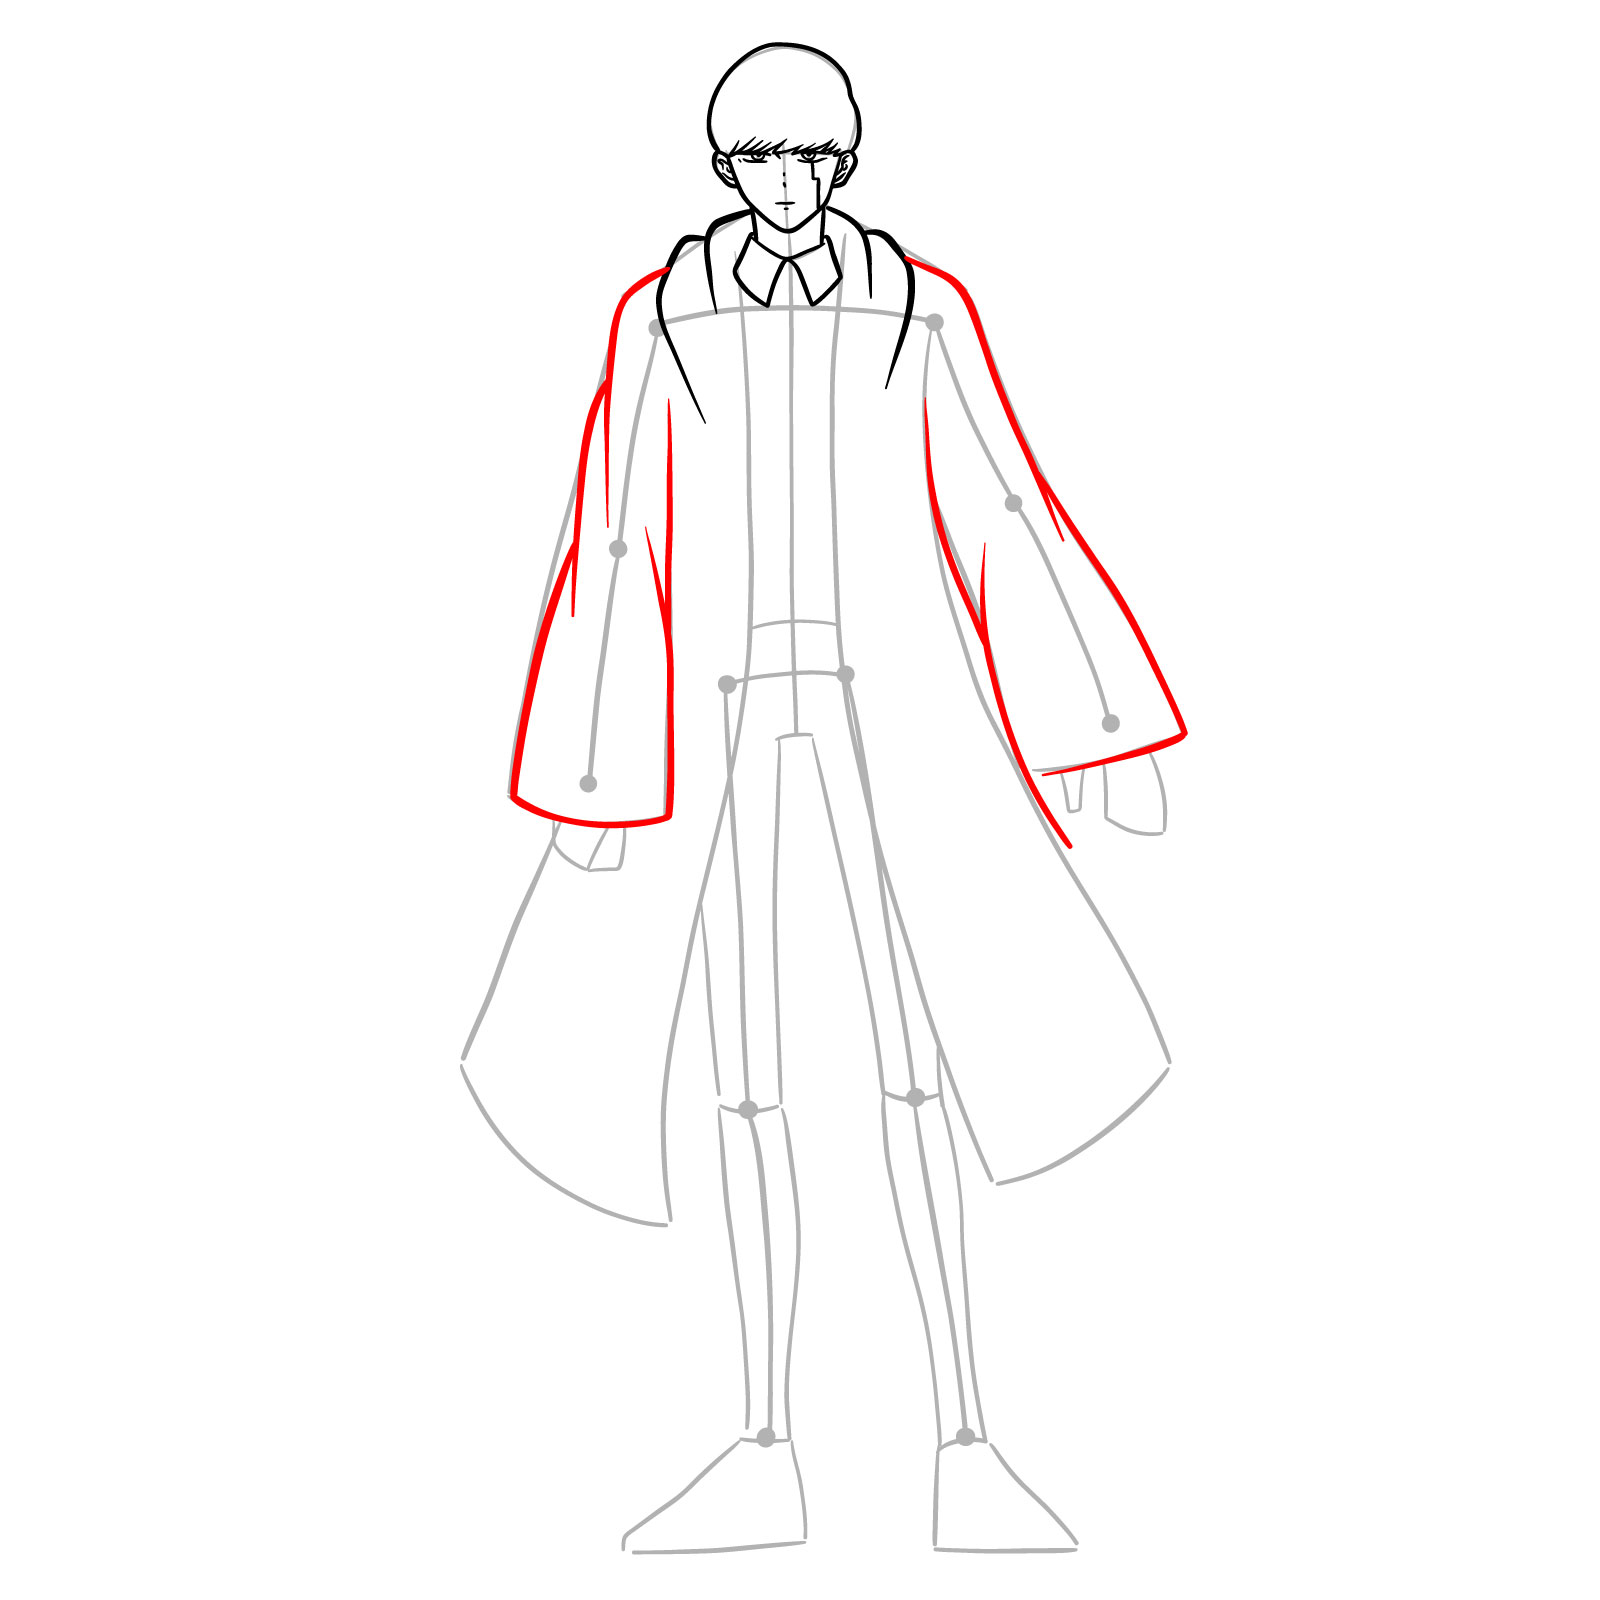
Step 10 – Focus on the sleeves of Mash’s cloak, giving them volume and flow. They should hang with the gravity befitting a cloak of such stature
Sleeves of Determination
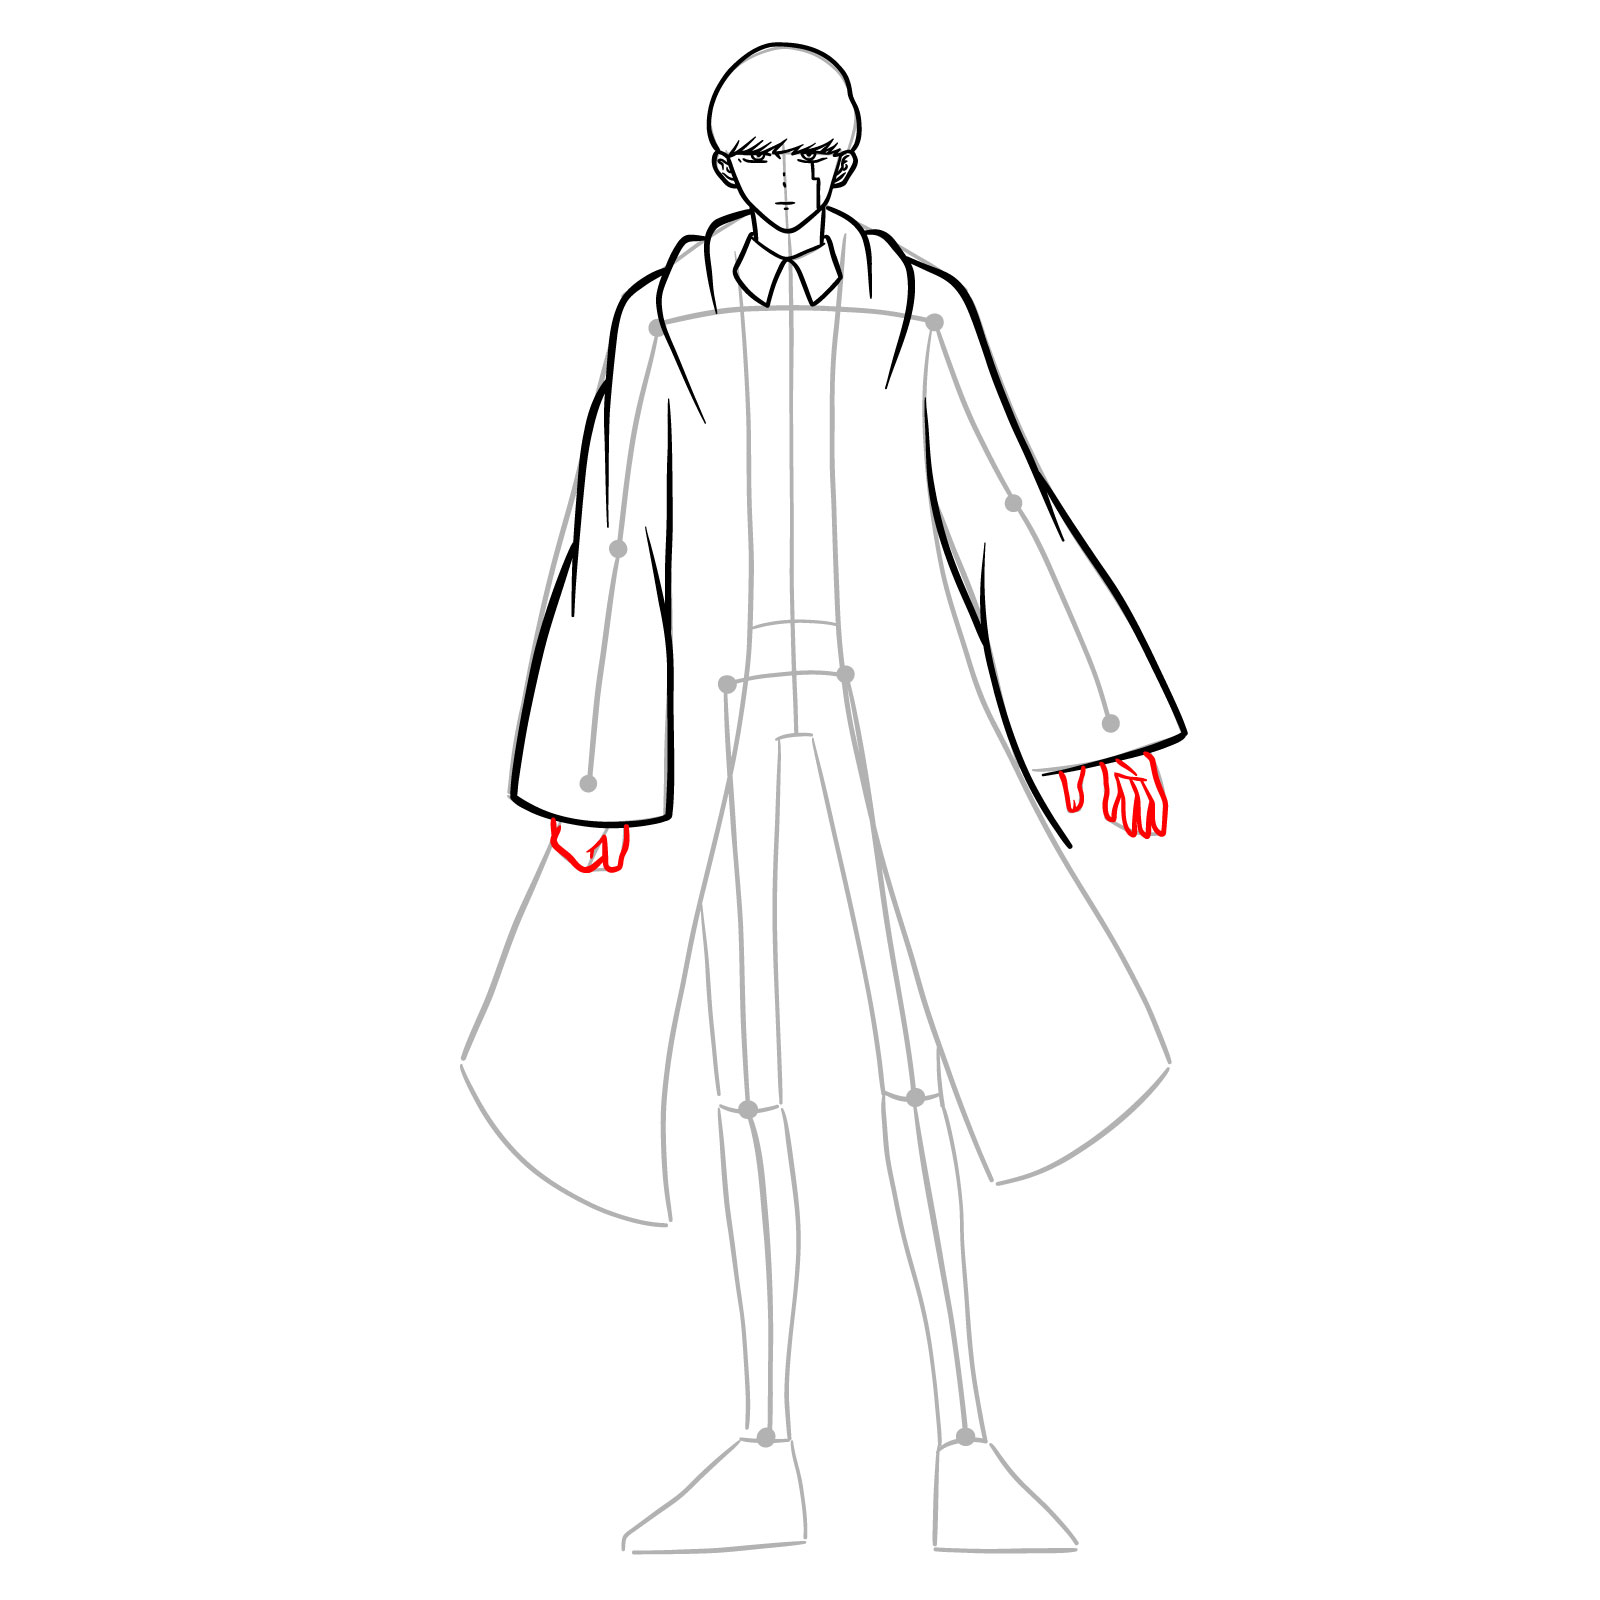
Step 11 – Carefully draw Mash’s hands. This stage is crucial as hands can express a lot of character. Aim for a relaxed yet strong posture
Bringing Hands to Life
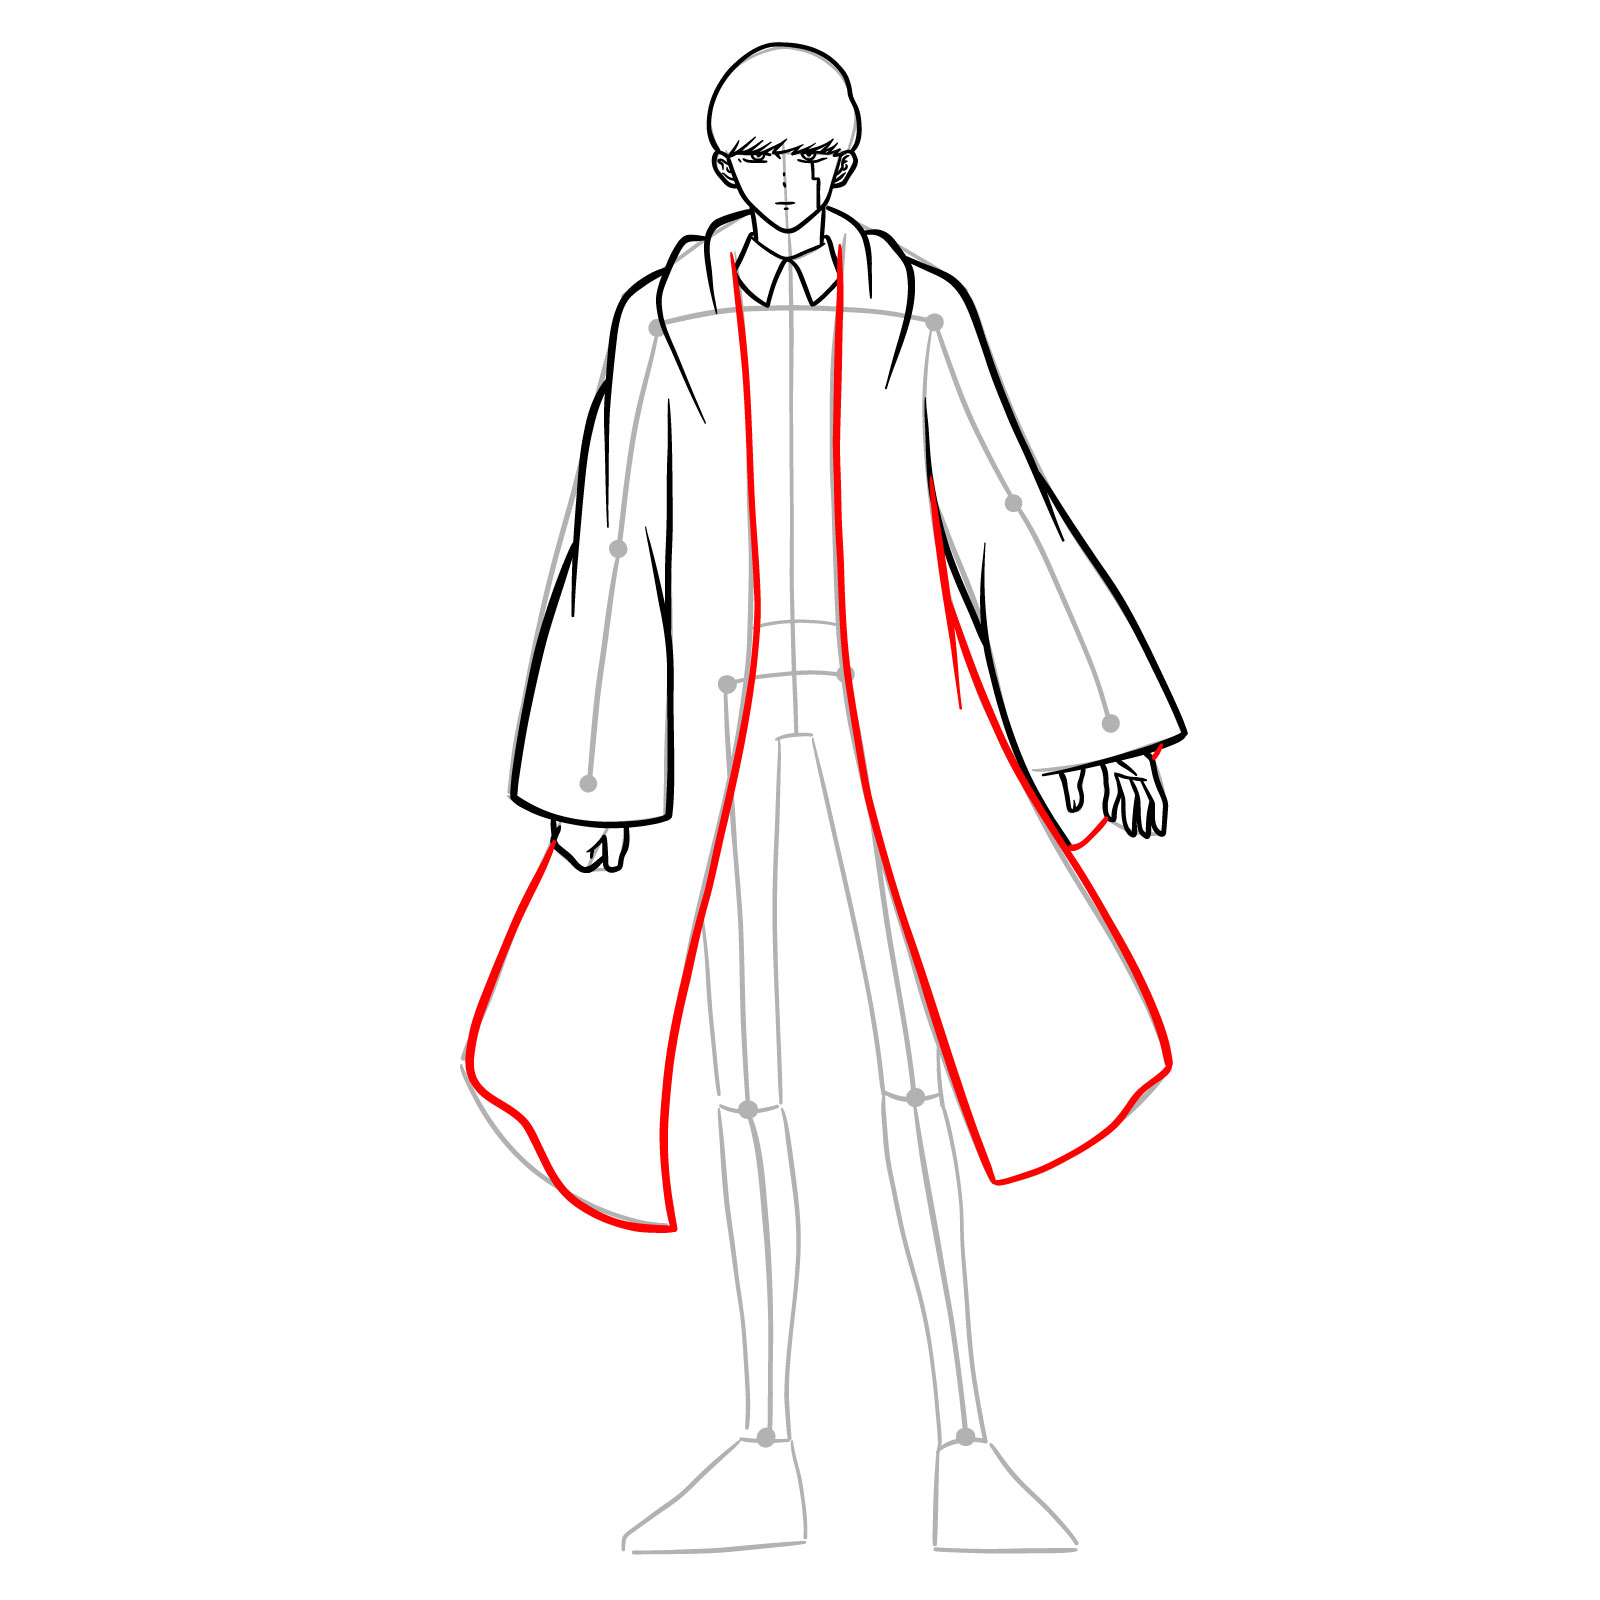
Step 12 – Complete the cloak
The Cloak’s Final Flourish
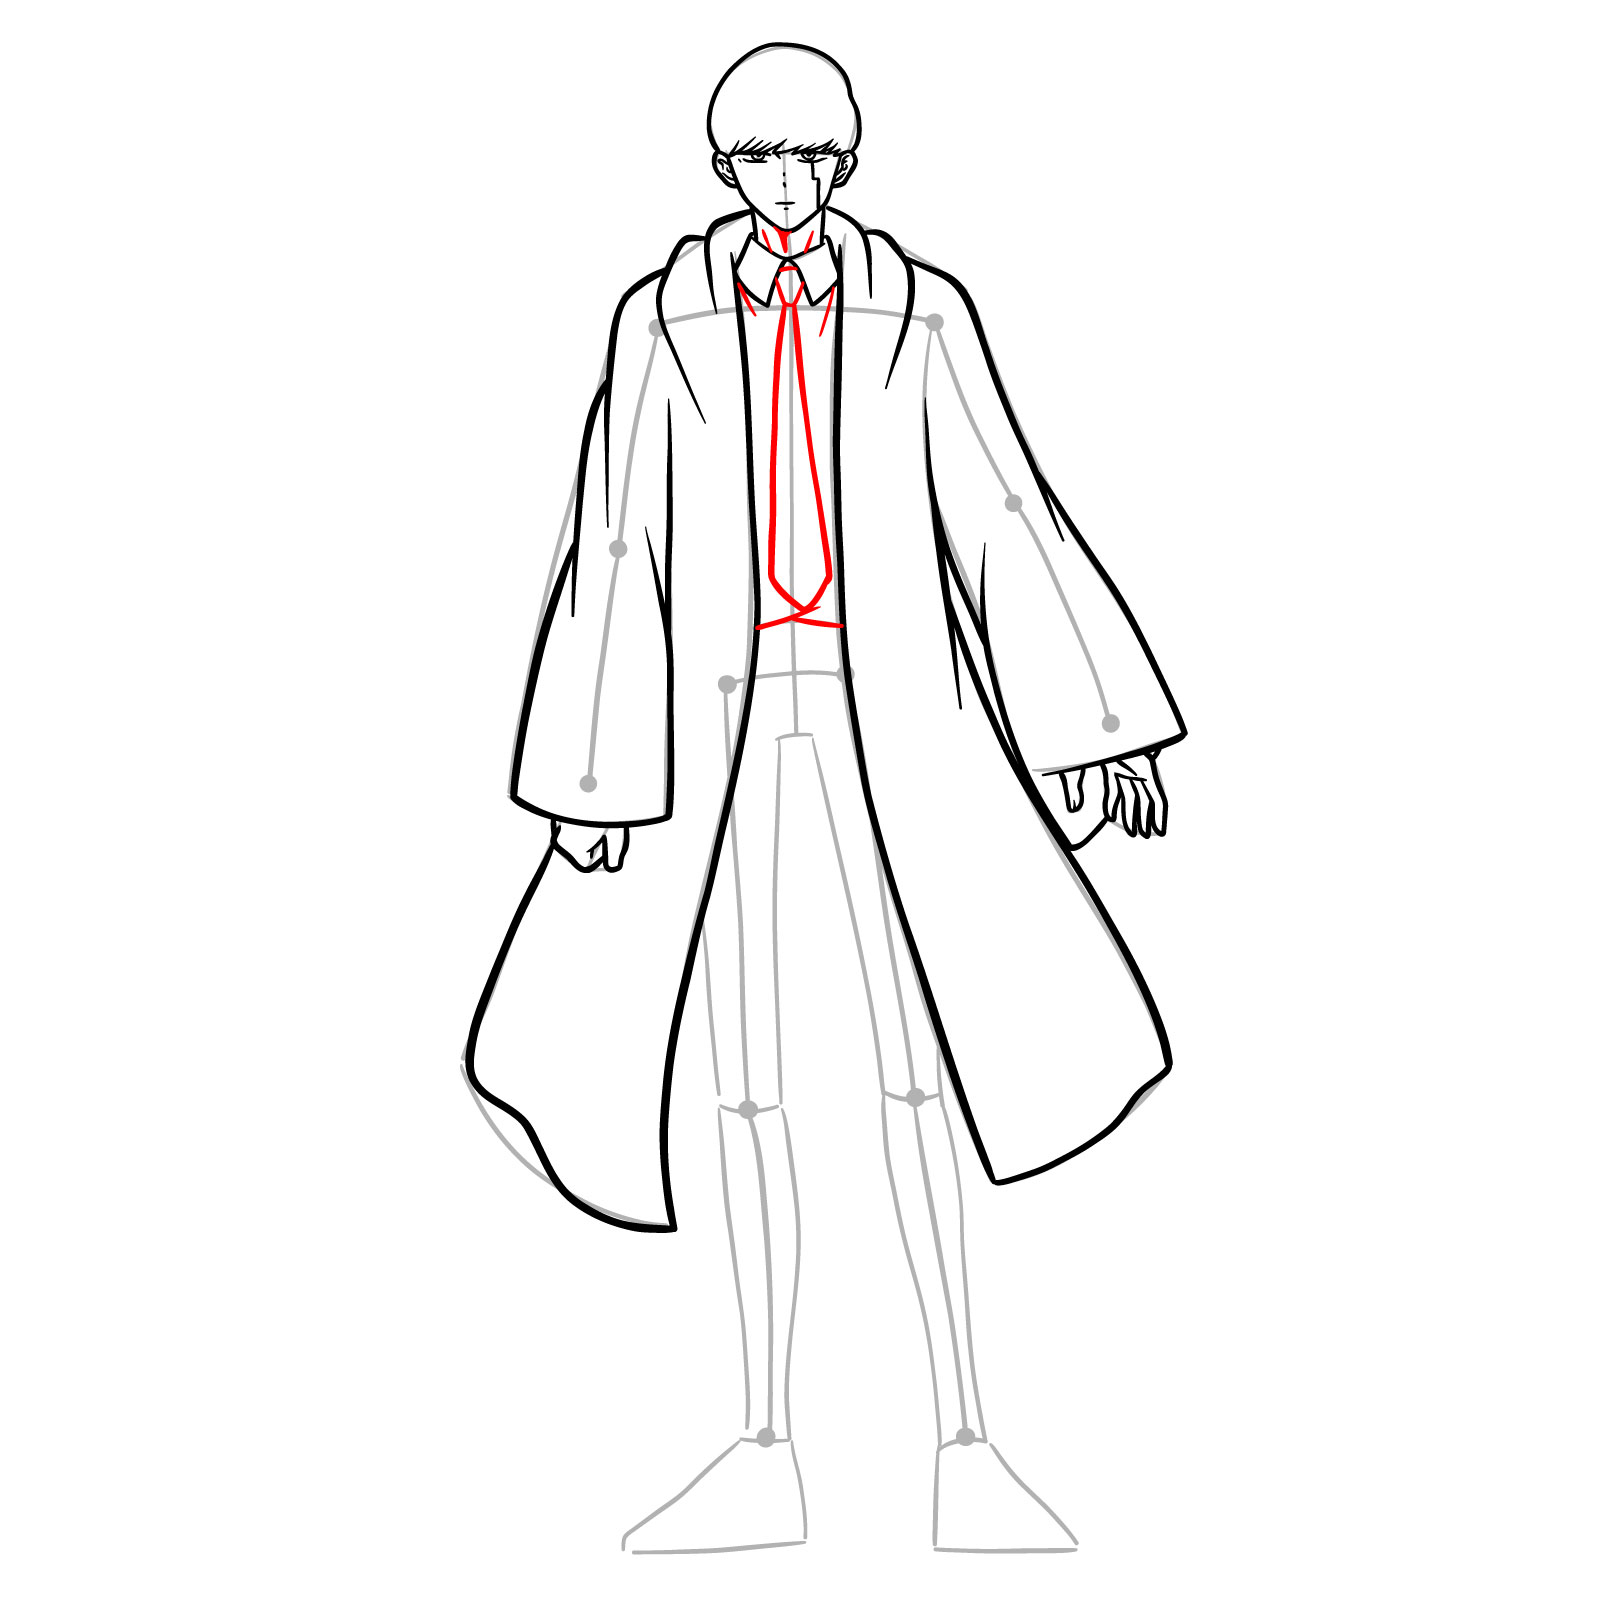
Step 13 – Draw the details of Mash’s neck area, shirt, and the tie. Take care to make the tie’s knot prominent for a touch of formality in his school uniform
Detailing the Upper Attire
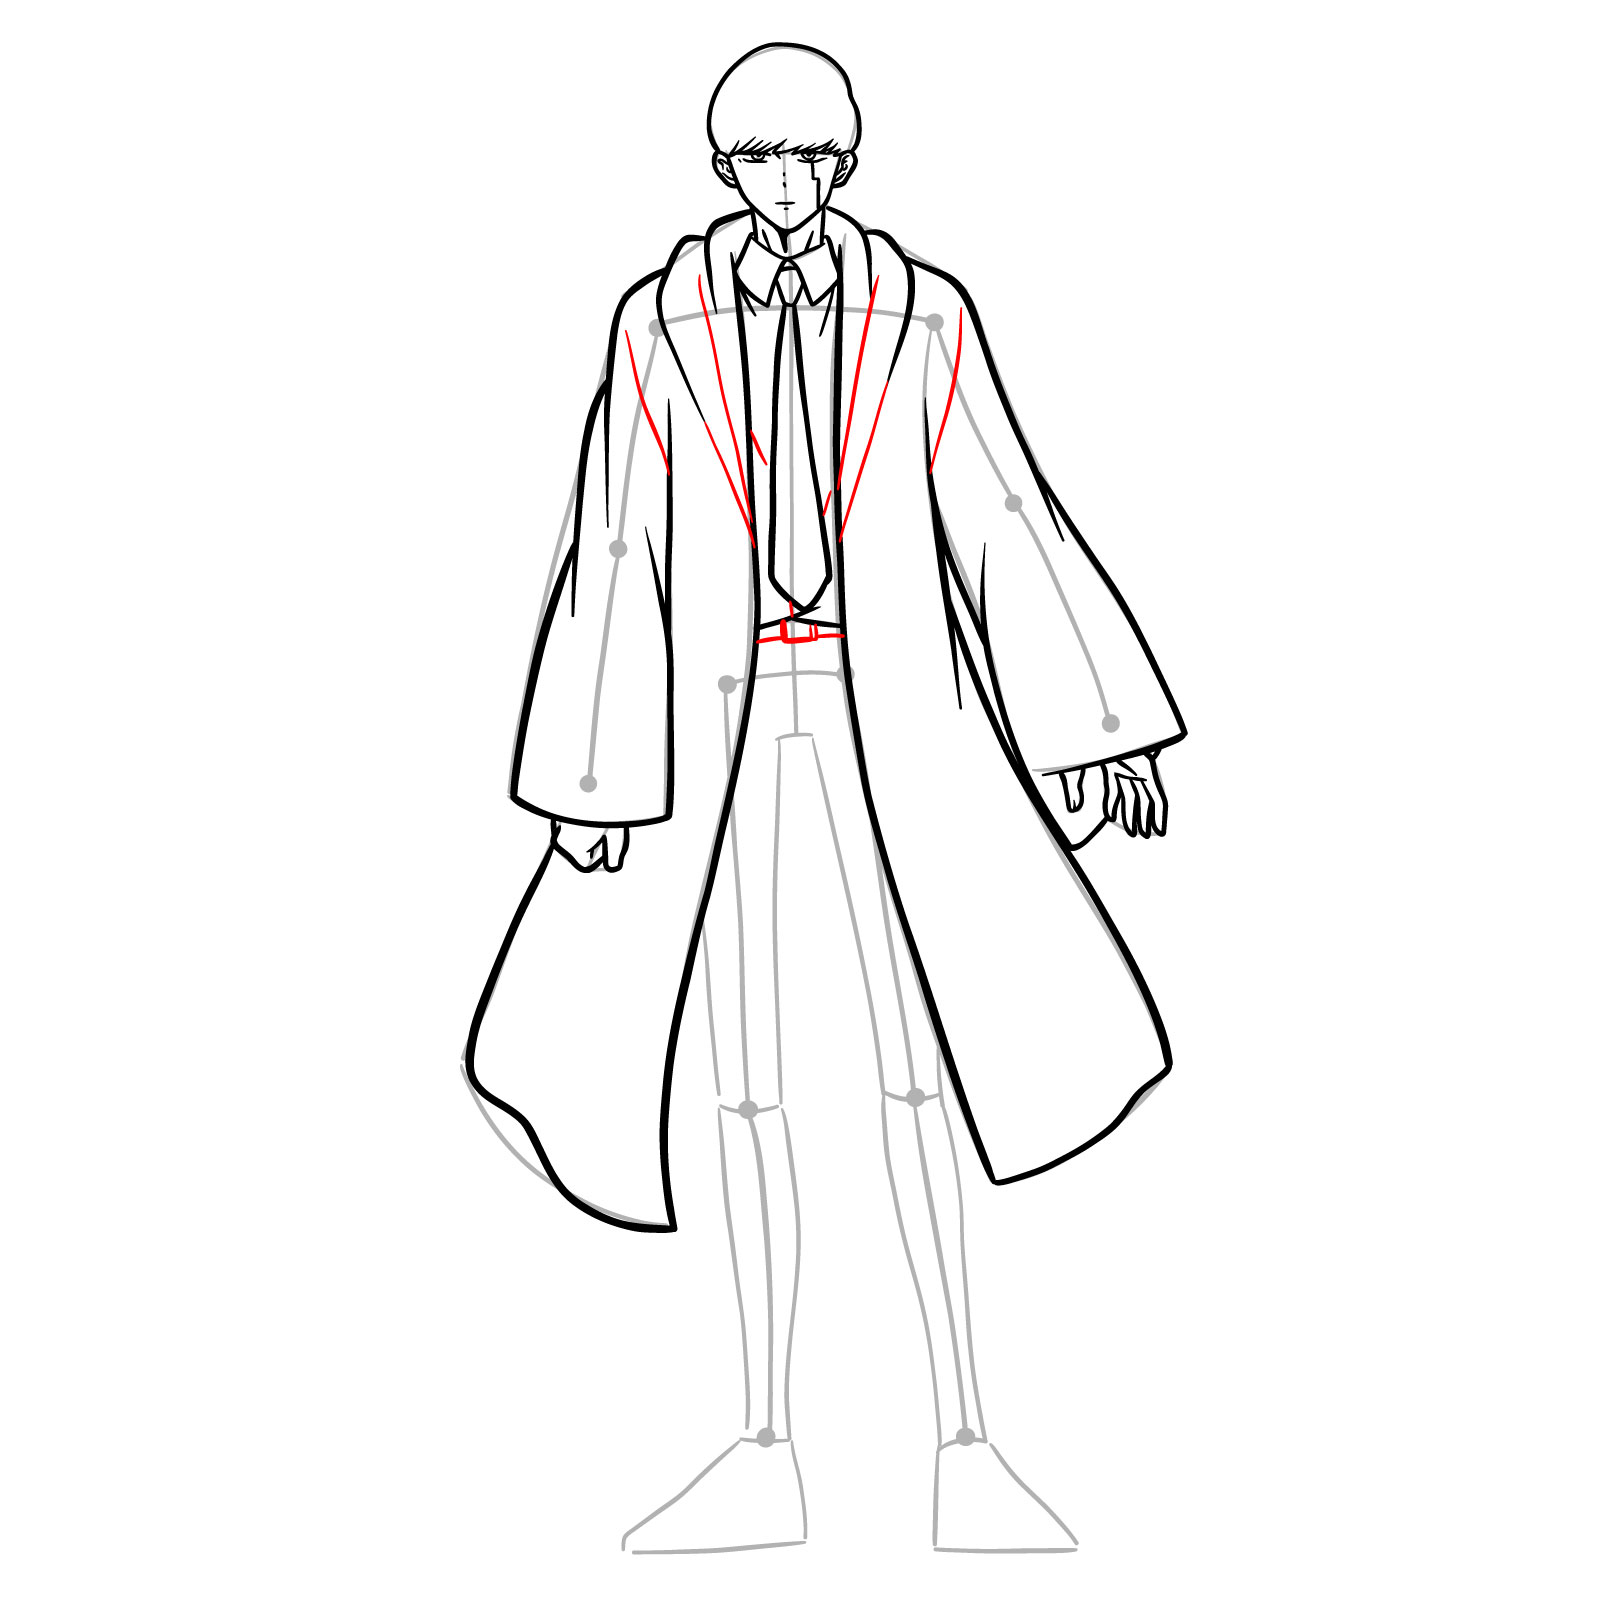
Step 14 – Here, sketch in the defining lines of the cloak and the belt of Mash’s pants
Adding Cloak Lines and Belt
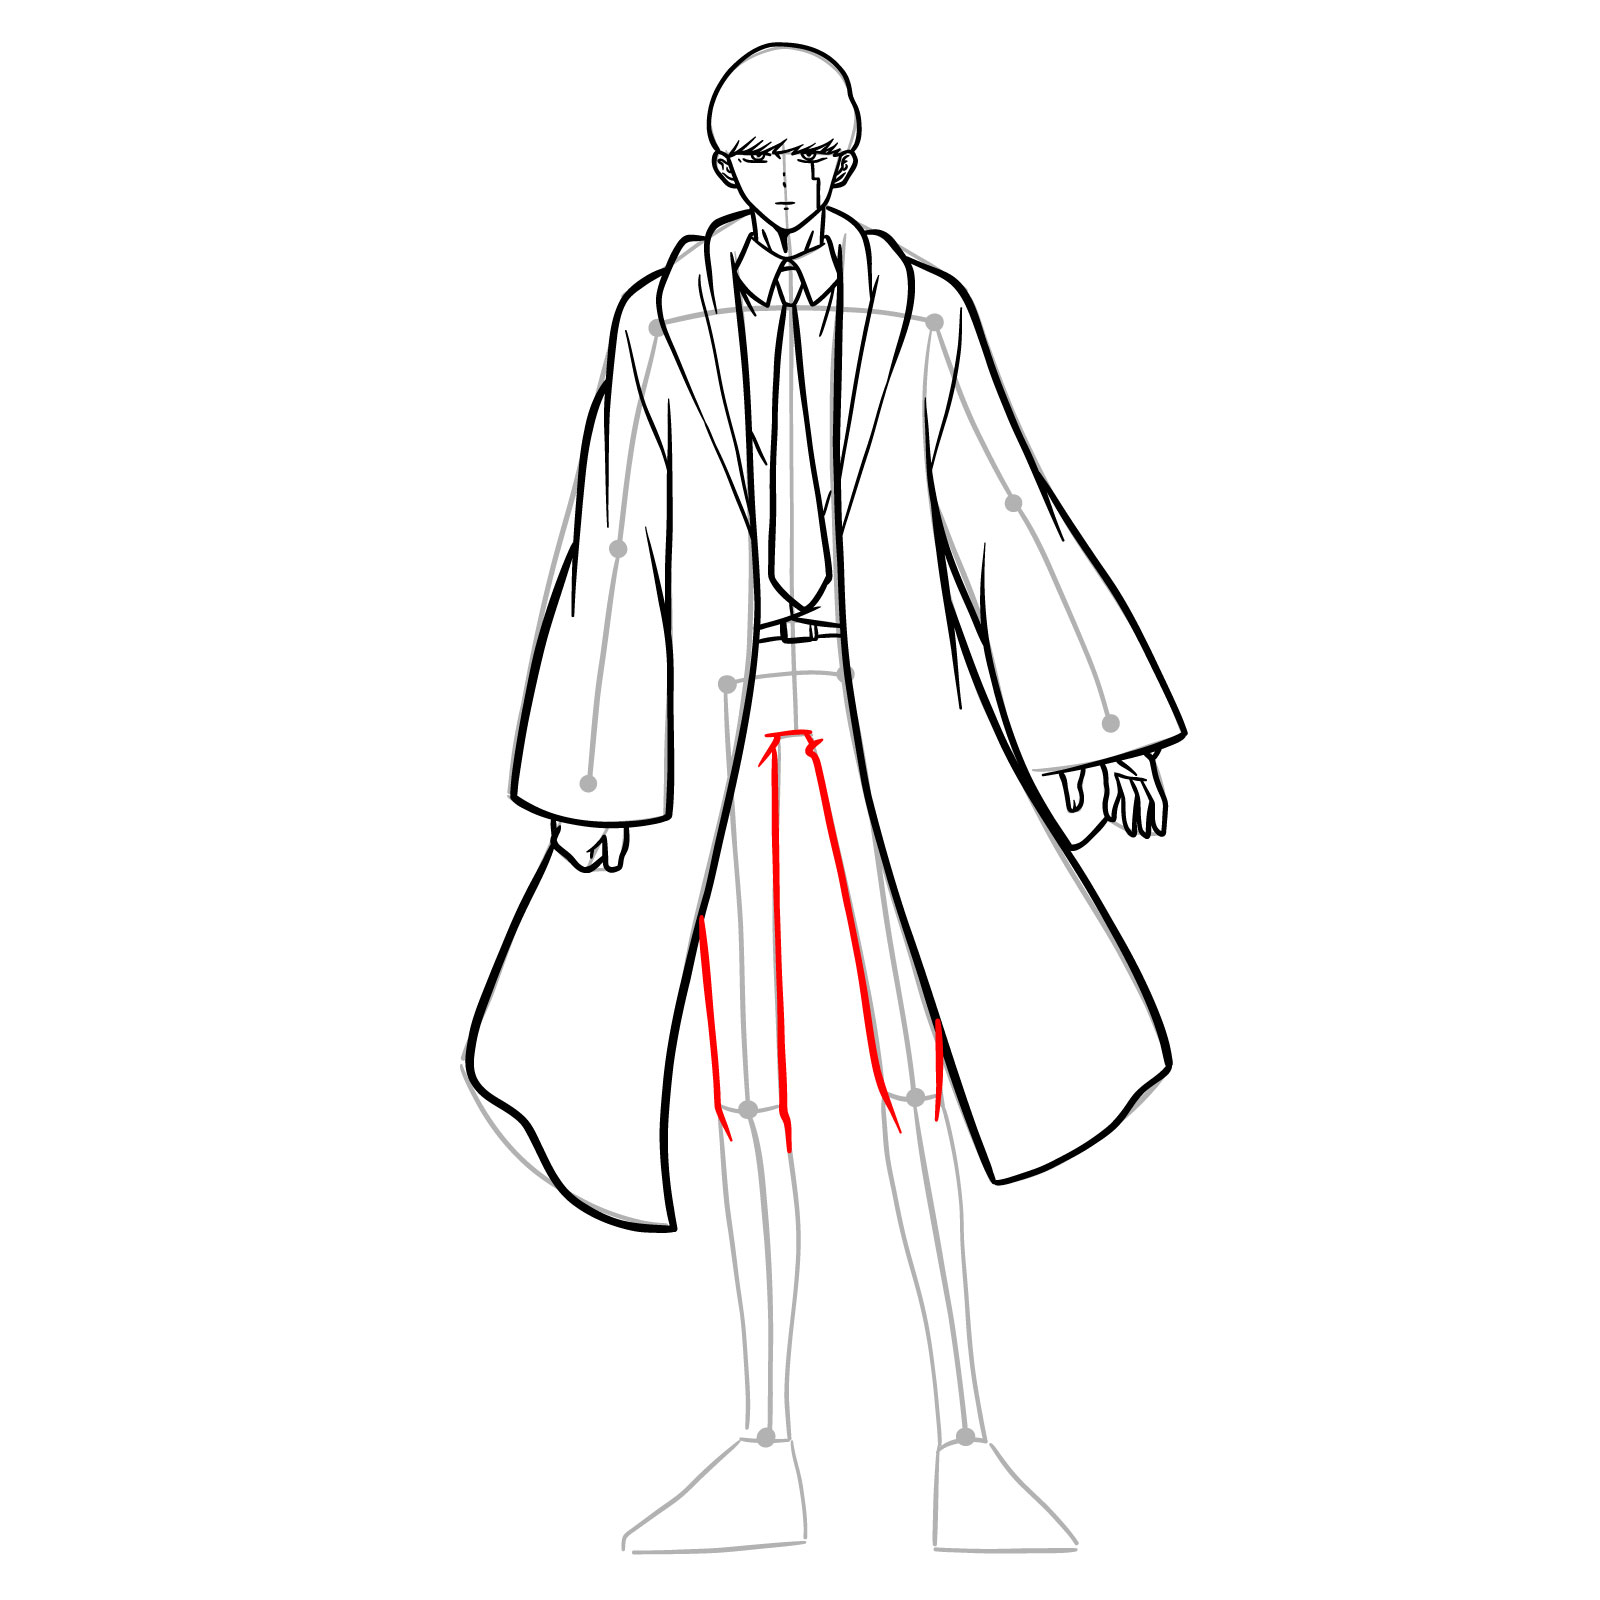
Step 15 – Carefully draw the upper legs down to the knees, ensuring proper proportion to maintain balance and a strong stance in Mash’s figure
The Foundation of Stance
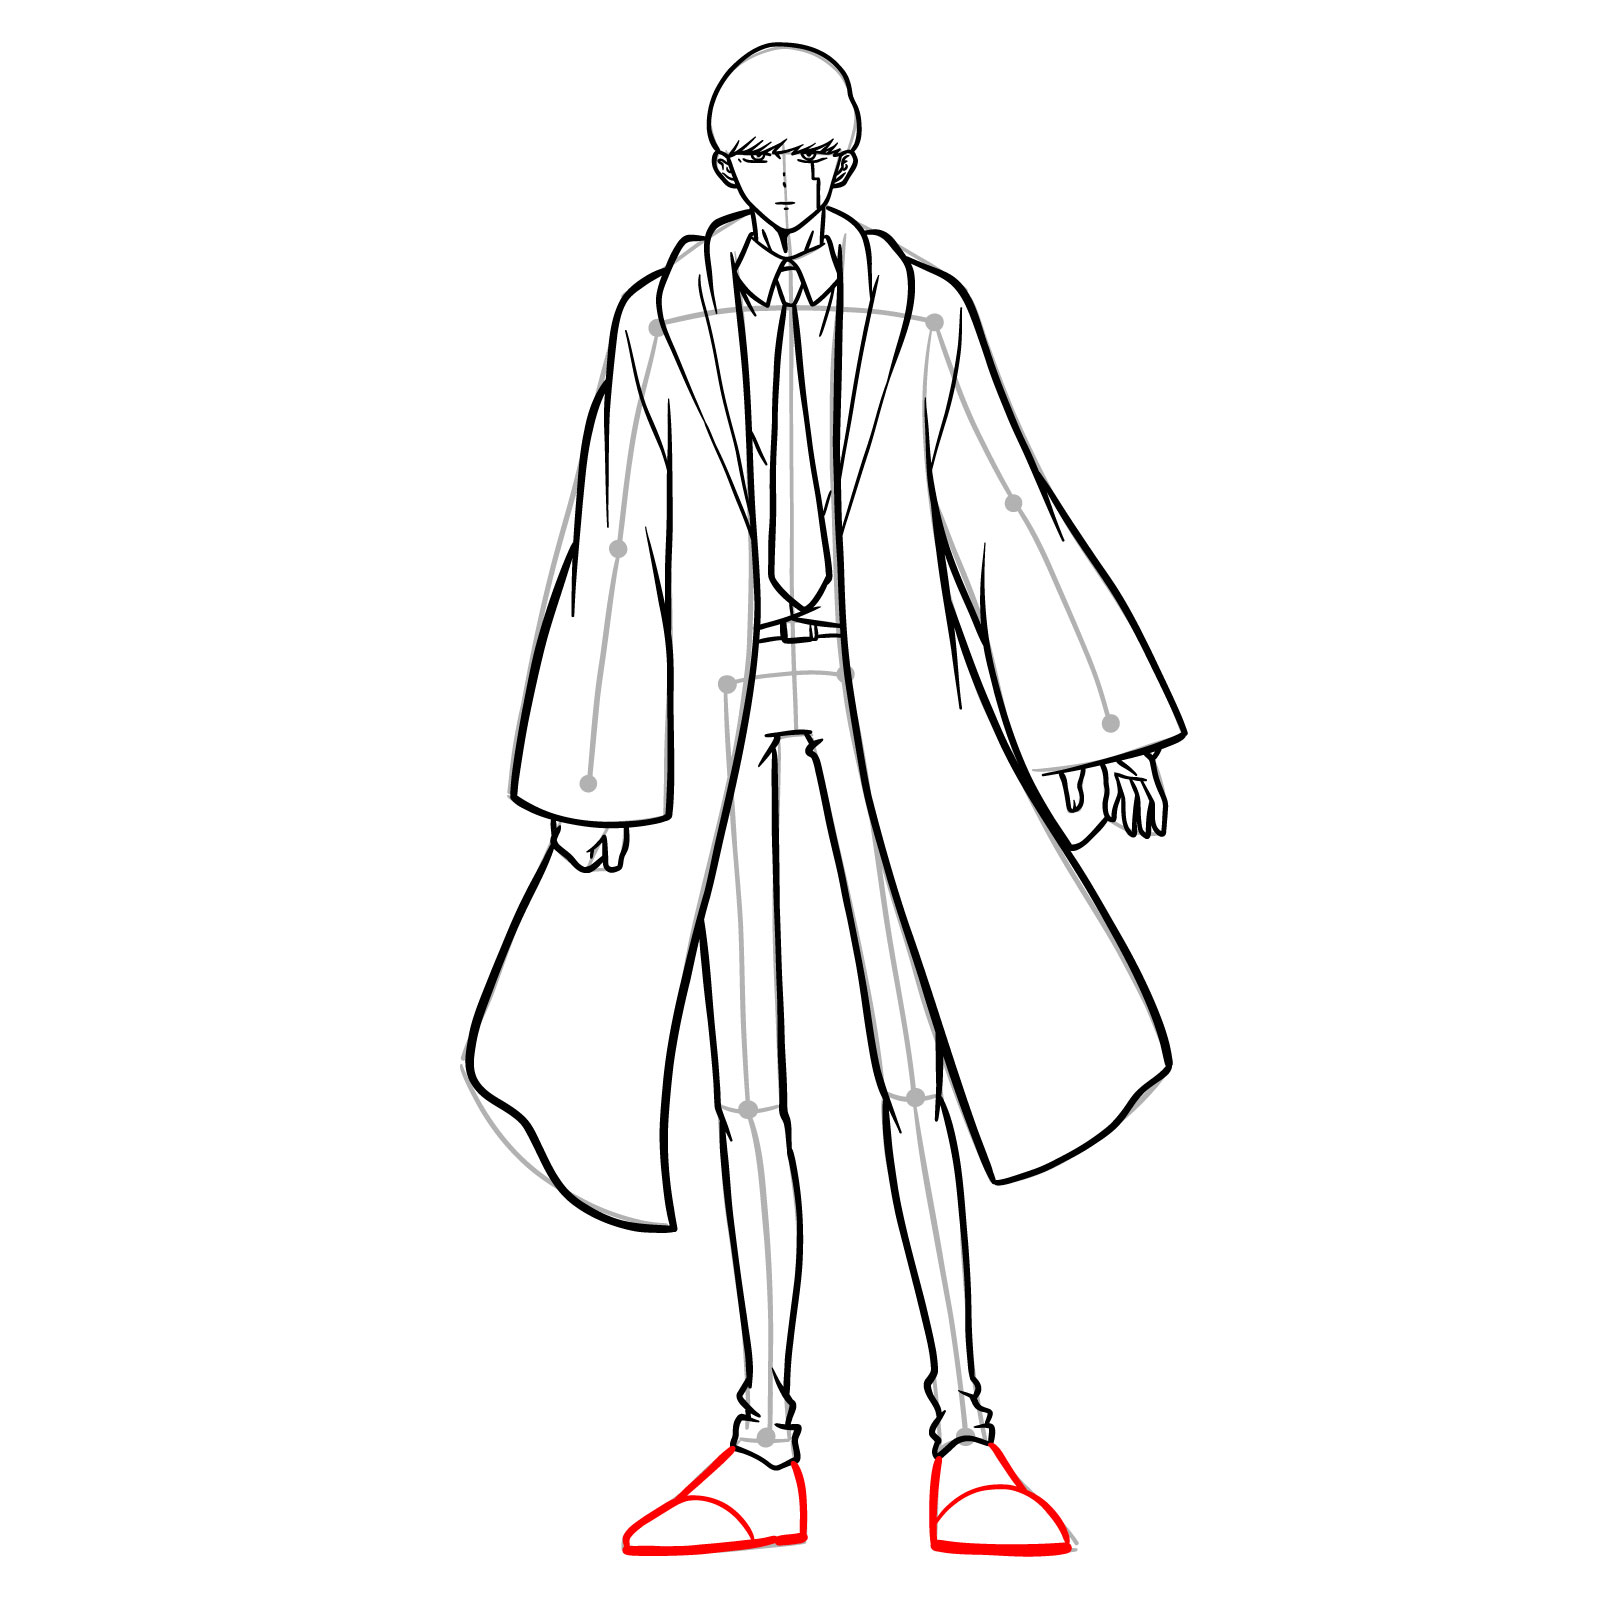
Step 16 – Finish the lower part of the legs, continuing from the knees down to the shoes
Finalizing the Lower Silhouette
Step 17 – Draw the outlines of Mash’s shoes, giving them a sturdy and grounded look to match his character’s solid foundation
Crafting Mash’s Footwear
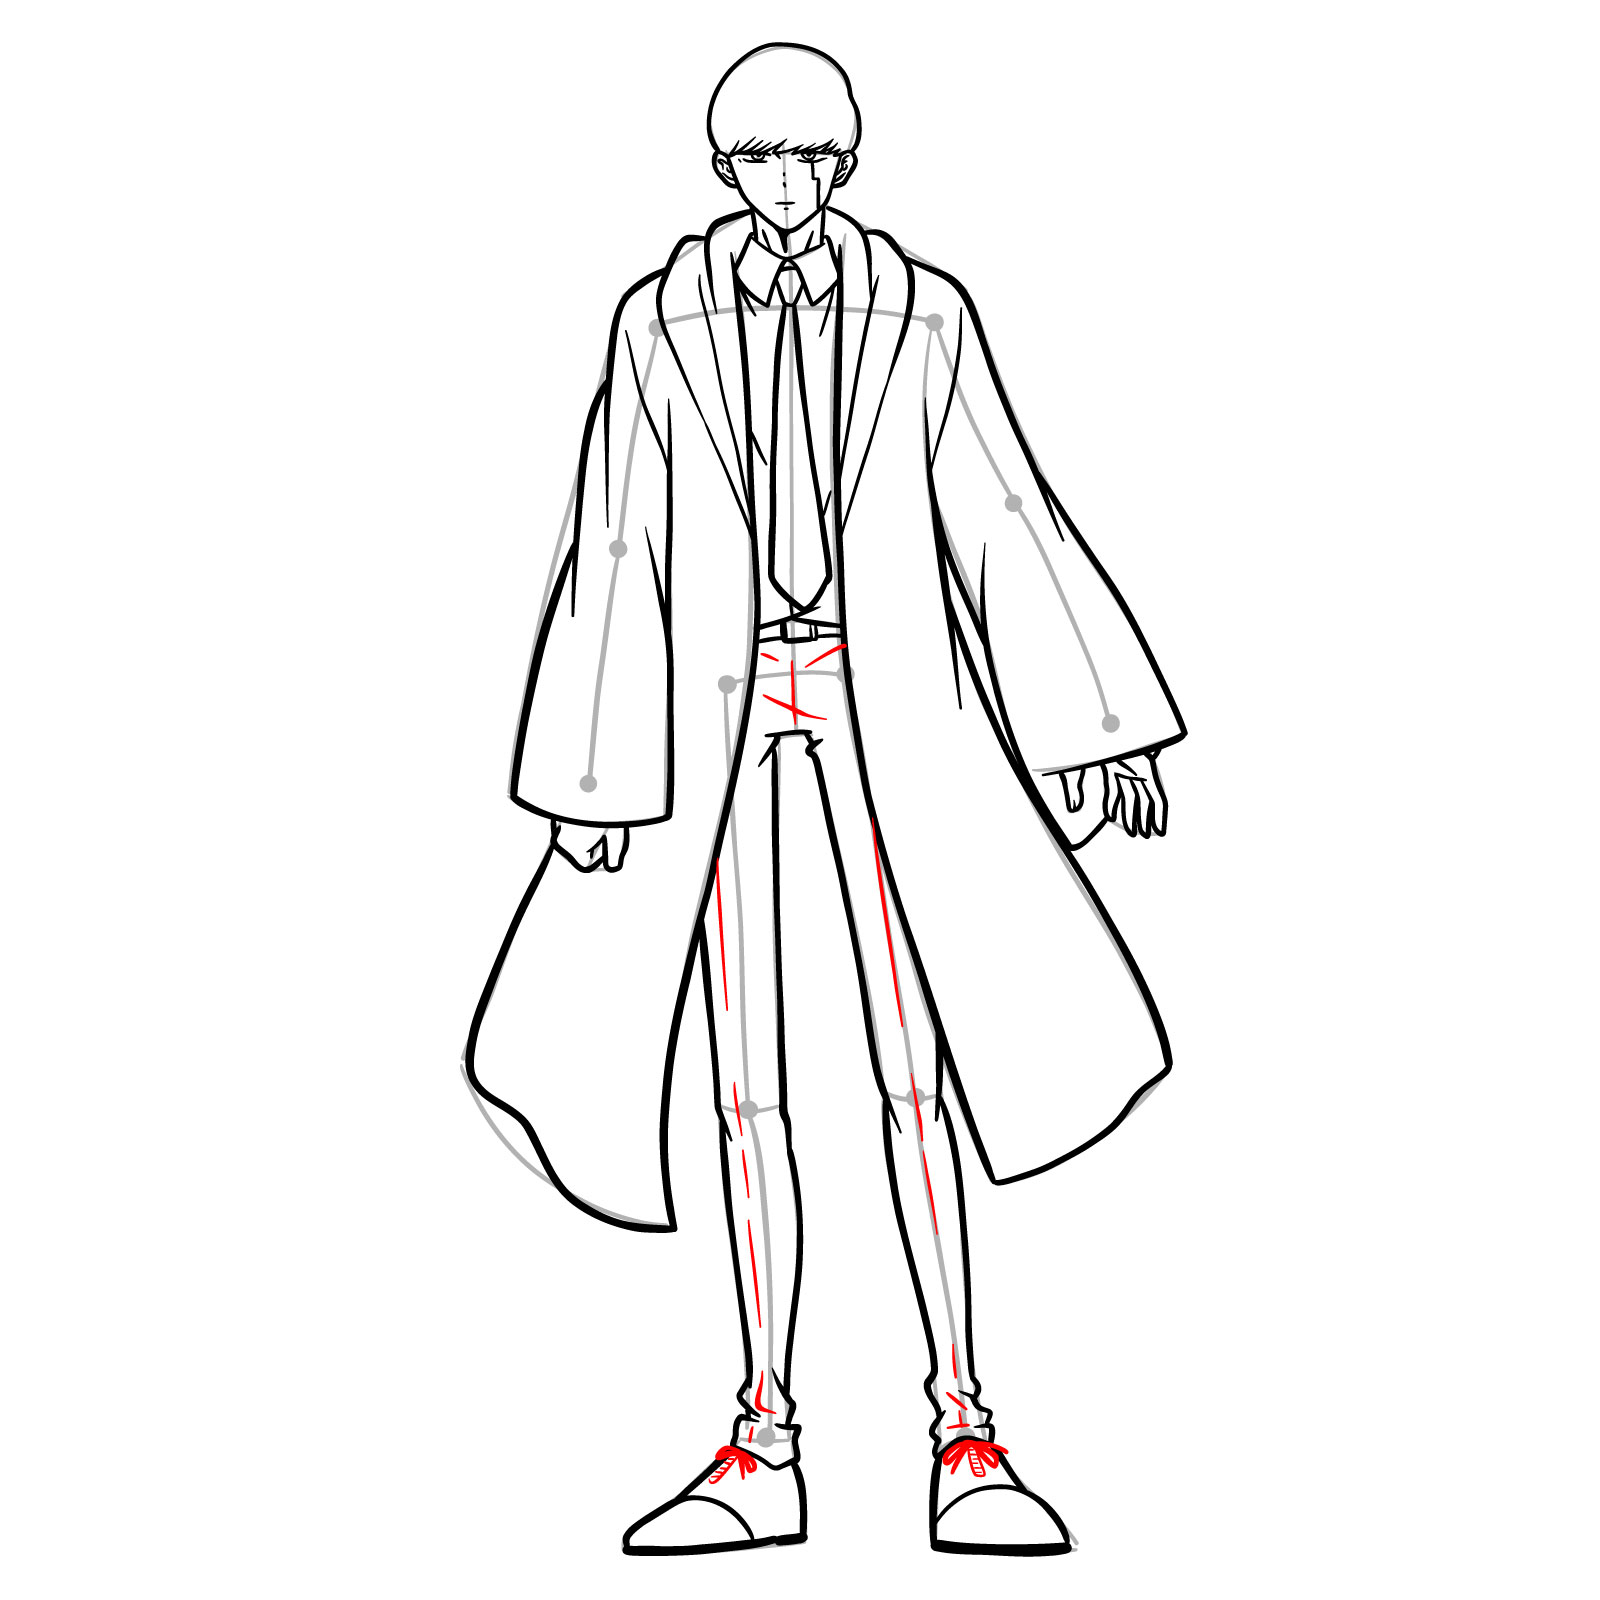
Step 18 – Add the intricate details of shoelaces and any final touches to the pants, such as creases or seams, to bring realism to your drawing
Adding Fine Details
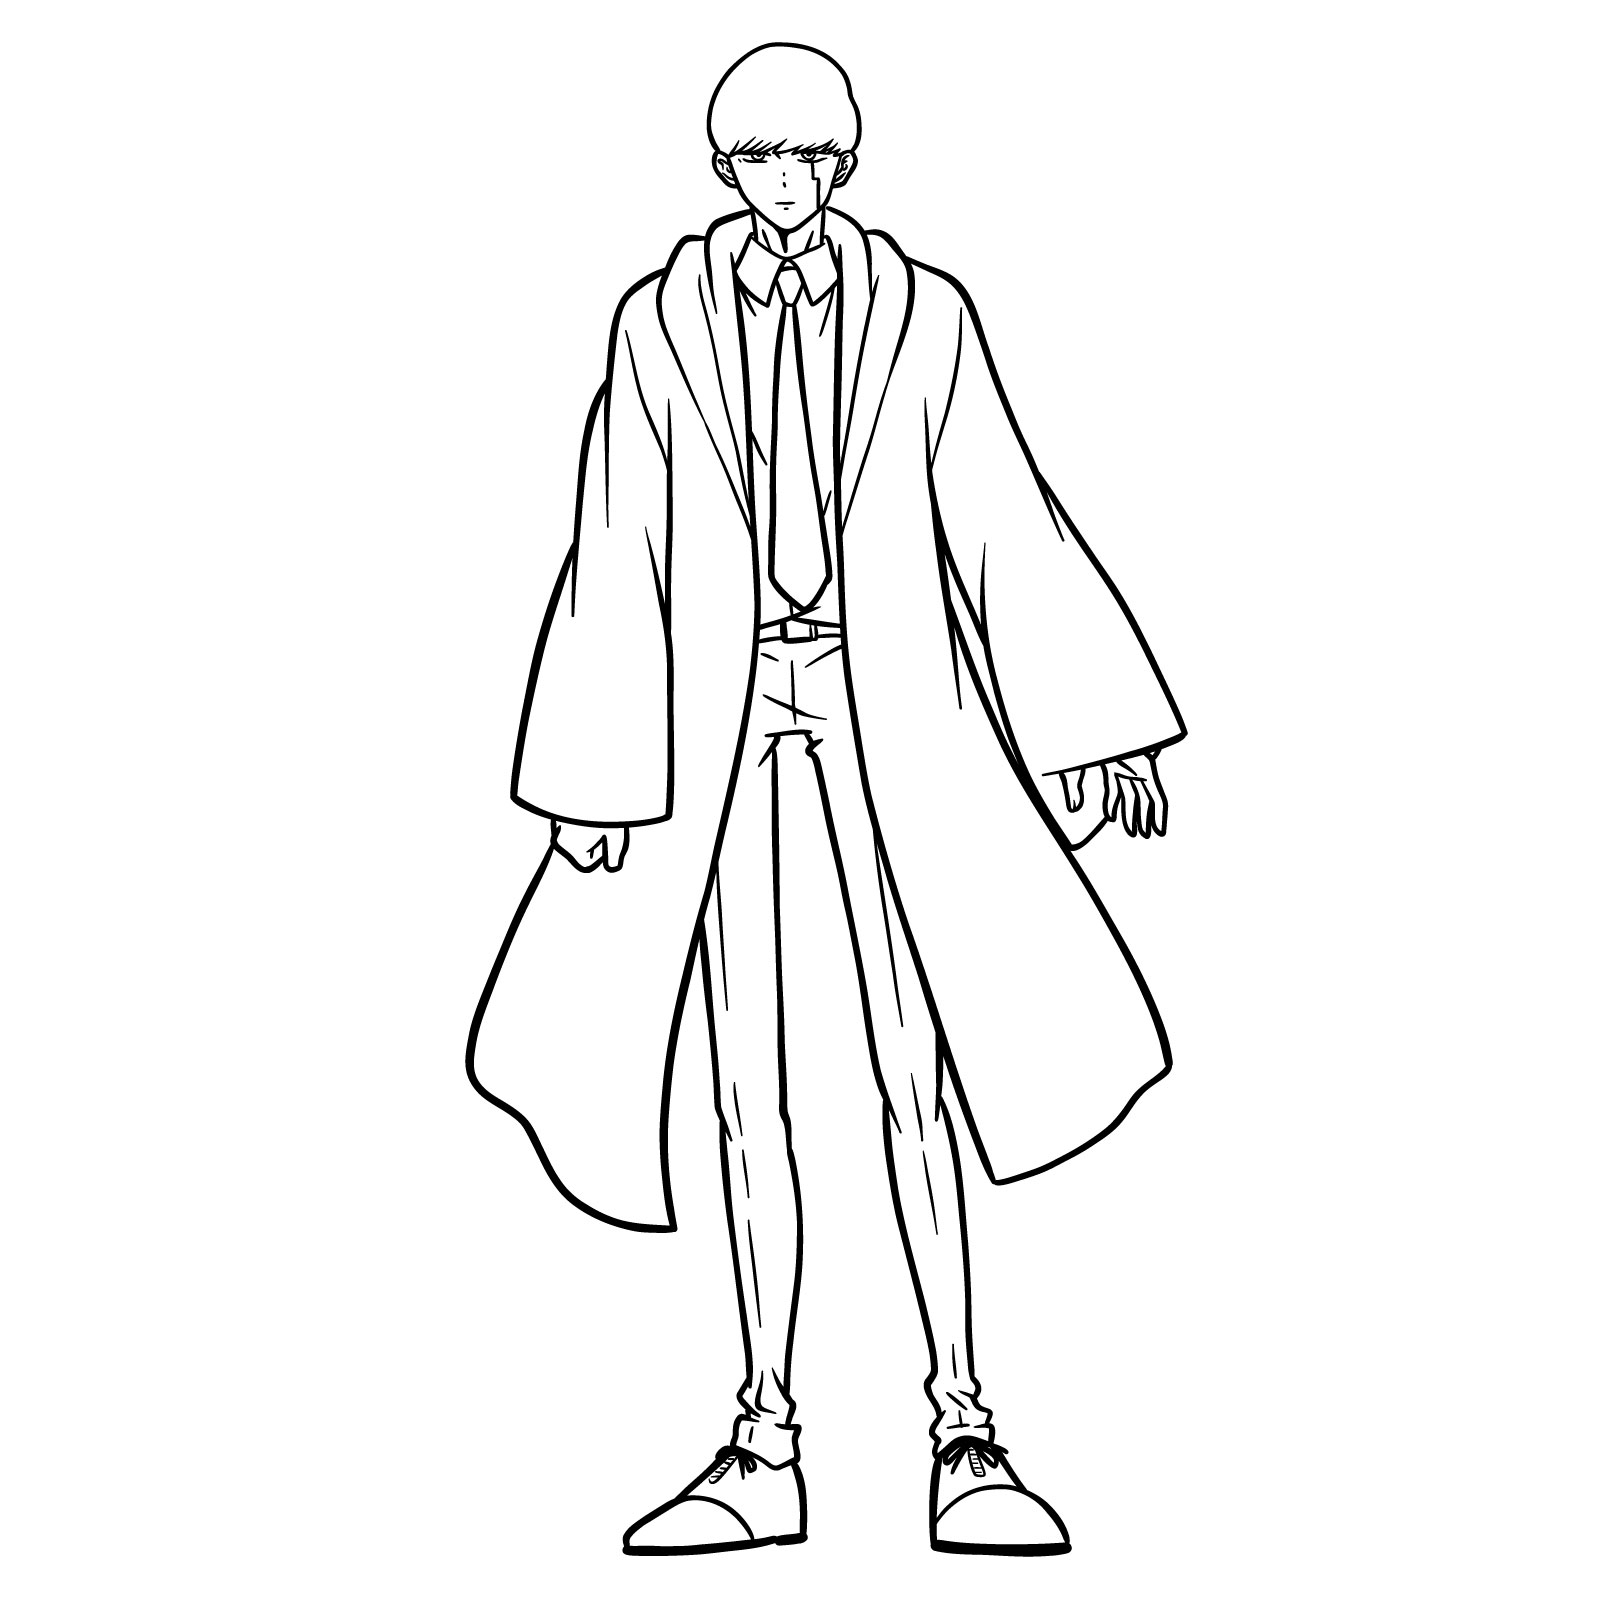
Step 19 – To this point, you gained the knowledge on how to draw Mash and your drawing is now complete. If desired, proceed to ink your sketch for a polished look. Once the ink dries, you can erase the underlying pencil marks. This final image can also serve as a coloring page if you choose to download it
Don't Miss New Tutorials! Follow SketchOk
I publish new step-by-step drawing guides every single day. Follow on your favorite platform so you never miss a tutorial. Thousands of artists are already drawing along and I can't wait you to join in!
On my Patreon you can grab unique hand-made coloring pages: each one drawn by me personally. Every purchase directly supports the creation of new drawing tutorials. It's the best way to practice your skills, keep the site going, and get something truly original at the same time.
As you complete this guide, not only will you have a stunning rendition of Mash, but you’ll also have gained invaluable drawing skills. Share your work and connect with other fans on our Facebook, Instagram, or Pinterest pages. Continue practicing and exploring the art of drawing with SketchOk, where every line brings you closer to perfection.
Disclaimer: All original artworks and photos used as references for the creation of these drawing tutorials are the property of their respective owners. If your work has been featured without proper credit, please kindly leave a comment below, and the issue will be promptly addressed. We greatly appreciate your exceptional art. Thank you.