Ahoy there, my fellow artists! If you’re looking to up your anime drawing game and want to learn how to draw one of the most enigmatic and fascinating characters from the popular anime and manga series “Fairy Tail,” you’re in the right place. Today, we’re going to guide you step-by-step on how to draw Ultear Milkovich’s face, the former member of Grimoire Heart and the leader of the Seven Kin of Purgatory.
Ultear is a complicated character, with a troubled past and a manipulative streak, but her striking appearance is undeniable. With her pale skin, dark purple hair, and brown (or red in the anime) eyes, Ultear has a unique and alluring look that you can capture in your drawings.
So, grab your sketchpad and pencils, and let’s get started on this exciting drawing journey!
Ultear Milkovich’s Appearance
Ultear’s appearance is both stunning and distinctive. She is often seen wearing a long, revealing dress with a striped pattern, showing off her voluptuous figure. During combat, she switches to a skin-tight, sleeveless battle suit, complete with wrist-guards that allow her to produce her characteristic Lacrima. Her hair is typically worn in a variety of styles, and she sports a matching white headband. Ultear’s resemblance to her mother, Ur, is also noted in the series.
Drawing Guide for Ultear Milkovich’s Face
Alright, let’s dive into the exciting world of drawing Ultear Milkovich’s face! Before we get started, let’s make sure we have all the necessary tools. You’ll need a pencil, eraser, paper, and a good reference image of Ultear. Now, let’s get to the juicy part, the drawing guide!
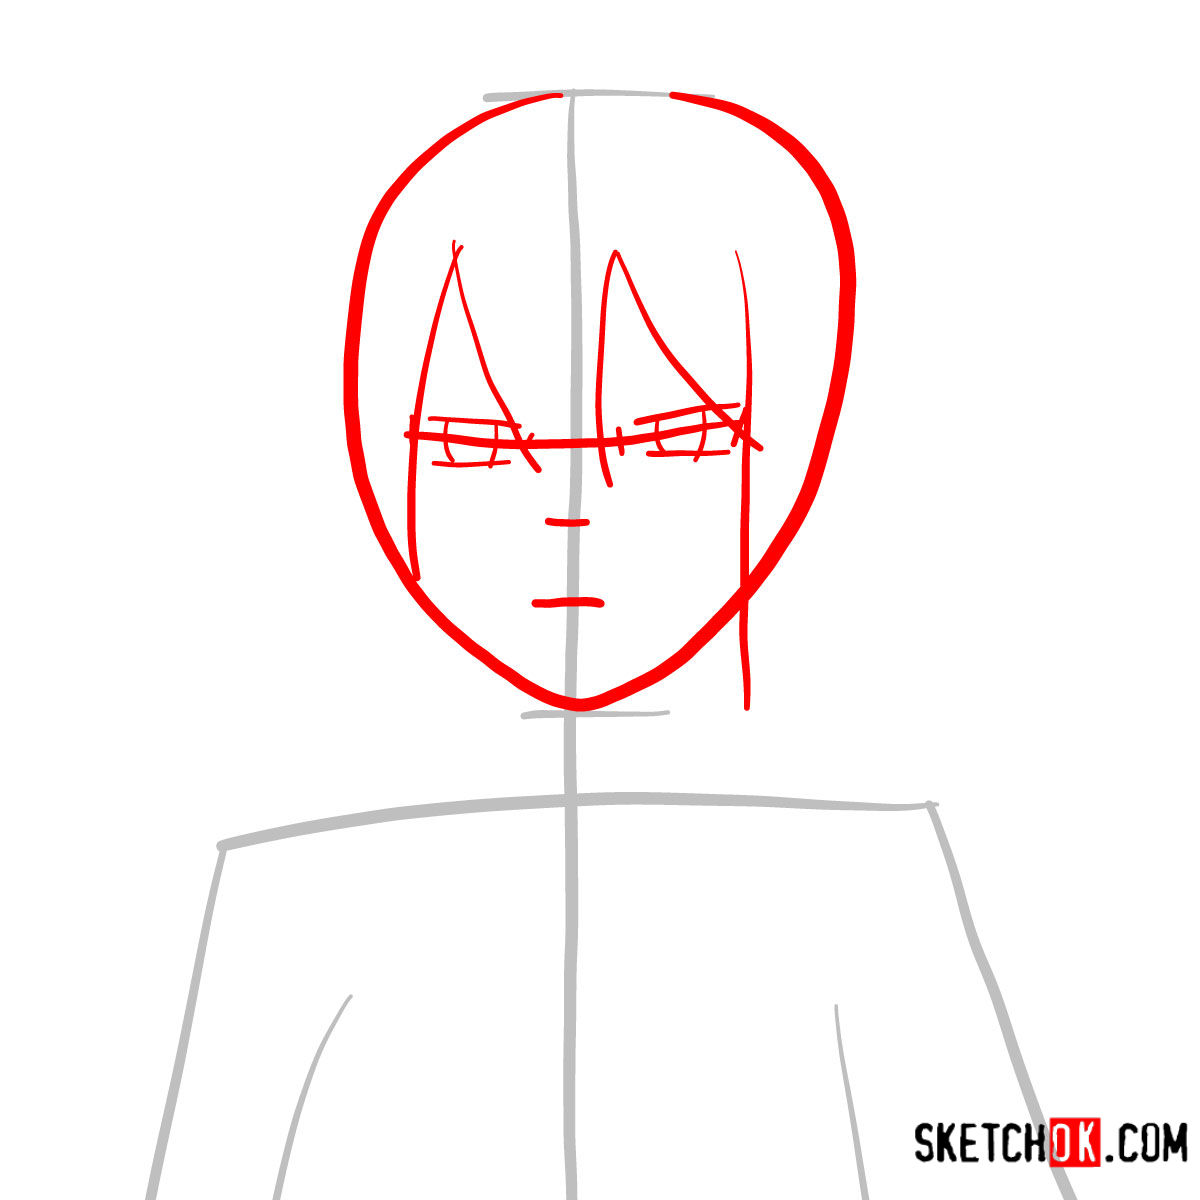
- Start by drawing a verticle line, map the top and bottom of her head. Sketh a rough outline for the shoulders. Add guidelines for the face.
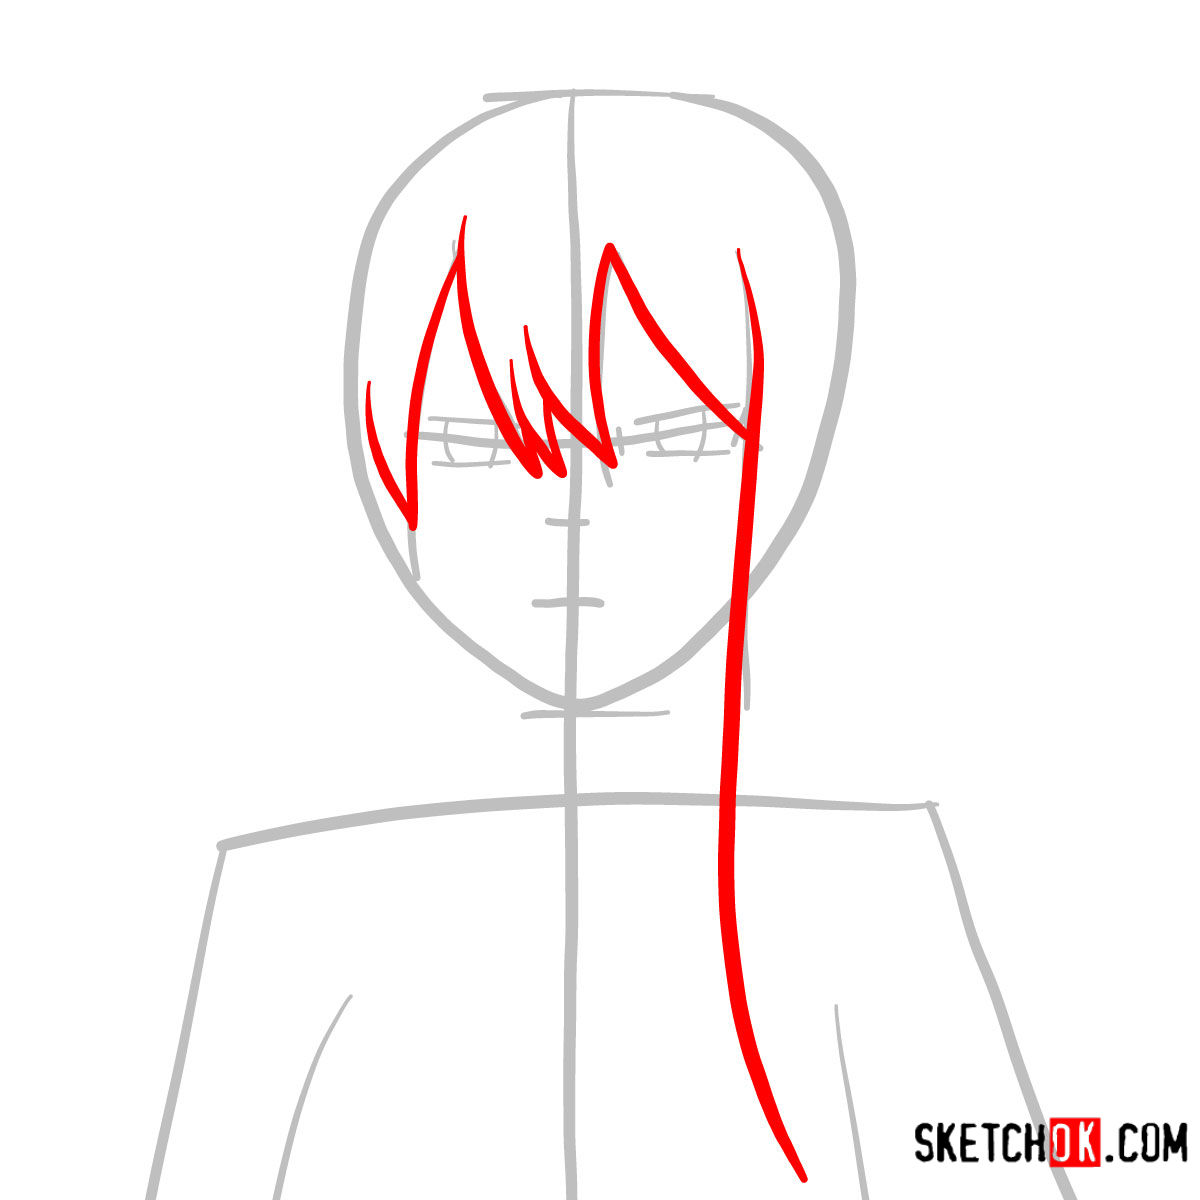
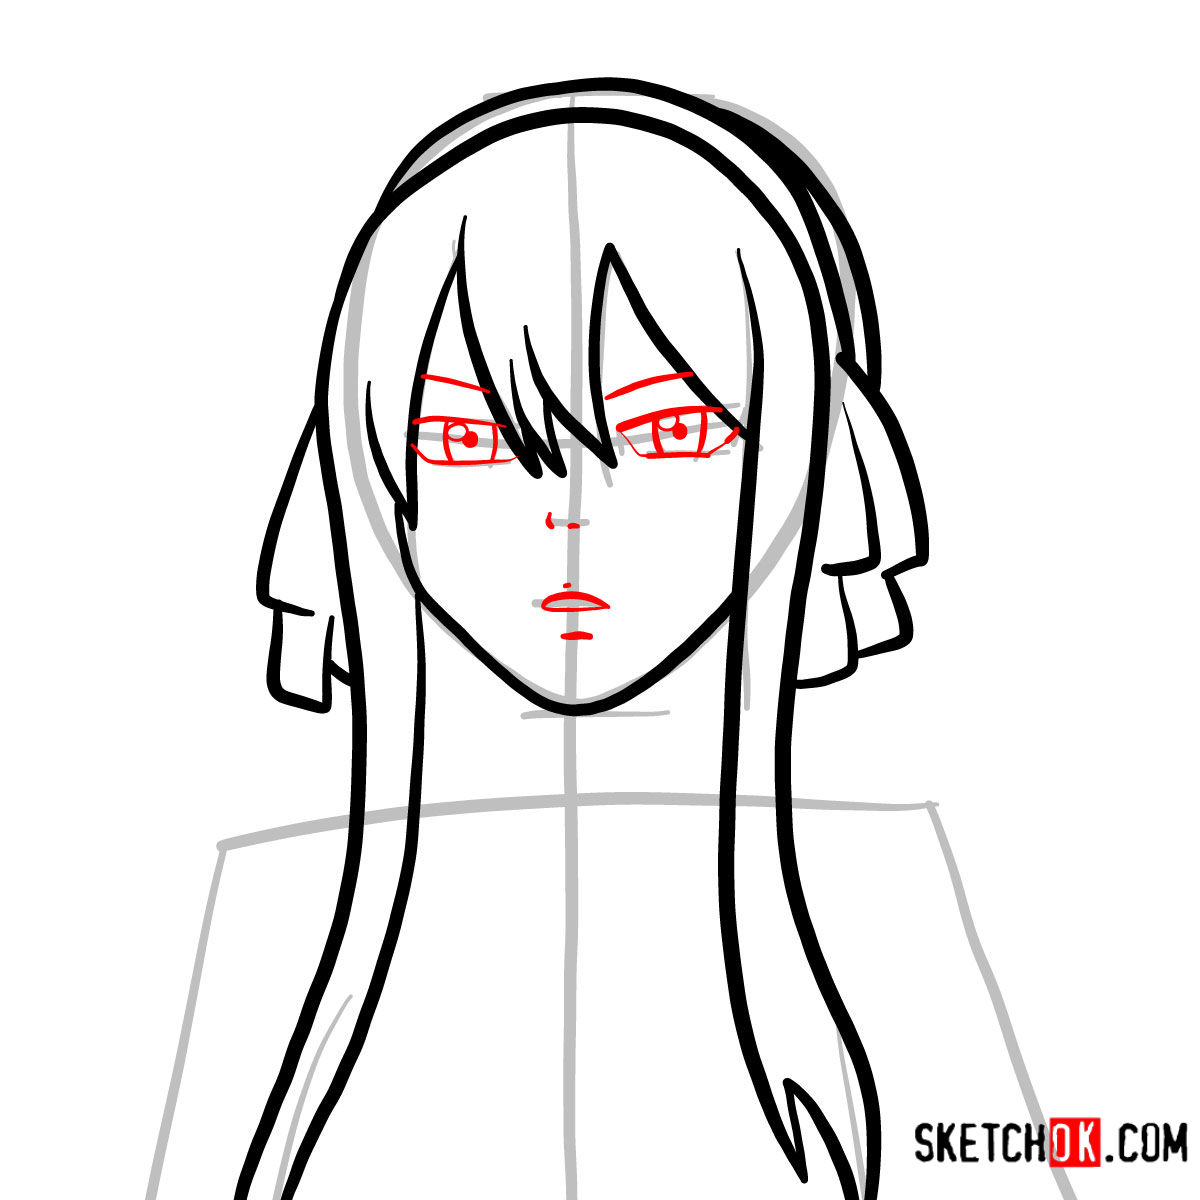
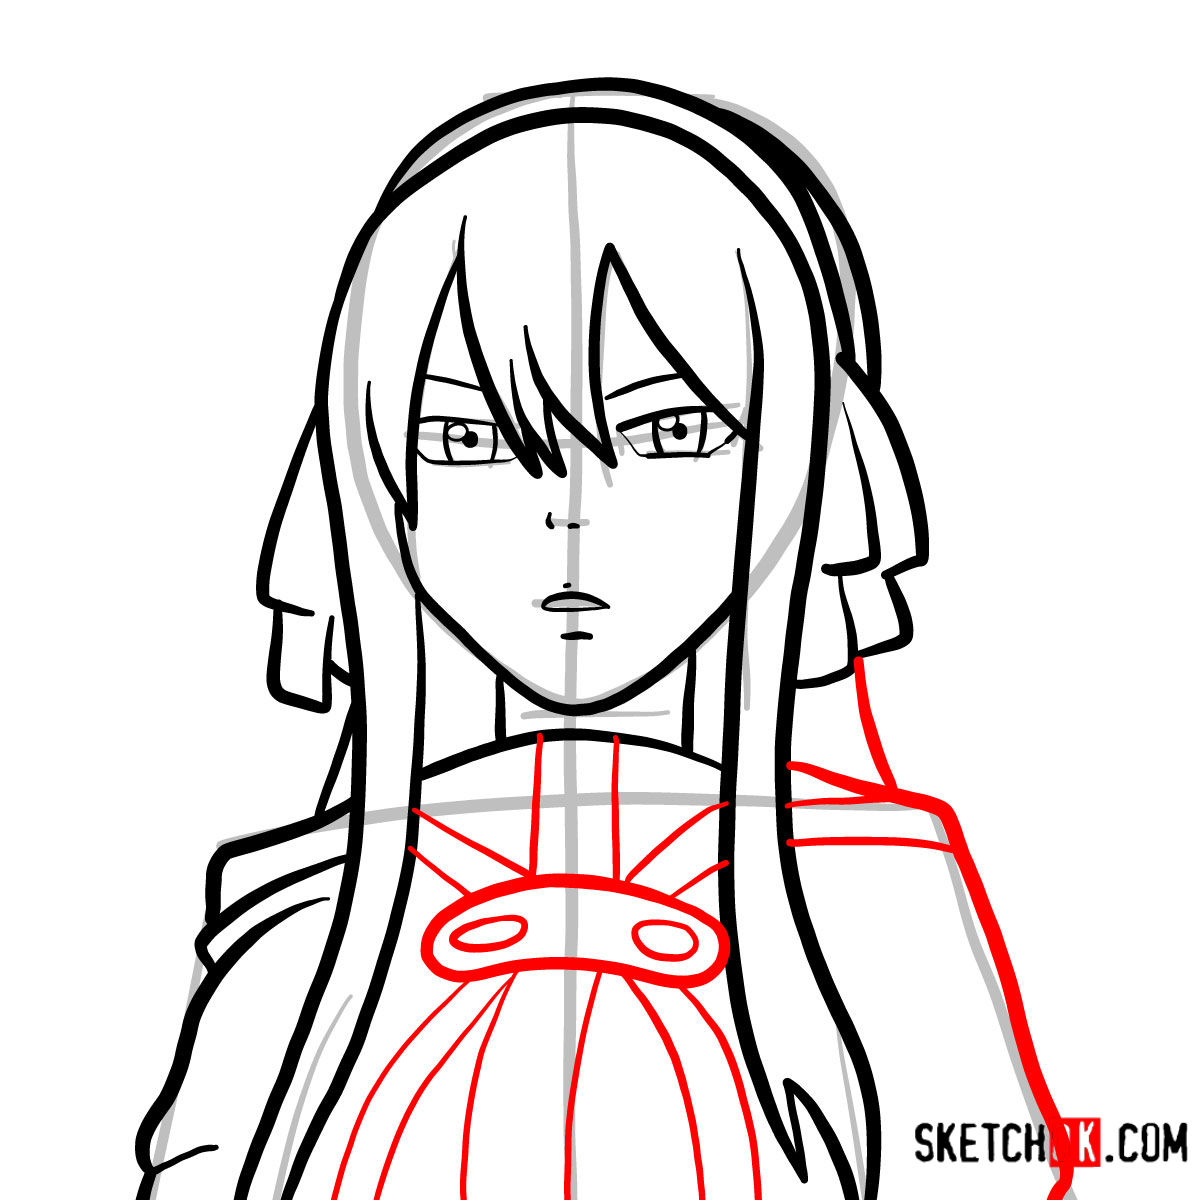
- Add details – Once you have the basic structure, add in the details of her facial features, such as her eyes, nose, and lips.
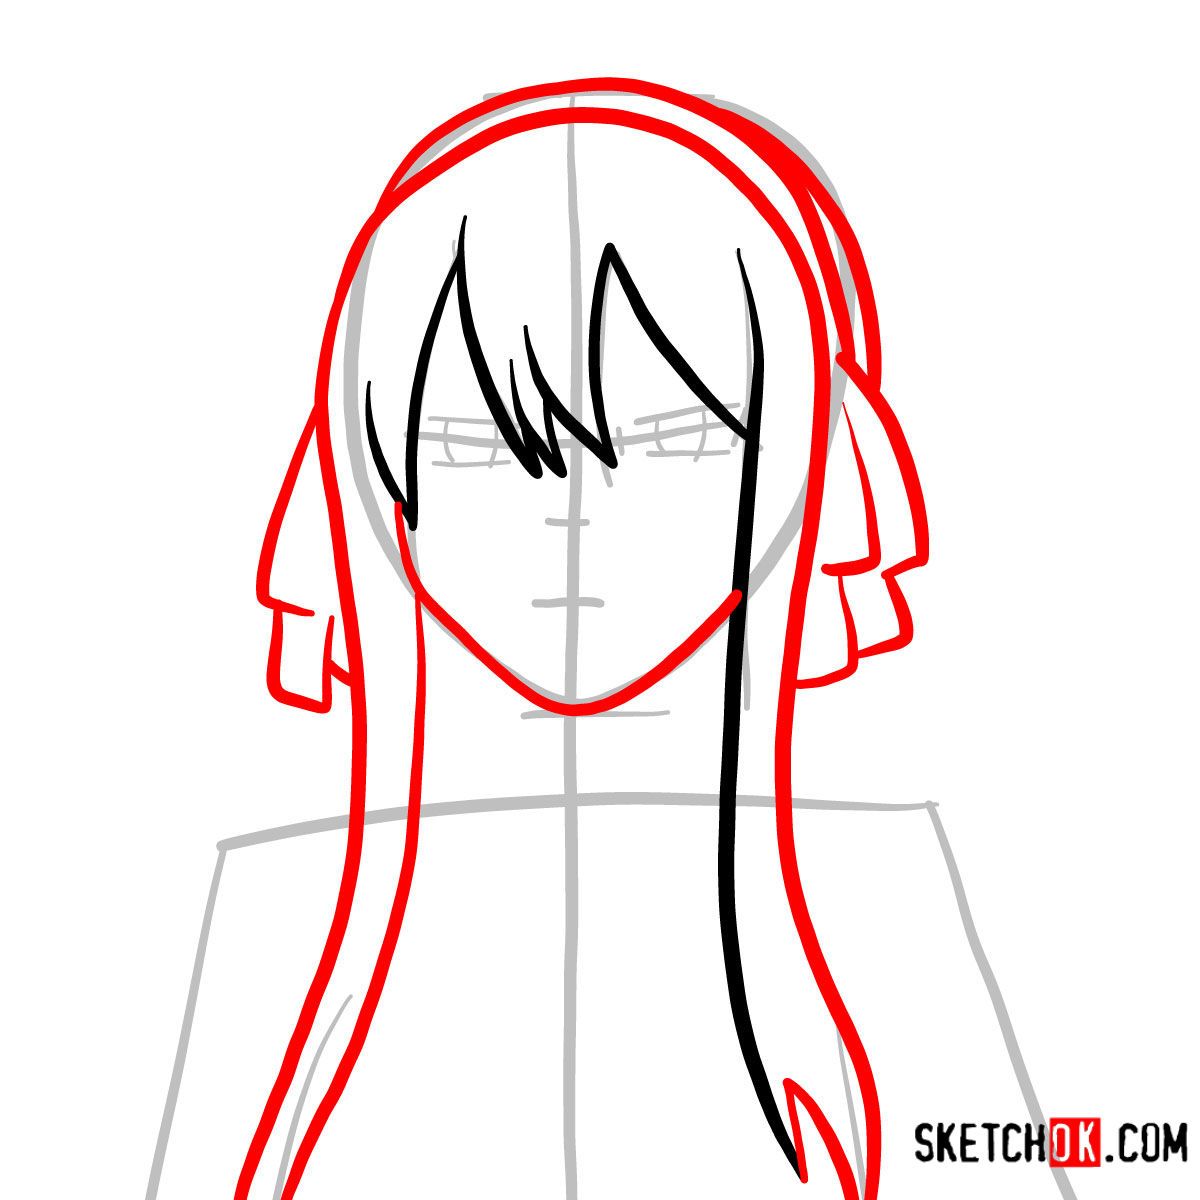
- Don’t forget the hair – Ultear has a unique hairstyle, so make sure to carefully sketch out the shape and flow of her hair.
- Use shading – Add shading to give the drawing depth and dimension. Pay attention to the light source in the reference image and shade accordingly.
- Practice makes perfect – Keep practicing and don’t get discouraged if your first attempt isn’t perfect. The more you draw, the better you’ll become.
To make your Ultear Milkovich drawing stand out, consider the following tips and tricks:
- Experiment with different hairstyles for Ultear, as she wears her hair in various styles throughout the series.
- Pay attention to the shape and size of Ultear’s eyes, as they are a defining feature of her appearance.
- Try to capture her look to show her manipulative nature.
- Use reference images from the series or other artists to improve your drawing skills and techniques.


Okay, so now that you’ve mastered drawing Ultear’s face, you might be wondering who else to draw. Fear not, my artistic friend, for I have some recommendations for you! If you’re a fan of the Fairy Tail series, you might want to try drawing some of the other characters, like Natsu Dragneel or Lucy Heartfilia. Or, if you’re feeling adventurous, you could branch out and try drawing characters from other similar anime or manga series. Who knows, you might discover a new favorite character to draw!
If you enjoyed this tutorial and found it helpful, please consider supporting me on Buy Me a Coffee. As an independent artist and blogger, I rely on the support of my readers to keep creating content like this. By buying me a coffee, you’re not only helping me to continue creating helpful tutorials like this one, but you’re also fueling my caffeine addiction. And let’s be real, that’s a win-win situation for everyone involved 🙂 Let’s keep the artistic inspiration flowing!