Last Updated on May 14, 2026
Hey there, fellow aspiring artists! Are you ready to add some icy coolness to your drawing skills? Then come and join me as we explore the world of Gray Fullbuster, one of the most badass Mages from Fairy Tail! With his spiky black hair, toned and muscular body, and laid-back personality, Gray is a fan favorite who never fails to impress. But how can you draw him like a pro? Don’t worry, my dear friend, because I’ve got your back! In this beginner’s guide, we’ll cover all the essential tips and tricks you need to know to create your own stunning Gray Fullbuster artwork. So grab your pencils and let’s get started!
Meet Gray Fullbuster – the Icy Hot Mage of Fairy Tail
Gray Fullbuster is a Mage of the Fairy Tail Guild and a member of Team Natsu. He has dark blue eyes, spiky black hair, and a toned and muscular body that makes him a heartthrob for many fans. His most prominent features include a scar above his left eye and a cross-shaped scar on his lower abdomen. Gray is known for his laid-back personality, friendly rivalry with Natsu, and loyalty to his guild and comrades. He also has a disturbing habit of unconsciously removing his clothes at inappropriate moments, which can be both hilarious and embarrassing.
Drawing Guide: How to Draw Gray Fullbuster Step-by-Step
To draw Gray Fullbuster, you’ll need to focus on his distinctive features and clothing styles. Here are some tips and tricks to help you:
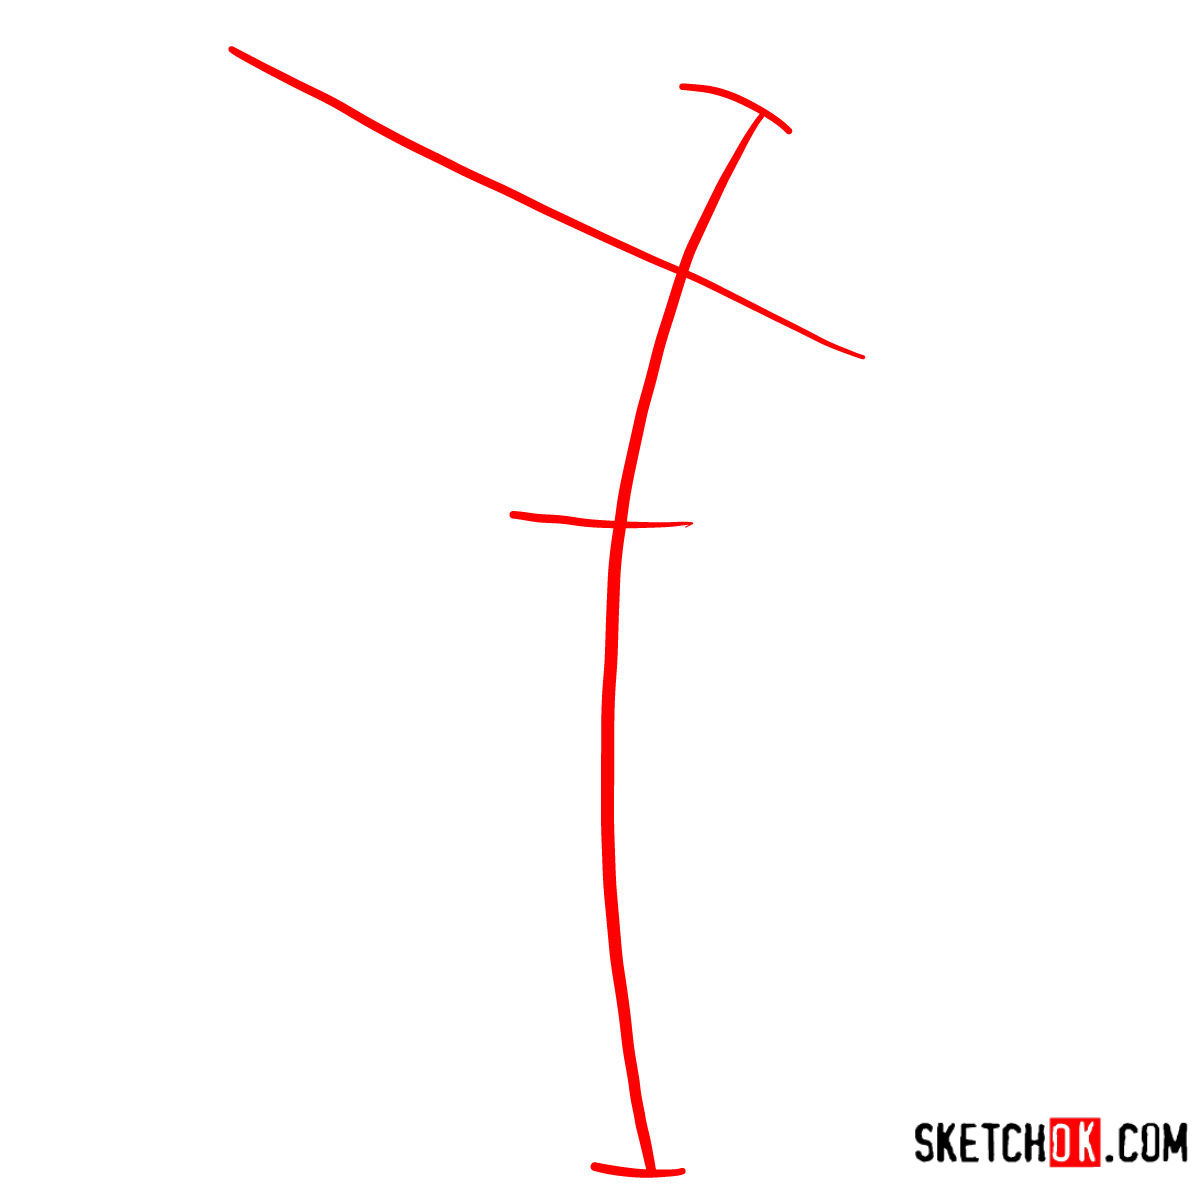
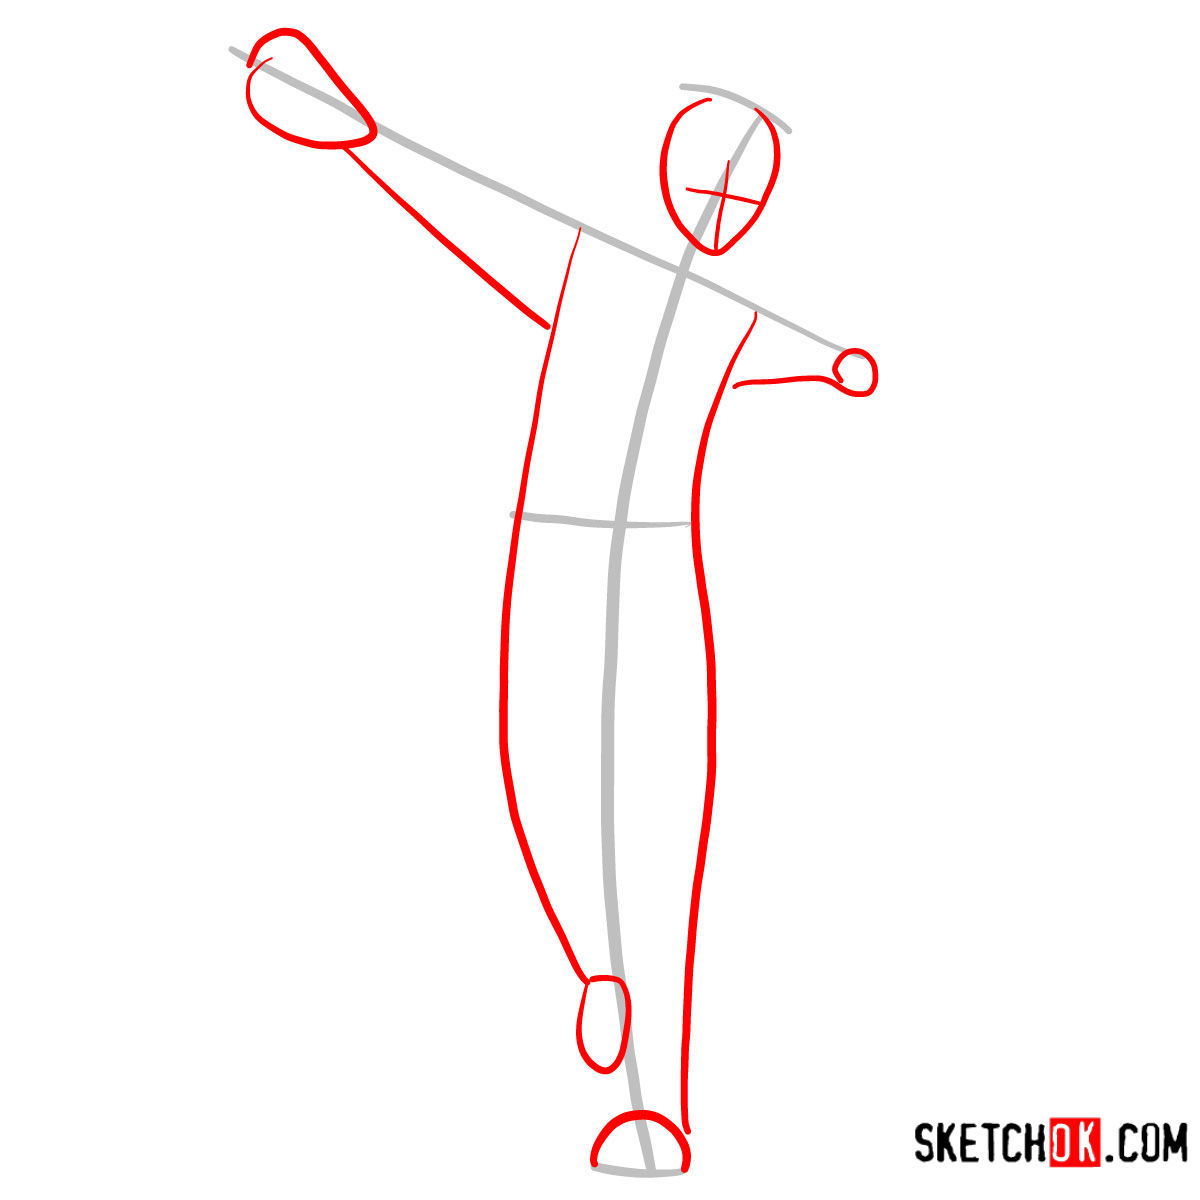
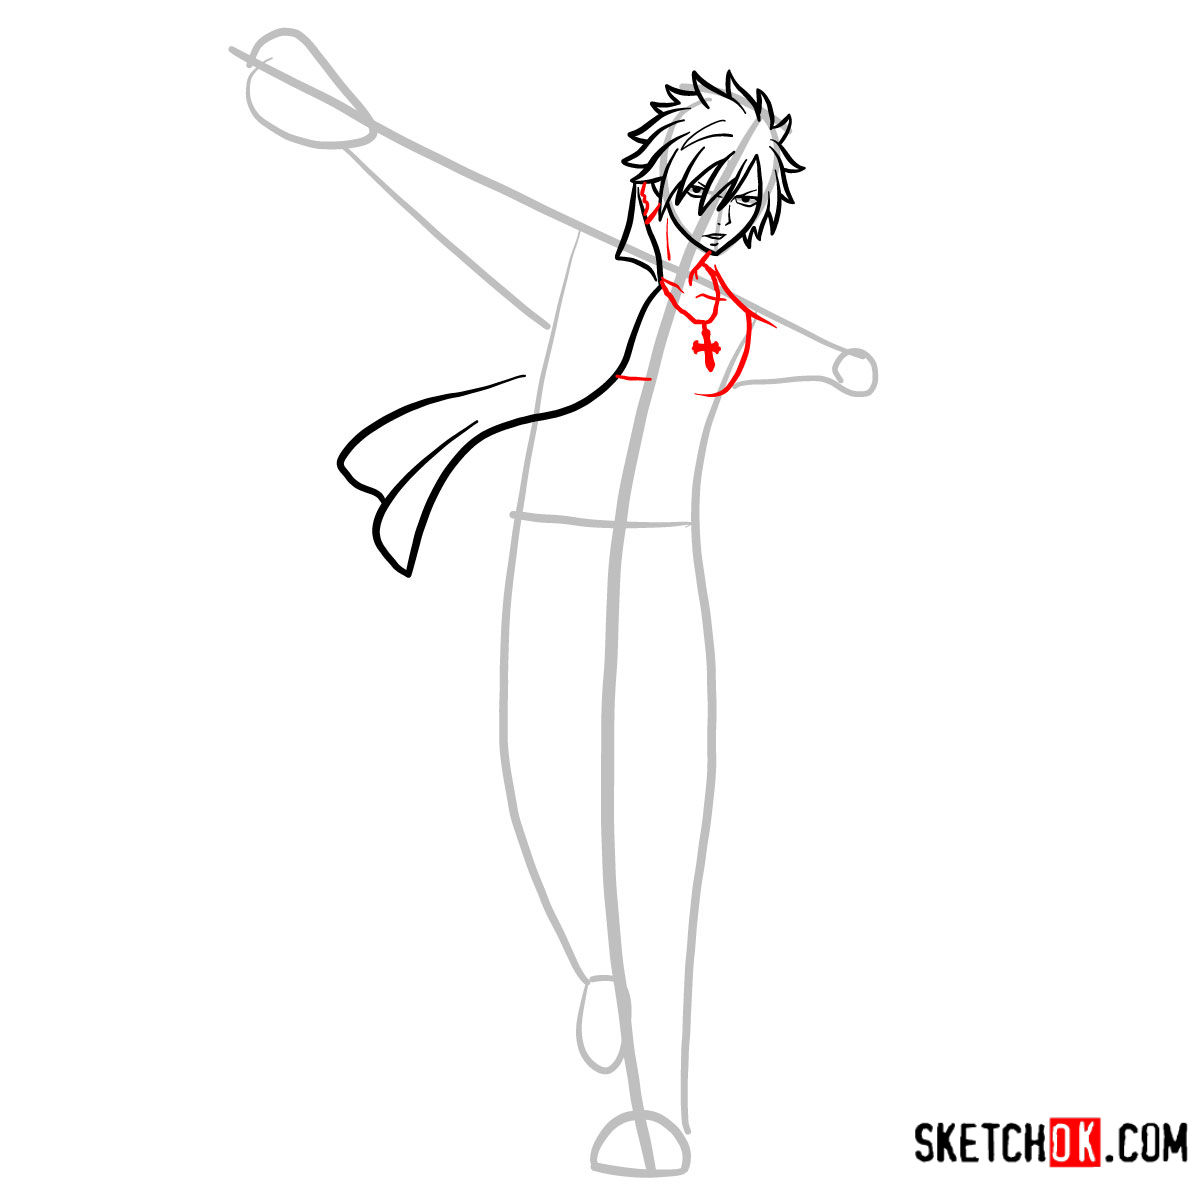
- Start with the basic sketch of his head, face, and body proportions.
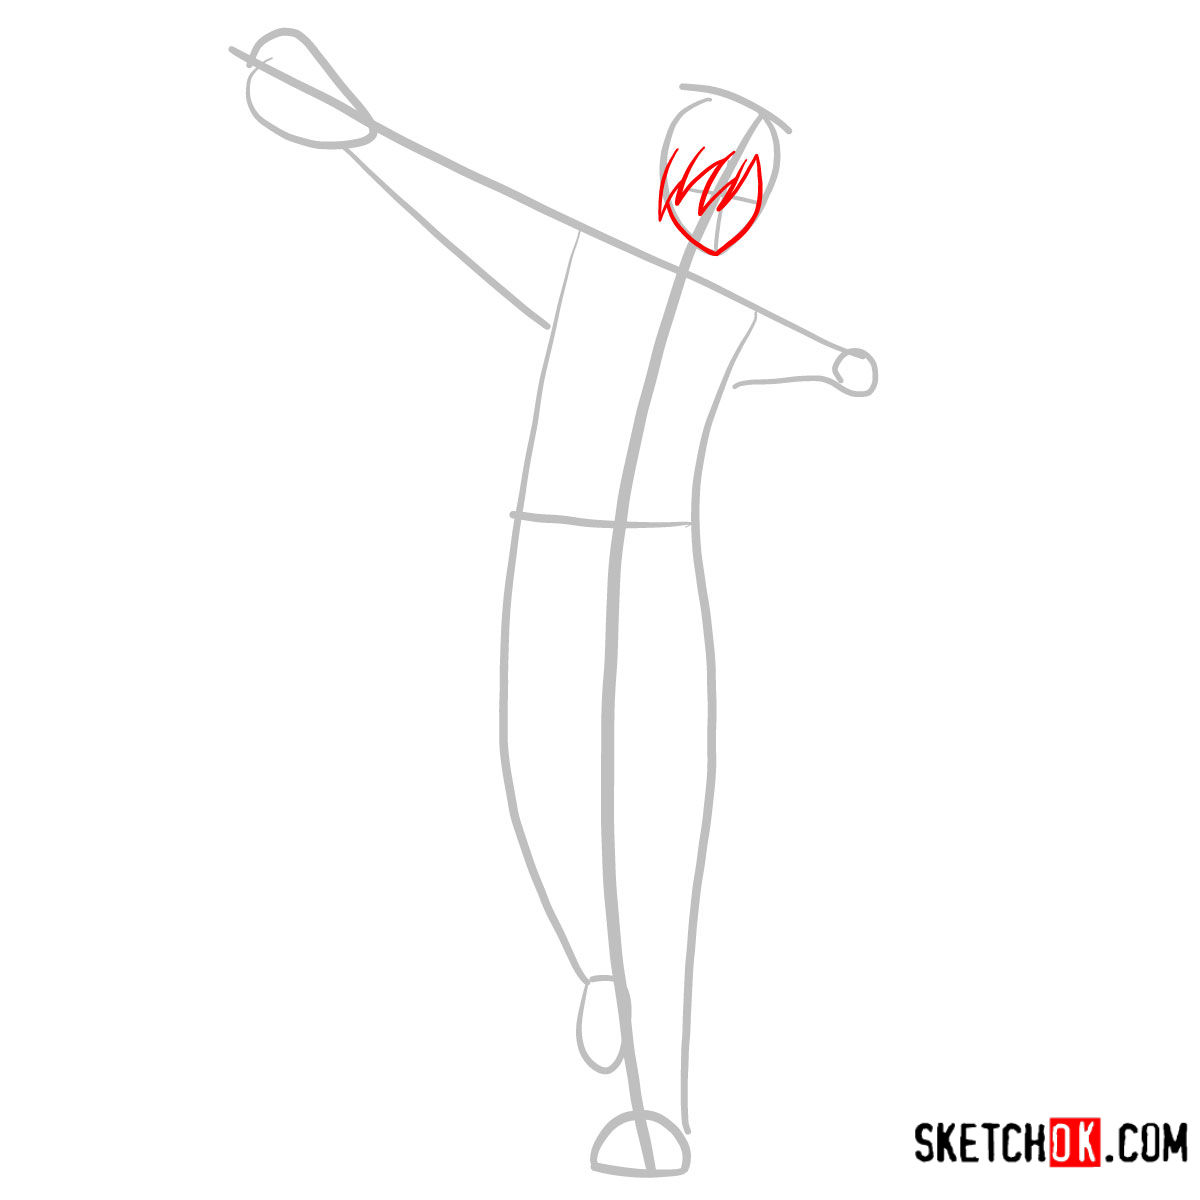
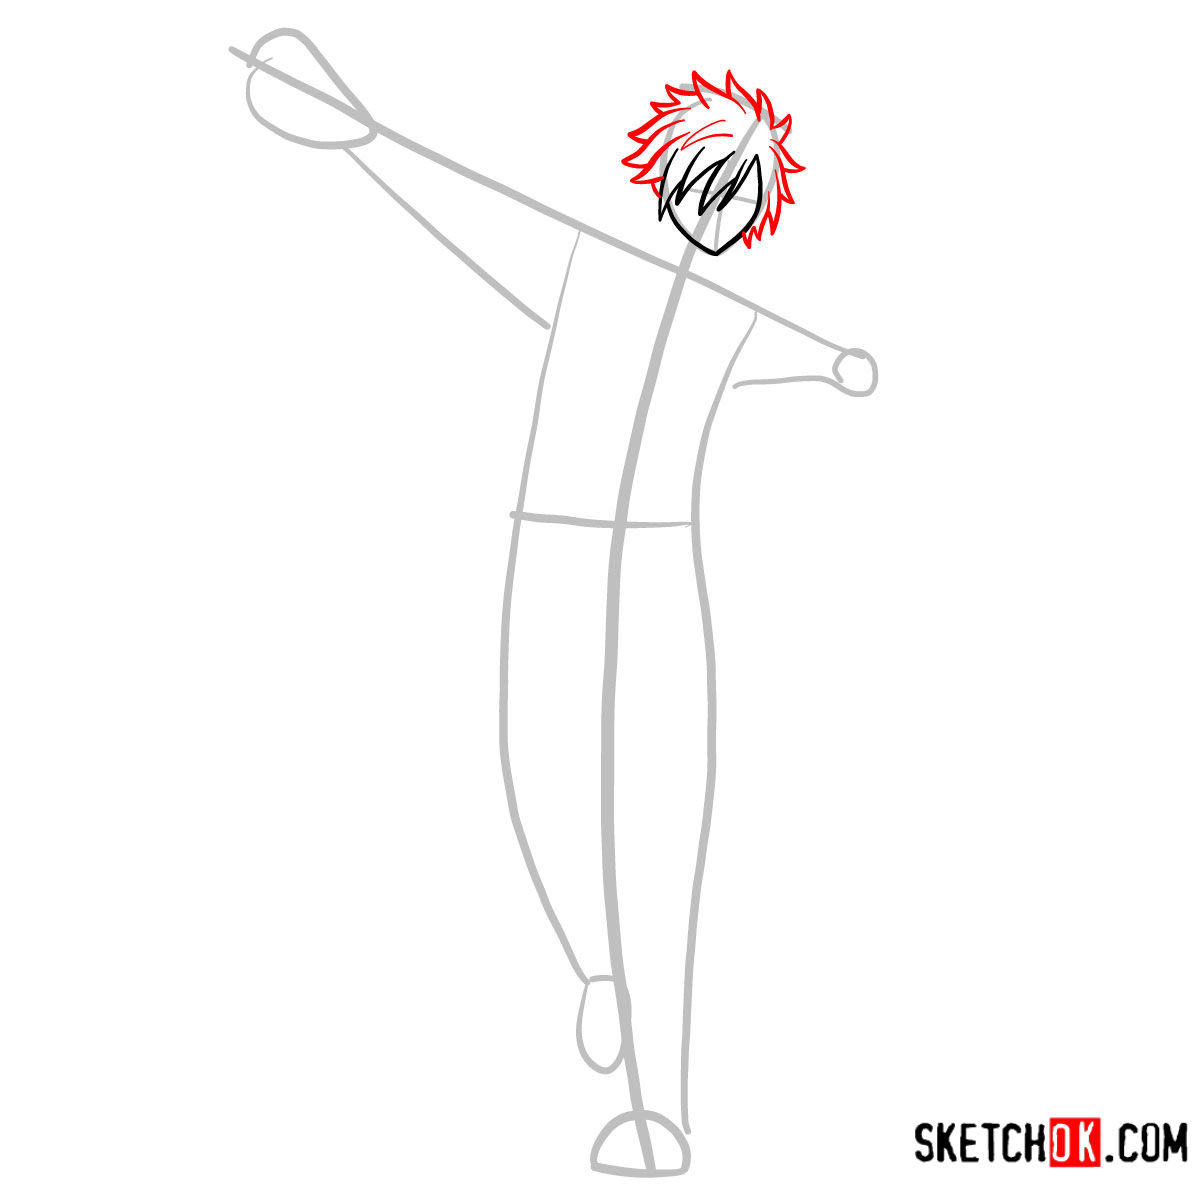
- Add details such as his spiky hair and facial features.
- Sketch his necklace with a cross, which is a consistent part of his clothing.
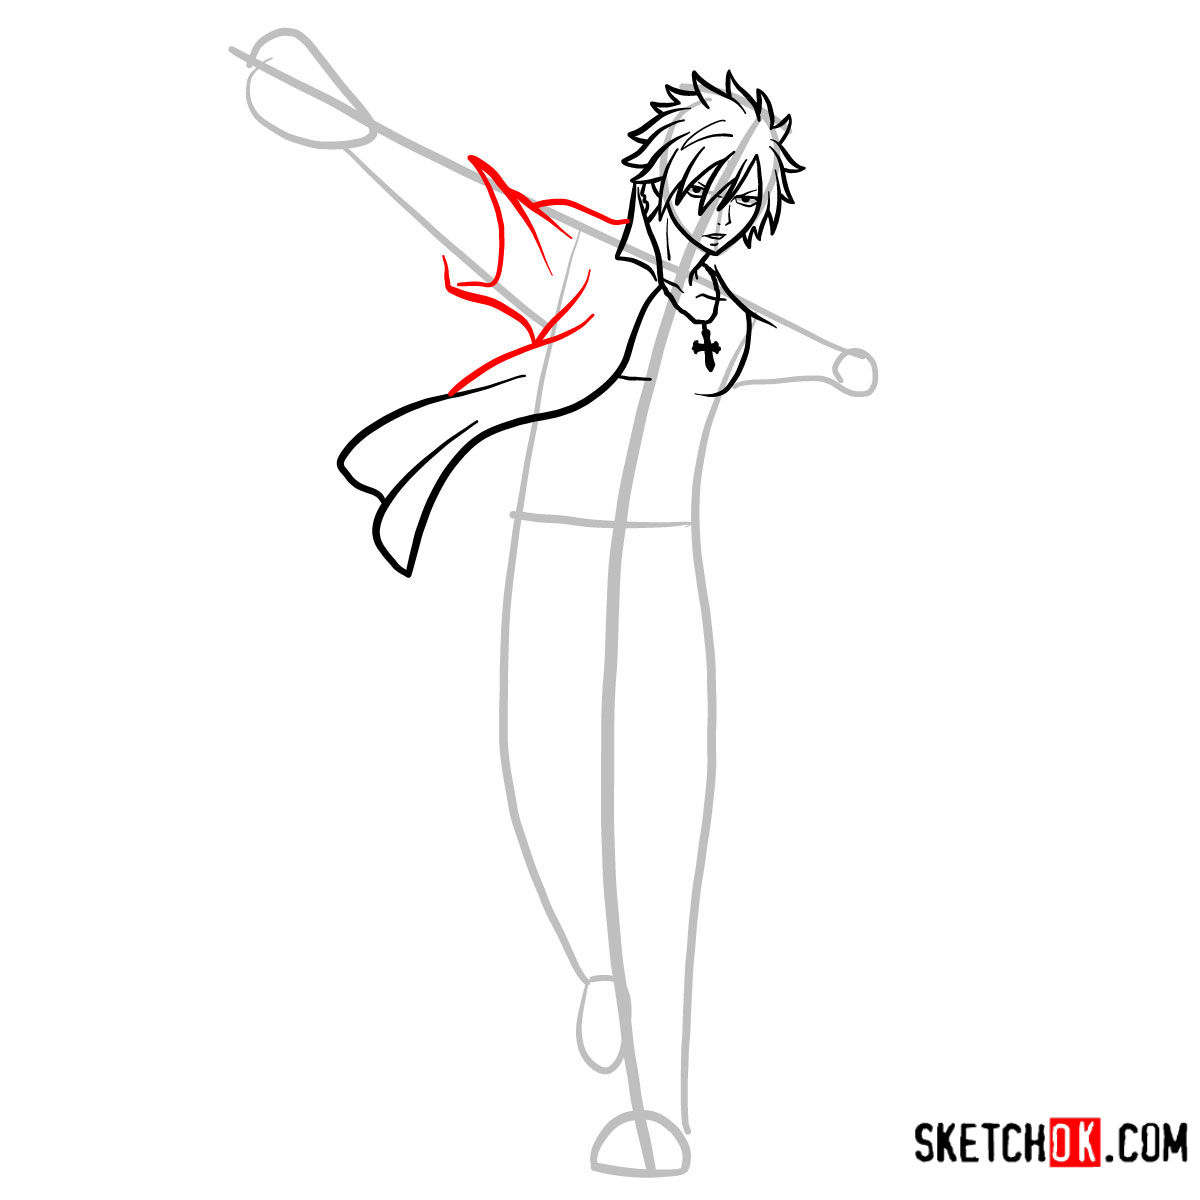
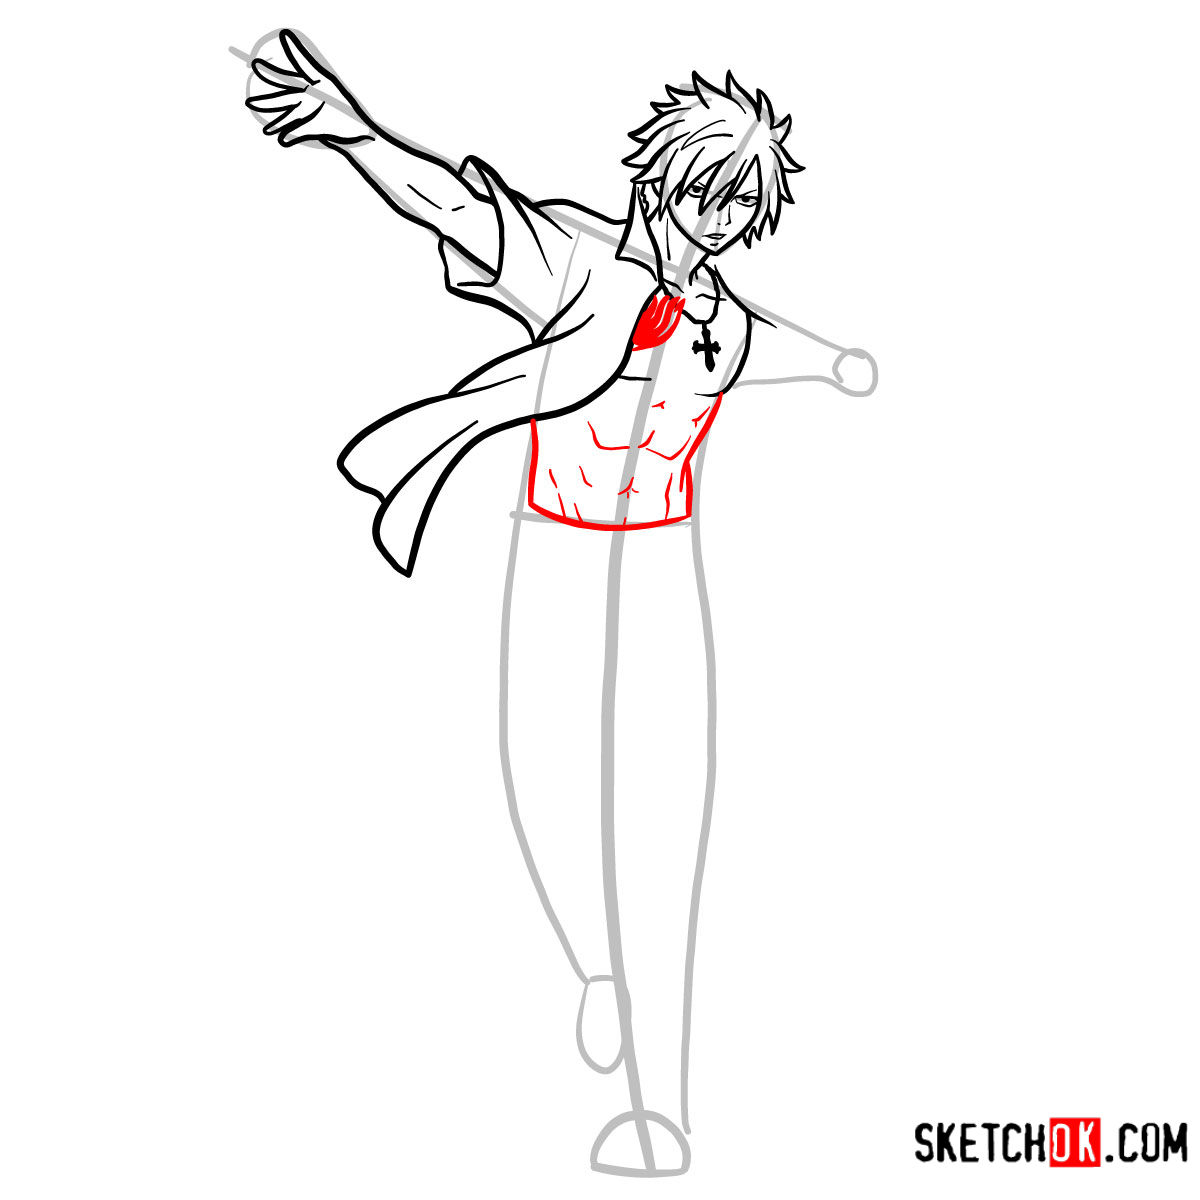
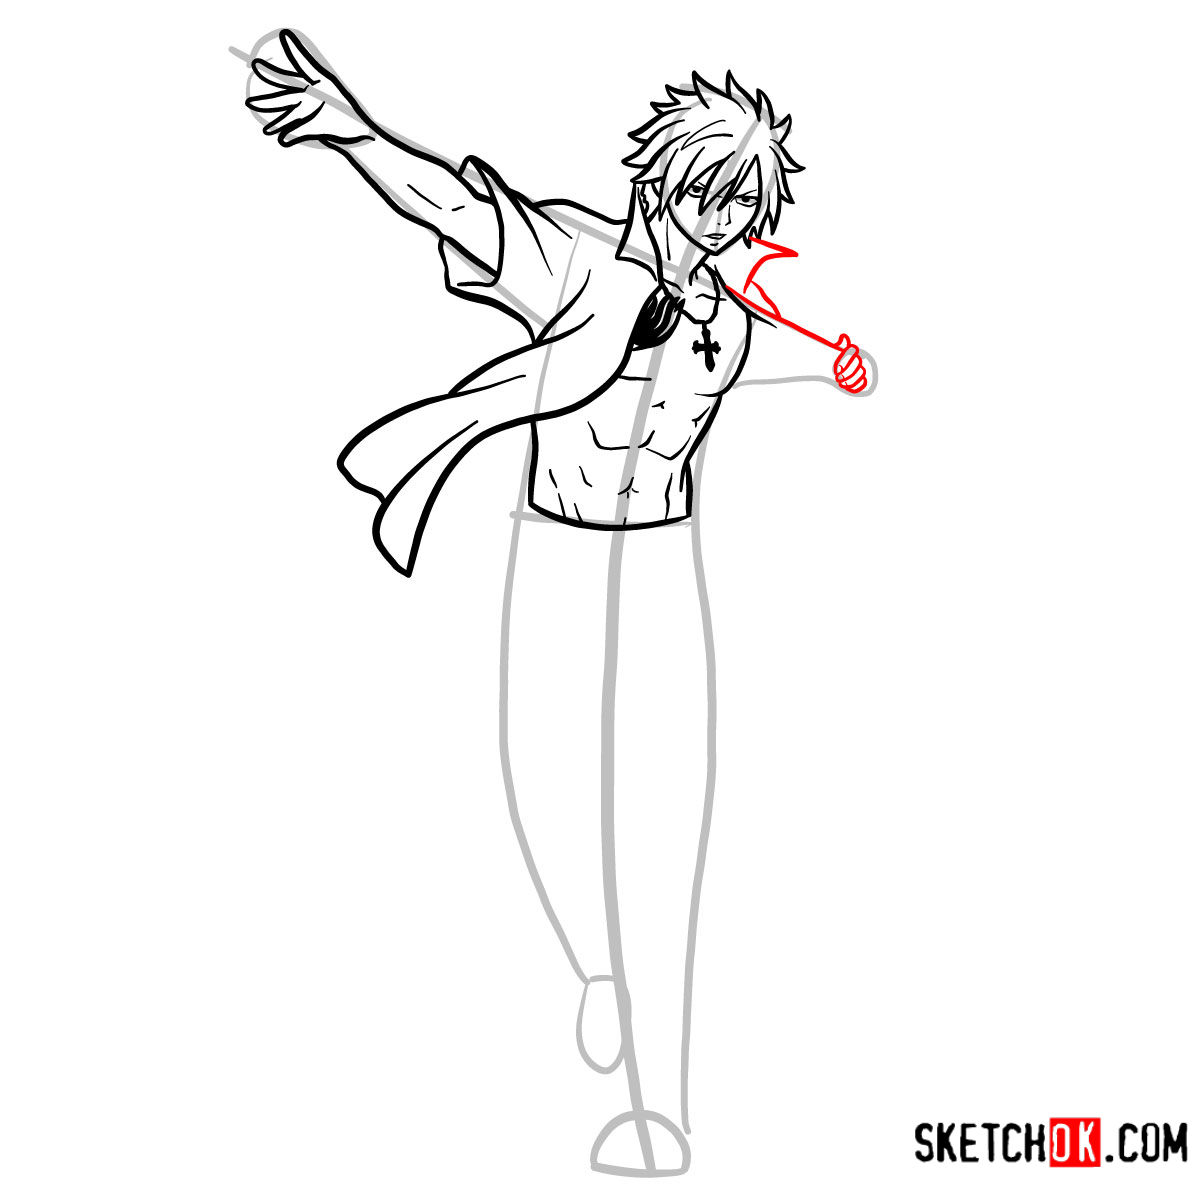
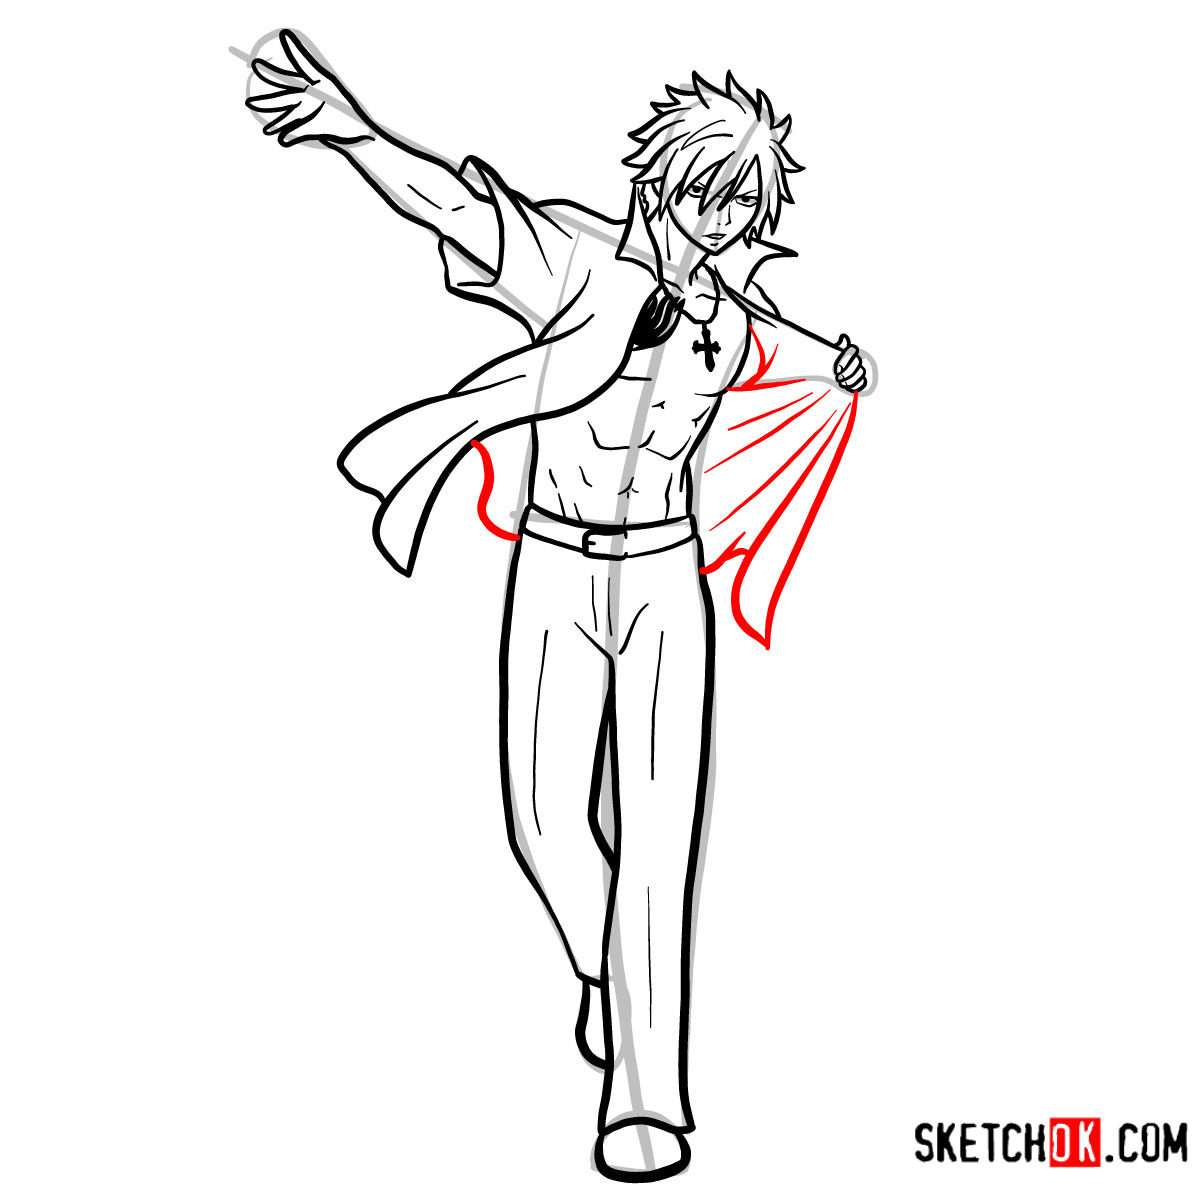
- Draw his outfit, which is an unbuttoned shirt, pants and simple footwear.
- Finish by adding shading and highlights to make your artwork pop!


Now that you’ve worked through how to draw Gray Fullbuster full growth, let me know in the comments if any particular step felt unclear or rushed, since that feedback genuinely helps when the guide gets updated. Gray’s layered outfit and confident stance can trip people up in a few spots, so pointing out where you got stuck makes the tutorial better for everyone who comes after you. You can also catch video versions of some guides over on the SketchOk YouTube channel if you prefer following along that way.