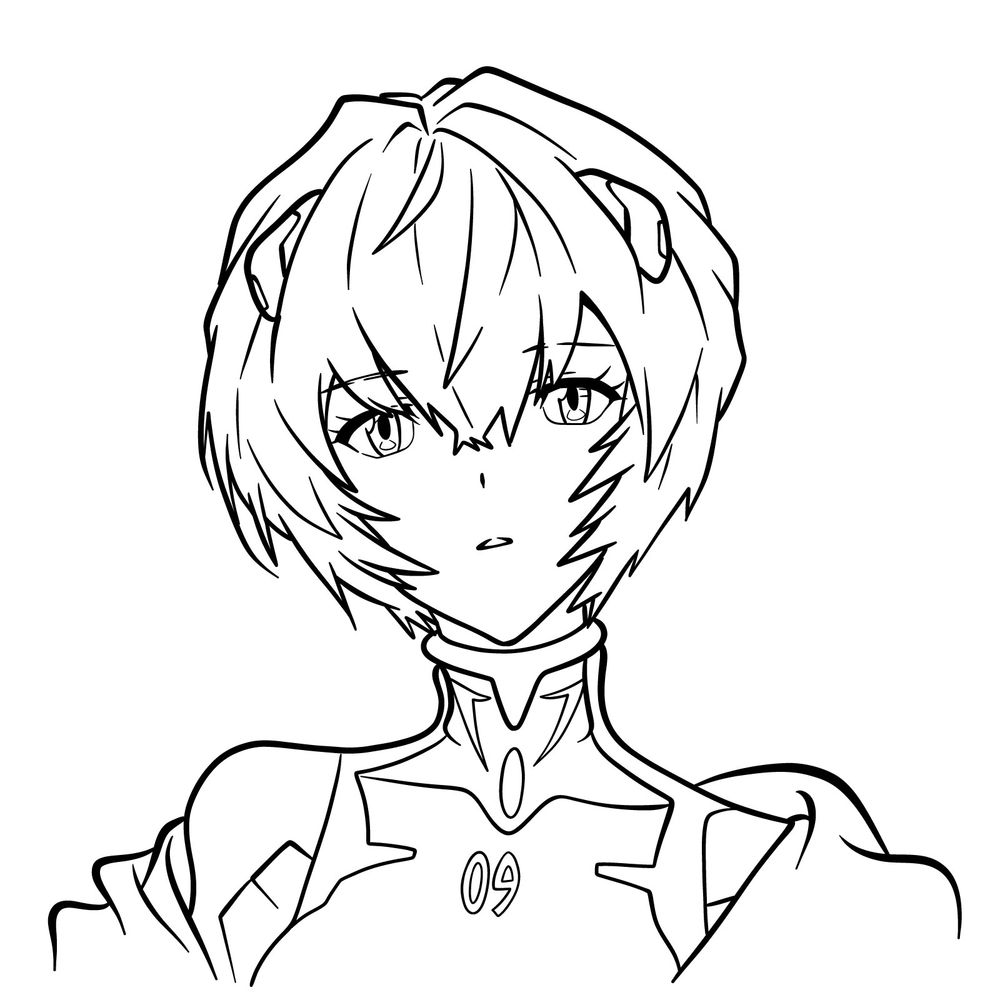
Hello and welcome to my new step-by-step drawing guide. Today, our goal is about understanding and recreating the essence of Rei Ayanami. Together, we’ll dissect every element that brings her image to life.
Rei’s Signature Look: What to Notice
- Take note of the iconic pale blue hair framing her face; it’s as much a part of her identity as her name.
- Observe the evolution of her expressions throughout the series and let that guide the emotion in your drawing.
- And remember, sketching Rei isn’t just about getting her features right—it’s about the harmony of her character amidst the world of Evangelion.
I would suggest you to consider drawing her full body next, or sketching Eva 01 for a complete scene from the series.
Guided Sketching:
Our Rei Ayanami’s face drawing guide unfolds like a visual story. Each image is a step that builds upon the last, gradually revealing her character on your canvas. Let’s explore this narrative together.
- Grey Color: This sets the stage, outlining the initial contours and groundwork.
- Red Color: With each new step, focus here—these are the lines bringing Rei’s features into sharper focus.
- Black Color: Look back at these lines; they’re your journey’s milestones, shaping Rei’s face.
Through 22 steps, we start with a simple sketch and end with the option to ink. Inking is an act of commitment to your drawing; do it with a steady hand. Allow the ink to settle, then erase the preliminary sketches to unveil the sharp, definitive lines of Rei Ayanami’s visage.


Taking this challenge to draw Rei Ayanami’s face has, I hope, been as enlightening for you as it was for me creating this guide. No matter your skill level, there’s always room to grow and characters to bring to life with your pencil and passion.
And remember, joining SketchOk on our social platforms keeps you connected to a community of artists just like you:
