Home » Anime » Evangelion » How to Draw Rei Ayanami in plugsuit

How to Draw Rei Ayanami in plugsuit

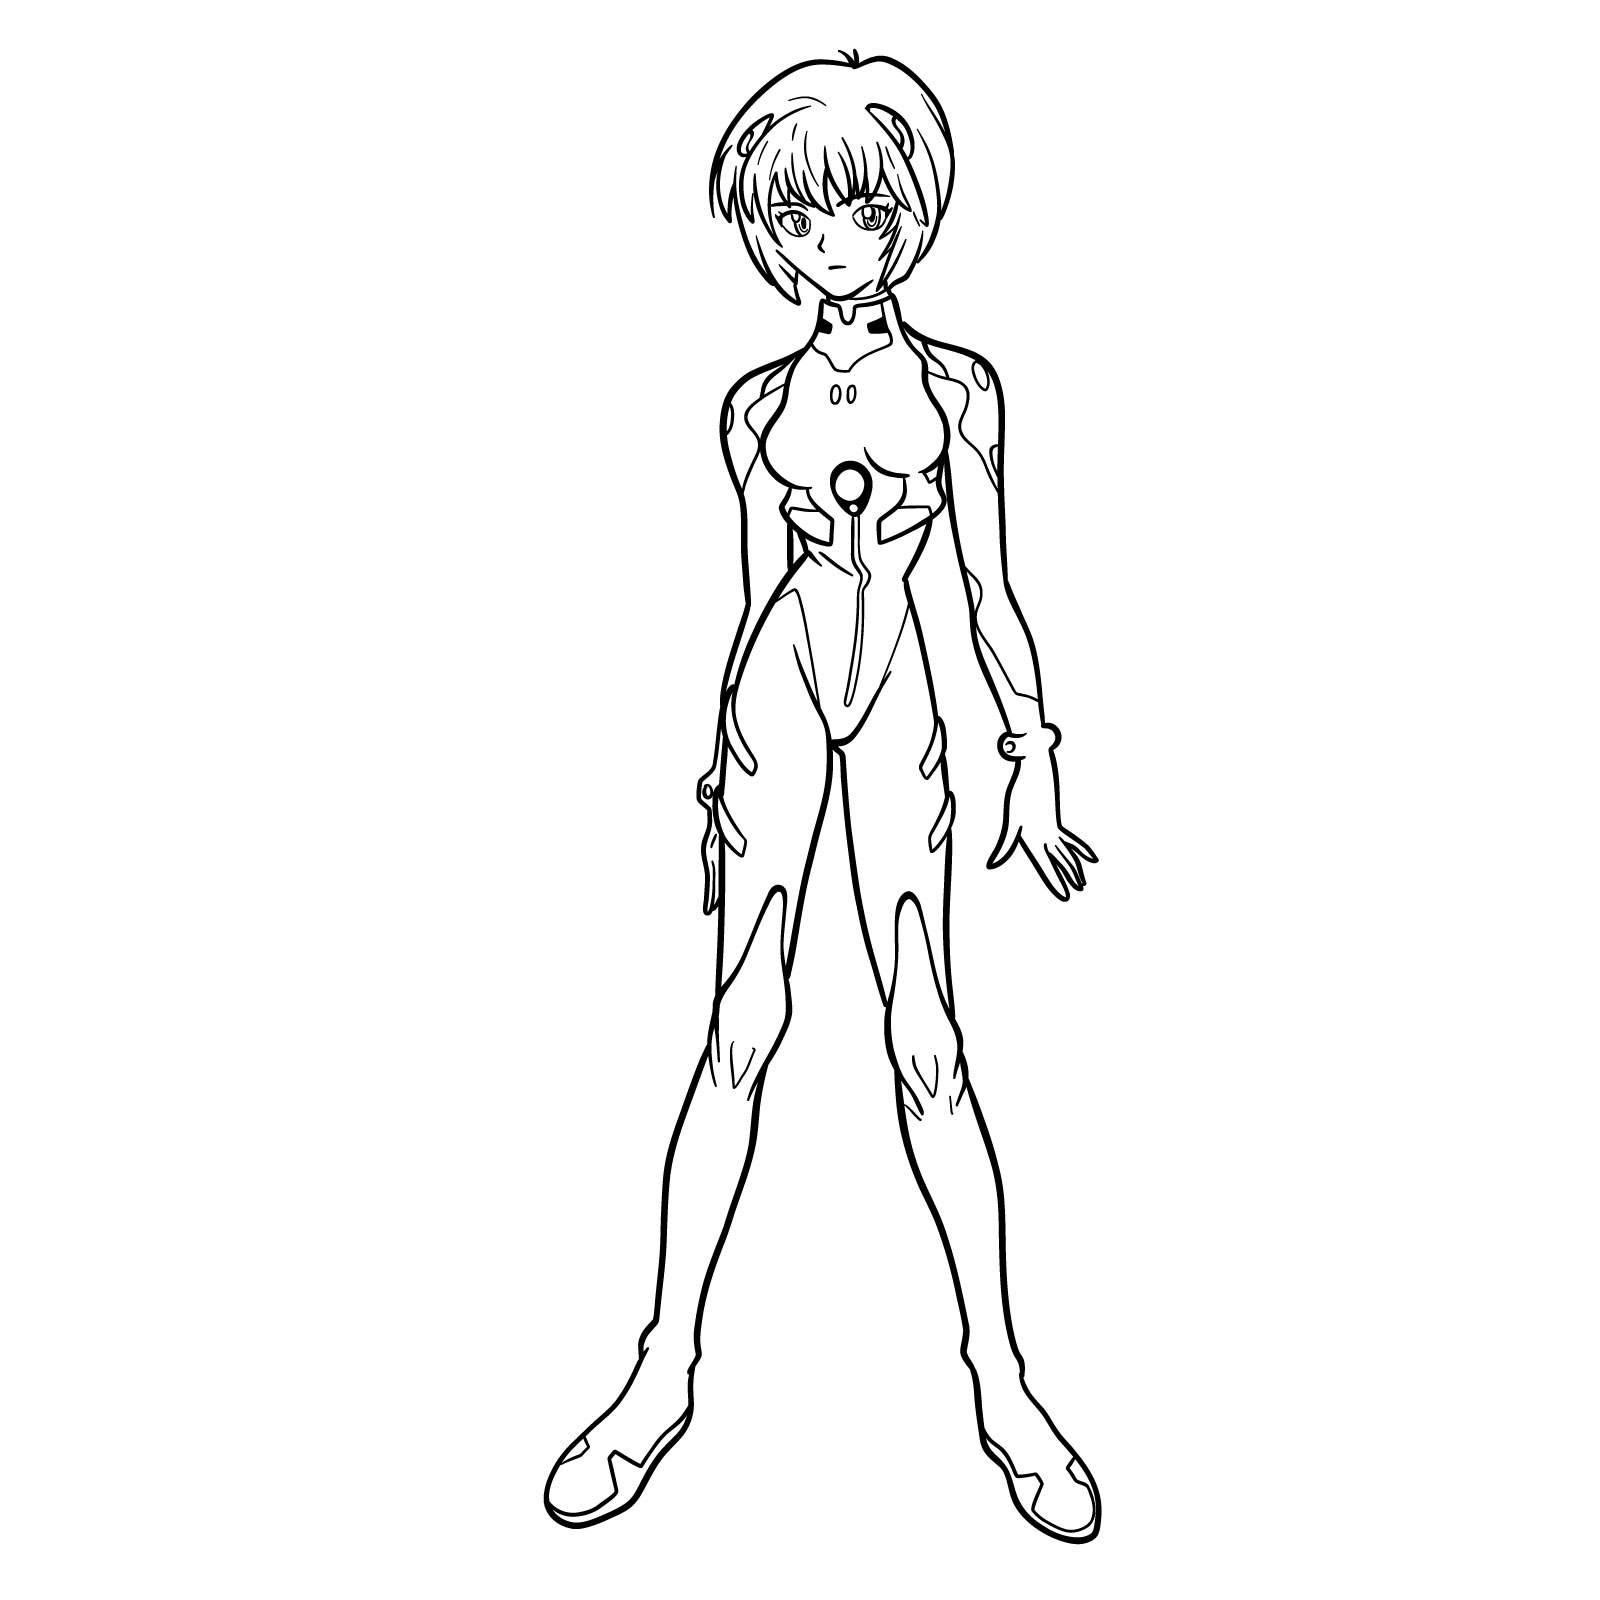
Rei Ayanami, a fictional cornerstone in the Rebuild of Evangelion film series, carries an air of mystery and depth. Known as the First Child, and the pilot of Evangelion Unit-00, her presence is ethereal and captivating. With short pale blue hair, contrasted by deep red eyes, Rei’s aesthetic is a blend of softness and intrigue. Now, let’s learn how to draw Rei.

Character Highlights & Drawing Focus Points

  • Hair: Pale blue with bangs centered towards the middle.
  • Eyes: Deep, captivating red.
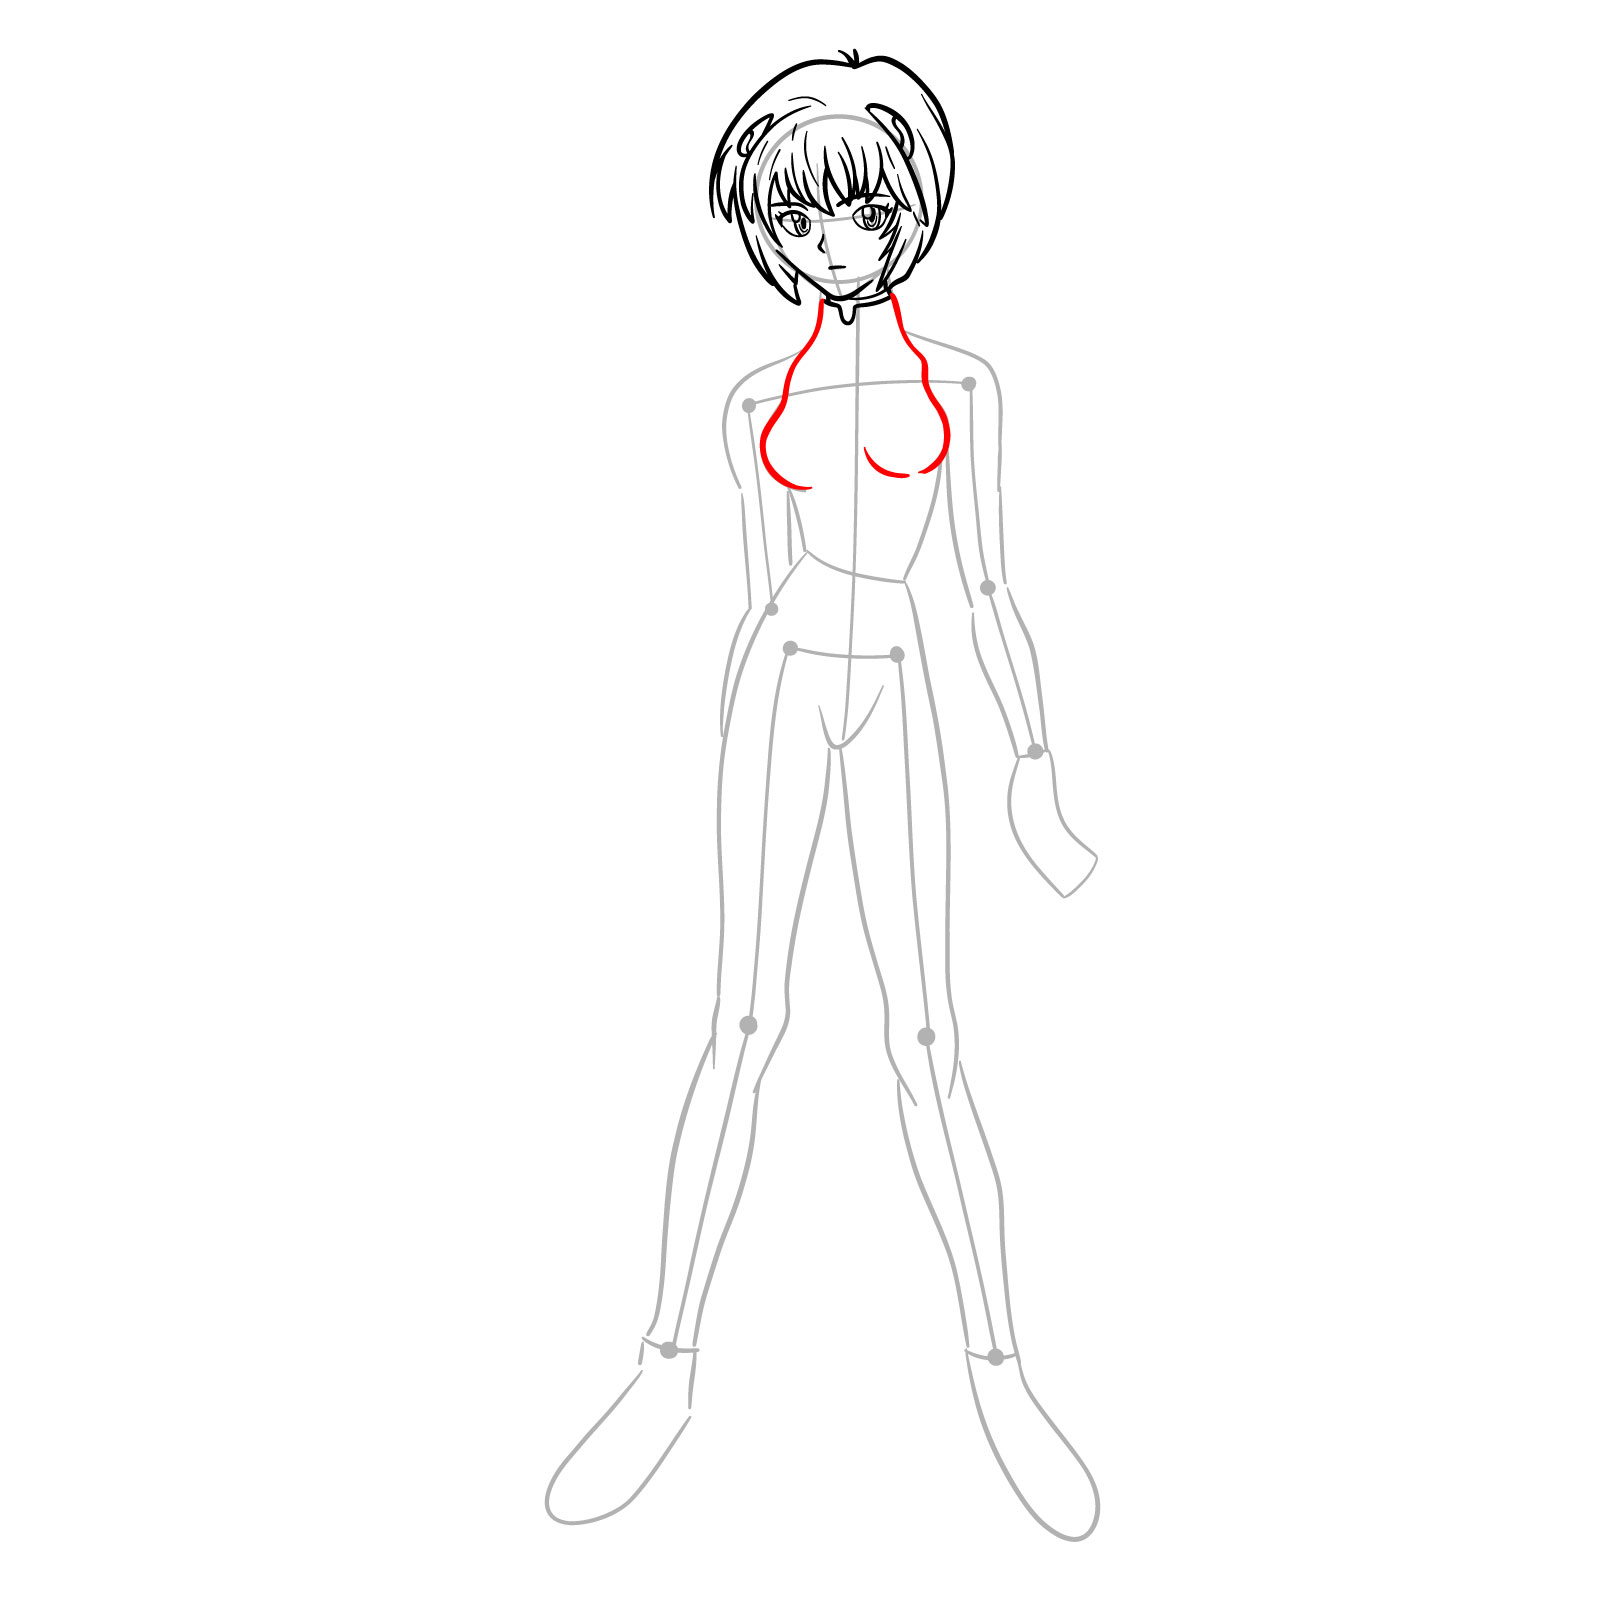
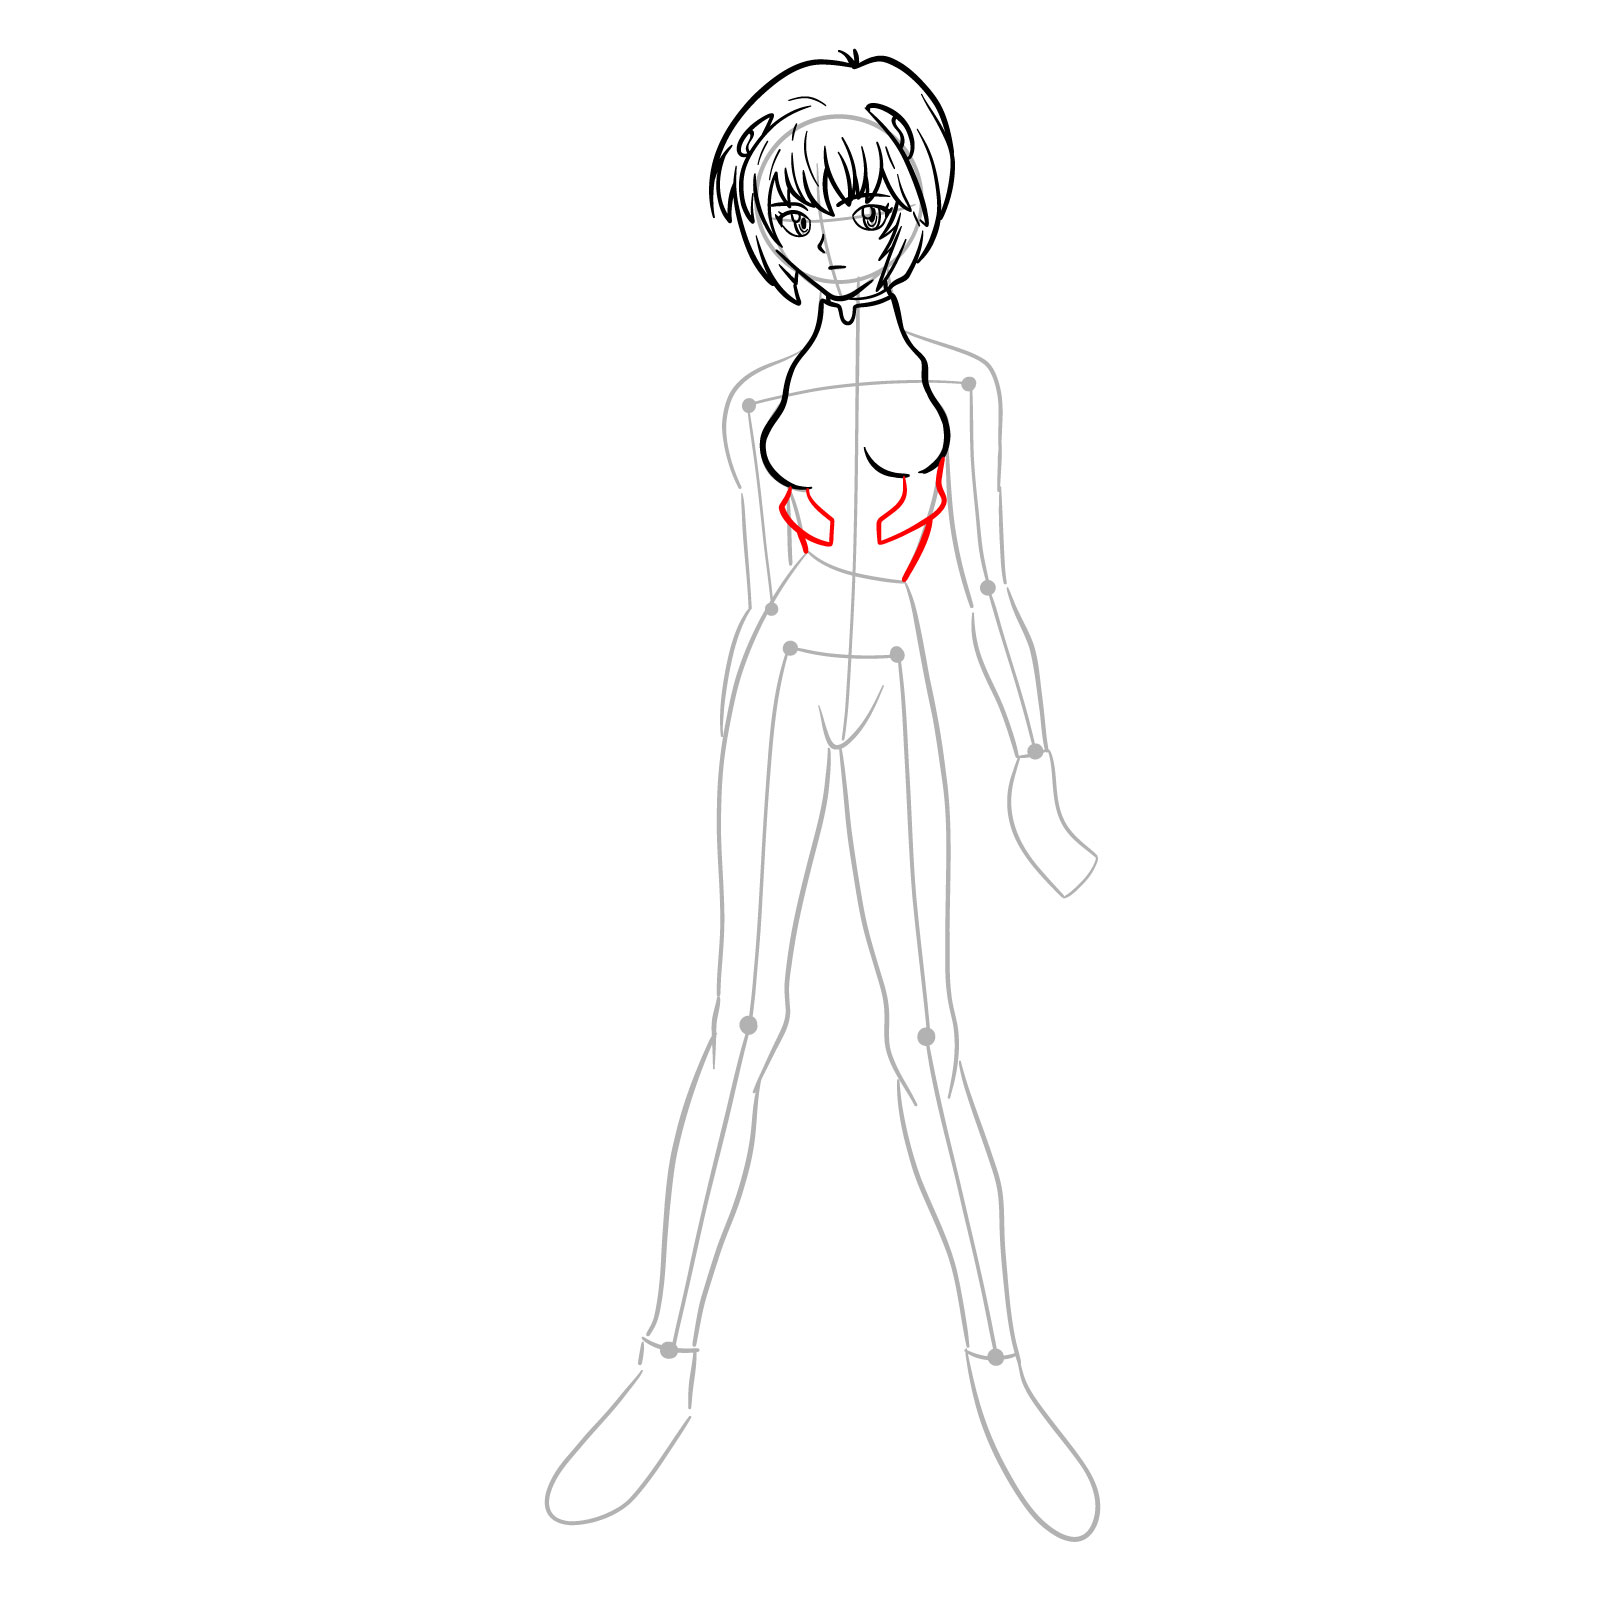
  • Outfit: Her plugsuit, mostly white, is adorned with black, red, and dark green accents, which are vital when sketching.
  • Emotion: While Rei often seems stoic, her relationship with characters like Shinji brings out genuine smiles and emotions. Capturing these subtle expressions is essential.
  • Context: As you dive deeper into Rei Ayanami drawing, consider adding characters like Gendo or Shinji for a comprehensive scene, reflecting their intertwined narratives.

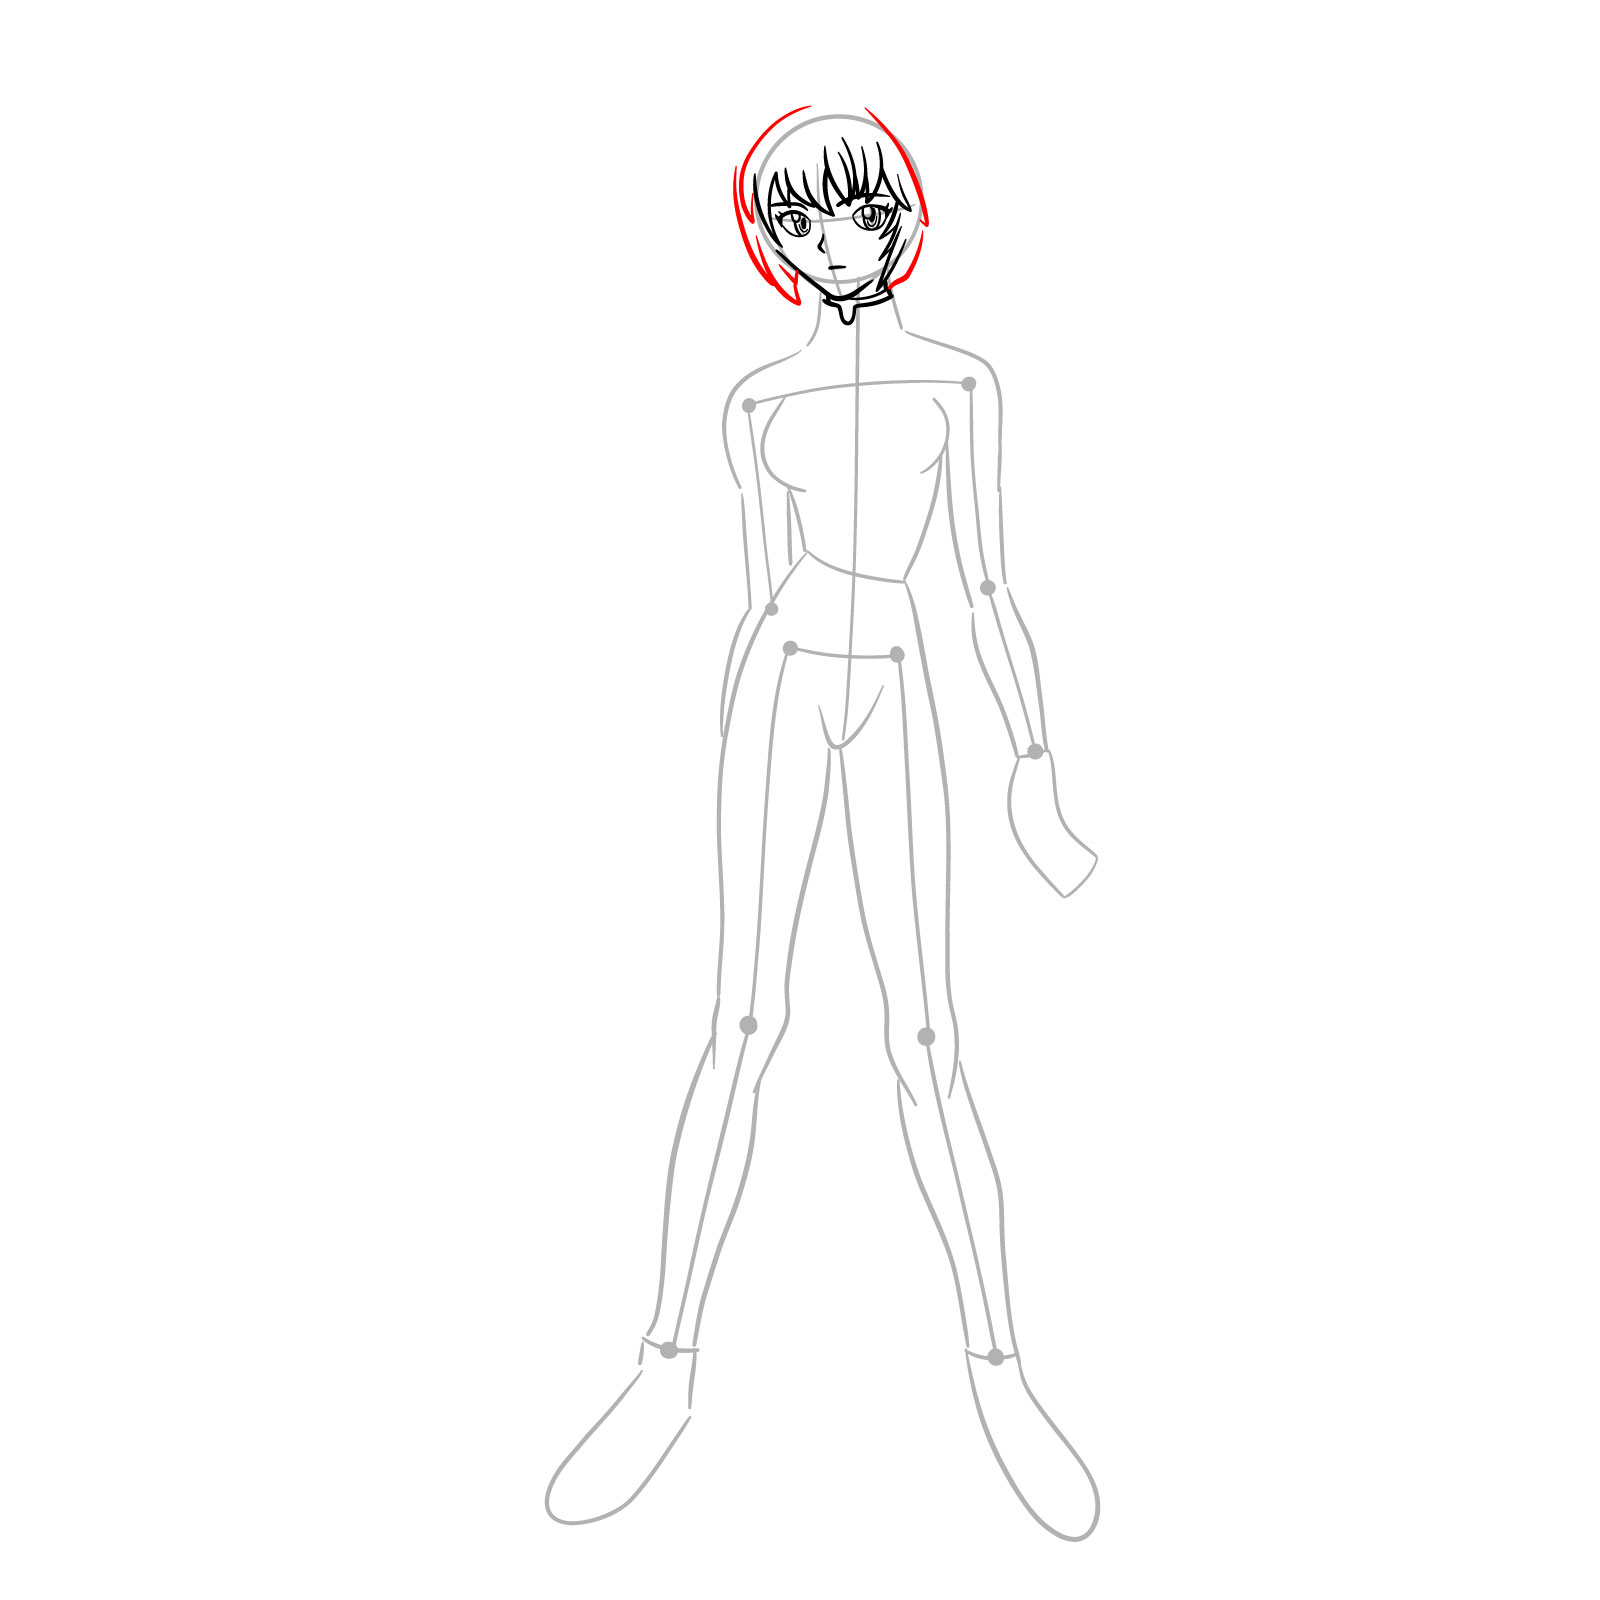
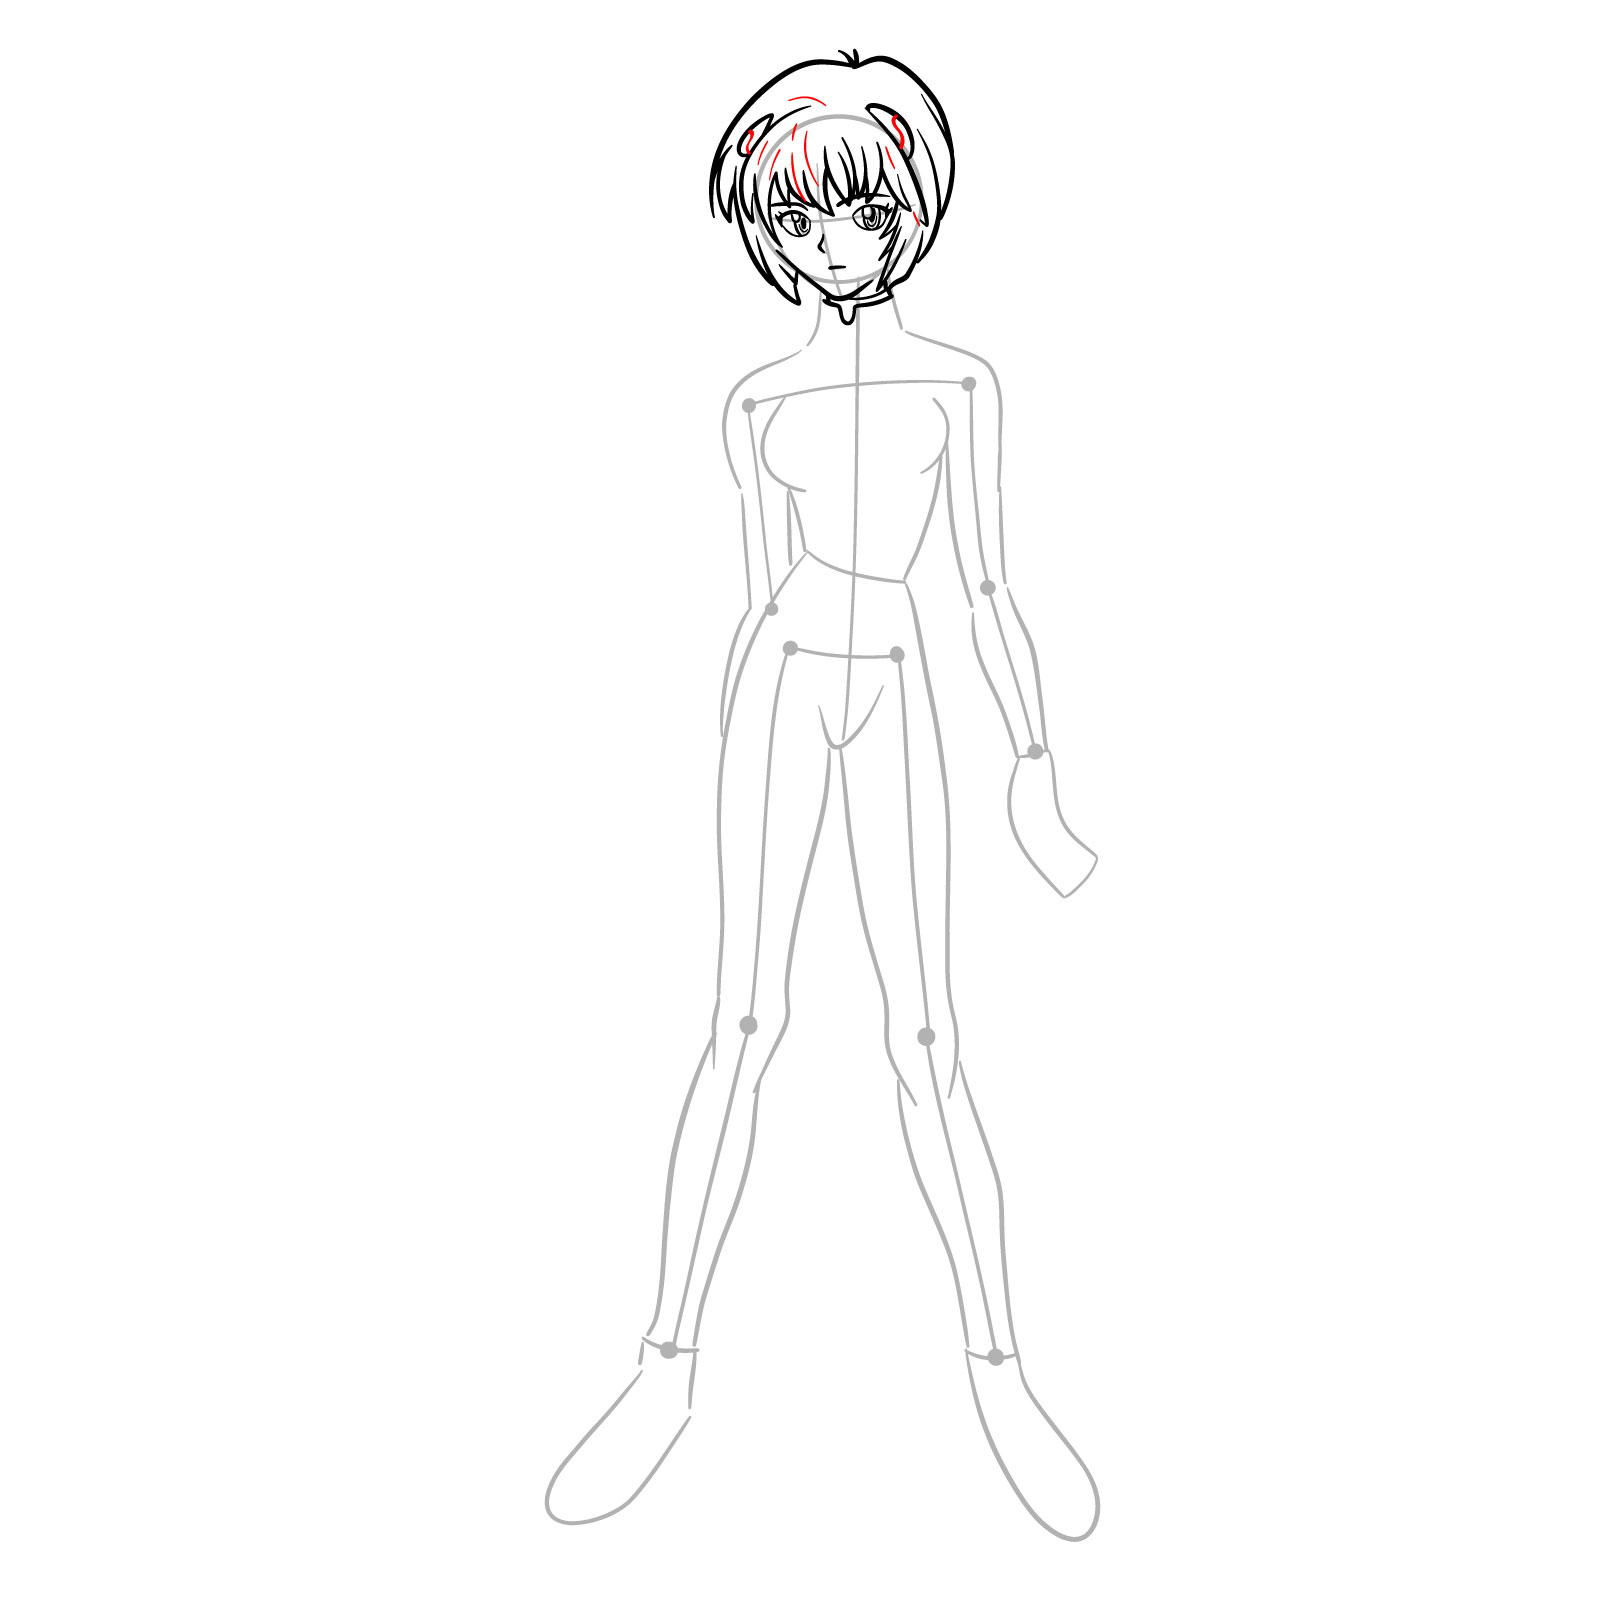
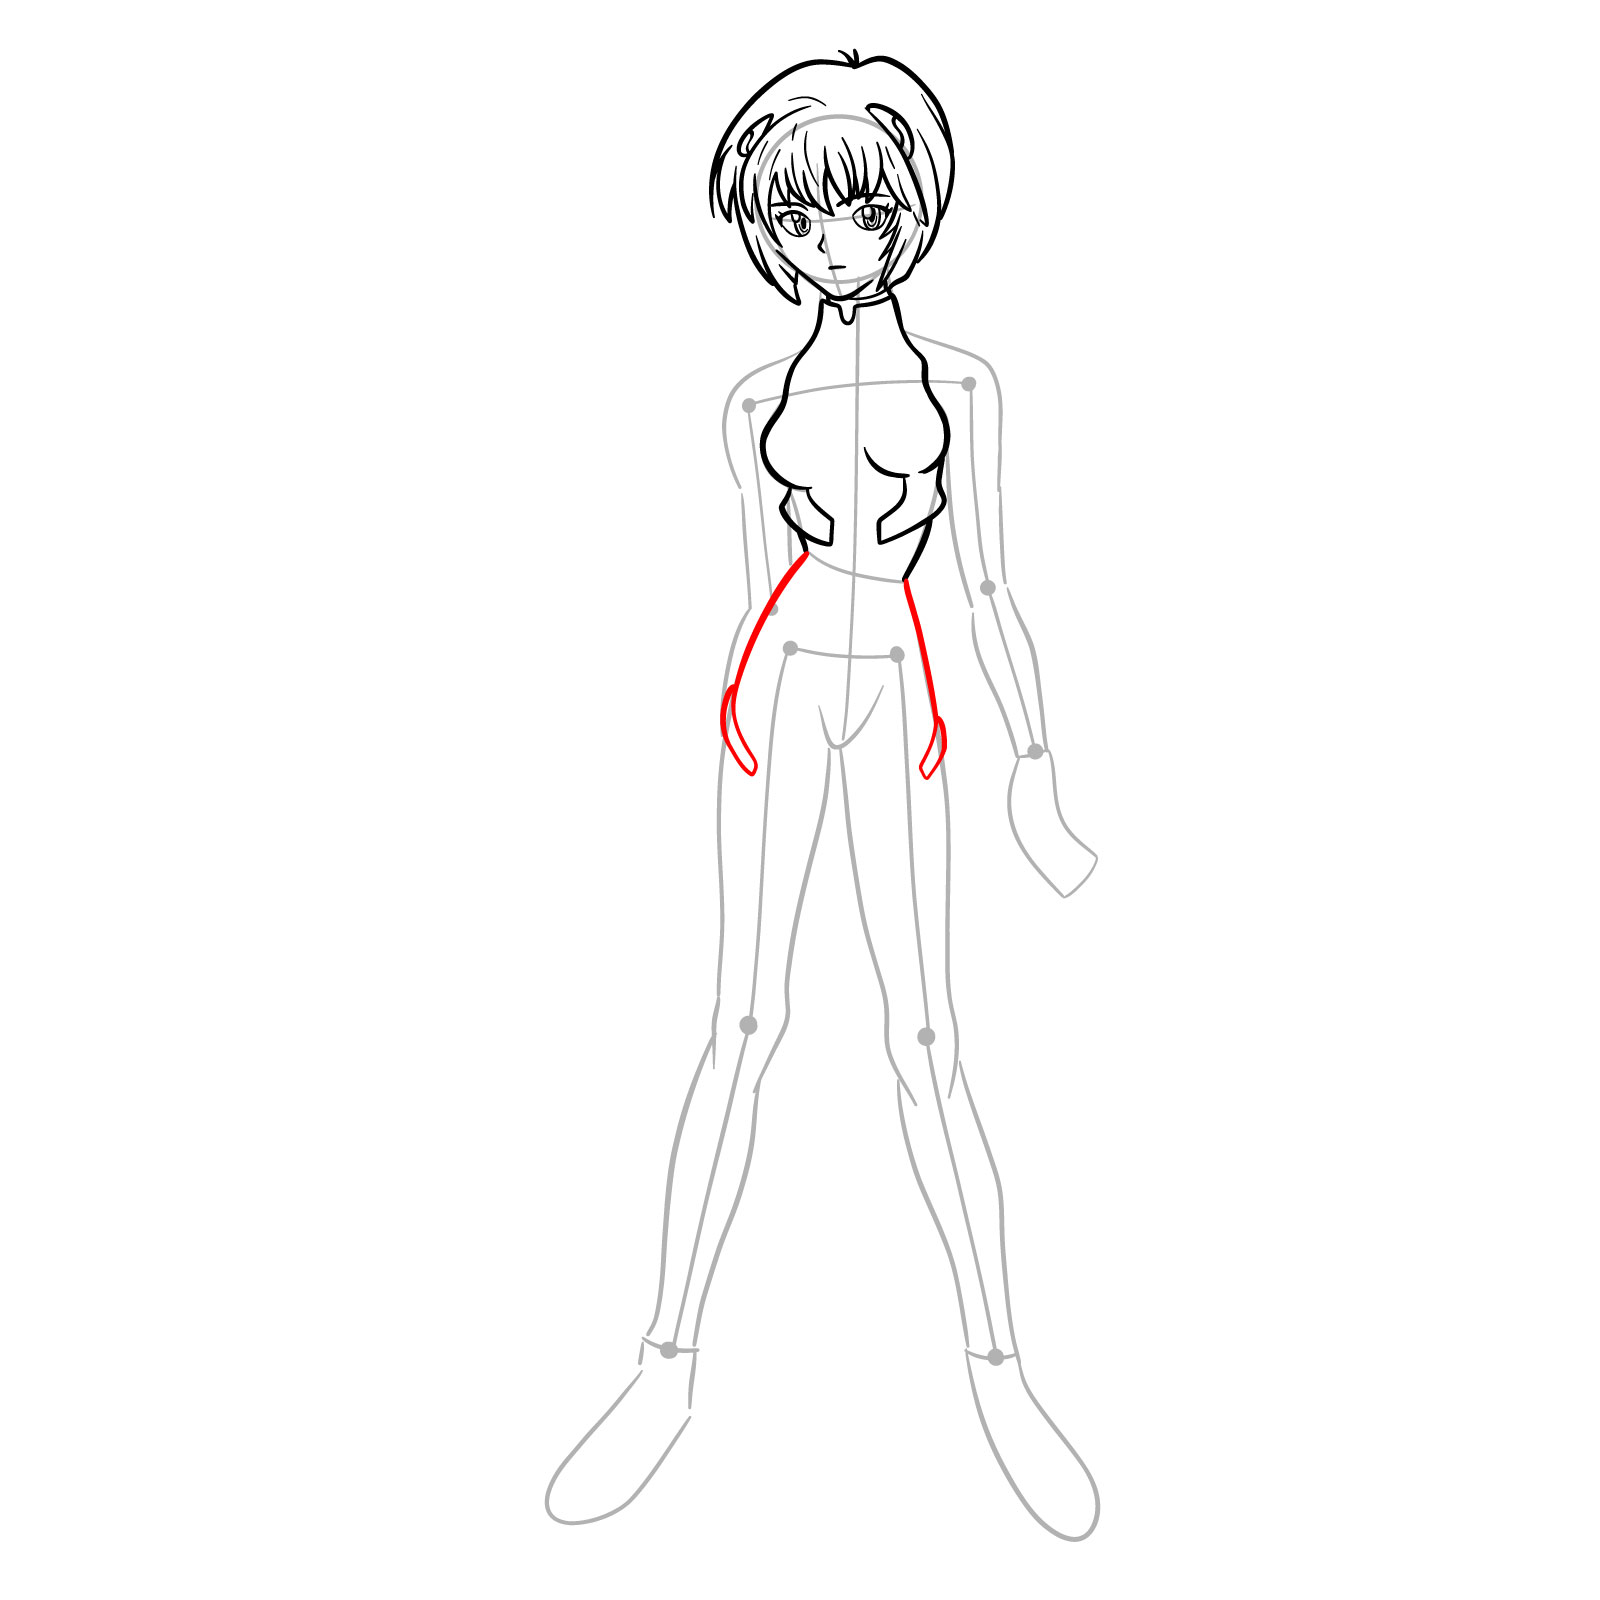
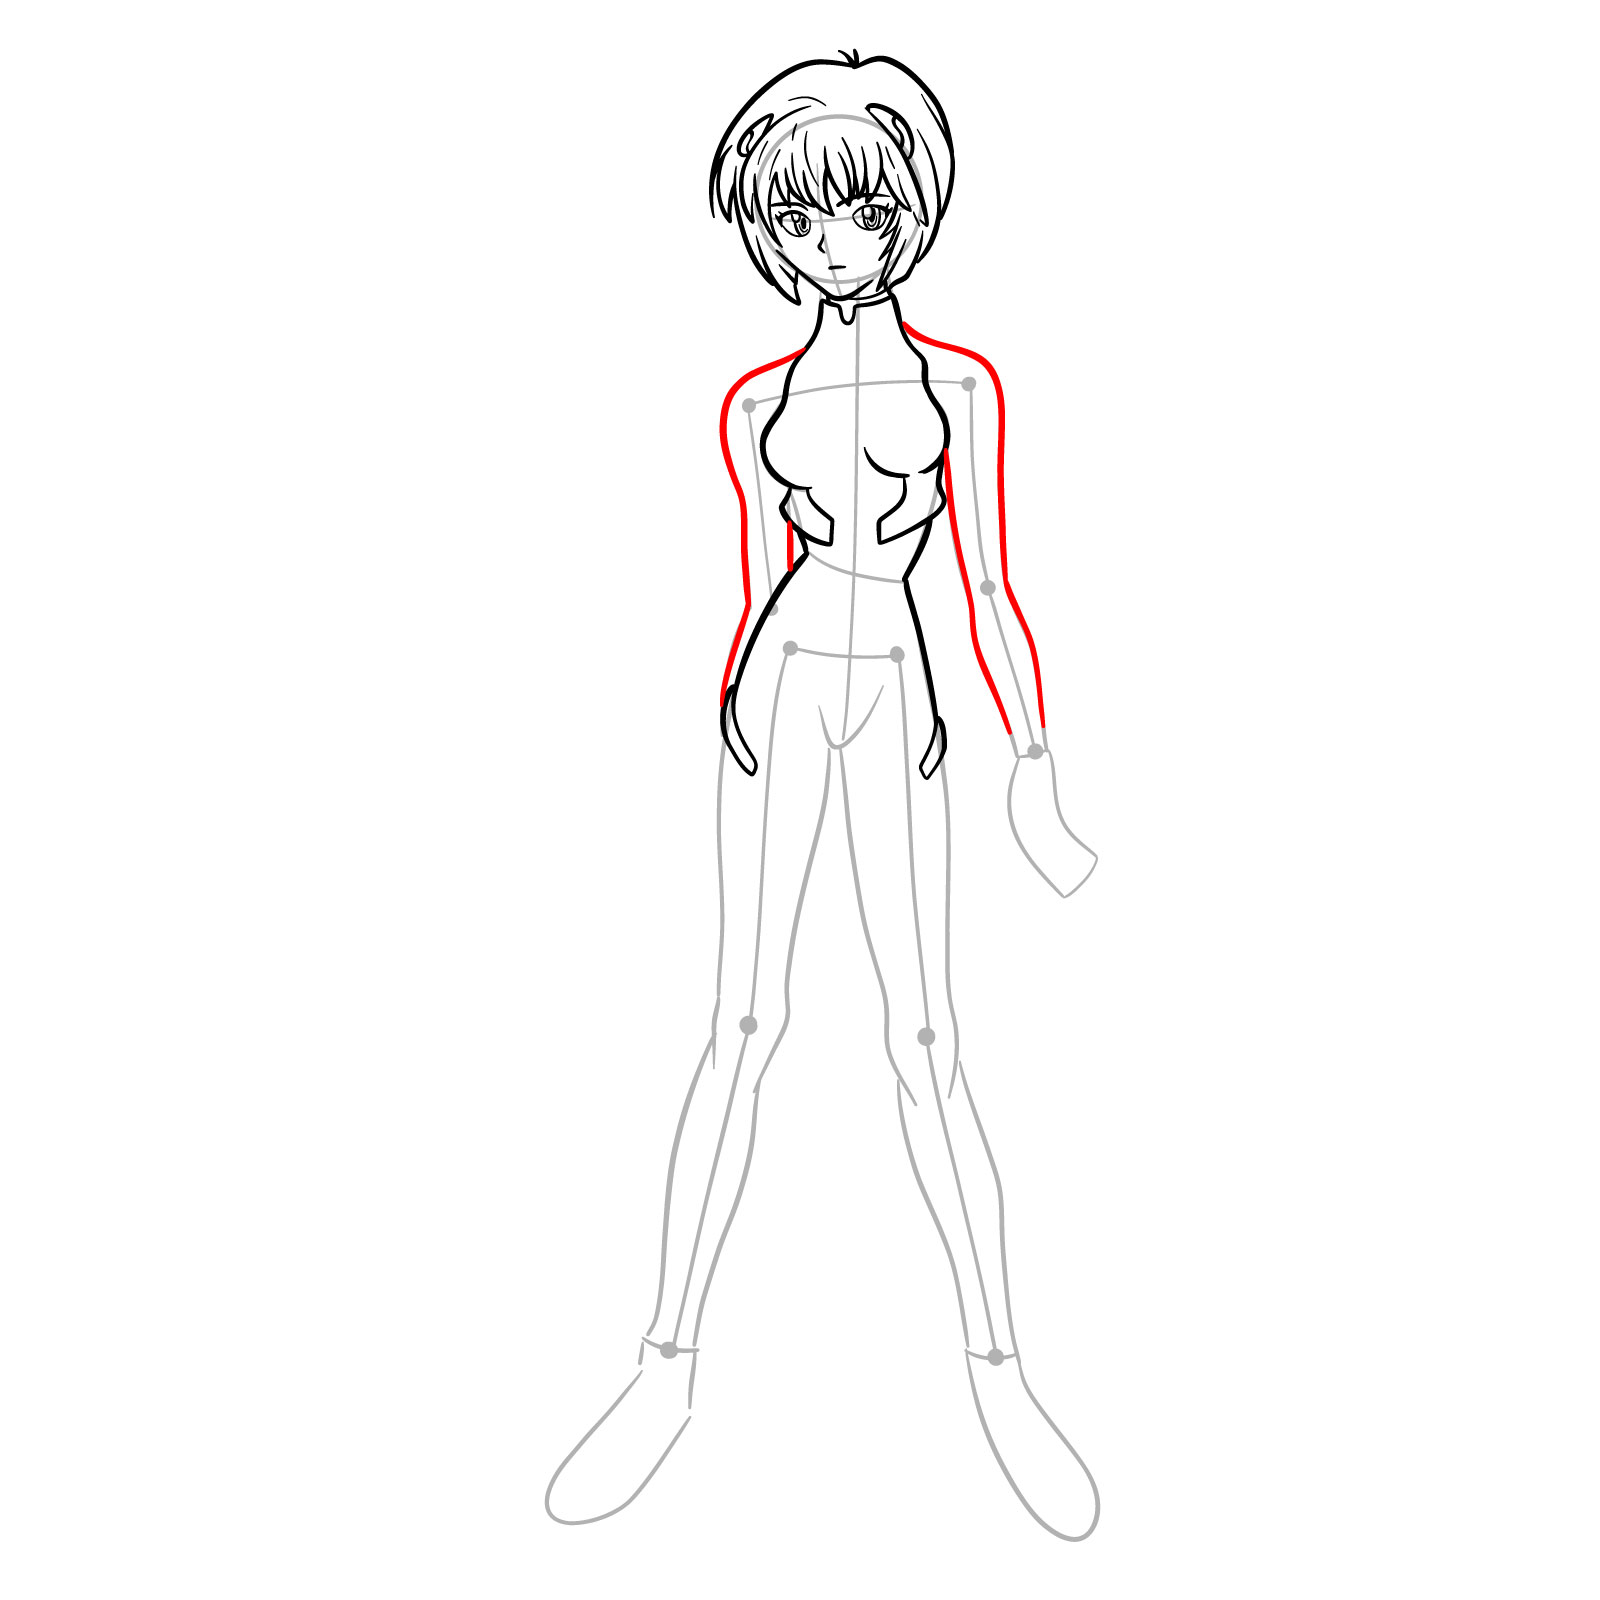
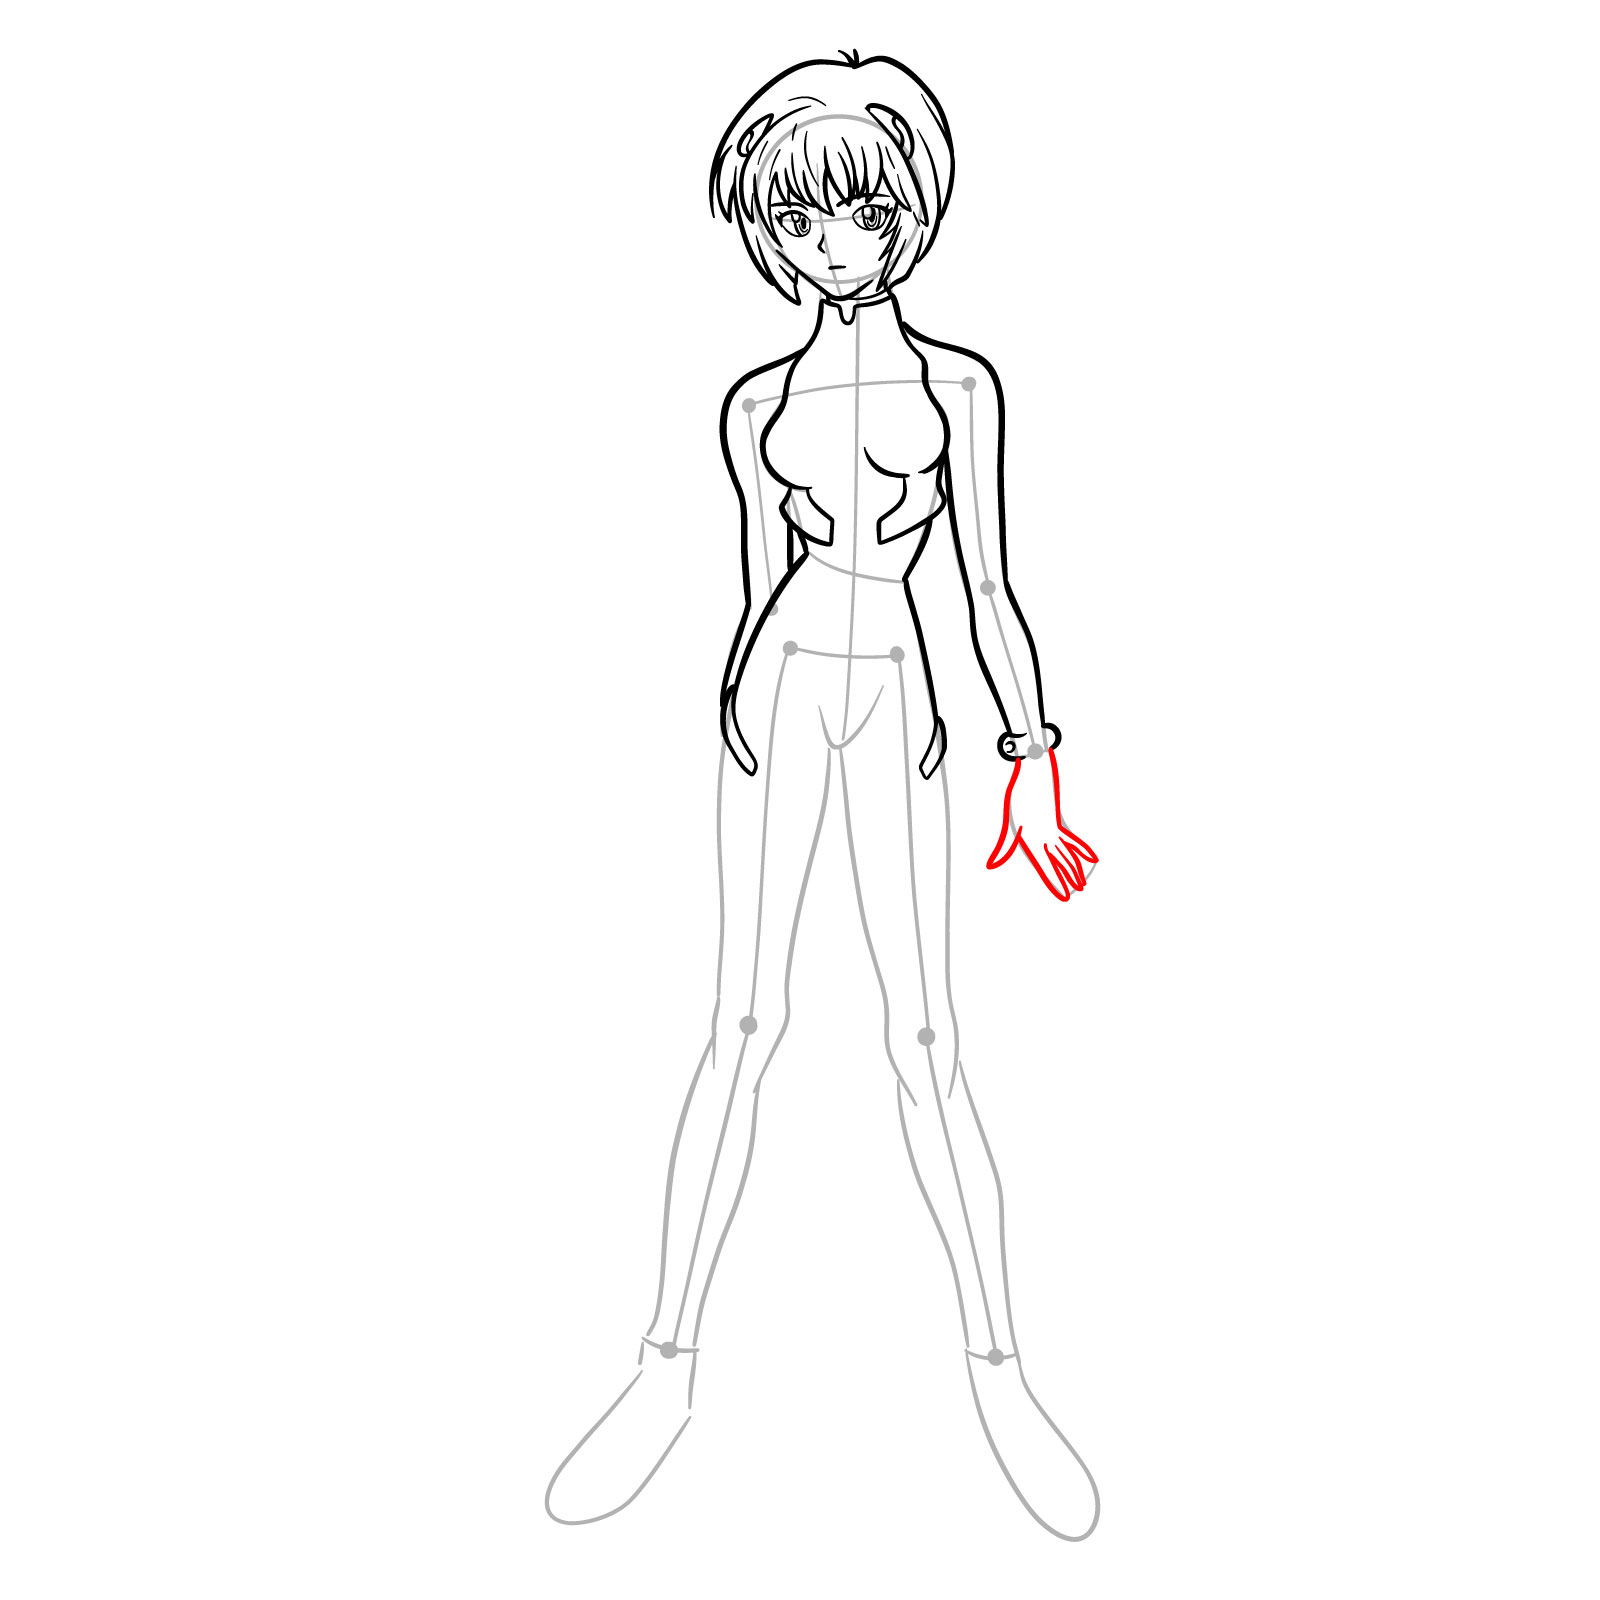
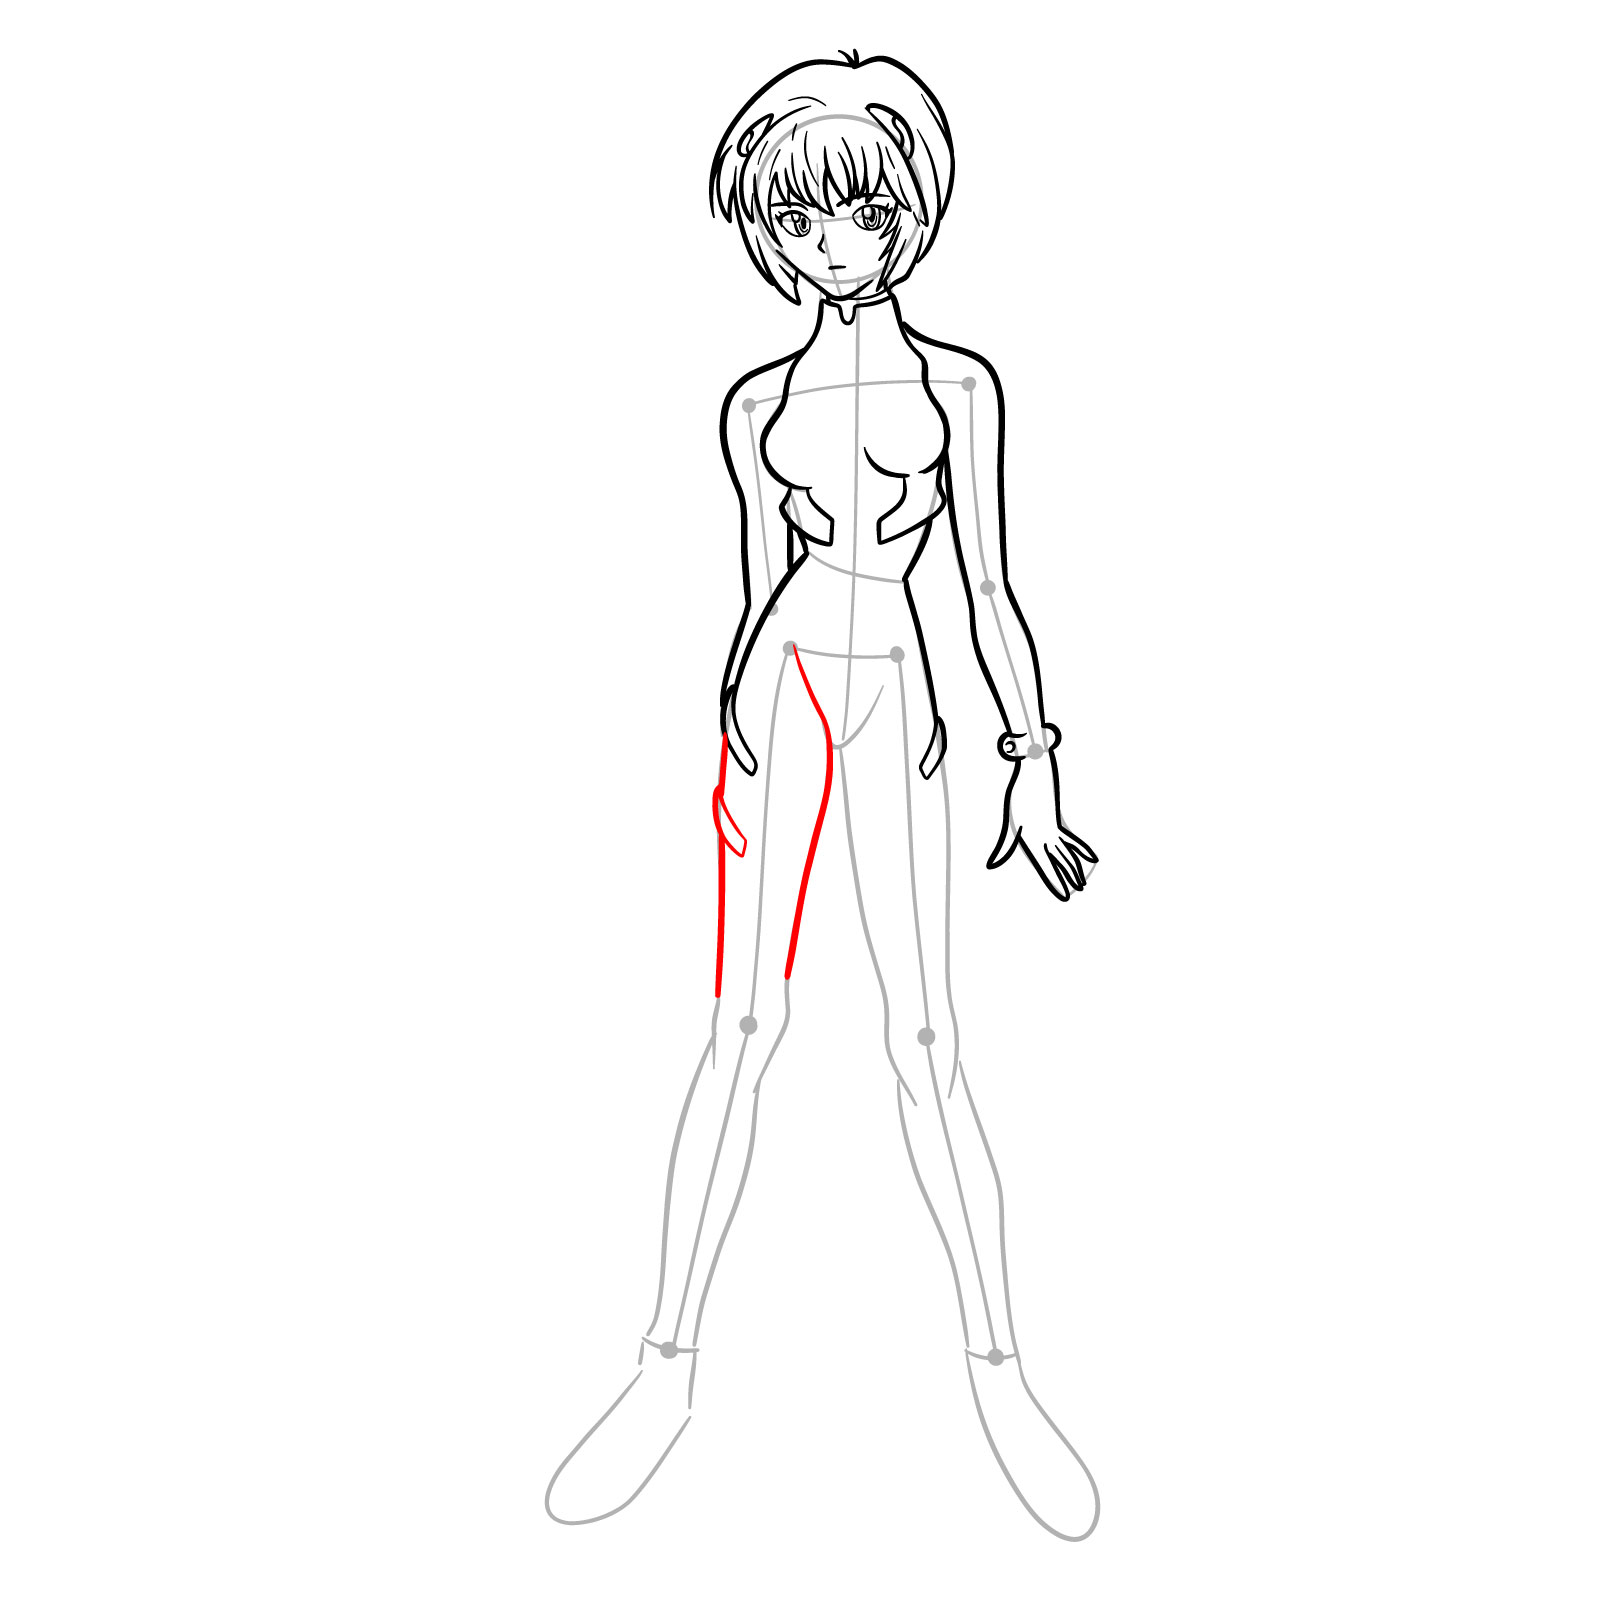
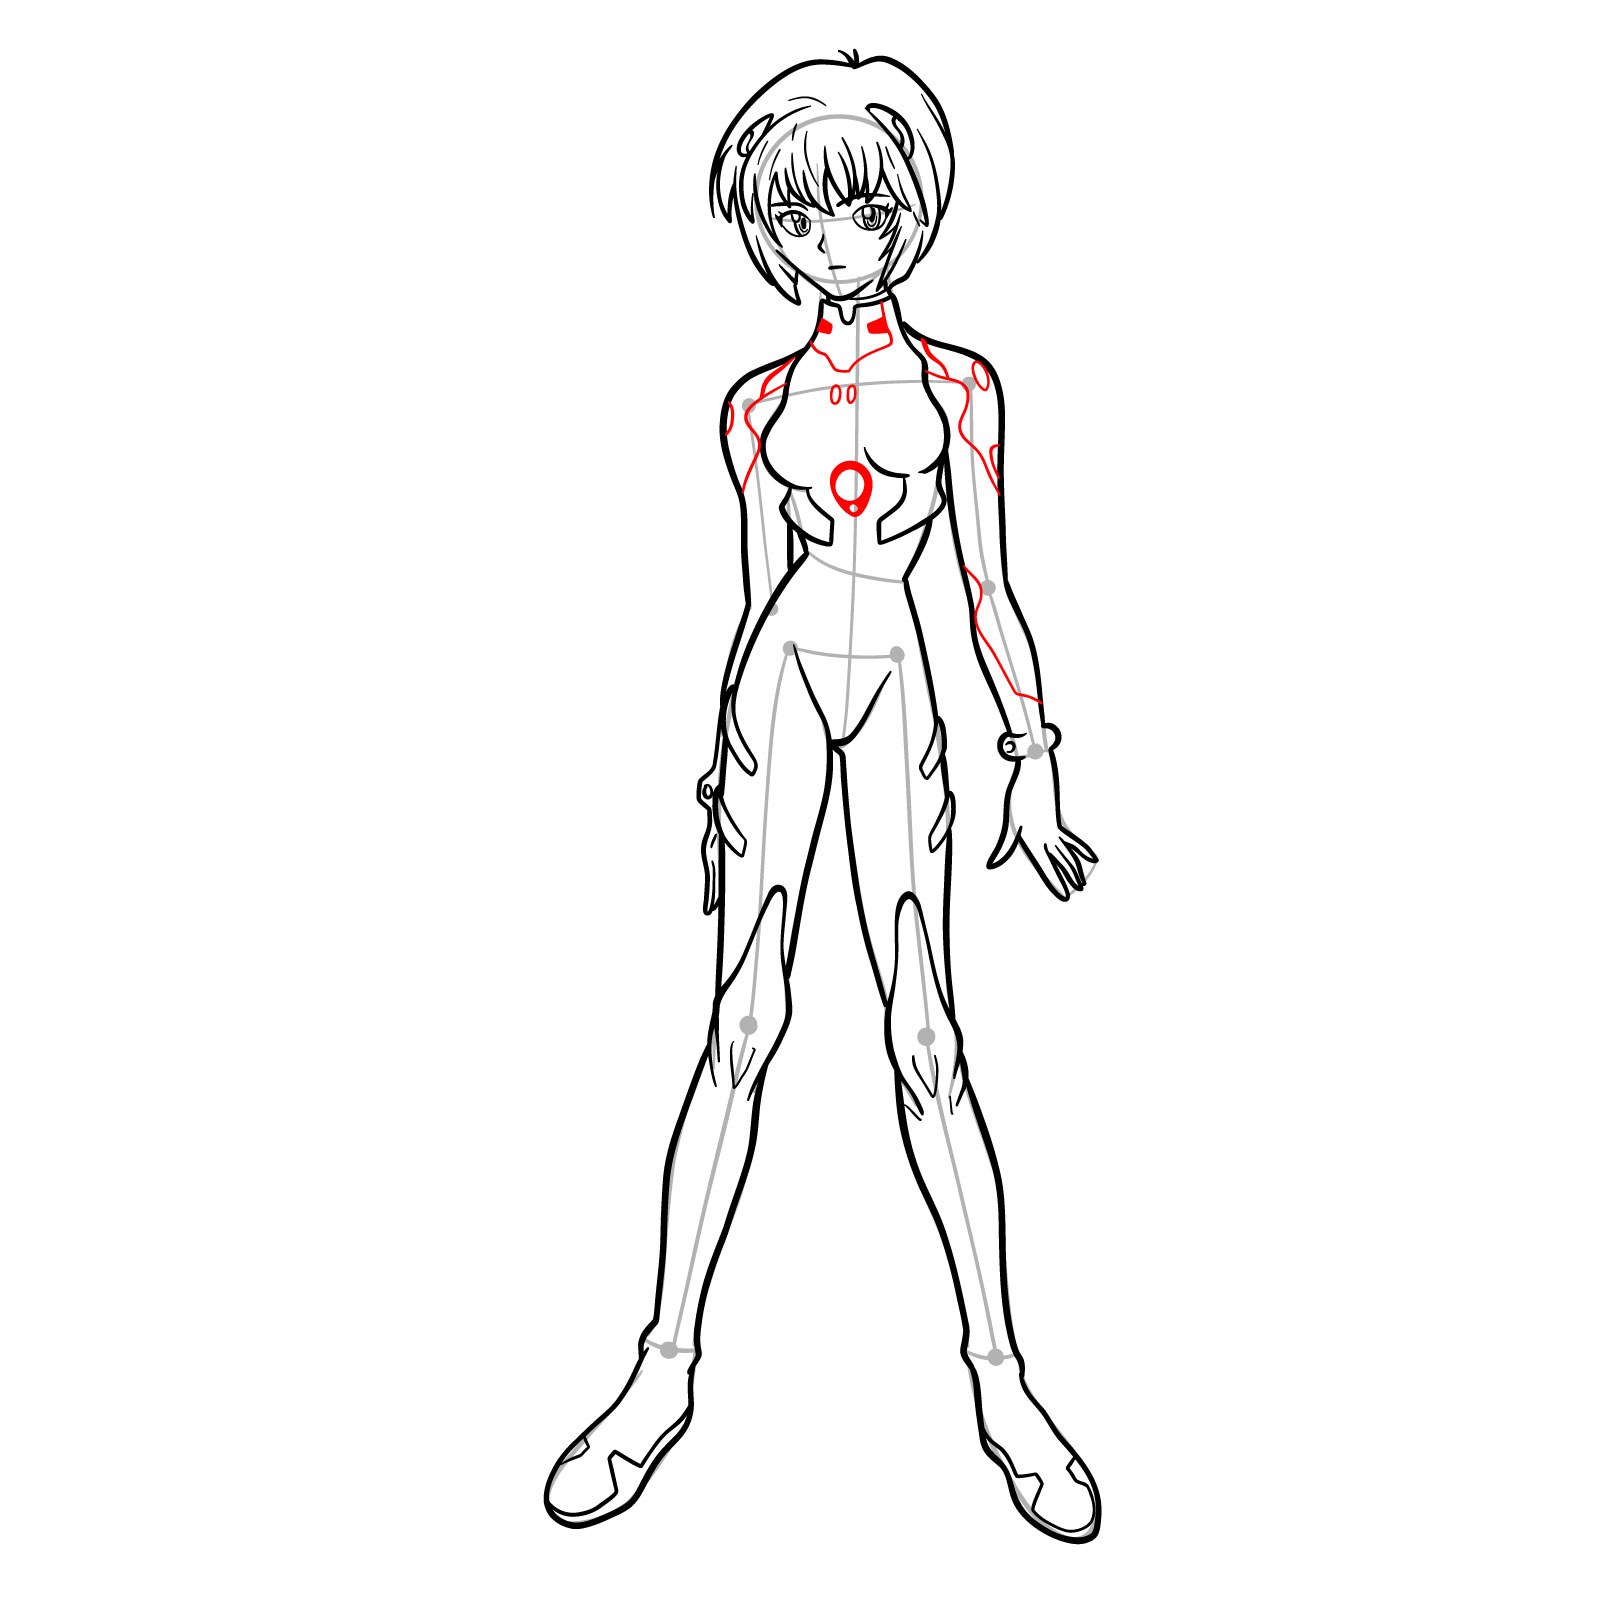
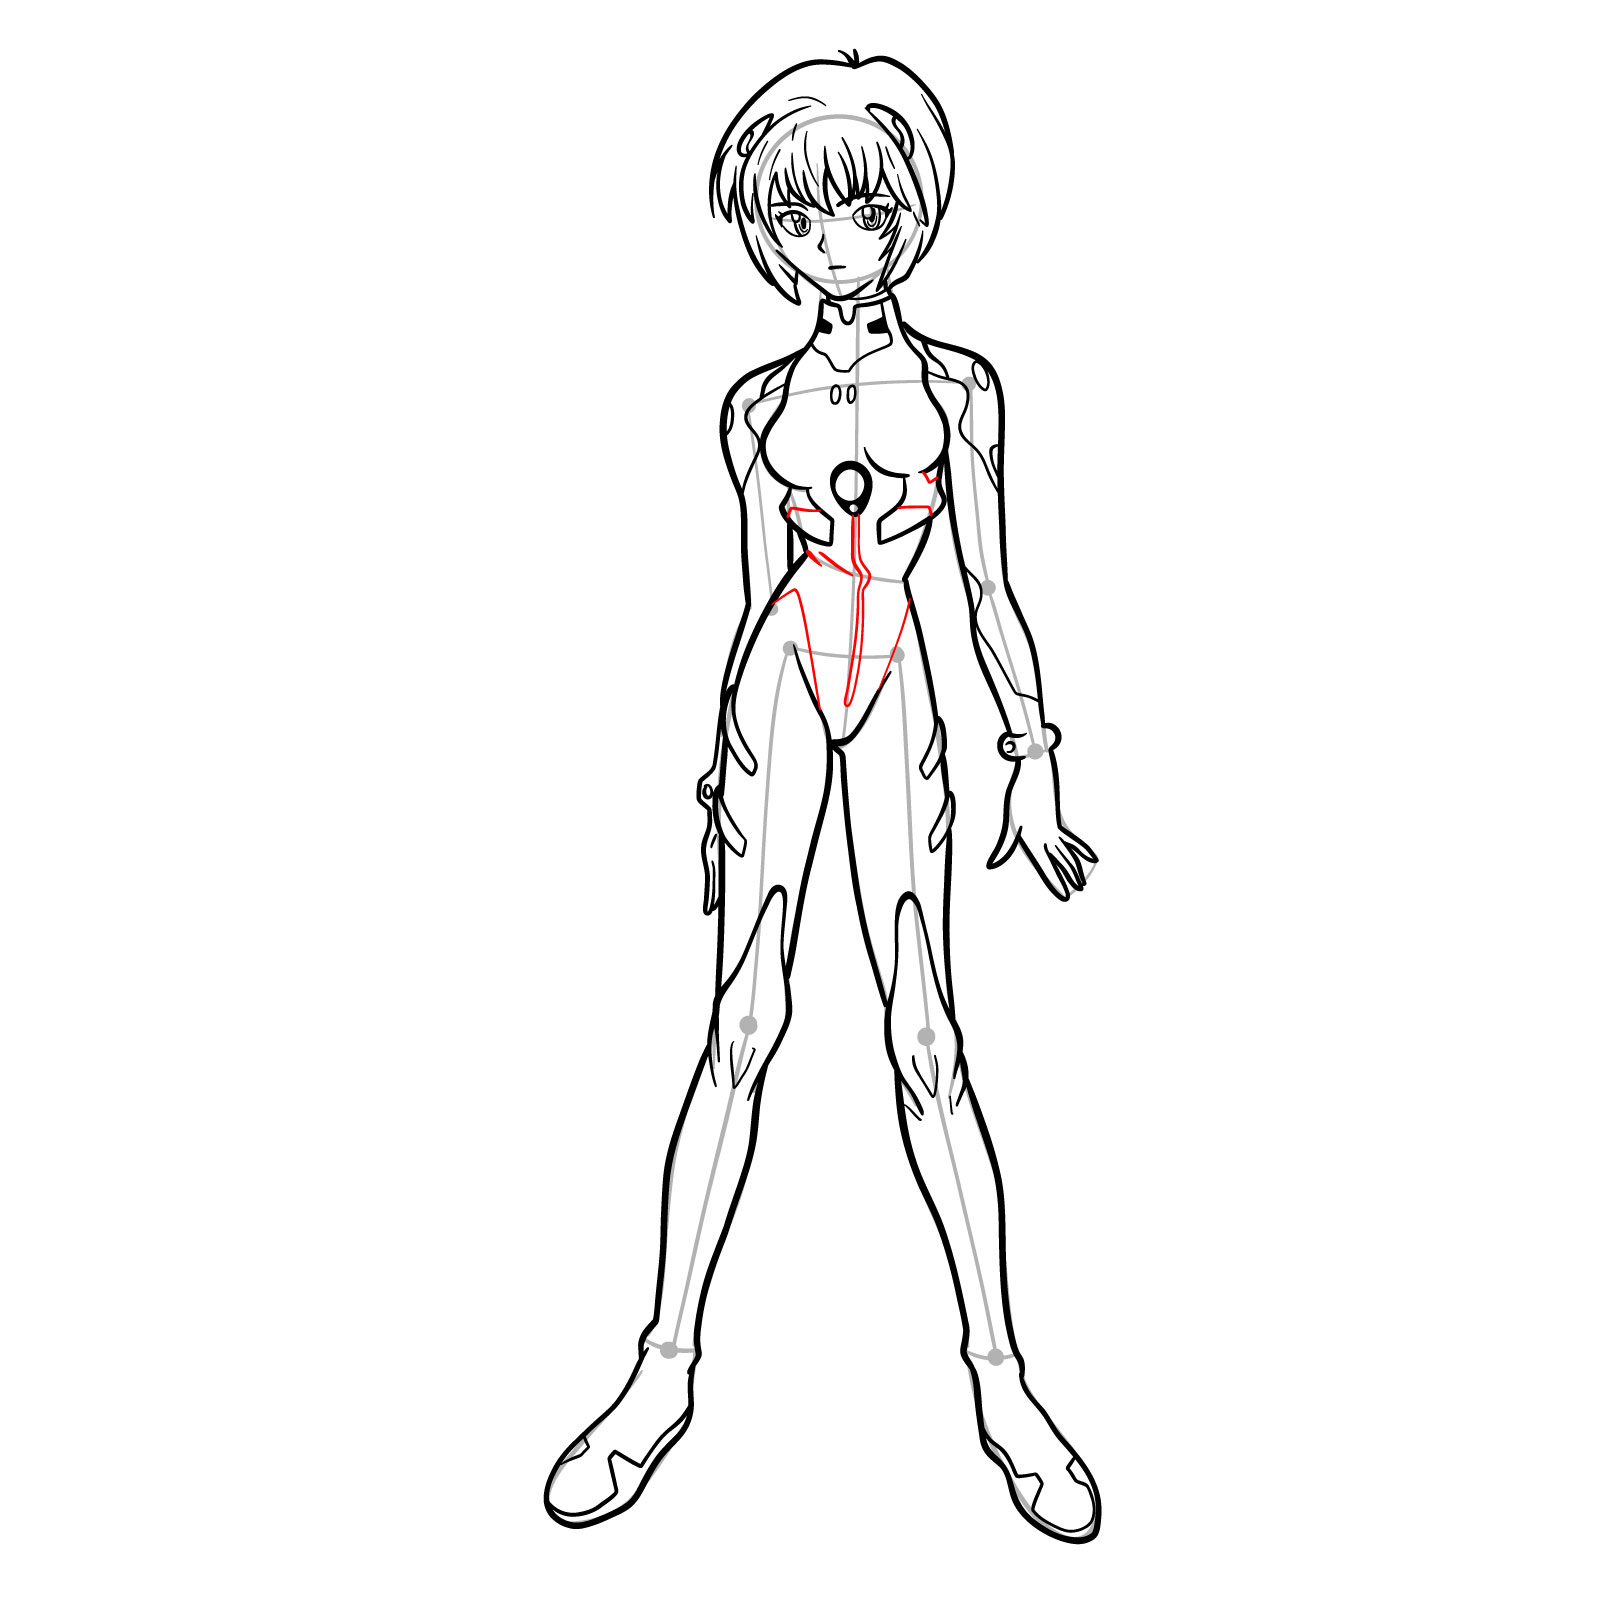
Decoding the Drawing Guide

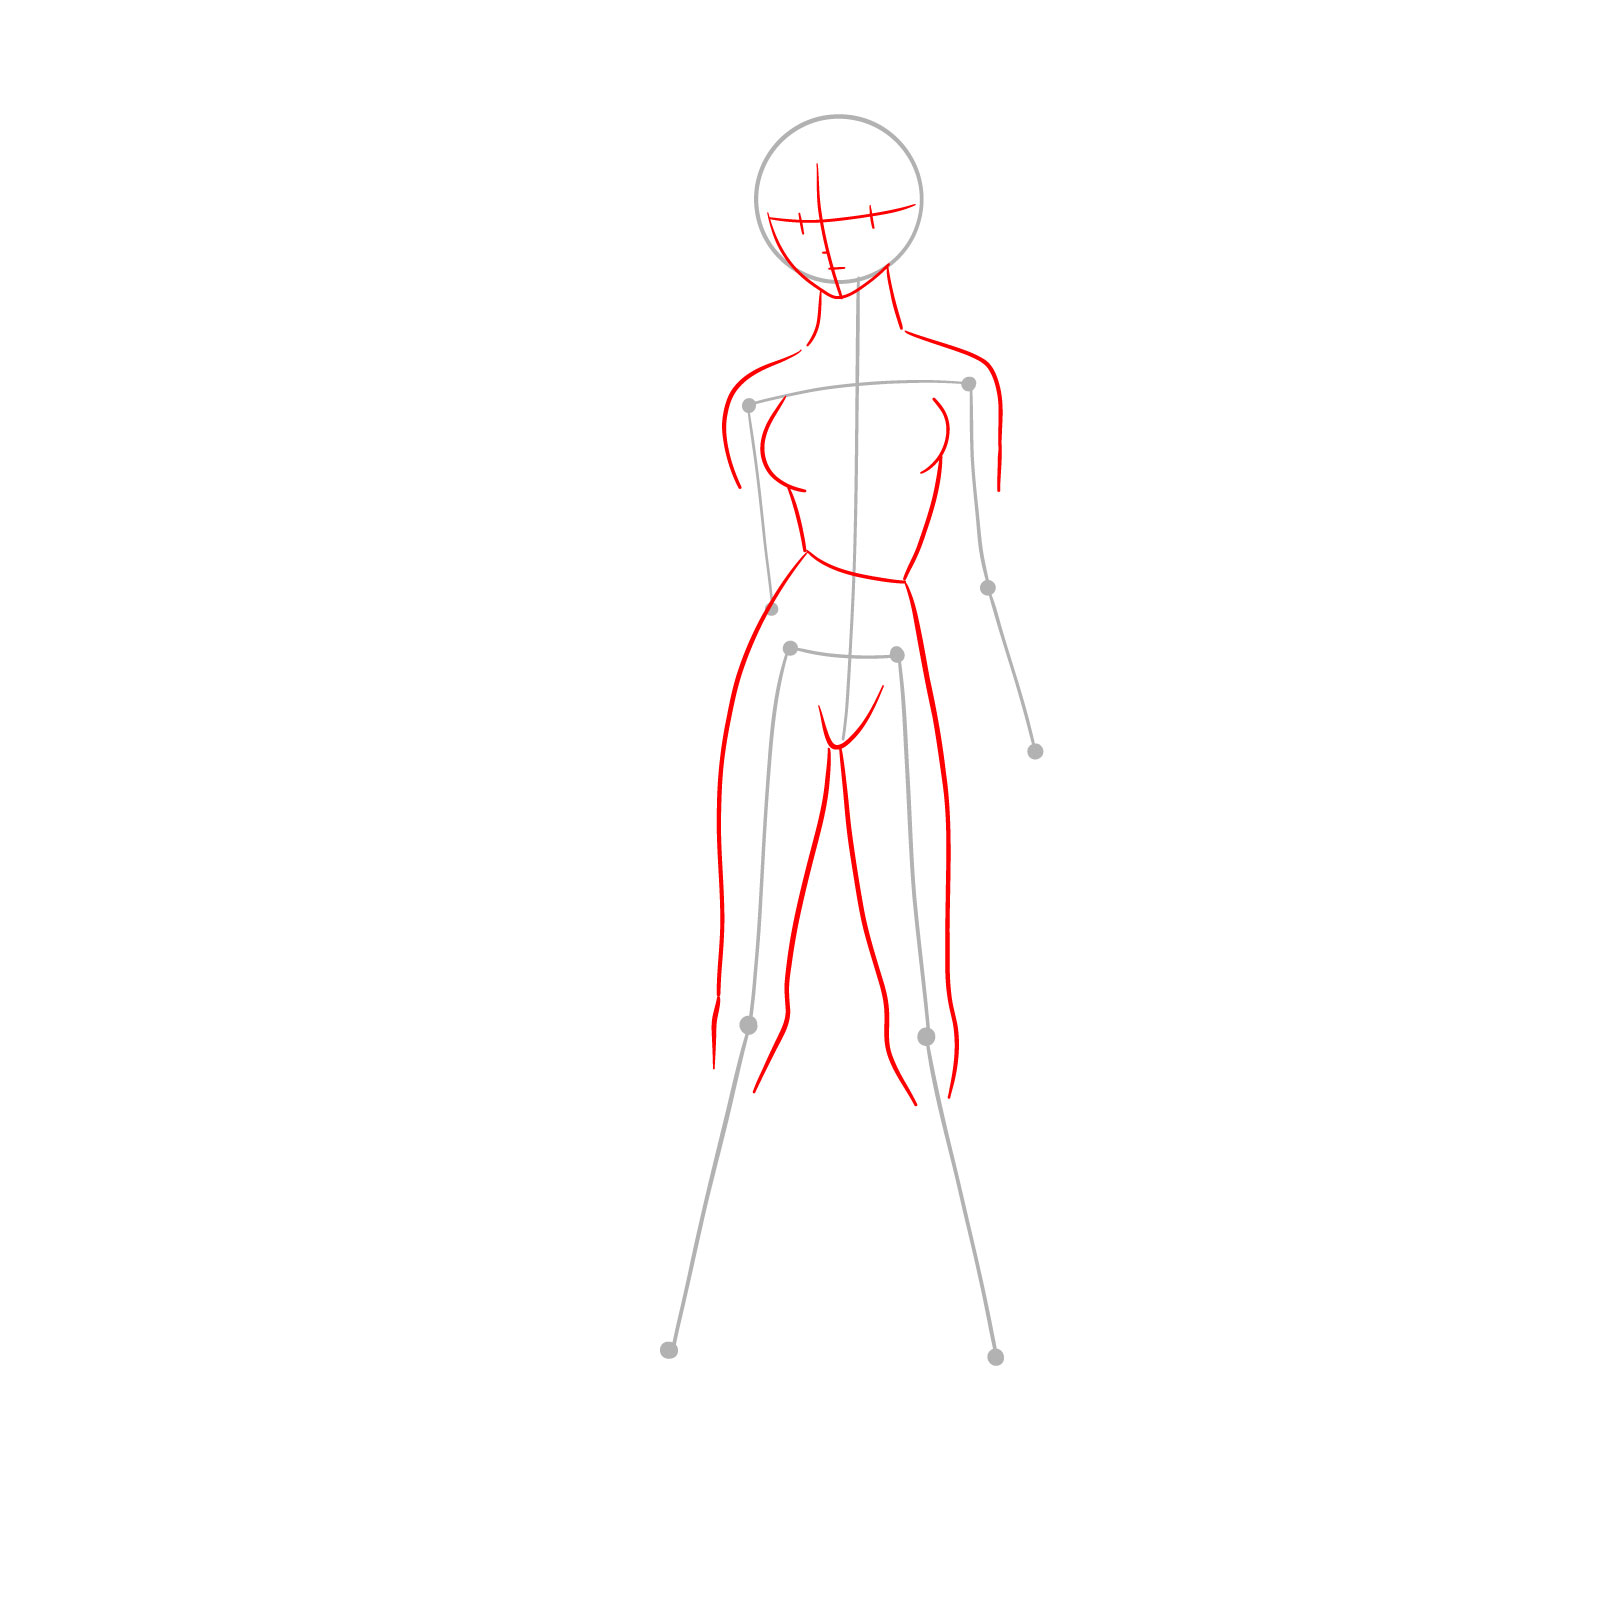
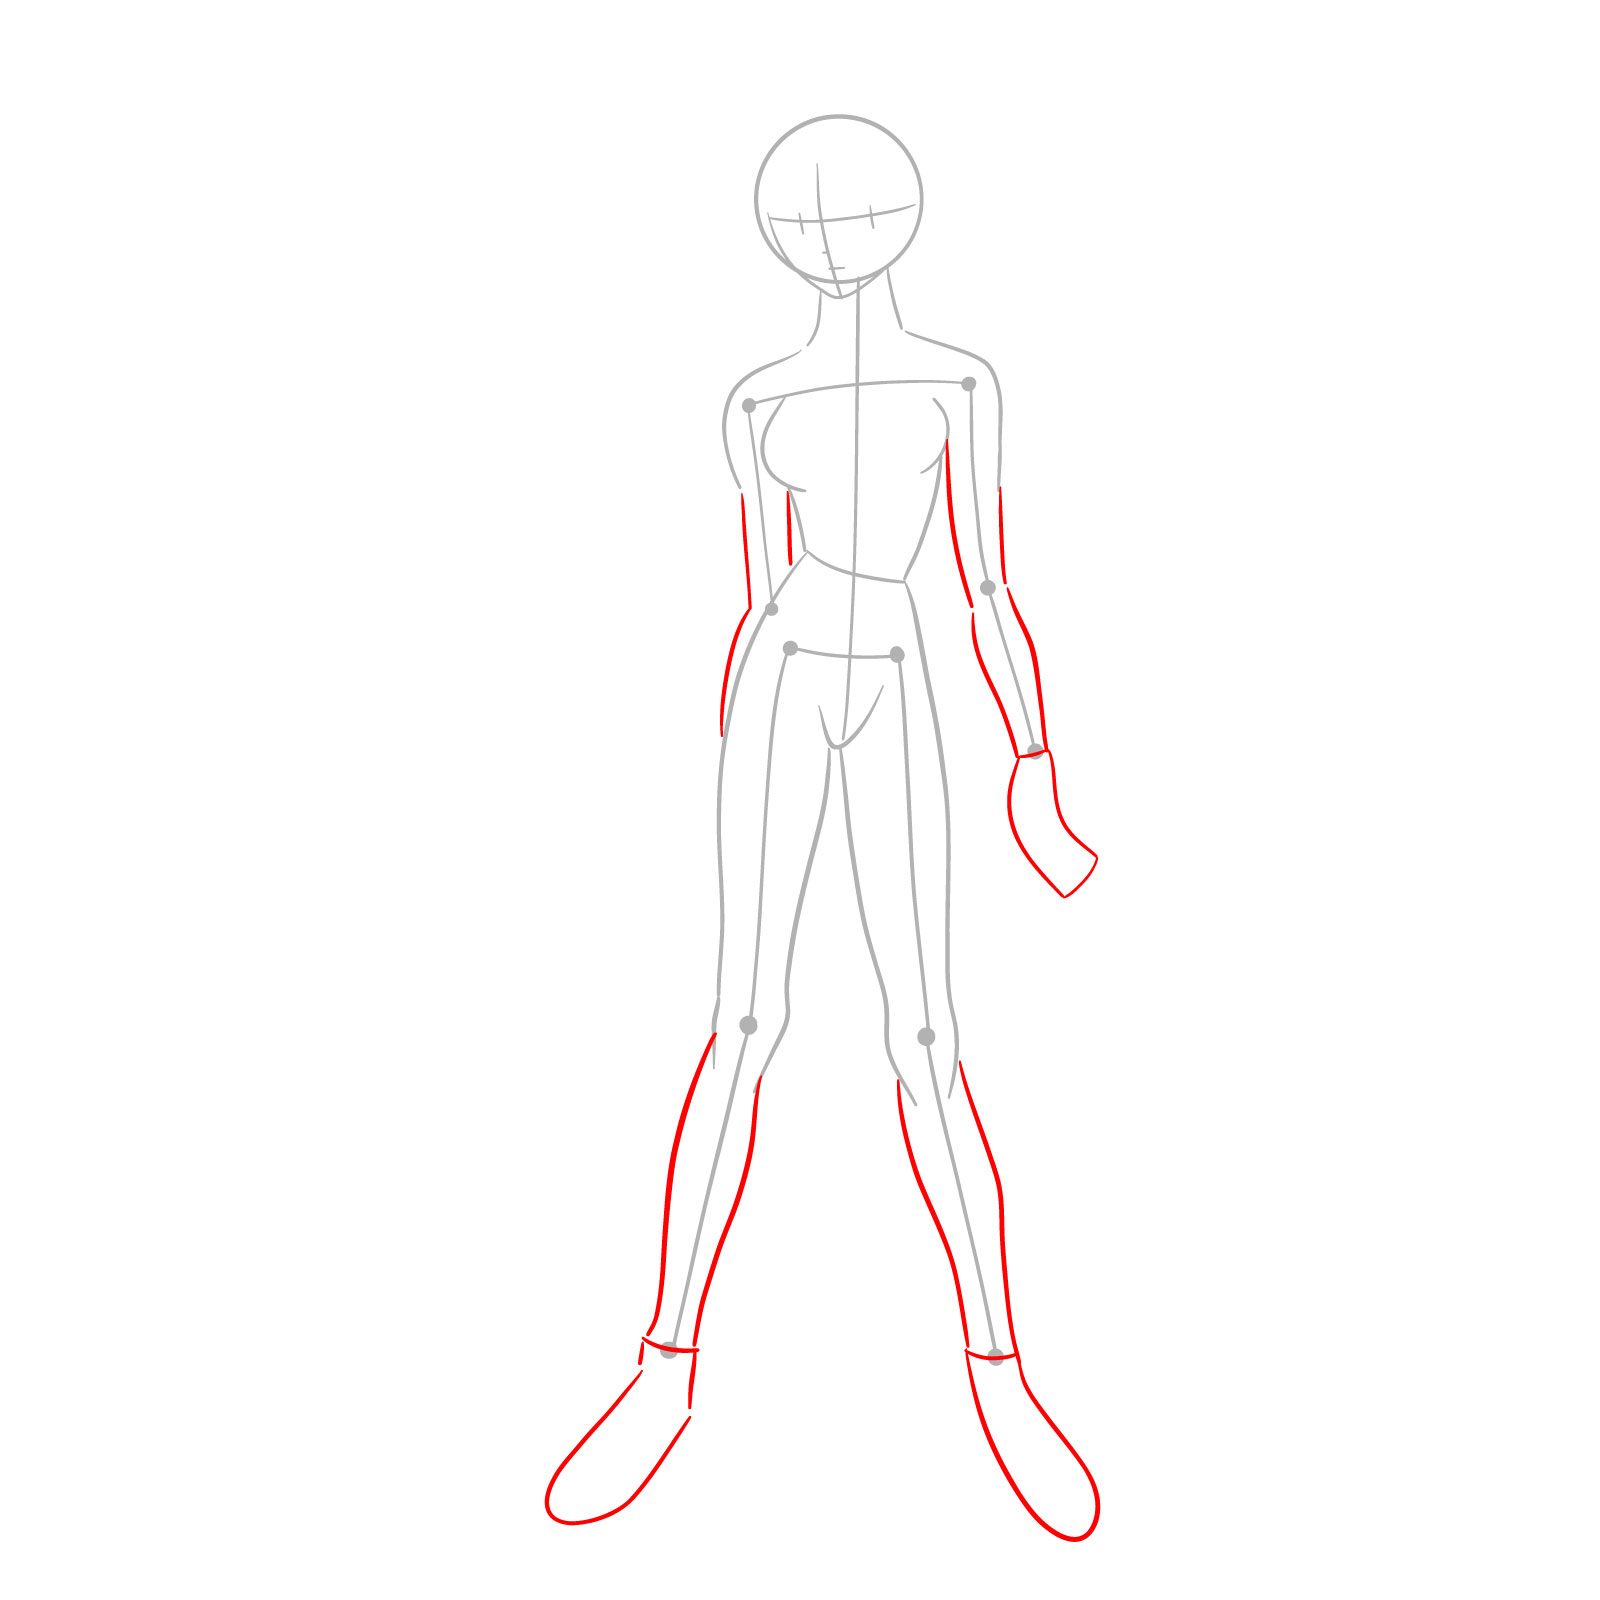
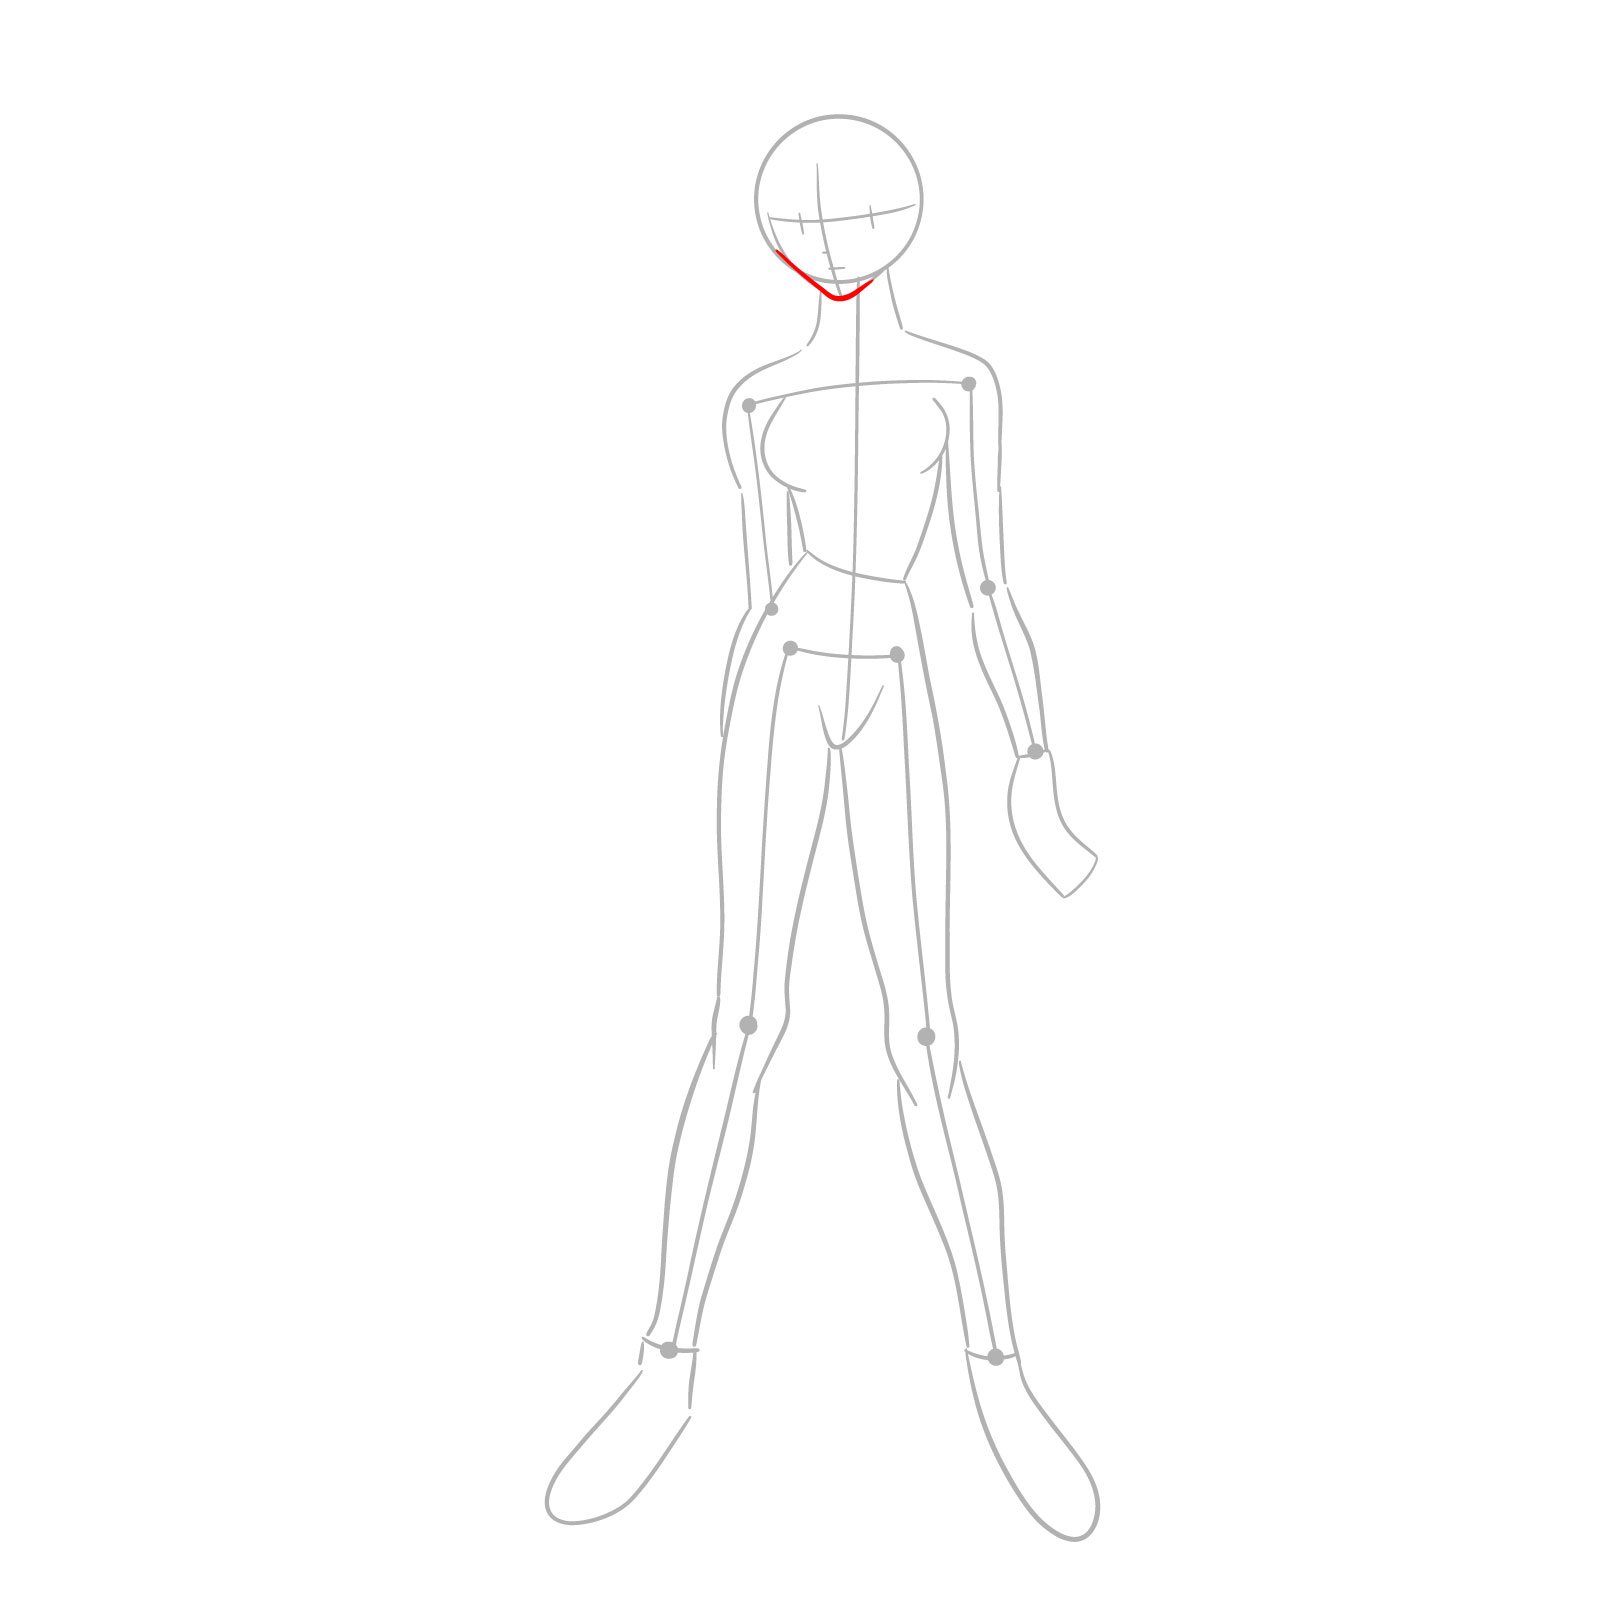
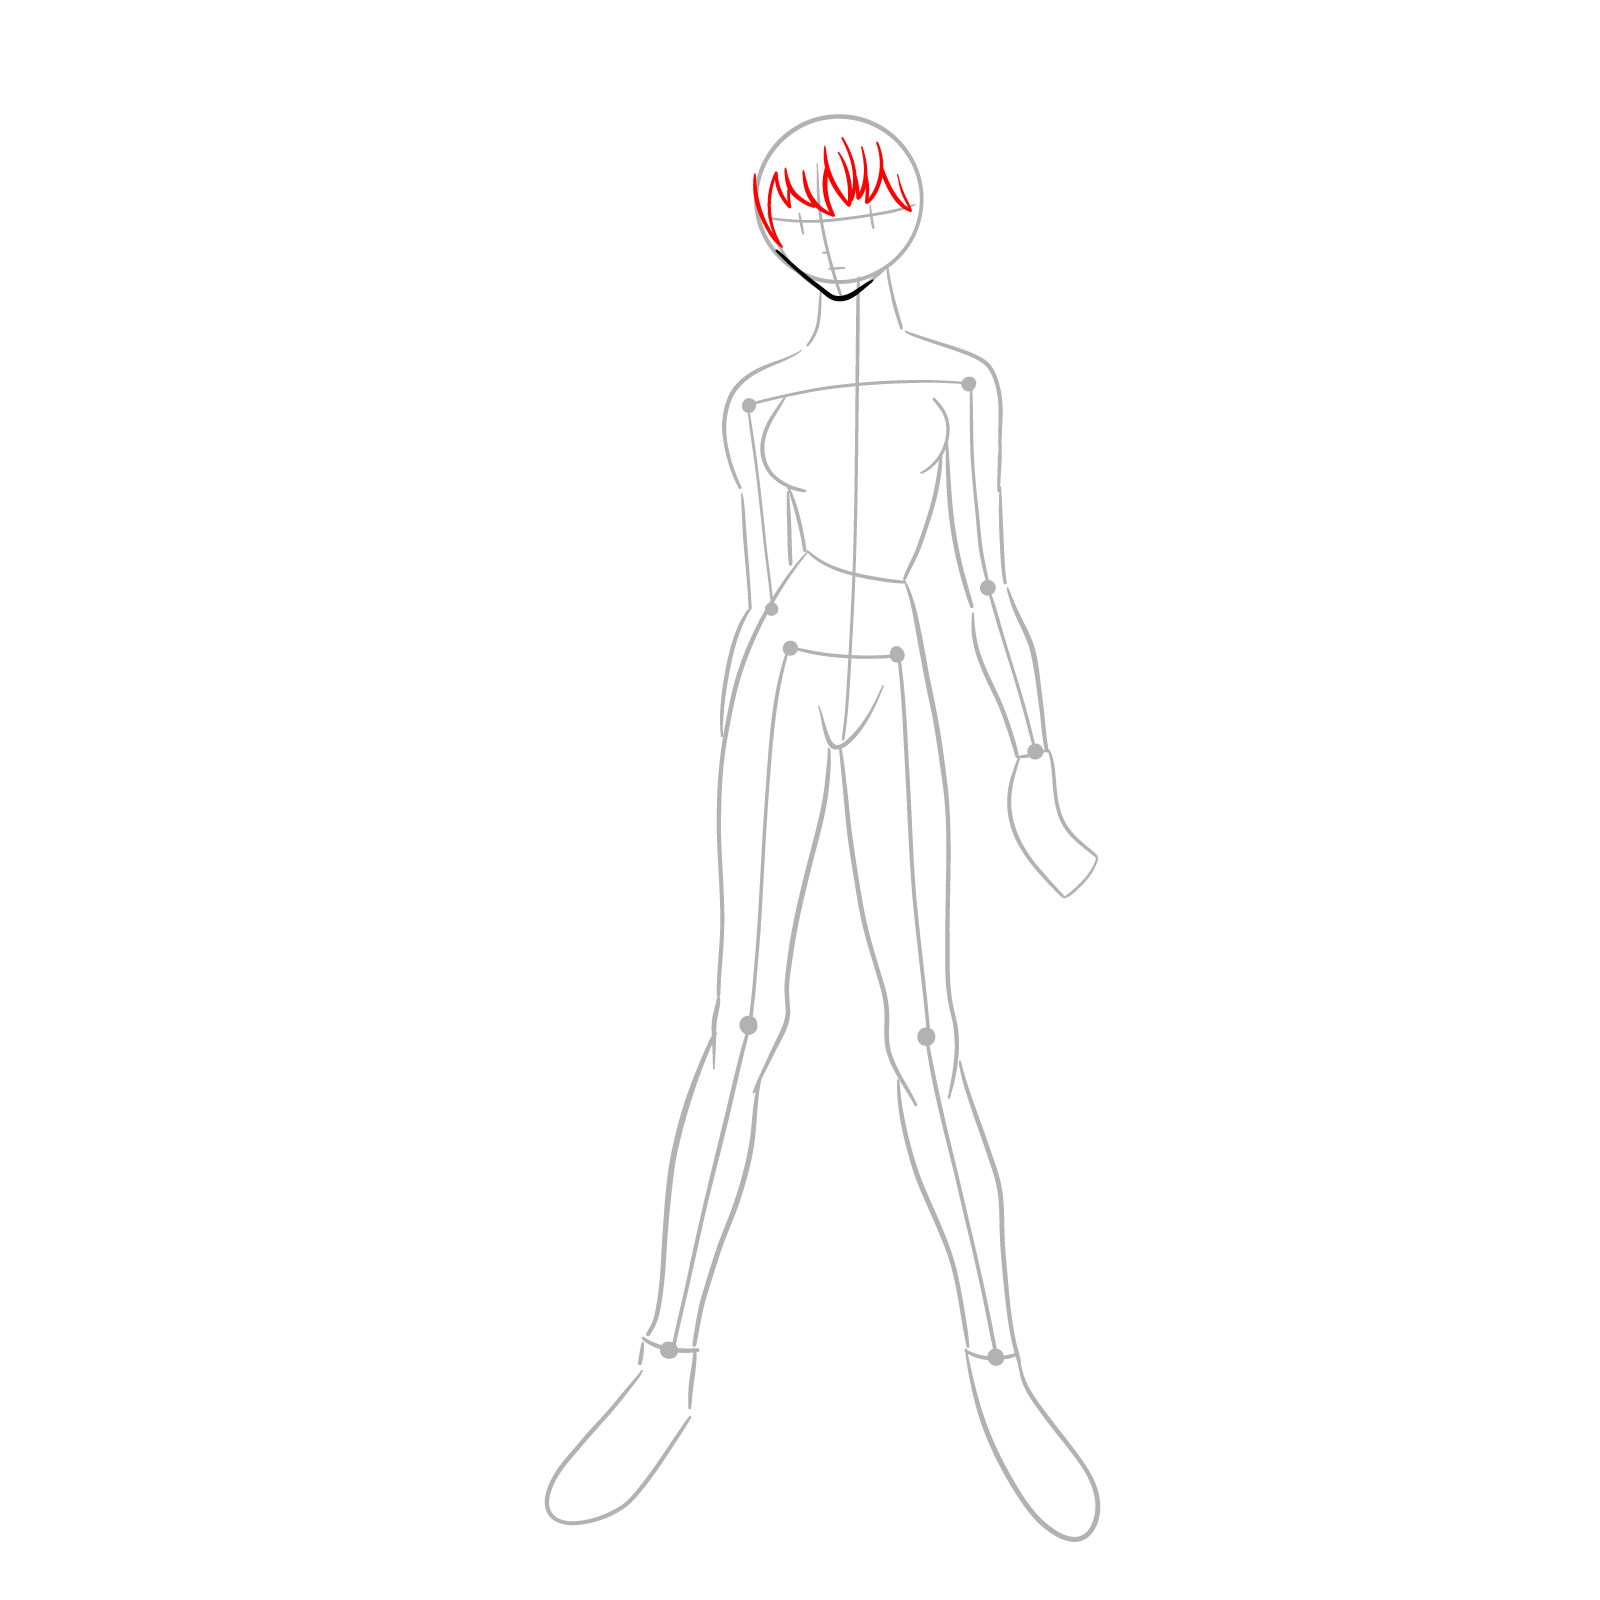
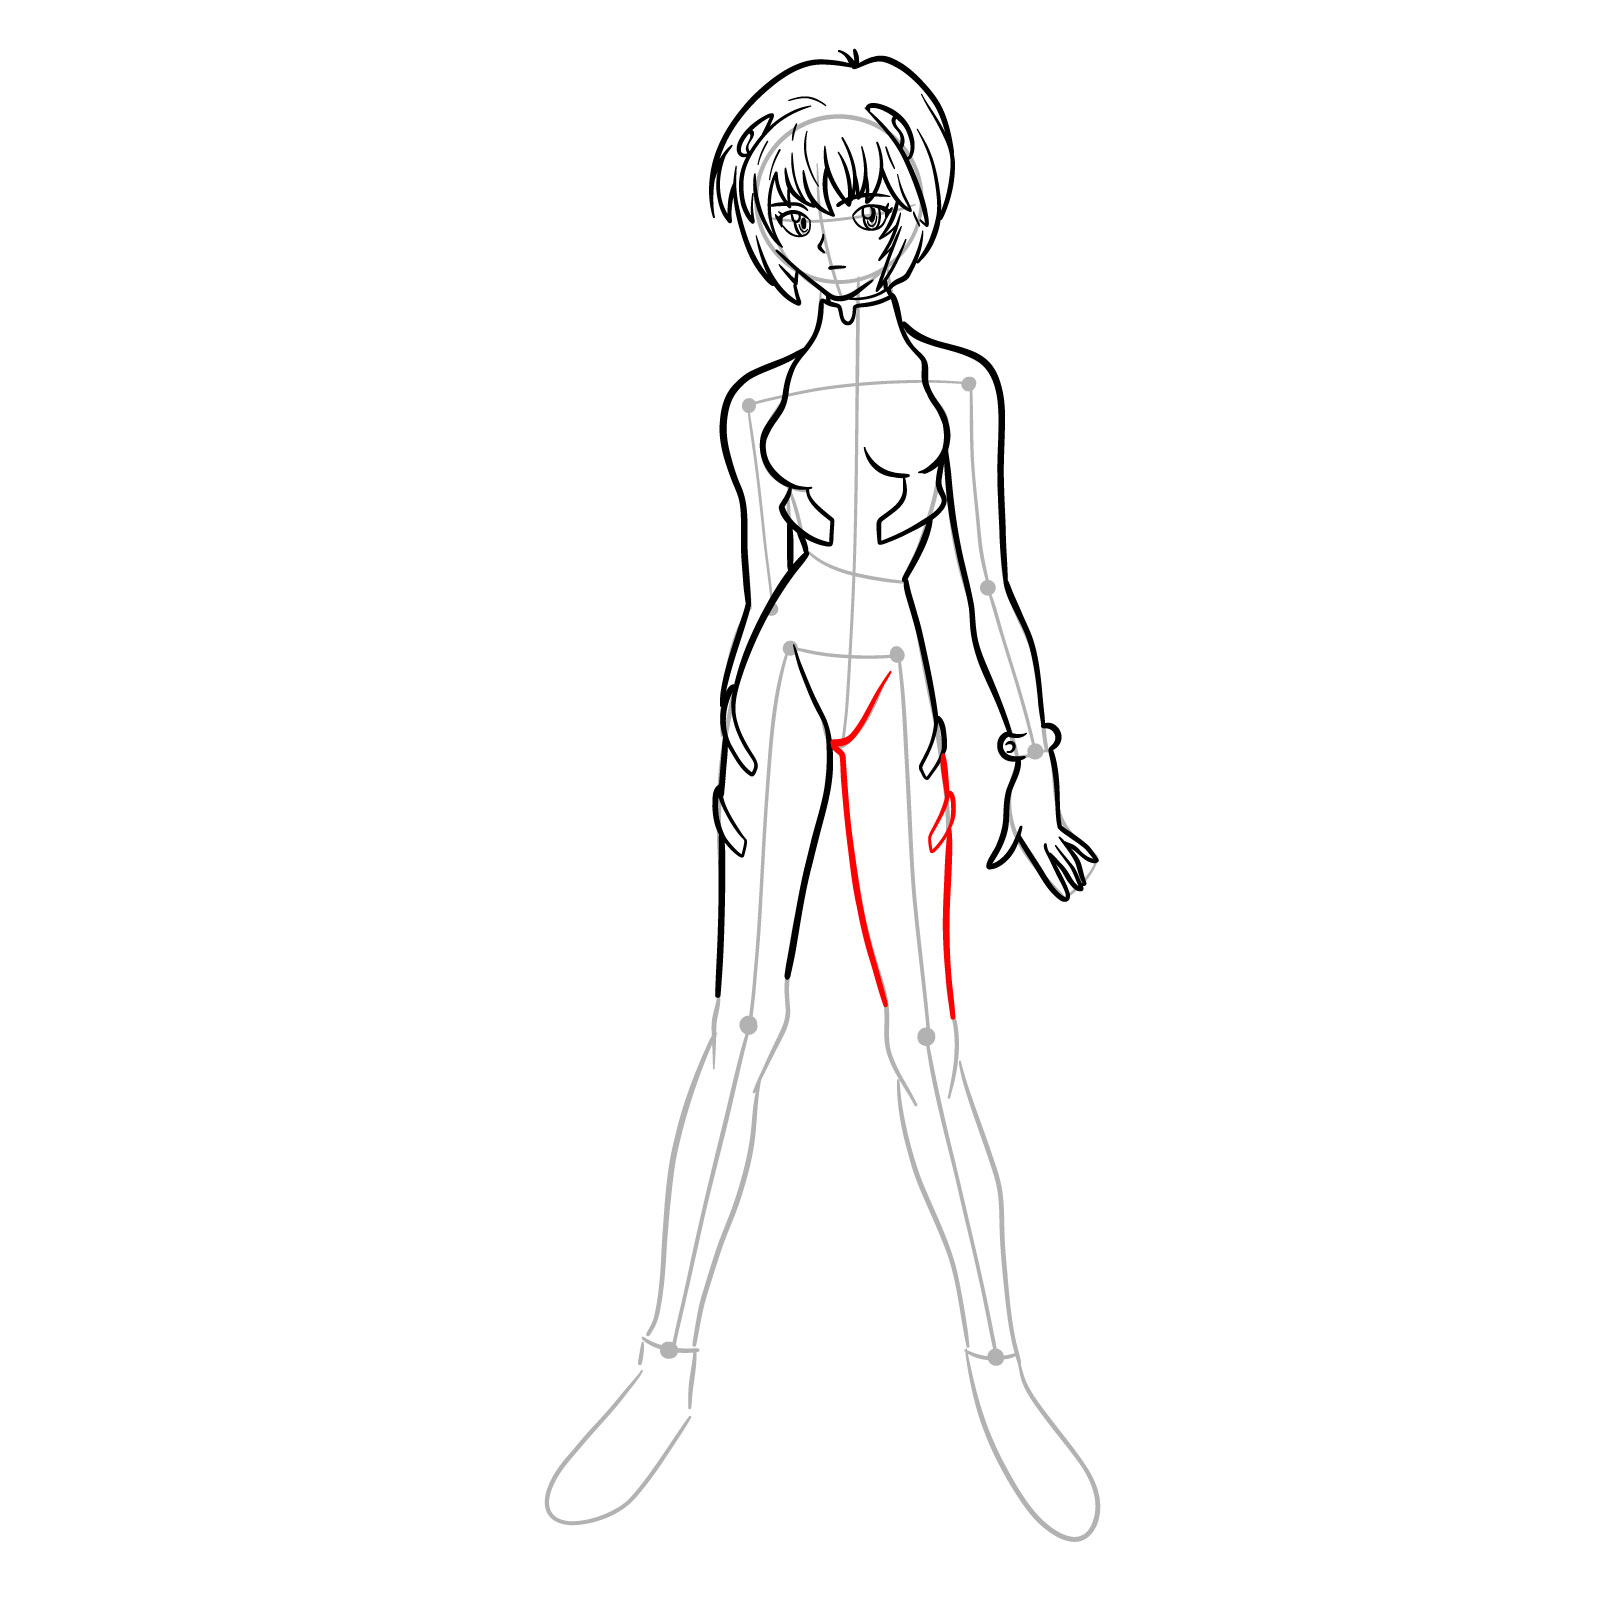
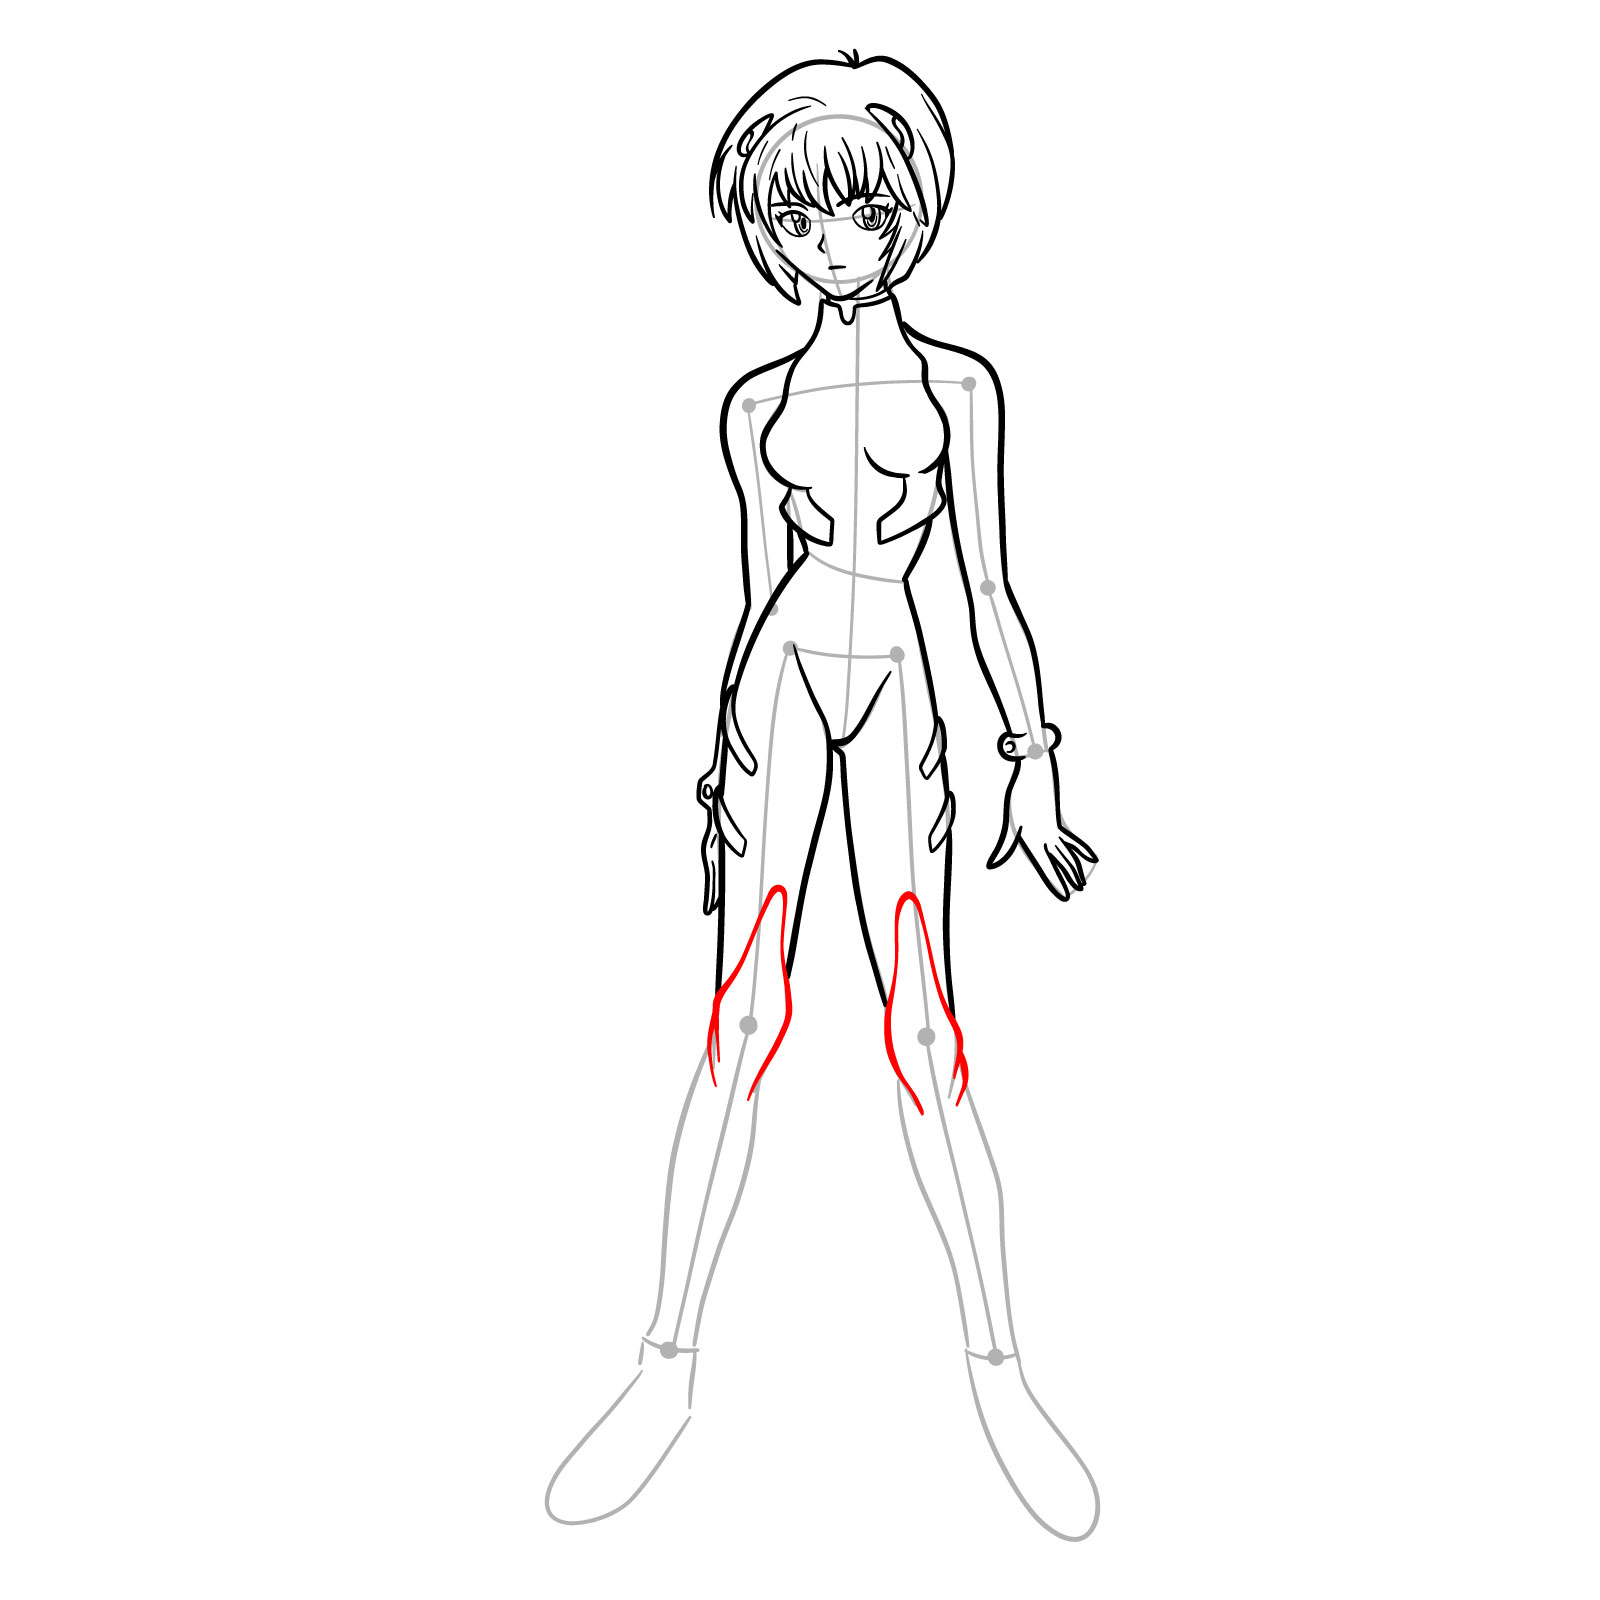
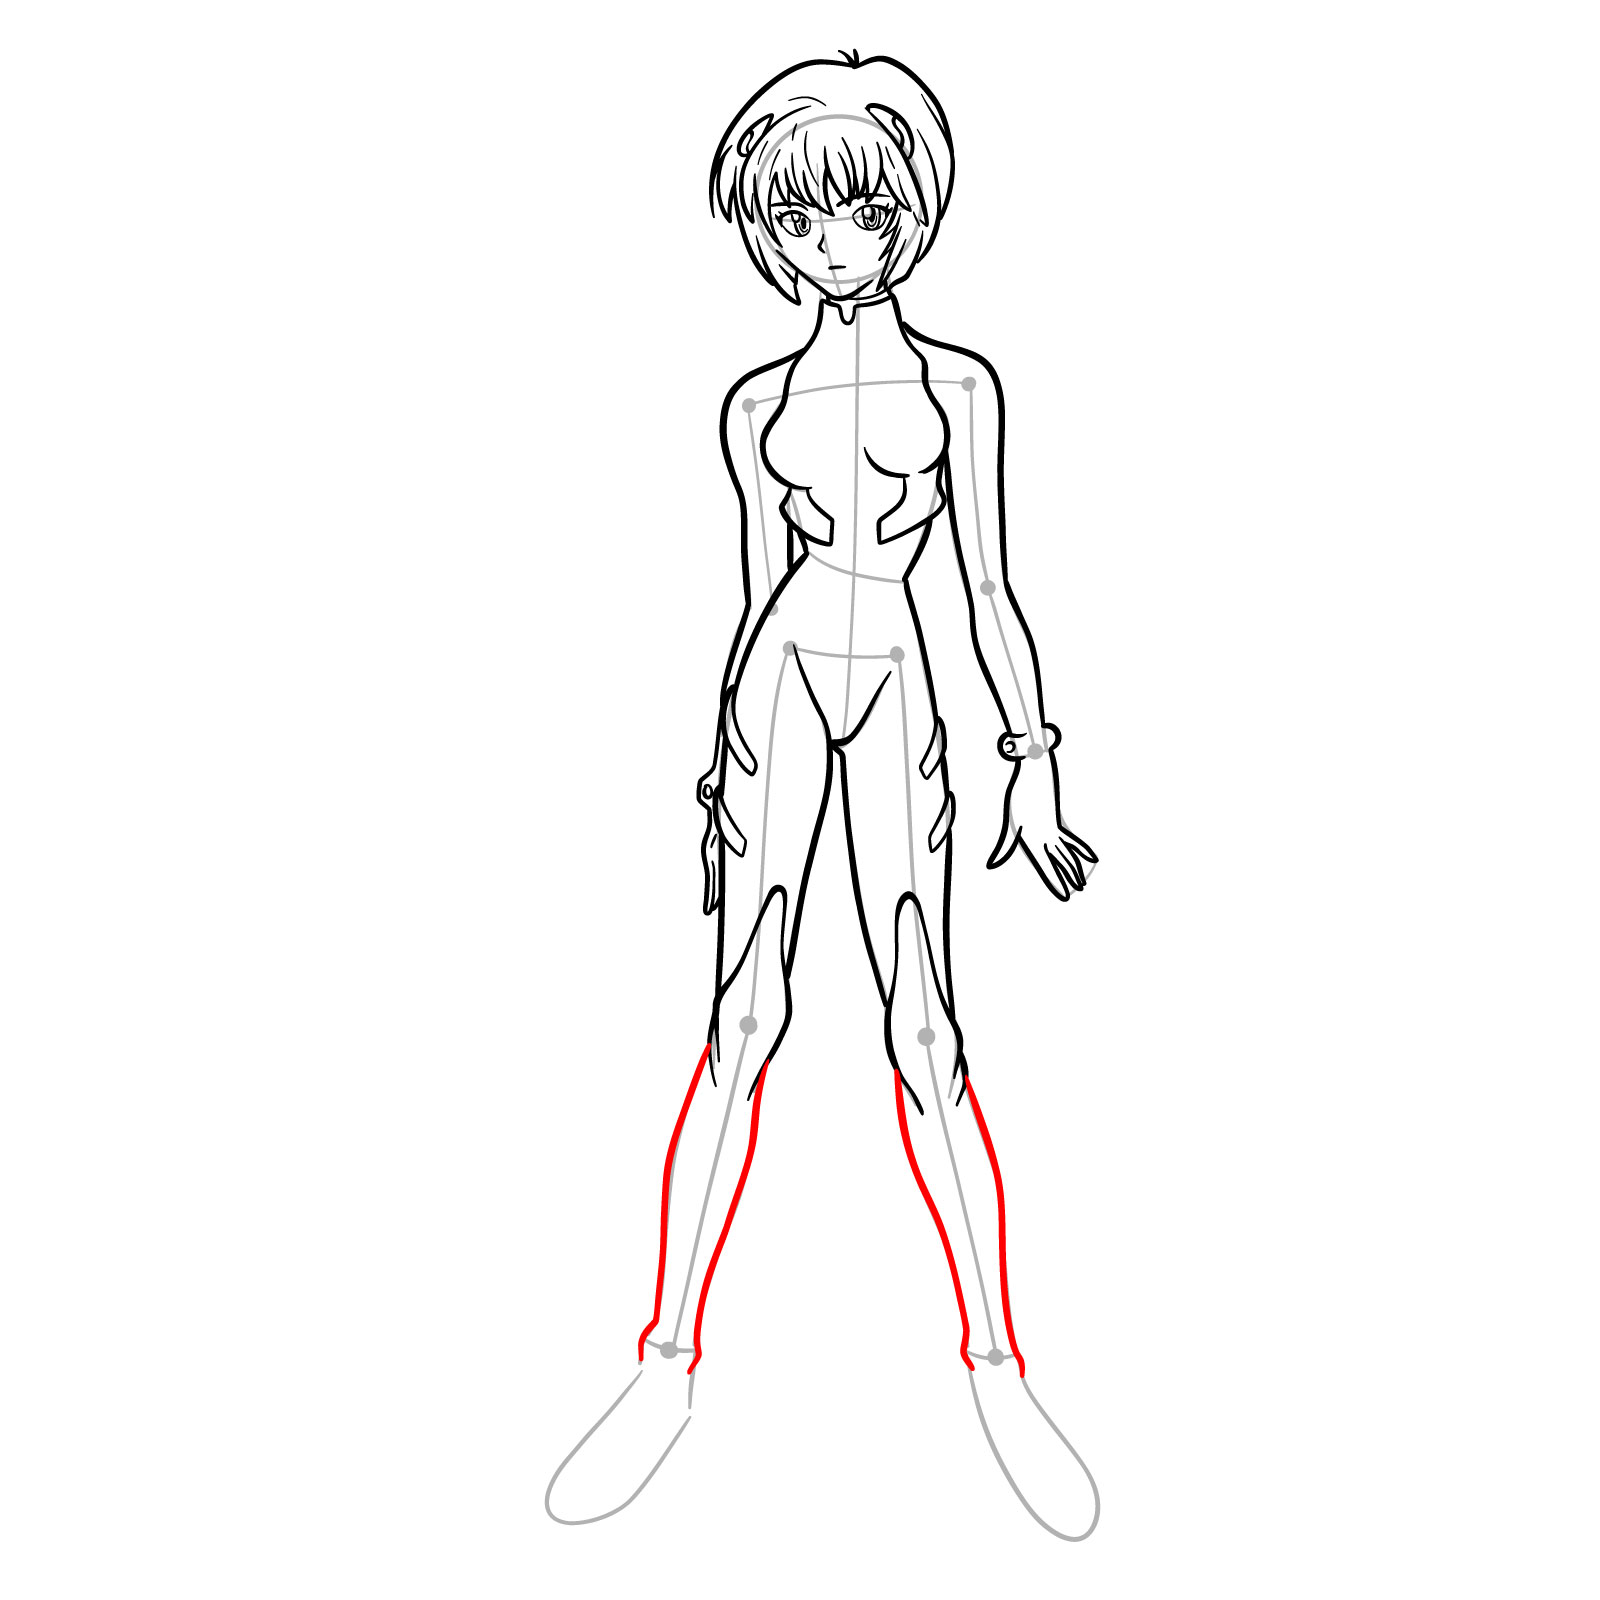
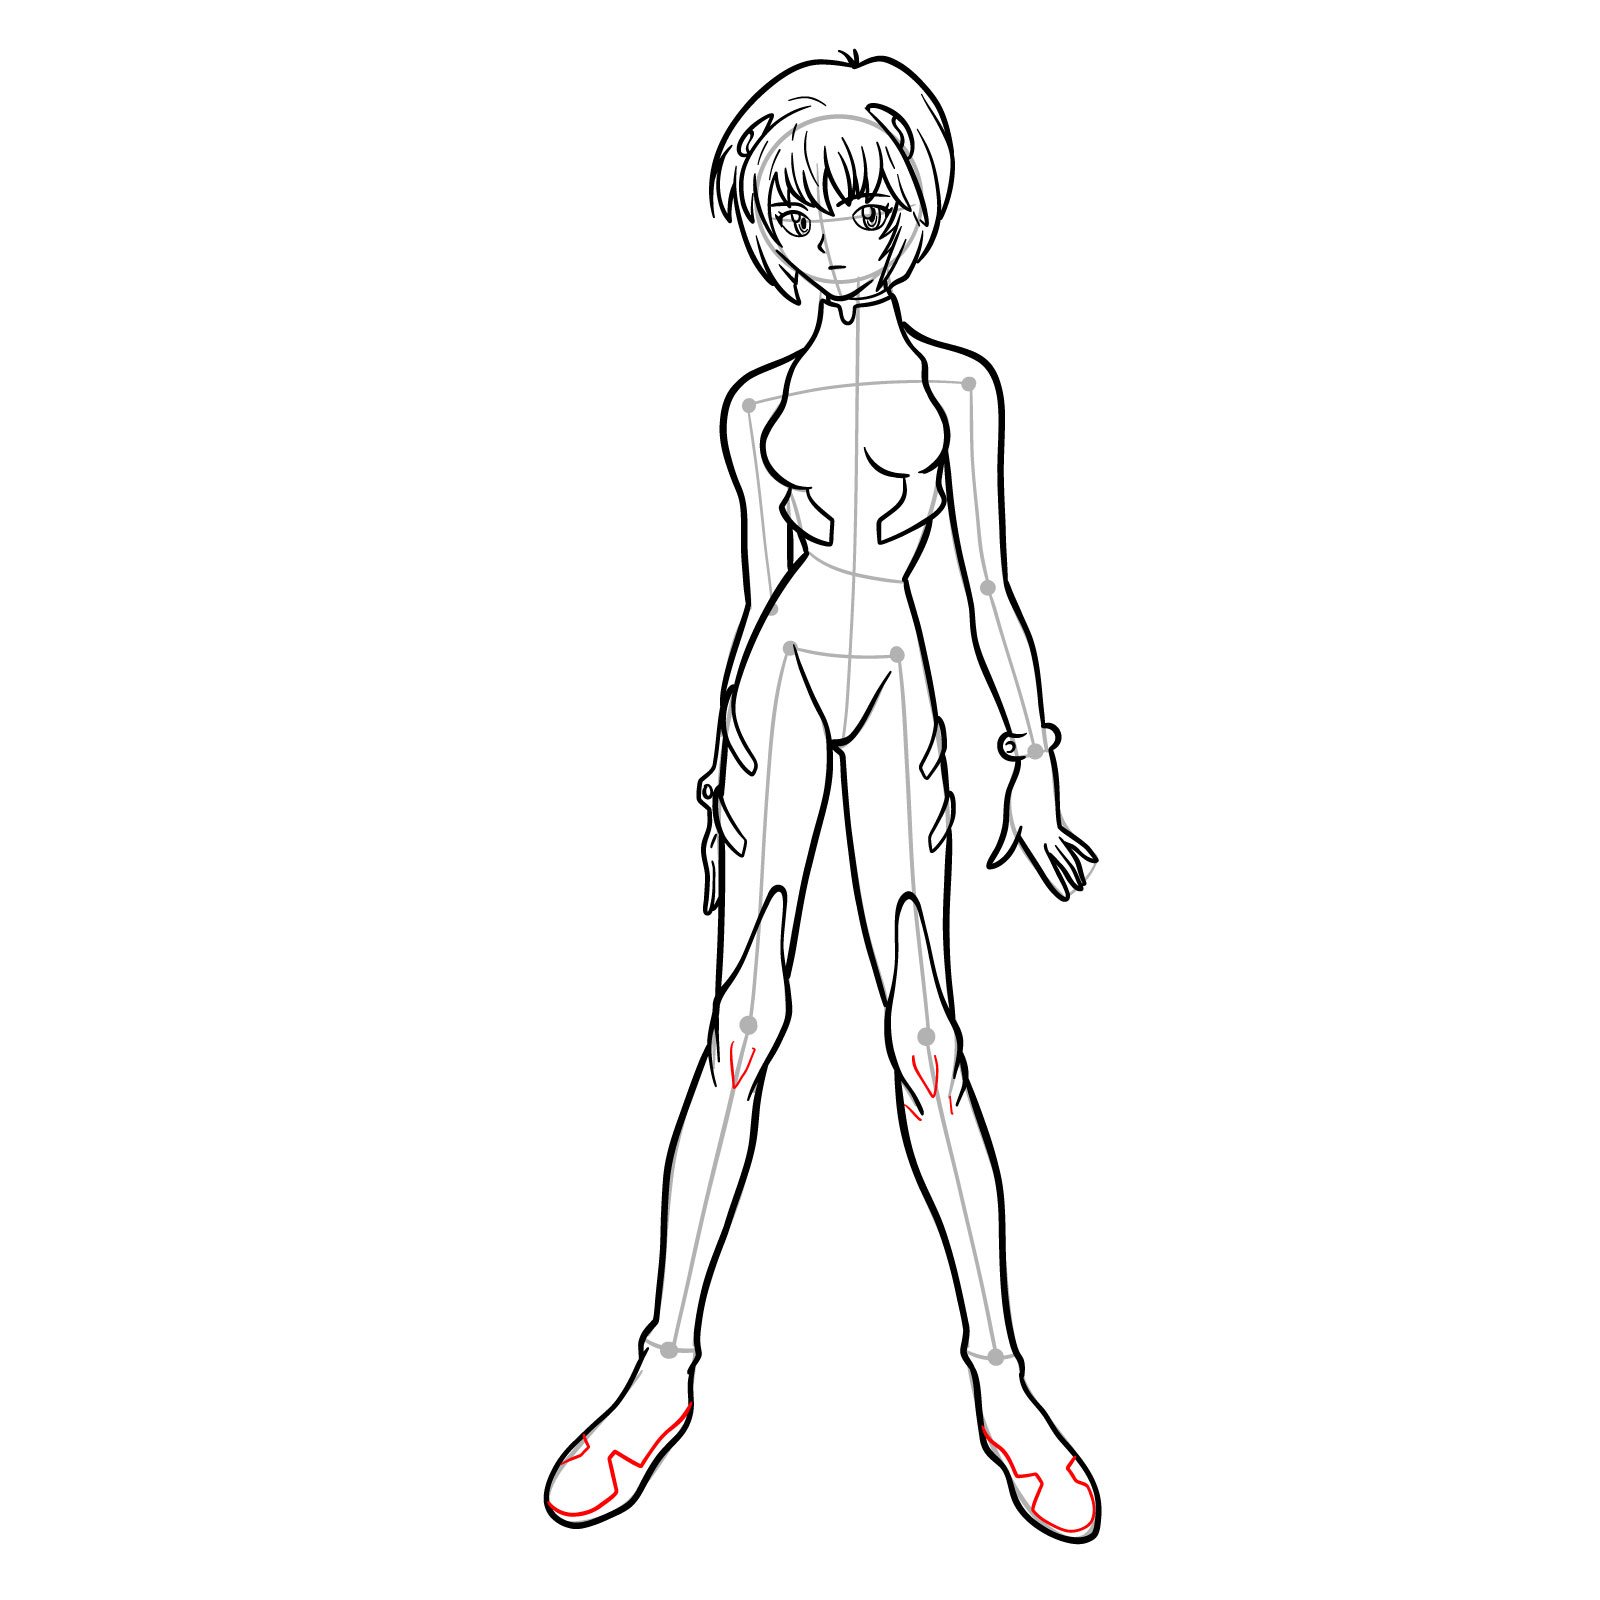
Our tutorial on how to draw Rei Ayanami in her plugsuit provides a systematic approach with 29 well-defined steps, enabling artists to capture her essence. For clarity and ease:

  • Red Color: Indicates the present step, guiding your focus.
  • Grey Color: Reflects the basic proportion sketch. Start with light pencil strokes to capture this foundational aspect.
  • Black Color: Displays lines from previous steps, guiding progression.

The initial stage emphasizes building a basic sketch, laying down proportions with light pencil strokes. As the tutorial culminates, artists have the option to ink the sketch. For a refined finish, ensure the ink is thoroughly dry before erasing any pencil markings, preventing smudging and preserving the integrity of your artwork.

Step 01

How to Draw Rei Ayanami in plugsuit (Rebuild) - step 01

Step 02

How to Draw Rei Ayanami in plugsuit (Rebuild) - step 02

Step 03

How to Draw Rei Ayanami in plugsuit (Rebuild) - step 03

Step 04

How to Draw Rei Ayanami in plugsuit (Rebuild) - step 04

Step 05

How to Draw Rei Ayanami in plugsuit (Rebuild) - step 05

Step 06

How to Draw Rei Ayanami in plugsuit (Rebuild) - step 06

Step 07

How to Draw Rei Ayanami in plugsuit (Rebuild) - step 07

Step 08

How to Draw Rei Ayanami in plugsuit (Rebuild) - step 08

Step 09

How to Draw Rei Ayanami in plugsuit (Rebuild) - step 09

Step 10

How to Draw Rei Ayanami in plugsuit (Rebuild) - step 10

Step 11

How to Draw Rei Ayanami in plugsuit (Rebuild) - step 11

Step 12

How to Draw Rei Ayanami in plugsuit (Rebuild) - step 12

Step 13

How to Draw Rei Ayanami in plugsuit (Rebuild) - step 13

Step 14

How to Draw Rei Ayanami in plugsuit (Rebuild) - step 14

Step 15

How to Draw Rei Ayanami in plugsuit (Rebuild) - step 15

Step 16

How to Draw Rei Ayanami in plugsuit (Rebuild) - step 16

Step 17

How to Draw Rei Ayanami in plugsuit (Rebuild) - step 17

Step 18

How to Draw Rei Ayanami in plugsuit (Rebuild) - step 18

Step 19

How to Draw Rei Ayanami in plugsuit (Rebuild) - step 19

Step 20

How to Draw Rei Ayanami in plugsuit (Rebuild) - step 20

Step 21

How to Draw Rei Ayanami in plugsuit (Rebuild) - step 21

Step 22

How to Draw Rei Ayanami in plugsuit (Rebuild) - step 22

Step 23

How to Draw Rei Ayanami in plugsuit (Rebuild) - step 23

Step 24

How to Draw Rei Ayanami in plugsuit (Rebuild) - step 24

Step 25

How to Draw Rei Ayanami in plugsuit (Rebuild) - step 25

Step 26

How to Draw Rei Ayanami in plugsuit (Rebuild) - step 26

Step 27

How to Draw Rei Ayanami in plugsuit (Rebuild) - step 27

Step 28

How to Draw Rei Ayanami in plugsuit (Rebuild) - step 28

Step 29

How to Draw Rei Ayanami in plugsuit (Rebuild) - final step

Drawing FAQ

What technique works best for capturing Rei’s distinct hair?

Rei’s hair is a defining feature, pale blue and uniquely styled. When sketching, start with the overall shape, lightly sketching the flow and direction. Add details, such as the center-focused bangs, last. It’s essential to keep strokes gentle and refine as you progress, capturing the hair’s softness and volume.

How can I accurately sketch her plugsuit’s intricate designs?

The plugsuit’s design, while intricate, can be simplified into basic shapes initially. Start with the broader structure before adding detailed accents. Breaking down complex designs into simpler components ensures accuracy and proportionality in your Rei Ayanami drawing.

Any tips on drawing Rei’s expressive eyes?

For Rei, her deep red eyes are captivating. Start with an oval shape, keeping in mind the eye’s tilt. The iris, being a vibrant red, should be the drawing’s focal point. Incorporate highlights and shades to give depth and emotion.

Understanding how to draw Rei Ayanami in her plugsuit can be a rewarding journey, breathing life into a beloved character. Should you appreciate our guides and wish to support further, consider donating to SketchOk. Donations not only fuel our passion but also grant you the privilege of suggesting future tutorial topics. With your backing, your desired tutorials could be crafted sooner!

To connect, share, and suggest, find us at:

Together, let’s continue exploring the world of art, one sketch at a time.

Did you like the tutorial?

You can support the author of this website and also suggest your own ideas for new drawings by making a small donation here:

Leave a Comment