For fans of the series and aspiring artists alike, learning how to draw Rukia in her bankai Hakka no Togame can be a captivating endeavor. This guide will take you through the intricate details of capturing her elegance on paper.
Key Elements in Rukia’s Appearance
Rukia’s stunning transformation during her Bankai phase where her hair and irises turn a mesmerizing white.
The intricate details of her white, ankle-length kimono with detailed ice patterns.
Her blade’s transformation into a structure composed of transparent ice.
The ornate collar, edges, and shoulder design, all made of clear ice.
Long flowing ribbons tied at her back forming large loops, adding dynamism to her pose.
Artists may also want to consider drawing accompanying characters like Ichigo in his Vasto Lorde form or her husband Renji Abarai to make the sketch more interactive and detailed.
Tips for Sketching Rukia
When sketching Rukia, especially in her Bankai form, attention to detail is crucial. Start with light strokes to capture the essence of her pose. Focusing on her posture will serve as the foundation, upon which you can layer the intricate elements of her attire and accessories.
About the Image-Based Guide
This Rukia drawing guide is meticulously crafted, featuring a series of high-quality images. Each image represents a unique step. As you follow each step sequentially, Rukia’s image in her bankai Hakka no Togame form will start coming to life on your canvas. The guide comprises 31 comprehensive steps.
Red Color: Represents the current step to focus on.
Black Color: Indicates the lines you’ve already drawn in the previous steps.
Grey Color: Showcases the basic proportion sketch.
Our approach is systematic. The initial step is sketching a rudimentary stick figure of Rukia. In the subsequent steps, this basic figure will be enhanced, capturing the character’s head, body, outfit, and other unique details. As the steps progress, the sketch becomes refined. After completing the sketch, artists have the choice to ink it. Remember to wait for the ink to dry fully before erasing the underlying pencil sketch to avoid smudging. Let’s get started.
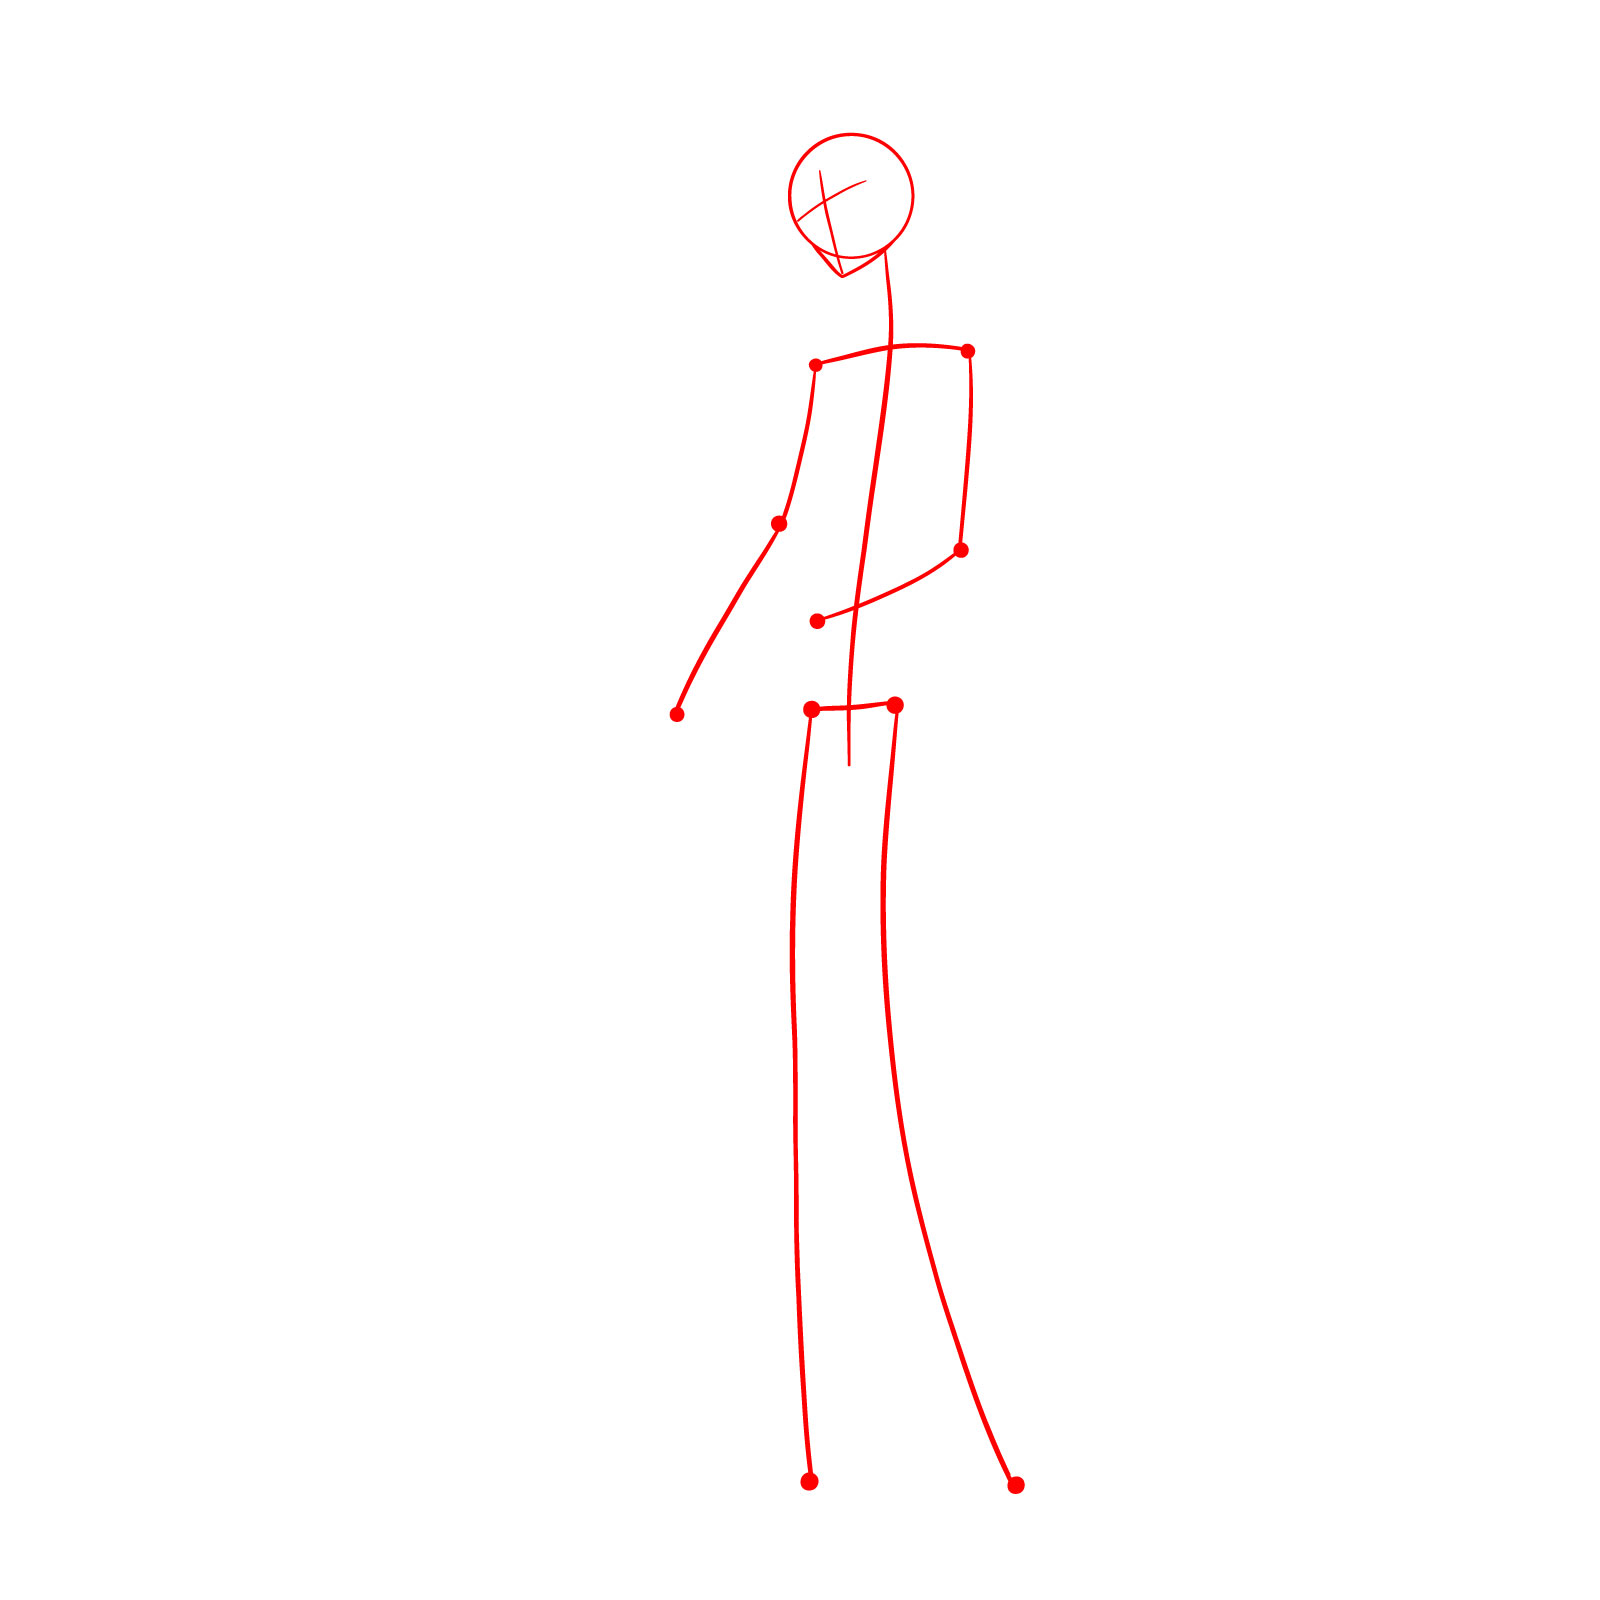
Step 01 – Begin by sketching a basic stick figure of the character. Start with a simple circle for the head, ensuring it’s proportionate. This will serve as the foundation for Rukia’s facial features later on. Then, draw a straight line representing the spine, branching out with lines for the arms and legs. This basic structure is crucial as it sets the posture and alignment for the entire character.
Basic stick figure sketch of Rukia, starting with a proportionate circle head.
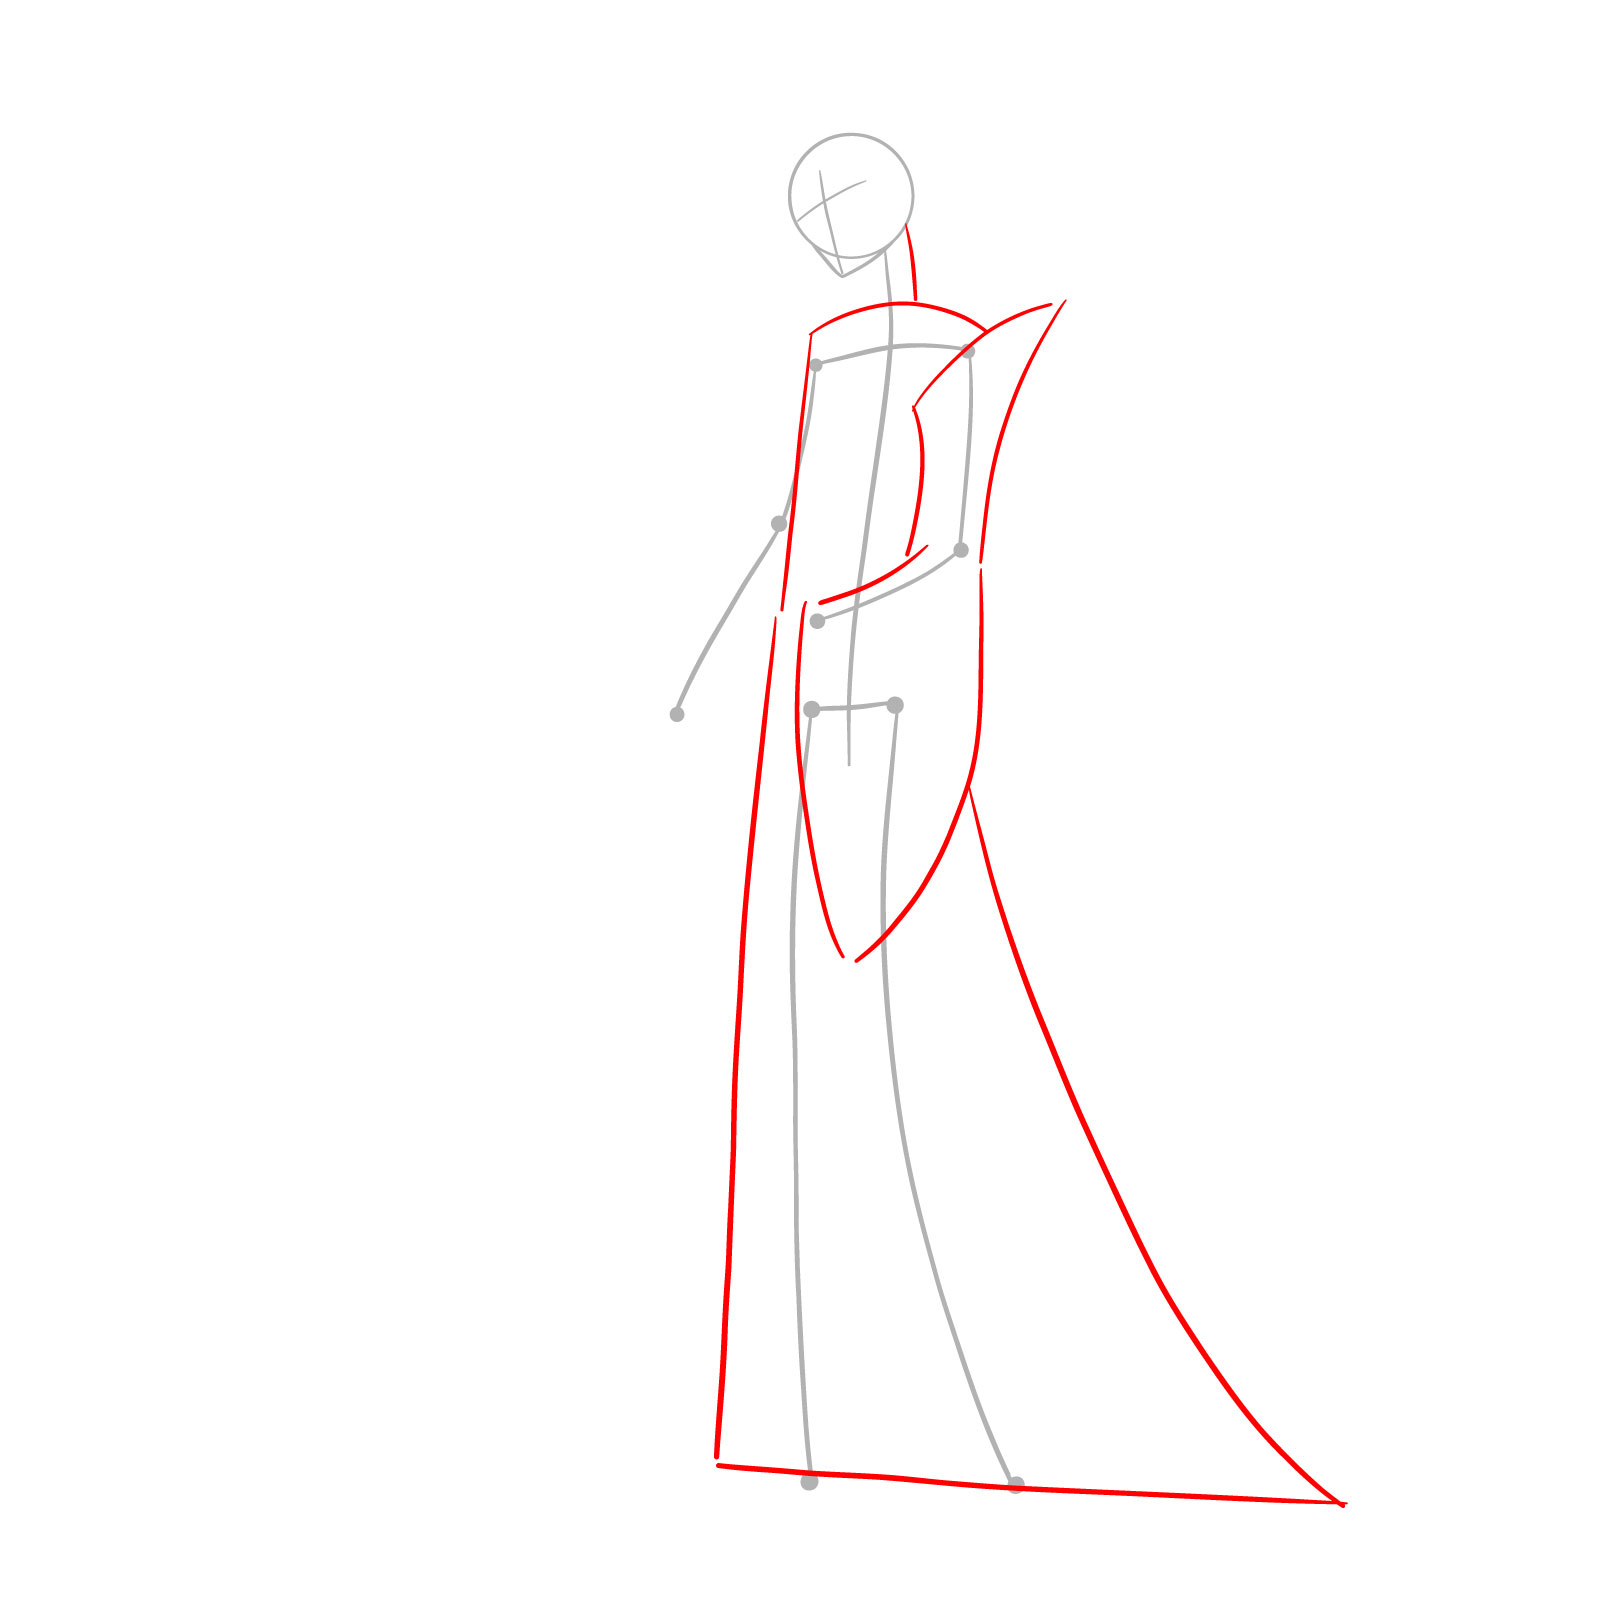
Step 02 – With the basic structure in place, now we’ll give Rukia’s attire some form. Start on the left side, creating the initial rough outline of her dress. The dress extends from her shoulder and flows down, maintaining its width as it reaches her ankles. Don’t forget to also sketch the initial structure of her left sleeve, ensuring it complements the arm’s posture.
Outline of Rukia’s flowing dress and left sleeve.
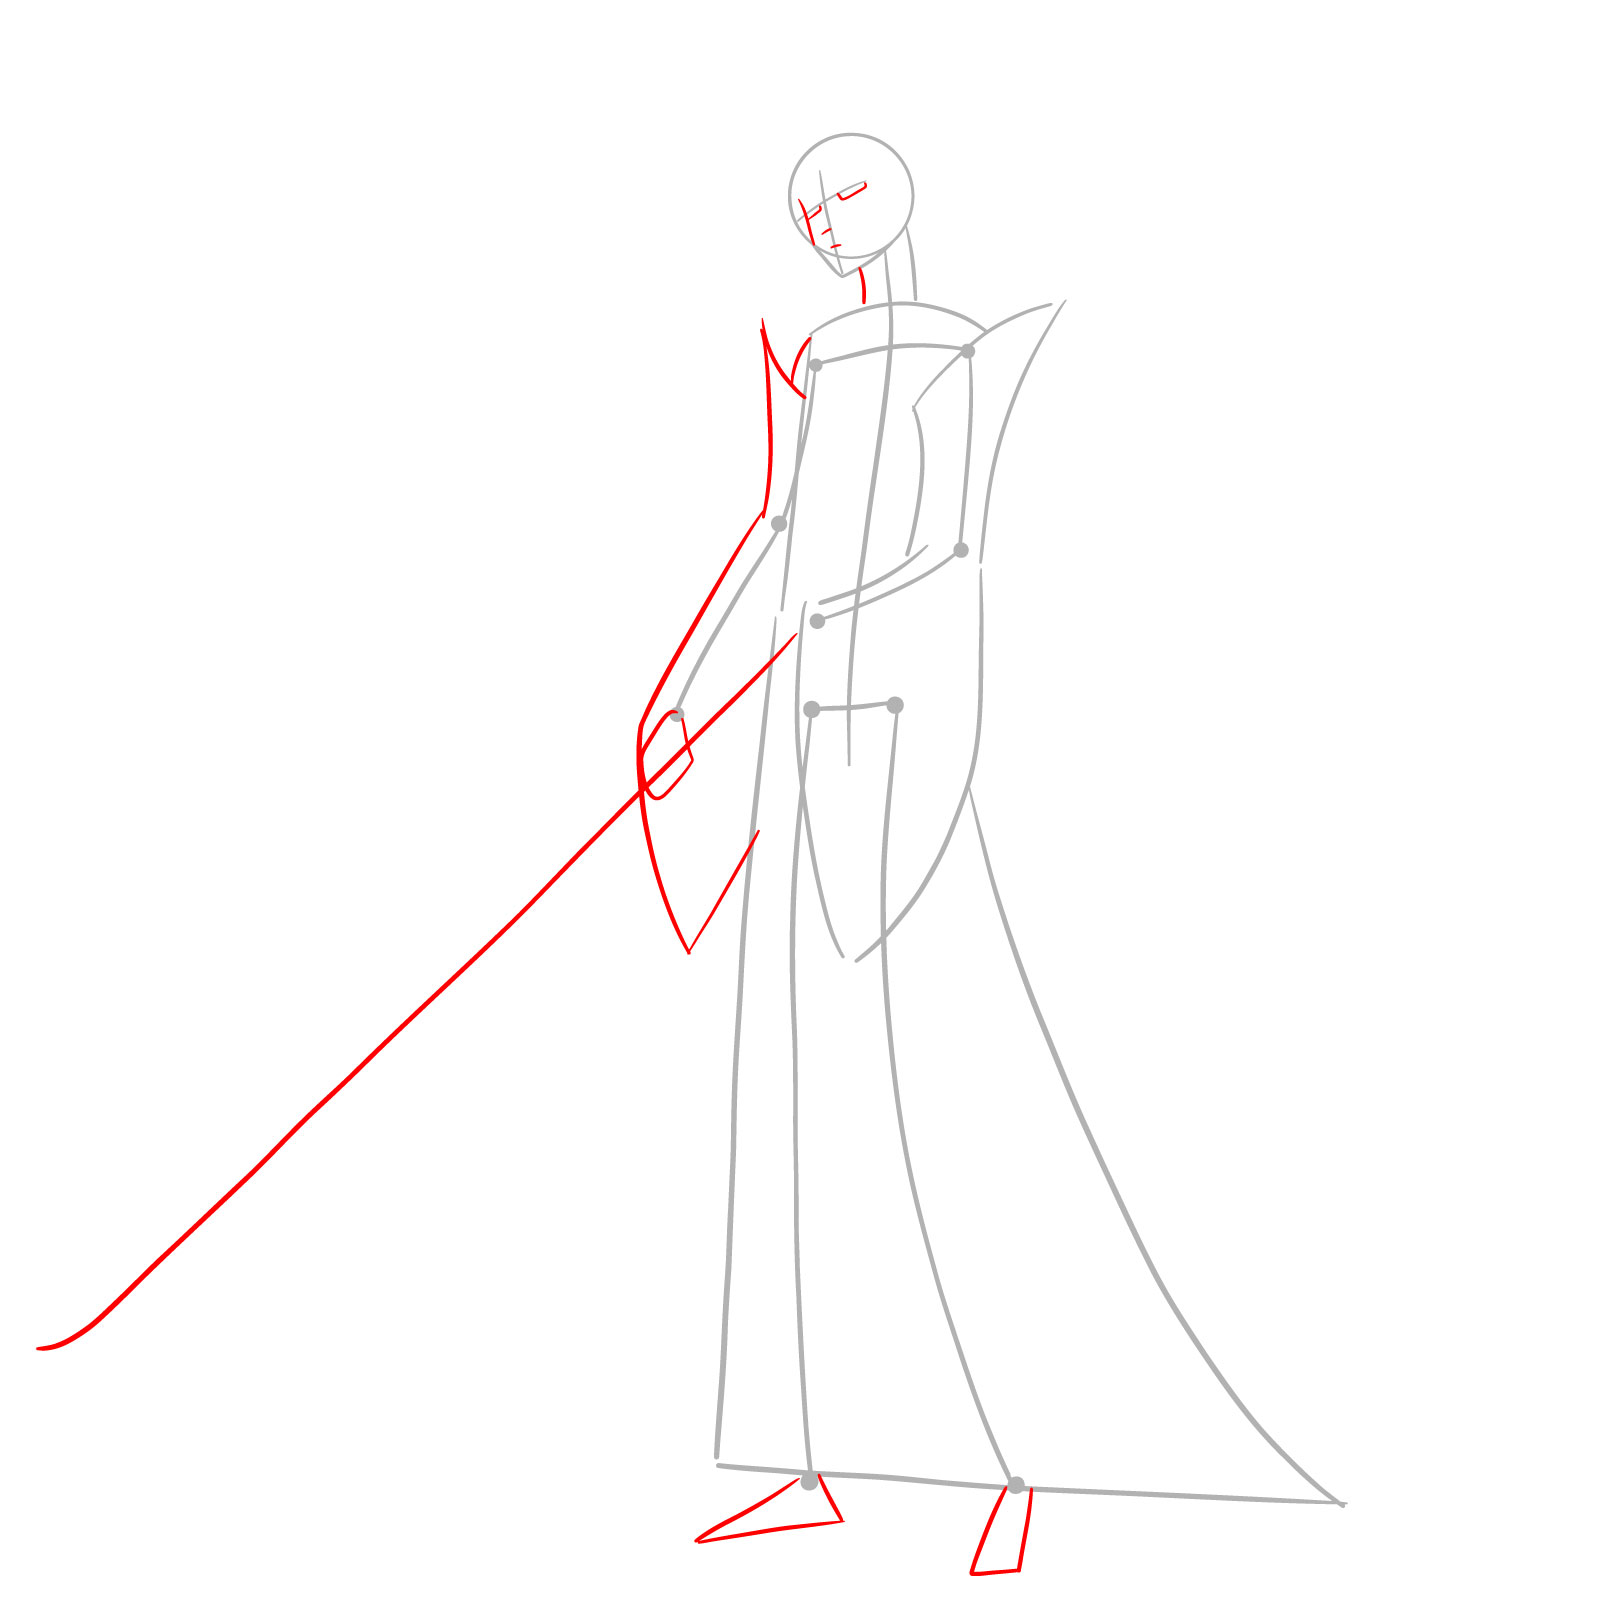
Step 03 – Let’s move to Rukia’s facial features and right arm. Begin by drawing faint lines across the face, marking the position of her eyes, nose, and mouth. These lines will act as guides when we delve into detailing later on. Next, draw a rough outline for her right hand, following the stick figure’s posture. Extend the line from her shoulder, illustrating the sleeve of her attire. Lastly, sketch a gentle curve, extending from her right hand. This will serve as a base for her weapon.
Markings for Rukia’s facial features and outline of her right arm.
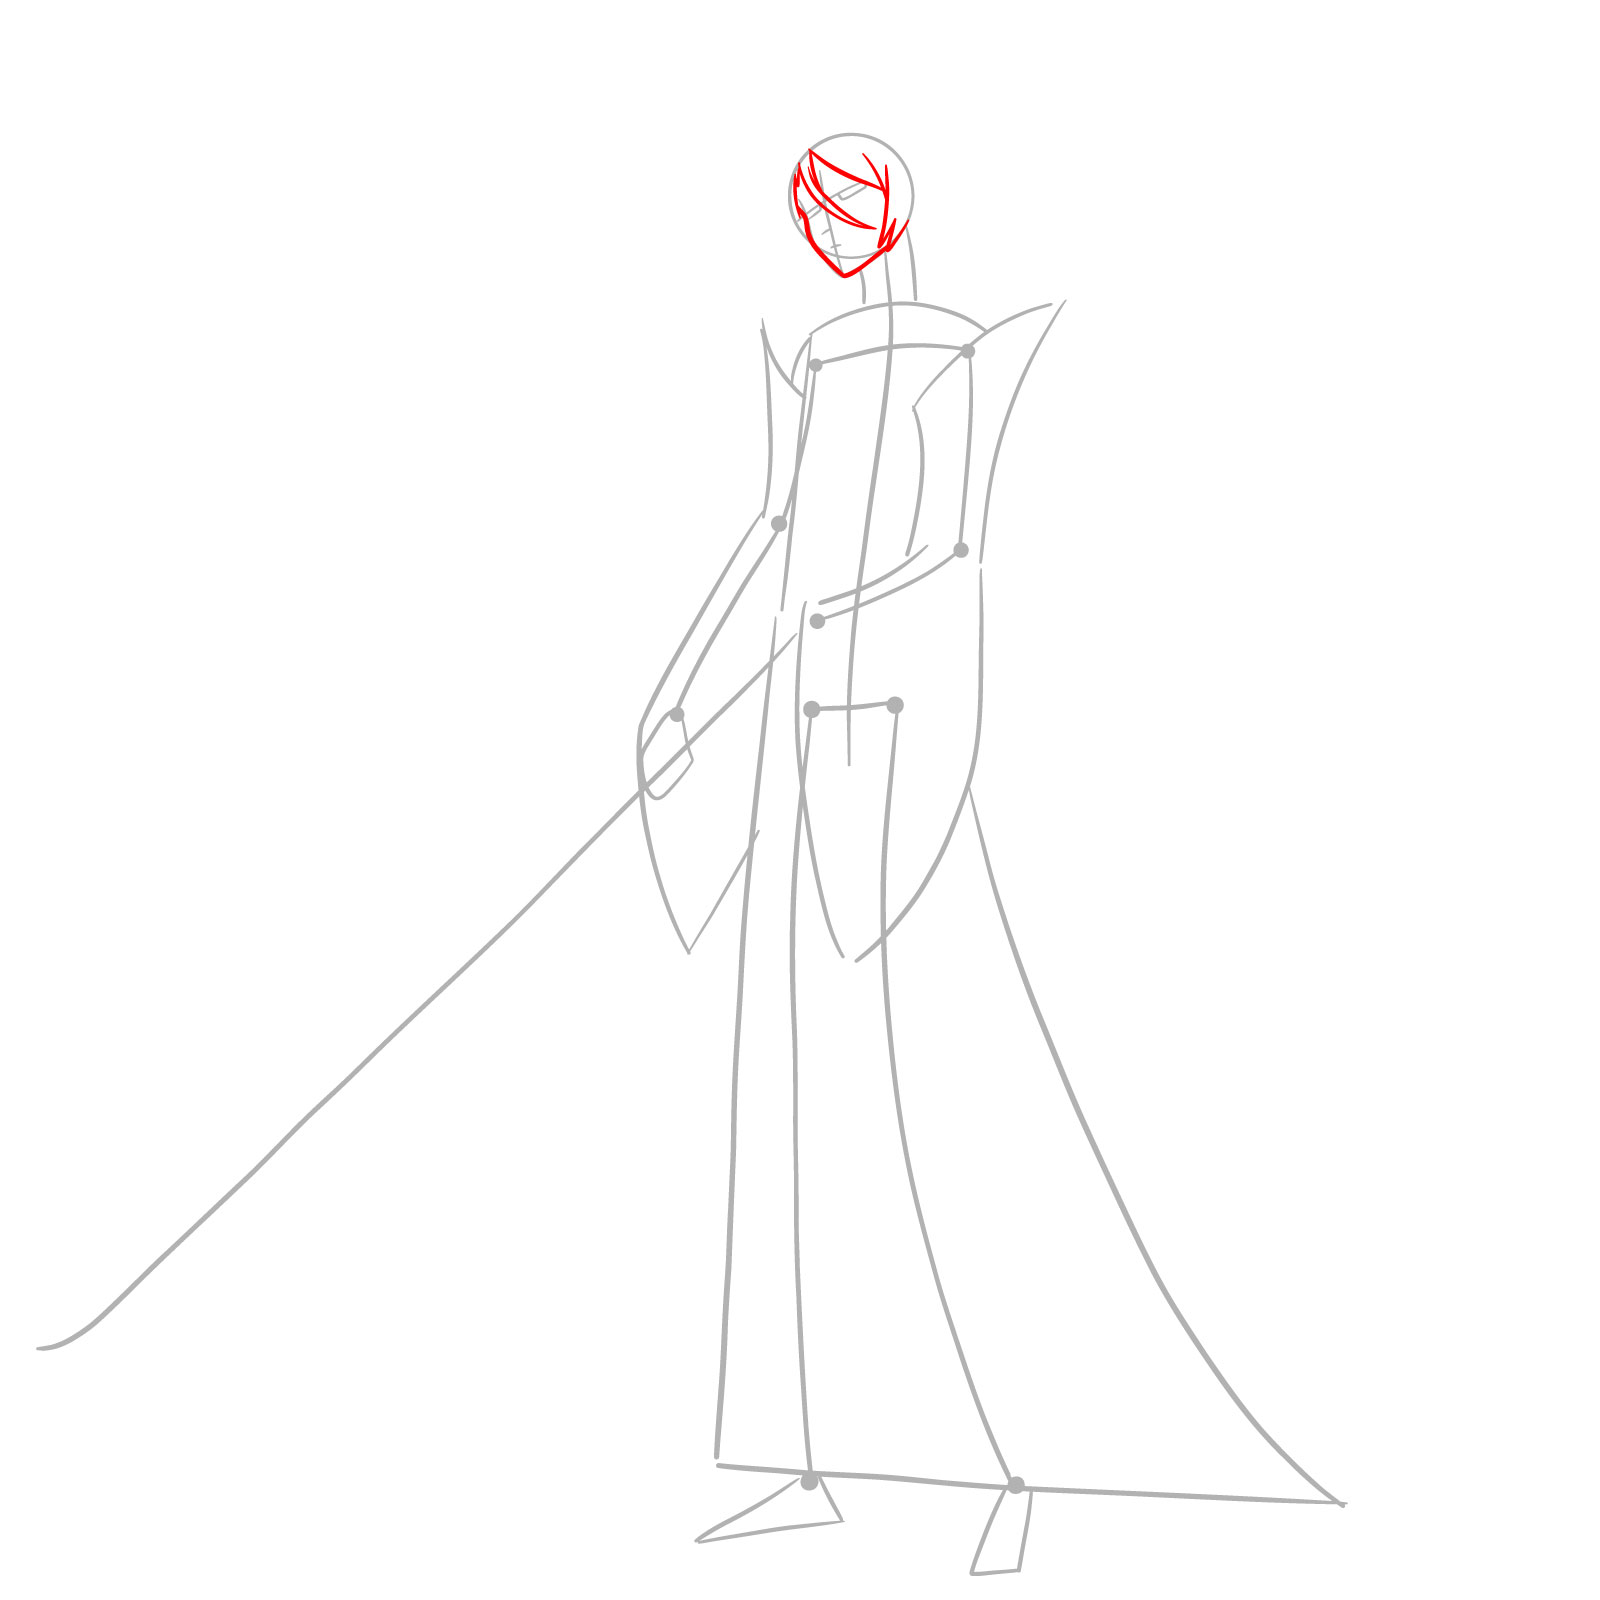
Step 04 – With the basic structure and attire in place, it’s time to delve into detailing Rukia’s facial features. Start by outlining her face, ensuring it’s proportionate to the head’s circle. Given Rukia’s unique features, the face takes a slightly oval shape, tapering towards the chin. Once the face is outlined, begin sketching the front hair strands. These strands flow seamlessly from the top of her forehead, cascading down on both sides, framing her face beautifully.
Detailed outline of Rukia’s face and front hair strands.
Step 05 – With the face structure ready, start by adding details to Rukia’s eyes. Draw the upper and lower outlines of her eyes ensuring they are symmetrical and aligned with the guidelines drawn earlier. Directly below the eyes, depict her nose using simple, subtle lines, and then proceed to illustrate her mouth, ensuring it’s proportionate to the other facial features.
Detailed sketch of Rukia’s symmetrical eyes, subtle nose, and proportionate mouth.
Step 06 – Delve deeper into Rukia’s facial details. Within the eye outline, draw her irises, ensuring they are evenly sized and placed. Above the eyes, sketch her eyebrows, capturing her characteristic expression. Just above her left eyebrow, add a hair strand that curves slightly towards her face. This will help frame her face and add depth to her hairstyle.
Detailed sketch of Rukia’s irises, eyebrows, and an accentuating hair strand.
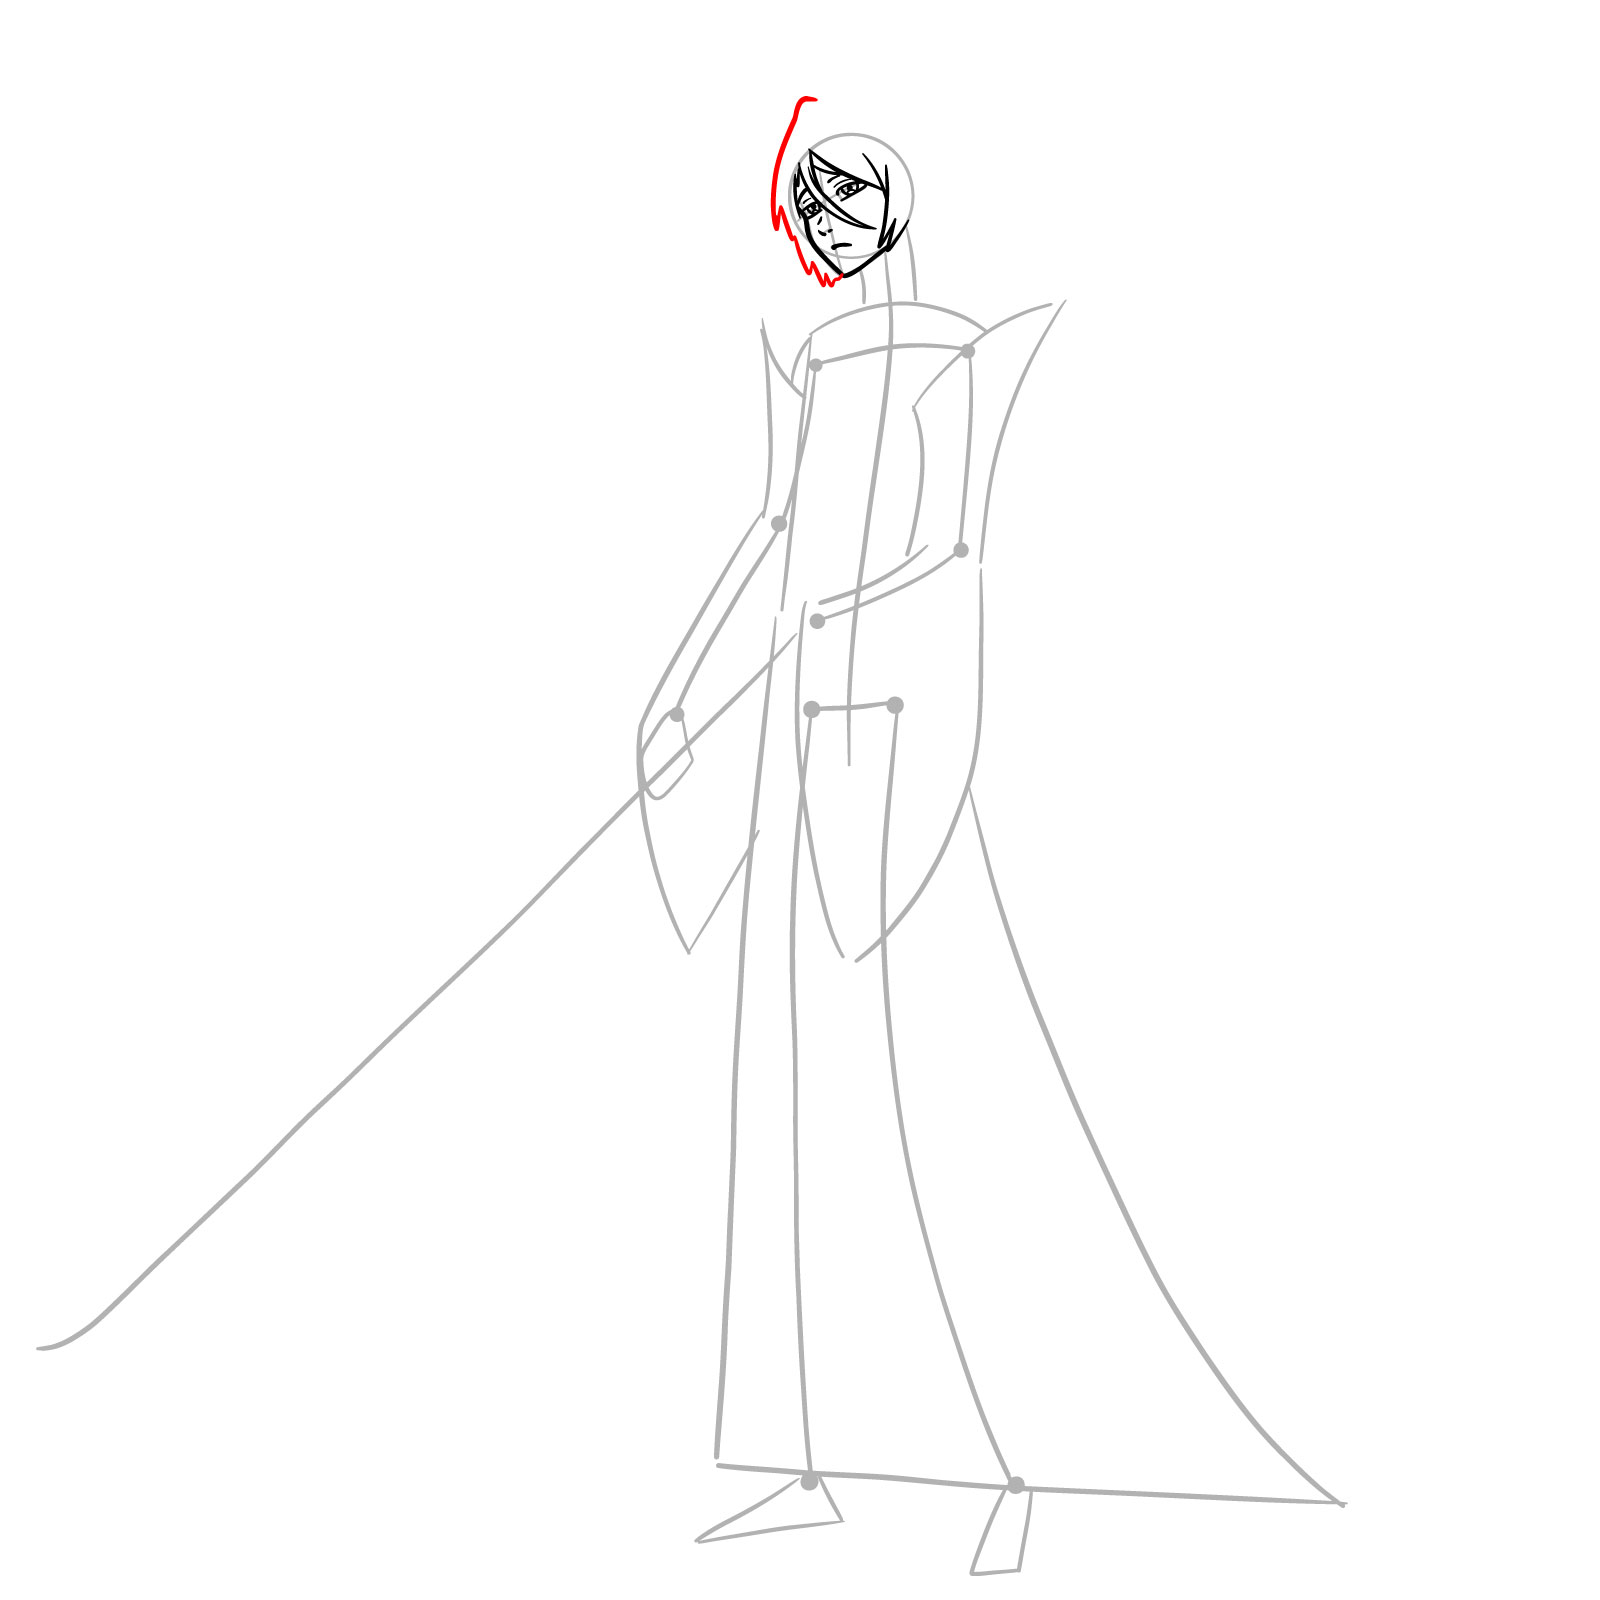
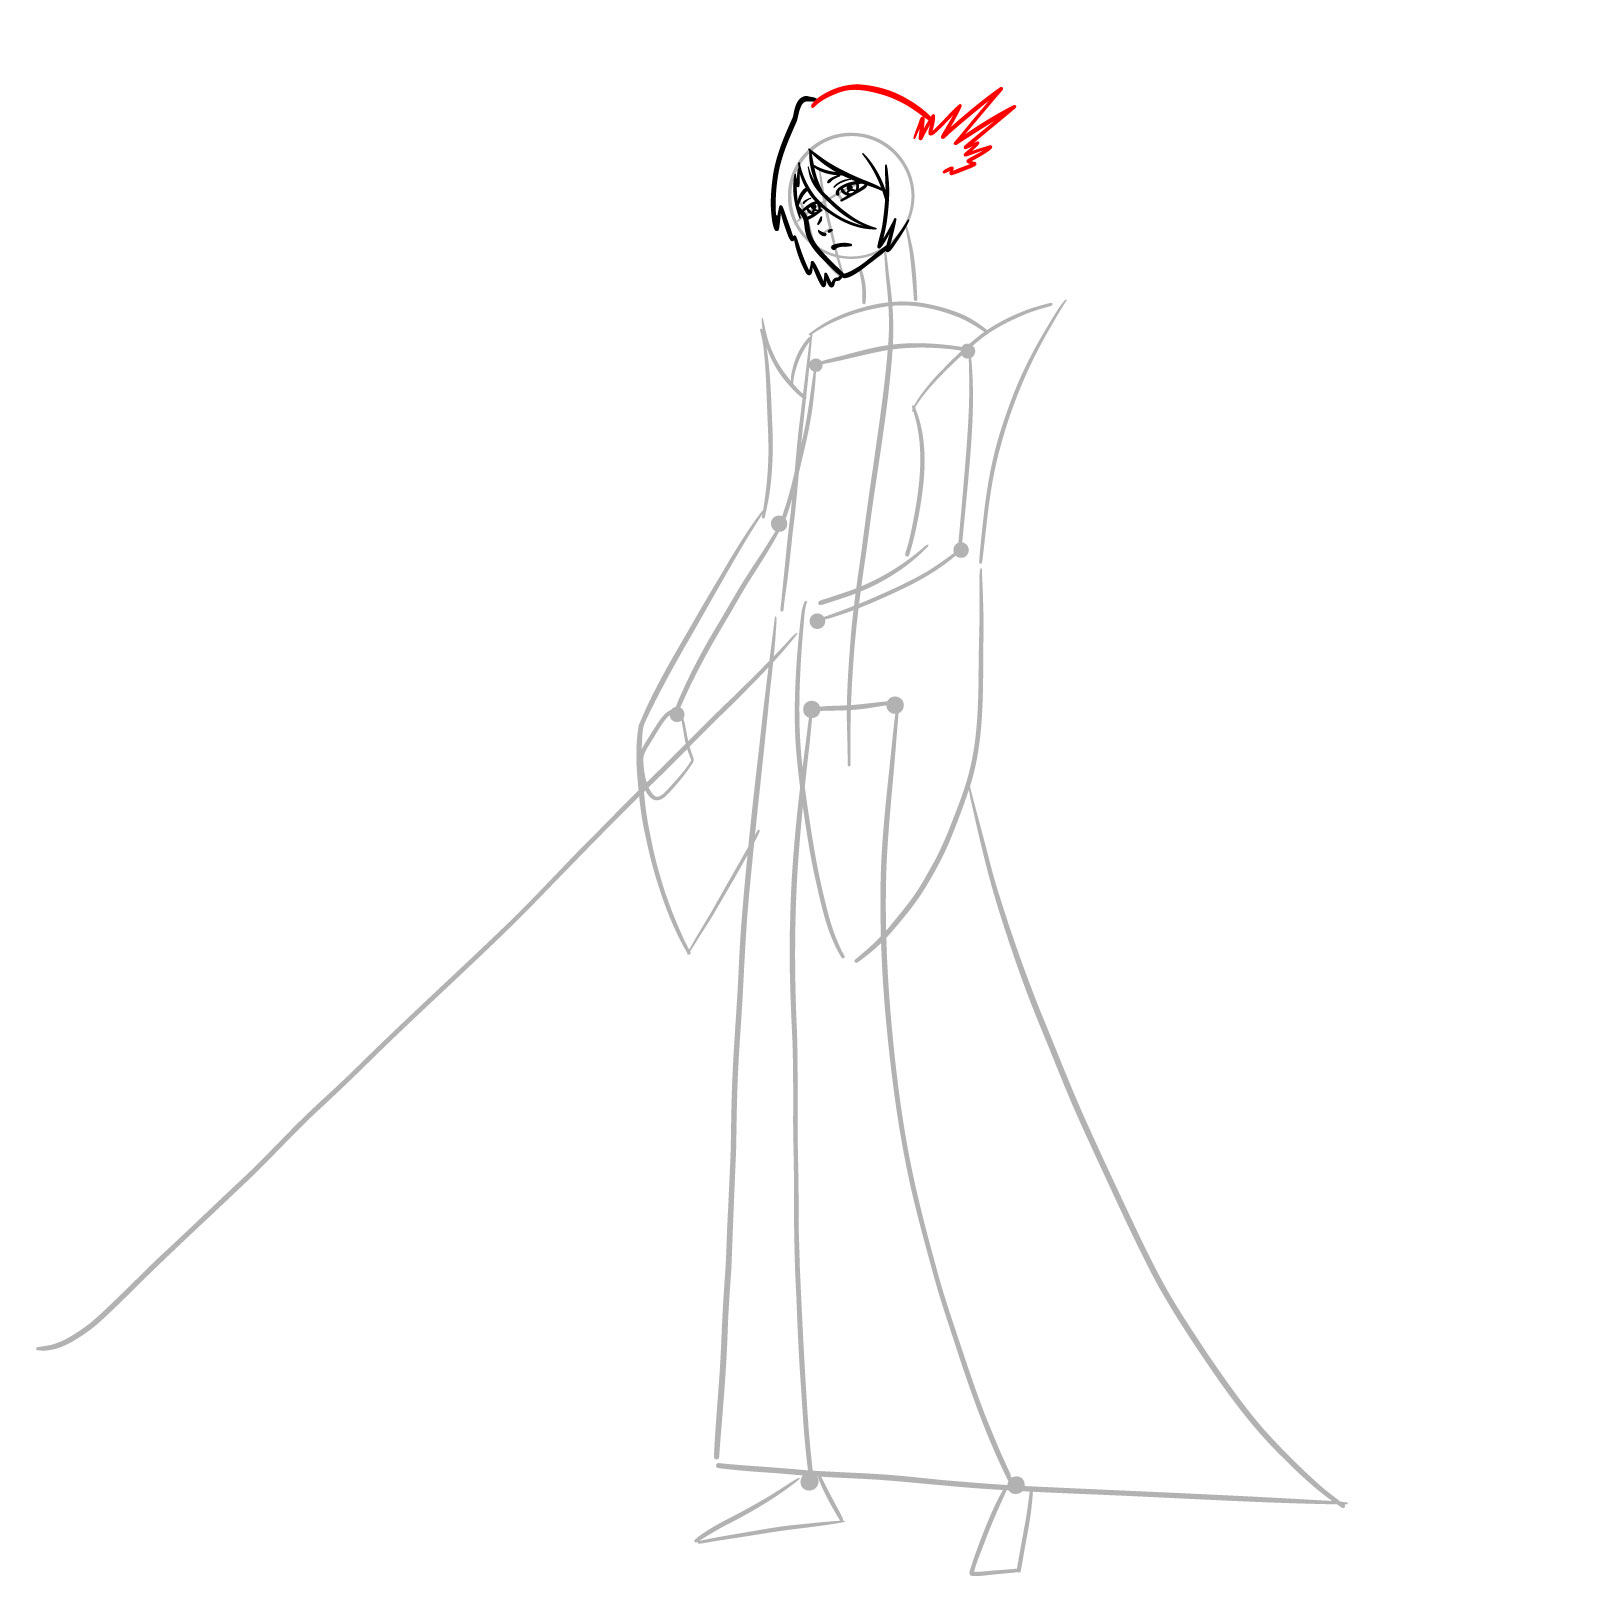
Step 07 – Begin outlining the structure of Rukia’s hair. Start from the top, drawing a series of interconnected curves to represent her bangs, ensuring they flow seamlessly from the head’s shape. Gradually move to the sides, ensuring that the hair curves naturally, enveloping her face.
Outlining Rukia’s flowing hair.
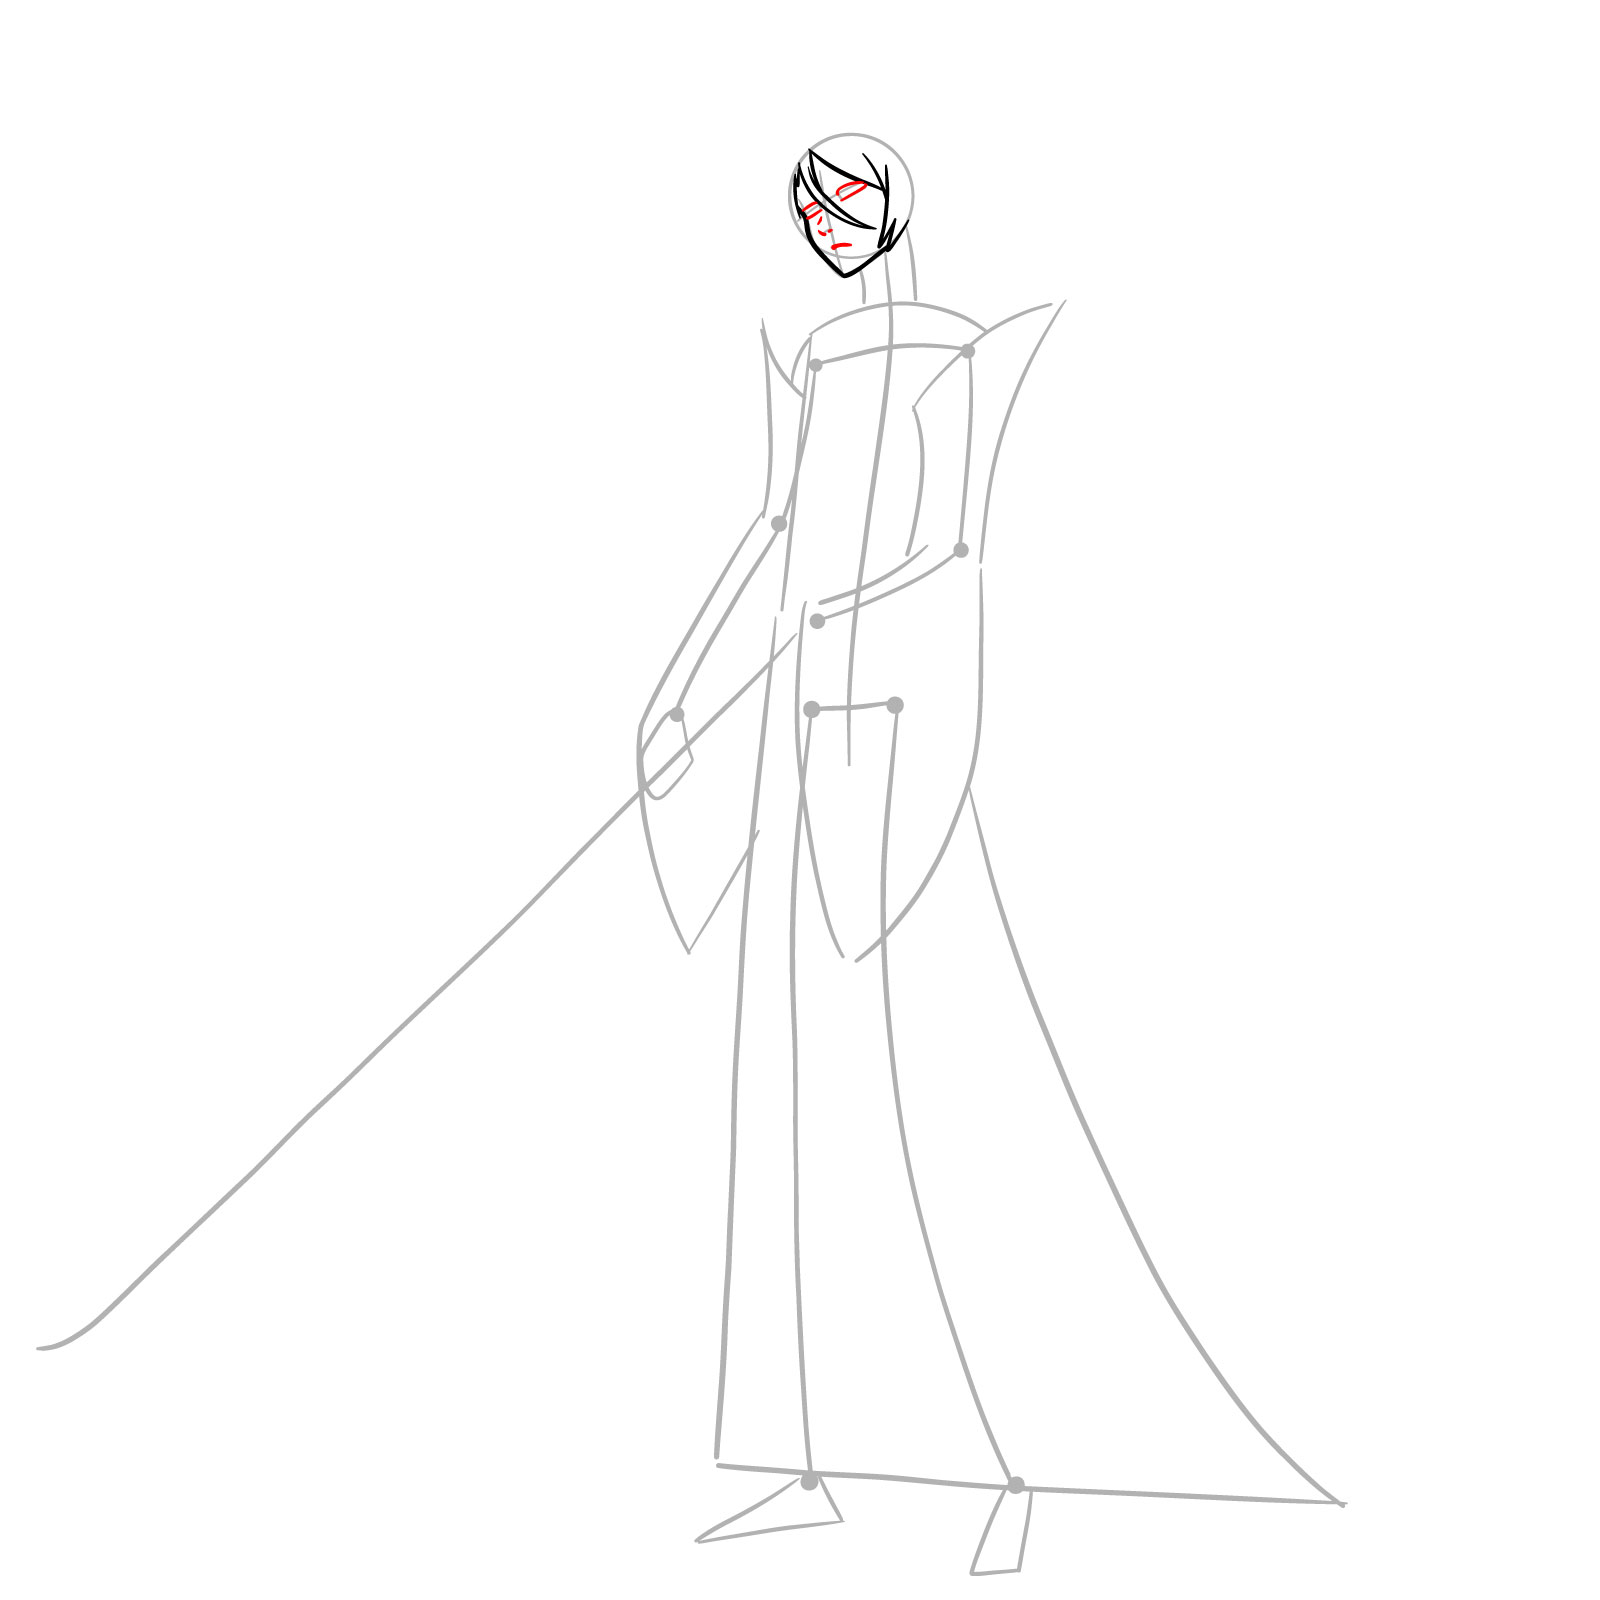
Step 08 – Continue detailing Rukia’s hair. On the top left side of her head, add the icy half-crown, a distinguishing feature. This half-crown resembles jagged icicles, each varying slightly in size and direction.
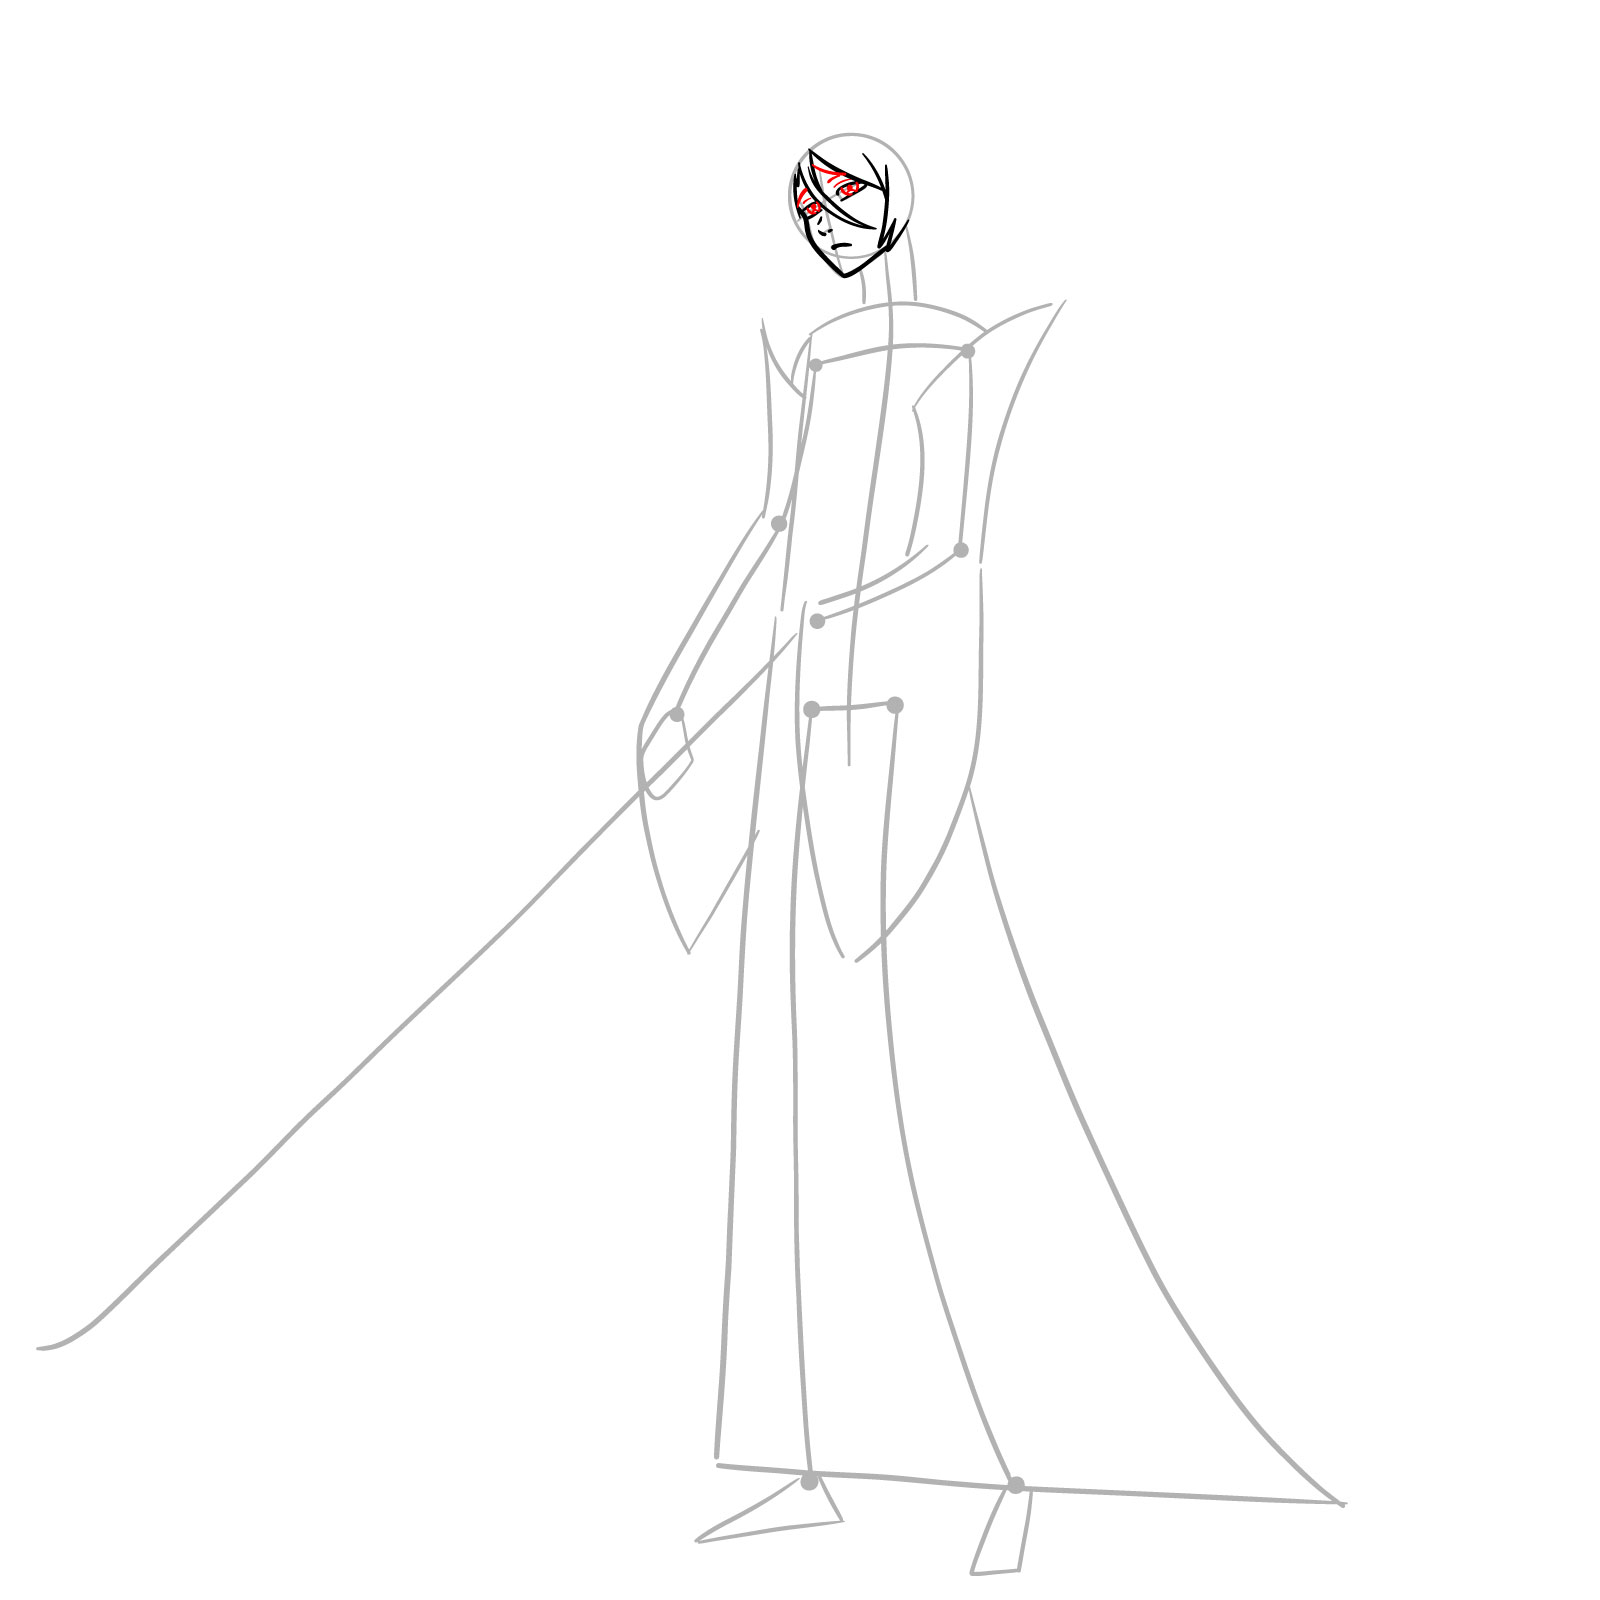
Step 09 – Conclude the outline of Rukia’s hair by adding more detailed strands that give texture and depth to her hair. Ensure the strands flow naturally and merge seamlessly with the existing outline. Also, refine the icy half-crown, adding sharpness to the icicles to capture its crystalline essence.
Detailed strands and refined icy half-crown adding depth to Rukia’s hair.
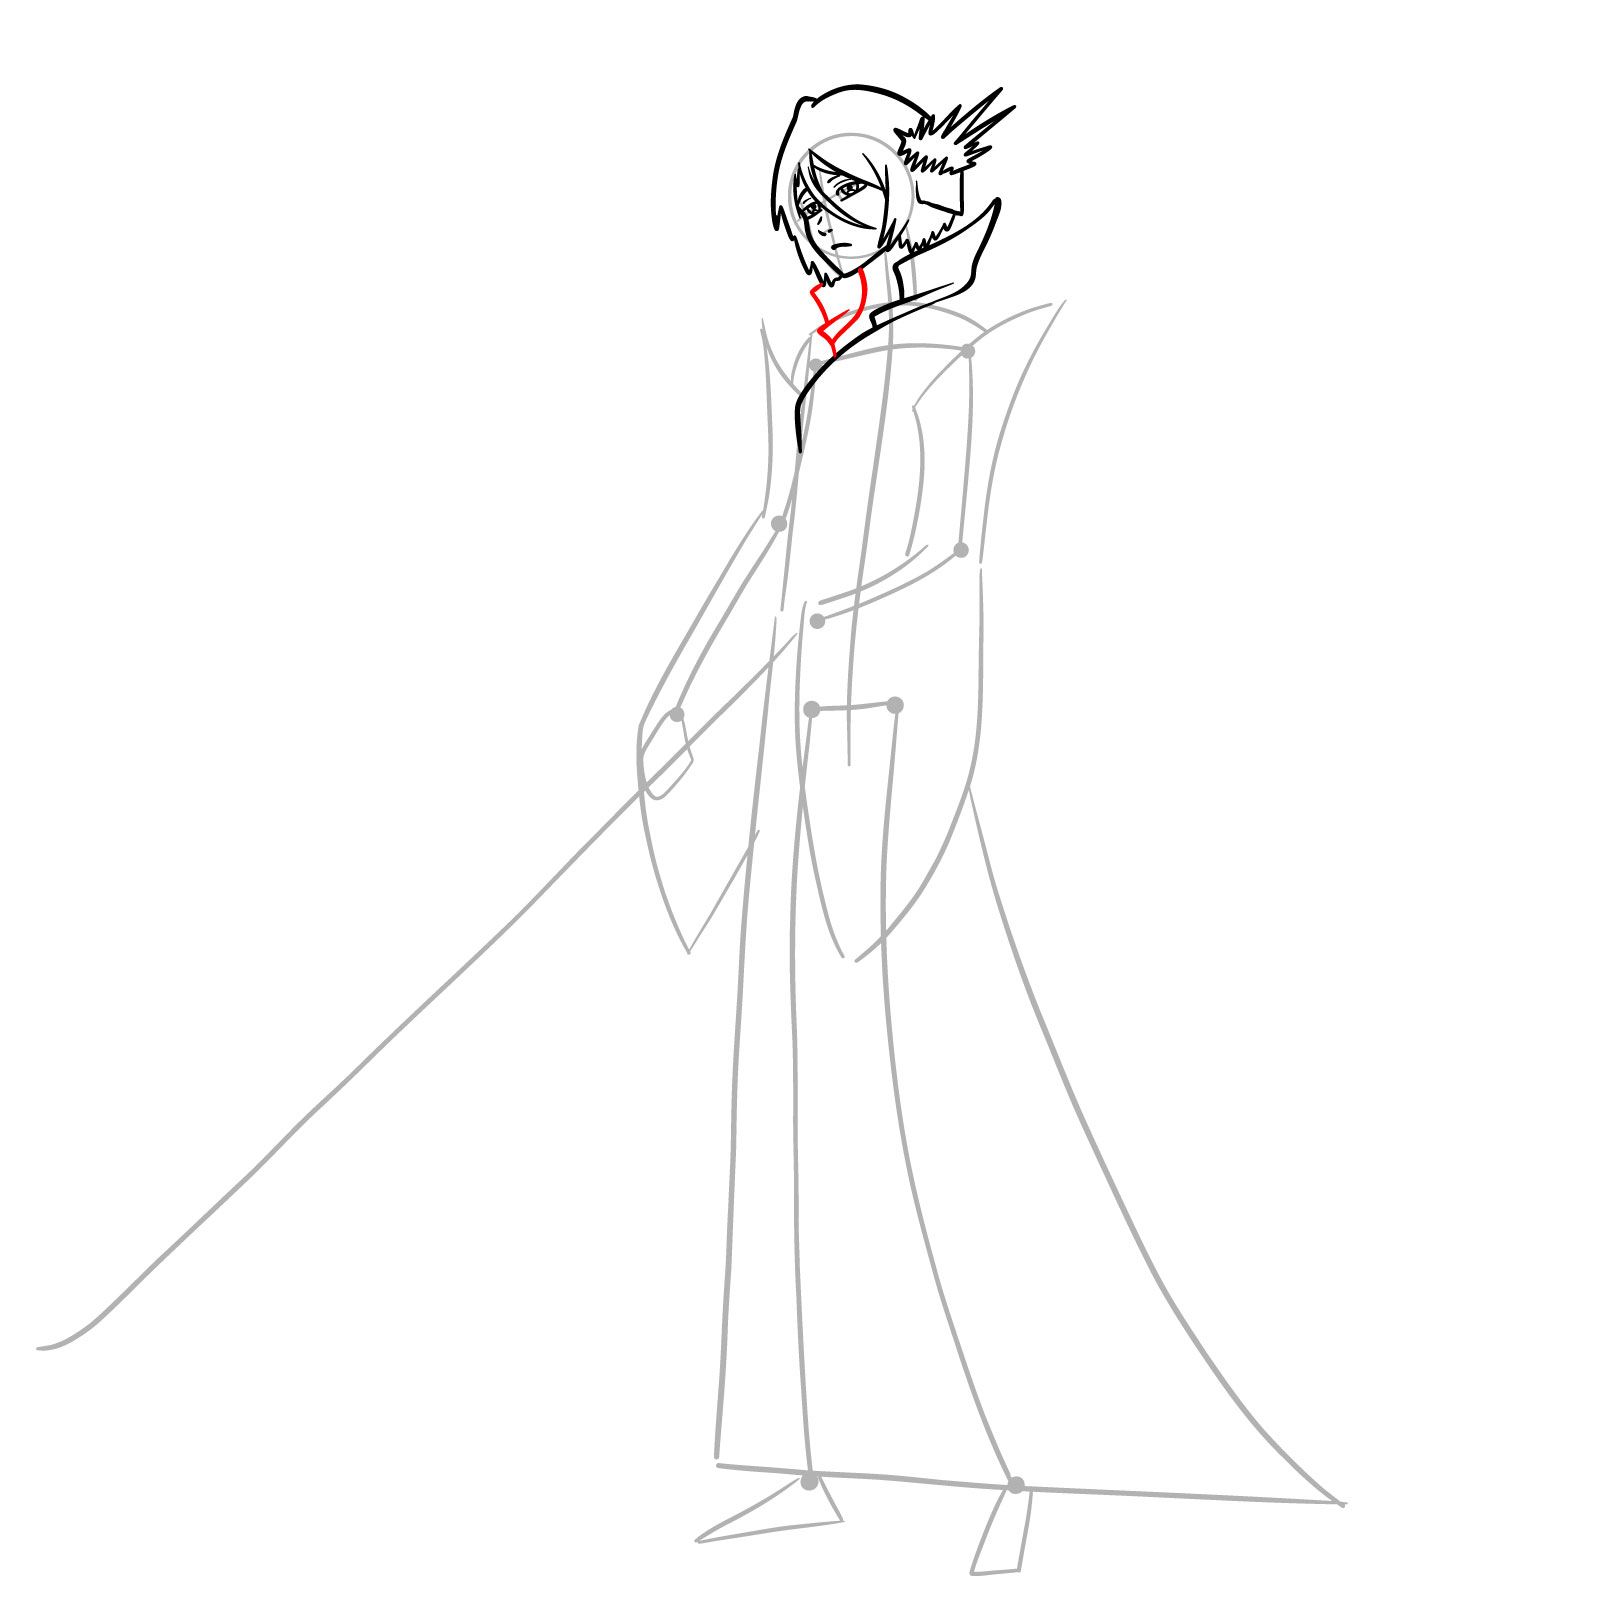
Step 10 – Now, begin to detail Rukia’s attire. Start with her kimono. Draw the collar, a distinguishing feature of the robe, making sure it wraps around her neck elegantly. The upper part of the kimono should be slightly looser, draping over her shoulders. This is where the garment’s layers will be evident.
Collar detailing of Rukia’s kimono.
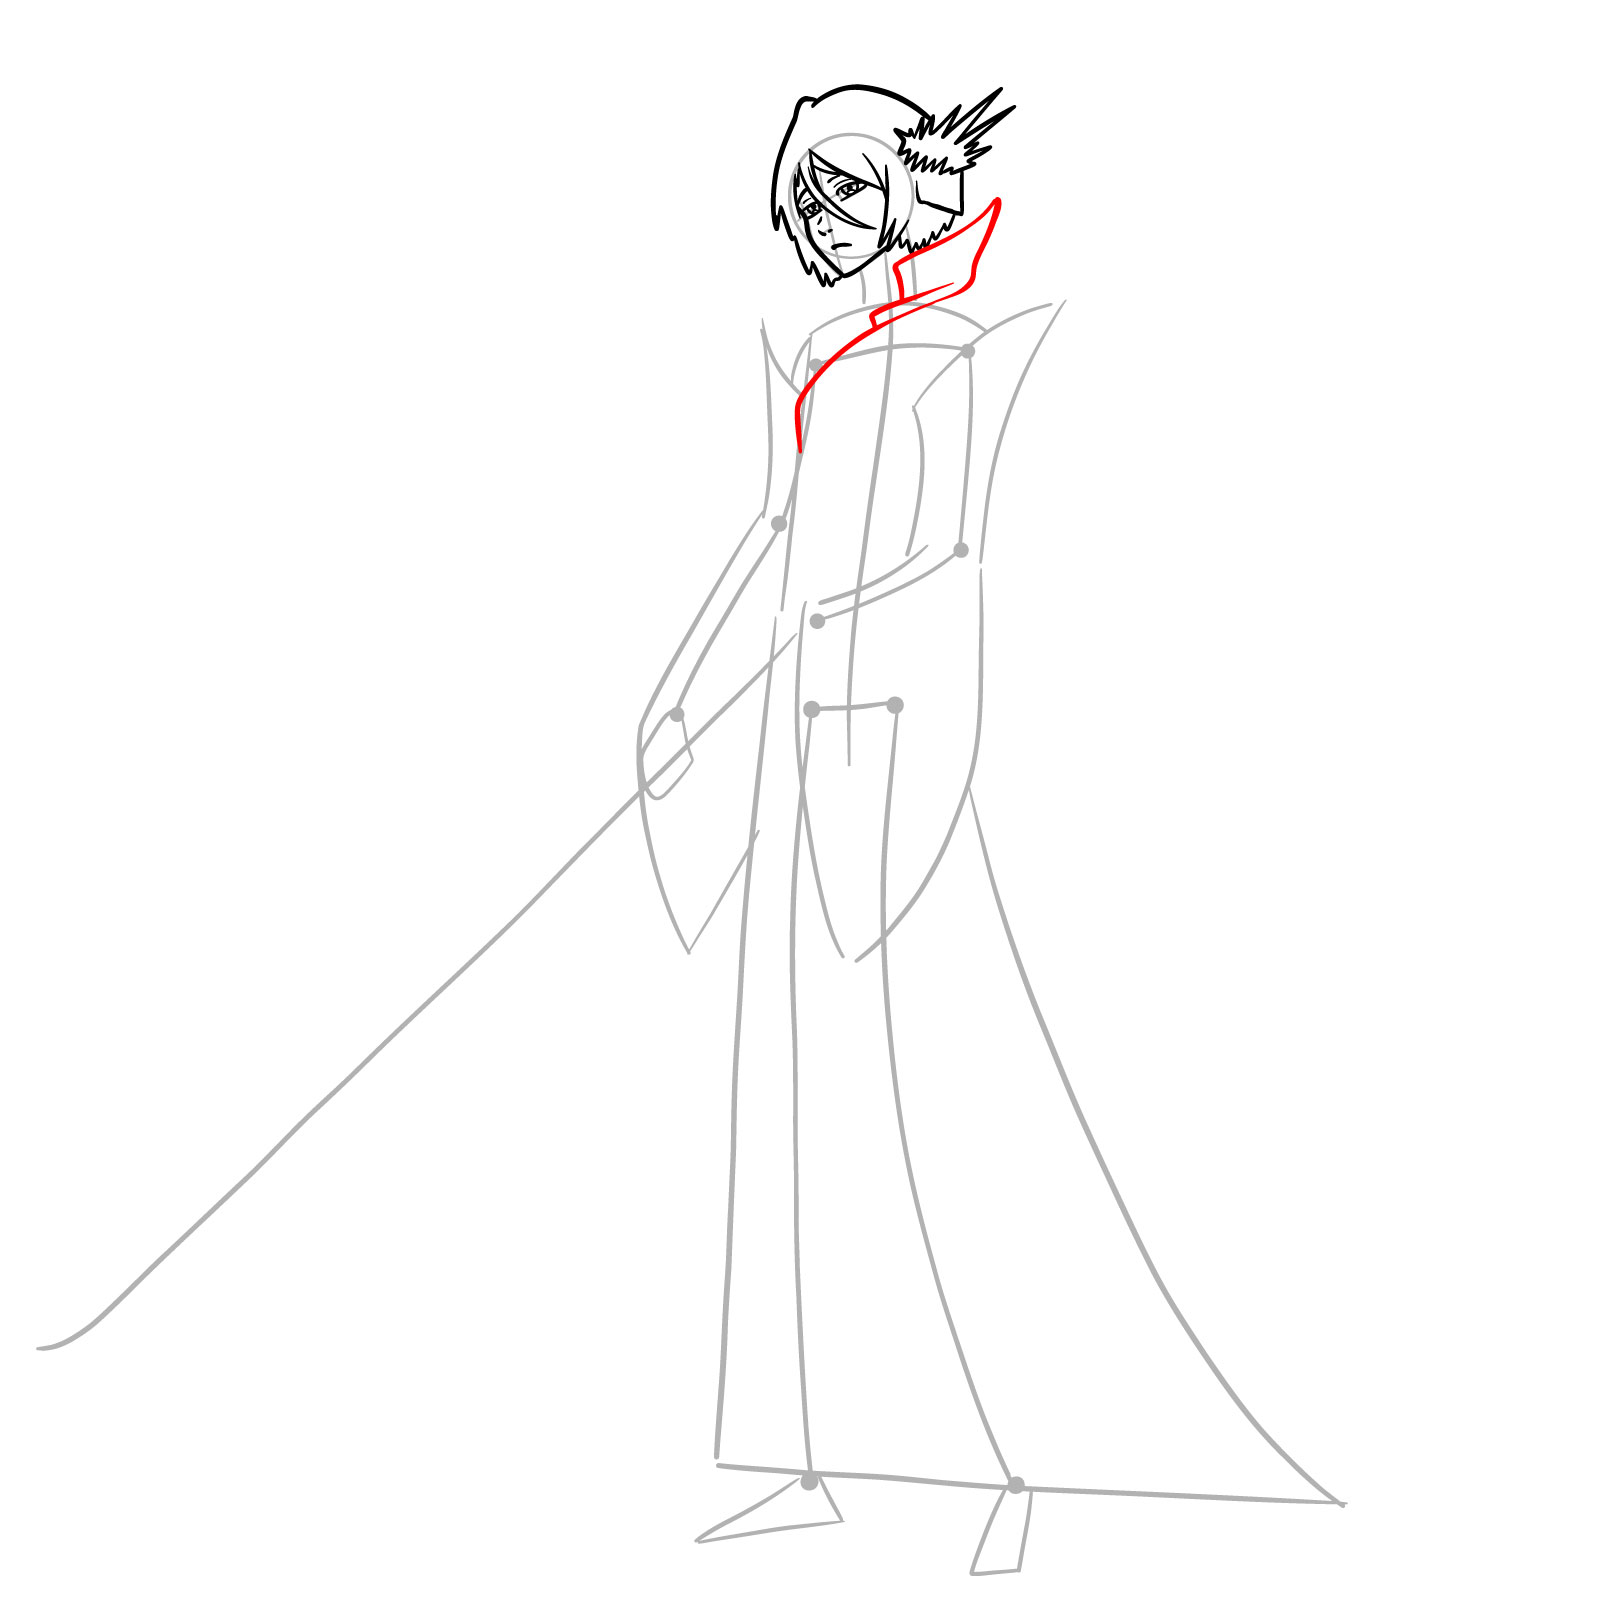
Step 11 – Draw Rukia’s slender neck, ensuring it connects the head to the body naturally. Now, add the second layer of the collar of the kimono. This gives the attire a layered look, emphasizing the design of the kimono. The second collar should be slightly beneath the first, mirroring its design.
Second part of Rukia’s kimono collar.
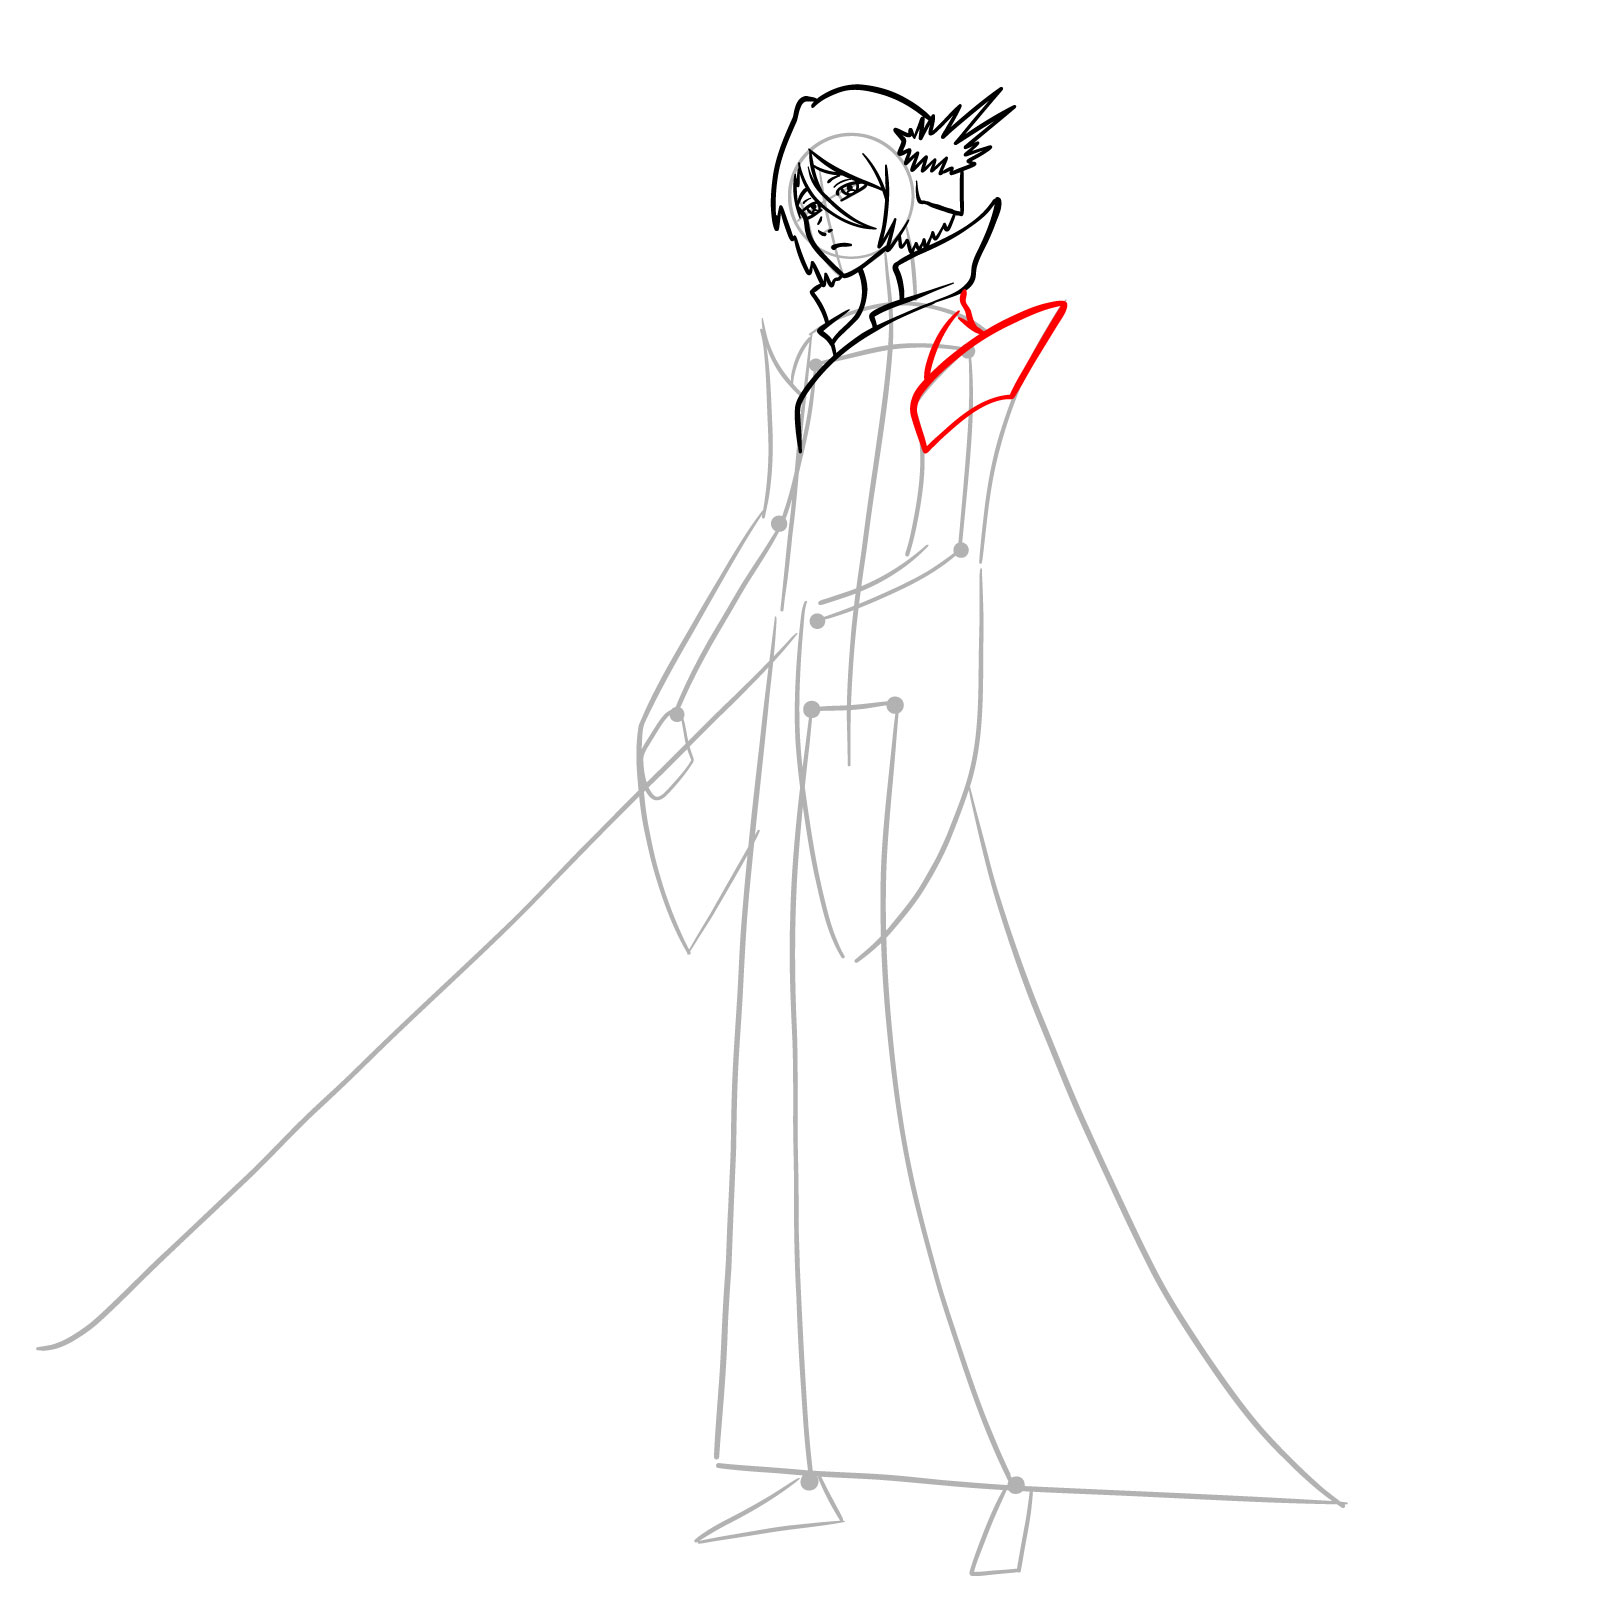
Step 12 – Continue with Rukia’s kimono by sketching her left shoulder. The kimono should drape over her shoulder, slightly looser at the top and gradually becoming more form-fitting as it moves down her arm. Add subtle creases to the fabric to capture its fluidity and the way it wraps around her body.
Sketch of Rukia’s draped left shoulder with subtle fabric creases.
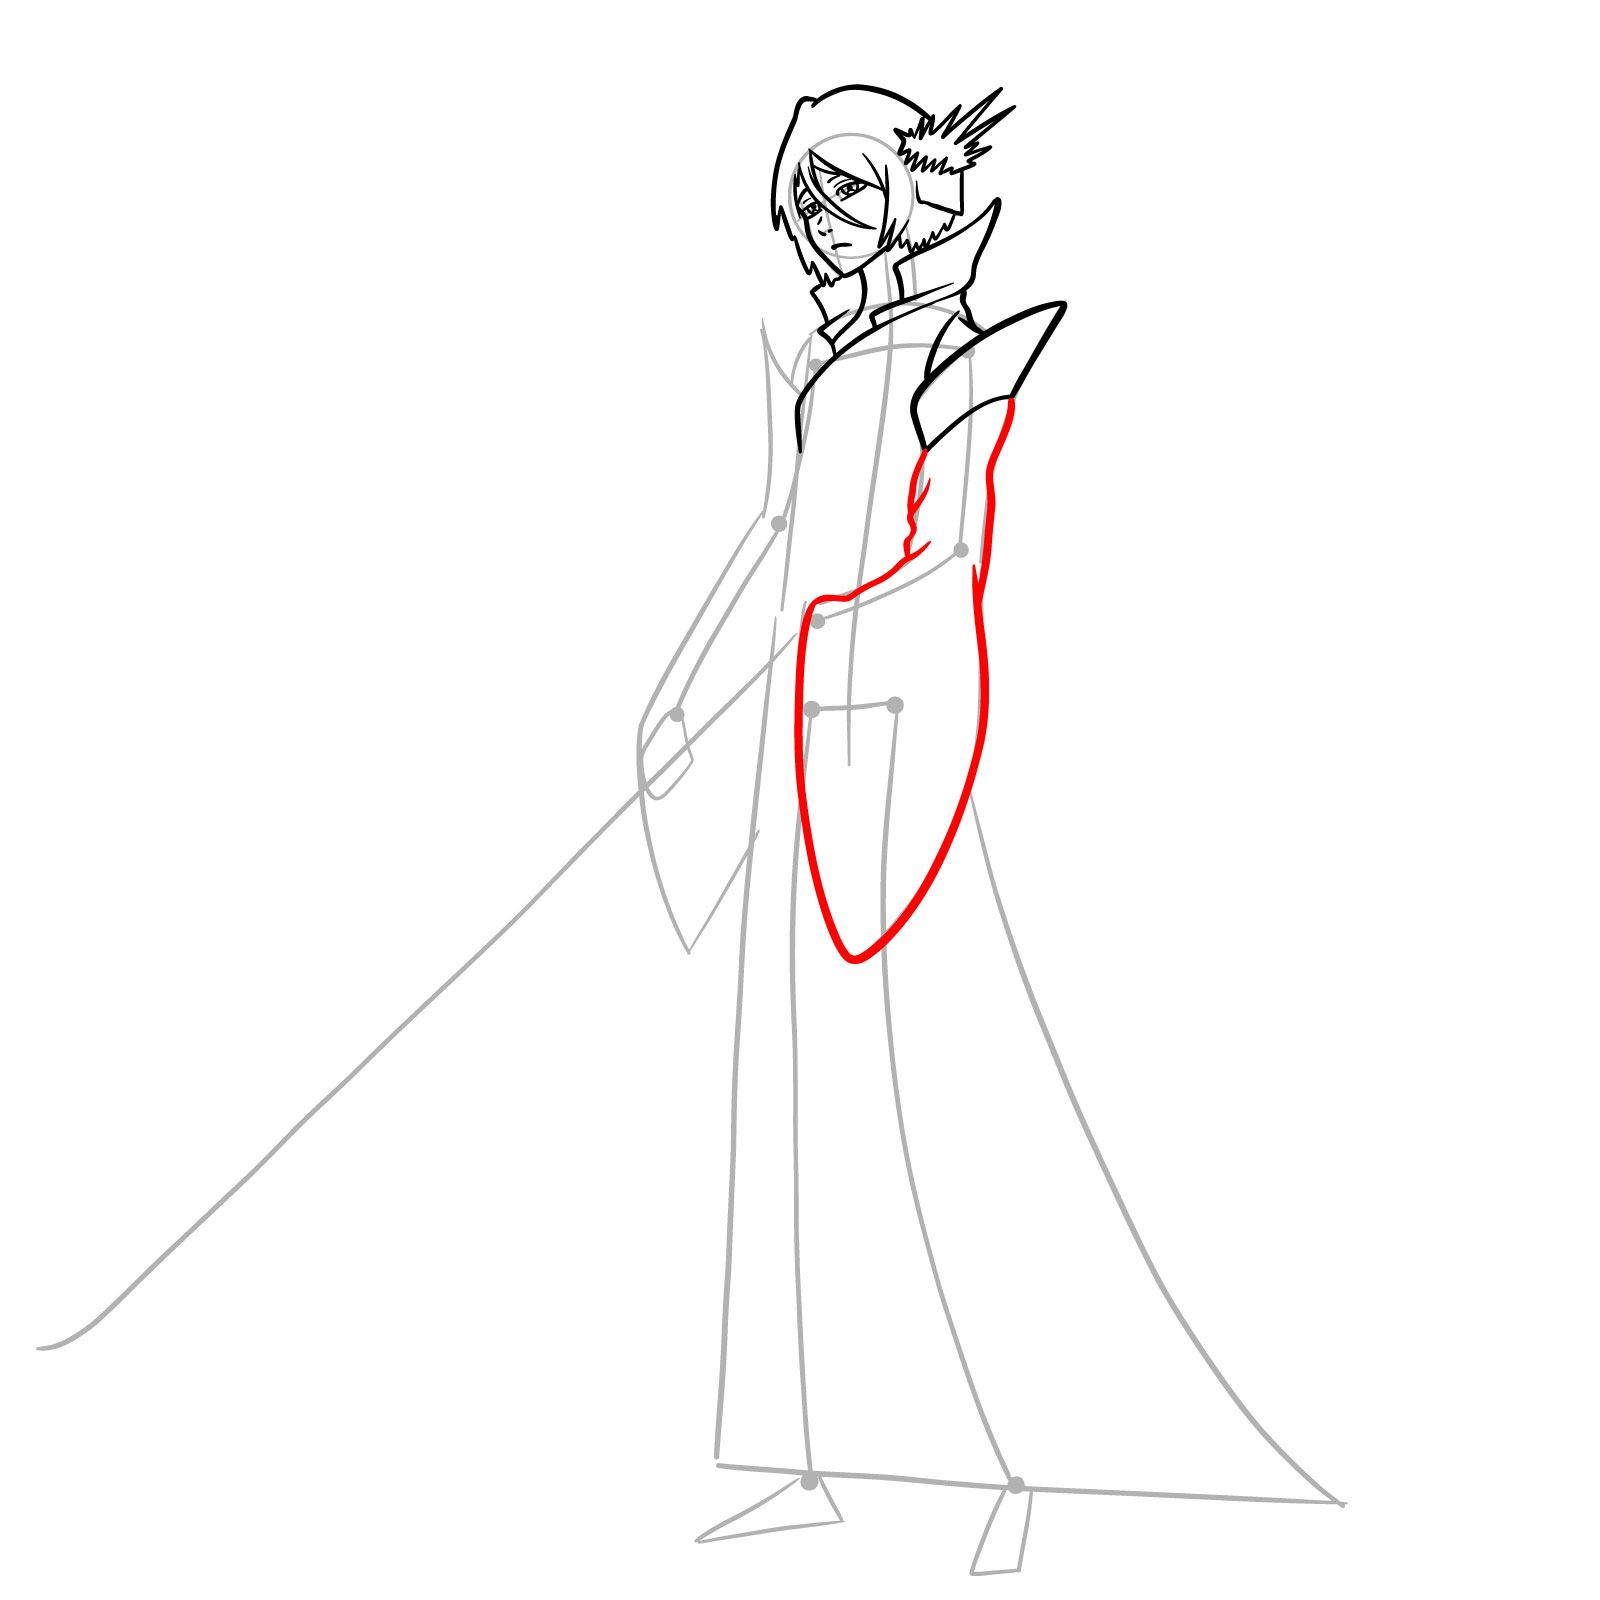
Step 13 – Work on the left sleeve of Rukia’s kimono. The sleeve should be wide and flowing, typical of traditional kimonos. Start by drawing the opening of the sleeve near her shoulder and let it drape down gracefully, almost parallel to her arm, but with a slight outward flare.
Wide and flowing design of Rukia’s left kimono sleeve.
Step 14 – Begin sketching the handle of Rukia’s weapon. Remember, it should be straight, with some texture to denote the wrapping around it. Towards the end of the handle, depict her left hand gripping it.
Handle of Rukia’s weapon with her left hand gripping.
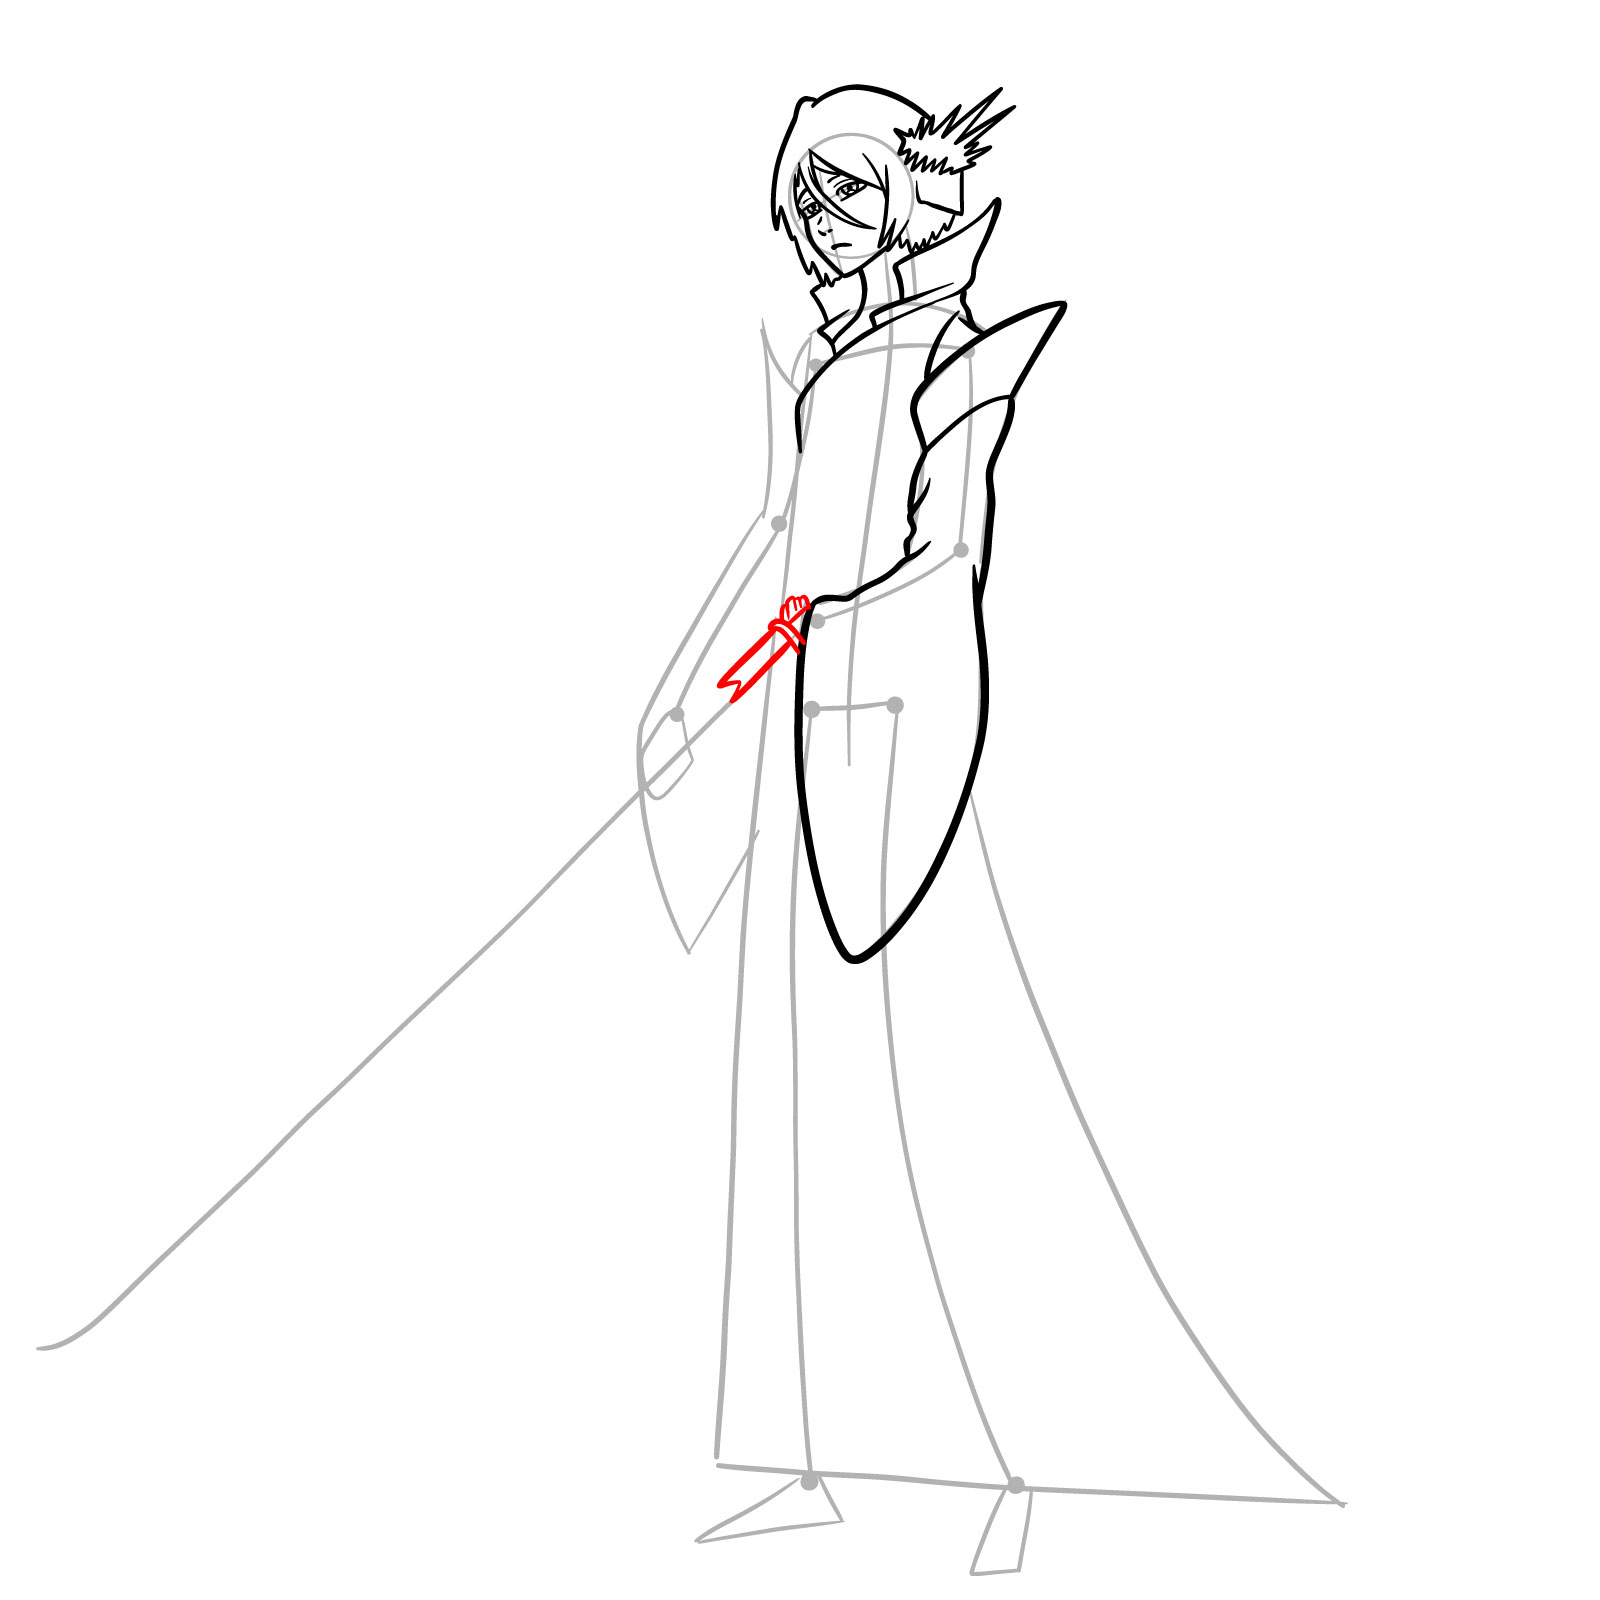
Step 15 – Draw a small, intricate ice flower formation just below her chest, above her waist. This delicate emblem showcases her ice powers and is a significant part of her Bankai transformation. Make sure it’s symmetrical with sharp petals that exude a crystal-like quality.
Intricate ice flower emblem below Rukia’s chest.
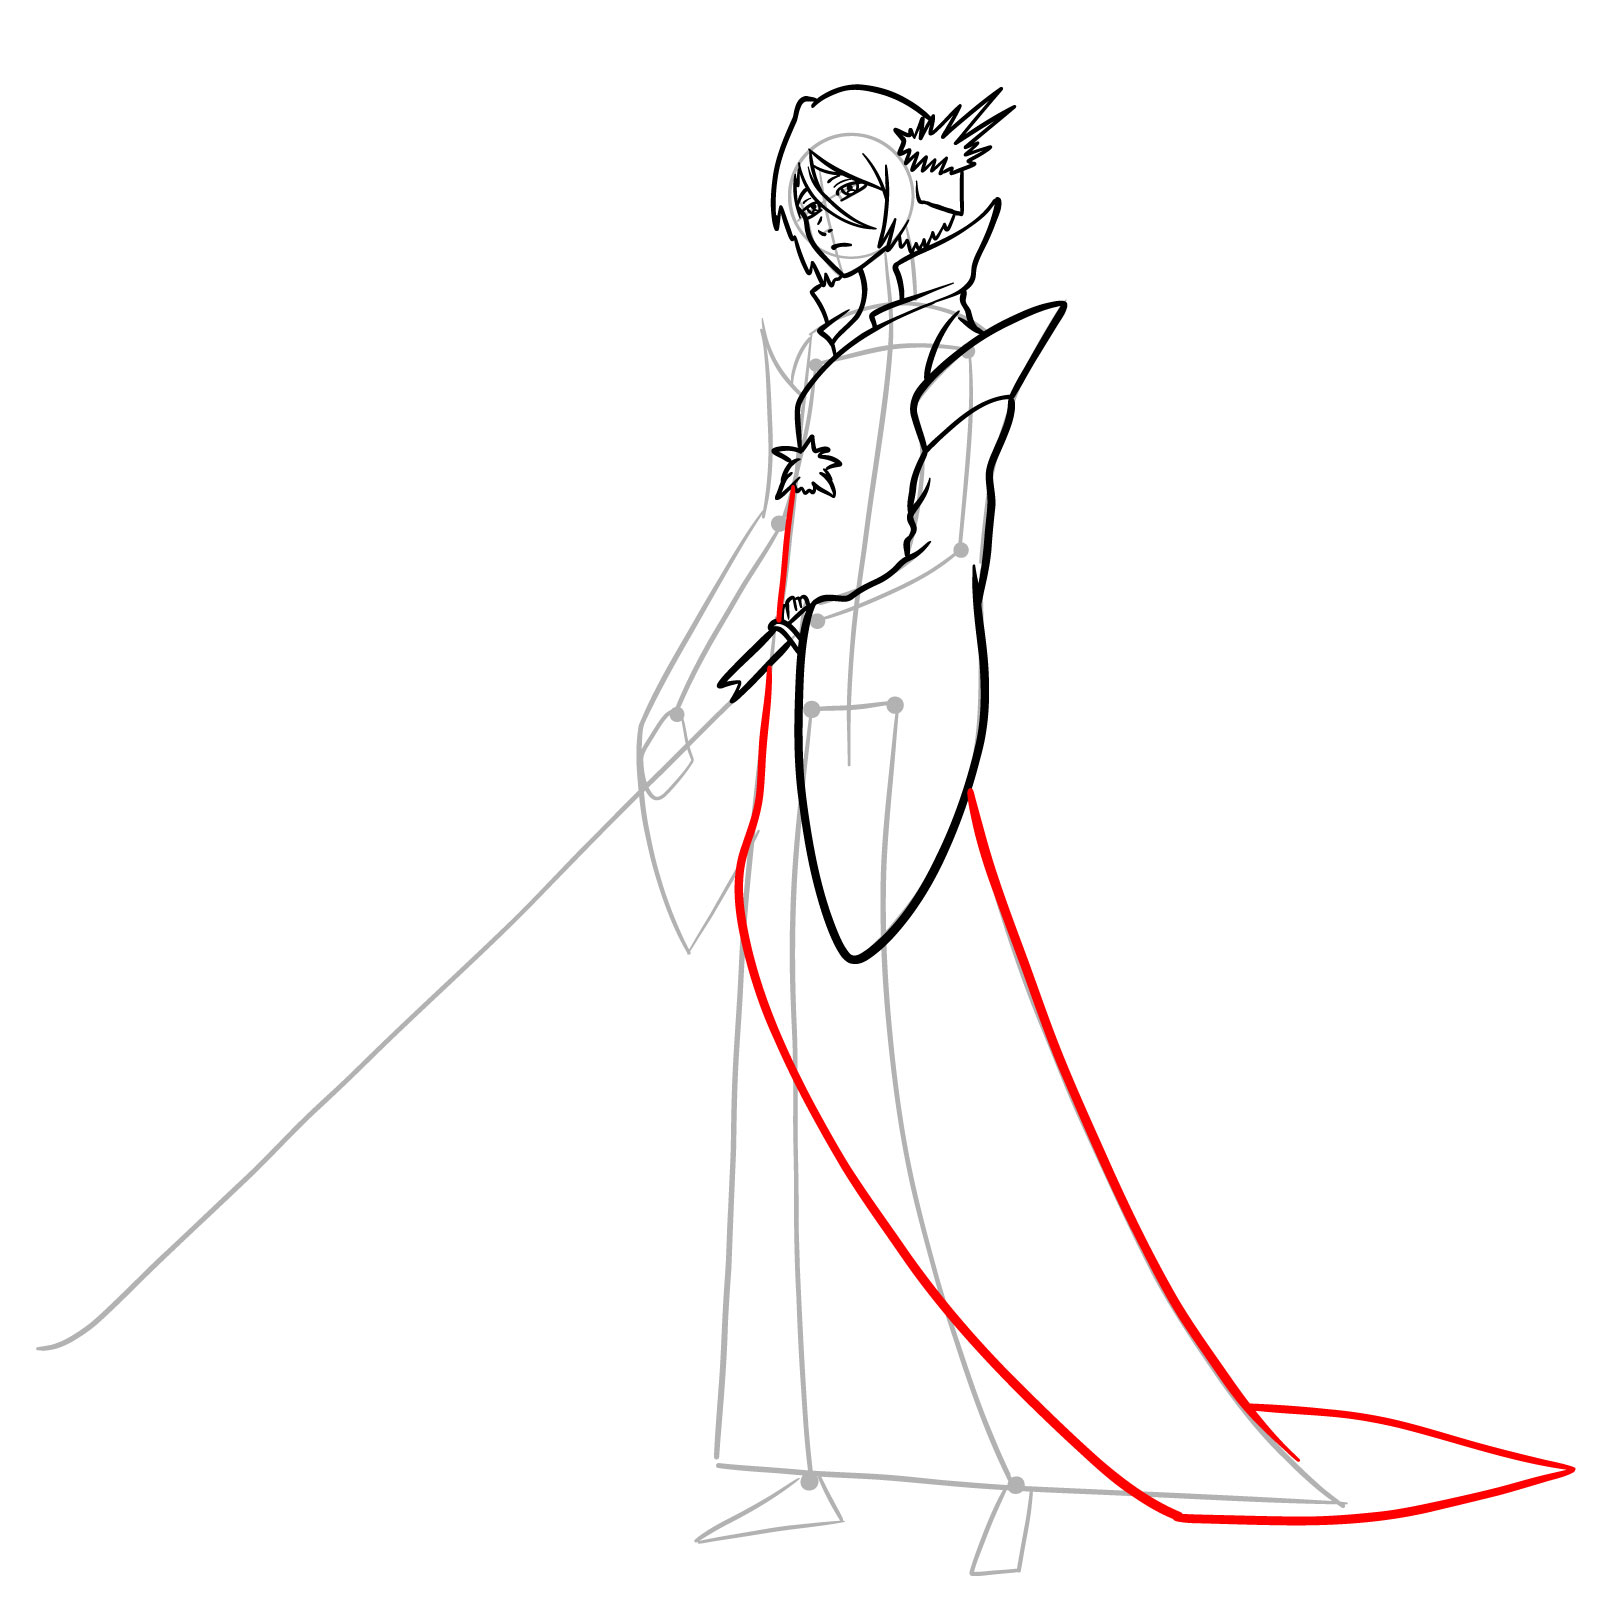
Step 16 – Outline the main body of her kimono. It should flow down from her waist and gradually widen as it reaches the ground. The fabric drapes elegantly, hinting at movement. Add gentle curves and lines at the bottom to showcase the kimono’s length and the way it rests on the floor.
Elegant draping of a kimono’s main body, highlighting its flow and movement.
Step 17 – Focus on the kimono’s right shoulder. It should have a smoothly transition into the right sleeve. The sleeve, similar to the left one, should be broad and flowing, extending downwards, loosely hanging in a straight line with a slight flare at the bottom. The open end of the sleeve is where her hand will emerge.
Detailed depiction of a kimono’s right shoulder transitioning smoothly into a flowing sleeve.
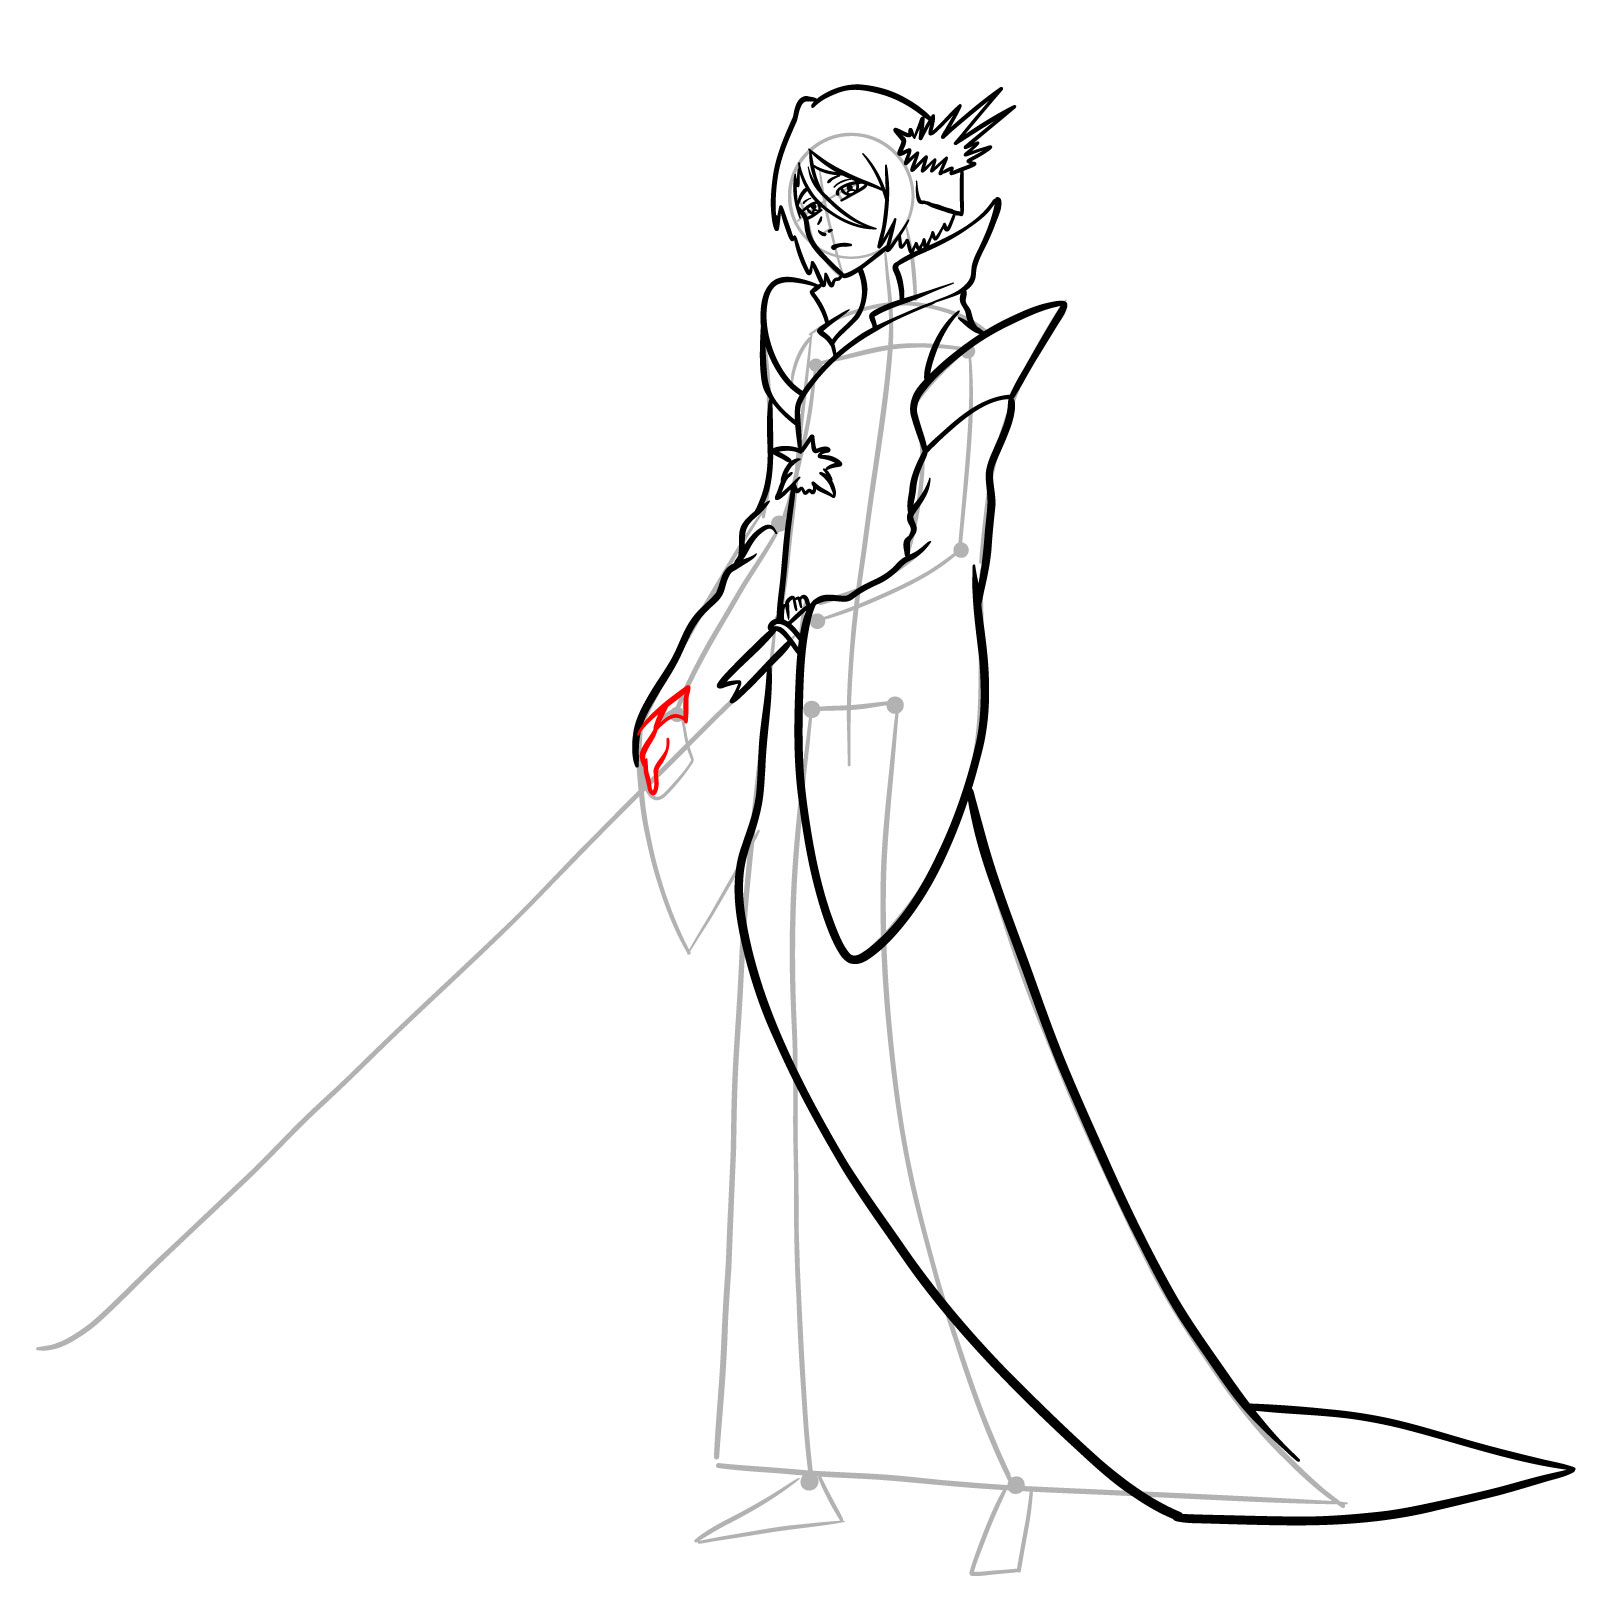
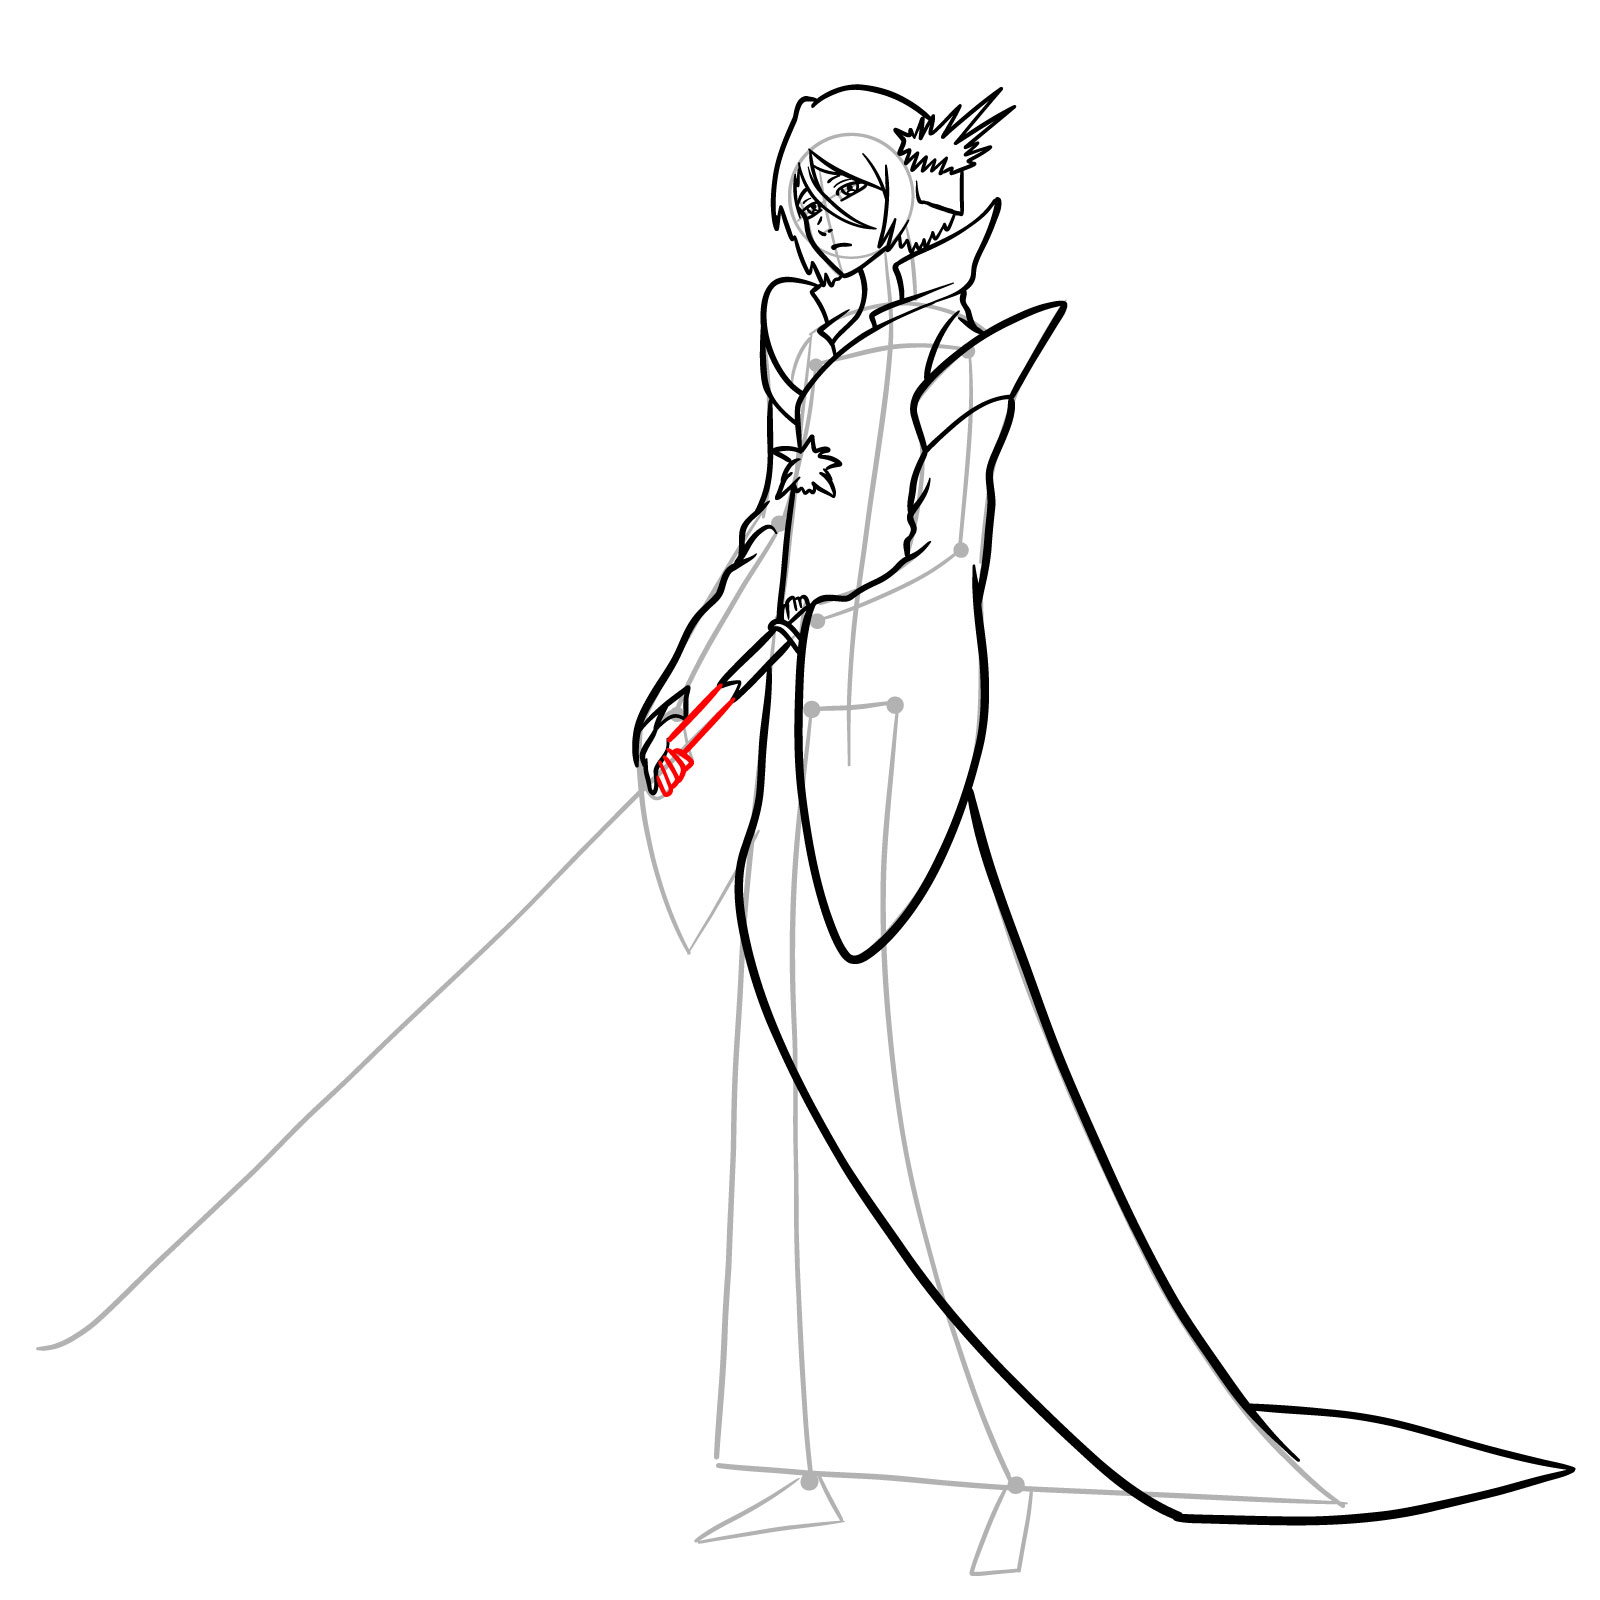
Step 18 – Start sketching Rukia’s right arm by first drawing her thumb. Given the perspective, her thumb should be distinctly separate, slightly curved, and positioned in a way that suggests she is holding onto the weapon’s handle. This will serve as a foundation for the placement of the other fingers.
Initiation of Rukia’s right hand sketch with a distinctly separate thumb.
Step 19 – Now, draw the rest of her fingers on her right hand. They should be gripping the extended handle of her weapon. Remember, due to the angle, not all fingers may be completely visible, but they should align naturally to hold the weapon’s handle. Extend the weapon’s handle further, ensuring it’s straight and in line with the previously drawn segment.
Progression of Rukia’s right hand, gripping the extended handle of her weapon.
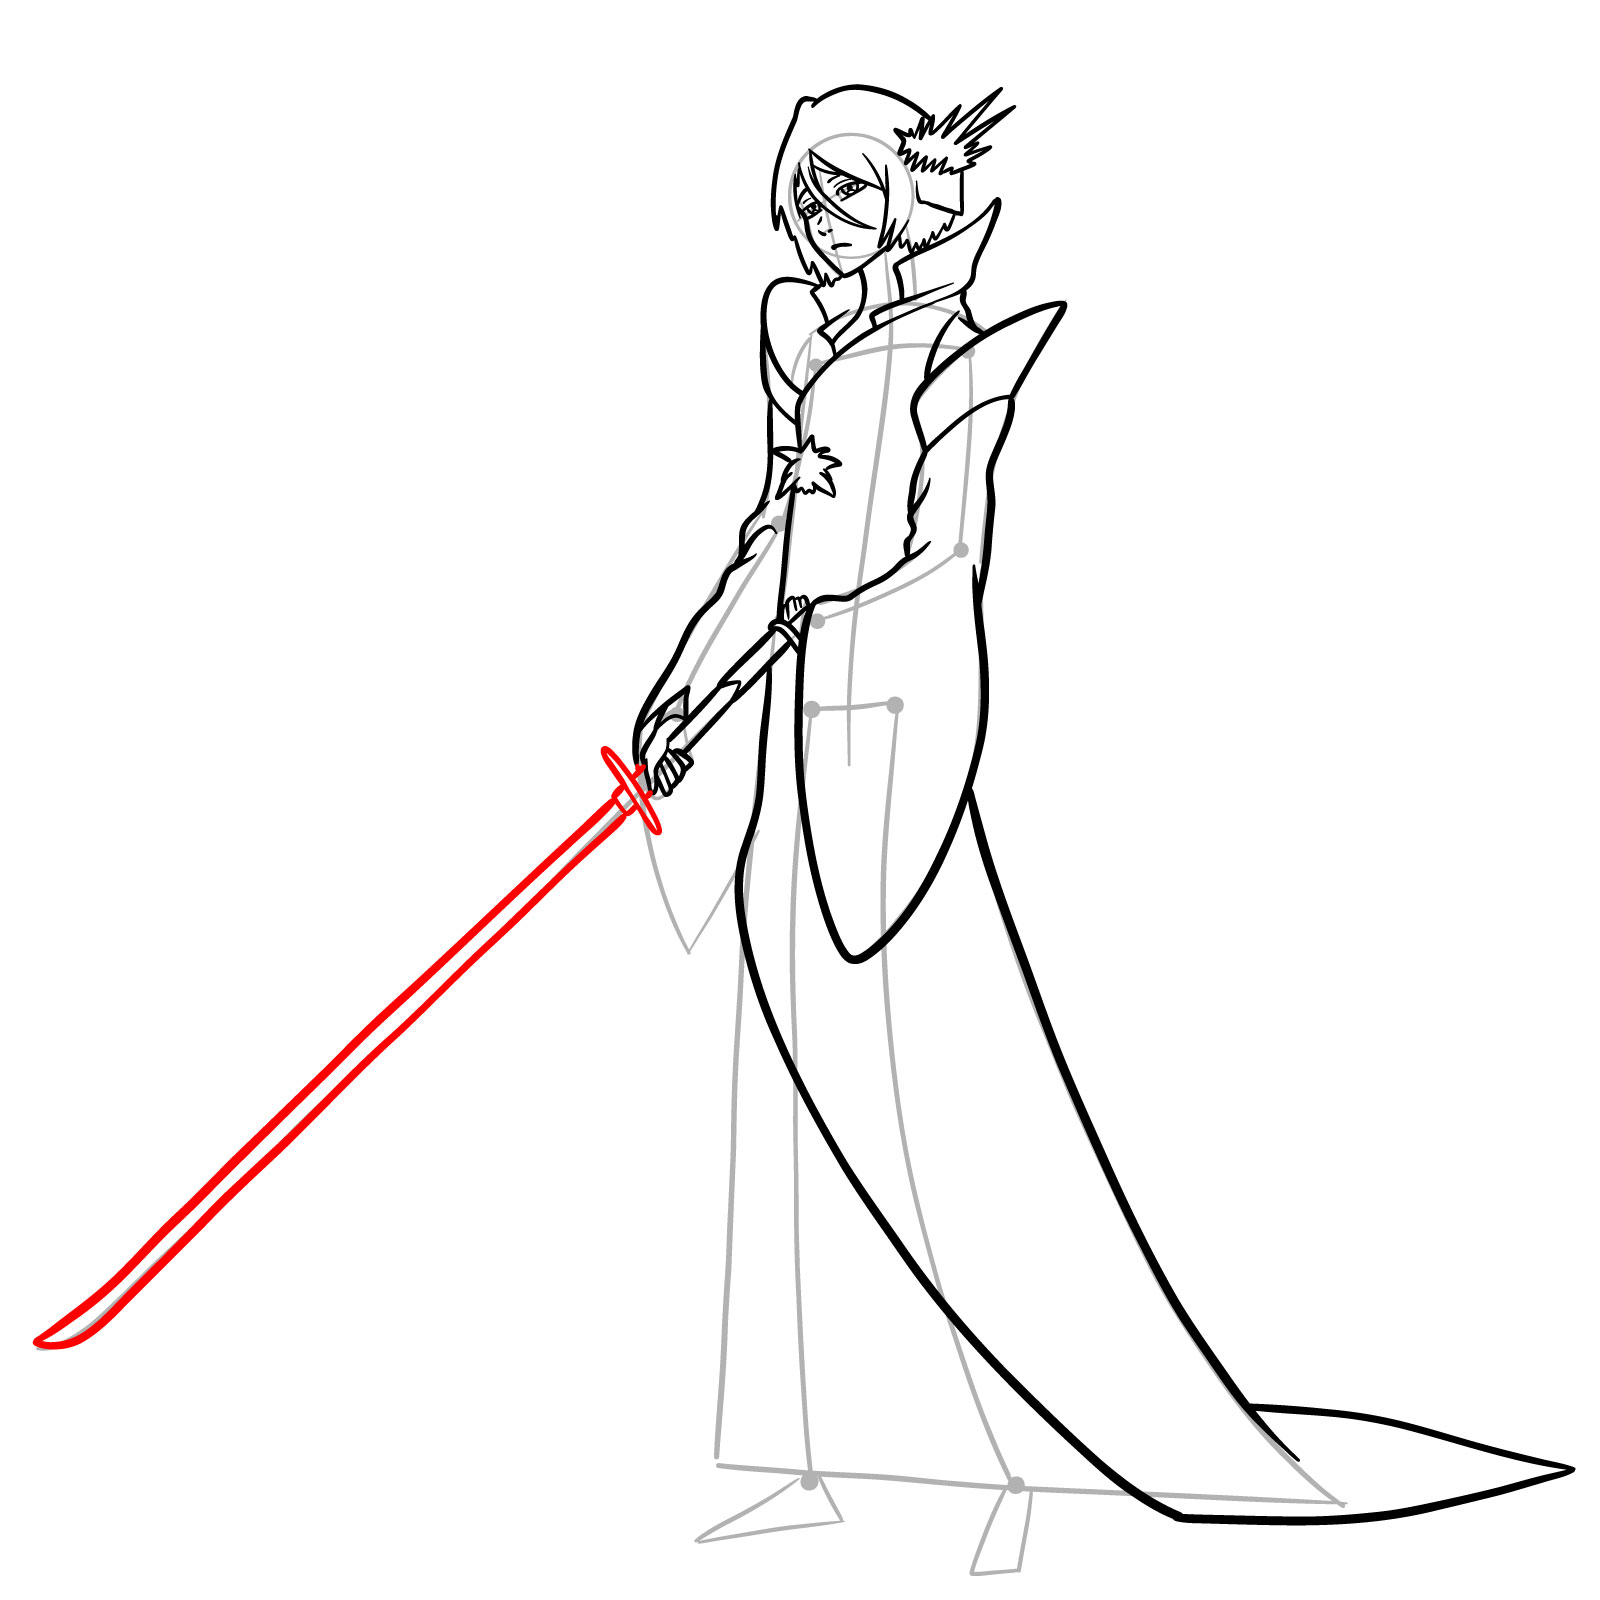
Step 20 – Draw Rukia’s Bankai weapon – the Zanpakutō. This weapon is known for its sleek, straight design. Starting from the handle’s end, draw a long, straight blade, tapering gently to a point at the tip. The blade should have a slight thickness, and you can add details or etchings to the blade if you desire. The blade’s length and angle should convey the sense that she is holding it ready for action.
Artistic representation of Rukia’s Bankai weapon – the Zanpakutō with a sleek, straight design.
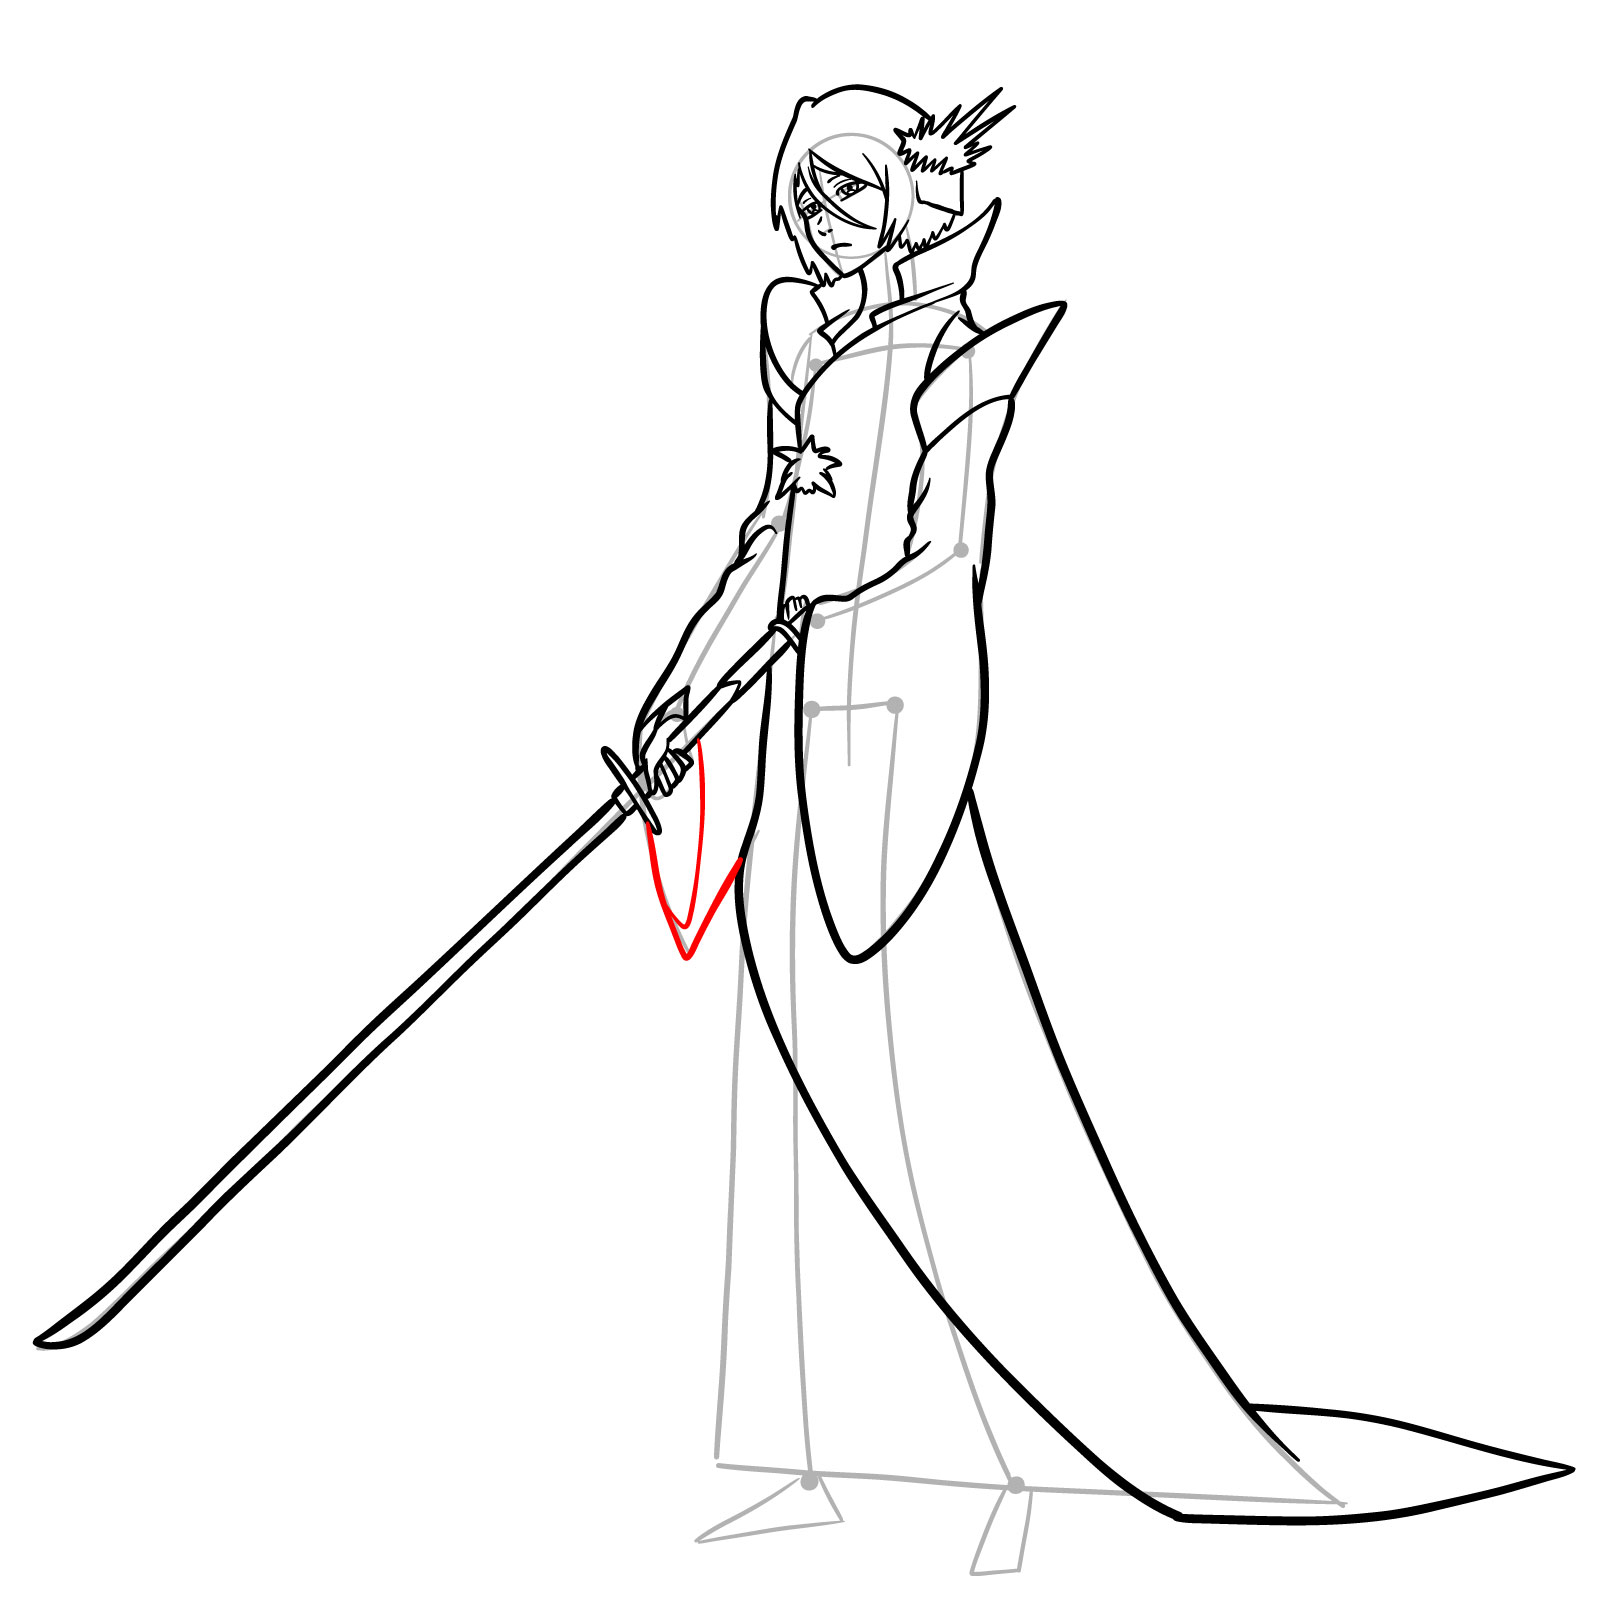
Step 21 – To finish her right sleeve, ensure that it hangs naturally from her shoulder. The sleeve should be wide at the opening and drape downward. Given the angle, the inside of the sleeve may be visible, creating a shadowed or darker area. The sleeve’s hem should be clean and straight, with a slight curve that follows the contour of her arm.
Final touch to the right sleeve, capturing its natural drape and shadowed inside.
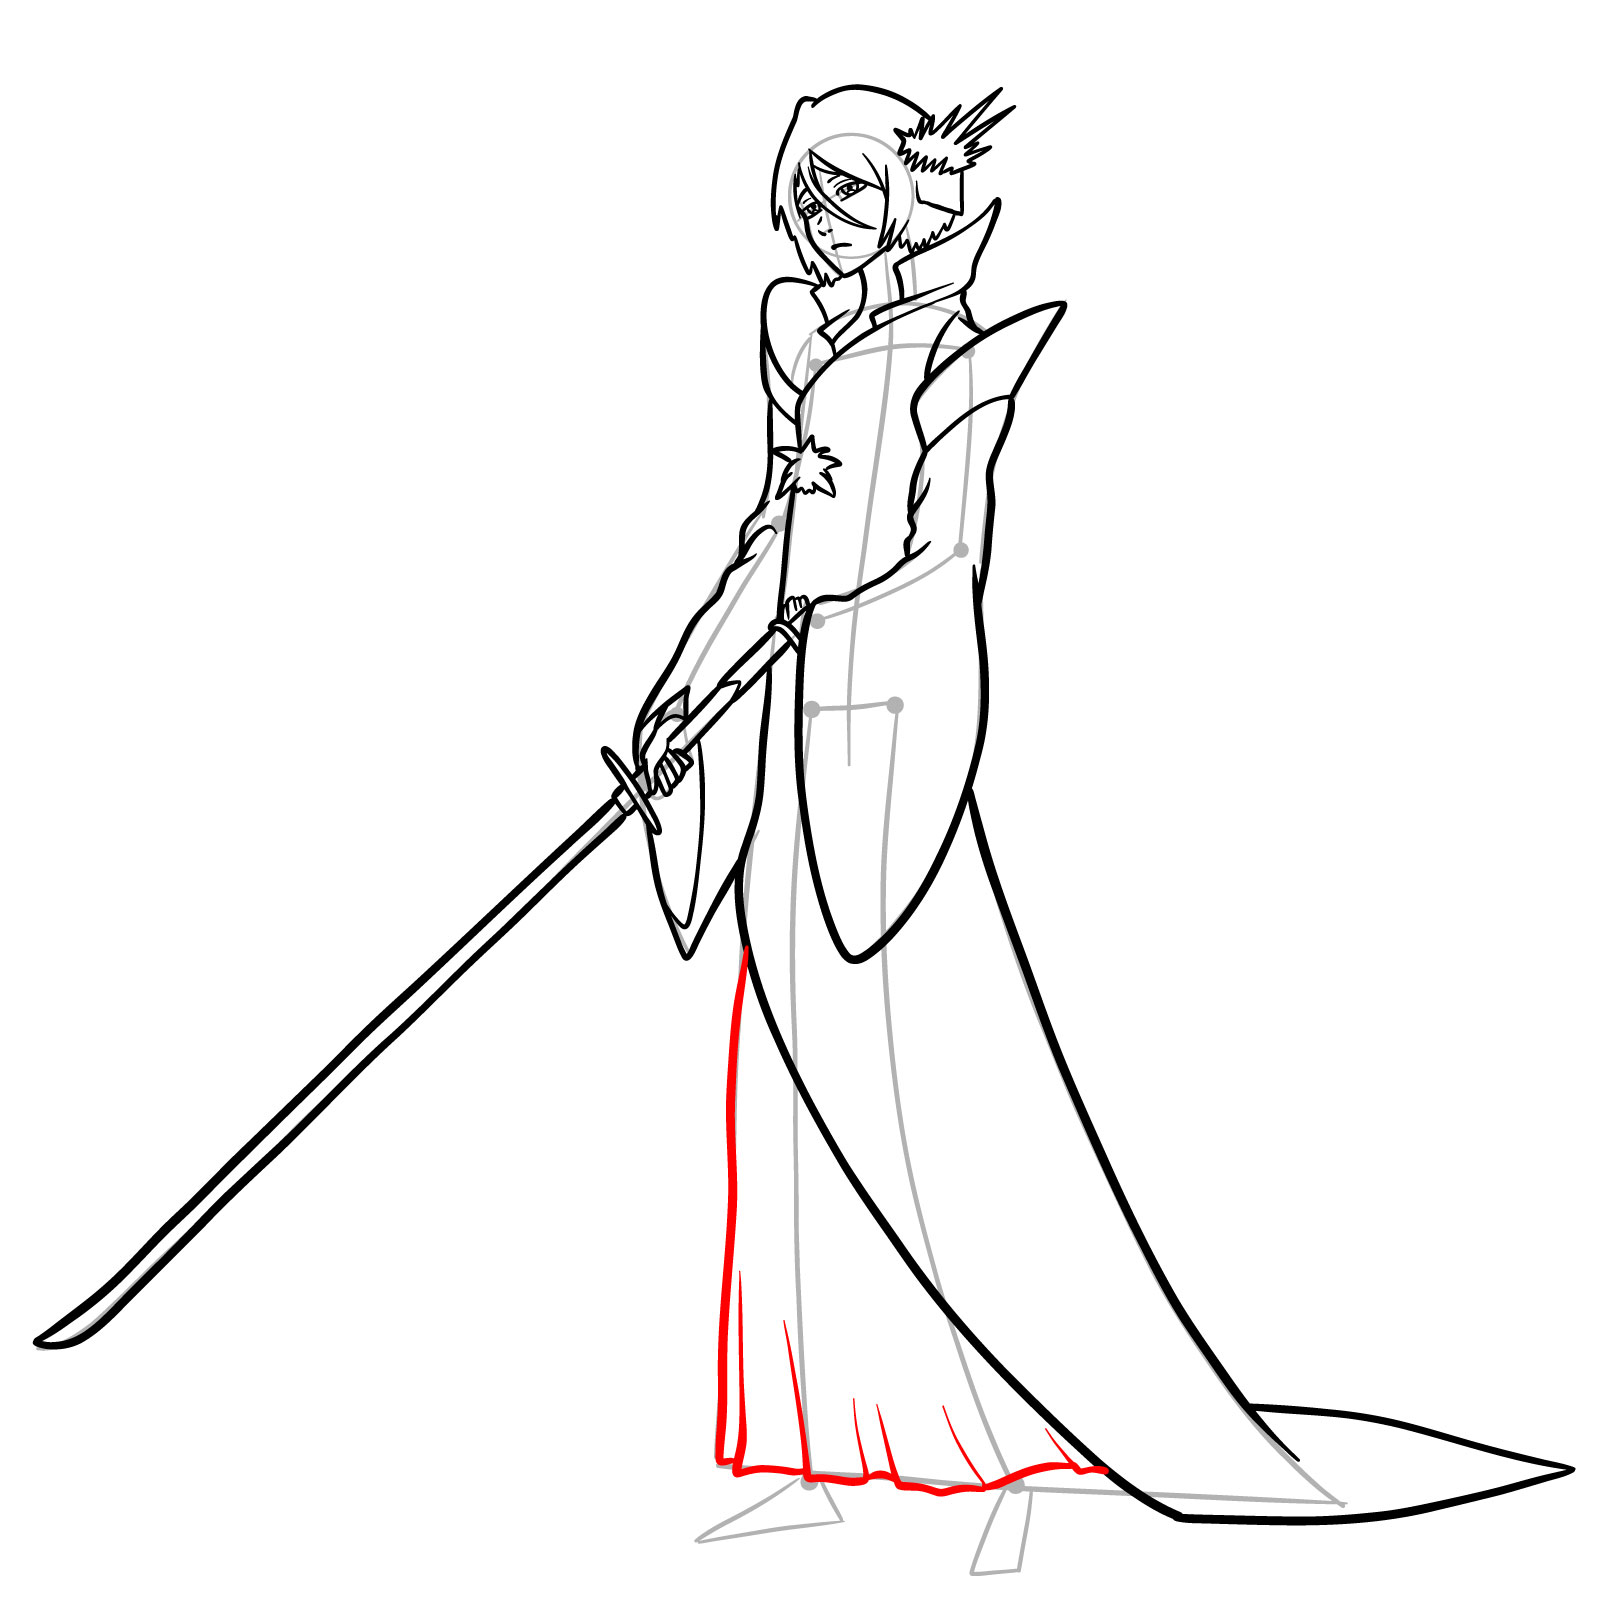
Step 22 – Moving onto her kimono, ensure that the garment flows seamlessly down her body. It should be slightly wider at the bottom, giving it a flowing appearance. Draw the hem of the kimono so that it reaches her ankles. This part of the garment should appear slightly weighty, creating natural folds or ripples, especially around her legs.
Emphasis on the kimono’s flow, detailing its wide base and natural folds.
Step 23 – Next, draw her feet.
Simplicity of drawing Rukia’s feet.
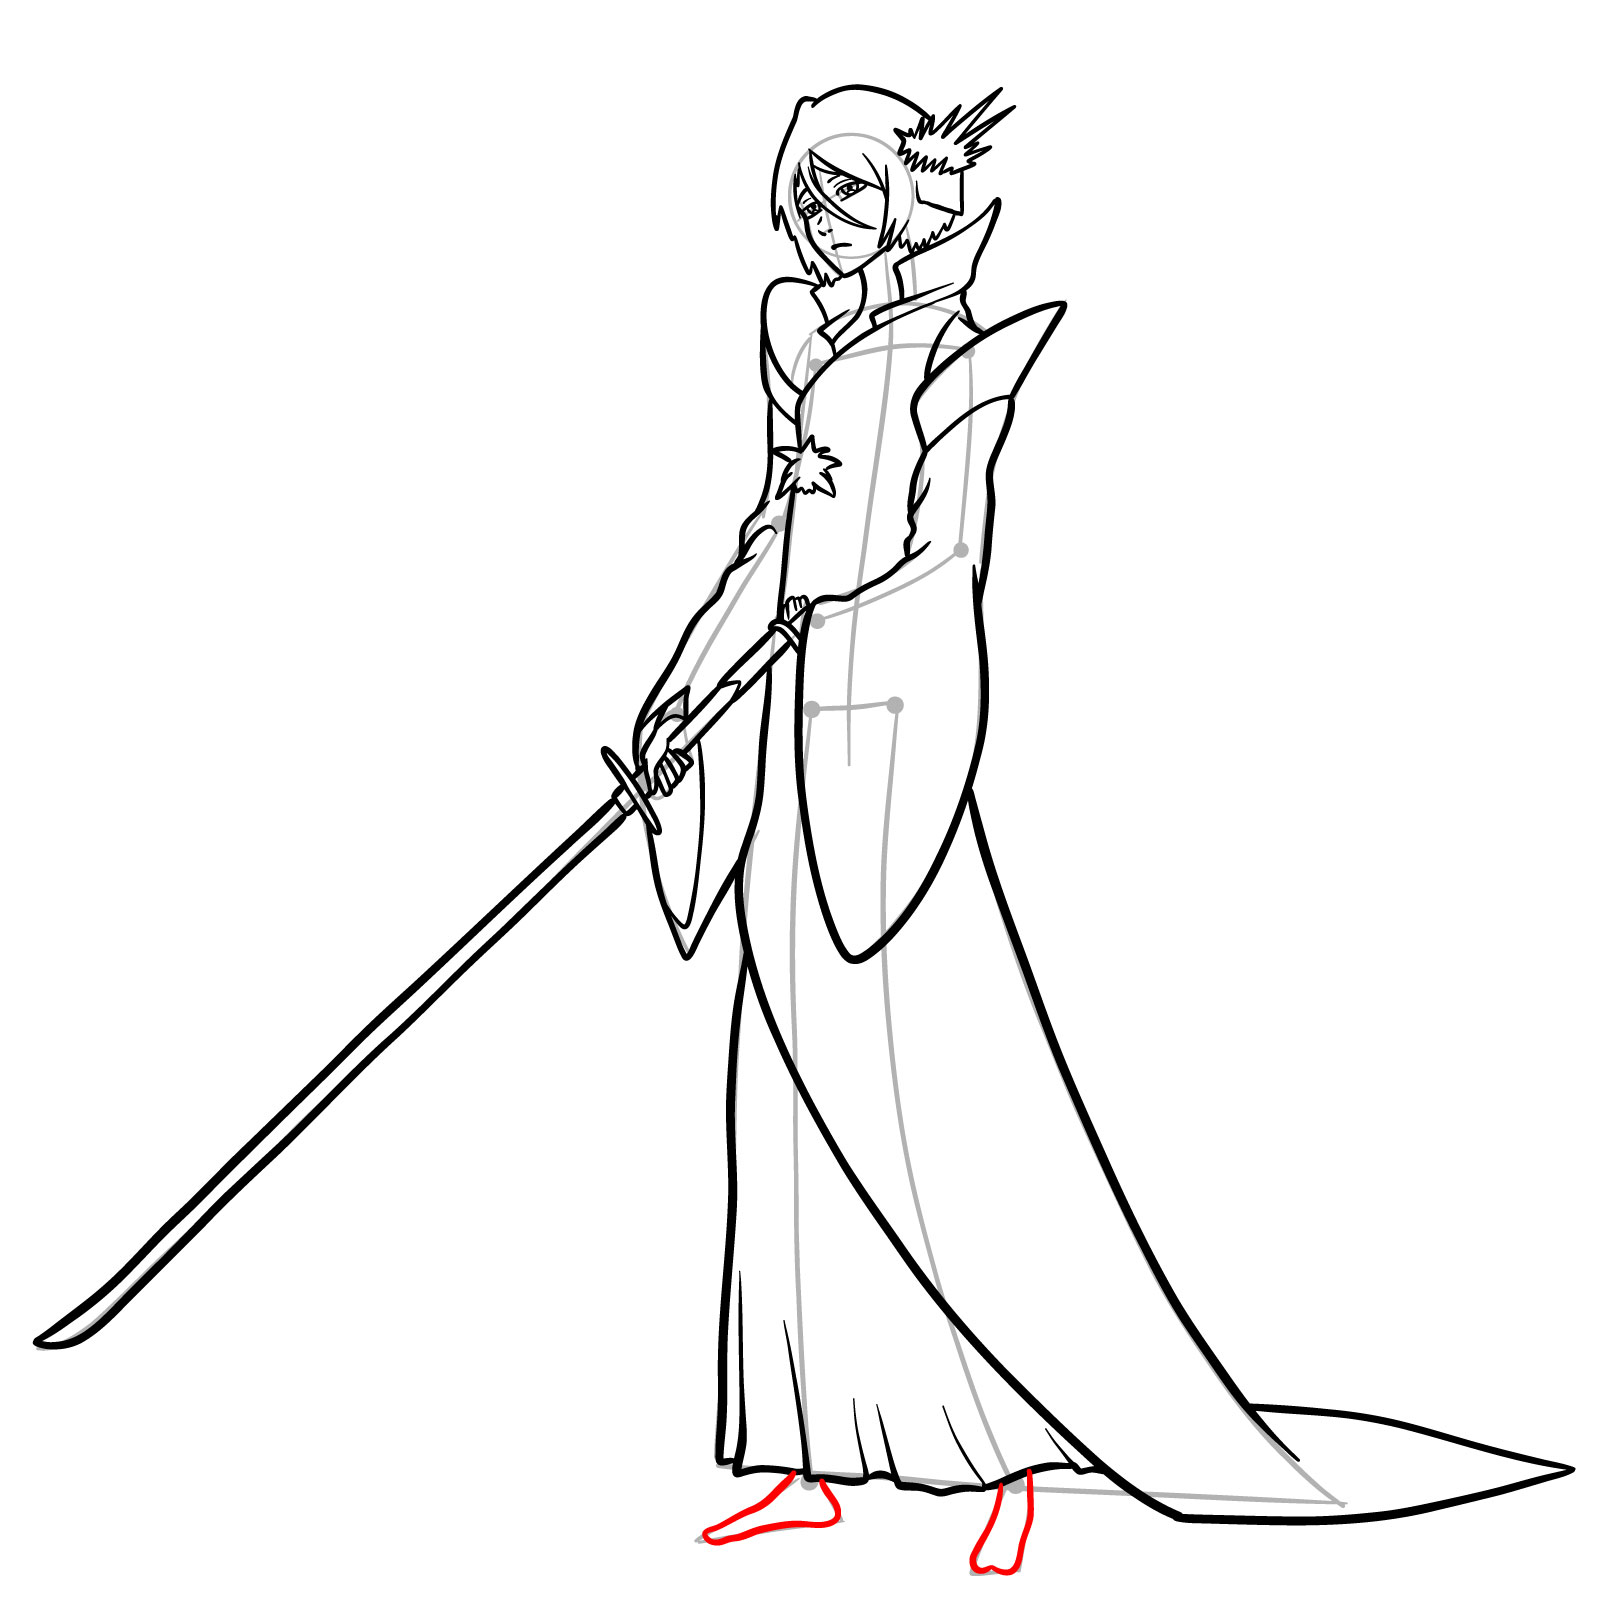
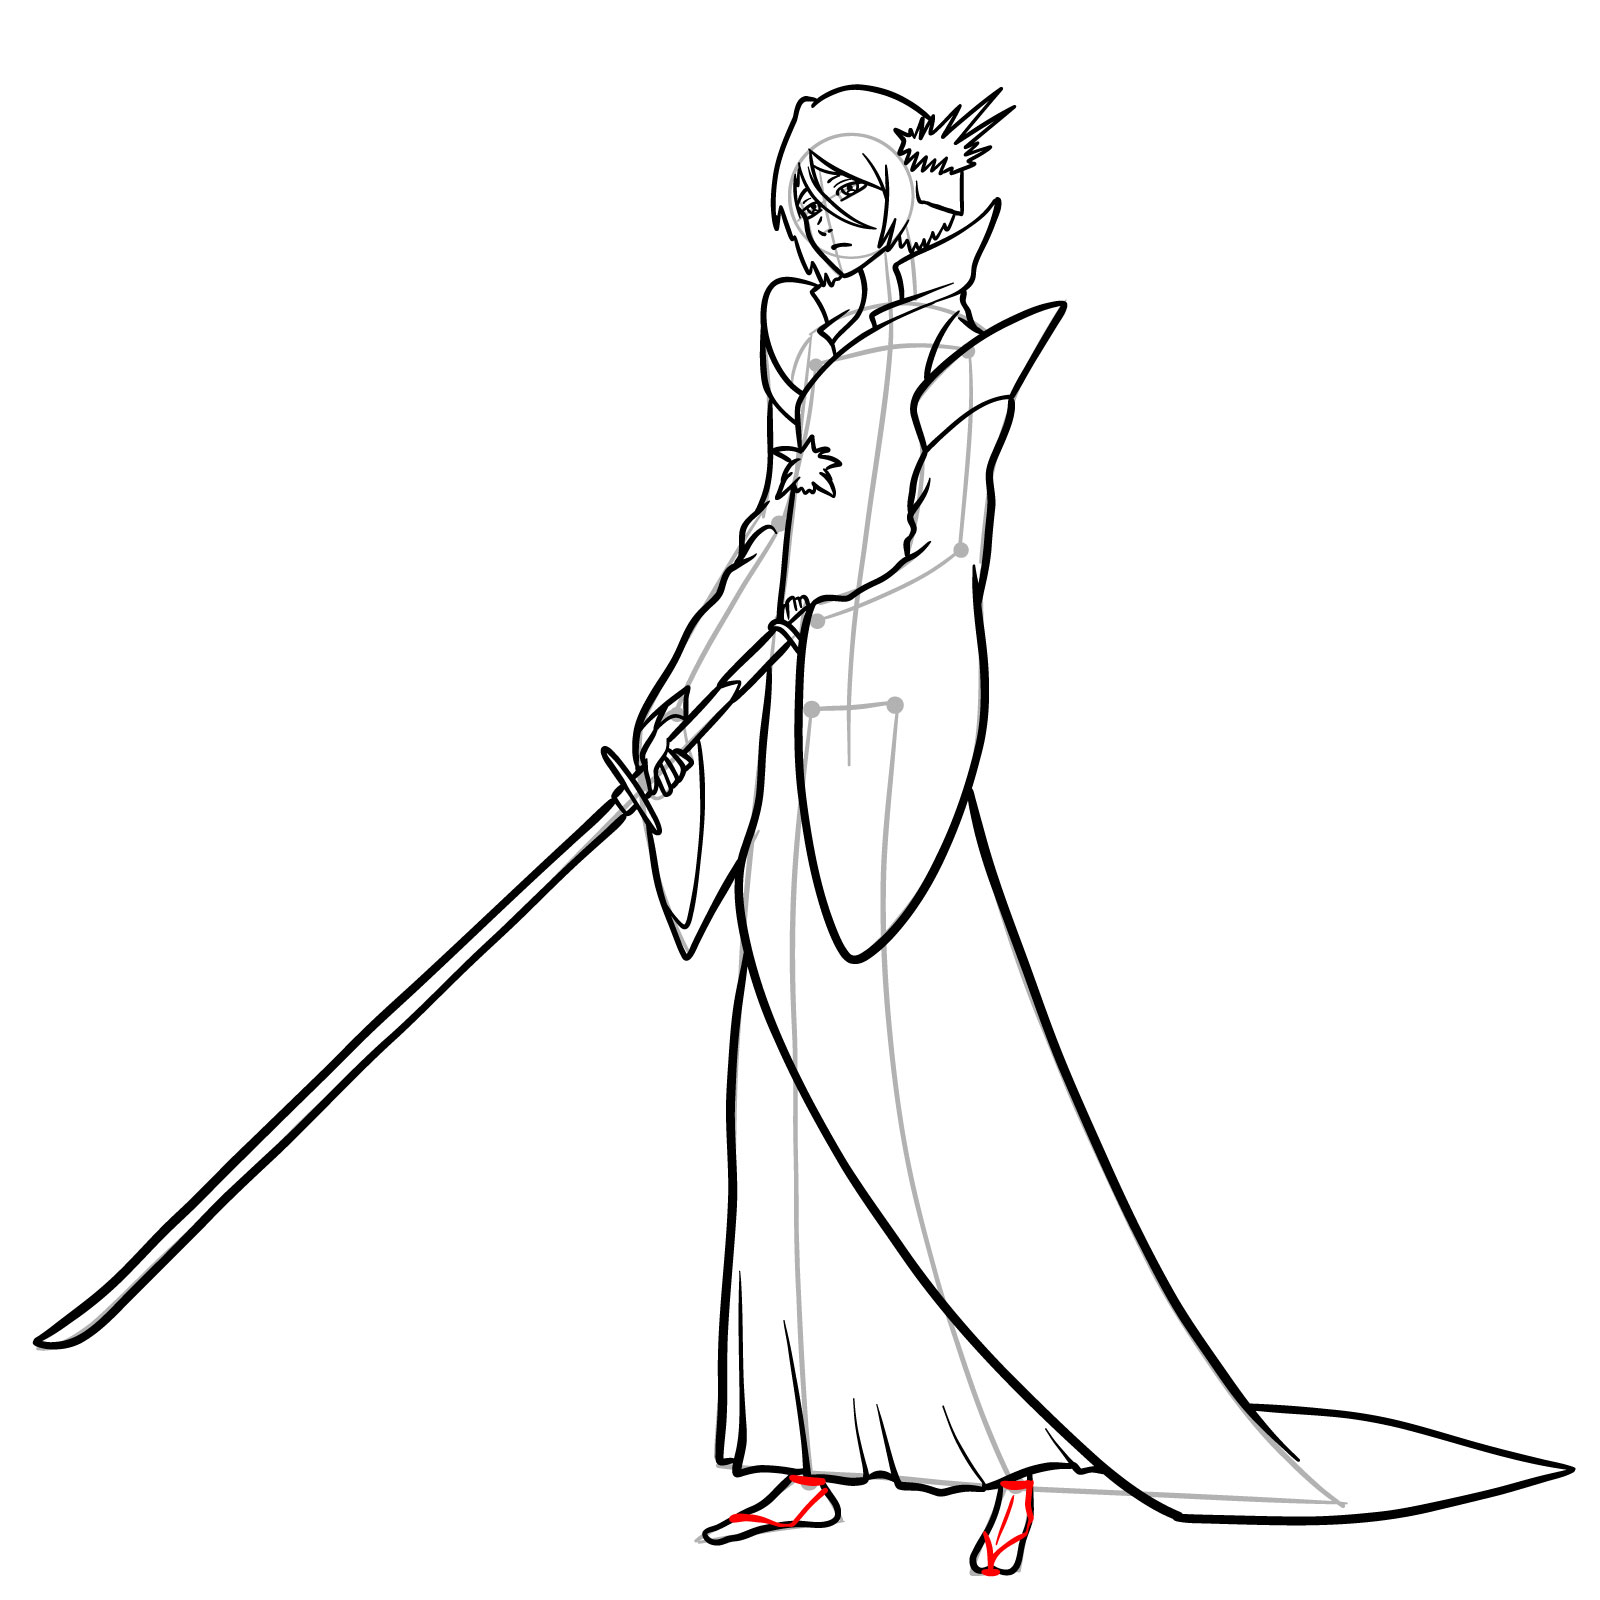
Step 24 – Now, it’s time to draw her footwear. Rukia typically wears traditional Japanese sandals known as “geta.” These have a wooden base with two supports underneath and a cloth thong that holds the foot in place. Sketch the cloth thong emerging between her big toe and second toe, wrapping around the top of her foot. The wooden base of the geta will be slightly visible below her feet, with the supports raising her feet off the ground. Ensure the sandals are consistent in size and shape with her feet.
Illustrating traditional Japanese “geta” sandals on Rukia’s feet.
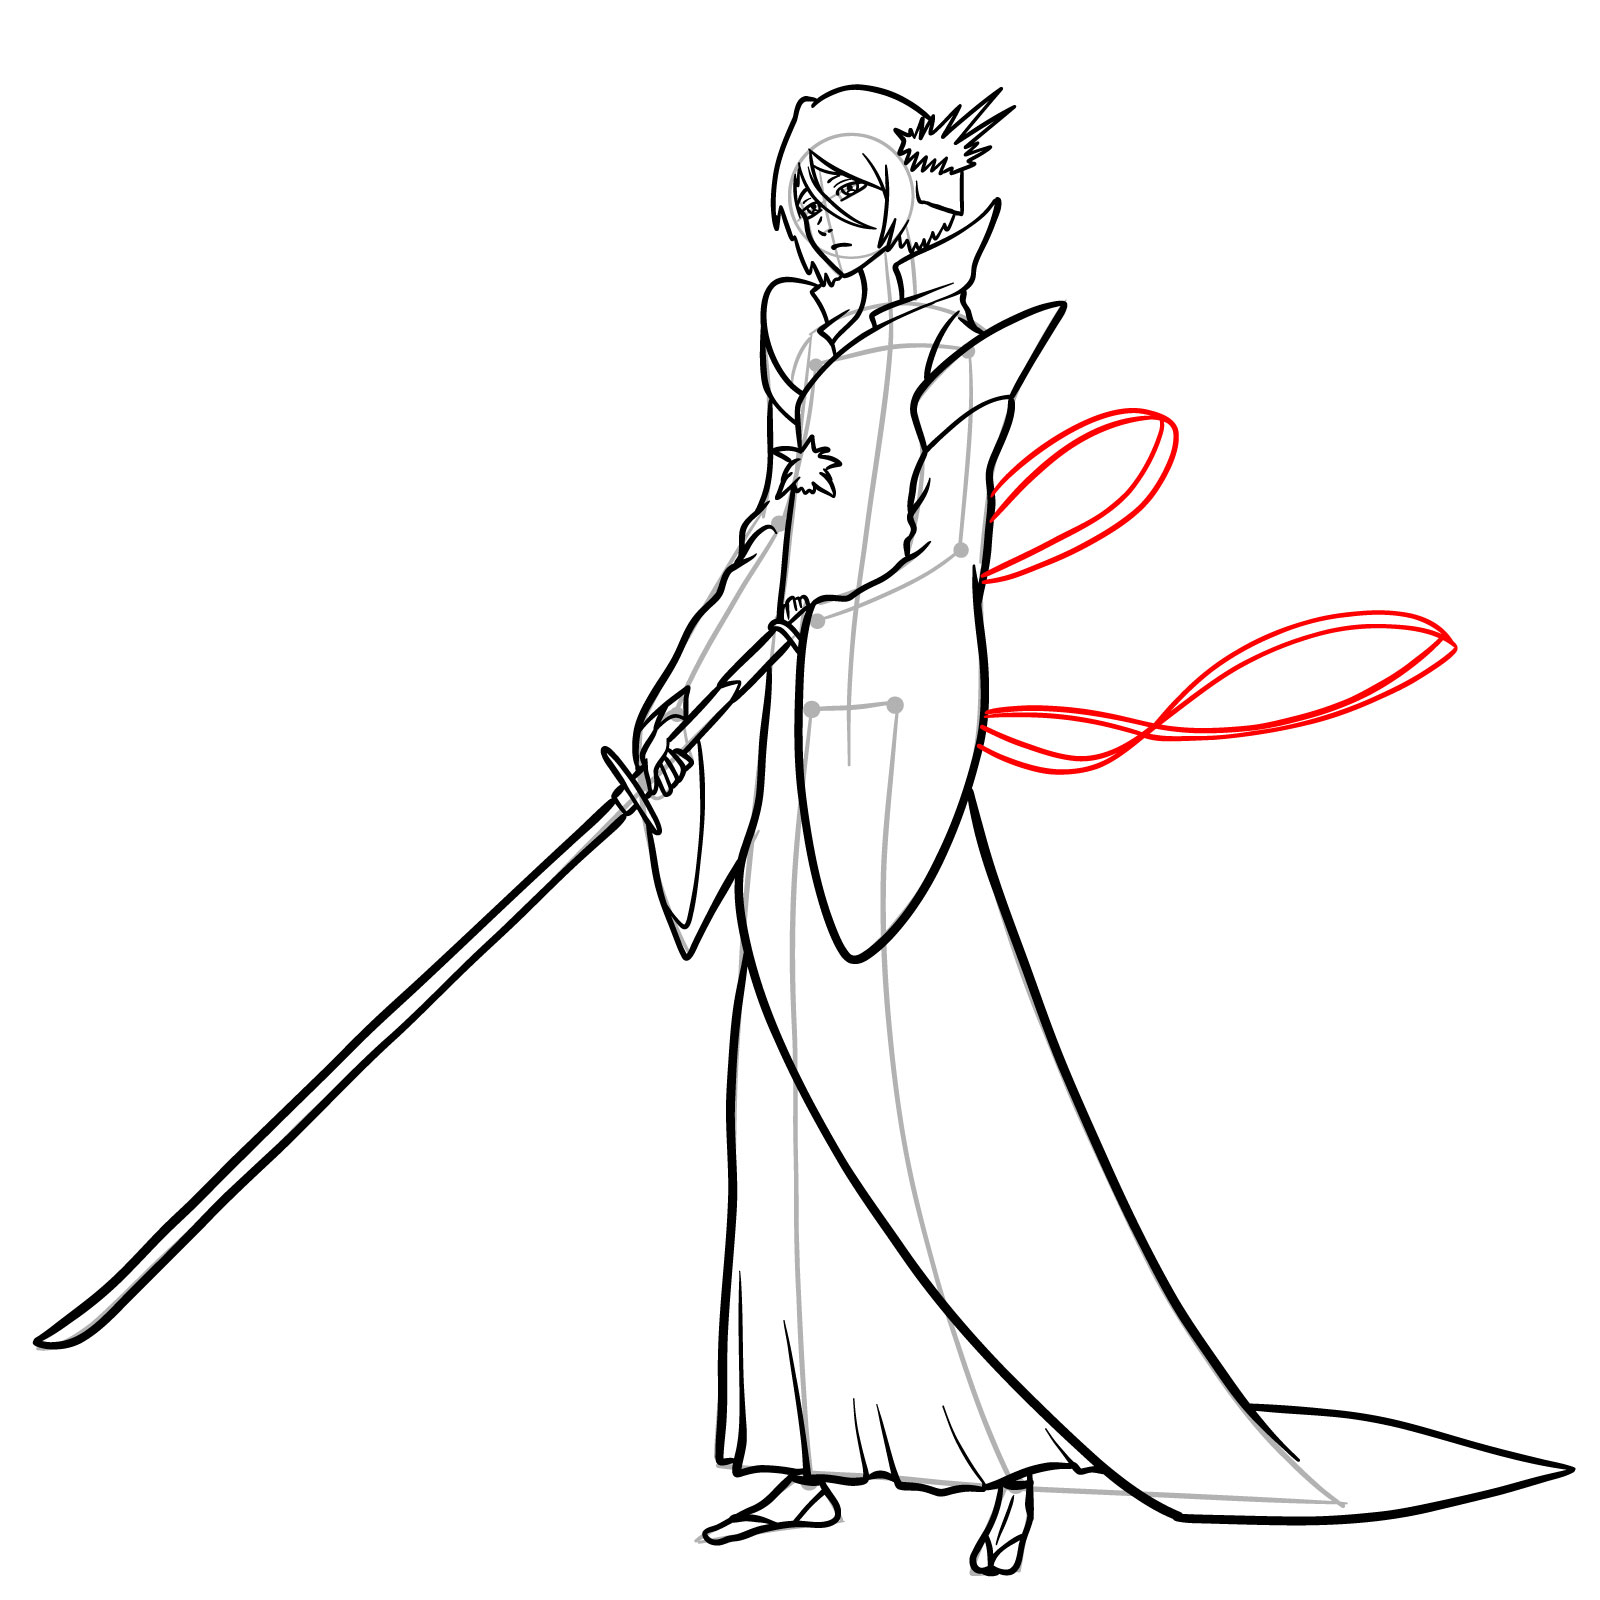
Step 25 – To add the flowing ribbons on her back. The ribbons should have a fluid and wavy appearance, indicating movement and the flow of air. Start with the closest ribbon, ensuring it’s curvy and dynamic.
Addition of flowing ribbons on Rukia’s back, symbolizing movement.
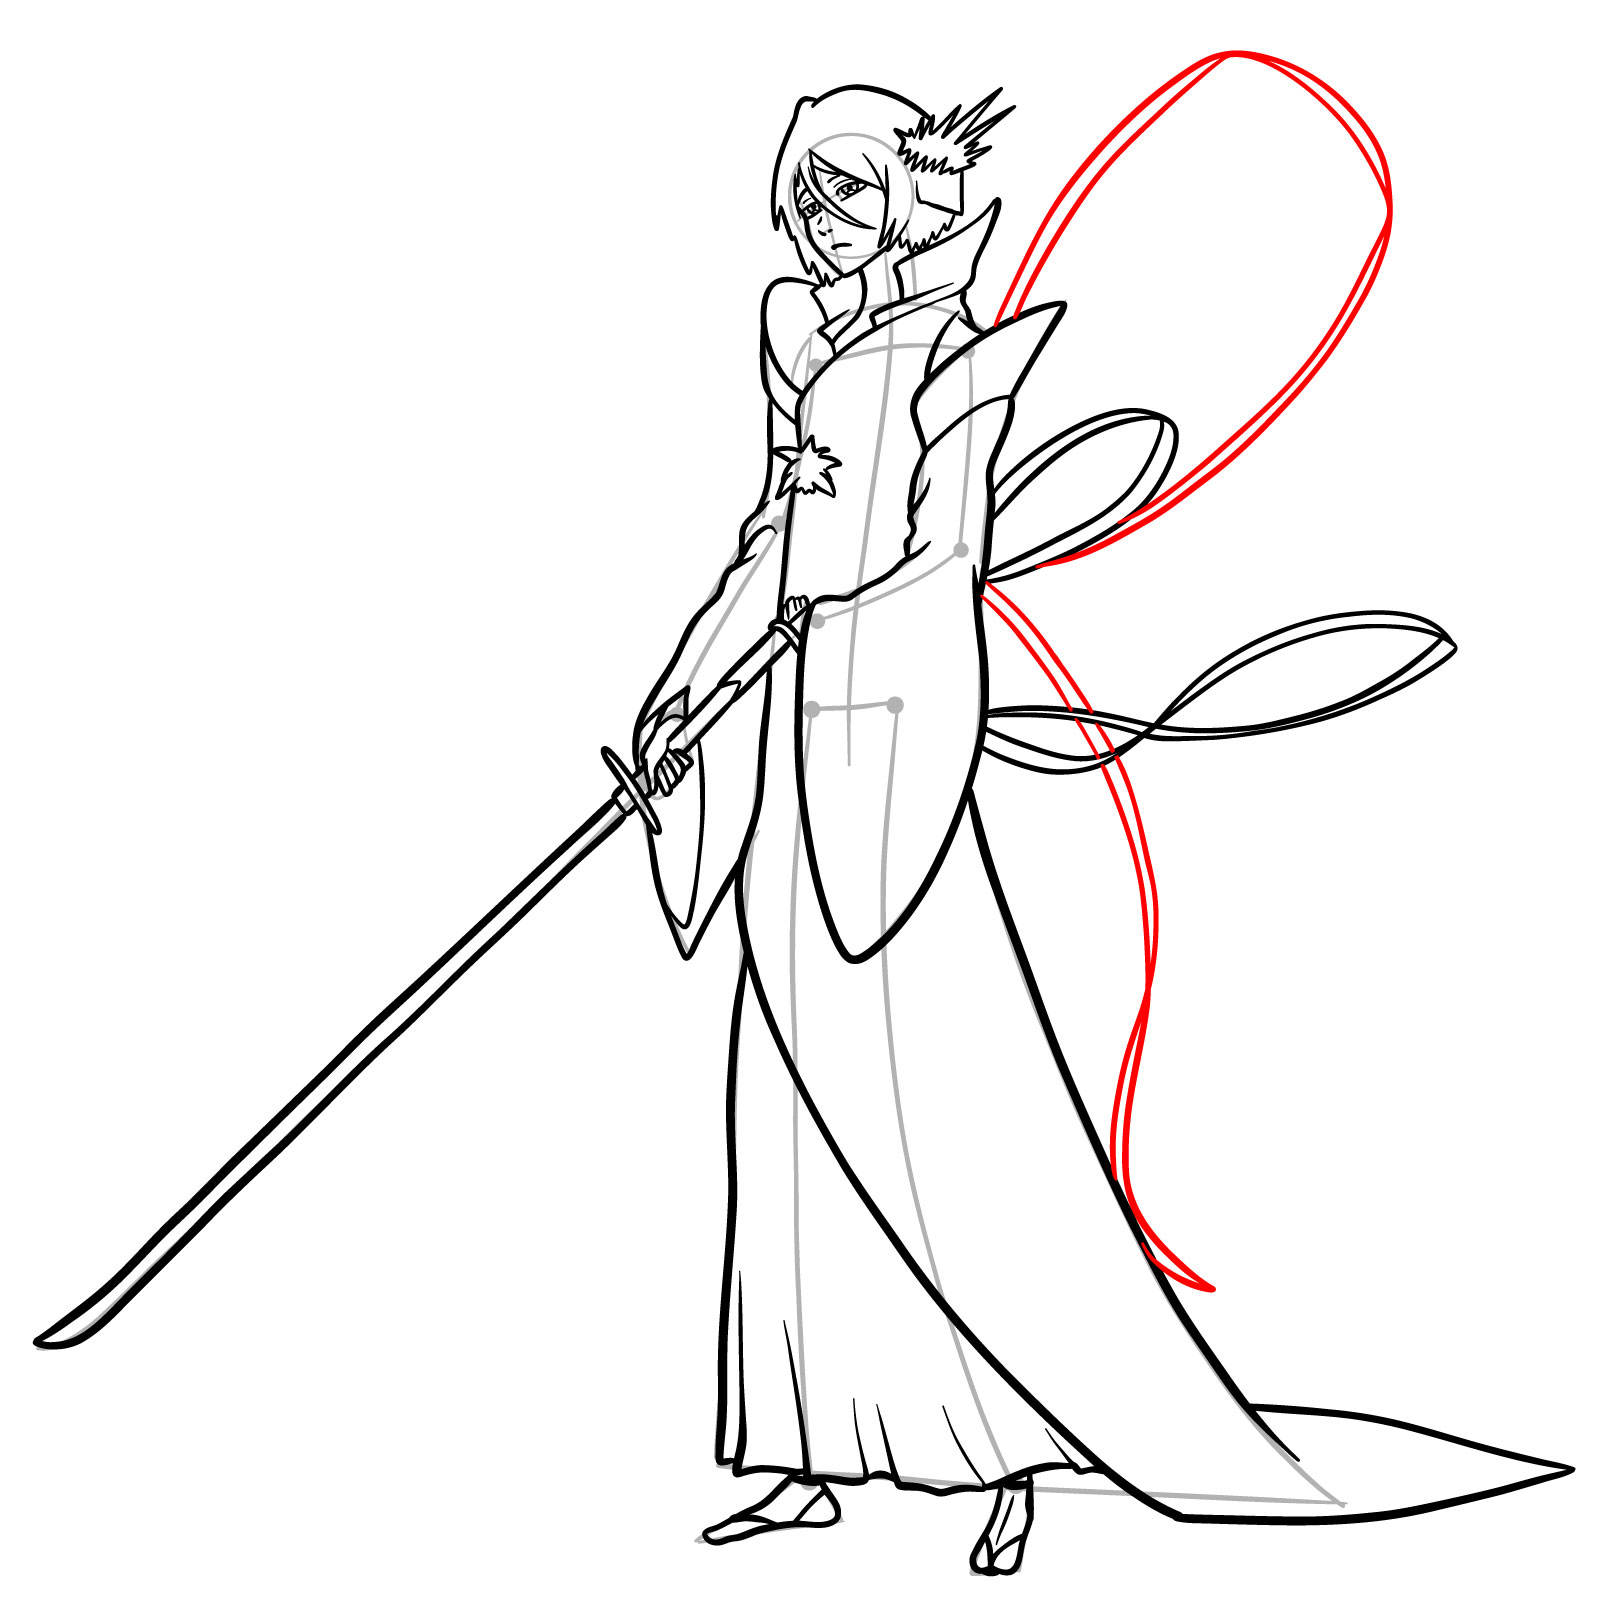
Step 26 – For the next ribbon, you can make it overlap with the previous one but let it take a slightly different path. This creates a sense of depth and layering, making the ribbons look more three-dimensional. Remember to keep the ribbon’s width consistent throughout its length.
Layered illustration of ribbons, highlighting depth and three-dimensionality.
Step 27 – Finish off with the ribbons, making sure that the ends are tapered and have a natural-looking termination. Consider adding some gentle curves or twists to make them appear more lively and in motion.
Completion of ribbons with natural terminations and lively motion.
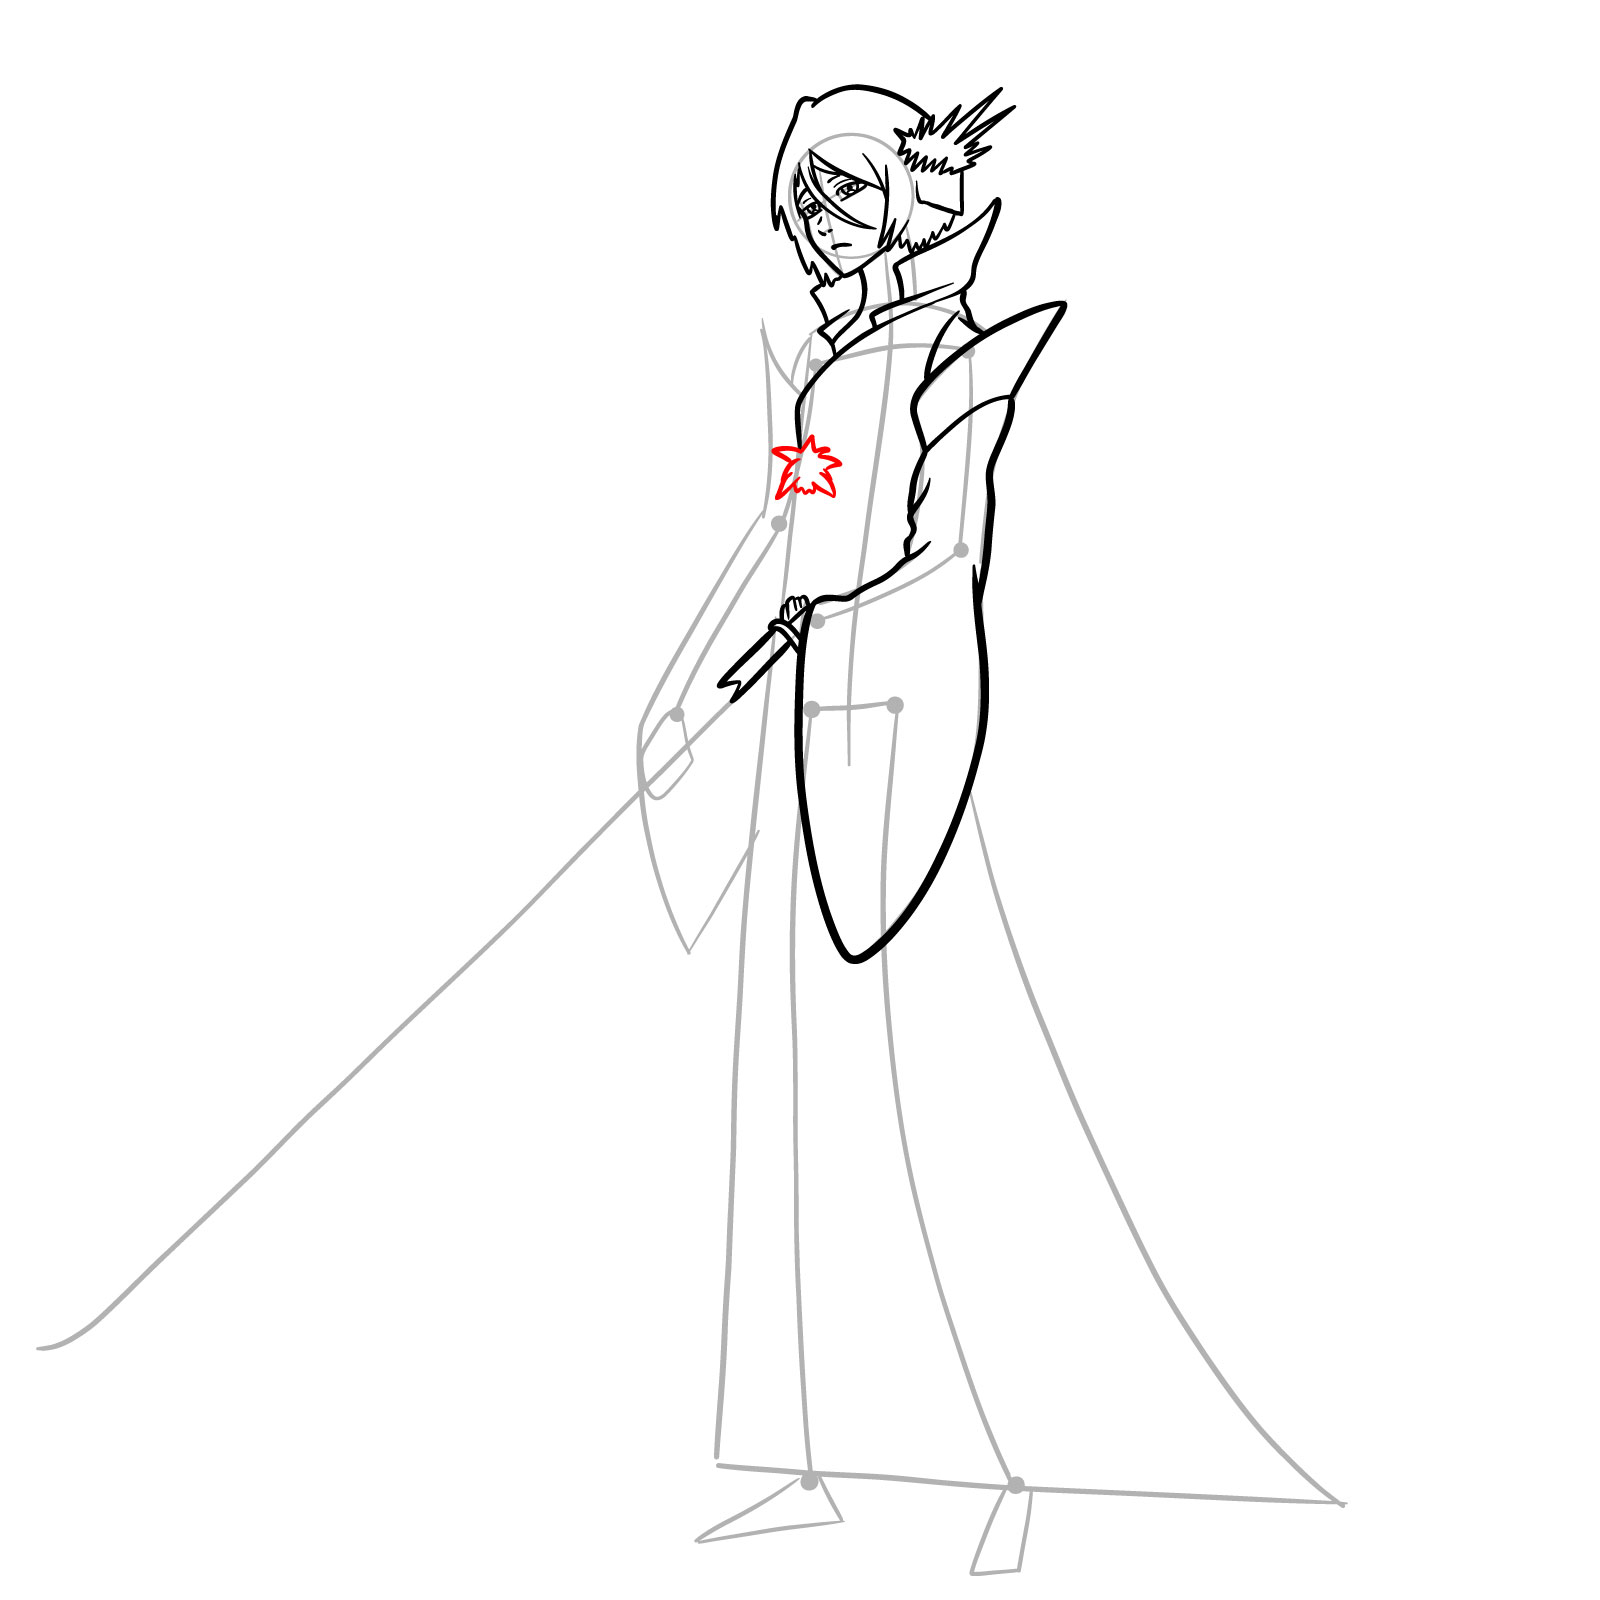
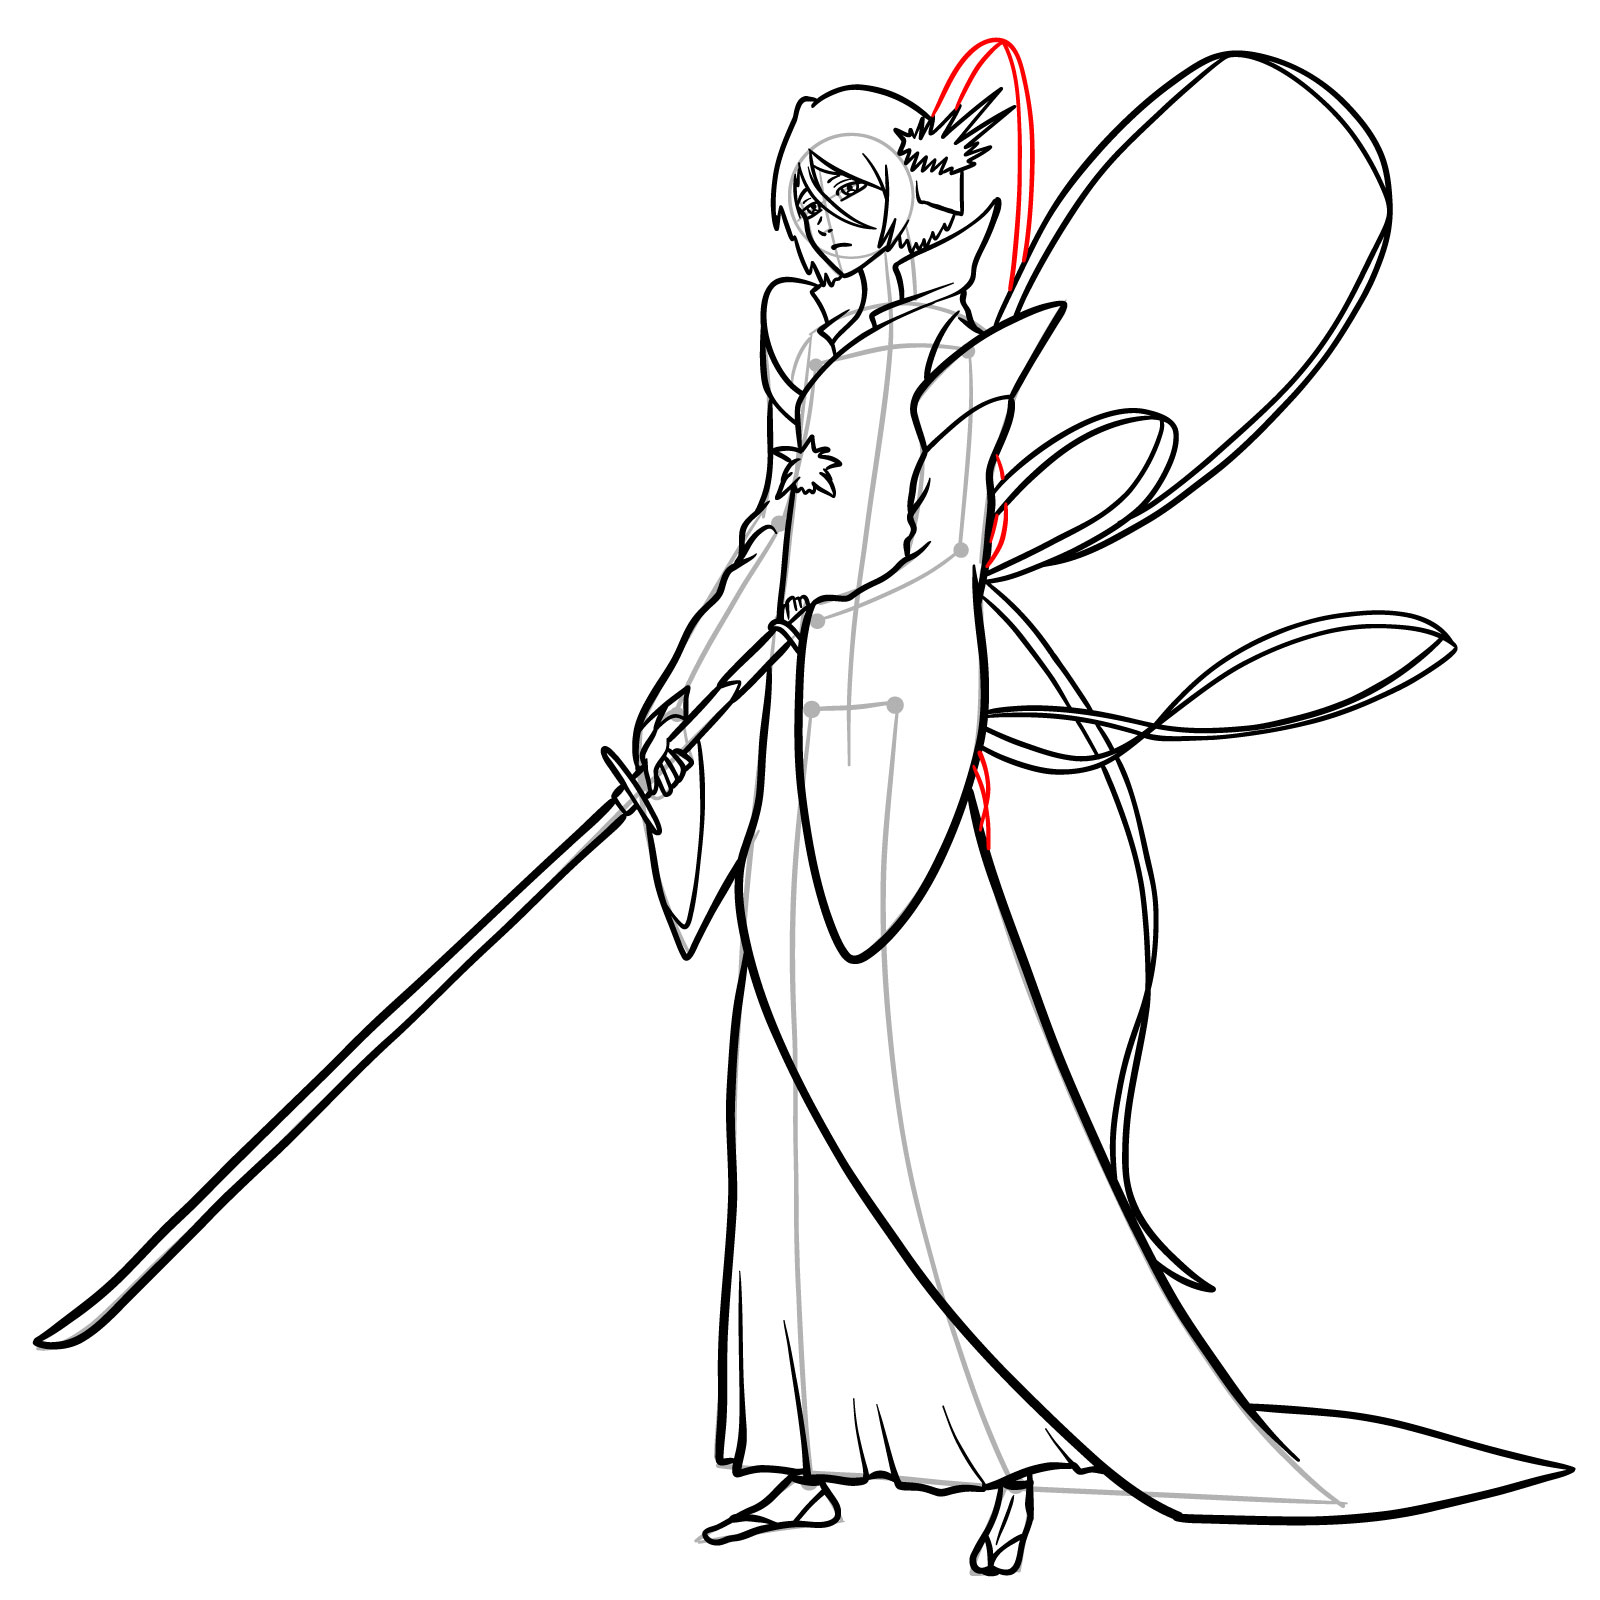
Step 28 – Move on to Rukia’s right shoulder. Then, start detailing Rukia’s ice flower. Lastly, finish the colar of her robe by adding a line that goes behind her head.
Focus on Rukia’s right shoulder, detailed ice flower, and the robe’s collar design.
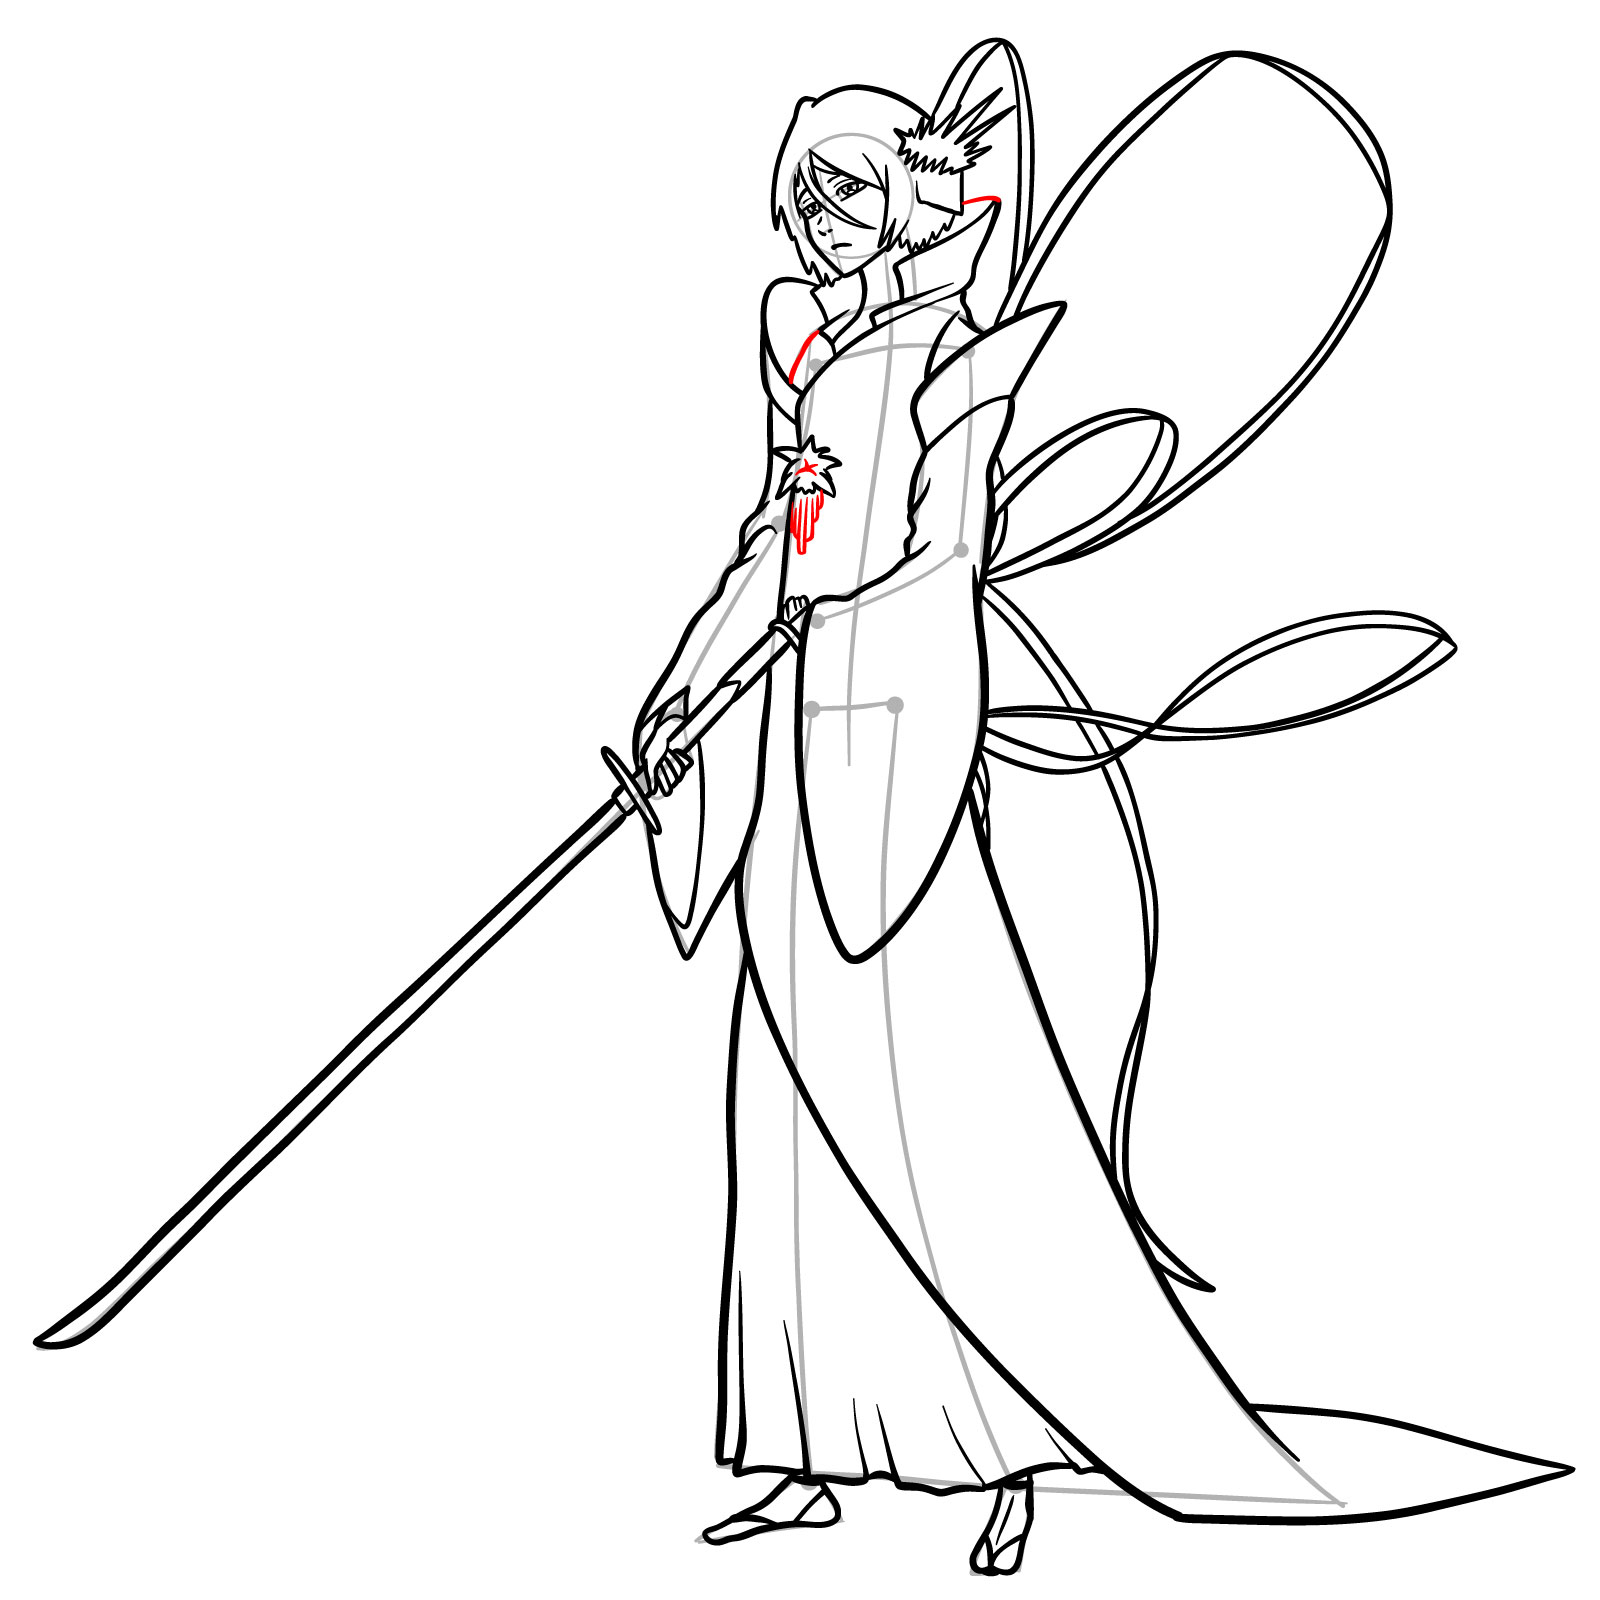
Step 29 – To incorporate more depth and detail to Rukia’s attire, start by adding lined patterns to her robe. These patterns can be parallel that run across the length of the robe. This design adds texture and detail to the attire. Next, introduce some creases to her left sleeve to depict the fabric’s fold and the arm’s movement. As for her unique half-crown and hair, adding small details like strand differentiation or little accents to the crown can make these elements pop and look more intricate.
Detailed patterns on Rukia’s robe, fabric folds on the sleeve, and intricacies of her half-crown and hair.
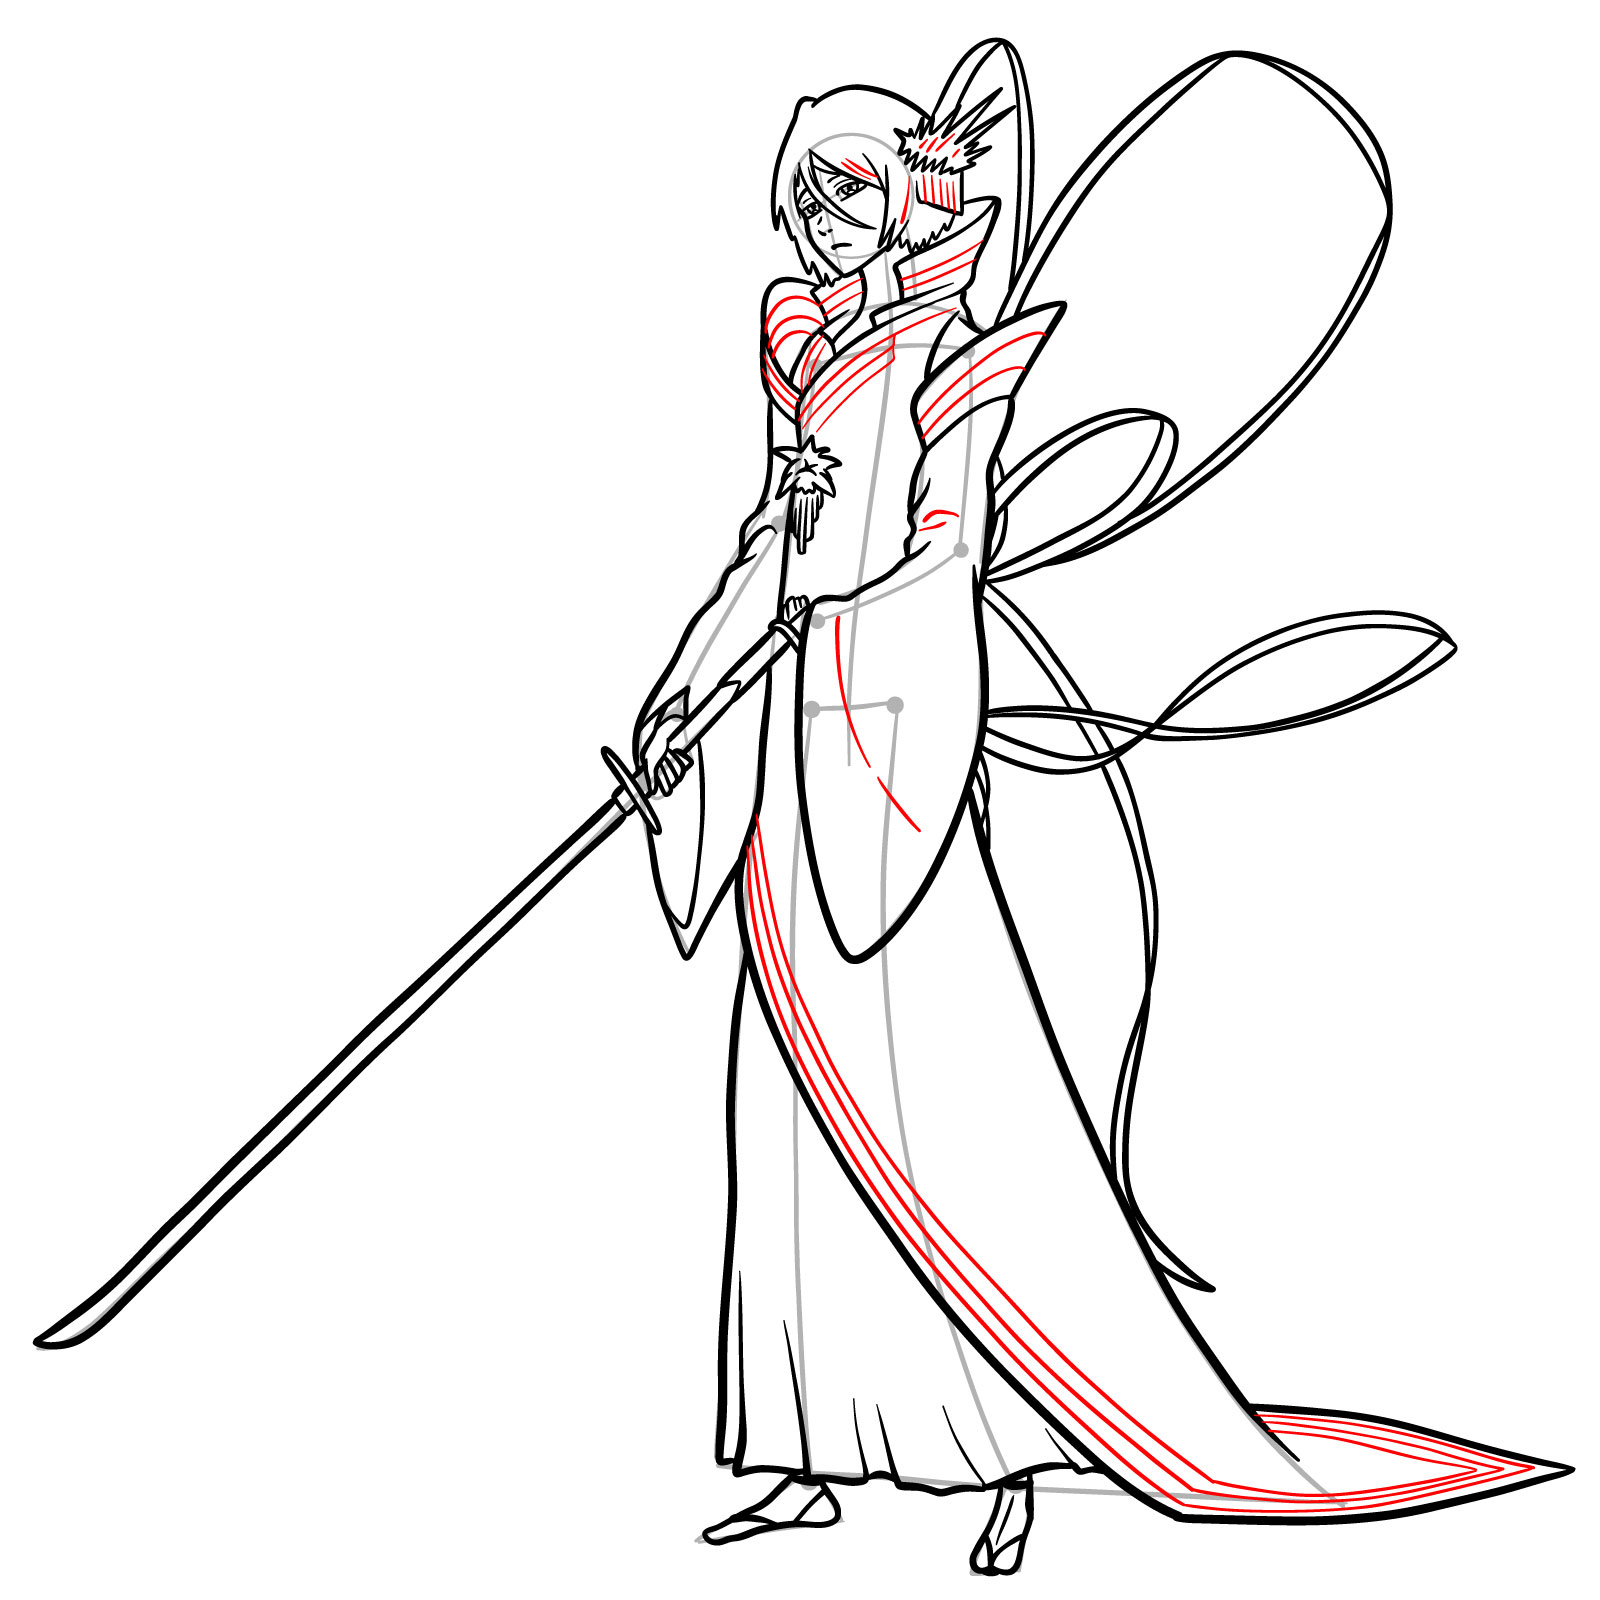
Step 30 – Final details. Begin by adding folds to her kimono, especially near the lower part, to emphasize its flowy nature. On her weapon, incorporate details on the handle, like wraps or unique designs that signify its importance and power. Similarly, enrich the blade with patterns or inscriptions if you’d like.
Final touches highlighting the kimono’s folds and weapon’s detailed handle and blade.
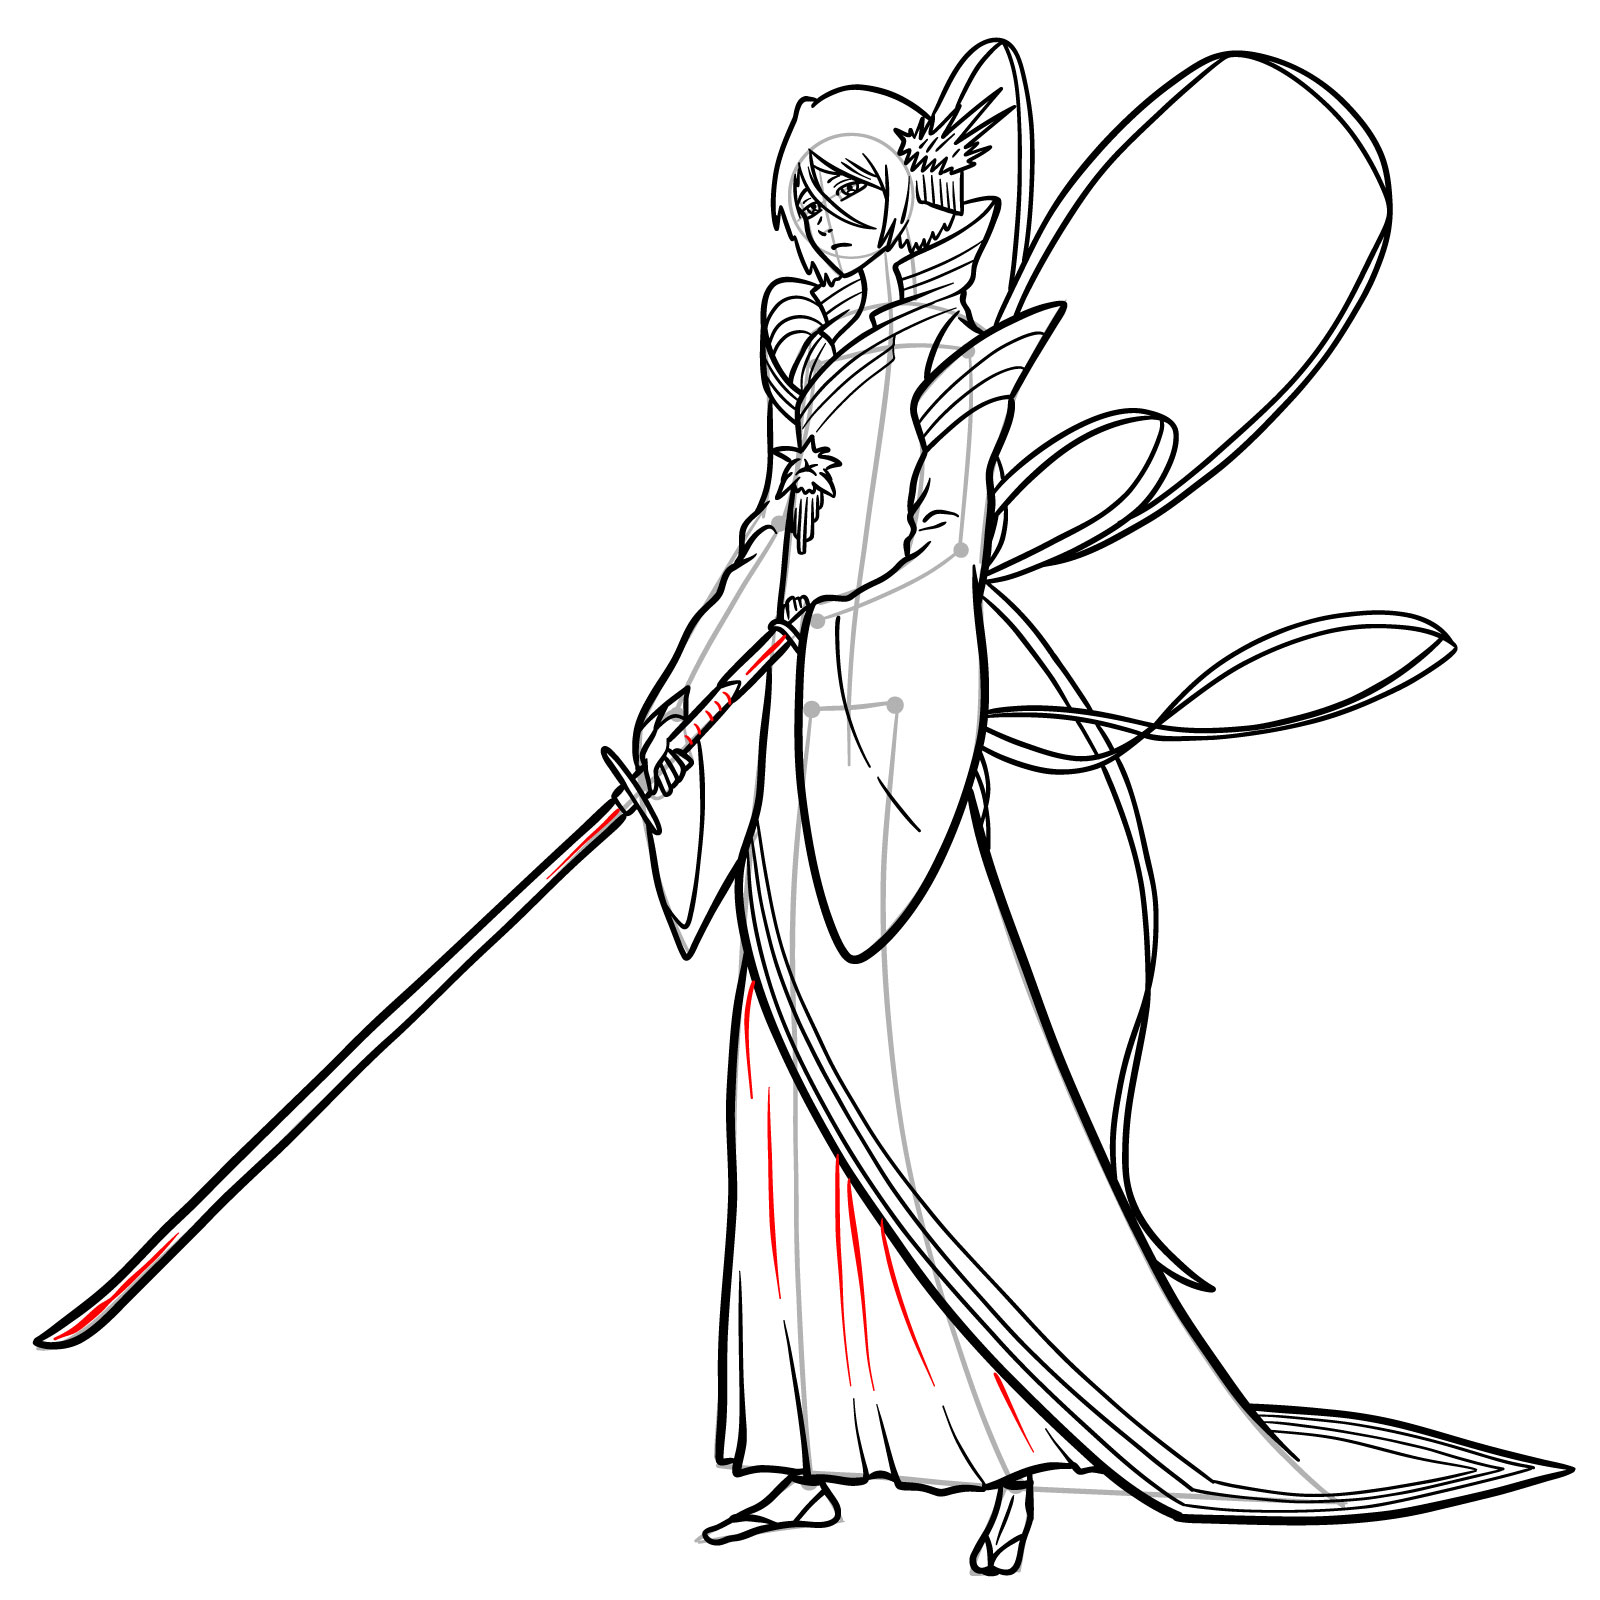
Step 31 – With all the details in place, it’s time to finalize the artwork. Use a fine liner or a sharp pen to ink over the sketch. The inking process not only makes the drawing stand out but also adds a polished look to it. Once you’re satisfied with the inking, gently erase the underlying rough sketches, making sure not to smudge the ink. This will give you a clean and finished artwork of Rukia Kuchiki, ready for coloring or framing.”
Don't Miss New Tutorials! Follow SketchOk
I publish new step-by-step drawing guides every single day. Follow on your favorite platform so you never miss a tutorial. Thousands of artists are already drawing along and I can't wait you to join in!
On my Patreon you can grab unique hand-made coloring pages: each one drawn by me personally. Every purchase directly supports the creation of new drawing tutorials. It's the best way to practice your skills, keep the site going, and get something truly original at the same time.
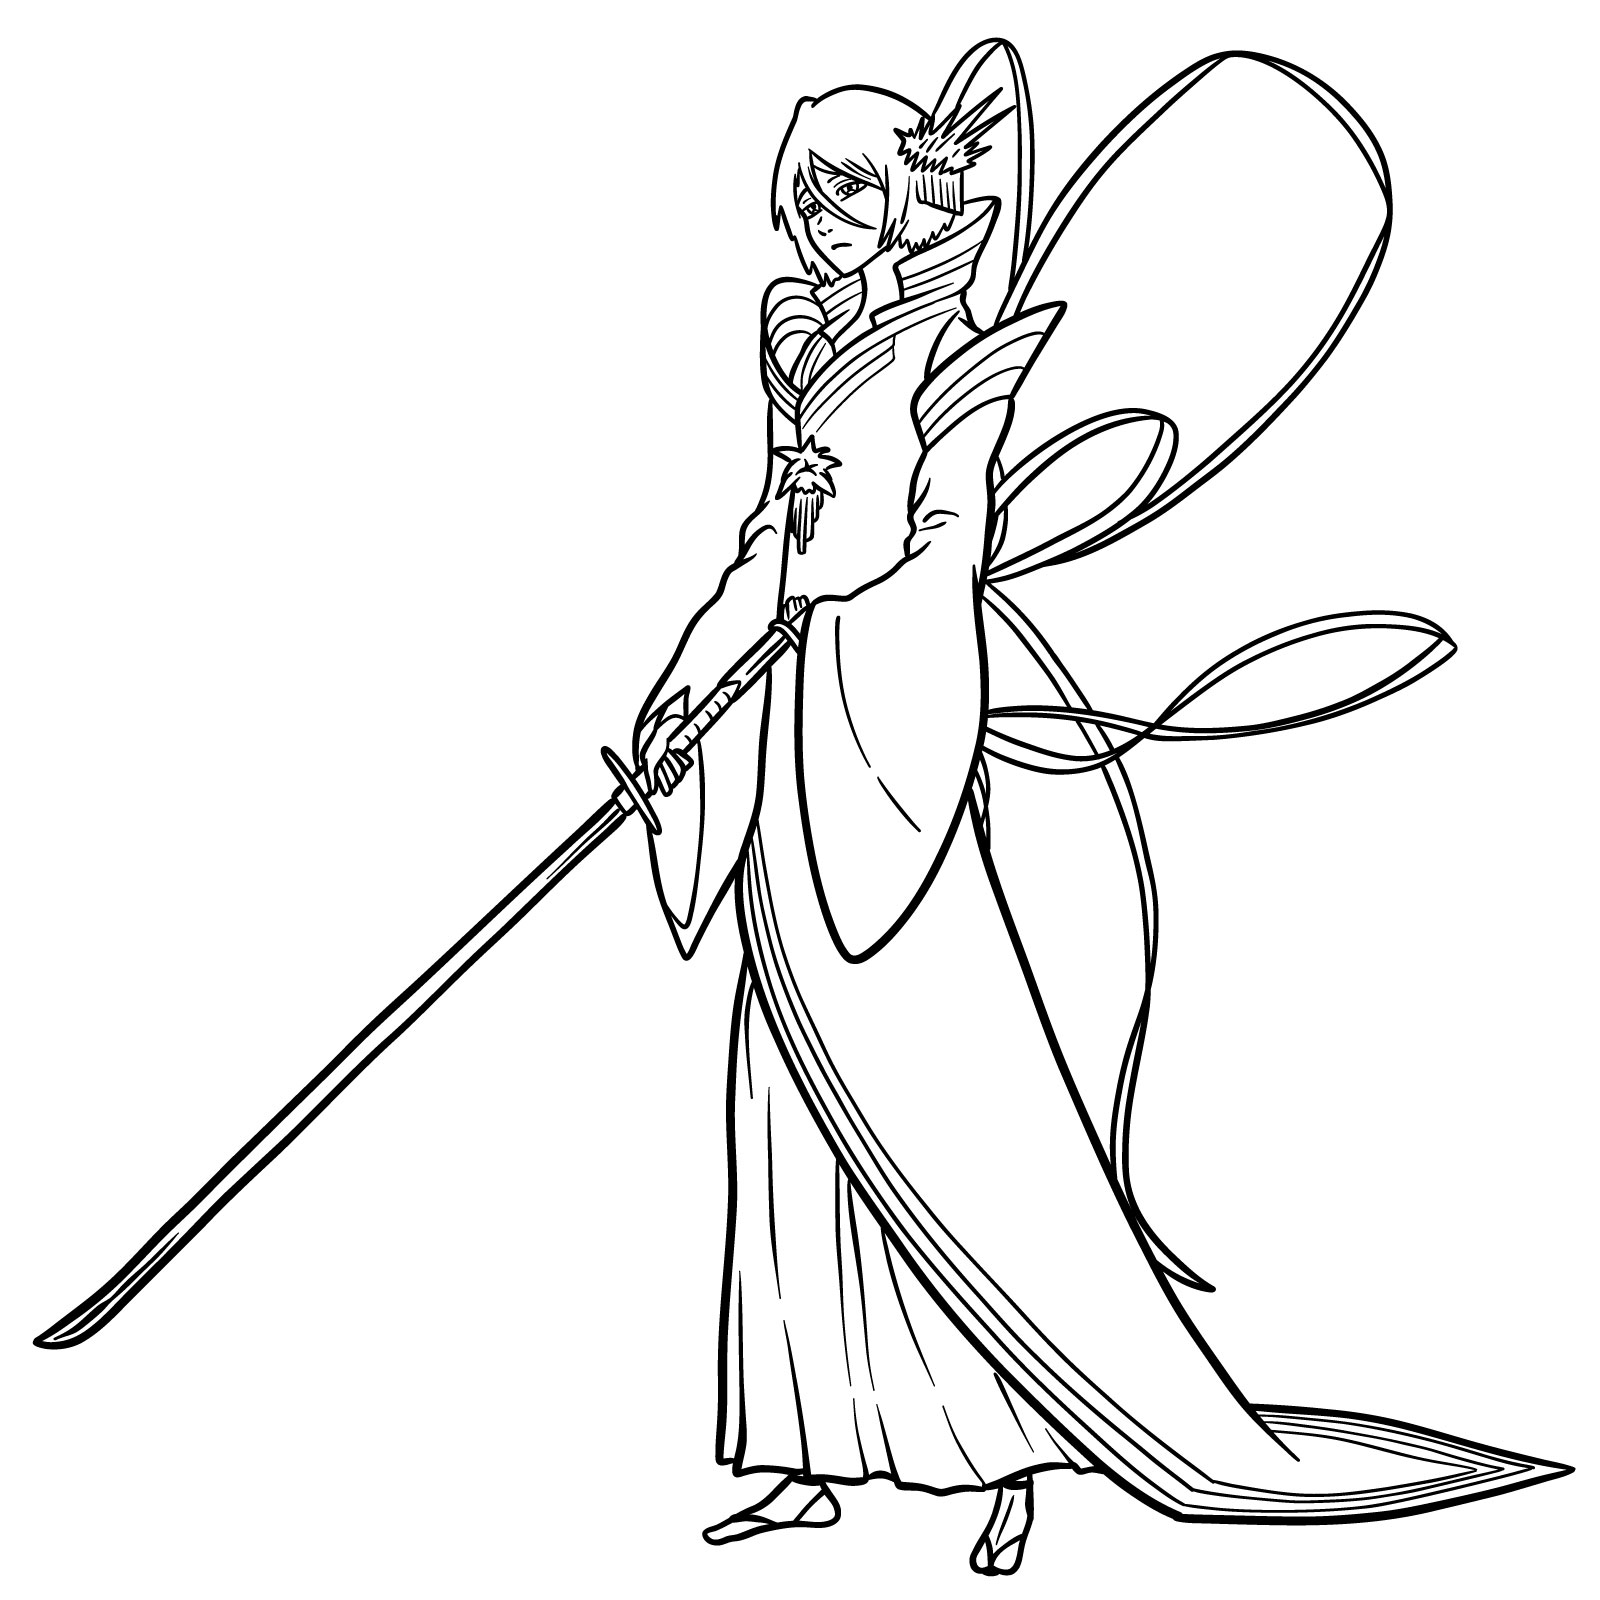
Polished artwork of Rukia Kuchiki in her Bankai: Hakka no Togame, refined with inking and free from underlying sketches.
Mastering the drawing of Rukia in her bankai Hakka no Togame is undoubtedly a rewarding experience. Remember, every stroke you make is a step closer to bringing this iconic character to life on your canvas.
To keep up with our latest sketches, don’t forget to subscribe and follow us on our social media platforms:
Disclaimer: This is a non-commercial, fan-made educational site. All characters belong to their respective owners. We are not affiliated with any rights holders.
Read full Disclaimer