Hello everyone, today I’m excited to present a tutorial on how to draw Ichigo Kurosaki full body. Whether you’re a seasoned artist or just starting out, this step-by-step guide will help you capture the essence of this iconic character from the “Bleach” series.
Focus Points for Ichigo Kurosaki’s Appearance
Begin with Ichigo’s signature spiky orange hair; it’s distinct and easily recognizable.
Notice his lean build and the subtle muscle definition indicative of his Shinigami training.
Ichigo’s facial expressions are often serious or scowling, a nod to his protective and strong-willed nature.
To add some context, you might want to reference other characters like Rukia, or his wife, Orihime, and their influence on his character.
Understanding the Ichigo Kurosaki Full Body Drawing Guide
This guide is structured as a sequence of images, each representing a progressive step towards the final drawing of Ichigo Kurosaki. Here’s how the color coding works:
Red Color: Indicates the current step and the lines you should be drawing now.
Black Color: Shows the lines from the previous steps, guiding you on how the current steps integrate into the overall drawing.
Grey Color: Represents the basic sketch and helps you keep the correct proportions and angles throughout the drawing process.
We have 13 steps in total, beginning with a basic sketch and concluding with the option to ink your drawing. Inking should be done with a steady hand, following the final sketch lines. Allow the ink to dry fully before gently erasing the pencil marks to avoid smudging and to ensure a clean, crisp finish to your artwork.
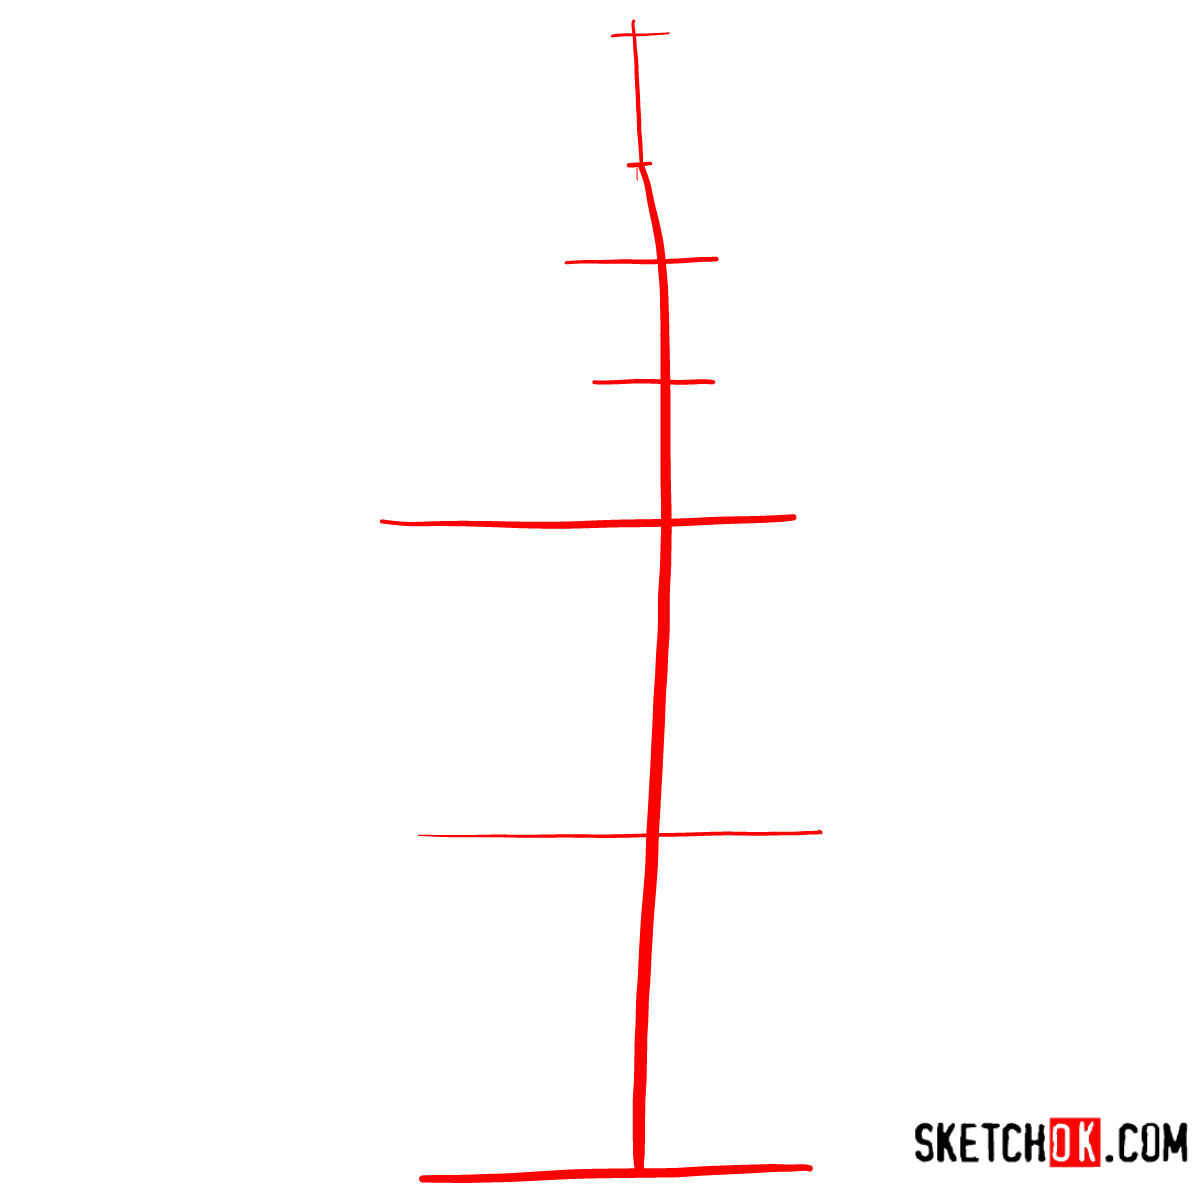
Step 01 – Begin by drawing a vertical line to serve as the central axis of the pose. Place seven horizontal lines across it, which will guide the proportions and alignment of the body parts in your Ichigo Kurosaki full body drawing
Starting the Ichigo Kurosaki full body drawing with basic lines for structure
Step 02 – Use the line guides to draw basic shapes that form Ichigo Kurosaki’s head, body. Outline a torso, the hips, and tapered shapes for the arms and legs
Sketching basic shapes for Ichigo Kurosaki’s body
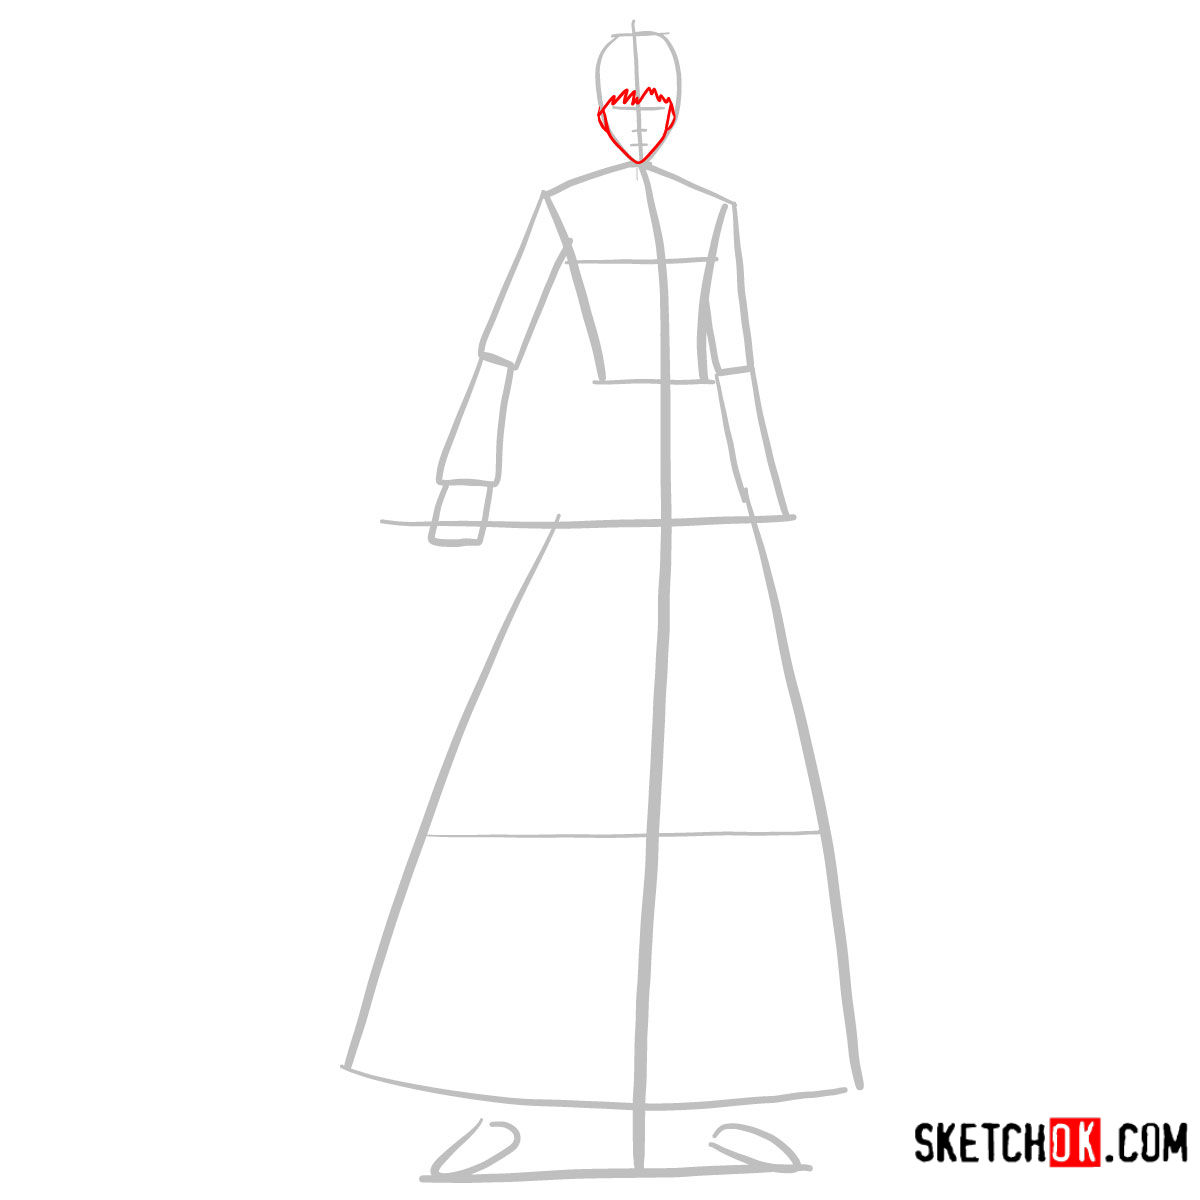
Step 03 – Sketch the outline of the face, including the jawline and chin. Add the fringe by drawing zigzag lines across the forehead area
Defining the face frame and chin
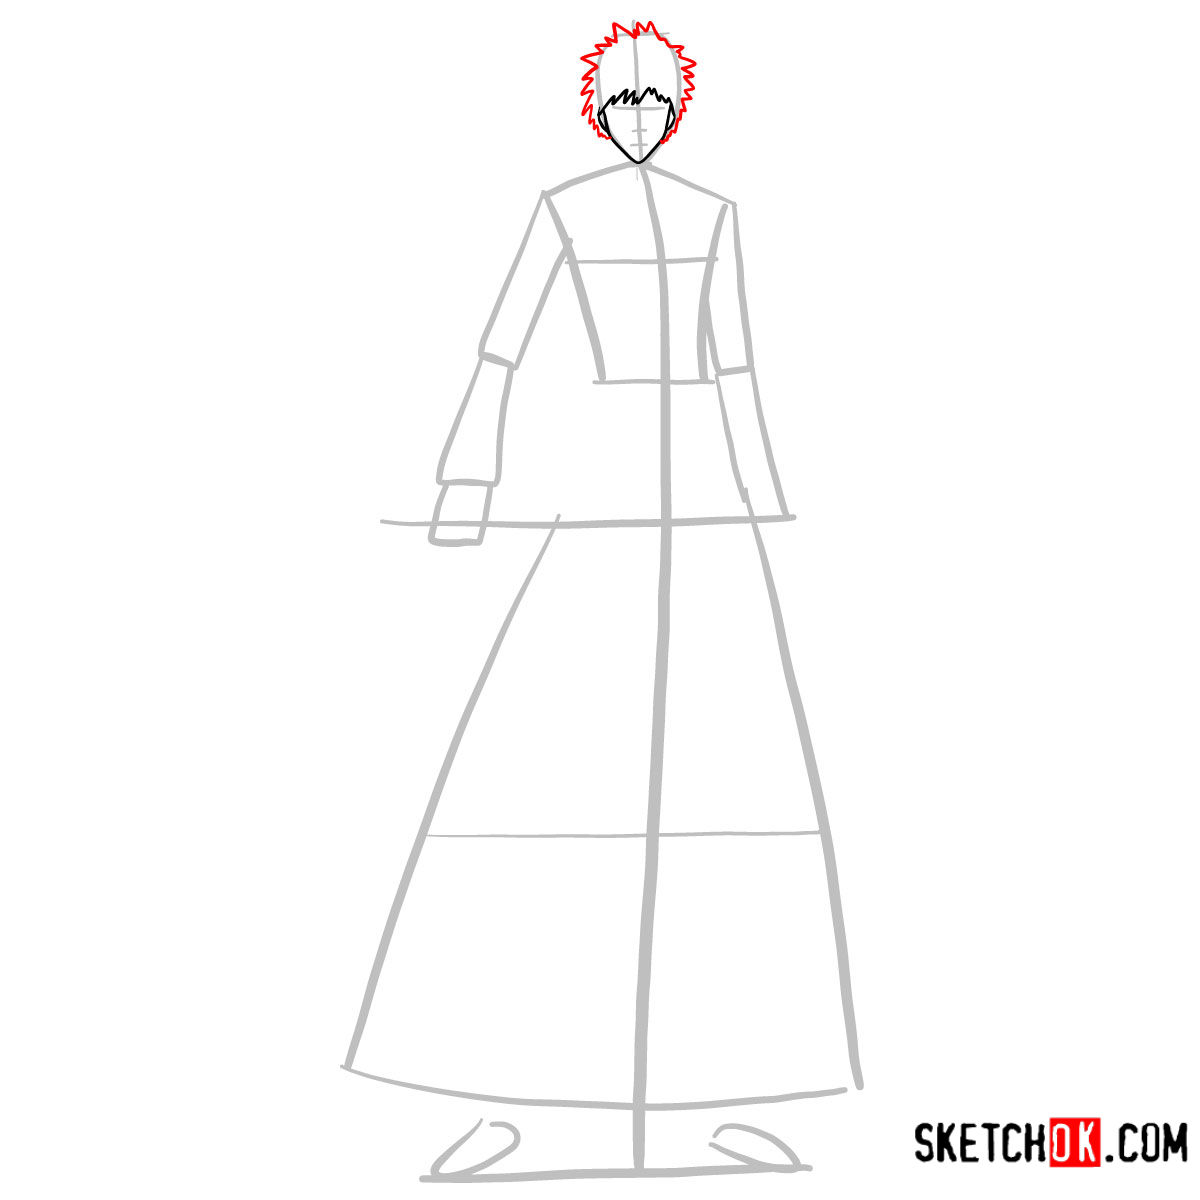
Step 04 – Create Ichigo’s iconic spiky hairstyle by drawing sharp, jagged lines around the head, extending upwards and outwards, making sure it’s symmetrical and fits the character’s style
Illustrating the spiky hairstyle
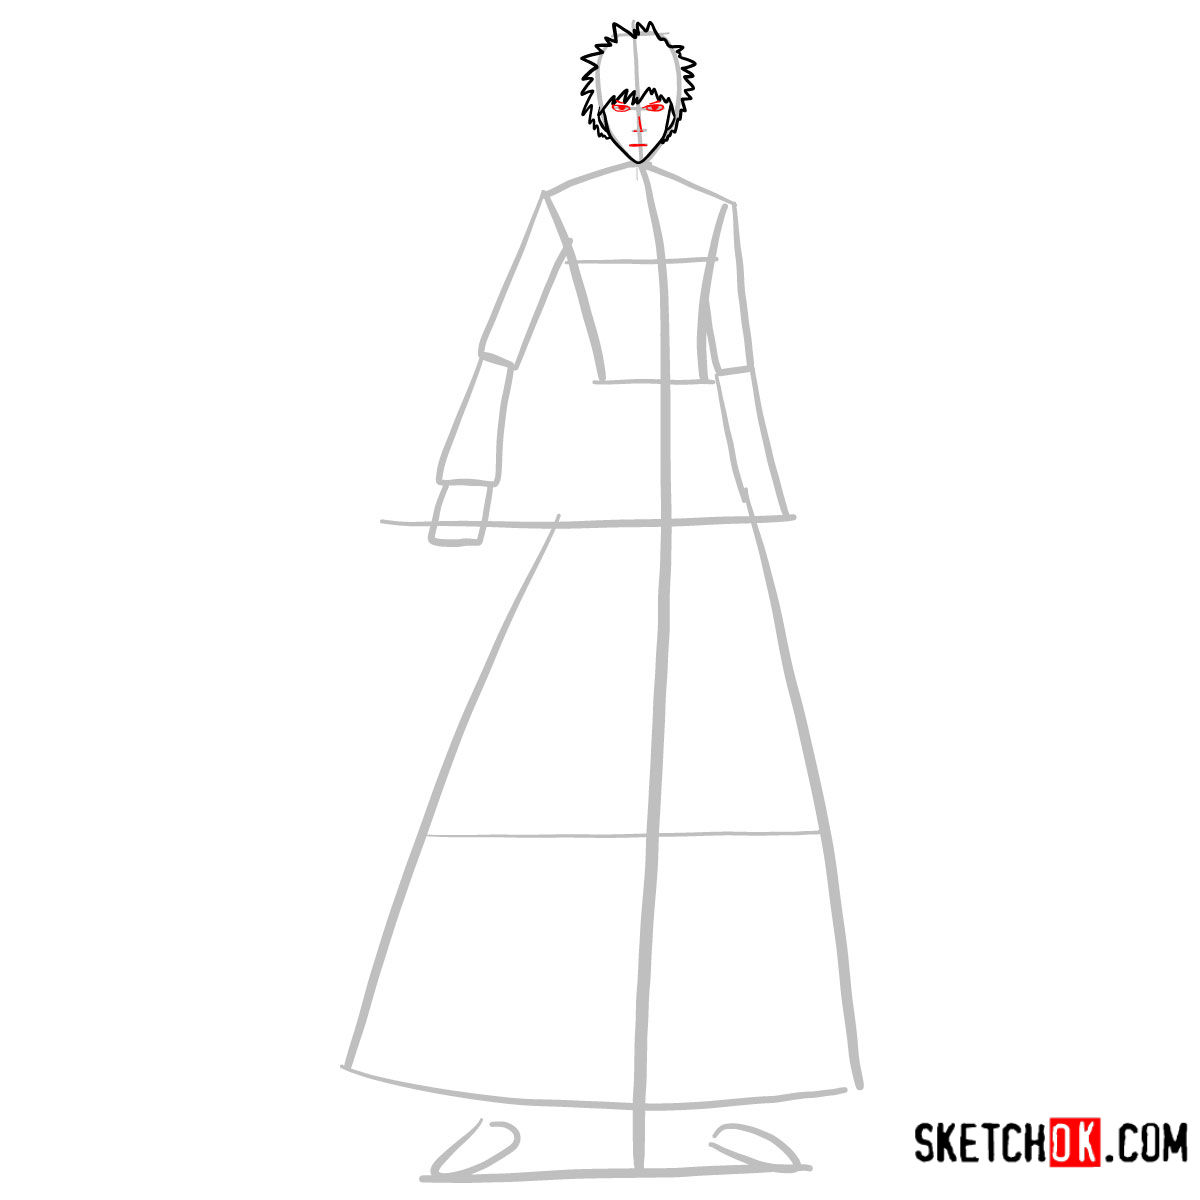
Step 05 – Within the face outline, draw two sharp eyes with heavy upper eyelids, a simple slash for the nose, and a straight line for the mouth
Sketching the eyes, nose, and mouth in the Ichigo Kurosaki full body drawing
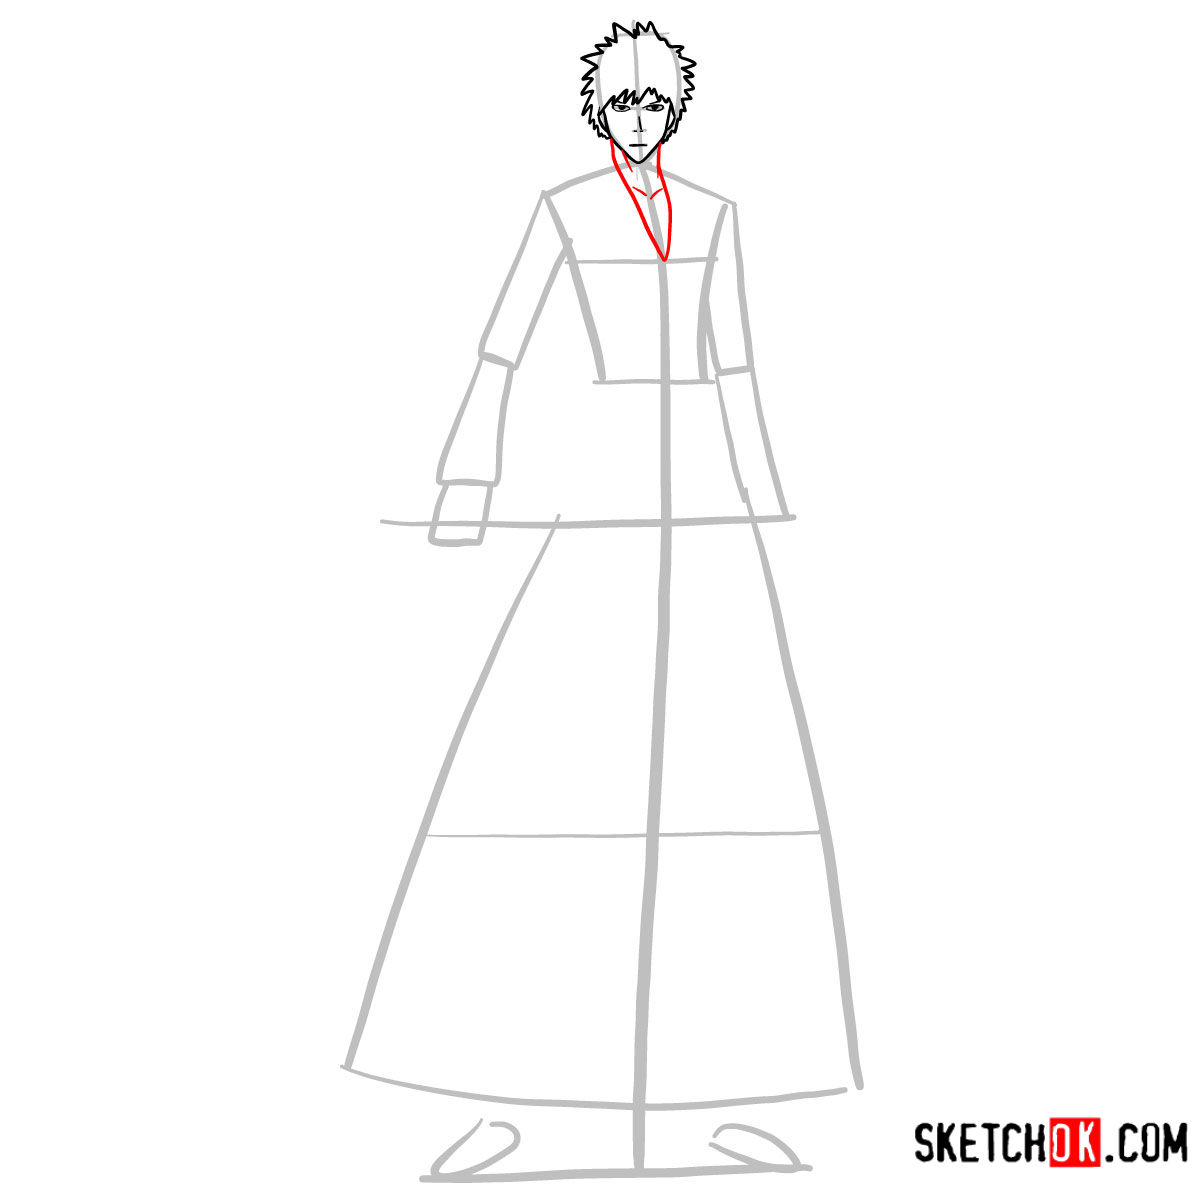
Step 06 – Draw two lines down from the chin to form the neck. Sketch the cutout of his clothing around the neck area
Crafting the neck and clothing cutout
Step 07 – Add the collar of Ichigo’s outfit by drawing two curved lines around the neck cutout. Then outline the right sleeve, making sure to add folds to create a sense of movement and fabric texture
Completing the collar and right sleeve for the Ichigo Kurosaki drawing
Step 08 – Draw Ichigo’s right hand gripping the katana with a firm hold, and then sketch the elongated, slightly curved blade extending outward from the fist
Adding Ichigo Kurosaki’s right hand and katana in the step-by-step drawing
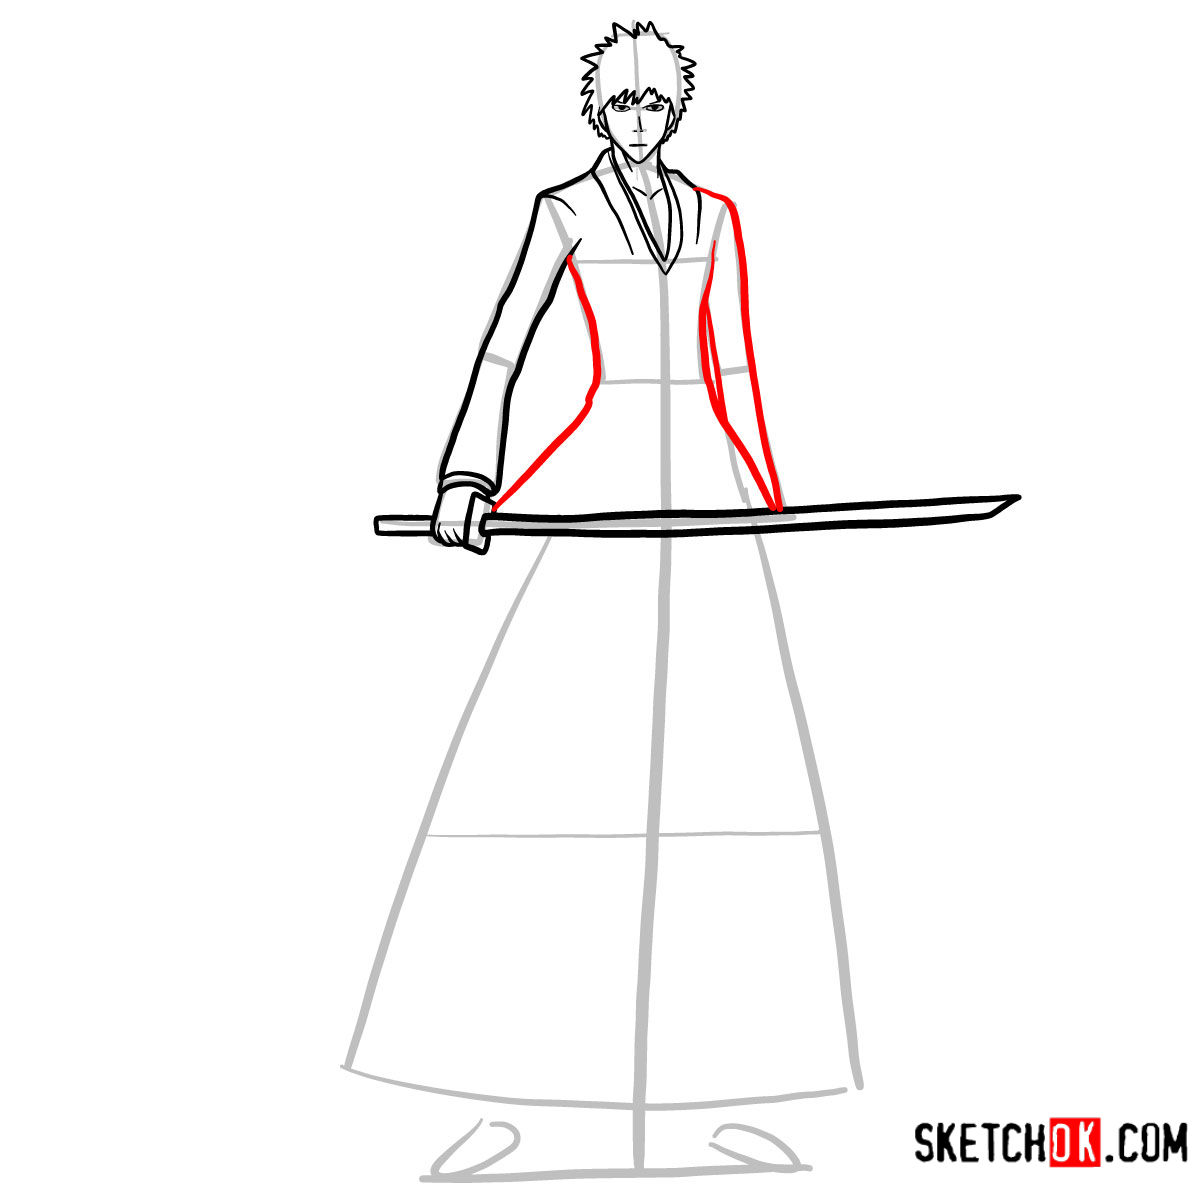
Step 09 – For the clothing, add the upper garment down to the hips, indicating the flow of the fabric. Sketch the left sleeve hanging naturally from the shoulder
Detailing the left sleeve and upper clothing
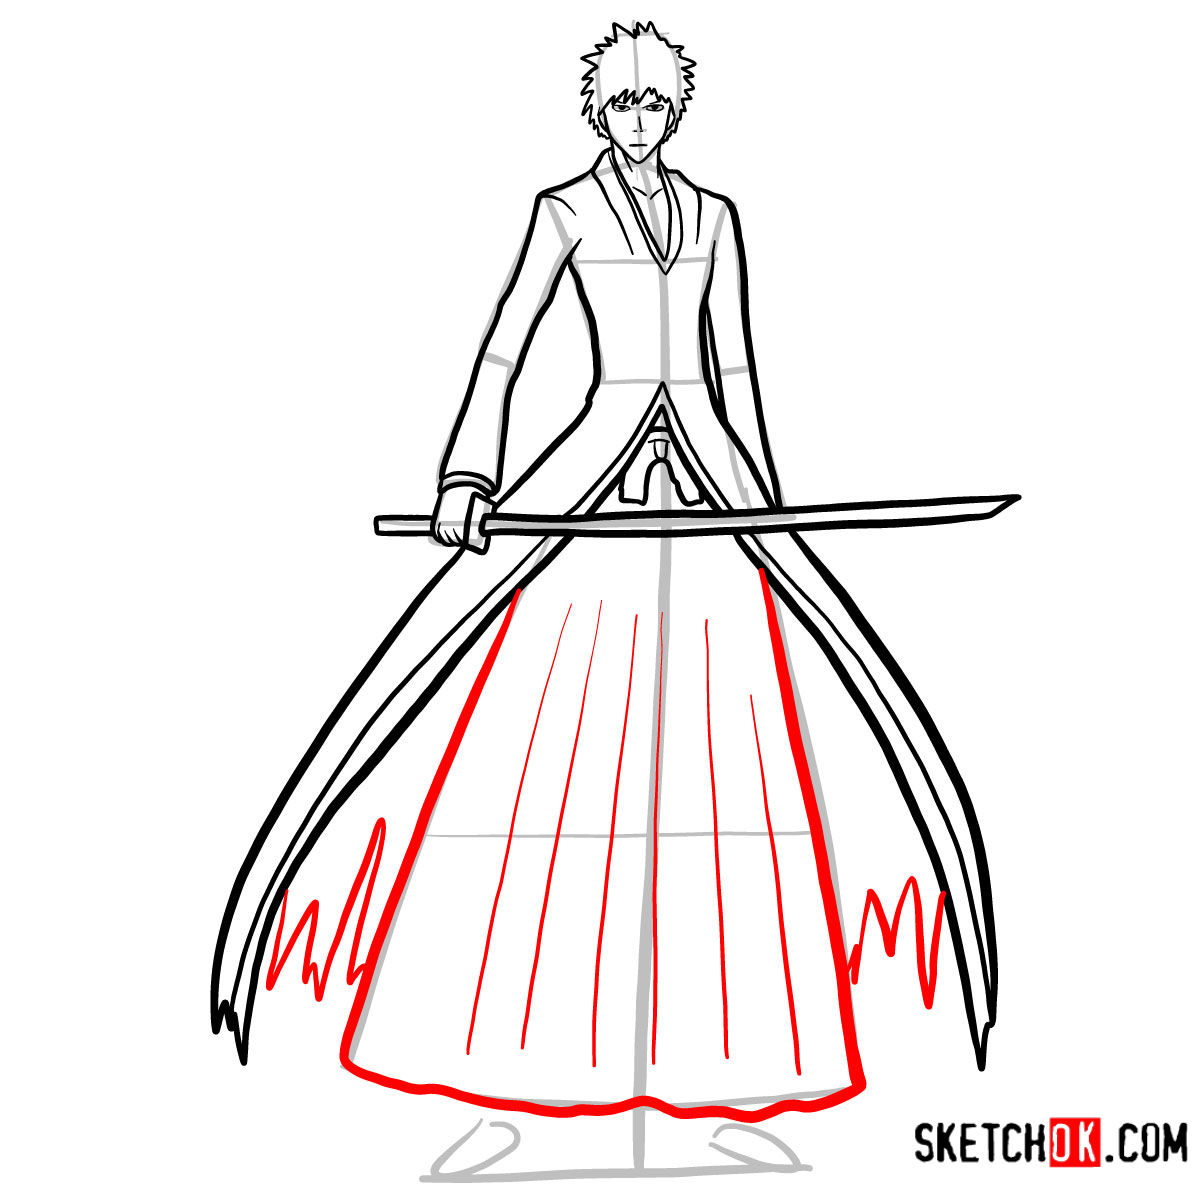
Step 10 – Continue drawing the kimono, adding the long flowing lines from the waist to the lower edge, representing the garment’s length and form. Ensure the lines suggest the weight and fabric of the kimono as it drapes down
Extending the kimono details in the Ichigo Kurosaki drawing
Step 11 – Finalize Ichigo’s attire
Completing the outfit details
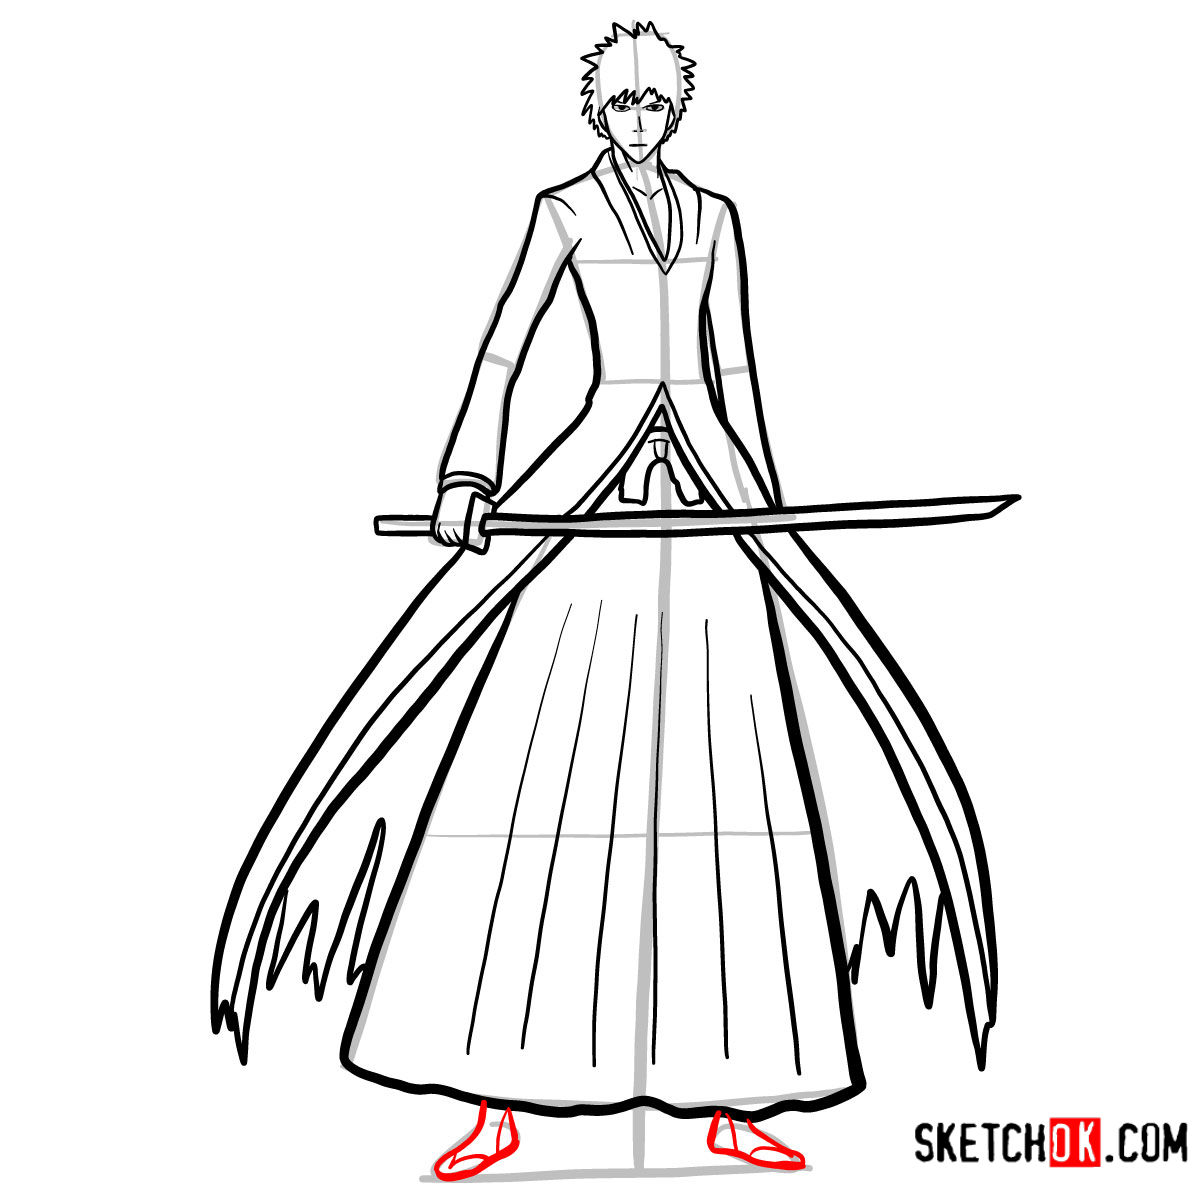
Step 12 – Draw Ichigo’s feet, ensuring they are in proportion to the rest of the body. Indicate the soles and the separation between the toes and the heels
Sketching the feet
Step 13 – Your Ichigo Kurosaki full body drawing is now complete. For a clean and professional look, you can ink your sketch, using careful, smooth lines to go over your pencil marks. Once the ink is dry, gently erase the pencil sketches to reveal your polished drawing
Finished Ichigo Kurosaki full body sketch
Wrapping up, I hope this guide on how to draw Ichigo Kurosaki full body was helpful. I’ve taken you through the crucial points of Ichigo’s appearance and the guide’s step-by-step structure. If you’ve found this tutorial useful, consider following SketchOk on social media for more updates:
Disclaimer: All original artworks and photos used as references for the creation of these drawing tutorials are the property of their respective owners. If your work has been featured without proper credit, please kindly leave a comment below, and the issue will be promptly addressed. We greatly appreciate your exceptional art. Thank you.
Did you like the tutorial?
You can support the author of this website and also suggest your own ideas for new drawings by making a small donation here: