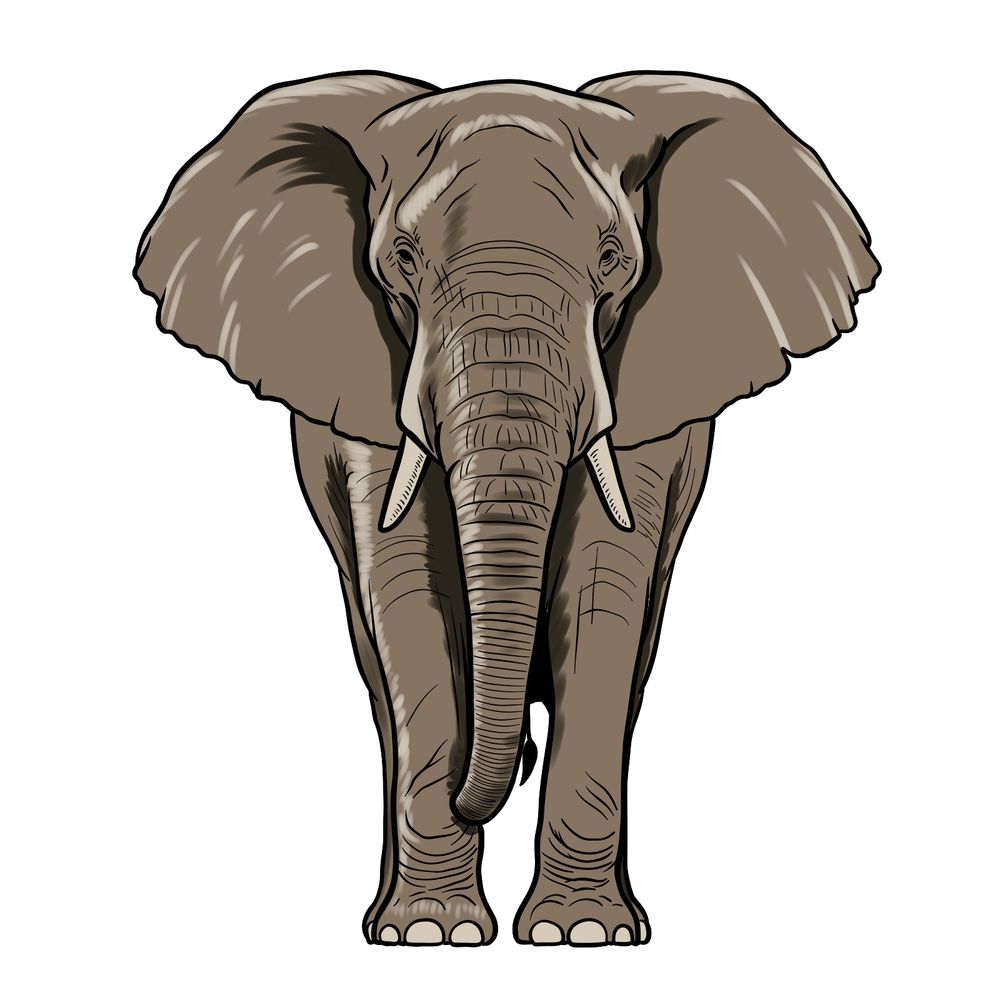
Learning how to draw an elephant from a front view can be exciting! This guide will help you through each step to create a detailed and strong-looking elephant. This is the second guide on this site for drawing an elephant full body from the front view, and it’s much clearer and better than the first one I created at the start of Sketchok (IMHO).
Elephant’s Key Features to Focus On
Before we begin drawing, let’s take a look at the main features that make an elephant stand out:
- Large Ears: Elephants have huge, fan-like ears that are wide and rounded.
- Long Trunk: The elephant’s trunk is long and curved, hanging down in front of its body.
- Tusks: These curved tusks stick out on both sides of the trunk.
- Thick Legs: The elephant has large, strong legs that support its heavy body.
- Wrinkled Skin: Elephants have thick, wrinkled skin, which adds to their realistic look in drawings.
By focusing on these key details, you’ll make your elephant drawing look accurate and impressive. After finishing the elephant, you might want to try drawing a more detailed elephant’s head, or other animals like lions or wolves!
About the Elephant Drawing Guide
This guide uses color codes to make following the steps easier:
- Red Color: The red lines show the current step you should be drawing.
- Black Color: The black lines show what you’ve already drawn in earlier steps.
- Grey Color: The grey lines show the basic sketch that helps form the foundation of the drawing.
These color codes are designed to help make sure each step is clear and easy to follow!
Start by drawing a circle for the head base. Then, add the shape of the trunk, divided by a vertical line to help with alignment. This will form the foundation of the elephant’s face and trunk.

Now, draw the shapes for the elephant’s large ears. Add a curved line to form the top of the head. Draw simple shapes to mark where the tusks will grow from, and sketch a basic shape for the body. This completes the basic outline.

In this step, add more definition to the parts of the head where the tusks grow.

Now, add more detail to the sides of the head. This includes some lines that help define the structure of the elephant’s face.

Outline the tusks, making sure they have a slight curve. Next, sketch the small eyes of the elephant, located on the horizontal line inside the head circle from step 1.

Add fine details around the eyes, sketching lines that show the wrinkles in the elephant’s skin. Also, add a line to the top of the head to give more definition.

Outline the elephant’s large ears, adding some curves to show their size and shape. Then, continue outlining the trunk down from the base of the head.

Sketch the front legs, making sure they are thick and sturdy. The front legs should be placed directly under the body, supporting its weight.

Now, add the sides of the body and draw the visible parts of the rear legs. Add a shaded area to the body behind the trunk, and include a small part of the tail visible in the middle.

Add more detail to the tusks and the area around them. Add lines and shapes to the sides of the head, showing the texture of the skin and the natural folds.

Draw lines to show the skin folds, starting from the middle of the head base circle and running down to the tip of the trunk. Add similar lines to the front legs to show the folds in the elephant’s skin.

Now, add small details to the head, body, and legs. These can include small lines or marks to show the texture of the elephant’s thick, wrinkled skin.

Observe your drawing and make any necessary adjustments. Once you are happy with it, erase the rough sketch. You can optionally ink your drawing for a cleaner look. After the ink dries, erase any remaining pencil lines.

Finally, you can use this image as a simple color reference.

If you find this guide helpful and enjoy drawing with me, please consider supporting my work by donating on Buy me a Coffee. Every donation helps me continue to make more drawing guides like this one.
Also, don’t forget to follow me on social media to stay updated on new tutorials:
