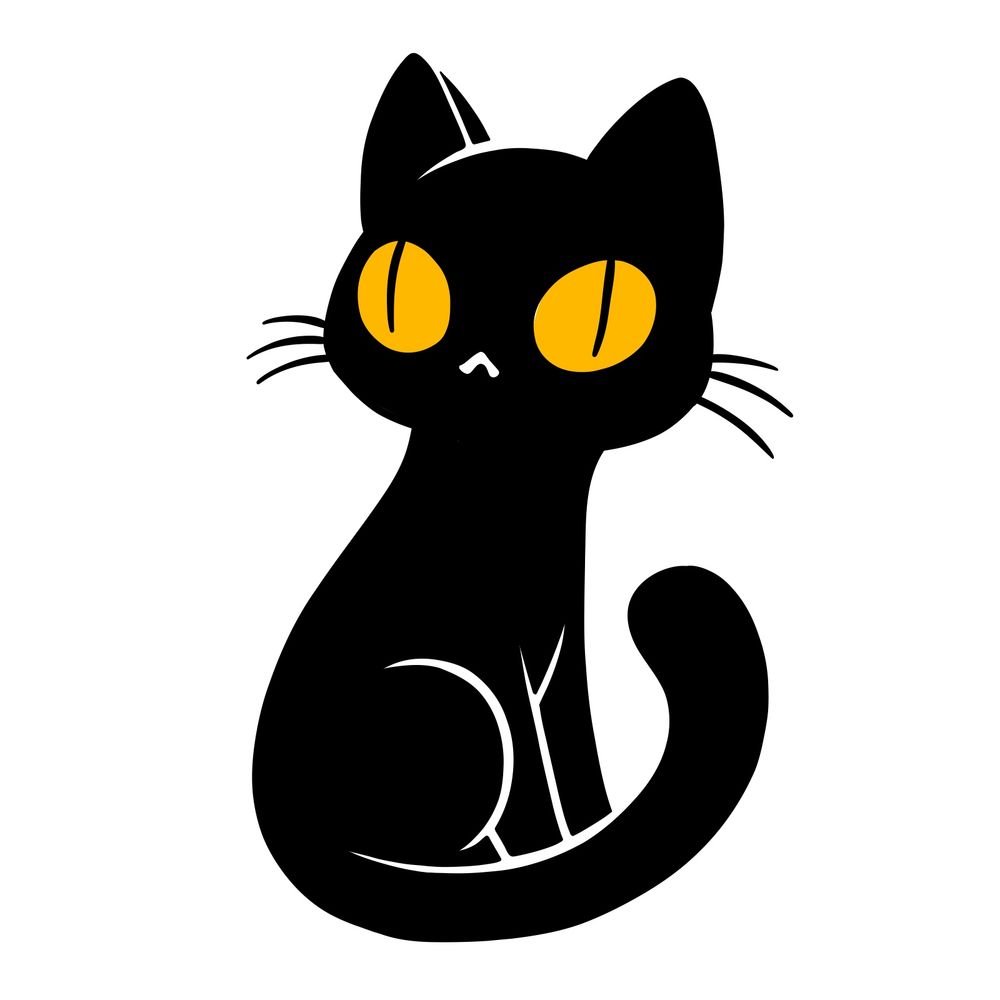
Nothing says Halloween like a mysterious black cat! Whether sitting quietly in the moonlight or keeping watch by a witch’s side, the black cat is a perfect addition to your spooky drawings. In this guide, you’ll learn how to draw a simple yet charming Halloween black cat, step by step.
Key Features of a Halloween Black Cat
- Sleek, Simple Body: The black cat’s body is smooth and graceful, with a minimalistic, elegant look.
- Sharp Ears: Pointed ears give the black cat its iconic silhouette, making it instantly recognizable.
- Large, Expressive Eyes: The cat’s wide, glowing eyes create a mysterious, spooky look, perfect for Halloween.
- Curved Tail: The long tail adds a bit of playfulness to the otherwise sleek figure.
- Whiskers: Don’t forget to add those thin, sharp whiskers to complete the cat’s face.
Once you’re done drawing your black cat, you can try sketching other spooky Halloween icons like a haunted house, a witch, a witch’s hat, or even a jack-o-lantern. If you want to explore more cat drawings, check out this 19-in-1 cat drawing guide with tons of different cat styles!
About This Drawing Guide
This guide makes it easy to draw a classic Halloween black cat. We’ll gradually build up the details to bring your drawing to life. You don’t need any special tools—just a pencil, some paper, and a love for all things spooky! Here’s how the steps are laid out:
- Red: This color highlights the things you need to focus on for each step.
- Black: Black is from the previous steps, showing what you’ve already drawn.
By the end of this guide, you’ll have your very own black cat ready for Halloween!
Begin by drawing a simple, rounded shape for the black cat’s head.

Draw two large ovals inside the head shape for the cat’s eyes.

Fill in the entire head with black, leaving the eye ovals from step 2 blank. Also, leave an upside-down ‘V’ shape blank for the cat’s nose.

Draw thin, vertical lines in the eye ovals for the narrow pupils. Add a few short lines on each side of the face for the whiskers.

Sketch two pointed ears on top of the cat’s head. Fill them in with black, but leave blank lines between the inner and outer parts of the right ear for stylish highlights. Also, leave a small blank line where half the right ear connects to the head for added detail.

Draw a curved shape from the back of the head down for the back. Sketch the shape of the tail connecting from the back. Fill the entire back and tail with black. Pay close attention to the image of this step for correct proportions.

Draw the visible part of the rear leg. Leave a narrow blank space between the leg and the tail for contrast.

Sketch the middle part of the cat’s body, starting from the head and connecting down with the back and rear leg. Leave blank spaces between the rear leg and tail for definition.

Finish sketching the body by adding the second front leg, starting from the head. Leave narrow blank spaces between the front legs and tail. Draw a short blank line between the first leg and the body for the final touch.

Review your drawing and adjust any details. Make sure the lines are clean and the black fill is even. Define highlights where needed.

Fill in the eyes with a bright yellow color, adding that final Halloween touch to your black cat.

After completing your black cat drawing, look over the details. If everything looks good, you can gently erase any marks. Add a few extra Halloween elements if you’d like—a crescent moon, bats, or pumpkins will add a festive touch! If you enjoyed this tutorial, be sure to check out my other drawing guides for Halloween-related characters and more. Follow me on social media to get updates on new guides, and if you’d like to support my work, feel free to donate. Every little bit helps me keep creating fun, free tutorials!
If you’d like to support my work, you can donate here. Thanks for your support, and happy drawing!
