
The Jack-o’-lantern, with its glowing eyes and mischievous grin, is a hallmark of Halloween celebrations. In this guide, you’ll learn how to draw a Jack-o’-lantern, capturing the eerie charm and playfulness of this iconic symbol.
Defining the Jack-o’-lantern: Appearance and Key Drawing Points
The beauty of the Jack-o’-lantern lies in its varying expressions. From wicked smiles to startled gasps, every face tells a story. When drawing your Jack-o’-lantern, consider the following focal points:
- The Pumpkin Shape: A robust and round form, slightly flattened at the poles.
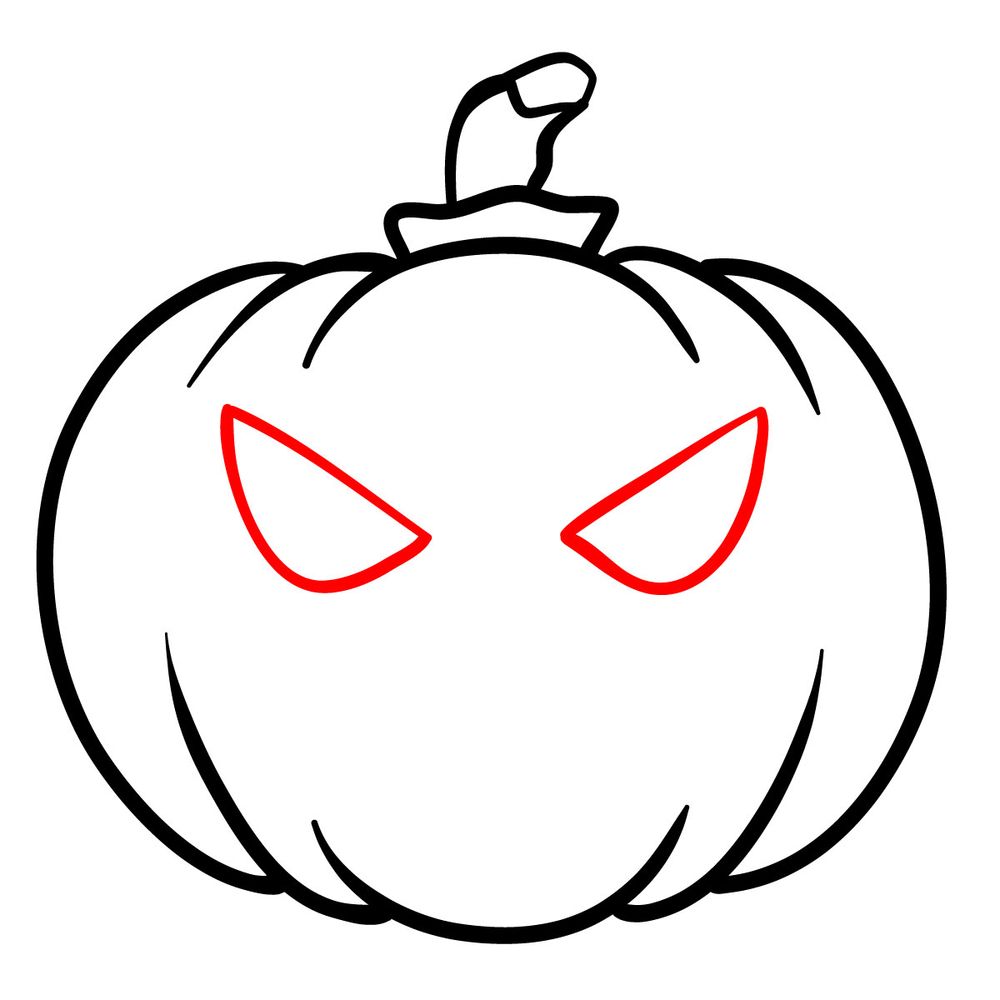
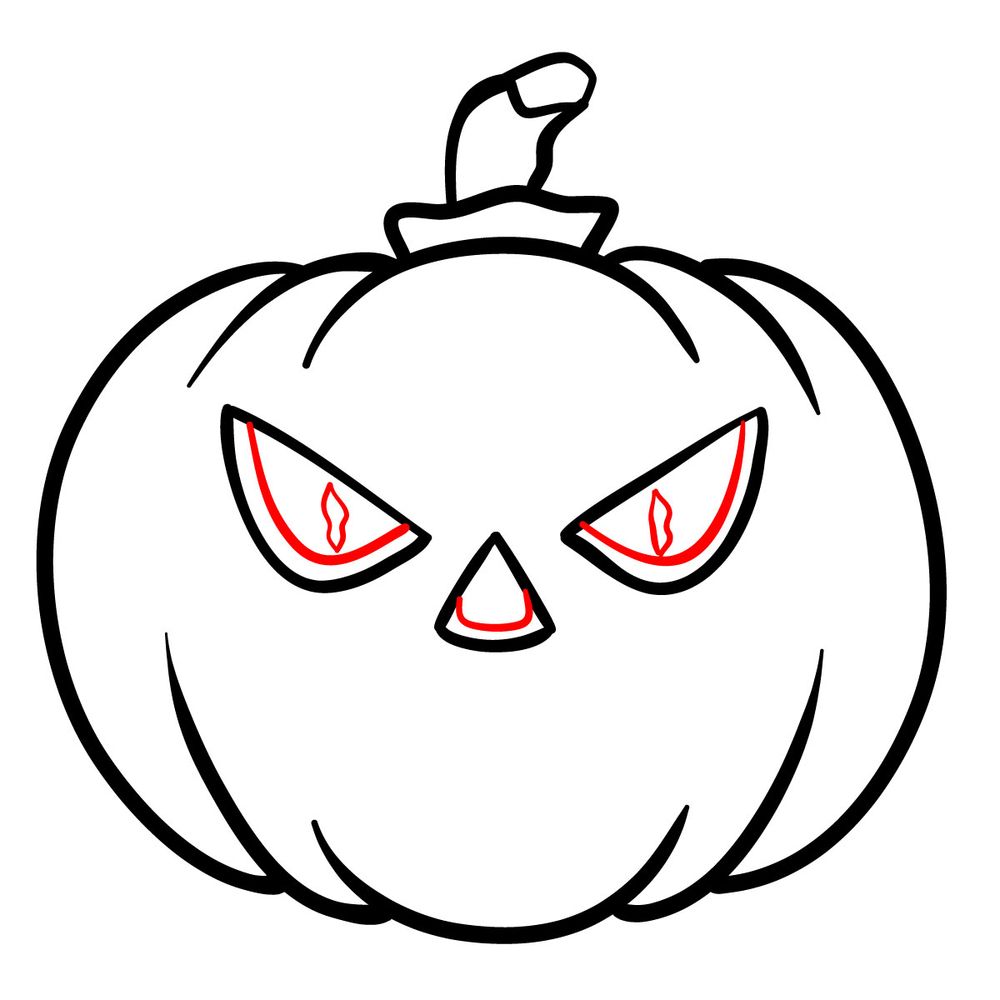
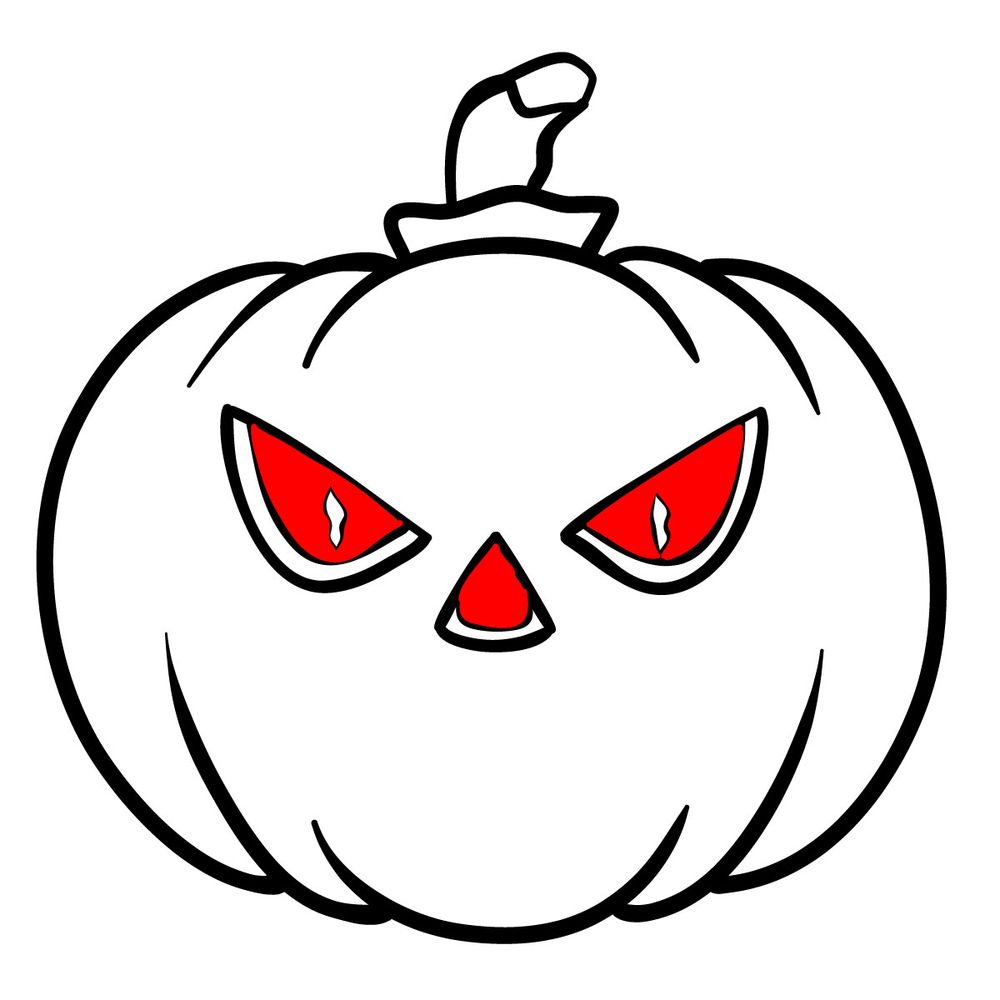
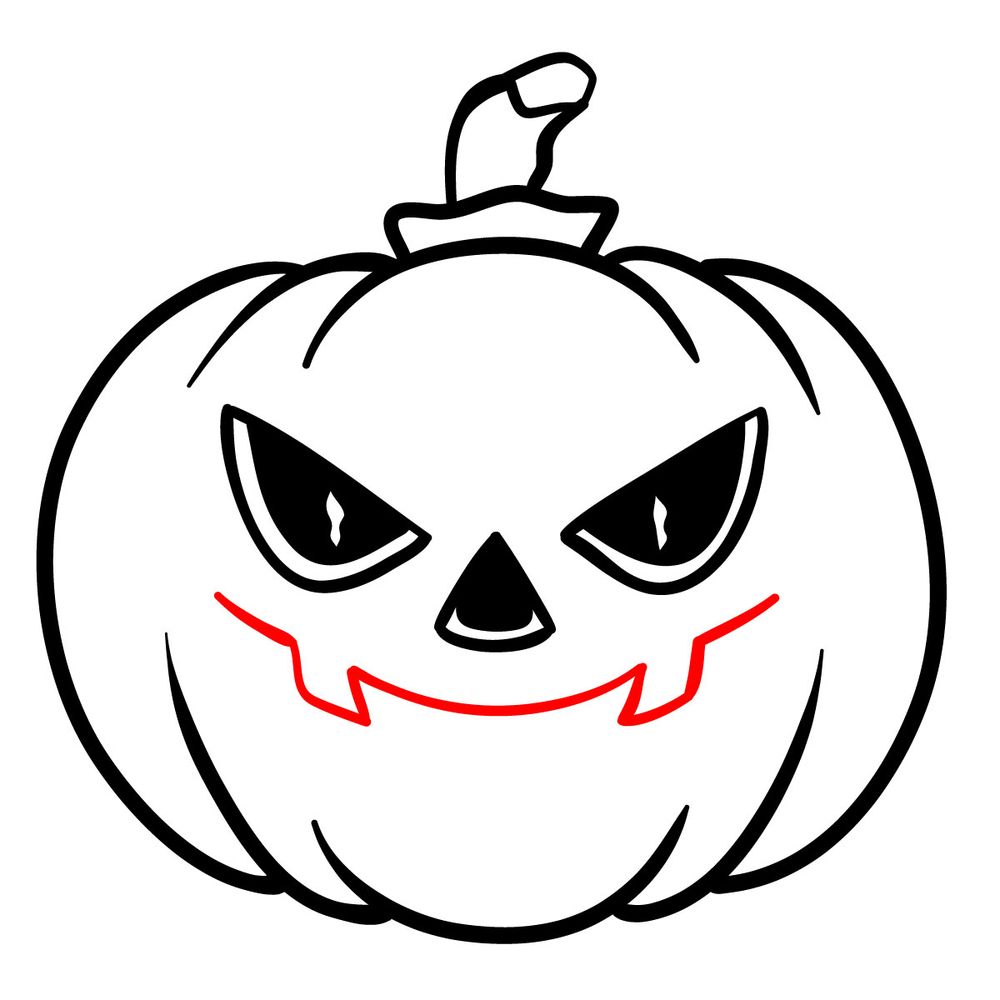
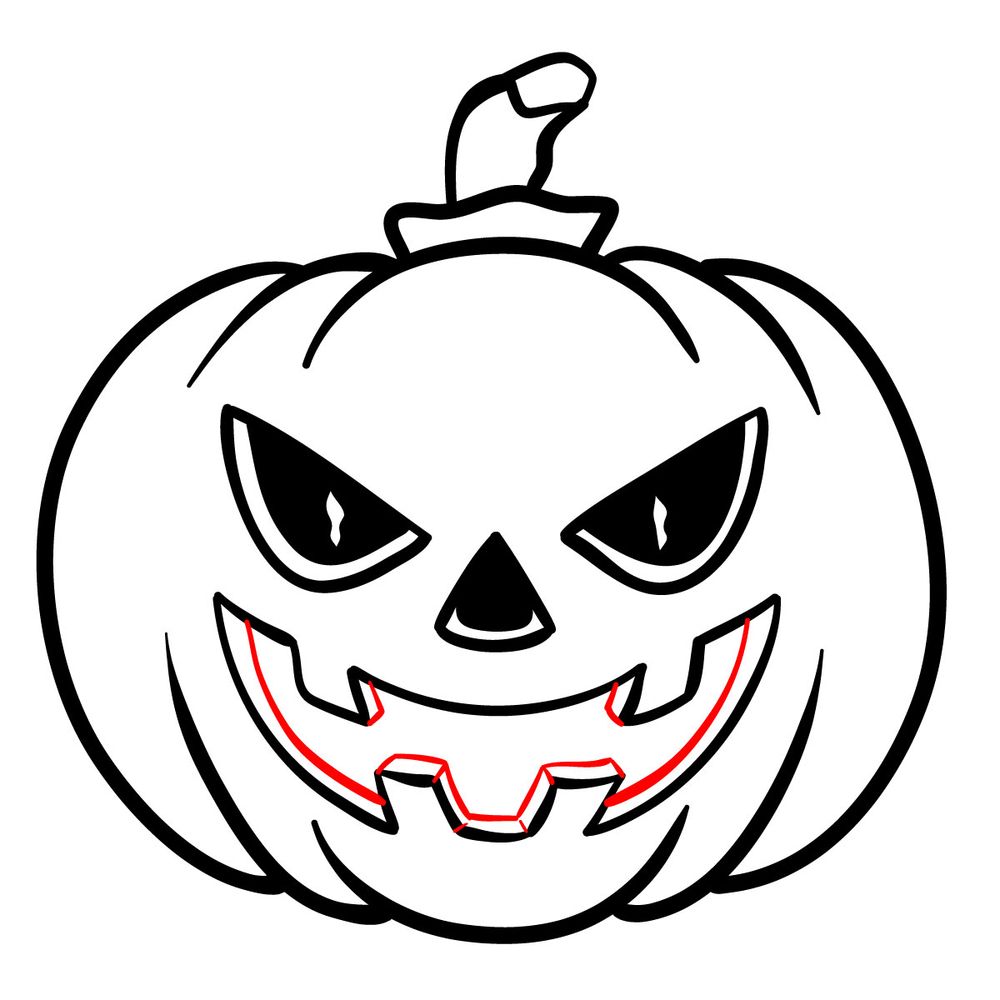
- Facial Features: Carved eyes, nose, and a mouth, each bringing personality to the pumpkin.
- The Glow: The inner light casts shadows and highlights, adding depth to the carved features.
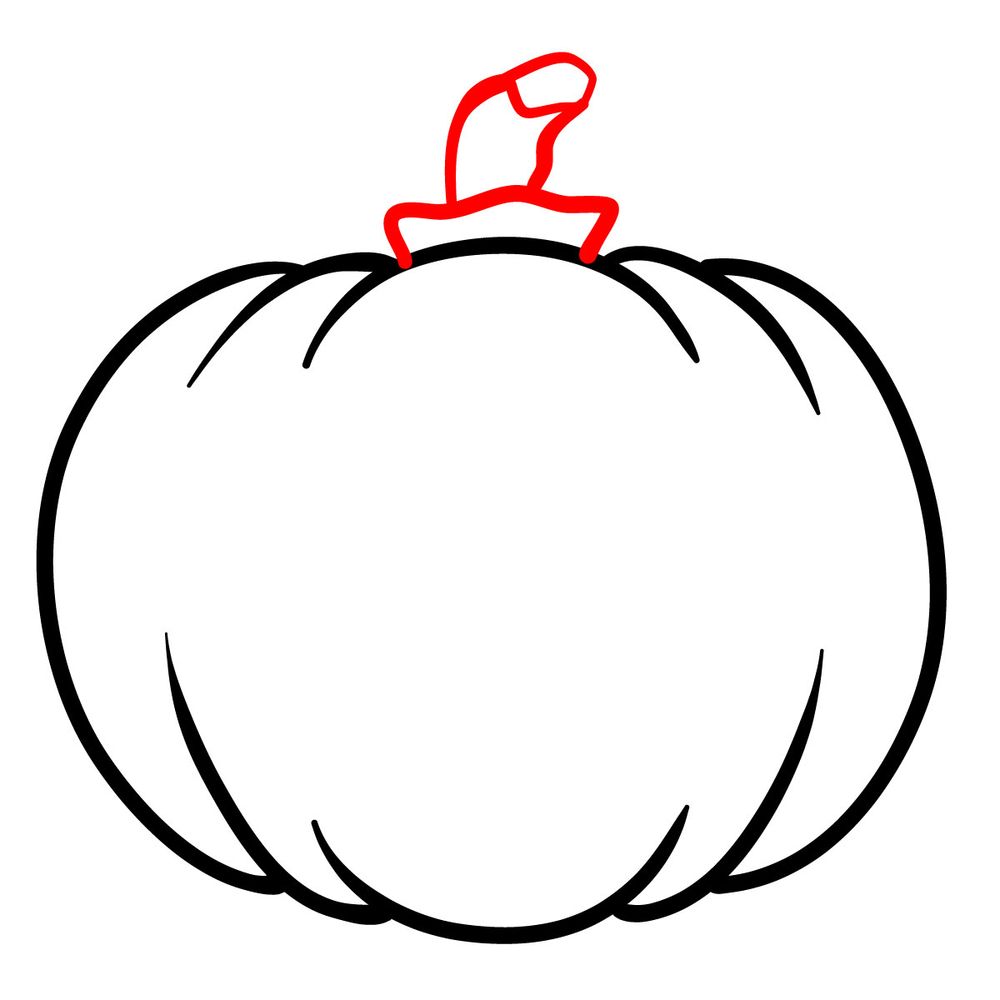
- Optional Elements: A stalk on top, or maybe crawling vines, add details and a touch of realism.
Similar to the Jack-o’-lantern, other iconic figures like ghouls, witches, or black cats can accompany your drawing, enhancing the Halloween ambiance. When sketching the Jack-o’-lantern, remember to maintain the organic feel of the pumpkin, avoiding too many straight lines or perfect circles.
Tips for Sketching Your Jack-o’-lantern
Here are some valuable pieces of advice for sketching your Jack-o’-lantern:
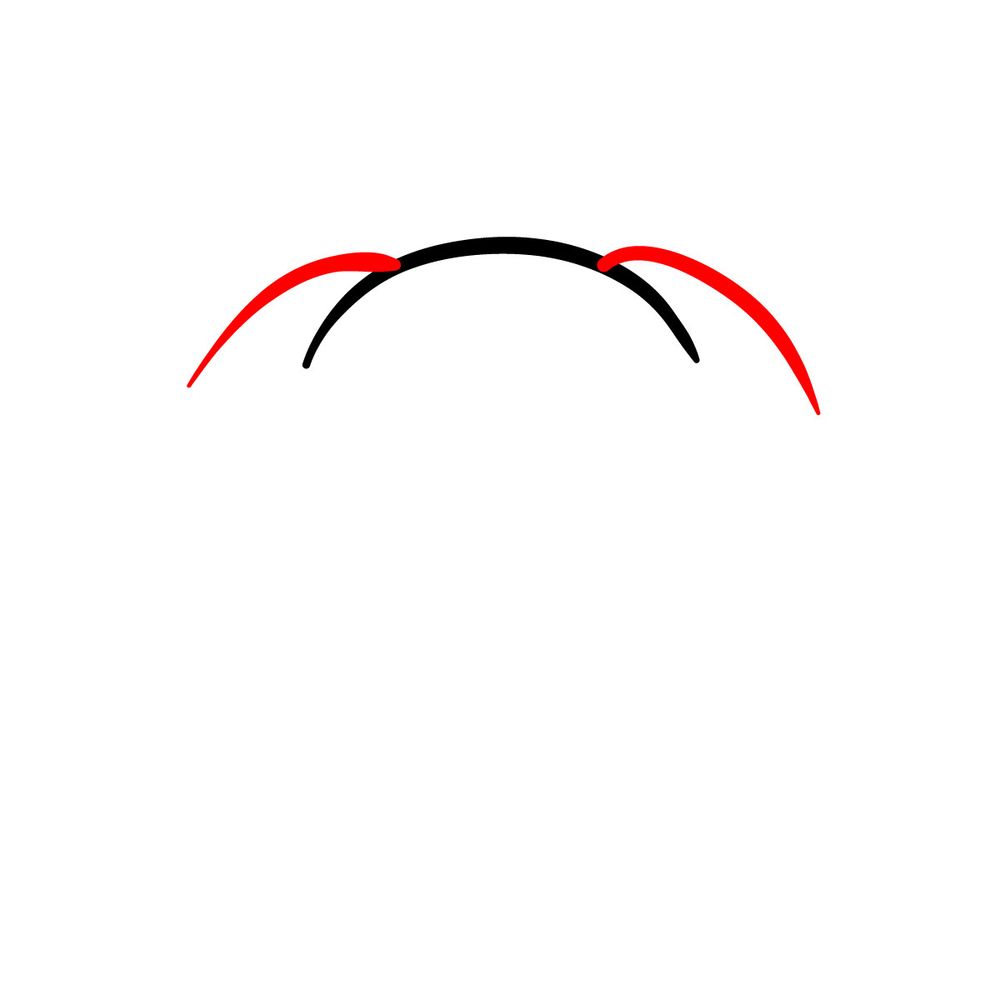
- Lightly sketch the basic pumpkin shape, ensuring you capture its roundness and slight imperfections.
- Once the form is in place, define the facial features, ensuring they are symmetrical and proportionate.
About This Drawing Guide
Designed with precision, this guide, spread over 16 steps, takes you from a basic pumpkin shape to a glowing Jack-o’-lantern. Let’s understand the color-coded guidelines:
- Red Color: Indicates the current step you should focus on.
- Black Color: Shows the lines sketched in previous steps.
After completion, artists can opt to ink over their sketch. Ensure the ink dries thoroughly before gently erasing the initial pencil marks to achieve a clean final piece.


Now that you know how to draw a Jack-o’-lantern, it would be great to see what yours looks like. The pinned version of this tutorial on Pinterest has a comments section where people drop their finished drawings, and other artists working through the same guide actually scroll through and check them out. You can also sign up for the weekly digest using the form at the top of the page, or follow along on Facebook and YouTube for more guides like this one.