Home » Other » Monsters and Fantasy creatures » How to Draw a Chibi Zombie Step by Step

How to Draw a Chibi Zombie Step by Step

In this guide, I’ll show you how to draw a chibi Zombie, a fun, simple, and spooky addition to your Halloween artwork! We’ll go through the process step by step, starting from a rough sketch all the way to the final cute and creepy figure. This guide is perfect for beginners and those who want to improve their drawing skills. Let’s get started!

A Little About the Chibi Zombie

The chibi Zombie is not your usual horrifying monster. With its oversized head and cute proportions, this little creature strikes a balance between spooky and adorable. Here are a few focus points you’ll need to keep in mind:

  • Big, empty eyes
  • A round head with a cracked skin
  • Torn clothes and ragged details
  • A slouched posture for that classic zombie feel

Breaking Down the Chibi Zombie Drawing

This tutorial uses a rough sketching phase, starting with a simple stick figure as a base. We’ll build the figure step by step from there. If you enjoy drawing chibi-style characters, this process will feel very familiar. For other characters you can try next, maybe give drawing a chibi Grim Reaper or a chibi Witch a shot!

Step-by-Step Color Guidelines

When following the drawing steps, I’ll be using three colors to guide you through each phase:

  • Red Color: Represents the current step you’re working on
  • Black Color: Indicates the lines you’ve already drawn
  • Grey Color: Shows the basic sketch and guidelines

We’ll start by roughing out the pose of the body and head before adding the details. This method helps you keep proportions in check while making the process fun and easy to follow.

Step 1 – Draw a large circle for the base of the head, with two crossed lines to center the face, then sketch small lines on the vertical line to mark the nose and mouth. Add a stick figure with joints for the shoulders, elbows, wrists, hips, knees, and ankles to establish the pose.

Before You Get Started

Quick note: aside from this step-by-step guide, I also offer Printable Coloring Pages that might spark fresh ideas or simply help you unwind. Feel free to check them out if you’re looking for extra creative fun!


Check Out the Shop →
Basic sketch of a chibi zombie with a circle for the head and stick figure body - step 01

Step 2 – Outline the side and bottom of the head to begin shaping the face.

Outline of the side and bottom of the chibi zombie’s head for the face - step 02

Step 3 – Add two ears and draw some hair in the forehead area to complete the frame of the face.

Chibi zombie head with ears and initial hair outline on the forehead - step 03

Step 4 – Complete the head outline by sketching the rest of the hair.

Full head outline of the chibi zombie, with hair drawn in - step 04

Step 5 – Draw two circles for the eyes (one larger than the other), add two nostrils, and create a zig-zag line for the zombie mouth.

Chibi zombie drawing with uneven eyes, nostrils, and a zig-zag mouth - step 05

Step 6 – Add additional circles and curved lines around the eyes, sharp details to the upper lip, and a curved line above the nostrils for the zombie nose. Draw inner ear lines, simple shapes for wounds on the jaw and forehead, and two small circles for bite marks on the other side of the forehead.

Detailed face of the chibi zombie, with wounds and bite marks added - step 06

Step 7 – Sketch cracks (or veins) on the forehead and the collar of the shirt.

Chibi zombie face drawing with added cracks and a simple shirt collar. - step 07

Step 8 – Add a sleeve and forearm on the right side, creating the start of the zombie’s arm.

Right arm sleeve and forearm drawn for the chibi zombie - step 08

Step 9 – Complete the arm by drawing the hand and the sleeve part below the elbow.

Chibi zombie's right hand and sleeve below the elbow completed - step 09

Step 10 – Draw the torn shirt.

Torn shirt outline for the chibi zombie, showing the ripped edges - step 10

Step 11 – Sketch the other arm’s sleeve and forearm.

Left side arm sleeve and forearm of the chibi zombie drawn in - step 11

Step 12 – Add the hand for the second arm.

Second hand of the chibi zombie added to the drawing - step 12

Step 13 – Draw the t-shirt underneath the shirt, adding its collar and a line to separate it from the shorts. Then draw the shorts with the torn bottom.

Chibi zombie drawing - t-shirt collar and torn shorts drawn below the shirt - step 13

Step 14 – Sketch the legs and feet to complete the lower body of the zombie.

Legs and feet of the chibi zombie, completing the lower body - step 14

Step 15 – Observe the sketch, clean up any unnecessary marks, and fix anything that looks off. Optionally, ink the drawing and erase any pencil marks.

Cleaned-up sketch of the chibi zombie, ready for optional inking - step 15

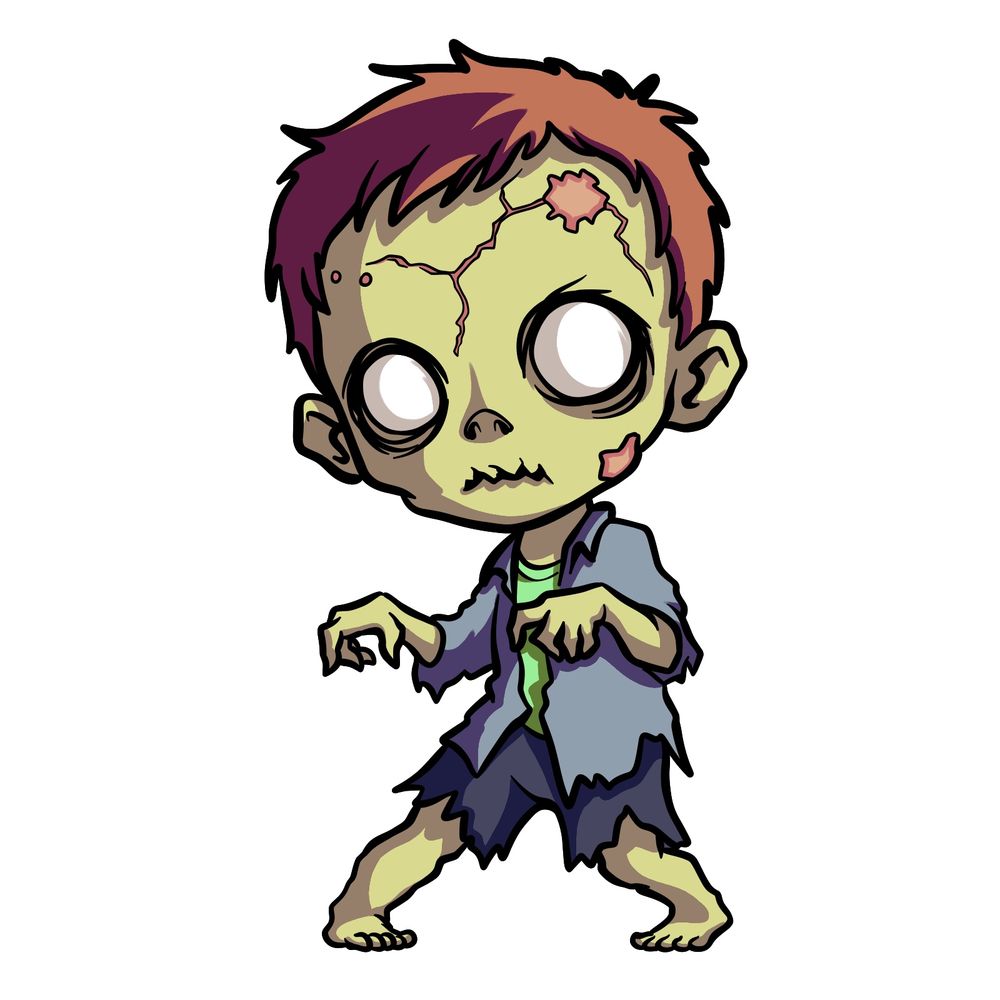
Step 16 – Color the drawing. You can use the provided reference image or choose your own colors for a unique touch.

Final colored version of the chibi zombie, using reference colors or custom choices - final step

Bravo on Completing the Steps!

Ready to unwind? SketchOk's Coloring Pages Collection is a great way to de-stress and add a splash of color to your day. Feel free to explore and experiment!

Once you’ve completed your drawing, take a moment to clean up your lines and remove any guidelines you no longer need. You can also experiment with different colors for your zombie’s skin, clothes, and details. I’ve provided a colored reference, but feel free to add your own creative touch to it.

And that’s it! If you enjoyed this guide and want to see more chibi-style drawing tutorials, let me know in the comments. If there’s enough interest, I’ll make sure to create more fun chibi drawing guides in the future.

If you’d like to support the content I create, you can donate through my Buy me a Coffee page and help me keep producing more free tutorials!
Disclaimer: All original artworks and photos used as references for the creation of these drawing tutorials are the property of their respective owners. If your work has been featured without proper credit, please kindly leave a comment below, and the issue will be promptly addressed. We greatly appreciate your exceptional art. Thank you.

Did you like the tutorial?

You can support the author of this website and also suggest your own ideas for new drawings by making a small donation here:

Leave a Comment

I Noticed You're Using Adblock 😊

Hi there! I pour my heart into creating free drawing guides and tutorials for everyone.

Ads are what help me keep the site running and bring you content without any cost.

Could you please disable Adblock or add sketchok.com to your whitelist? Your support means the world to me and helps to create more content for you!

You can still use the site, but supporting the project by enabling ads helps keep SketchOk alive and thriving.

Thank you for being awesome and supporting SketchOk!

×
61