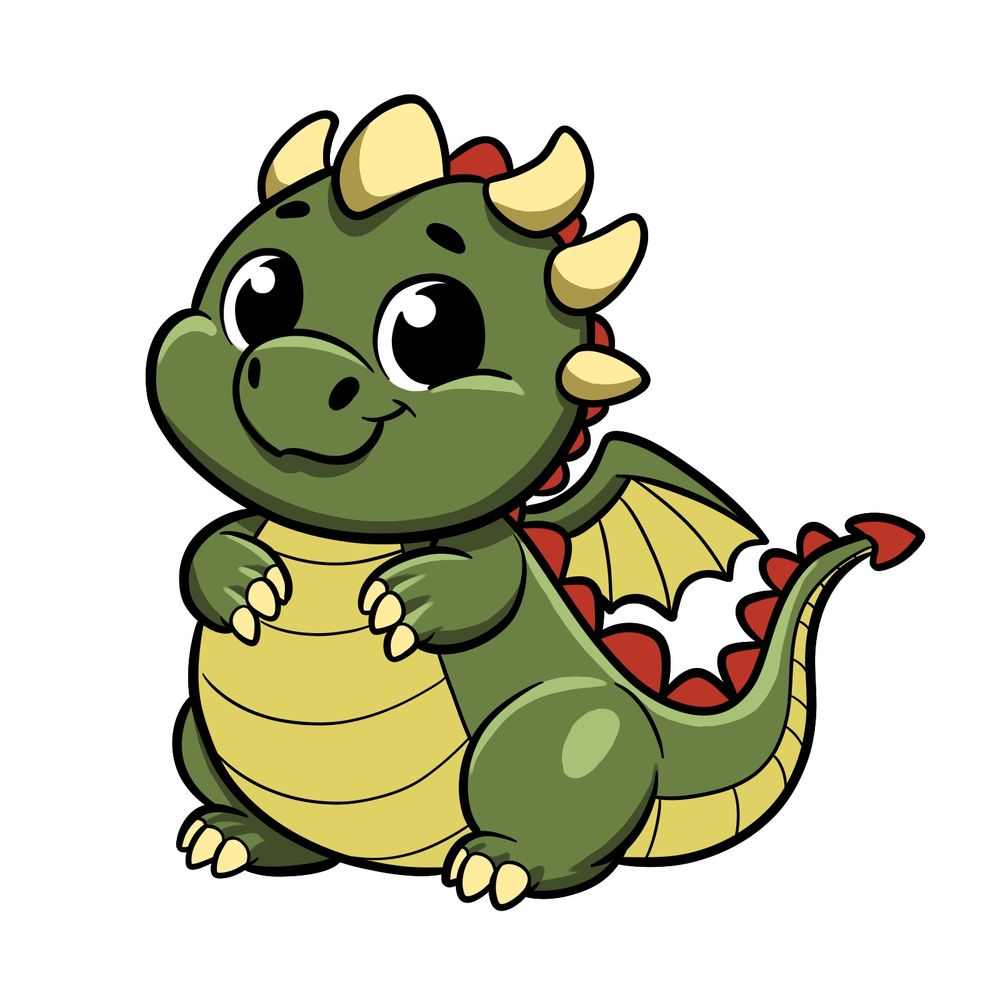
Drawing a baby dragon is a fun way to use your imagination and create something magical. With their big eyes and tiny wings, baby dragons look cute and friendly. In this guide, I’ll show you how to draw your own baby dragon, step by step.
What Makes a Baby Dragon Special?
- Big, Round Eyes: Baby dragons have large, round eyes that give them a cute and curious expression.
- Tiny Wings: Their small wings are adorable and often too small to fly.
- Chubby Body: A round, plump body makes the baby dragon look soft and huggable.
- Short Tail: A little, curled tail gives the baby dragon a playful look.
- Small Claws and Feet: Their tiny claws and feet are not sharp, making them look harmless and sweet.
After you finish drawing your baby dragon, you can try drawing other fun creatures like a unicorn, a cute monster, or a friendly dinosaur. Each one has its own special features that make them interesting to draw.
About This Drawing Guide
This guide is made to be simple and enjoyable for kids. We’ll start with basic shapes and slowly add more details to bring your baby dragon to life. You don’t need any fancy tools — just a pencil, some paper, and your creativity! Here’s how we’ll go through the steps:
- Red: These lines are what you should draw in the current step.
- Black: These are the lines you’ve already drawn in the previous steps.
- Grey: These lines help you keep everything in the right place, like guidelines.
By following these steps, you’ll create your own baby dragon drawing, which you can keep as a sketch or color in to make it even more magical!
Begin by drawing a simple circle for the baby dragon’s head. This will be the base for the entire drawing.

Outline 3/4 of the head based on the circle, leaving the upper right quarter open. Add a slightly extended cheek from the base circle.

Draw the middle horn on top of the baby dragon’s head, centered just above the forehead.

Add three horns on the side of the head that is closer to us and one visible horn on the other side of the head.

Draw the shape of the baby dragon’s muzzle and a short curved line for the left cheek.

Outline the eyes and add a gentle smile for the mouth to give the baby dragon a friendly expression.

Draw the eyes and fill them with black (or any color you like), leaving small blank spaces for highlights. Add small ovals for the eyebrows and smaller ovals for the nostrils.

Sketch the front legs, extending downwards but stopping before the claws, which will be added in the next step.

Draw three claws on each of the front legs, making them appear small and harmless.

Draw a long curved line below the front leg to form the belly, continuing to where the rear leg closer to us starts. Add a short curved line, almost a half circle, to start the first rear leg.

Sketch the rear legs, extending them downward but stopping before the claws, as we did to the front legs.

Draw claws on the rear legs, making sure they match the claws on the front legs in style and size.

Draw a line for the back going from the head down the side, and another one from the rear leg, creating the shape of the body and narrowing it into the tail. Finish with an arrowhead-like shape on the tail’s tip.

Draw the ridge along the baby dragon’s back, starting from the back of the head and continuing down to the tip of the tail. These are the small, triangular shapes that give the dragon its spiky look.

For this step, sketch the upper part of the baby dragon’s wing.

Complete the wing by sketching the bottom and inner parts, connecting them smoothly to the upper part of the wing.
Note: When describing the steps, I found that there’s a mistake in the drawing. The visible wing of the dragon is behind the ridge, but have to be closer to us. To fix that, you should simply erase the overlapping sections of the ridge.

Draw the lines inside the wing to define the structure. Also, enhance the lower body from the head to the tail by adding a separate section with horizontal lines across it, giving the belly texture.

Once your baby dragon is fully drawn, take a look at your work. If everything looks good, gently erase any leftover guidelines.

Now, you can grab your crayons or colored pencils to add some bright colors to your dragon. In the example I created, the colors are more traditional for the dragons, but you can make it bright green, purple, or any color you like!

Great job on drawing your baby dragon! Now that you’ve completed your drawing, it’s time to show it off. If you haven’t already, add some colors to make your dragon even more vibrant and fun. Once you’re happy with your masterpiece, don’t forget to share it with your friends or hang it up where everyone can see.
If you enjoyed this drawing guide, I have plenty more tutorials for you to explore. Follow me on social media to stay updated with new guides, tips, and creative ideas. If you want to support my work and help me create more fun content, consider buying me a coffee. Your support is greatly appreciated and helps me keep making tutorials like this one!
If you’d like to support my work, you can do so by buying me a coffee. Thank you for your support, and happy drawing!