Whether you’re preparing for Halloween or just want to learn something fun, knowing how to draw a web can be a fantastic addition to your drawing skills. This tutorial will guide you through each step, ensuring you create a spooky web silhouette perfect for the season.
Drawing the Web: Key Details
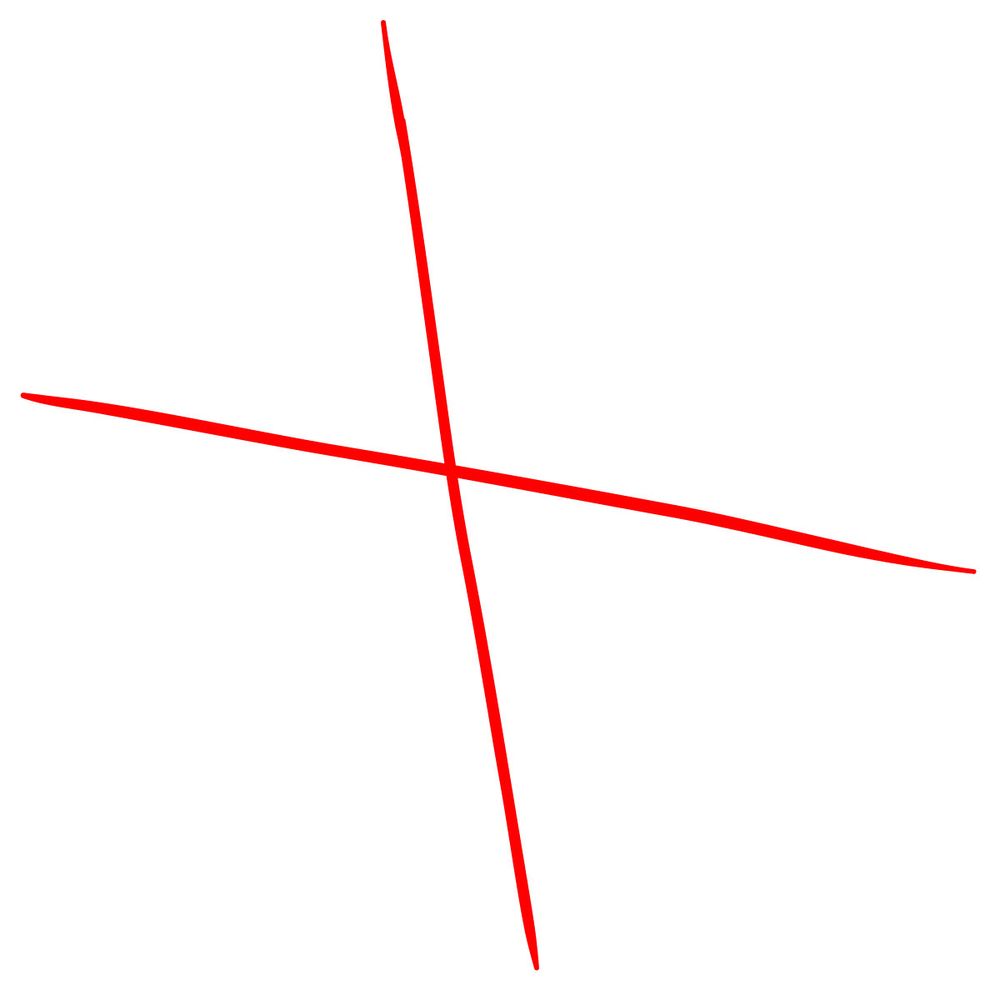
- Central Point: The starting point of your web which branches out in every direction.
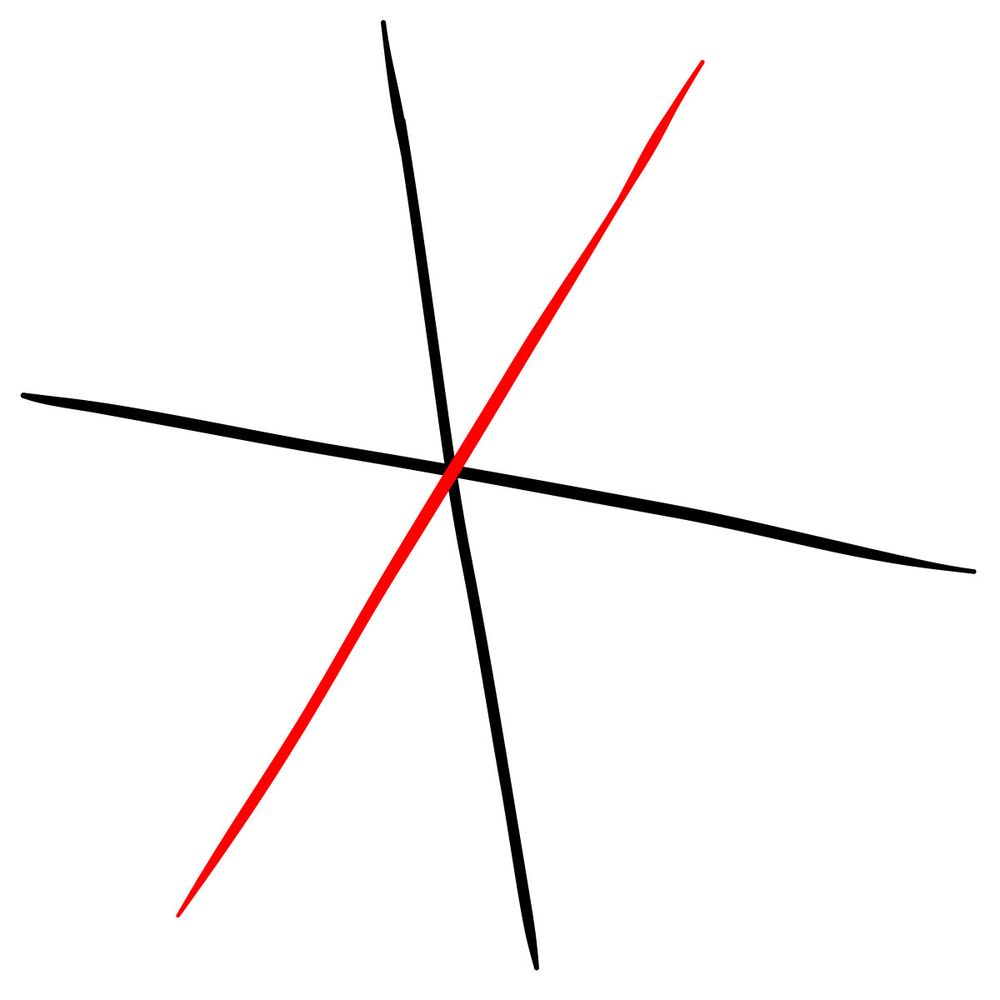
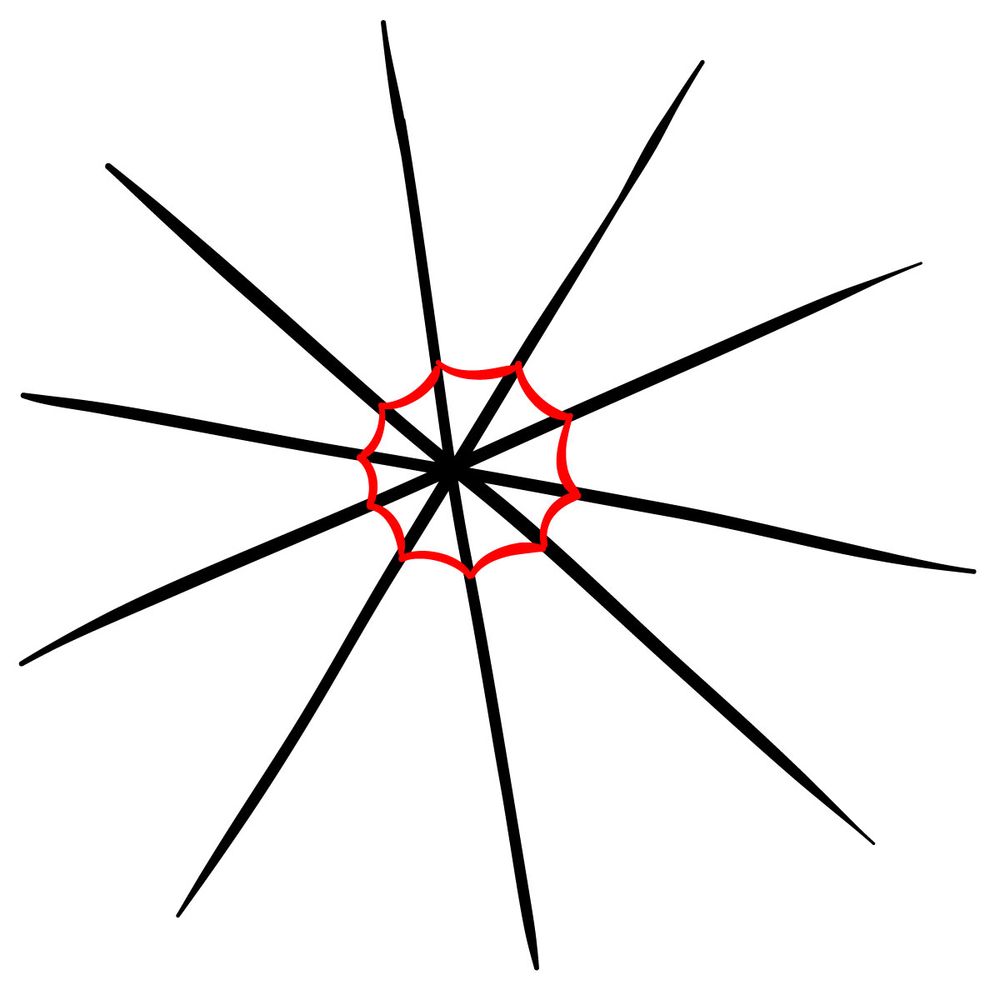
- Web Lines: The foundational lines stretching out from the center.
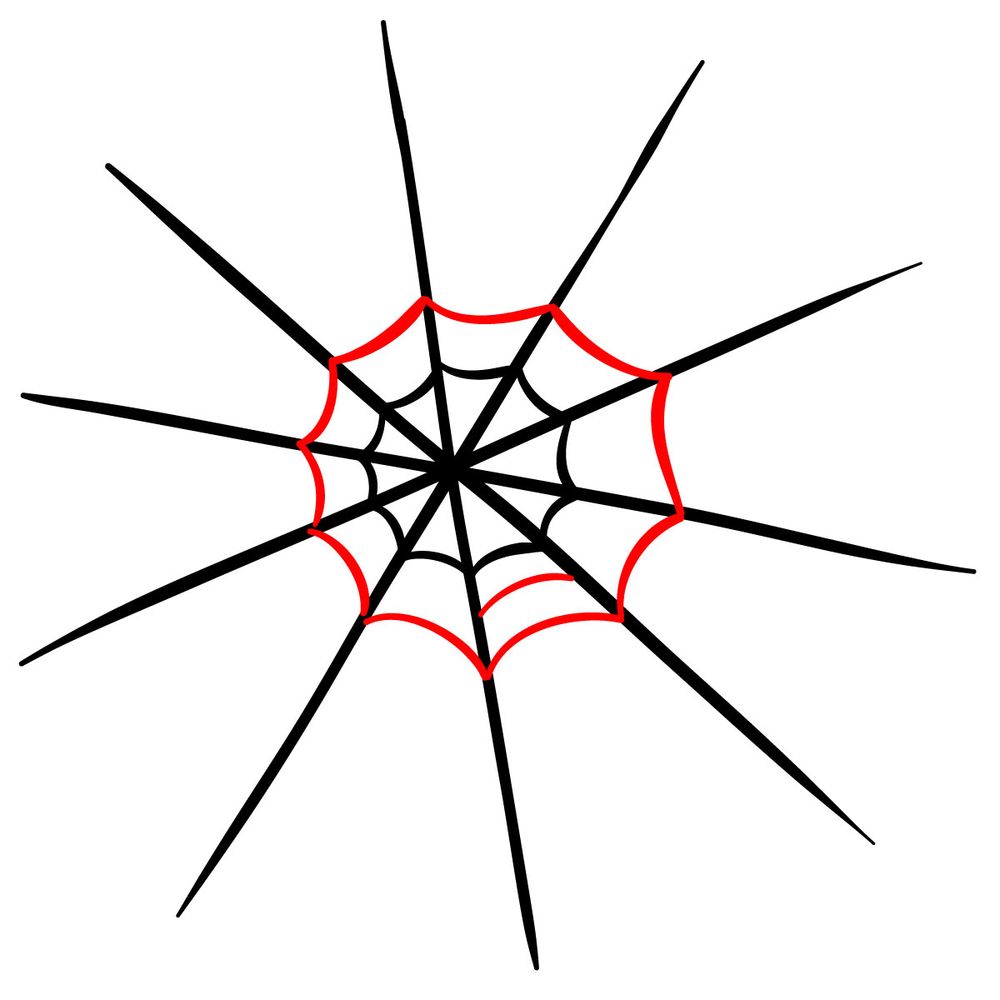
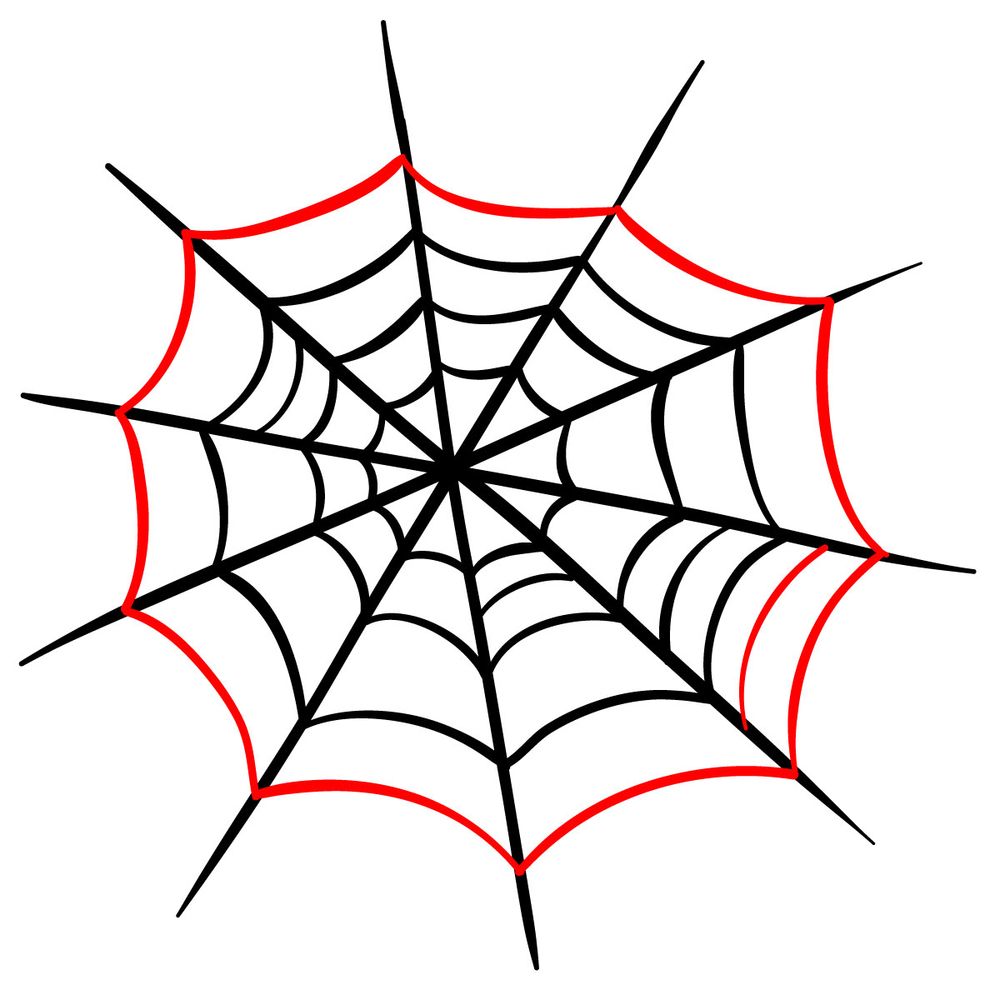
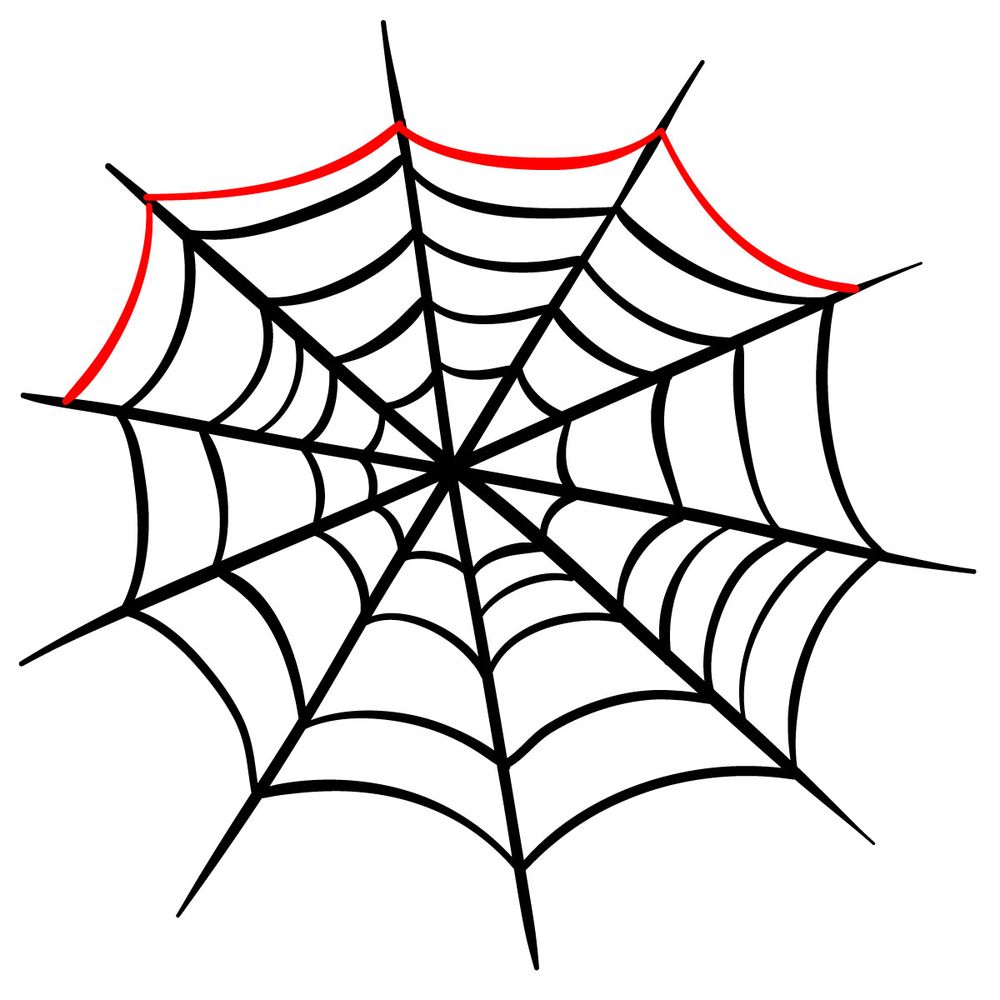
- Interconnecting Strands: The smaller lines that form the characteristic pattern of a web.
About This Drawing Guide
Drawing is all about progression. This tutorial is divided into 9 comprehensive steps. We use a unique color coding system to make your learning experience seamless:
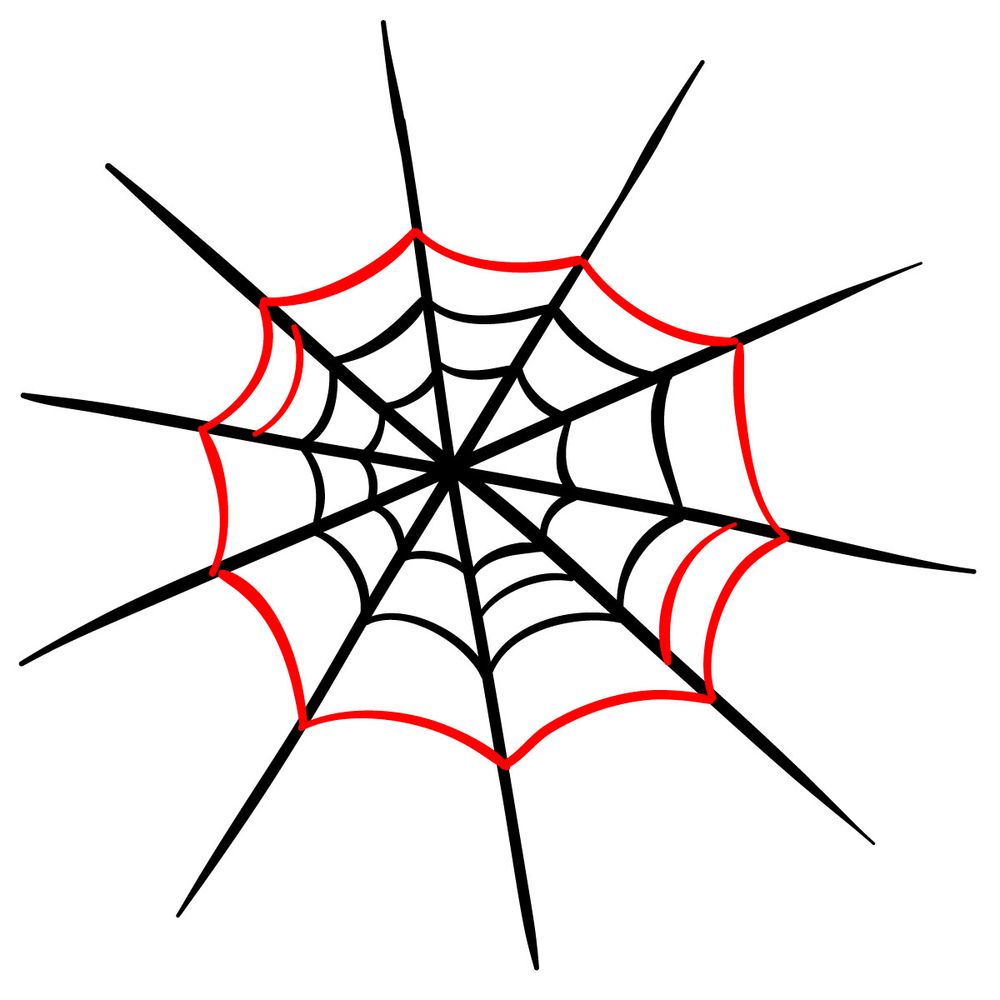
- Red Color: Highlights the current drawing step you should focus on.
- Black Color: Represents the lines you’ve already sketched.
By the end of this tutorial, you’ll have the option to ink your sketch. When inking, remember to let the ink dry completely to prevent smudging, and then you can gently erase the underlying pencil sketch for a clean finish.


Now that you know how to draw a web, give it some personality with a spider hanging from one of the threads or a few dewdrops catching the light. If you want more guides like this one delivered to your inbox, the signup form at the top of the page will get you a weekly digest of new tutorials.