Home » Game Characters » Mega Man » How to draw Glide.EXE from Mega Man Battle Network

How to draw Glide.EXE from Mega Man Battle Network

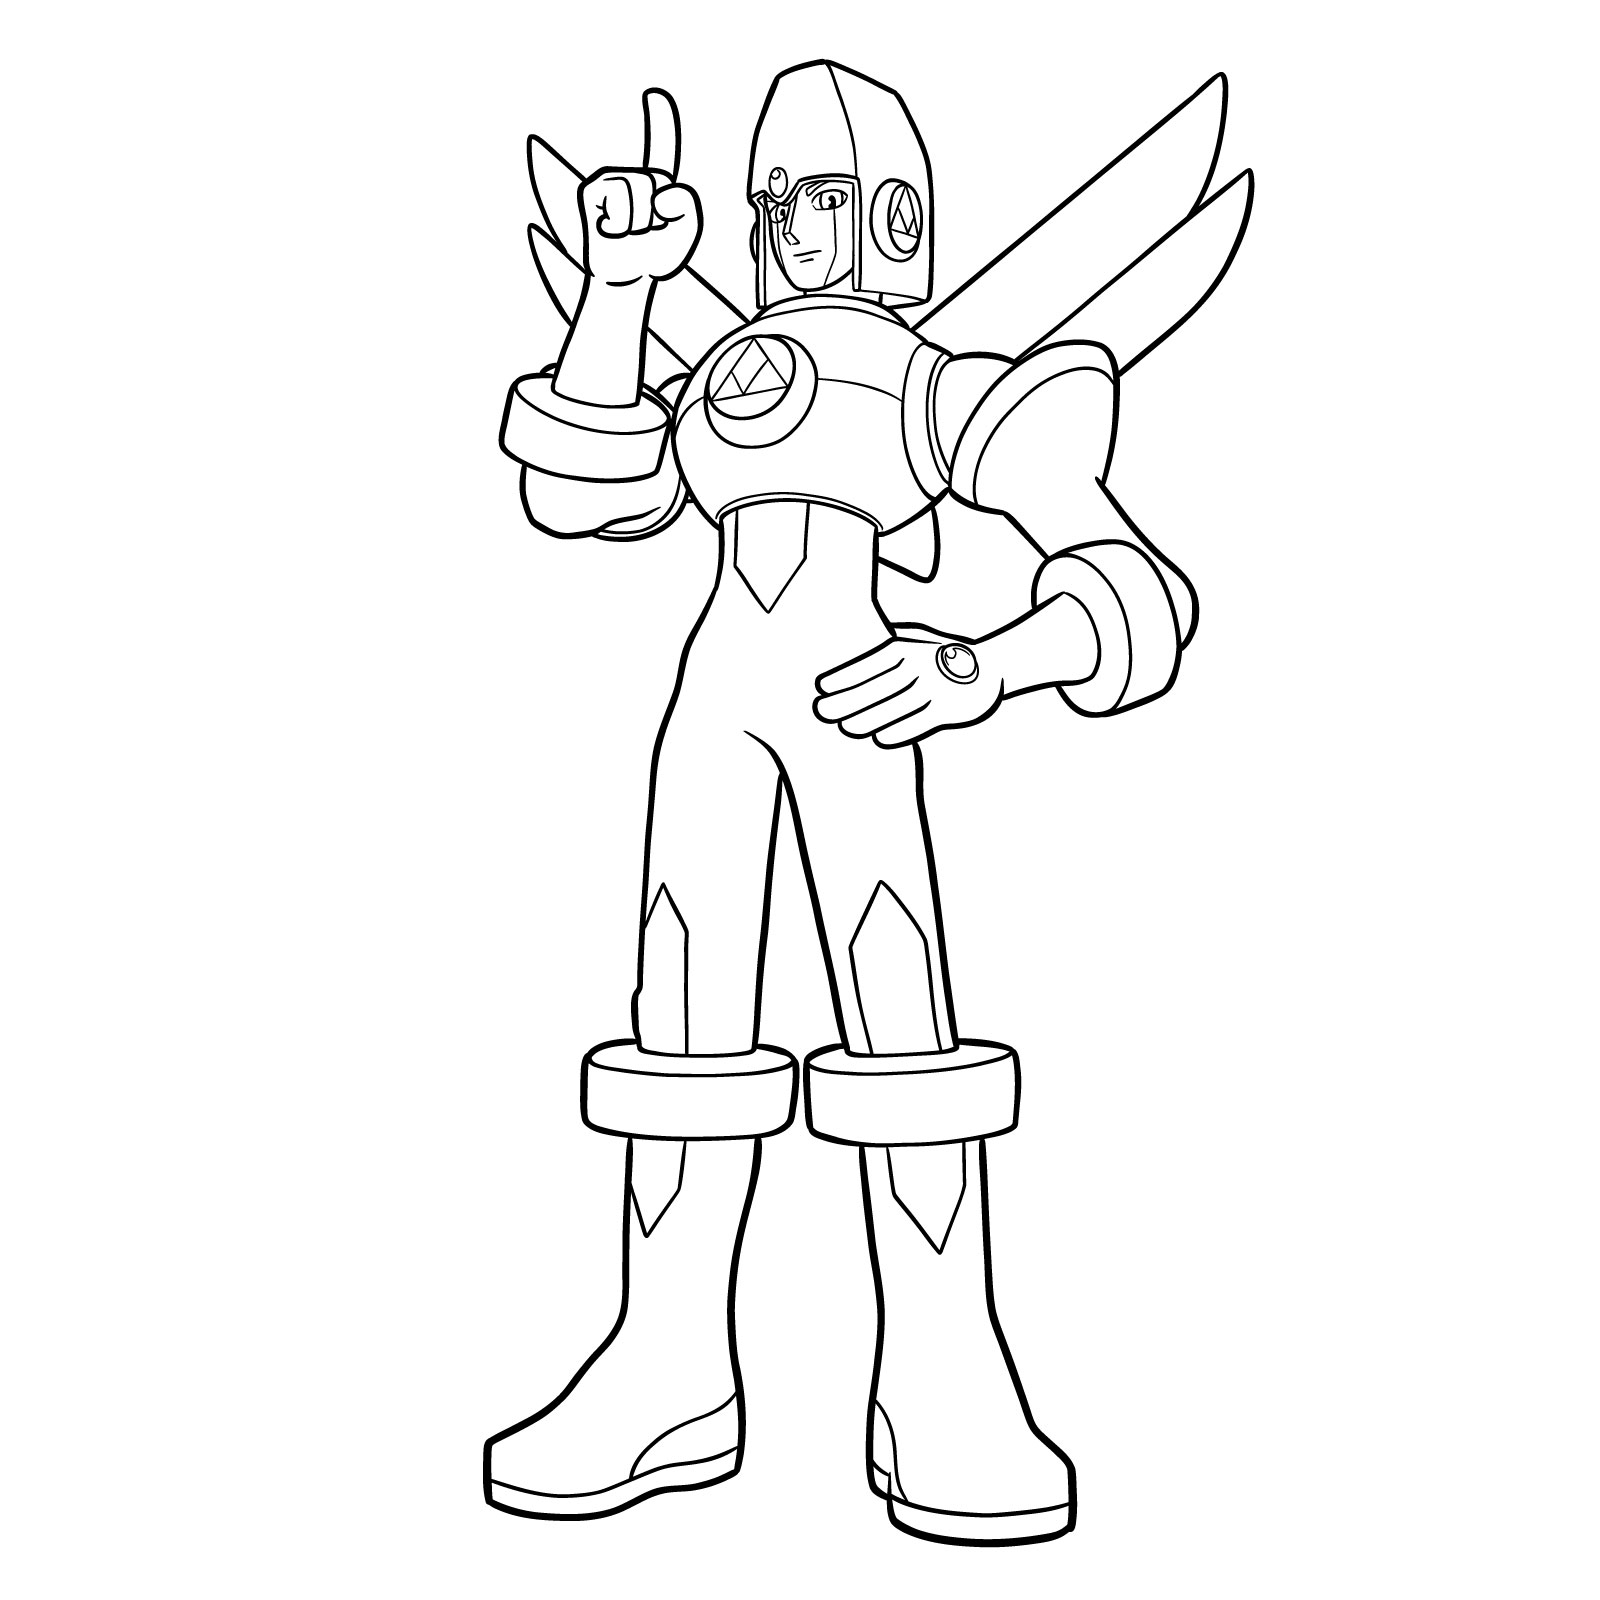
Welcome to this comprehensive tutorial where we dive into the process of learning how to draw Glide.EXE, the elegant NetNavi of Yai Ayanokoji from the Mega Man Battle Network series. Whether you’re a seasoned artist or picking up a pencil for the first time, this guide is designed to assist you in capturing Glide’s unique aesthetic.

Glide.EXE’s Visual Characteristics

  • Sleek black body with contrasting white torso and leg accents
  • Distinctive brown helmet and matching armor pieces
  • Refined posture reflecting his butler-like role

Sketching Tips: Focus on Glide’s proportions to maintain his humanoid figure. Begin with light pencil strokes to outline his form, gradually refining the details as you progress. To add story to your illustration, consider sketching MegaMan.EXE next to this NetNavi.

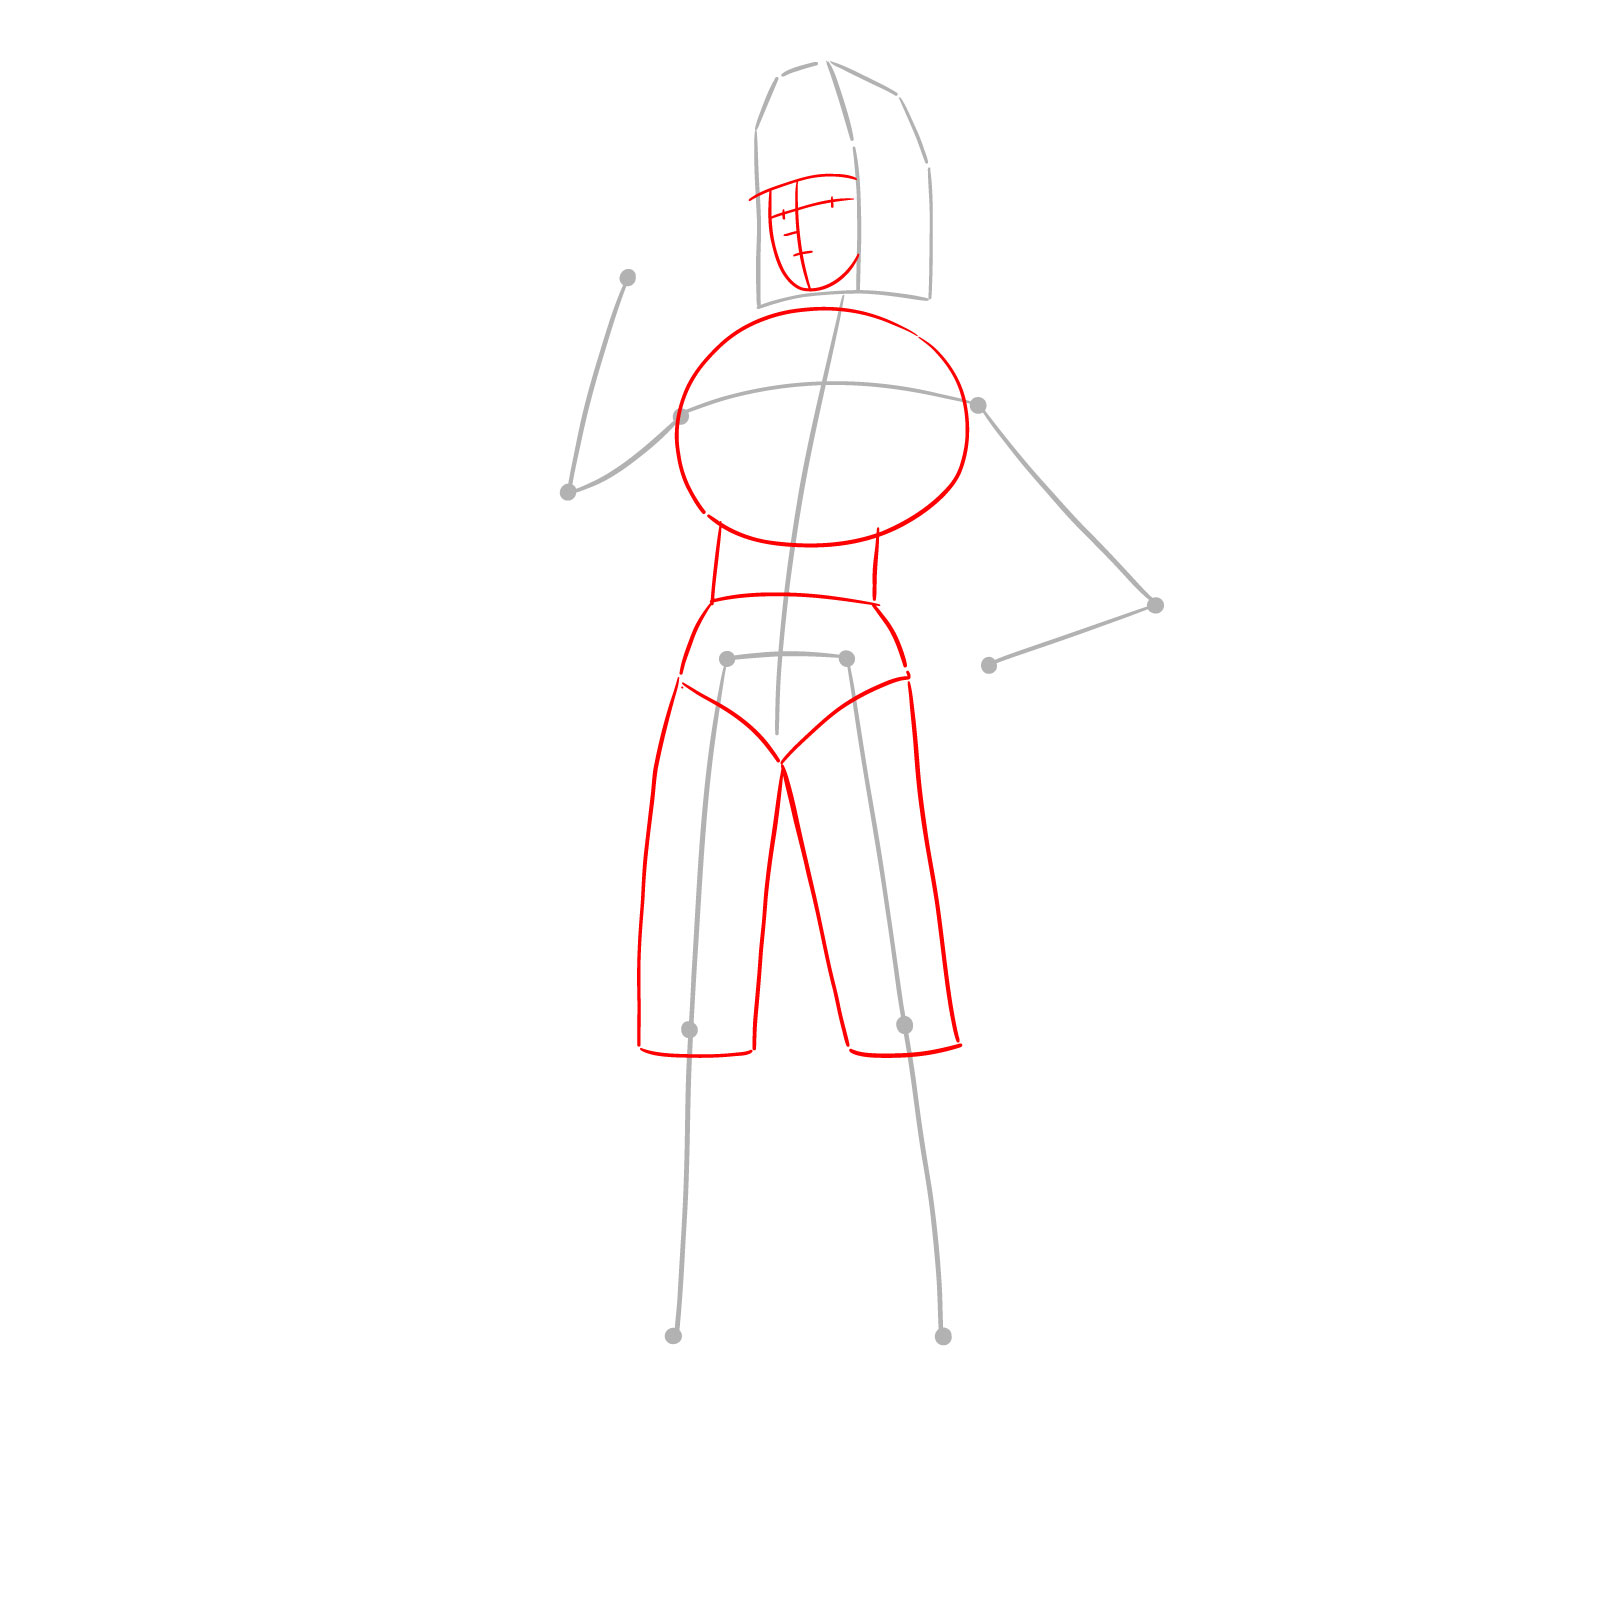
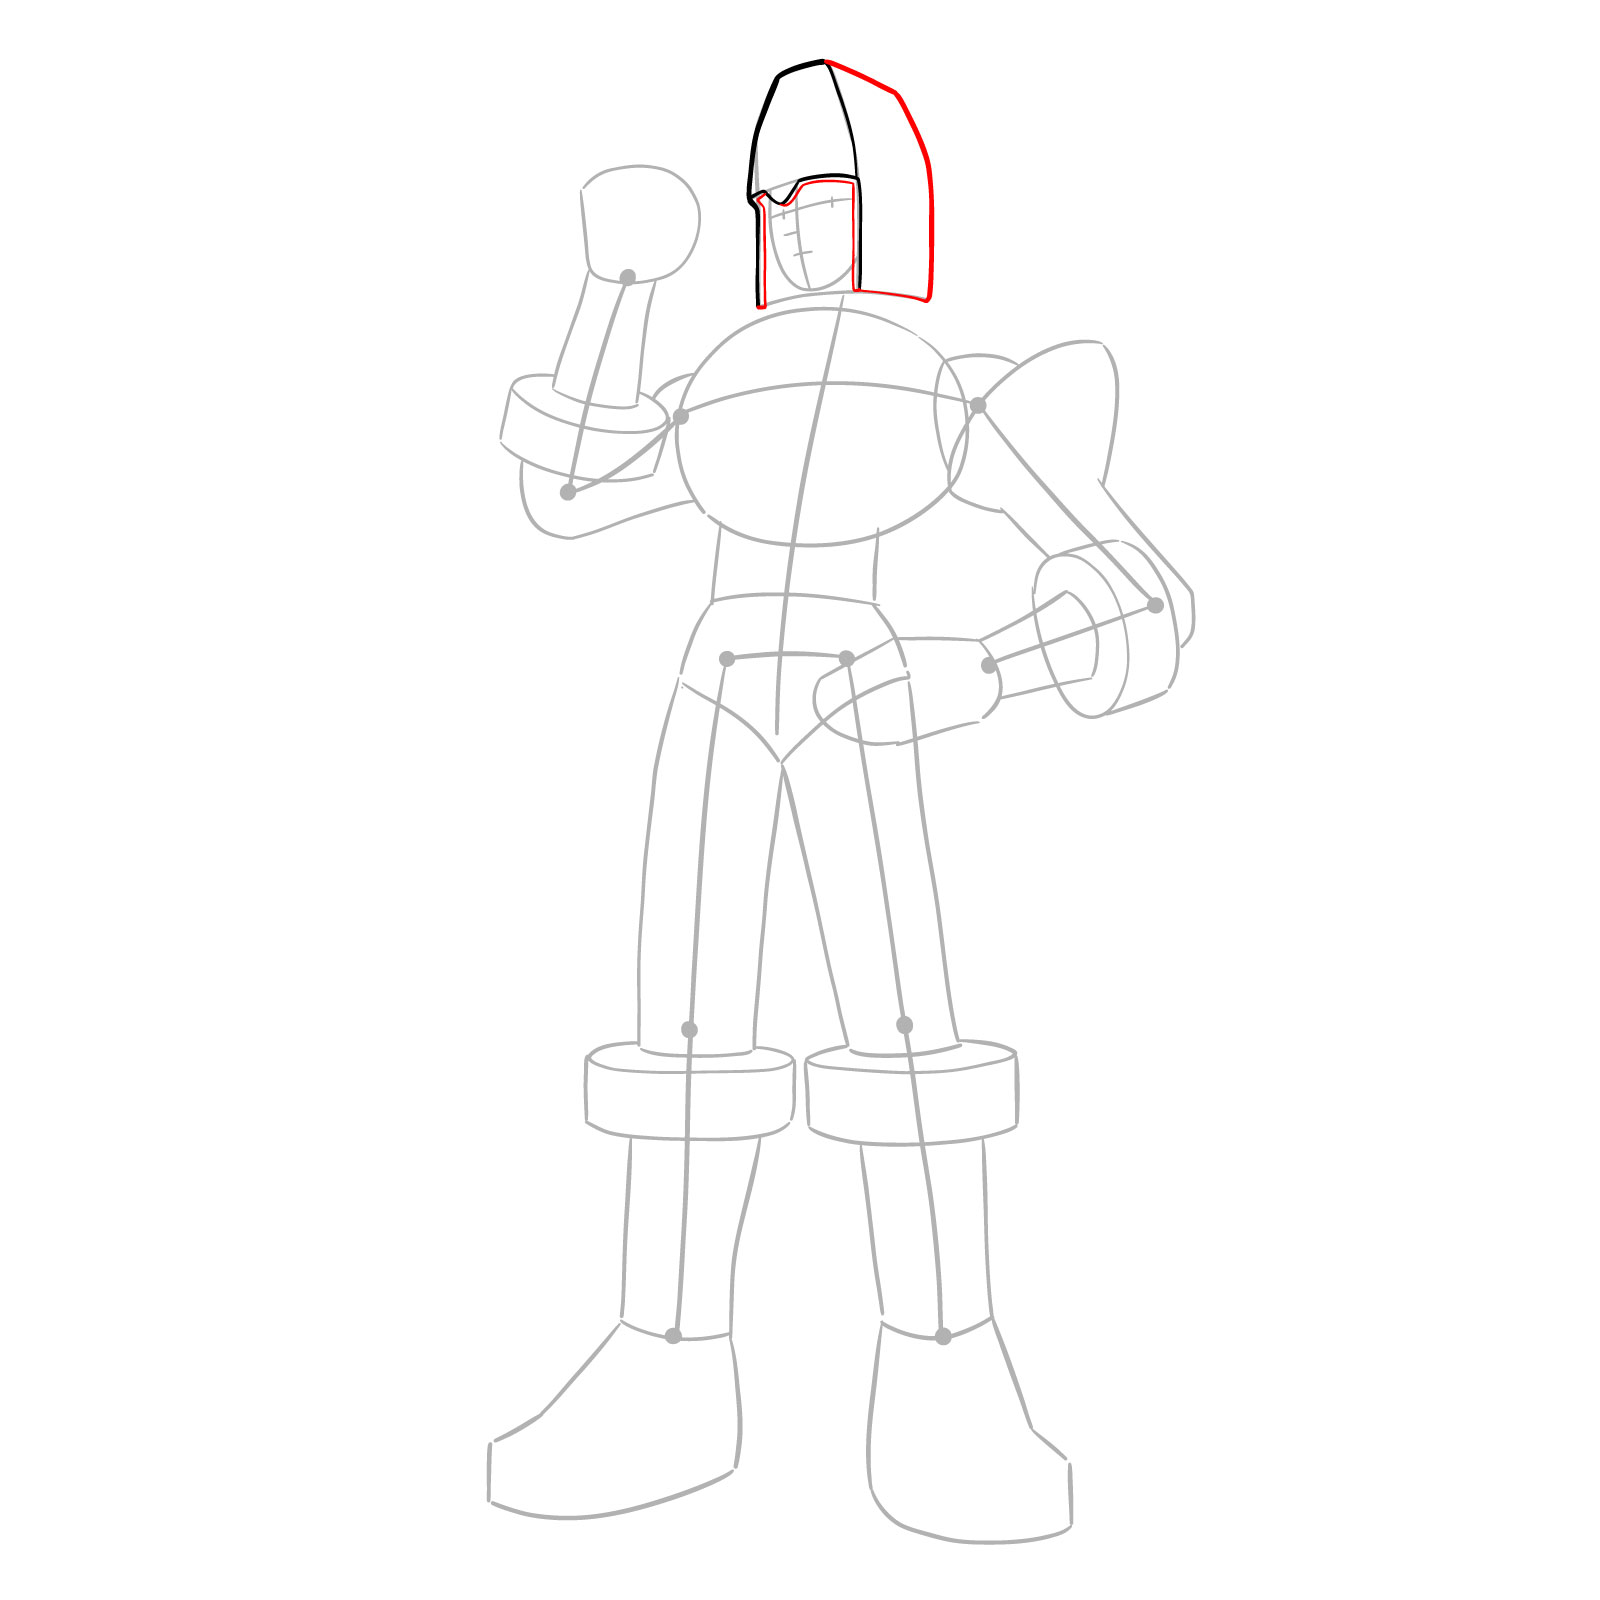
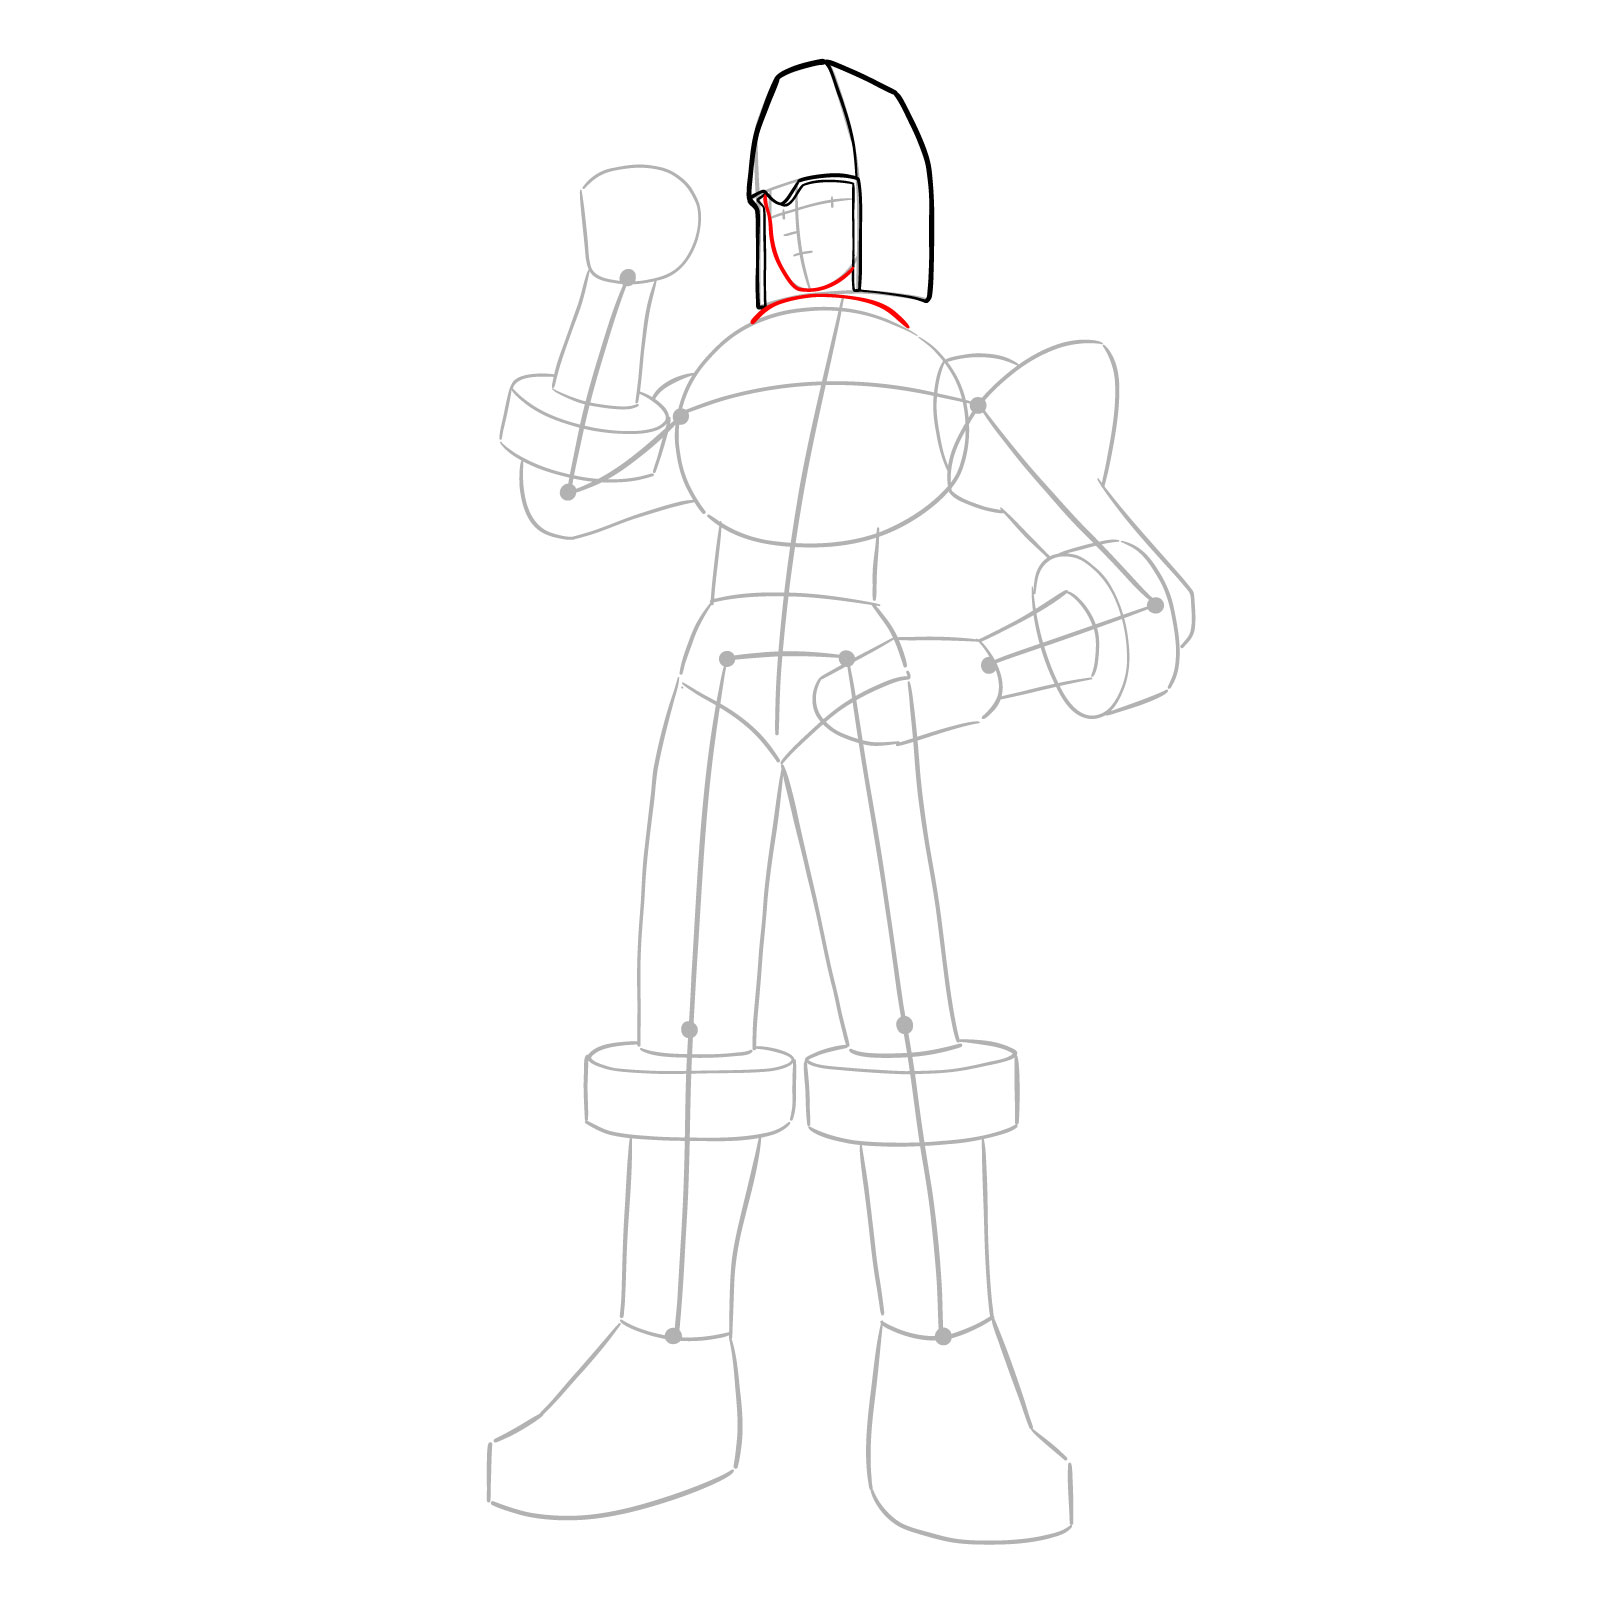
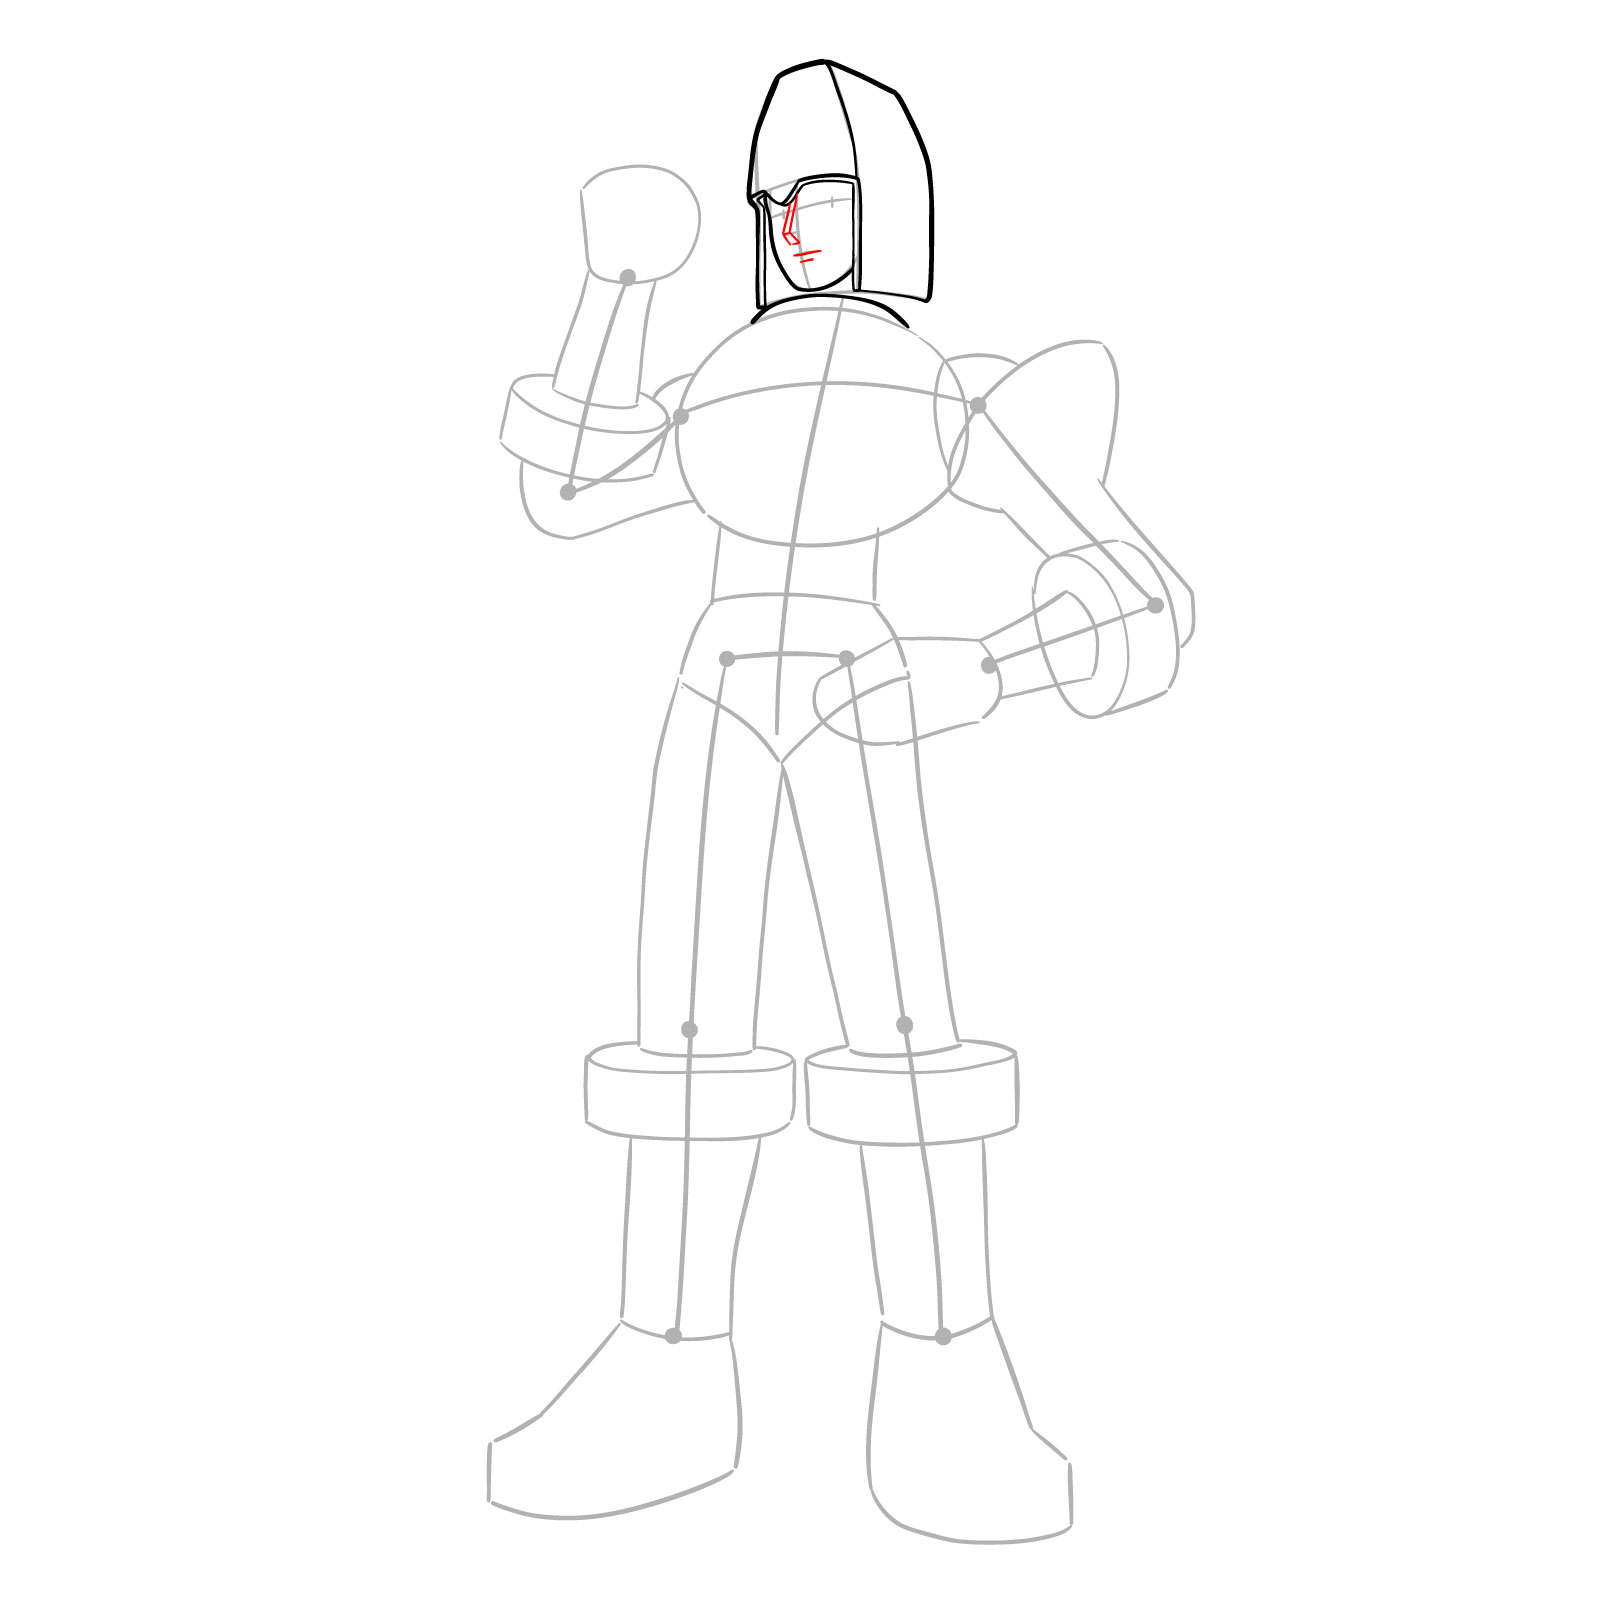
Understanding the Drawing Guide

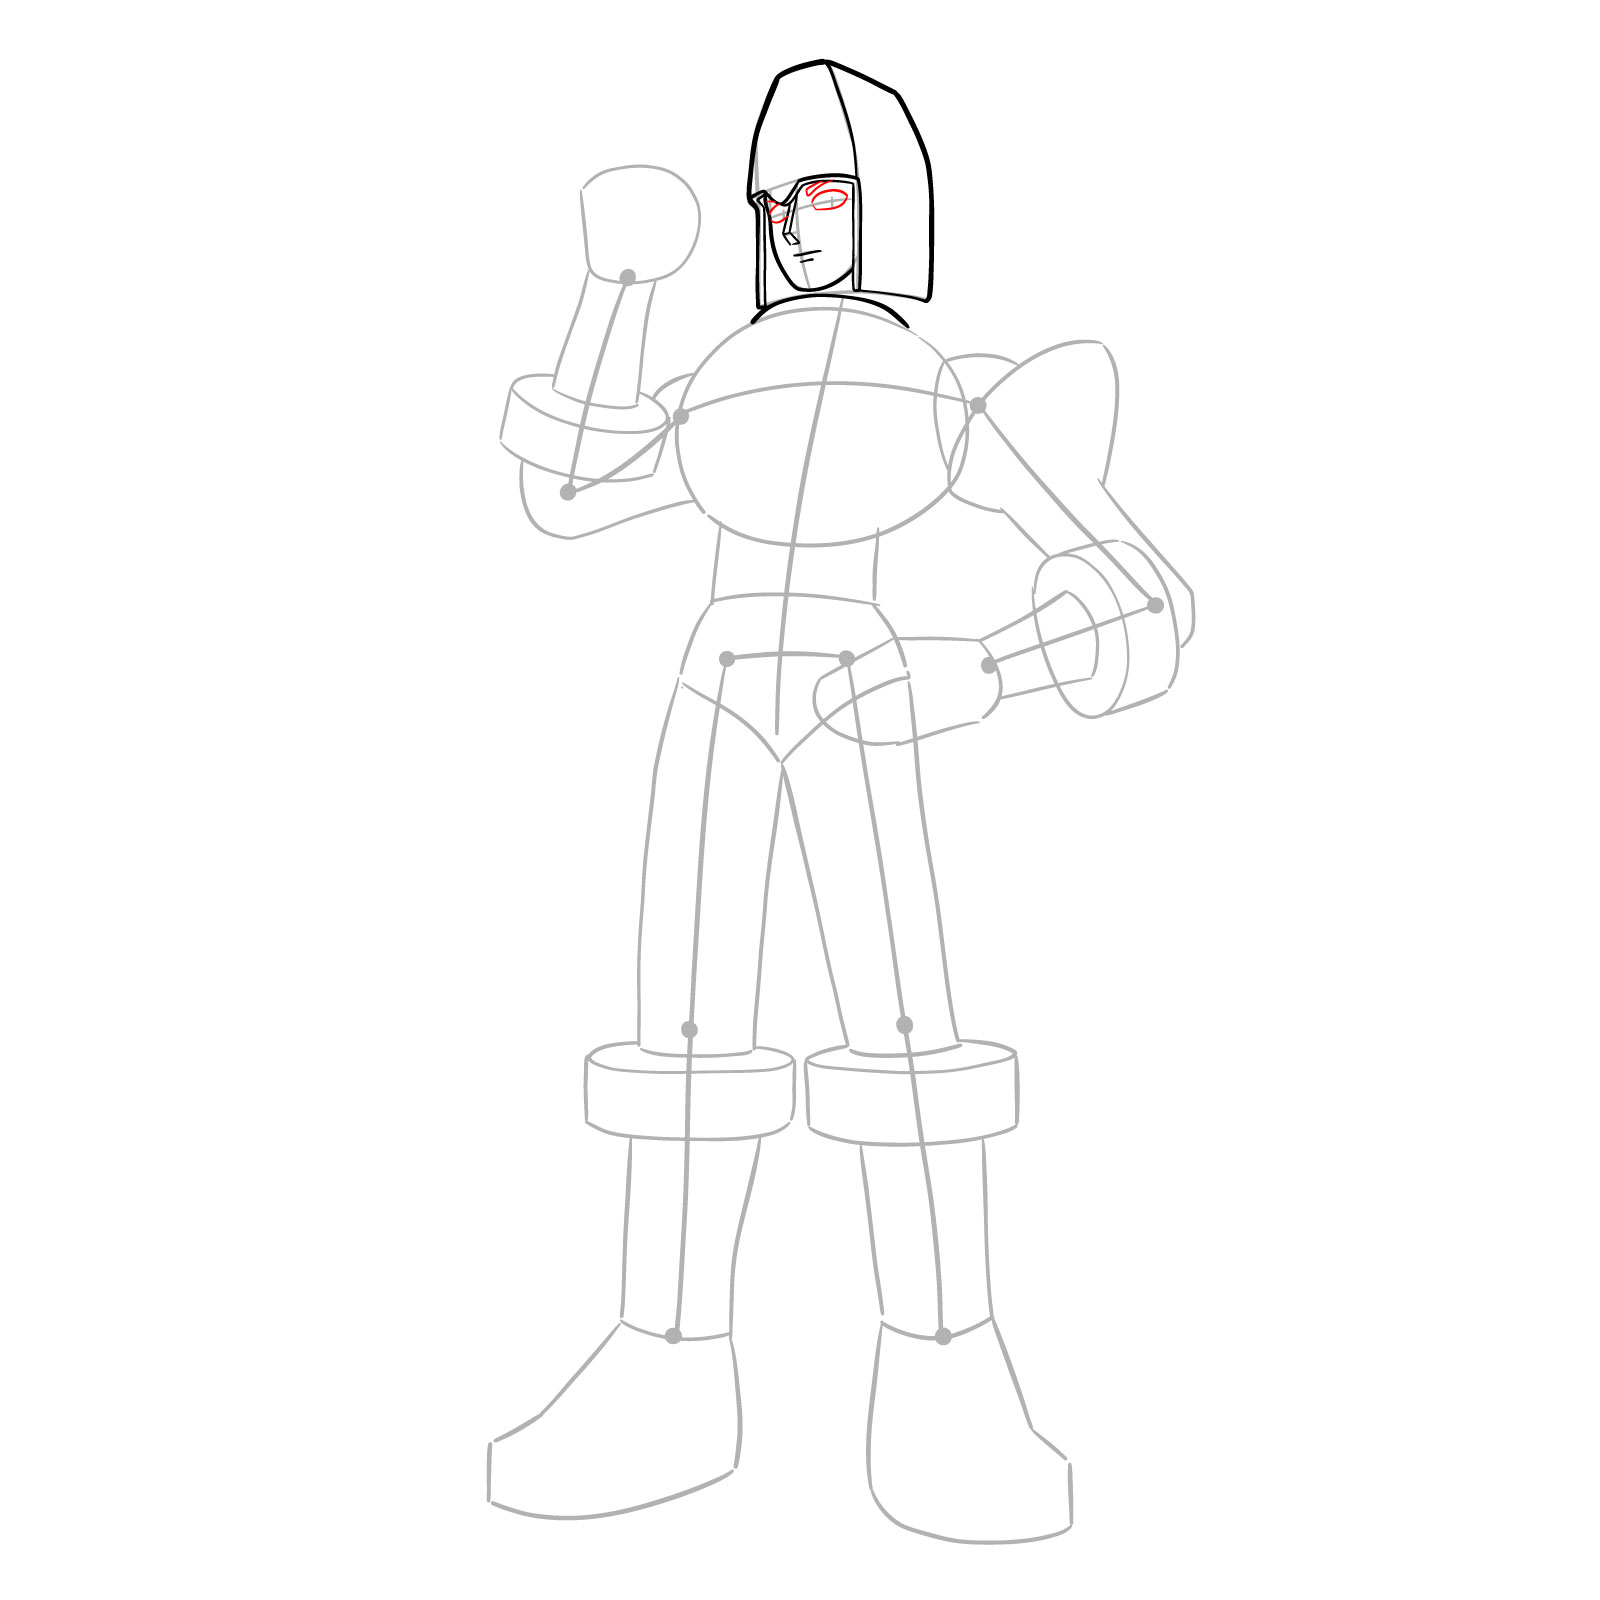
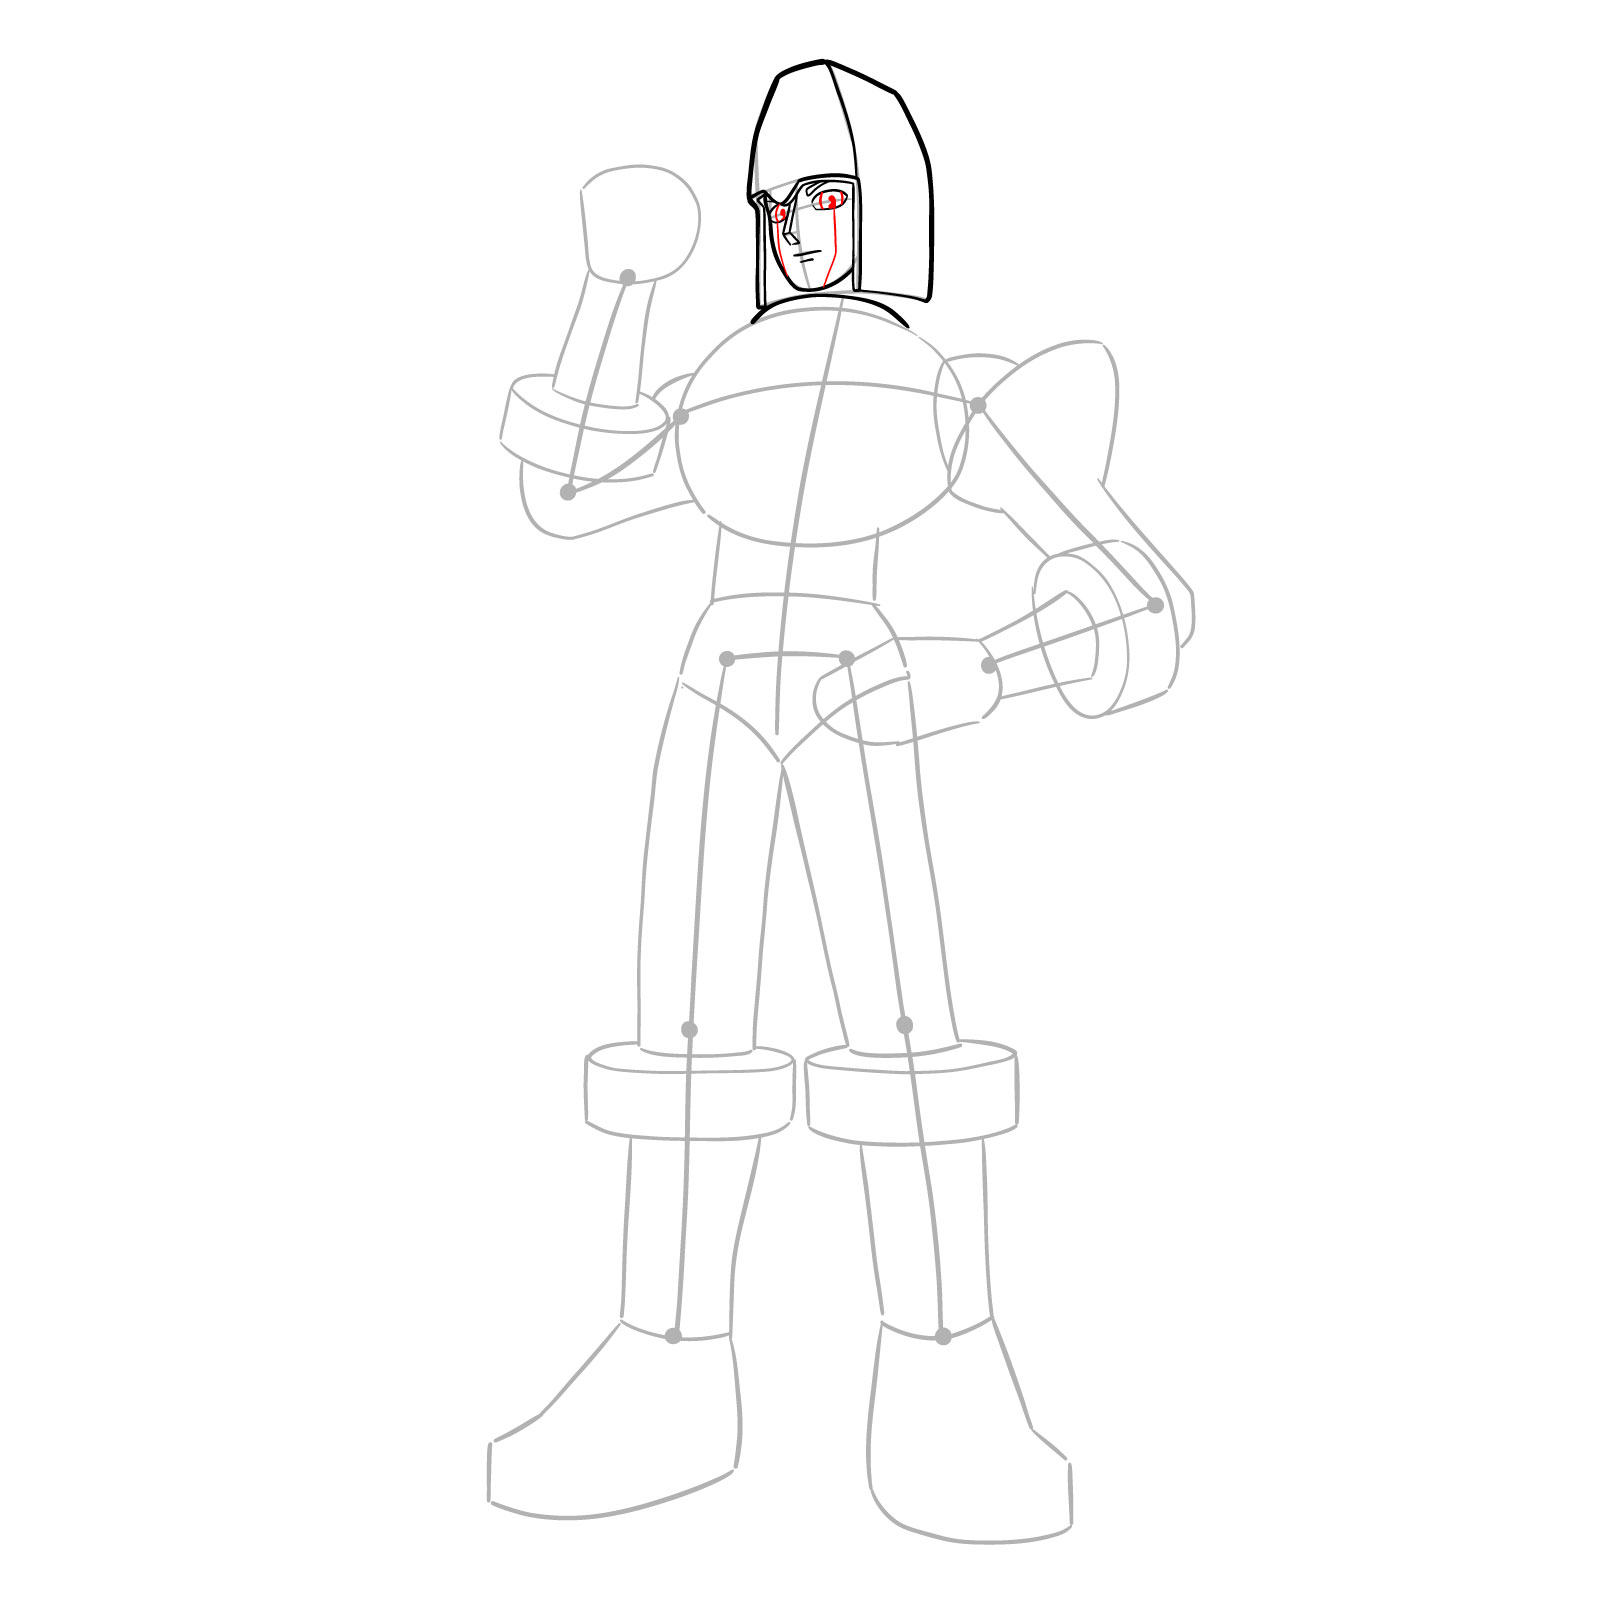
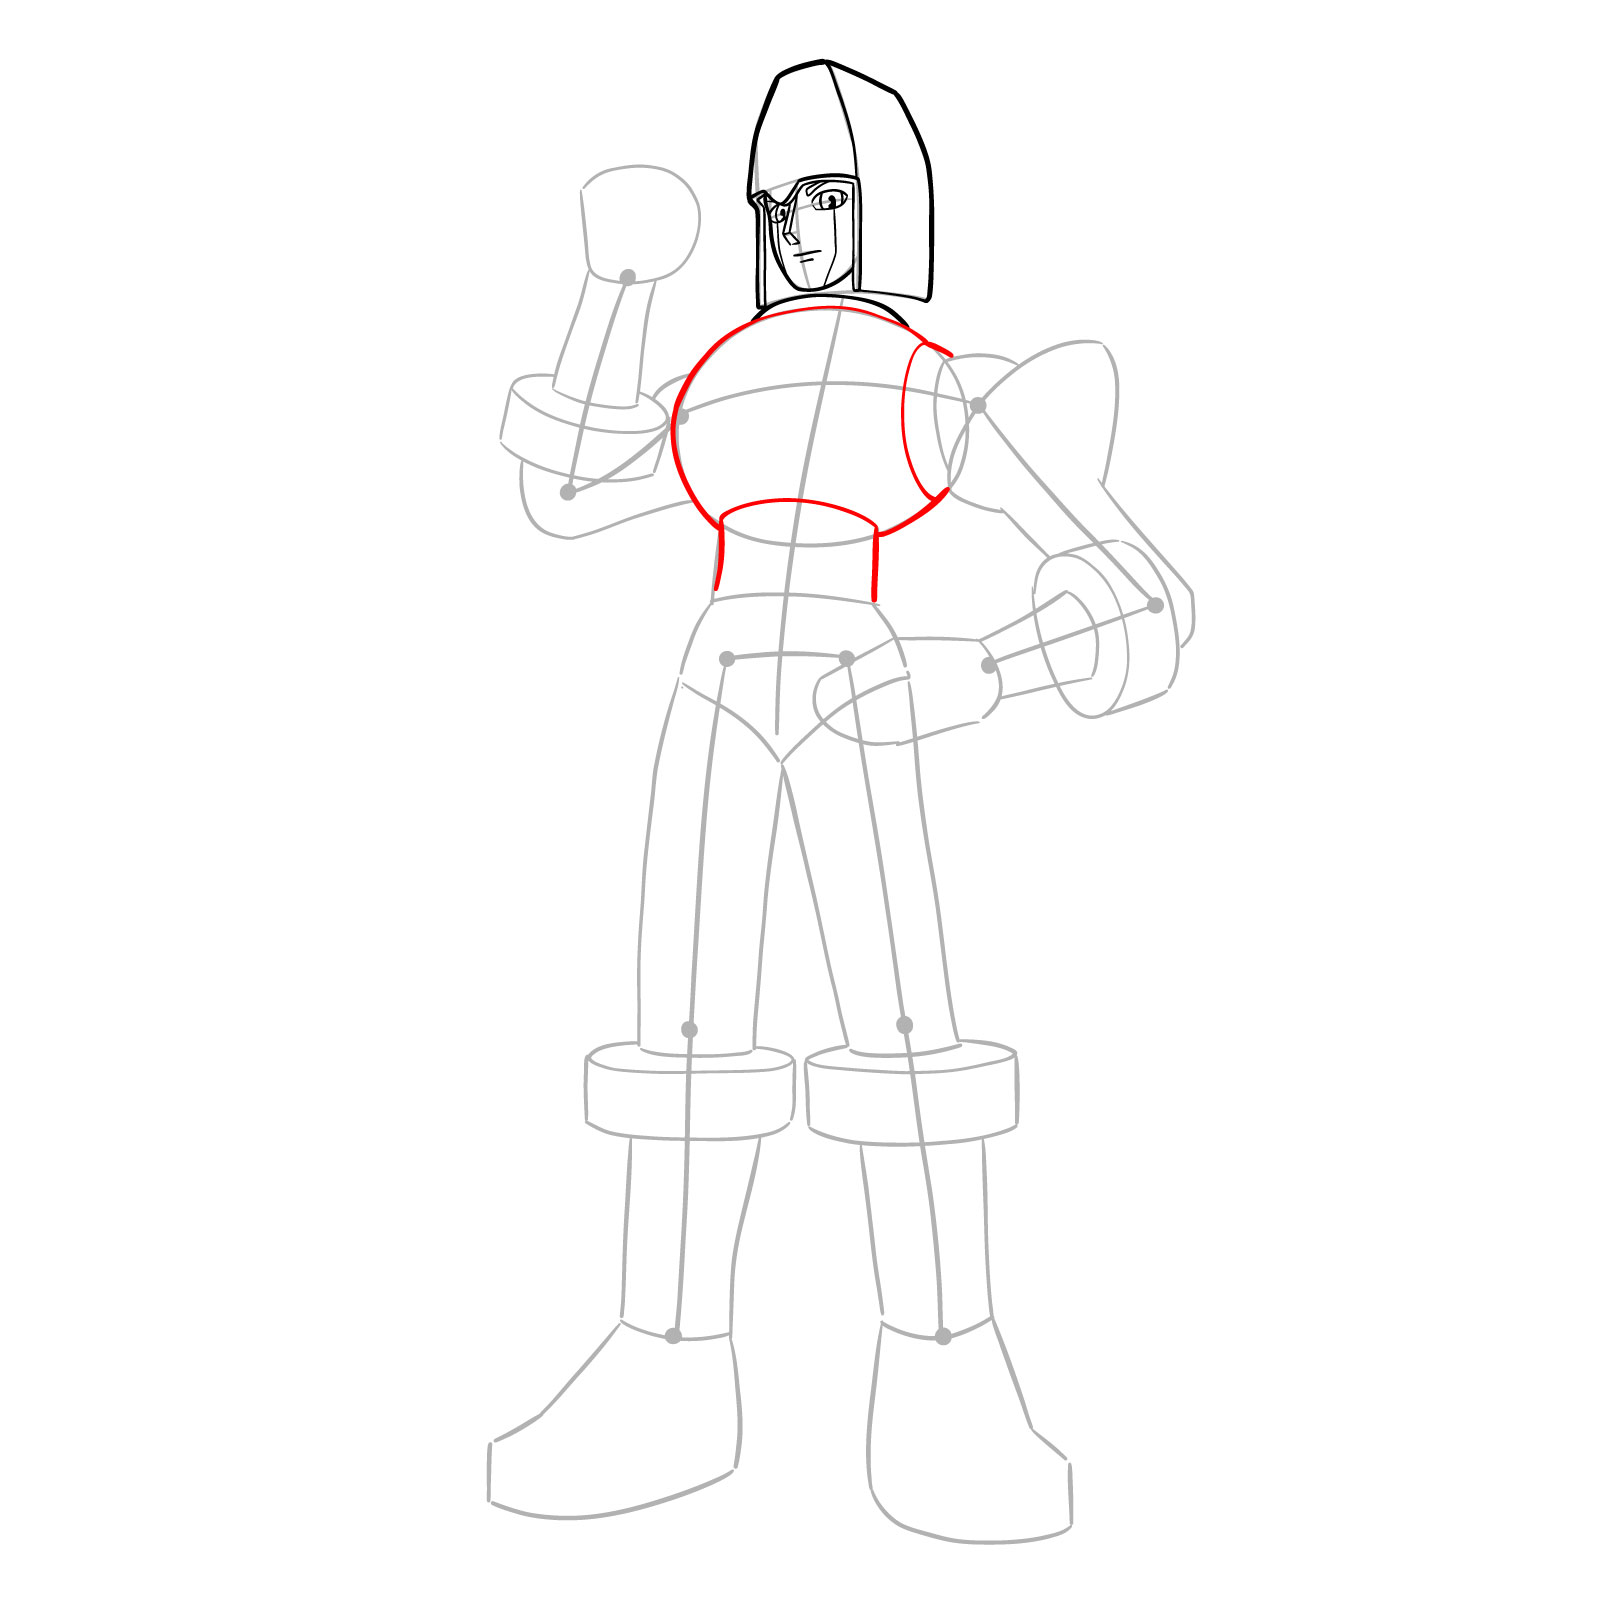
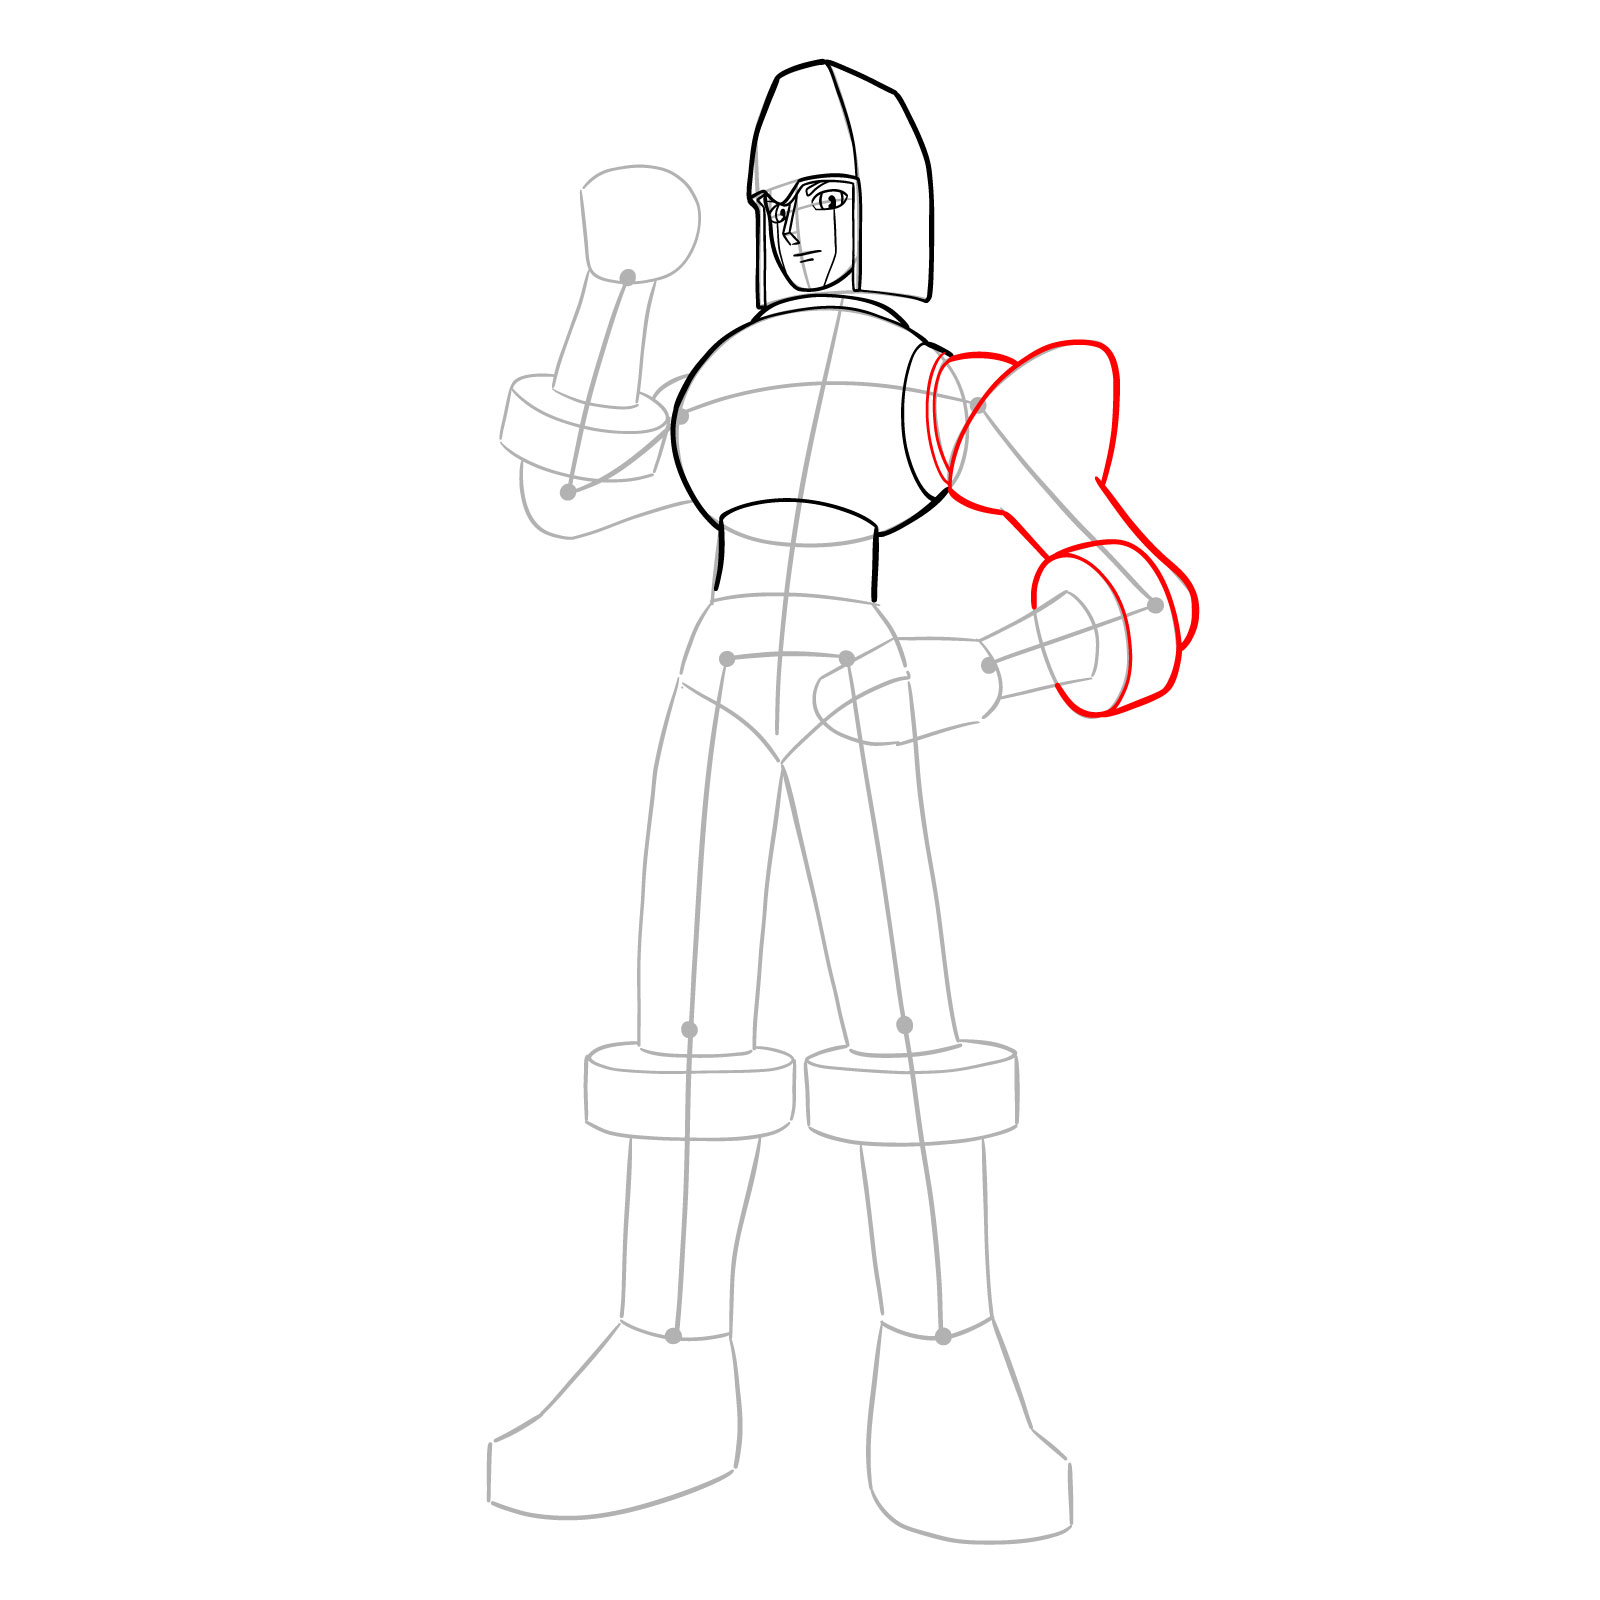
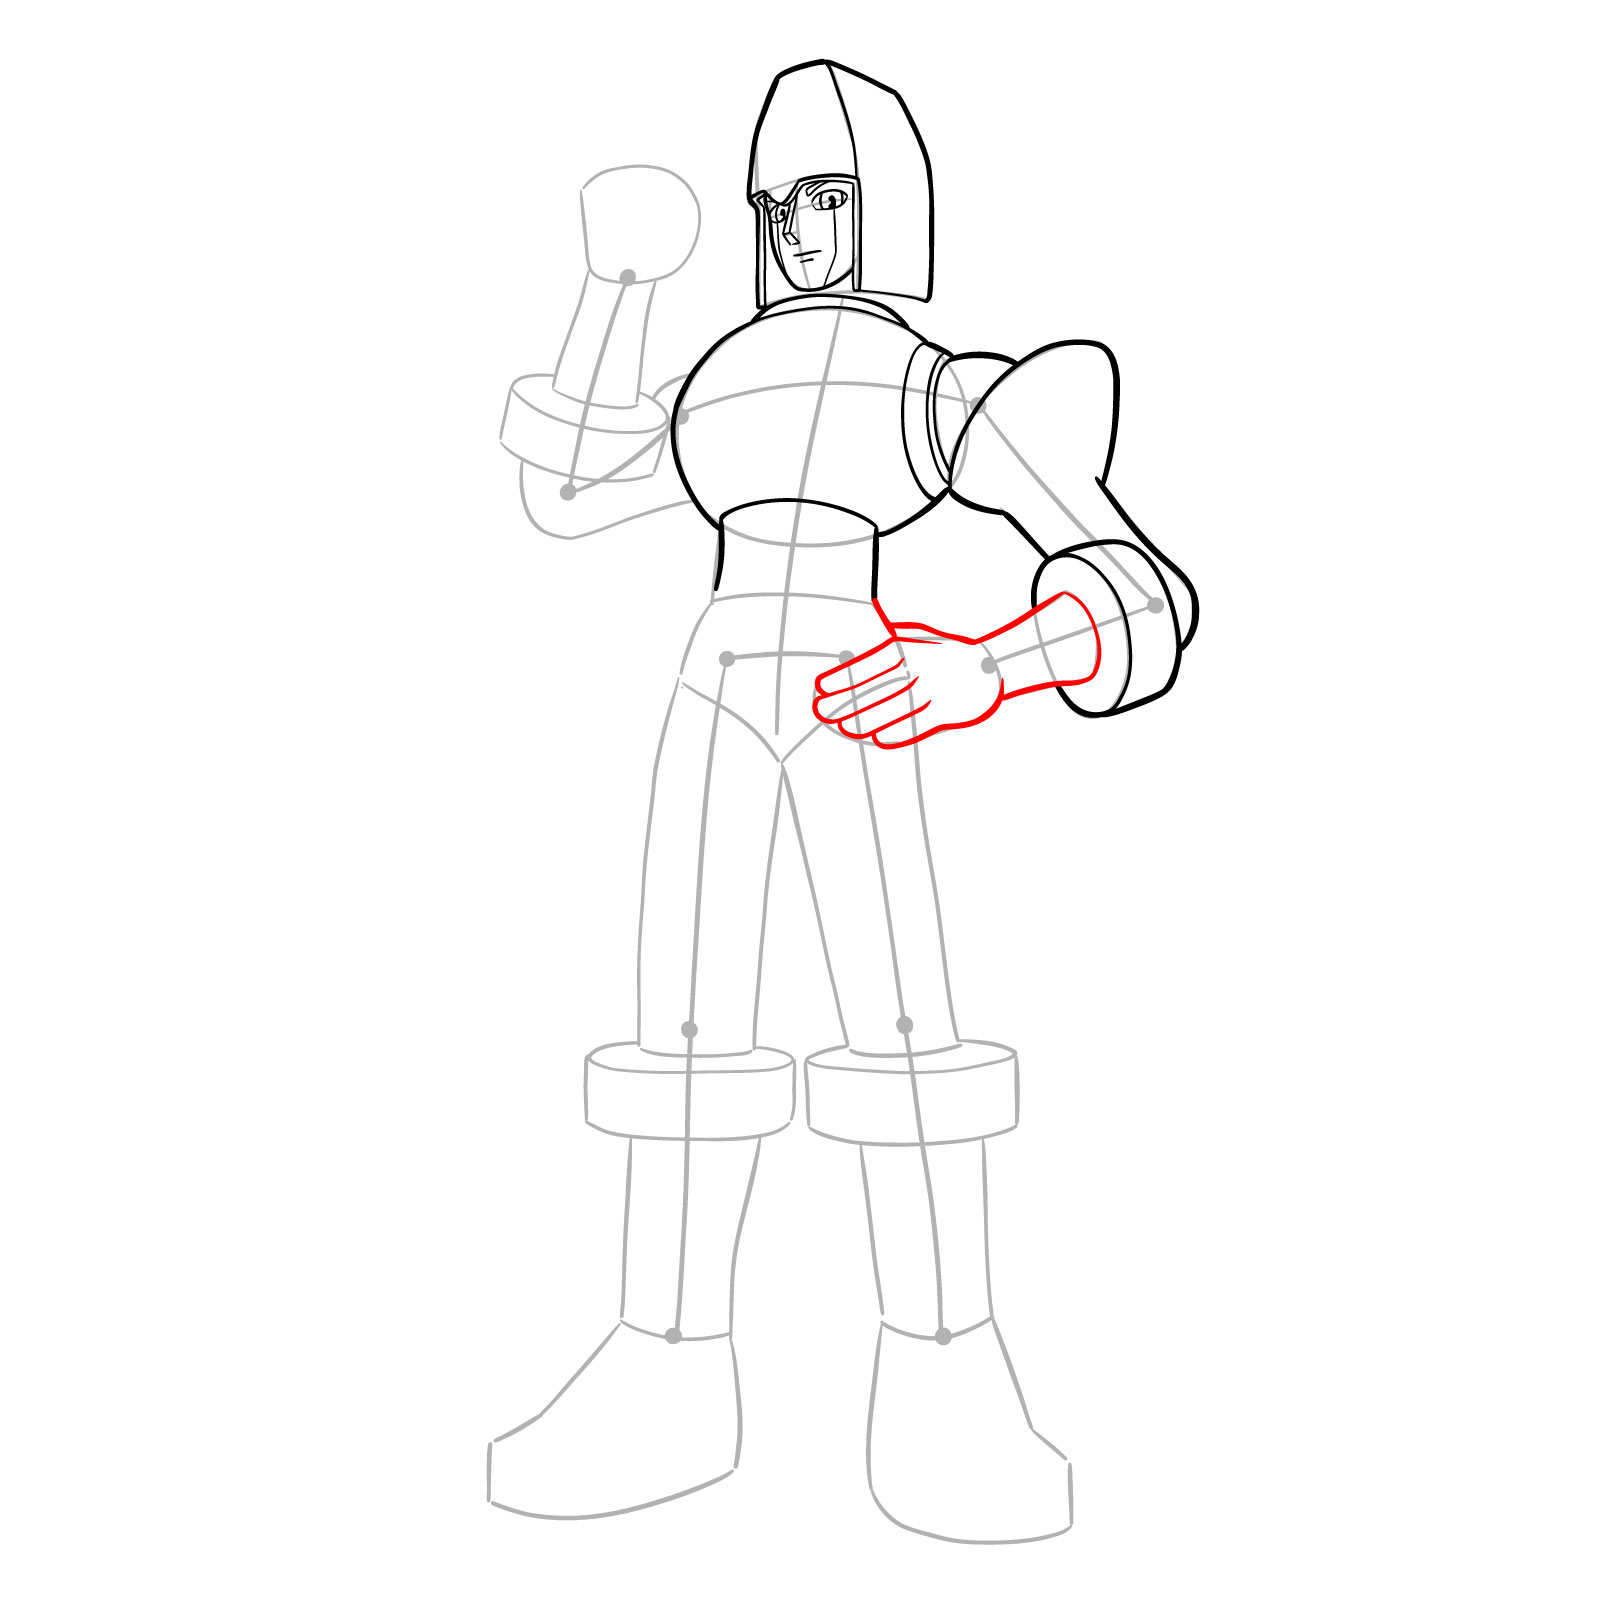
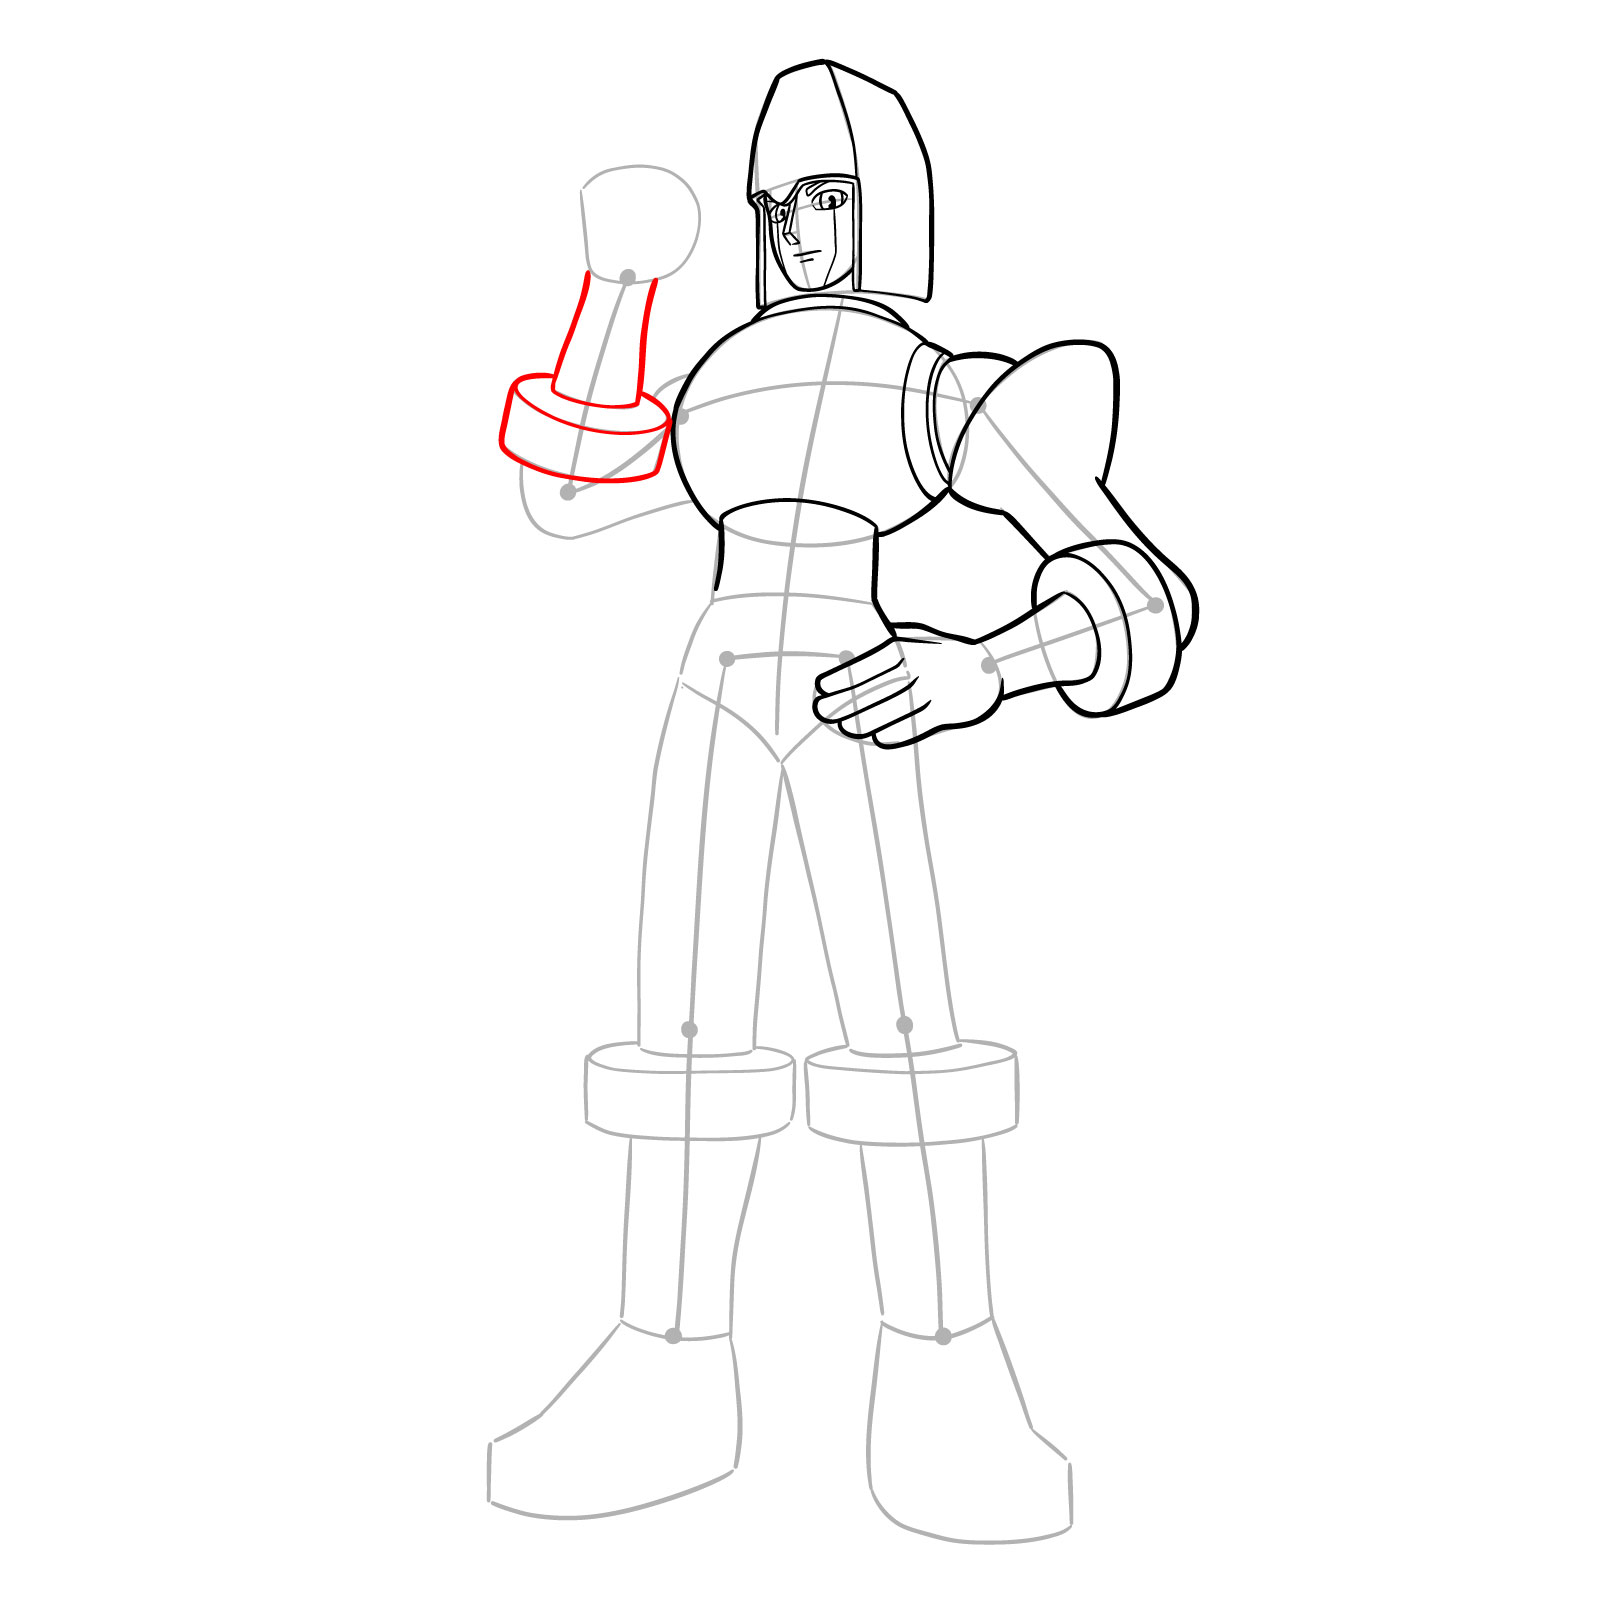
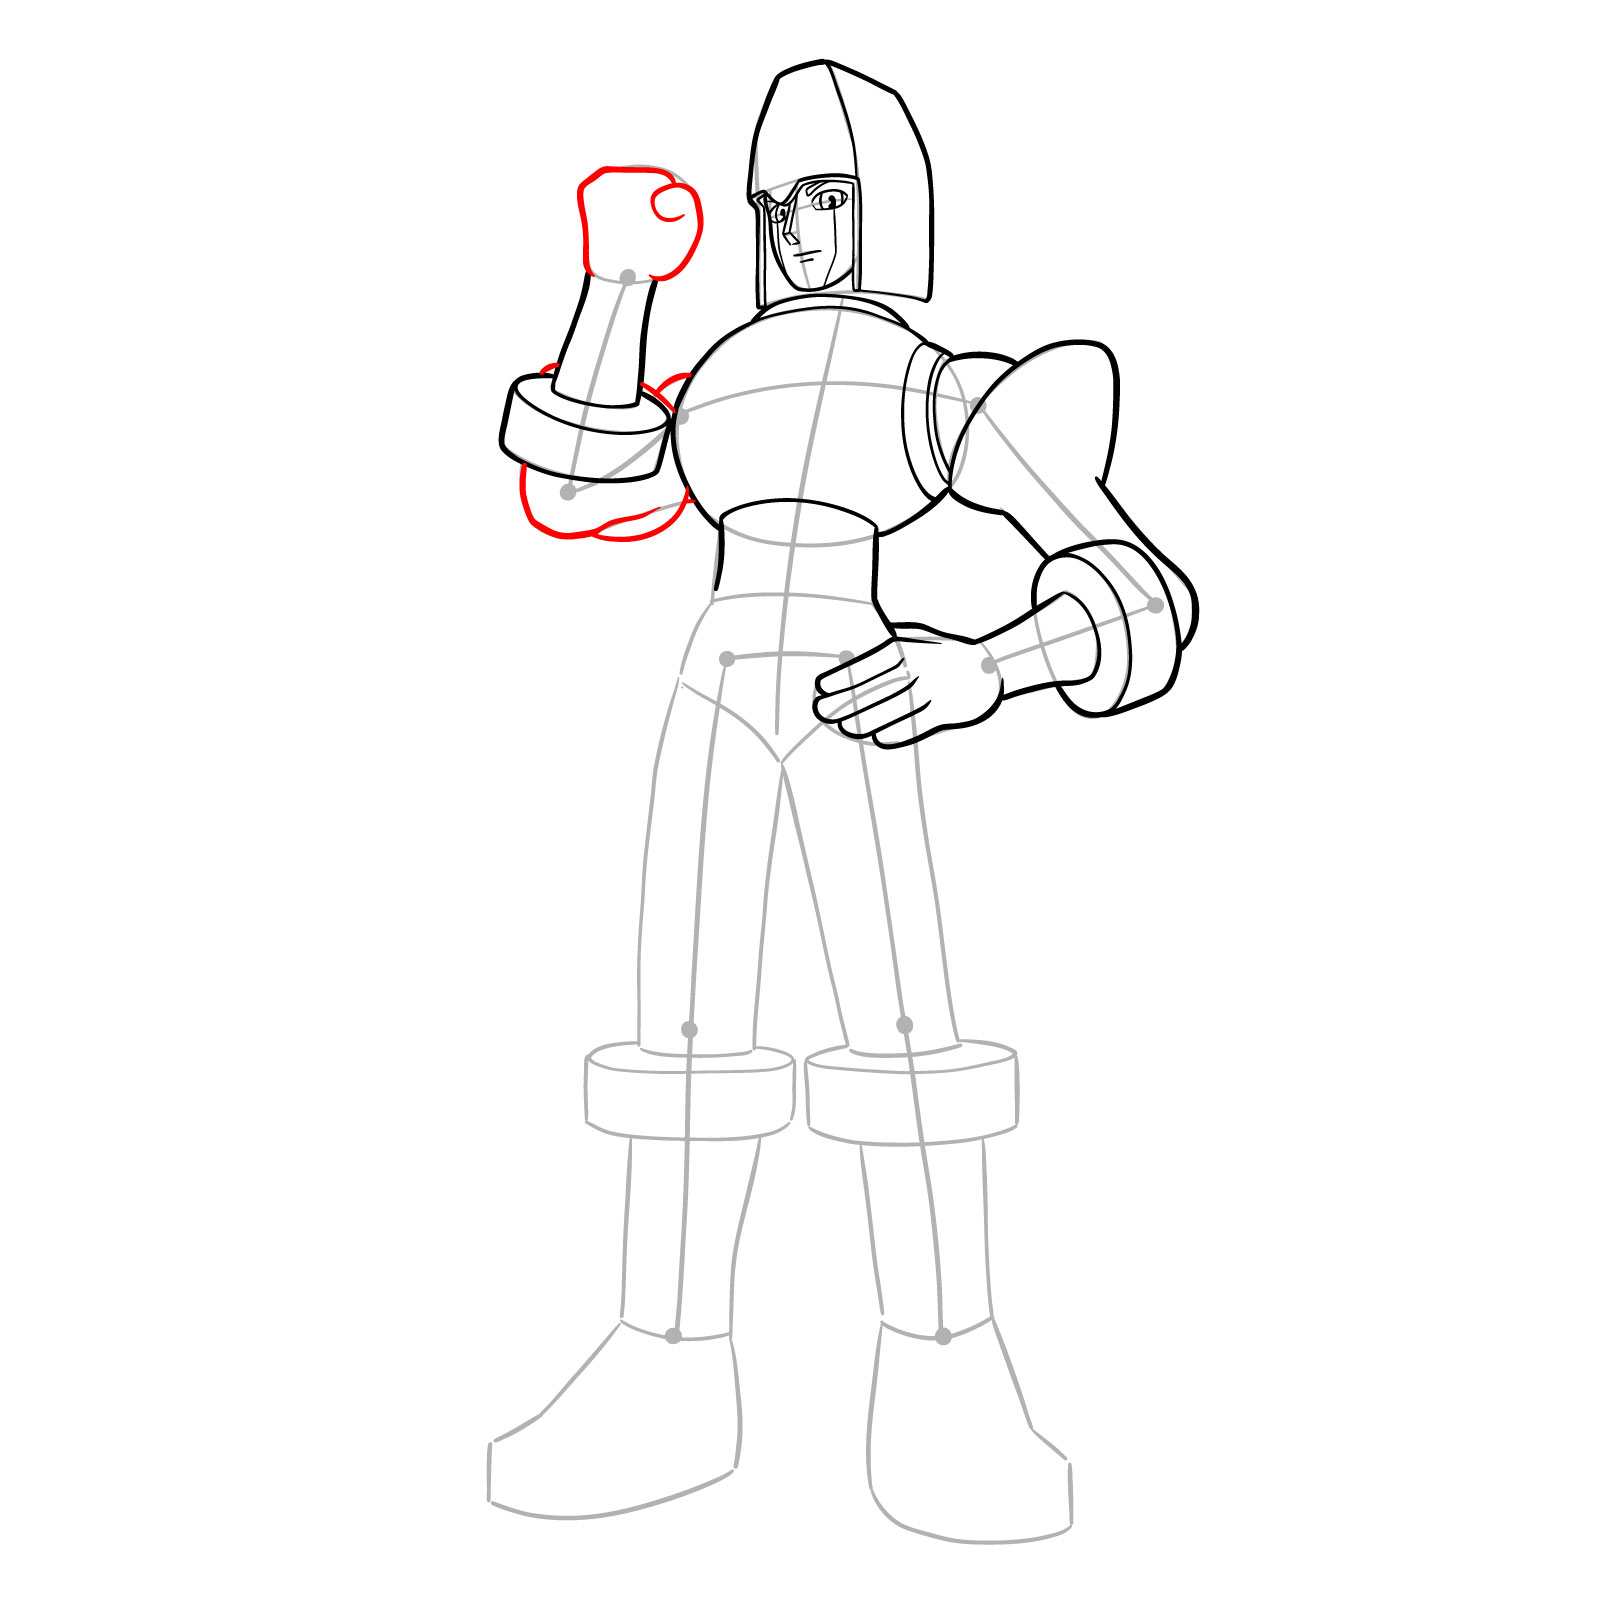
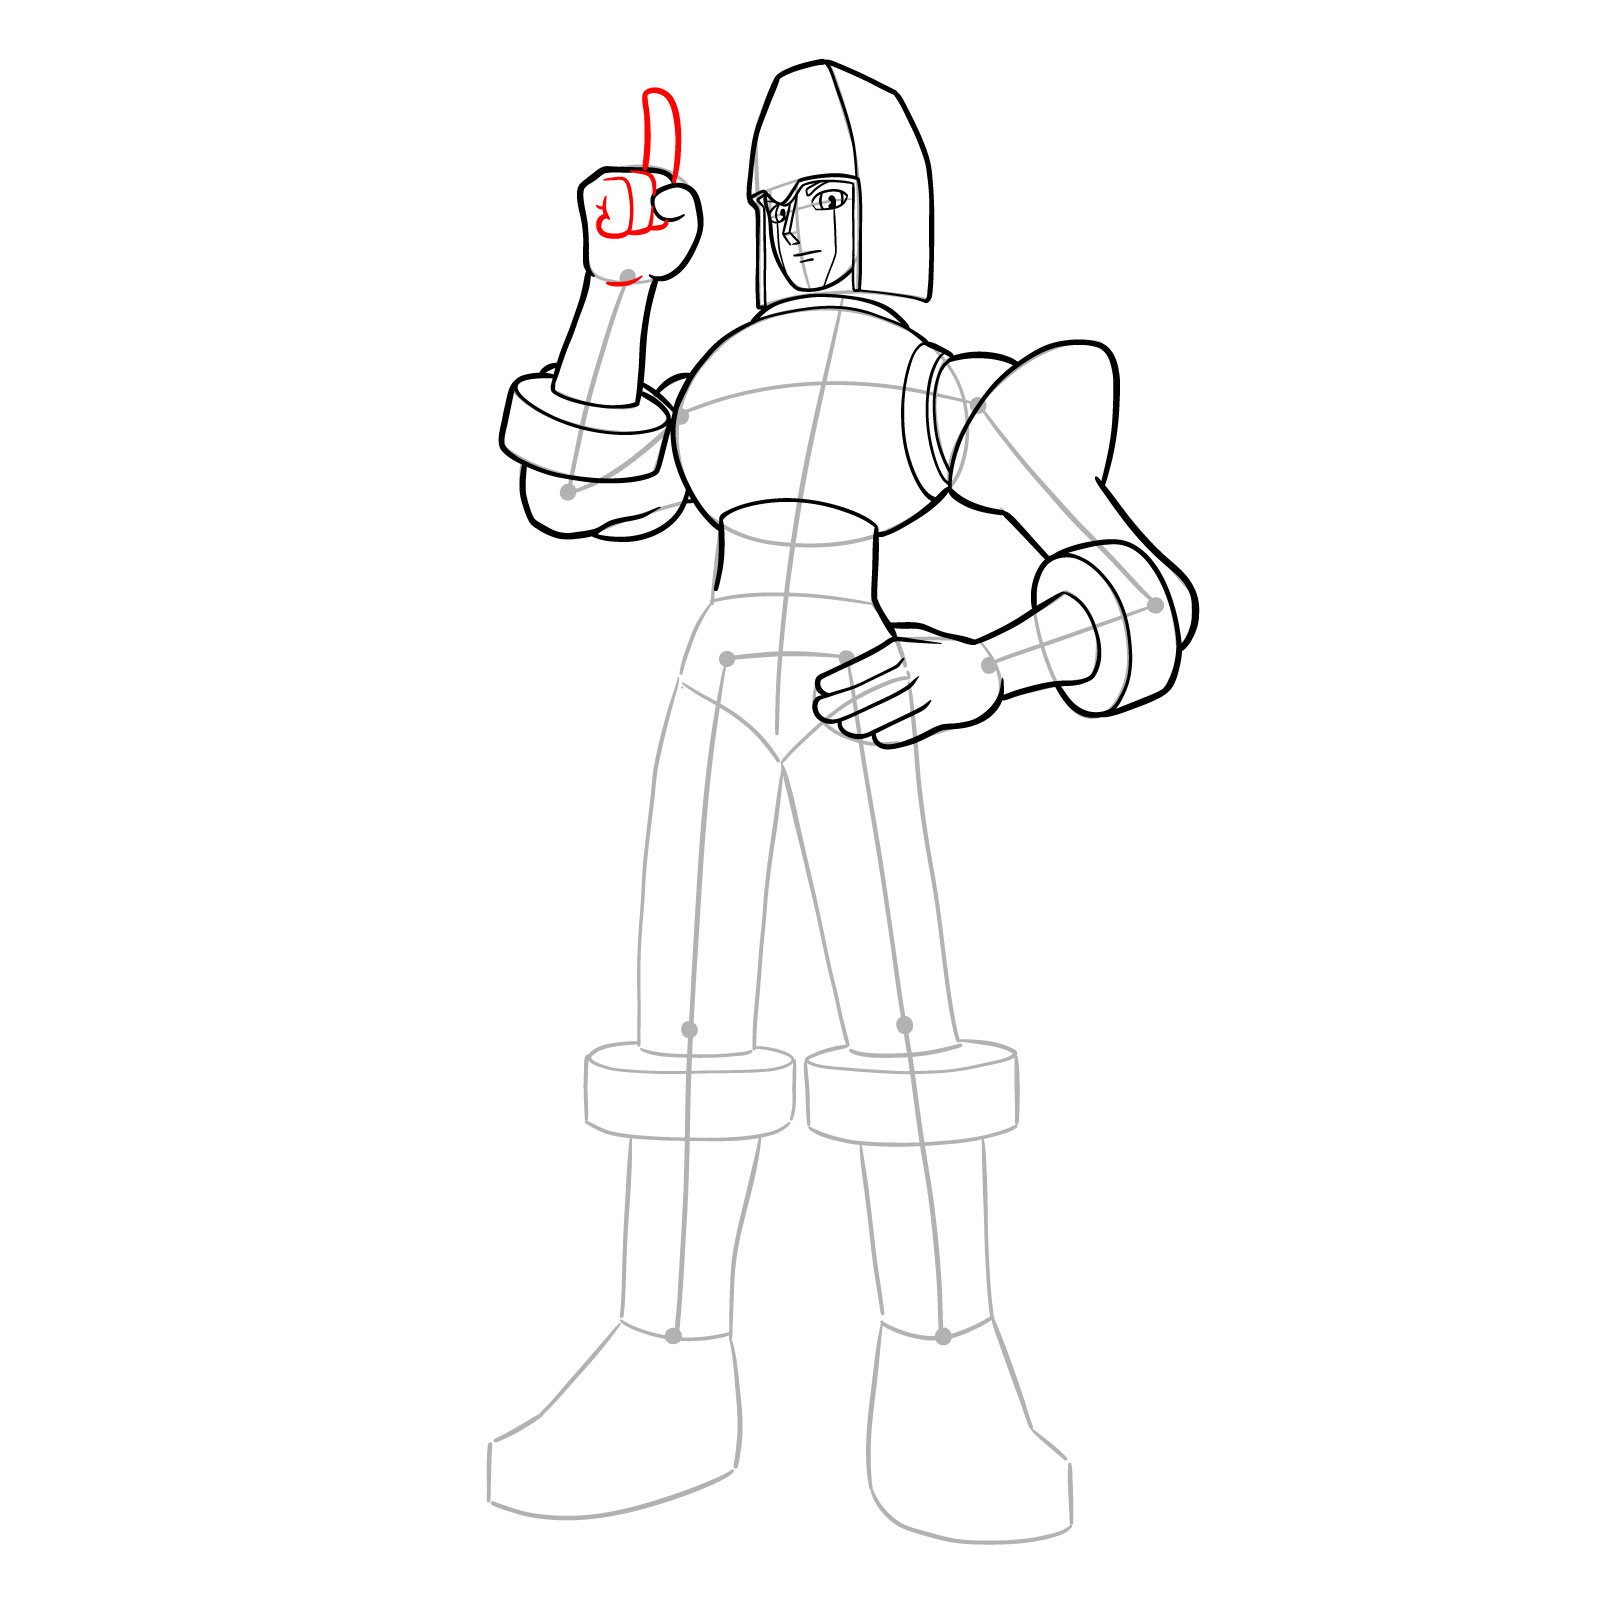
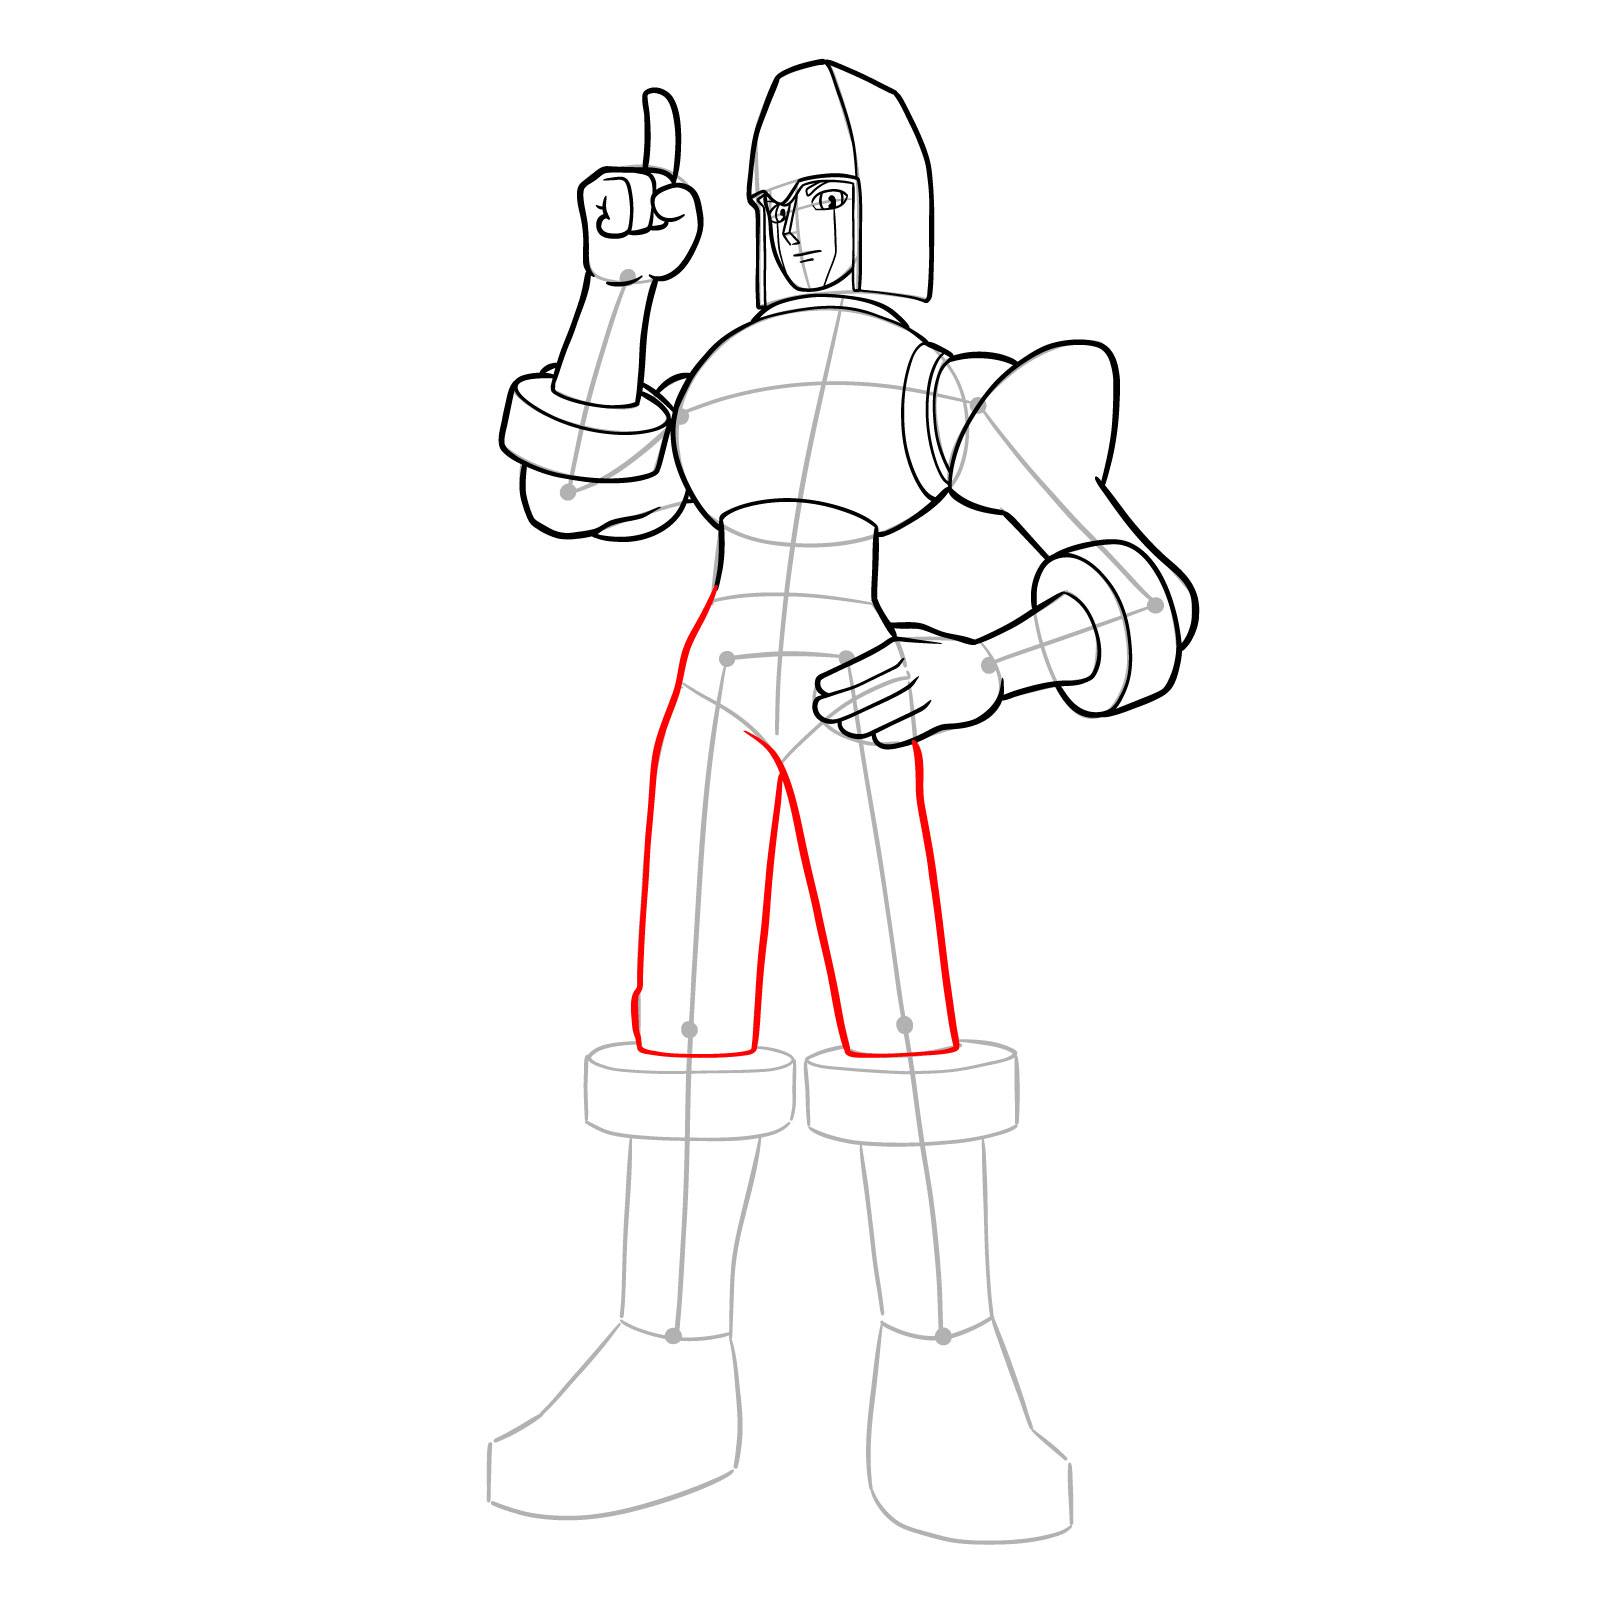
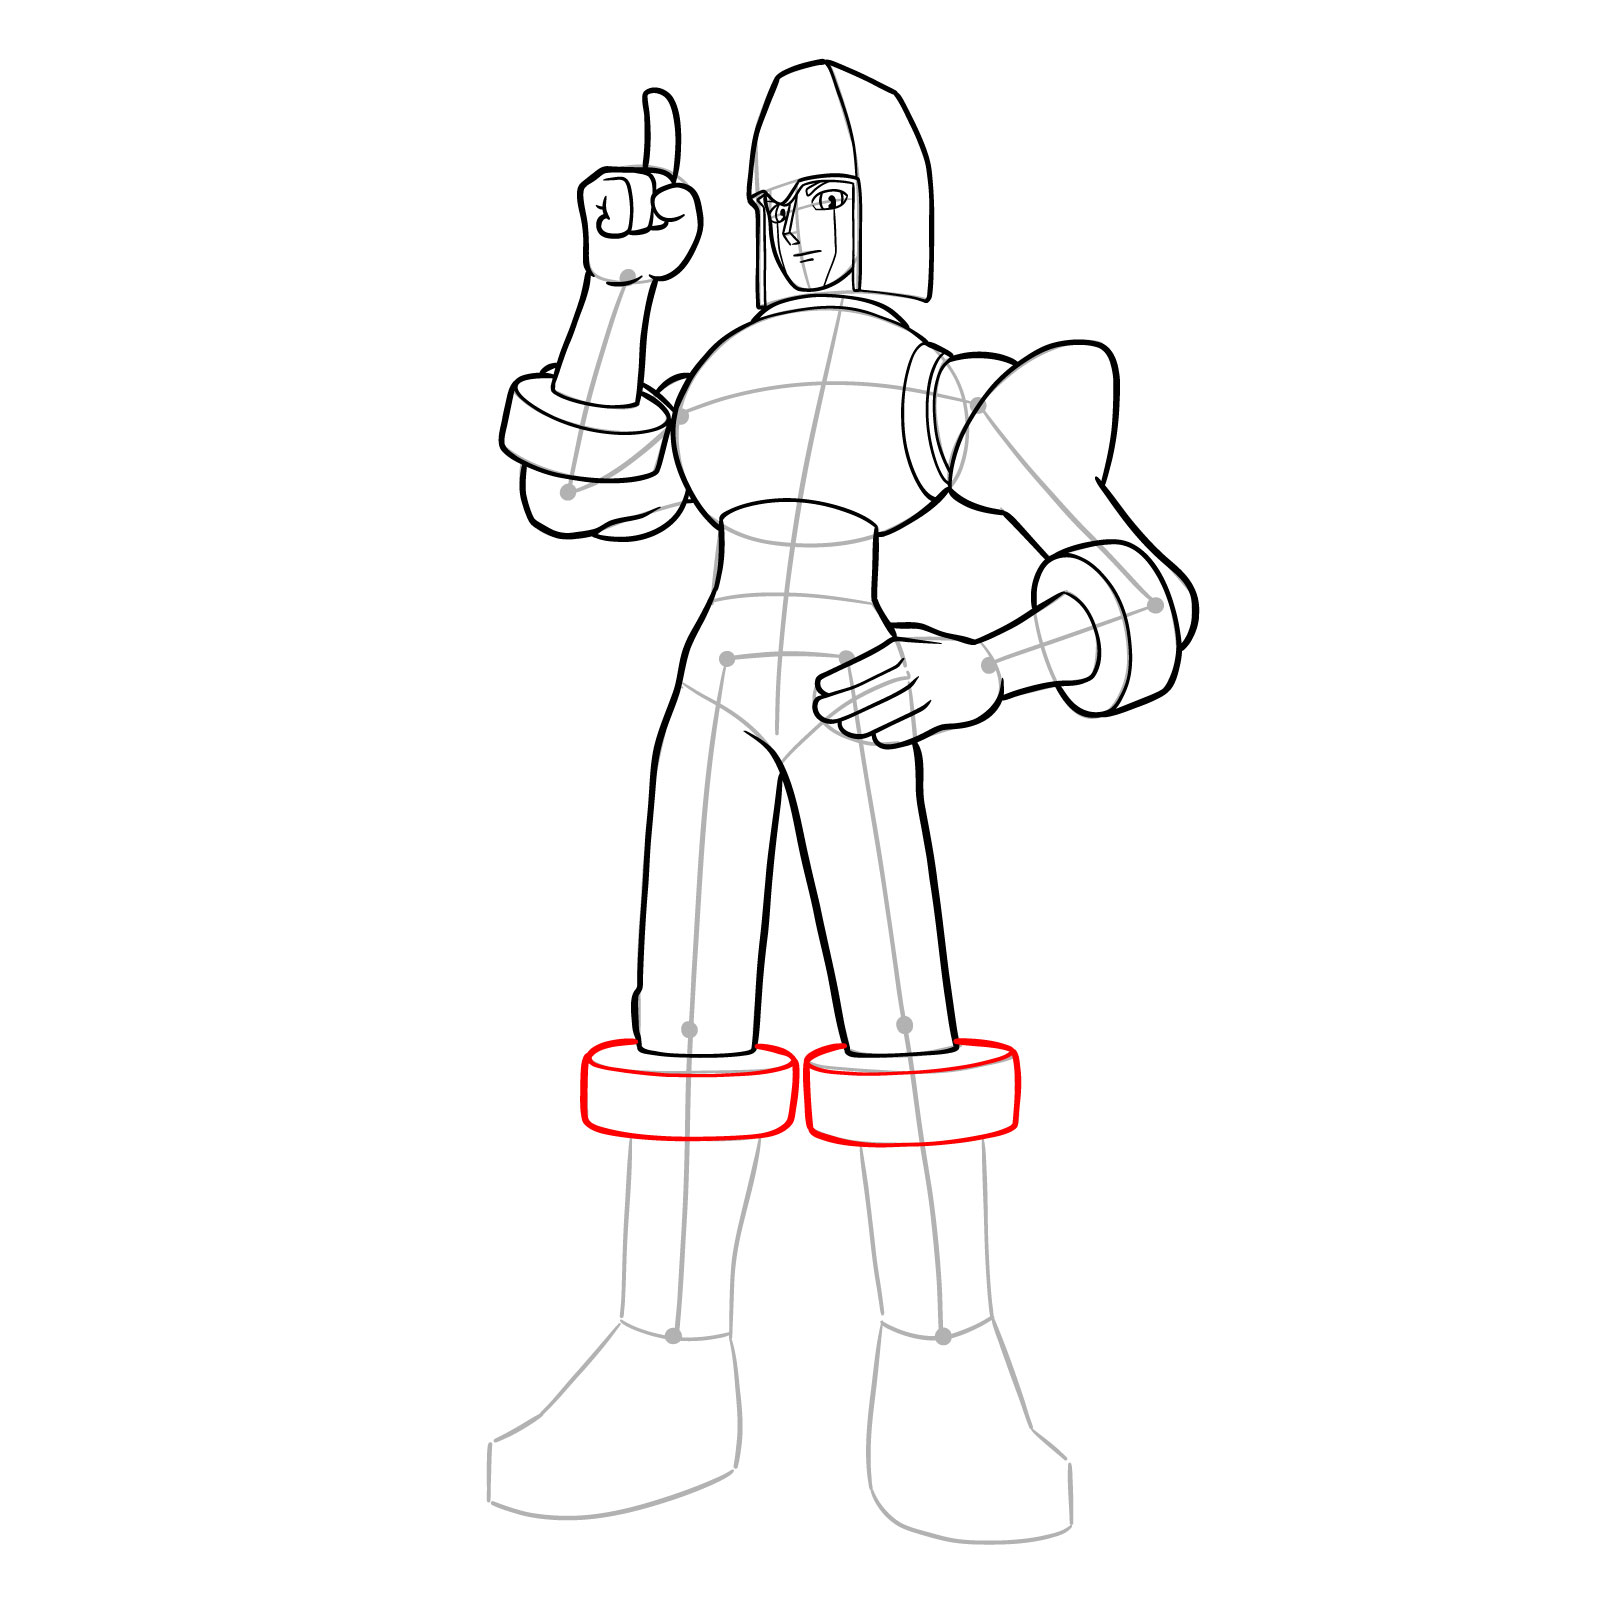
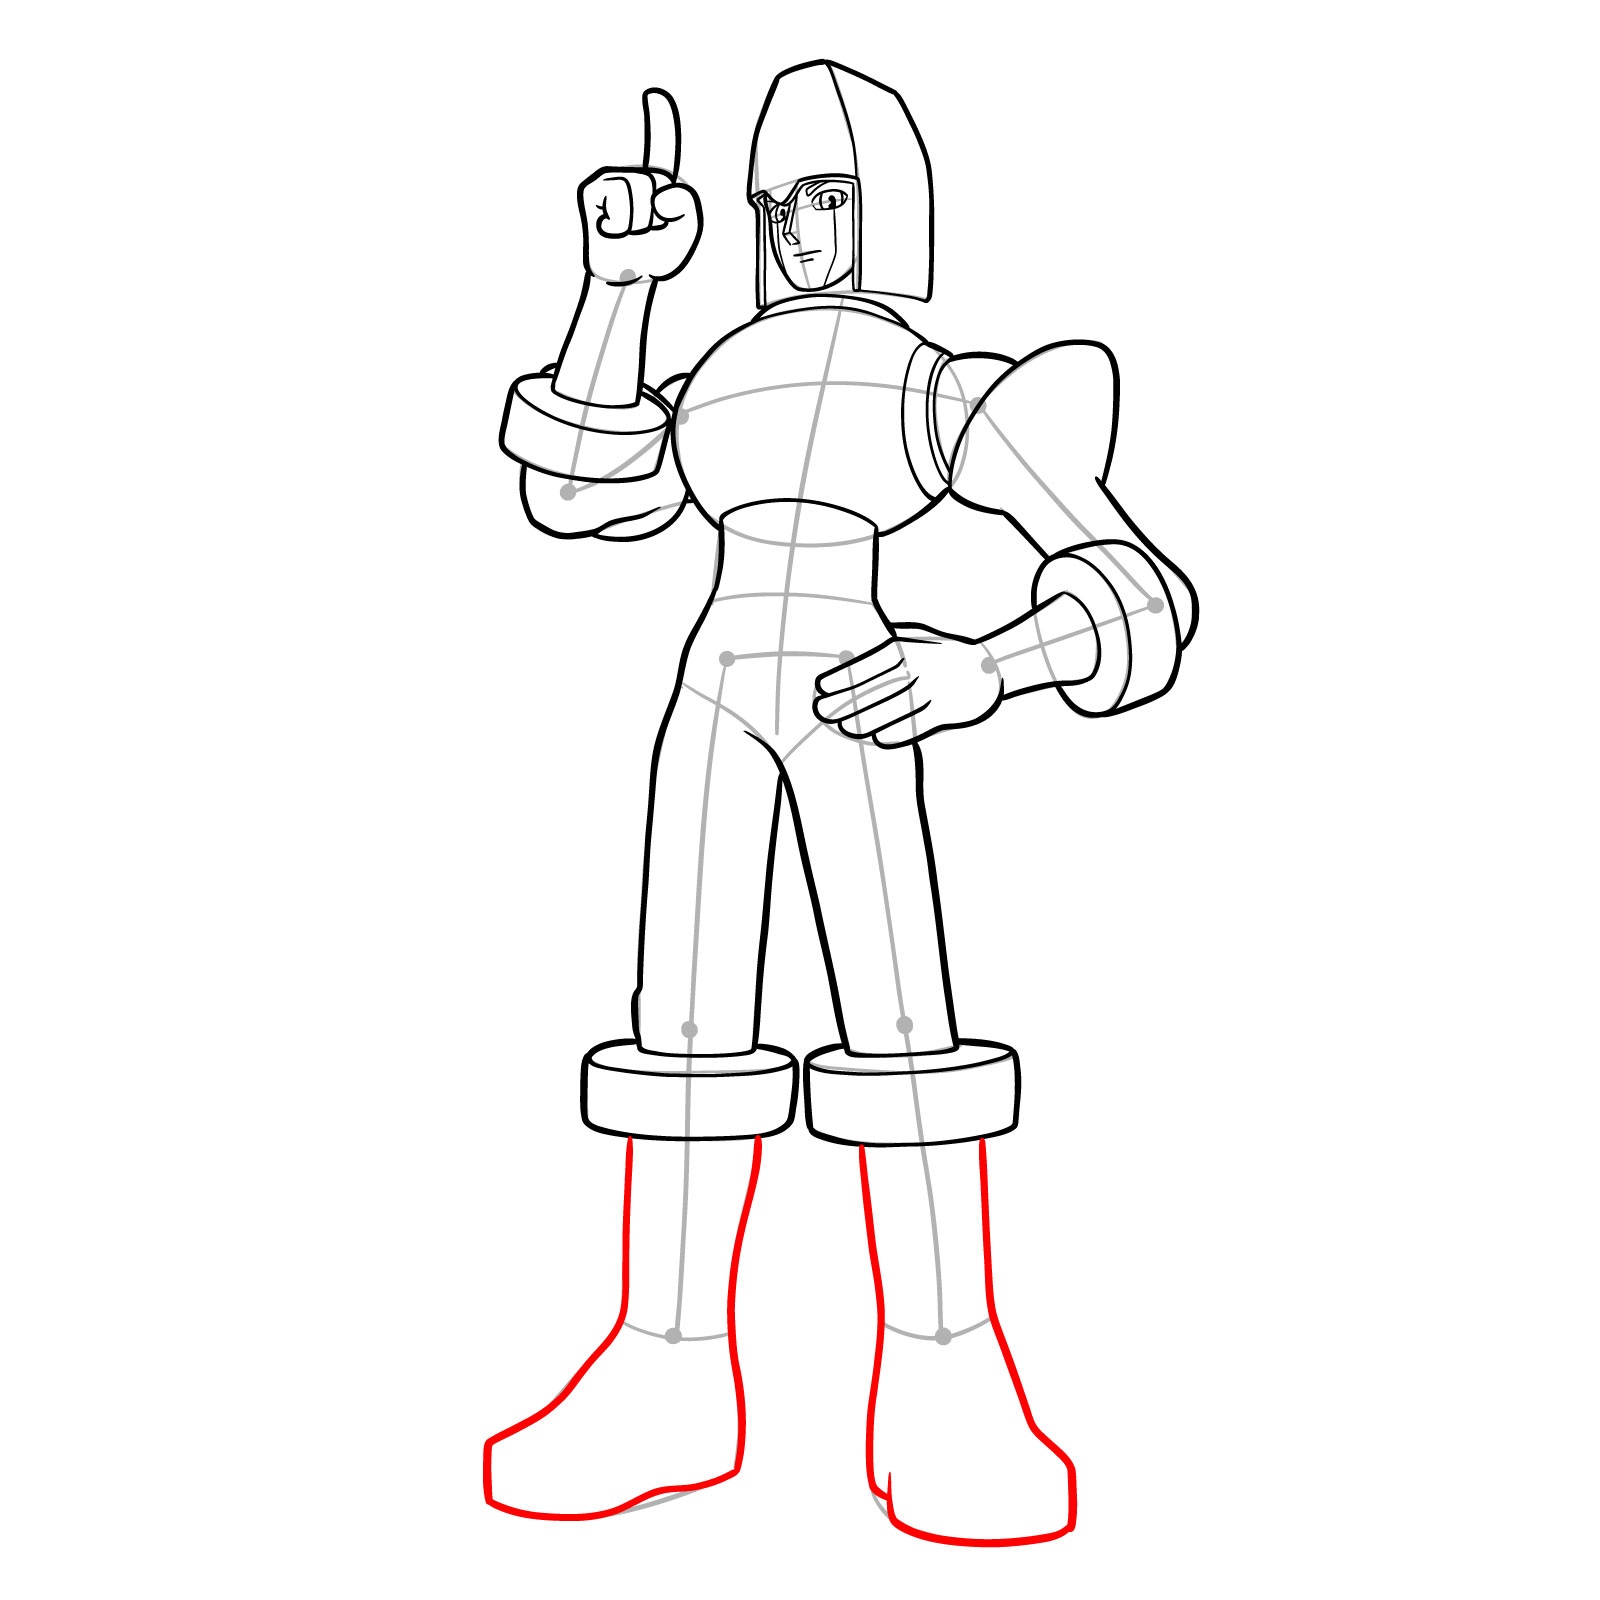
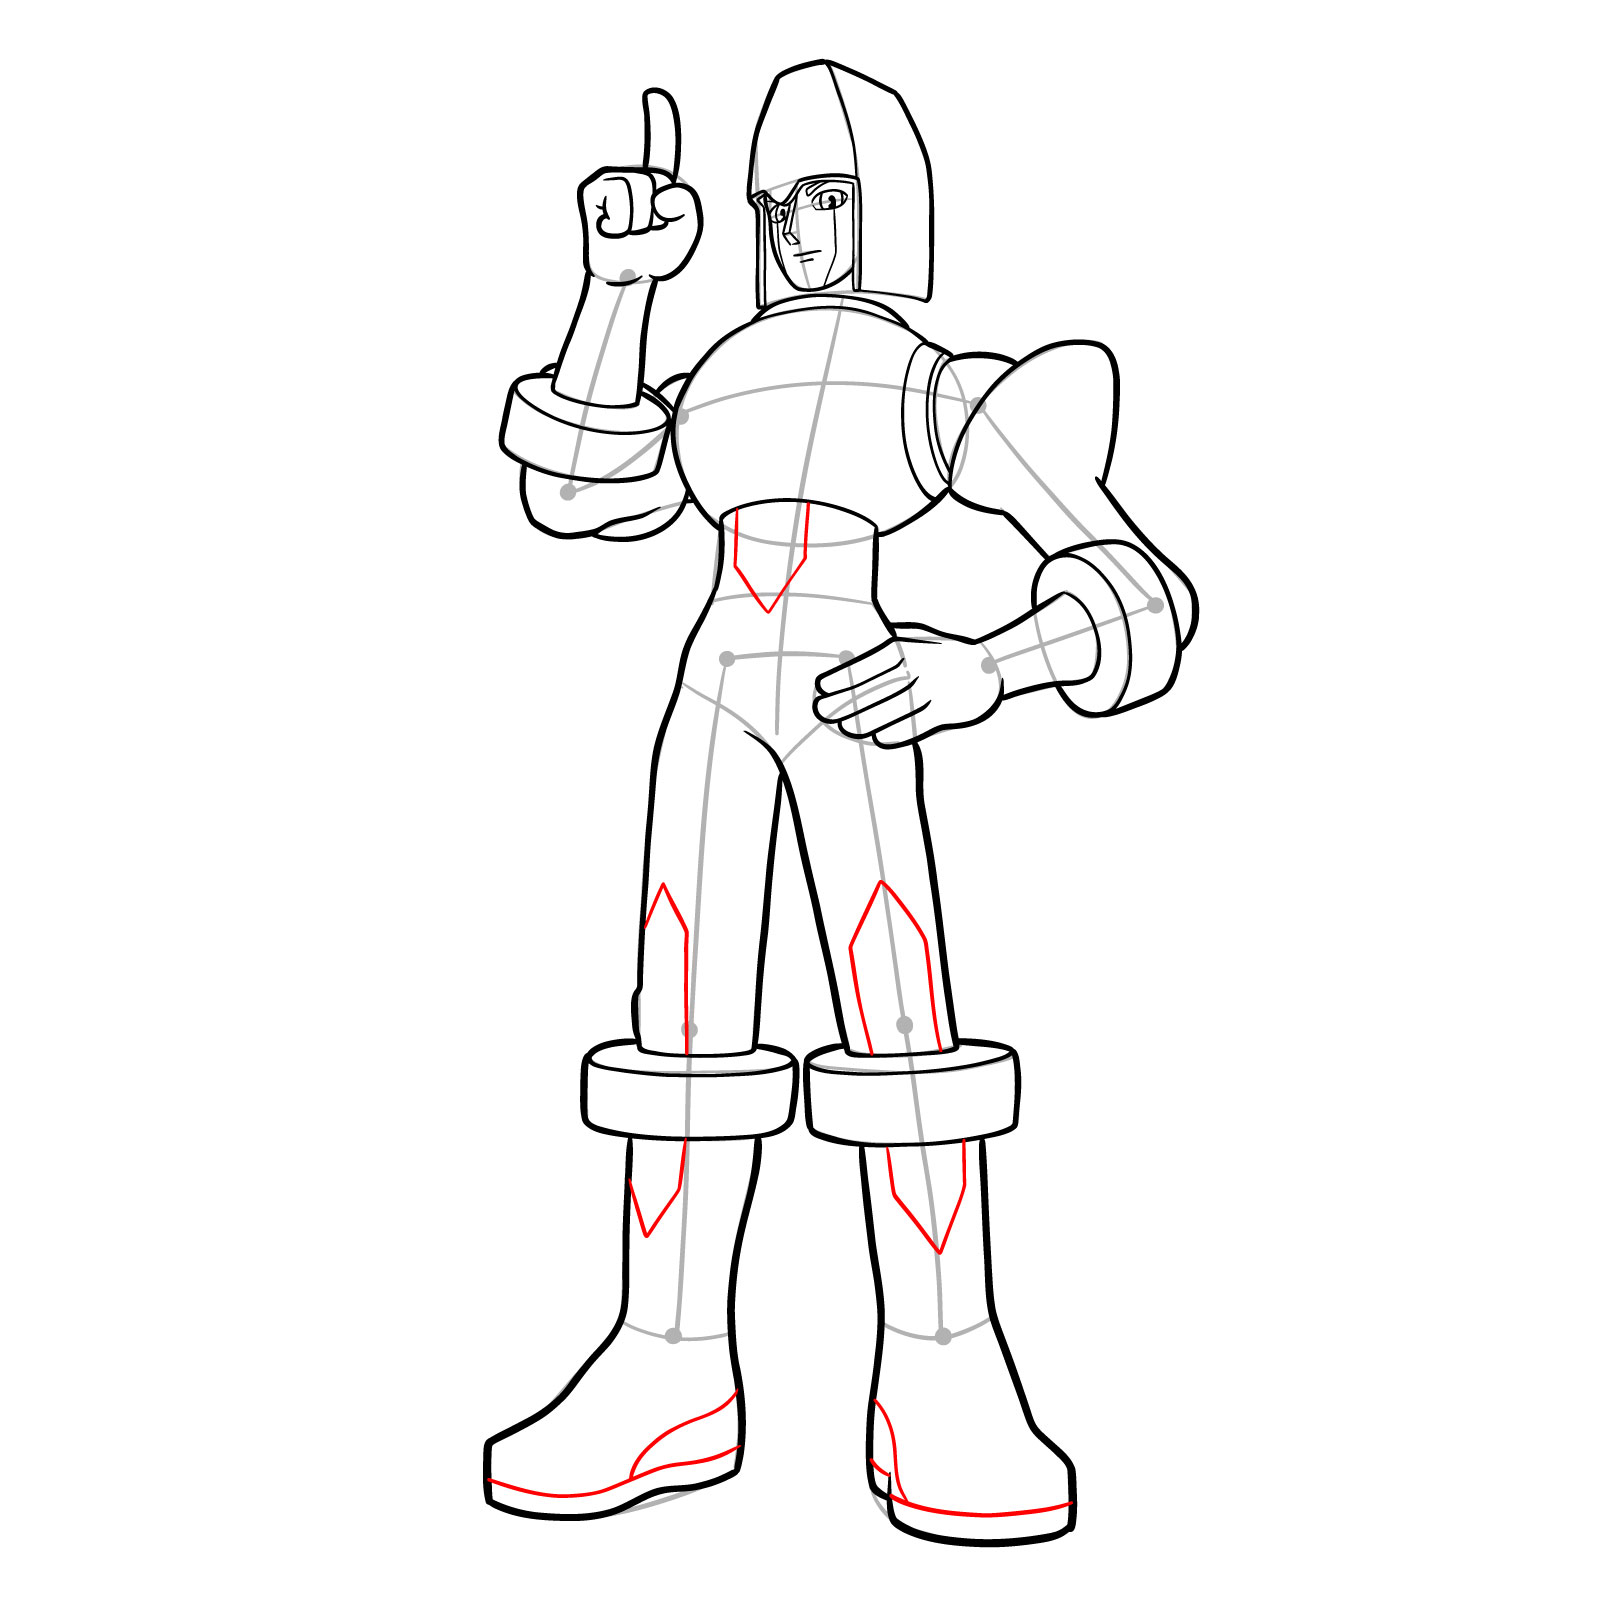
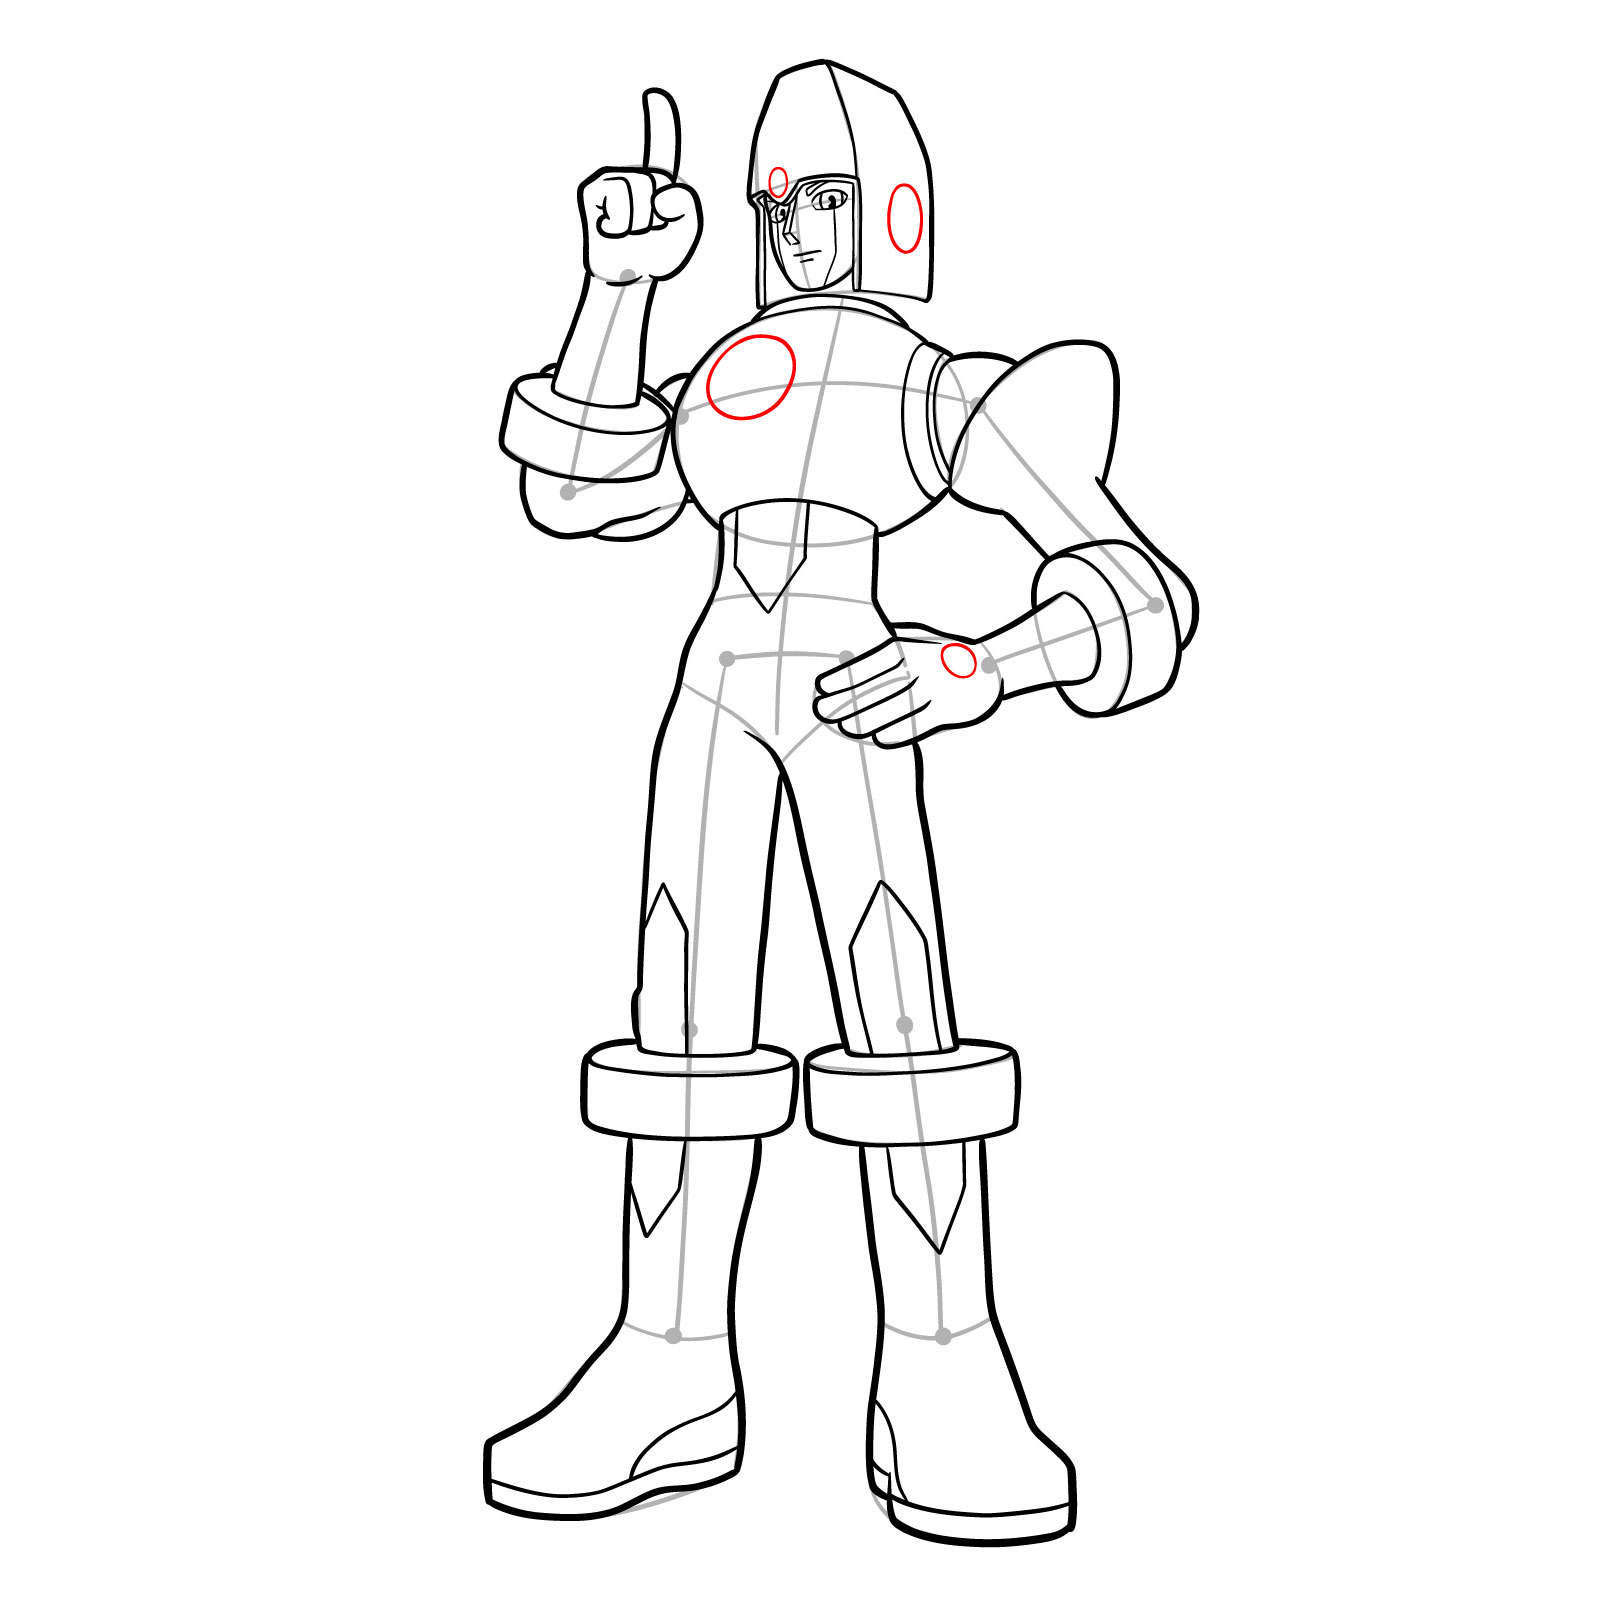
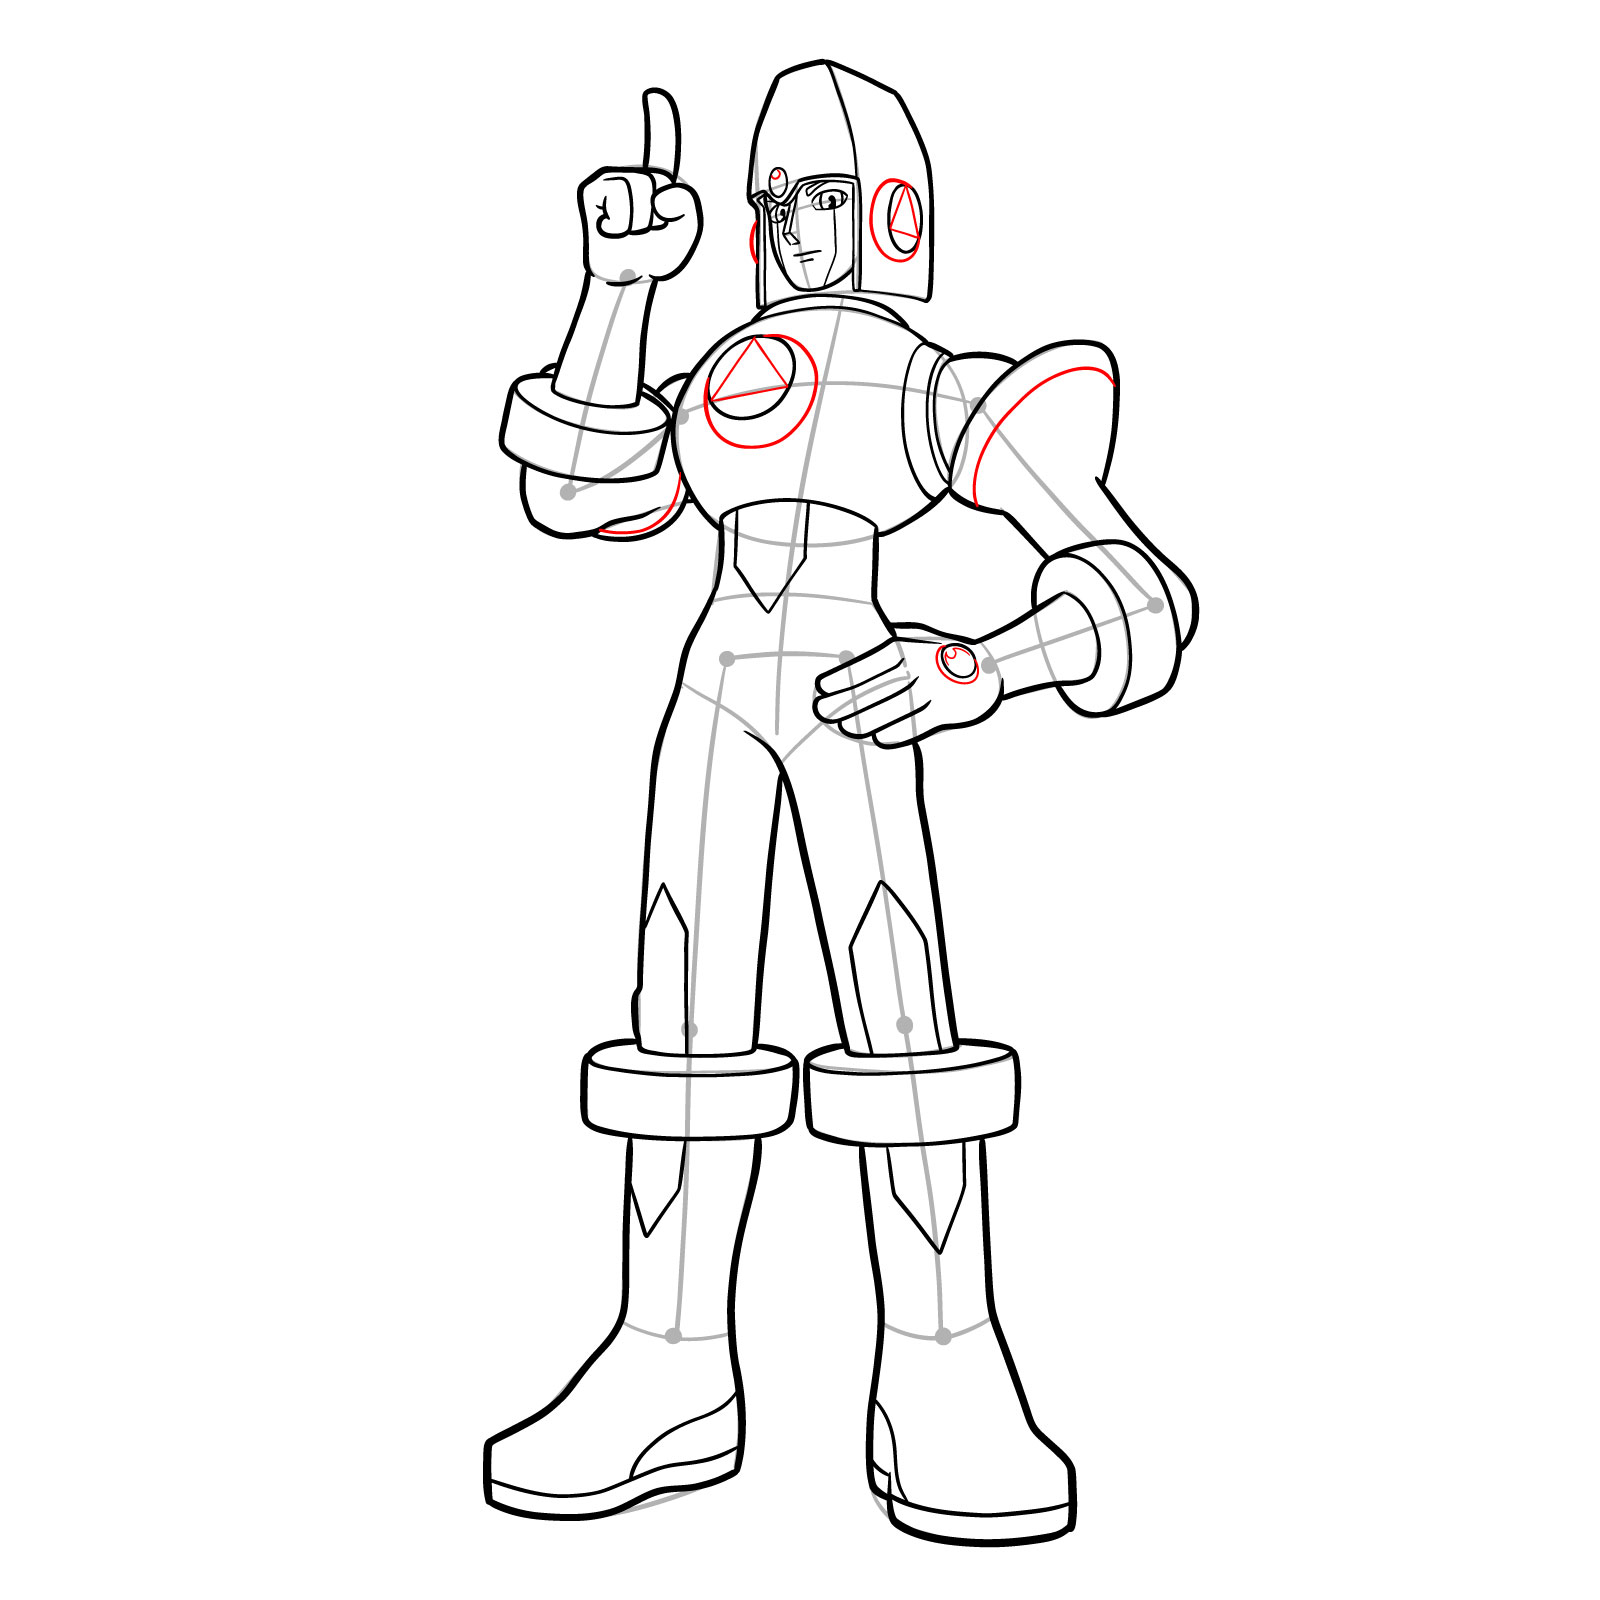
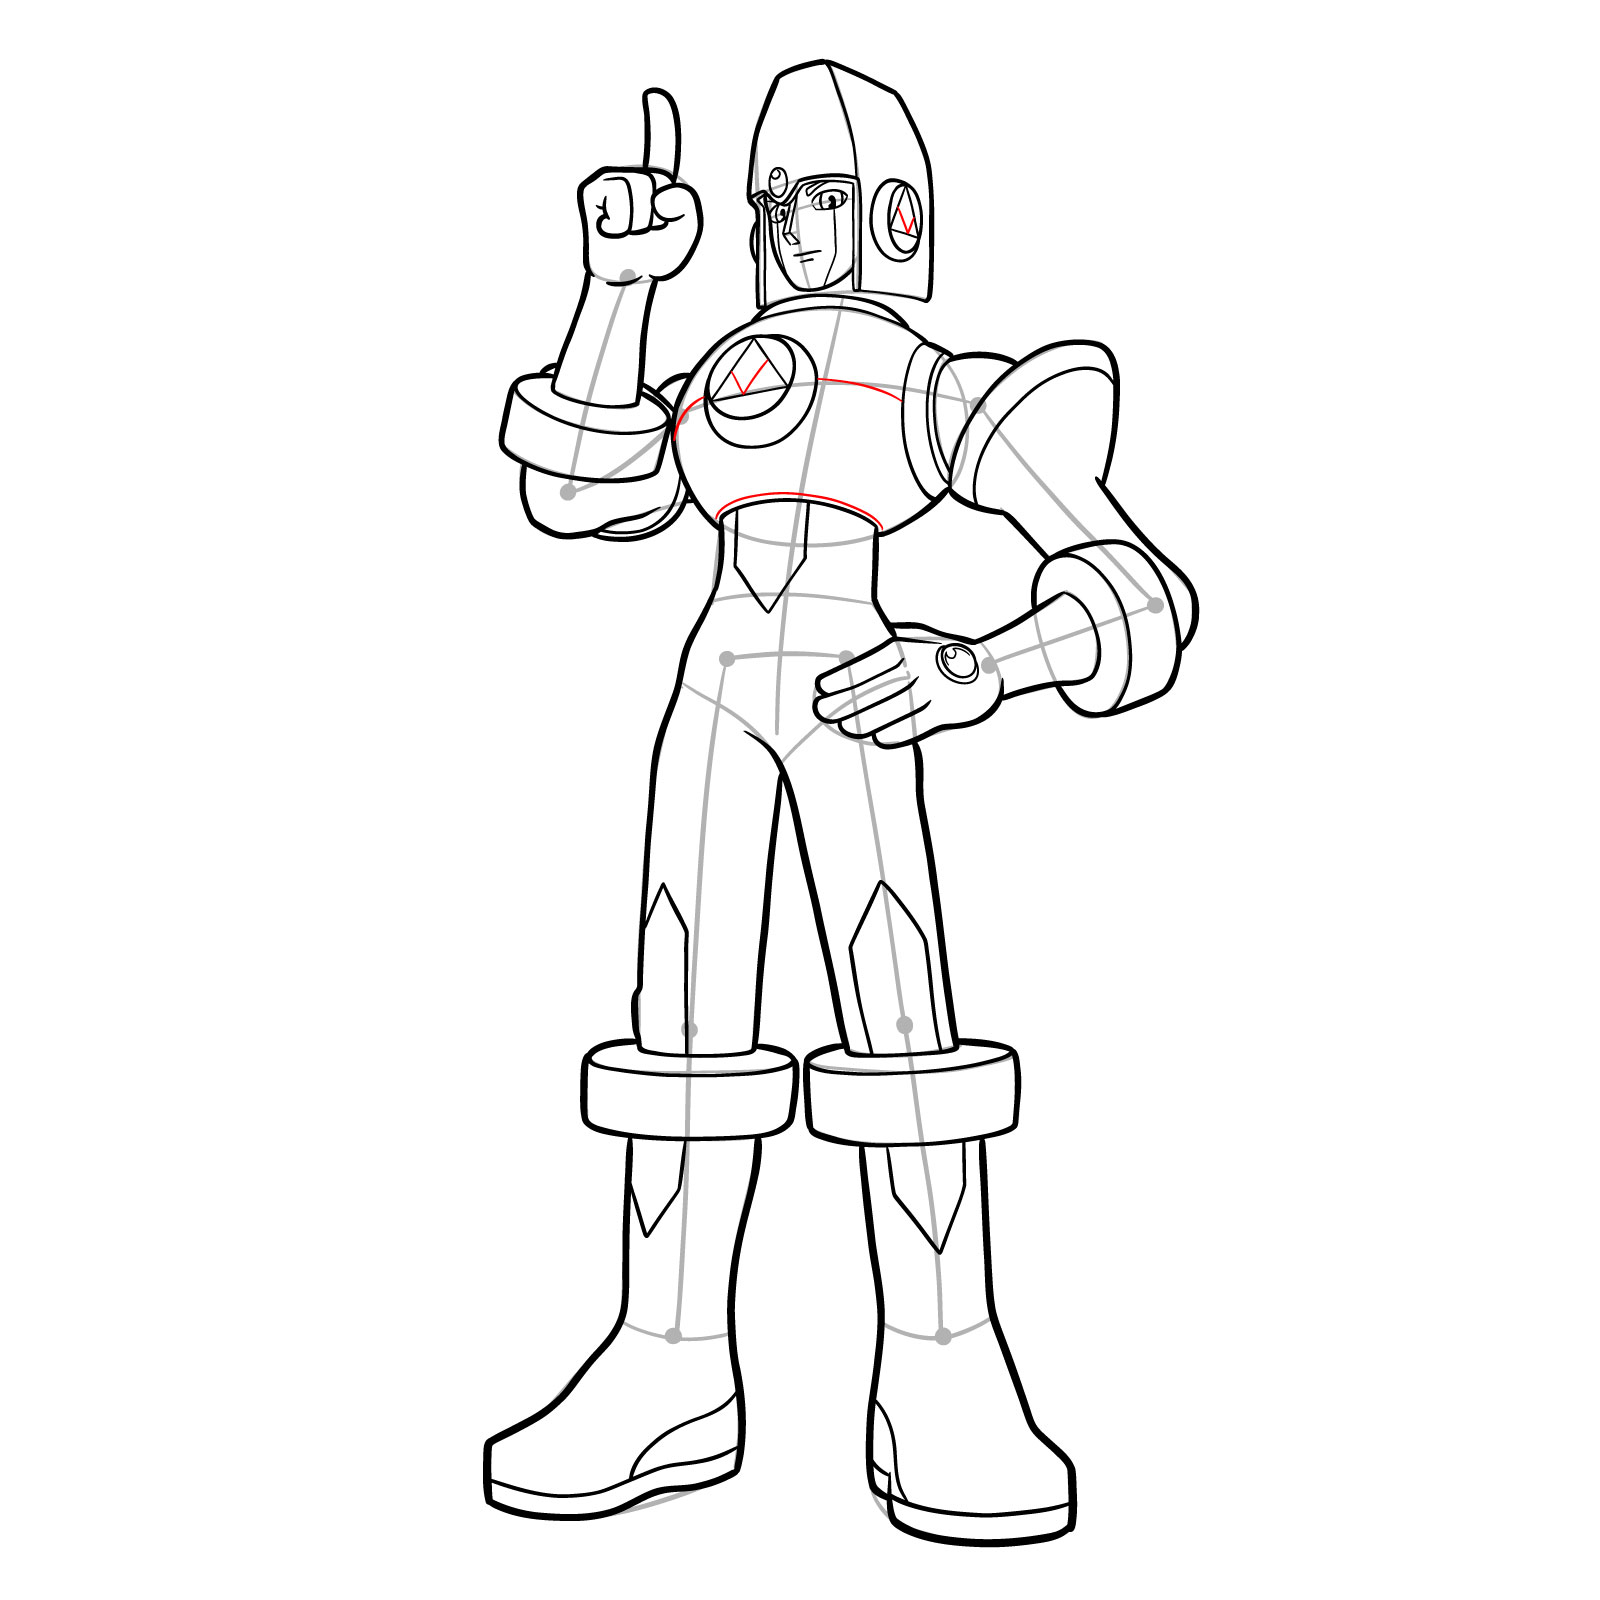
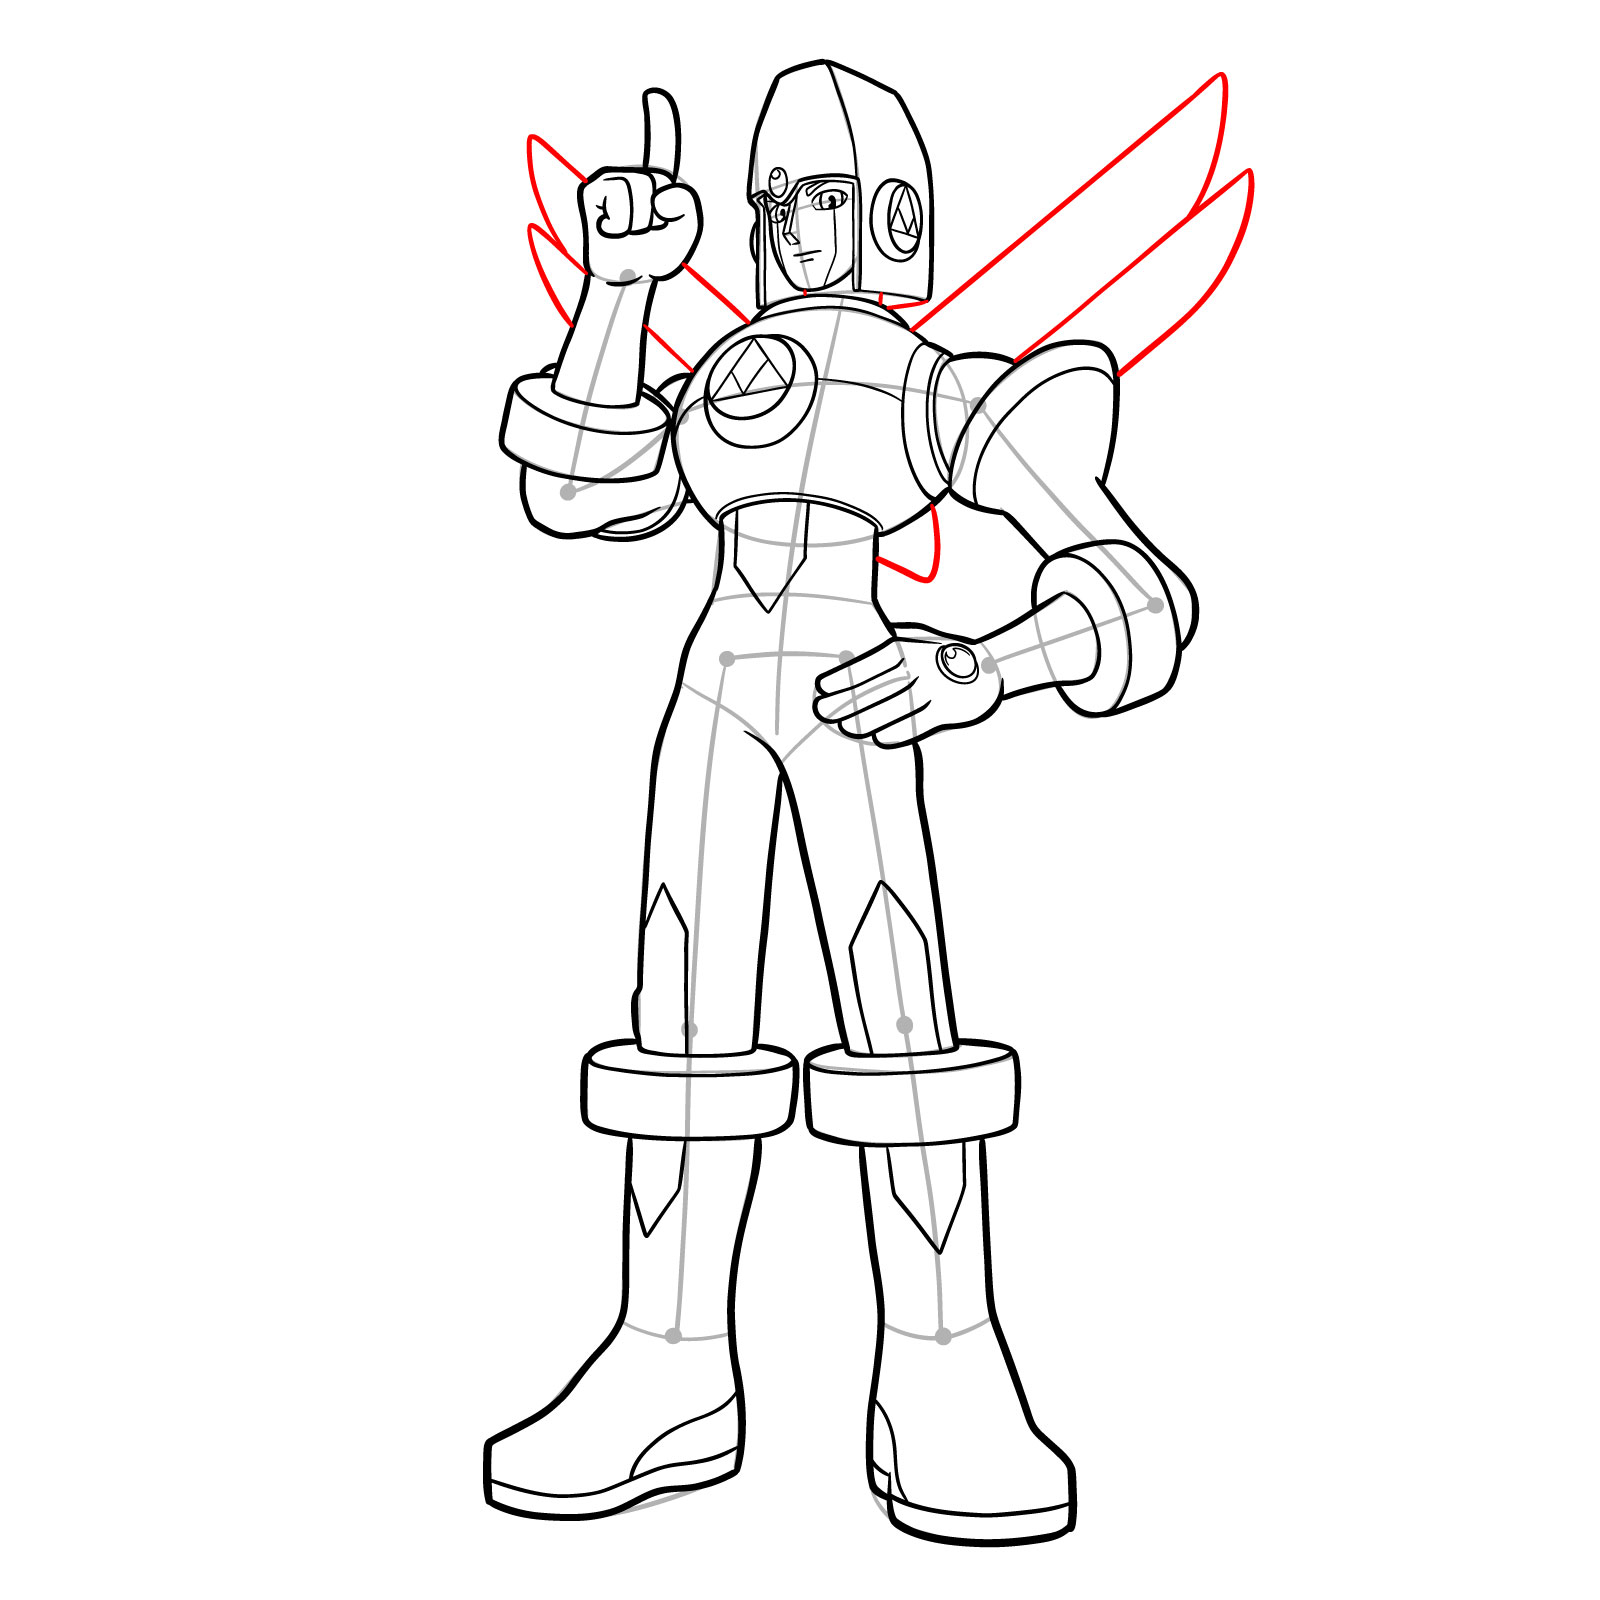
This step-by-step tutorial is presented through a sequence of high-quality images, each depicting a stage in the drawing process of Glide.EXE.

  • Red Color: Highlights the current step to draw.
  • Black Color: Indicates the lines drawn in previous steps.
  • Grey Color: Represents the initial proportion sketch.

There are 24 steps in total, beginning with the basic structure and concluding with the option to ink your pencil sketch. Remember to allow the ink to dry before gently erasing the pencil lines to avoid smudging.

Step 01

How to draw Glide.EXE from Mega Man Battle Network - step 01Pin

Step 02

How to draw Glide.EXE from Mega Man Battle Network - step 02Pin

Step 03

How to draw Glide.EXE from Mega Man Battle Network - step 03Pin

Step 04

How to draw Glide.EXE from Mega Man Battle Network - step 04Pin

Step 05

How to draw Glide.EXE from Mega Man Battle Network - step 05Pin

Step 06

How to draw Glide.EXE from Mega Man Battle Network - step 06Pin

Step 07

How to draw Glide.EXE from Mega Man Battle Network - step 07Pin

Step 08

How to draw Glide.EXE from Mega Man Battle Network - step 08Pin

Step 09

How to draw Glide.EXE from Mega Man Battle Network - step 09Pin

Step 10

How to draw Glide.EXE from Mega Man Battle Network - step 10Pin

Step 11

How to draw Glide.EXE from Mega Man Battle Network - step 11Pin

Step 12

How to draw Glide.EXE from Mega Man Battle Network - step 12Pin

Step 13

How to draw Glide.EXE from Mega Man Battle Network - step 13Pin

Step 14

How to draw Glide.EXE from Mega Man Battle Network - step 14Pin

Step 15

How to draw Glide.EXE from Mega Man Battle Network - step 15Pin

Step 16

How to draw Glide.EXE from Mega Man Battle Network - step 16Pin

Step 17

How to draw Glide.EXE from Mega Man Battle Network - step 17Pin

Step 18

How to draw Glide.EXE from Mega Man Battle Network - step 18Pin

Step 19

How to draw Glide.EXE from Mega Man Battle Network - step 19Pin

Step 20

How to draw Glide.EXE from Mega Man Battle Network - step 20Pin

Step 21

How to draw Glide.EXE from Mega Man Battle Network - step 21Pin

Step 22

How to draw Glide.EXE from Mega Man Battle Network - step 22Pin

Step 23

How to draw Glide.EXE from Mega Man Battle Network - step 23Pin

Step 24

How to draw Glide.EXE from Mega Man Battle Network - final stepPin

Glide.EXE, while not a combat NetNavi, showcases the harmony of form and function with his security capabilities. Capture this duality in your sketch by emphasizing his poised stance and sophisticated gadgetry.

Wrapping Up Your Glide.EXE Sketch

As you put the final touches on your drawing, remember that each line brings you closer to mastering the art of NetNavi design. I encourage you to share your finished work with fellow artists and Mega Man enthusiasts. Connect with us on Facebook, Instagram, and Pinterest. If you enjoyed this tutorial, consider subscribing for more. Thank you for choosing this guide to enhance your drawing skills.

Did you like the tutorial?

You can support the author of this website and also suggest your own ideas for new drawings by making a small donation here:

Leave a Comment

3