
Learning how to draw the X-02 power armor from Fallout 4 involves focusing on its intricate and futuristic design. This guide simplifies the process by breaking down its complex structure into manageable steps. Here’s an overview of the key elements to concentrate on.
About the X-02 Power Armor Design
- Heavy armor plating on the torso with angular, reinforced panels.
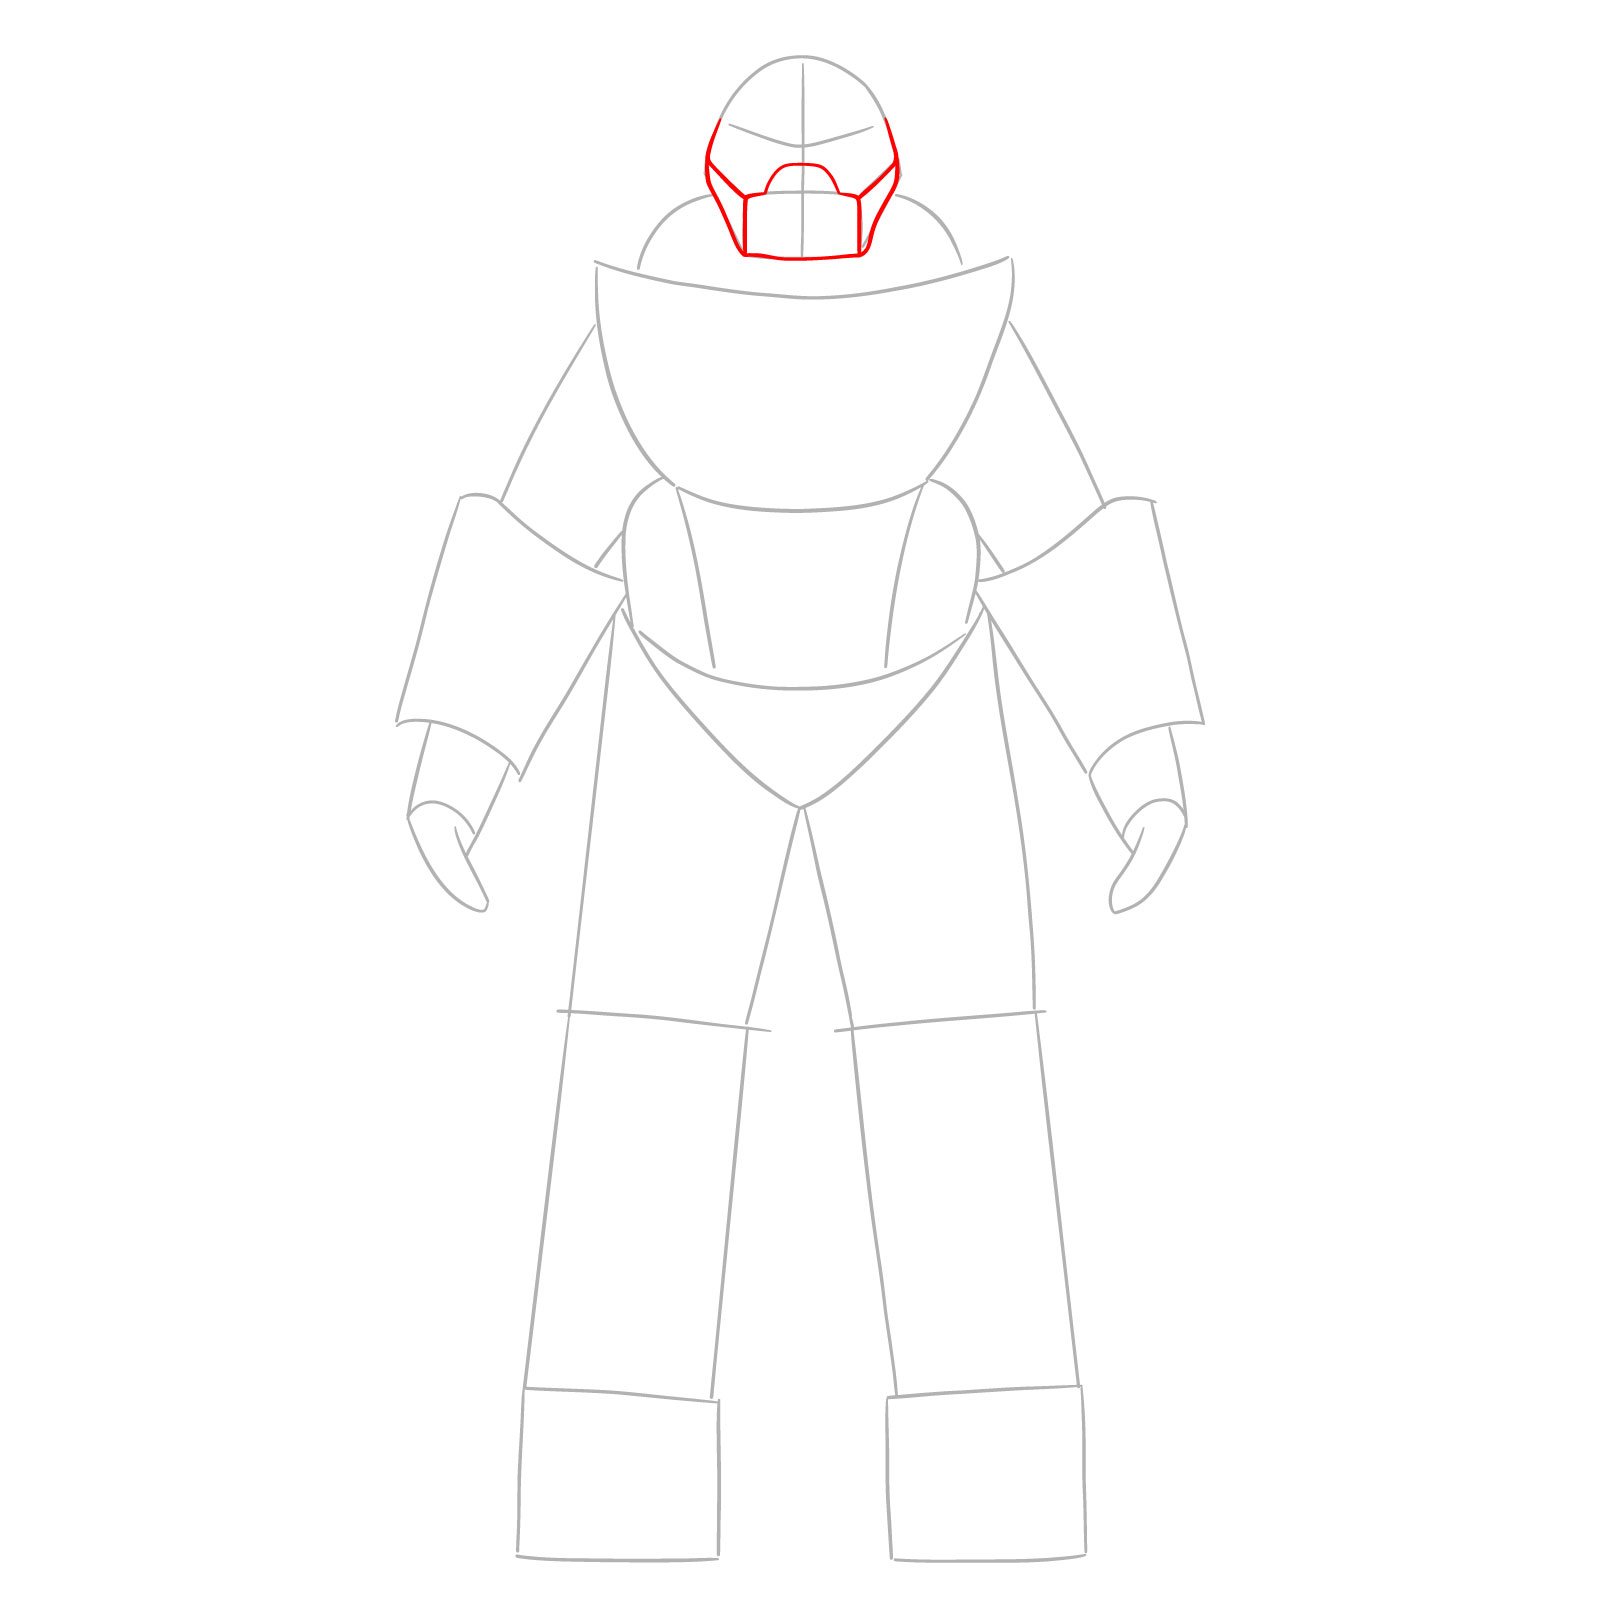
- A helmet featuring a rounded visor and ventilation system, connected to a sturdy neck piece.
- Large, outward-extending shoulder pads with a pointed design for a bulkier look.
- Armored gauntlets and leg pieces with visible joints and mechanical details.
- Thick, reinforced boots with detailed paneling.
- Decorative and functional components like tubing, bolts, and surface ridges.
If you enjoy working on detailed designs, you might also consider sketching a Vertibird, or other Fallout-inspired armor sets, such as the T-60 power armor and the X-01 model, to expand your collection.
Step-by-Step Drawing Guide Features
- Red Color: Indicates the step currently being worked on.
- Black Color: Marks the completed lines from previous steps.
- Grey Color: Represents the basic framework of the sketch.
This color-coding system is designed to keep the process clear and help you track your progress throughout the drawing.


Working through the X-02 Power Armor can feel a little overwhelming at first, since there are a lot of overlapping panels and angular forms to keep track of, but a second pass usually makes everything click into place. This how to draw X-02 Power Armor guide is worth revisiting once you have the overall silhouette down, because the details read much more clearly once you know where they sit. If you want a steady batch of new tutorials dropped into your inbox each week, the signup form is waiting at the top of the page.
HOLY SHT YOU GUYS LISEND TO ME
THANK YOU!!!!!!!!