Are you a fan of Clash of Clans and want to draw one of the strongest heroes in the game? You’ve come to the right place! In this step-by-step tutorial, we will show you how to draw the Archer Queen and guide you through the process of creating an amazing drawing of this graceful and deadly huntress. Follow along as we break down each step, provide helpful tips, and answer frequently asked questions.
The Archer Queen: An Iconic Clash of Clans Character
The Archer Queen is a formidable force in the world of Clash of Clans. As the second Hero, unlocked at Town Hall 9, she boasts higher damage and hitpoints than the regular Archer. With her extended range and rapid-fire arrows, she is a force to be reckoned with on the battlefield. As an immortal unit, she is automatically summoned once the Archer Queen Altar is constructed, costing 10,000 Dark Elixir. Now, let’s unleash her power in your artwork!
Arm Yourself with the Right Tools
Before we begin our journey to draw the Archer Queen, gather the following recommended materials and tools:
- Pencils (HB and 2B)
- Erasers
- Pencil sharpener
- Inking pens
- Colored pencils or markers
- Blending tools (optional)
Feel free to use your preferred tools and materials. The list above is just a recommendation!
Your Step-by-Step Guide to Drawing the Archer Queen
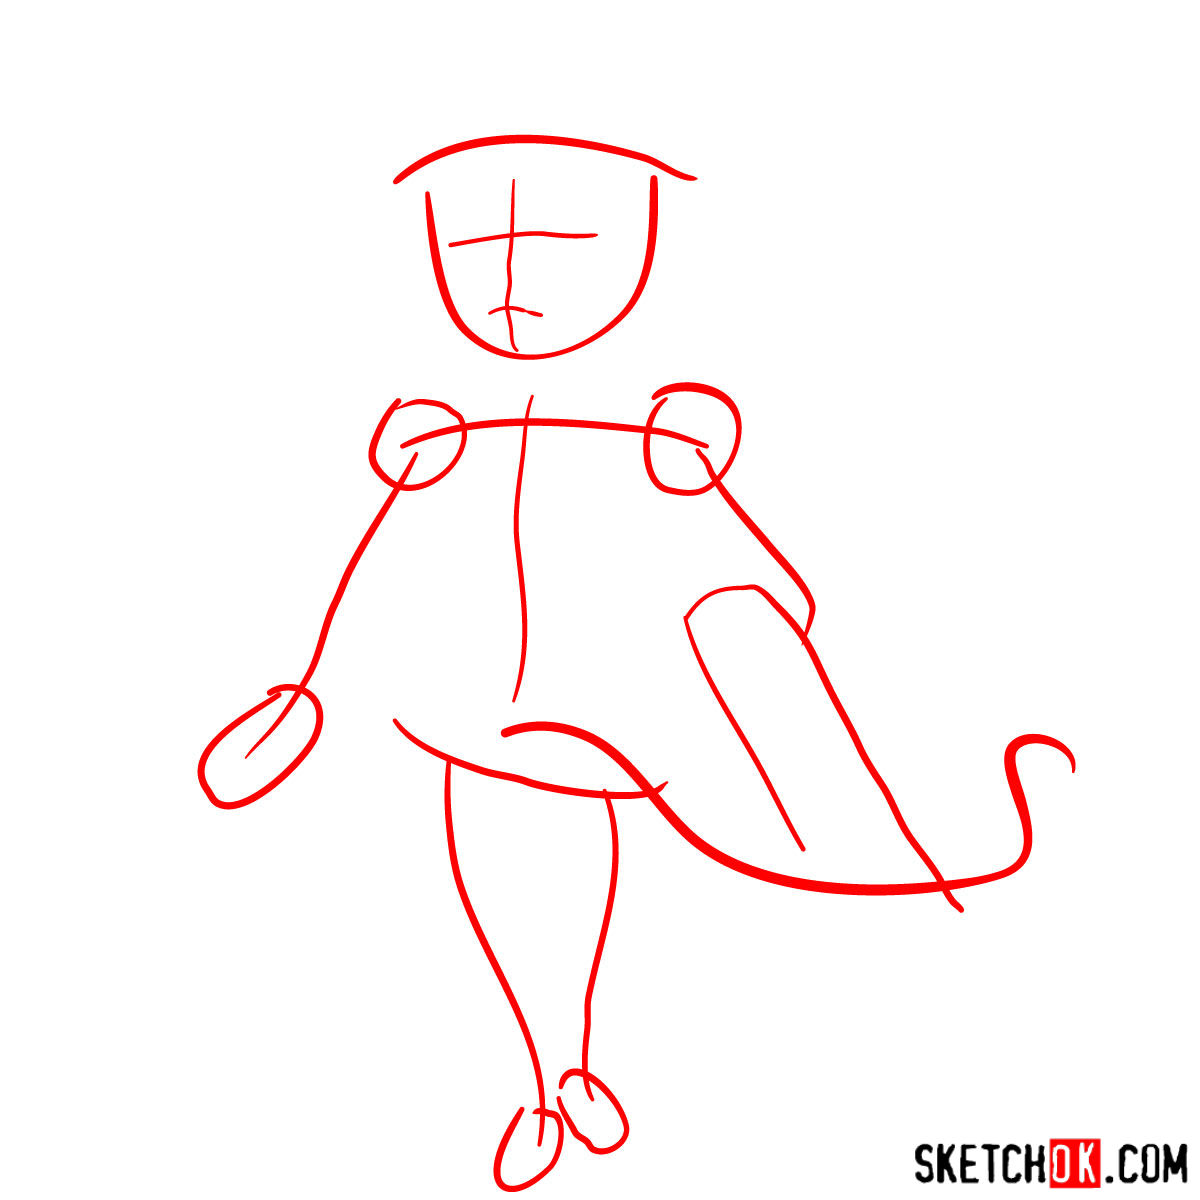
Part 1: Basic Sketch
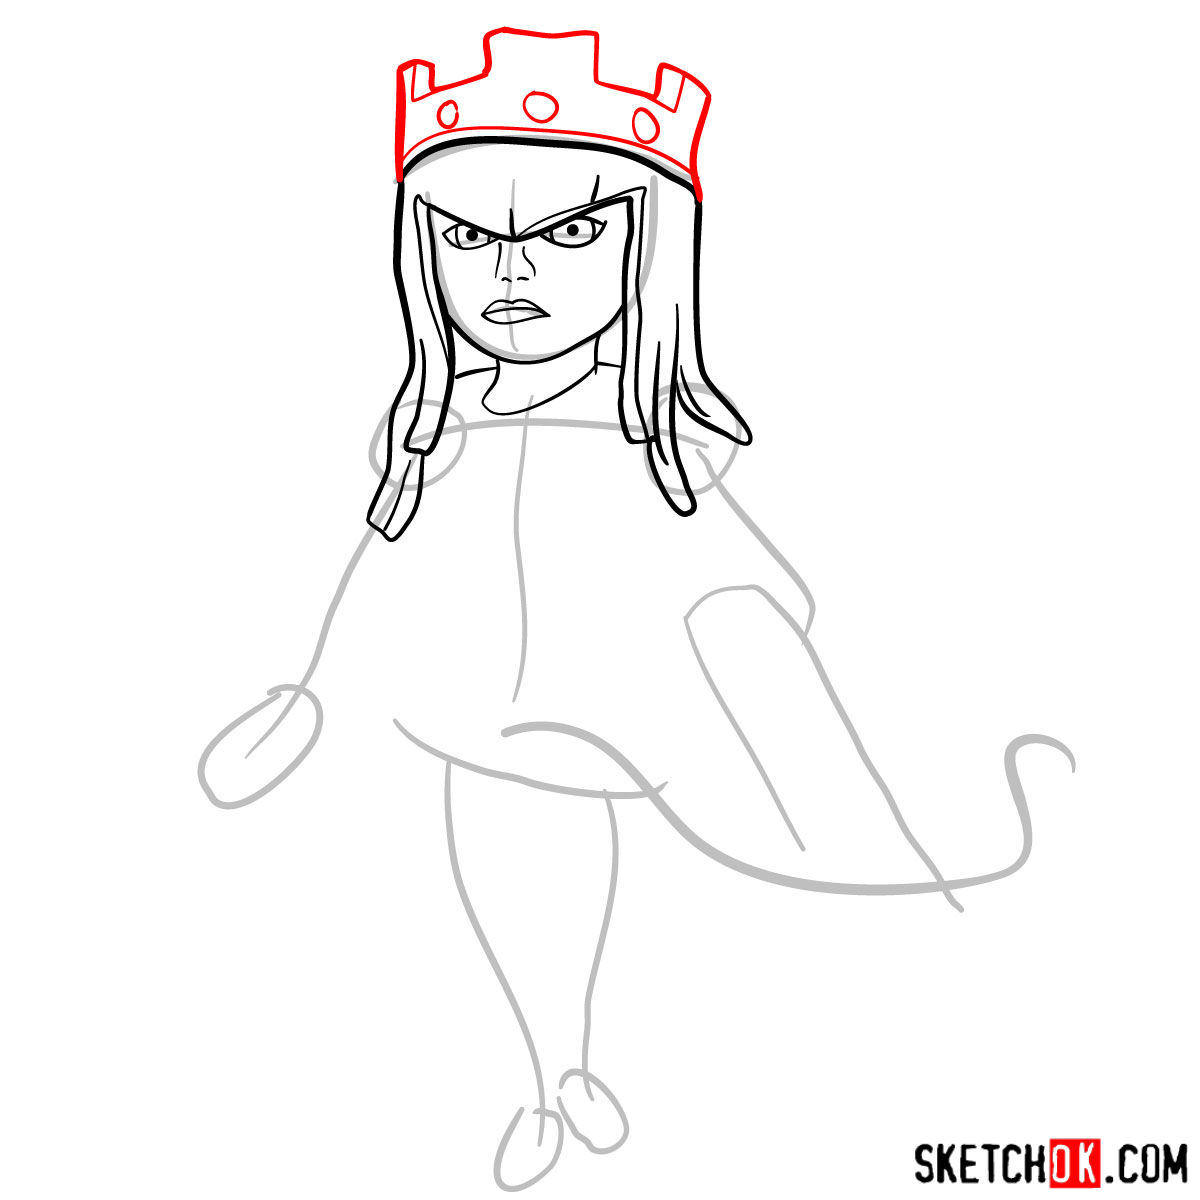
Begin by creating a basic structure for the Archer Queen using light pencil strokes. This step is crucial for establishing the correct proportions and positioning of the character. Remember to be patient and take your time, as it will be the foundation for your drawing.
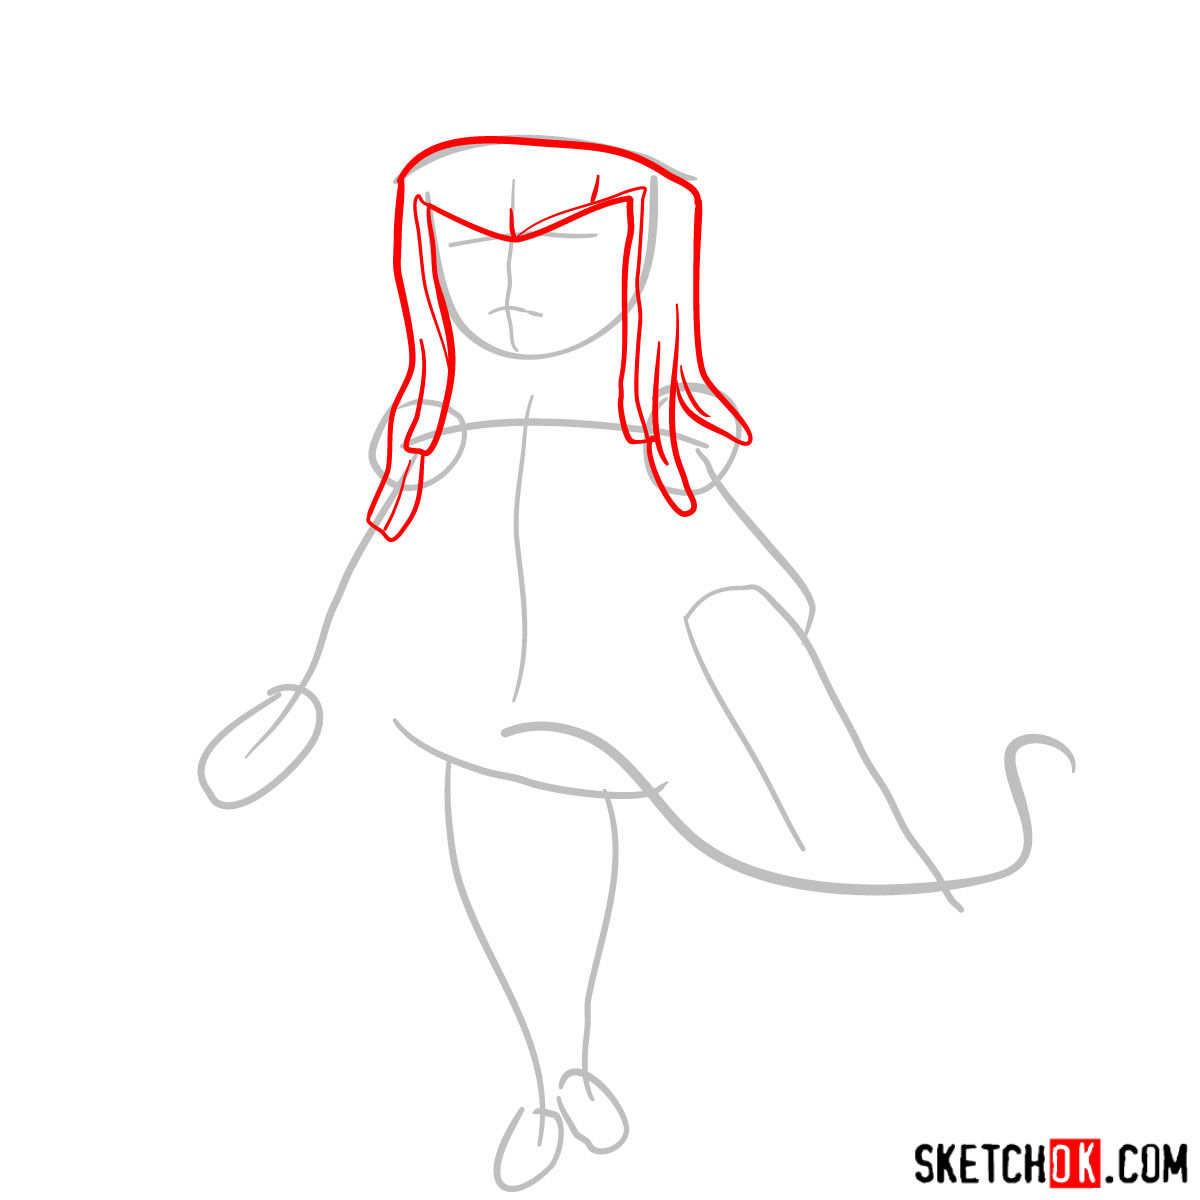
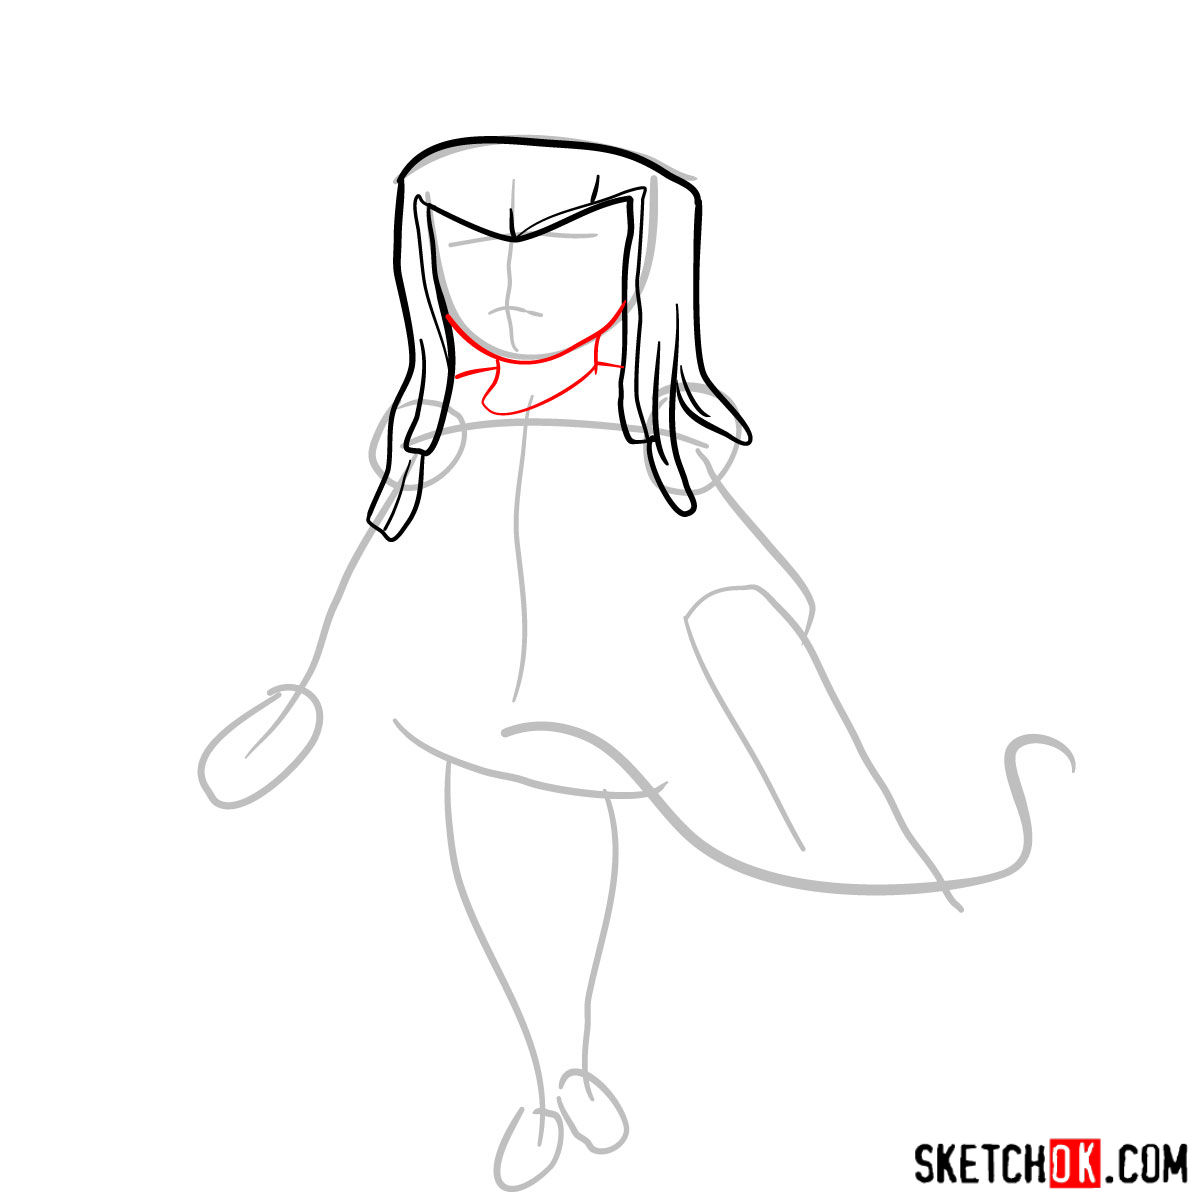
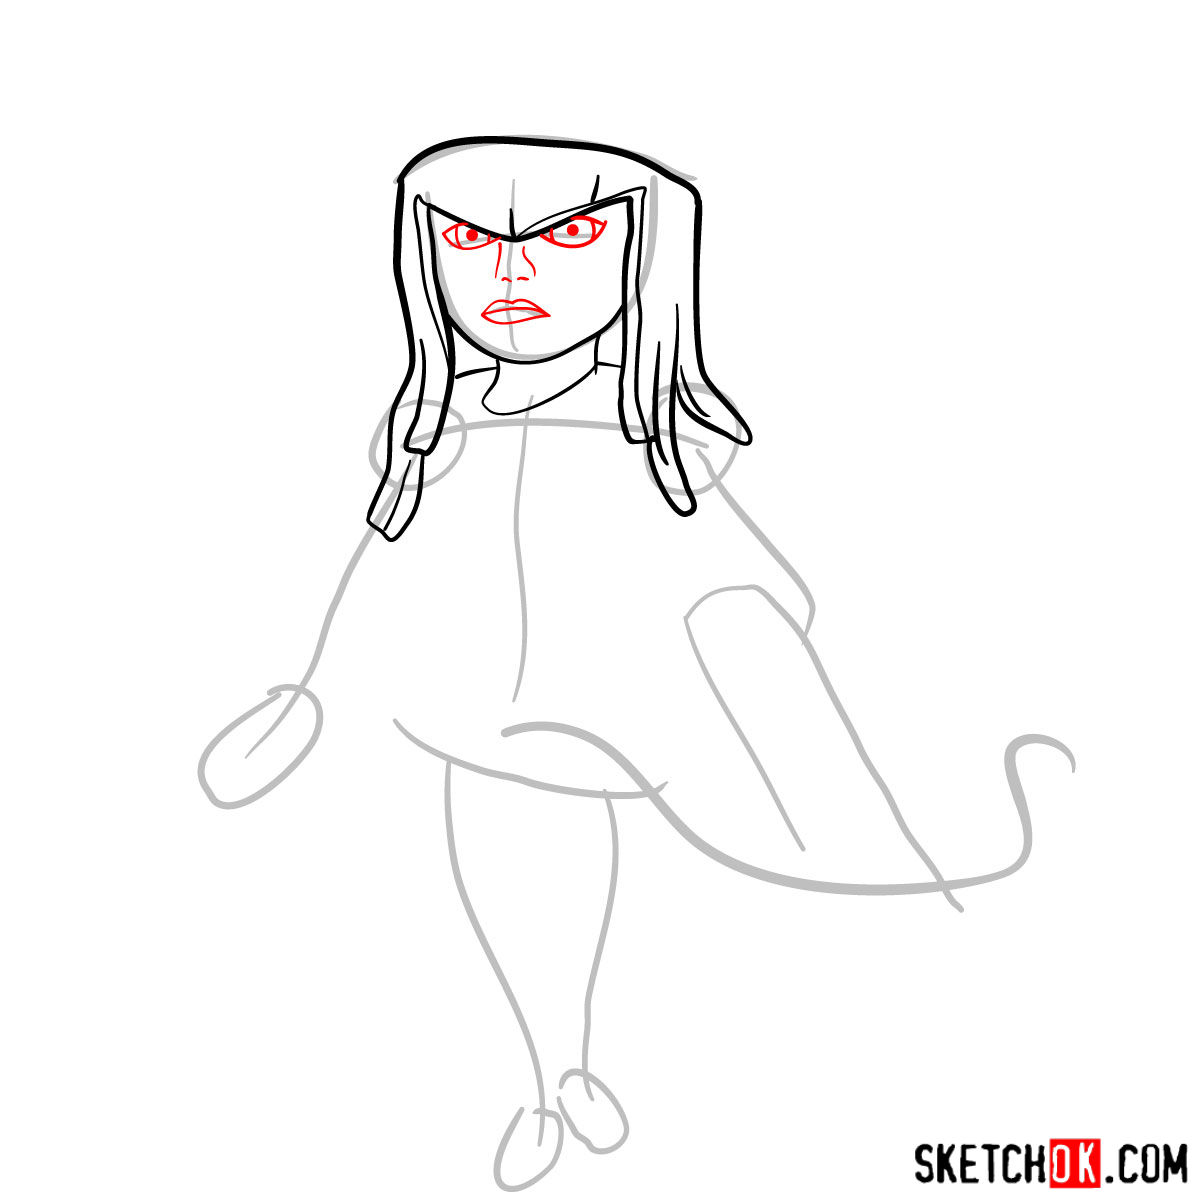
Part 2: Refining the Sketch
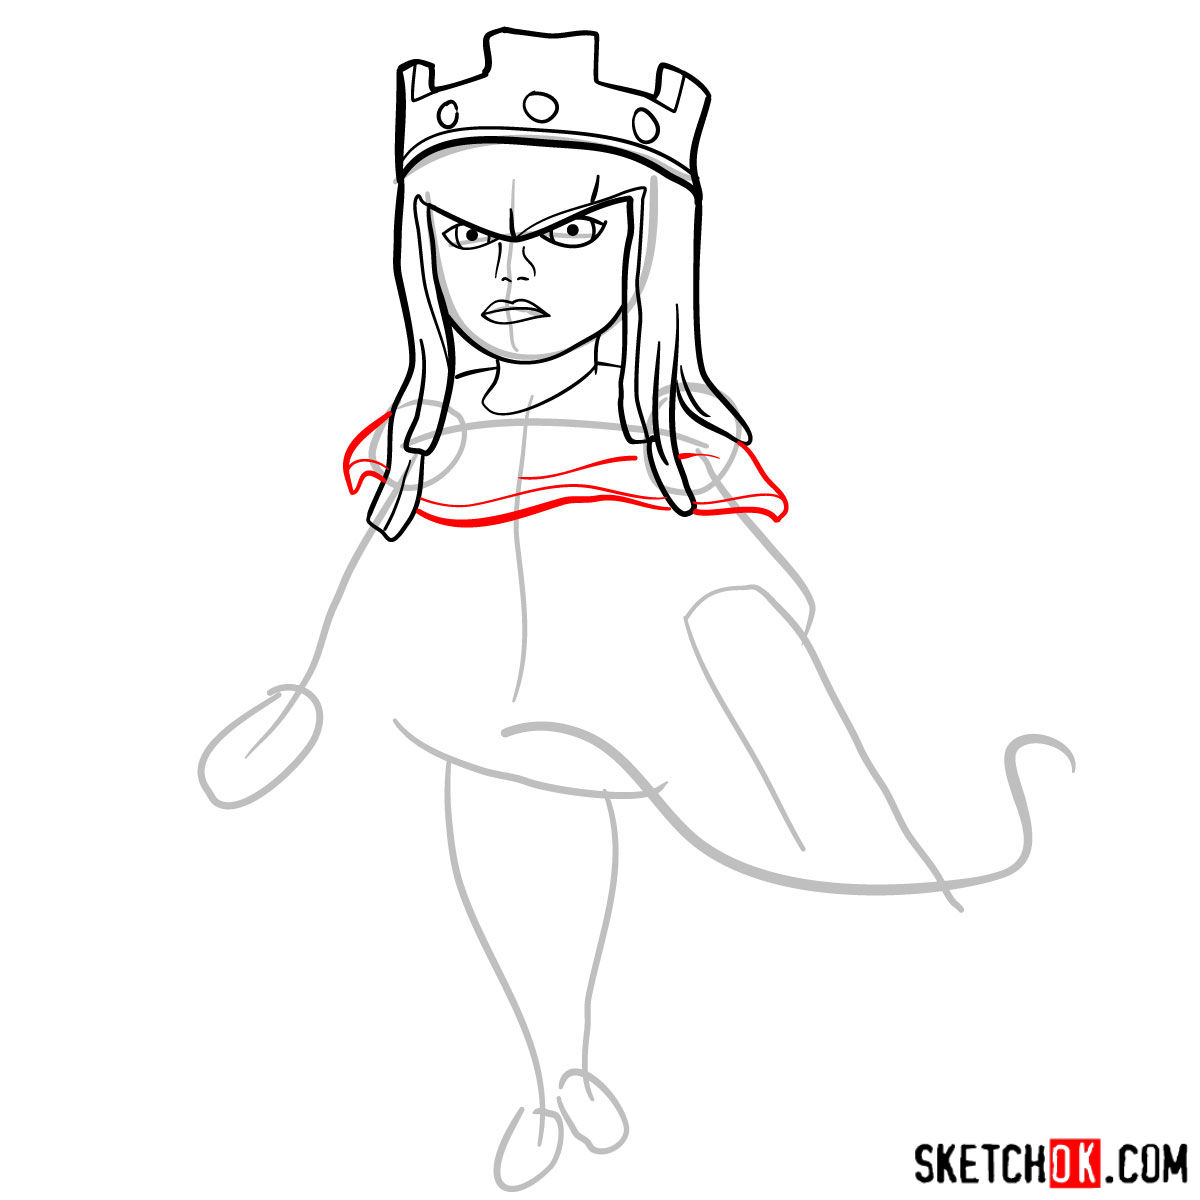
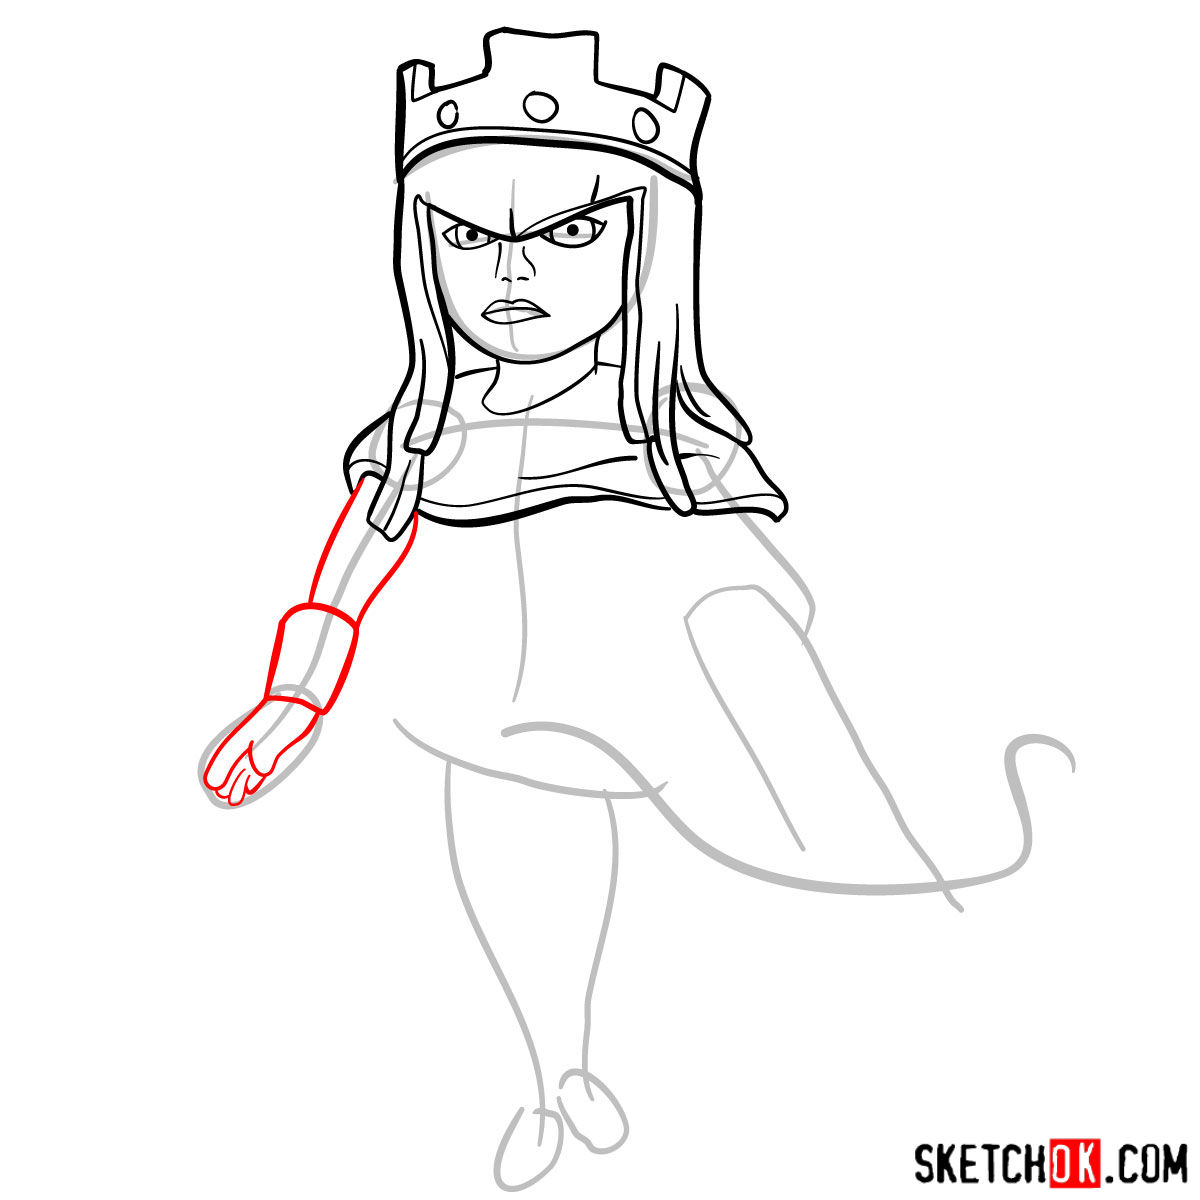
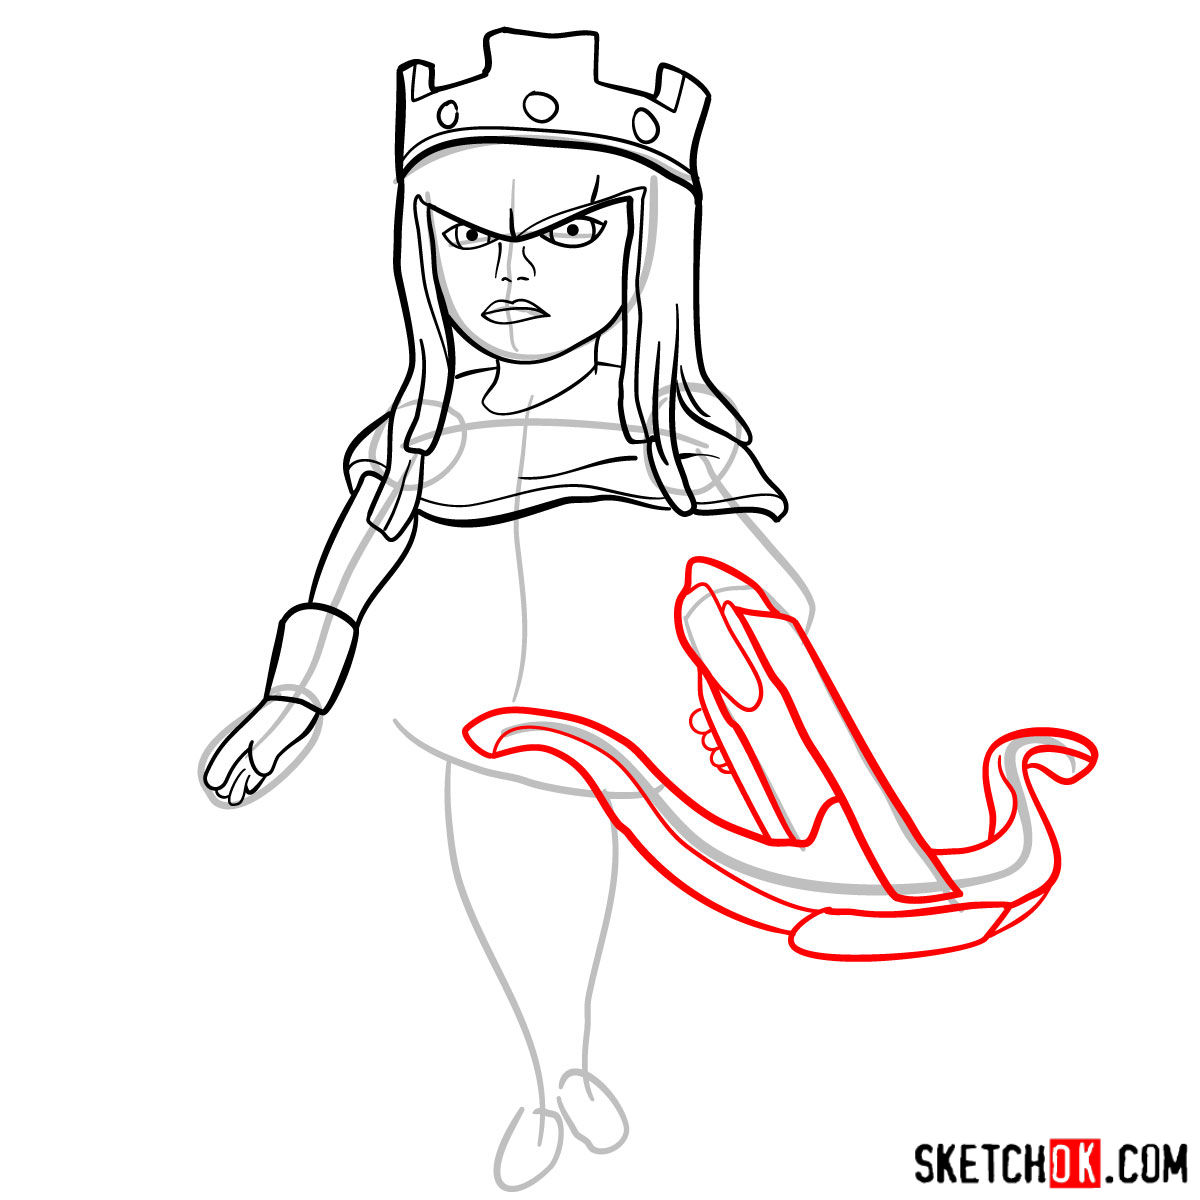
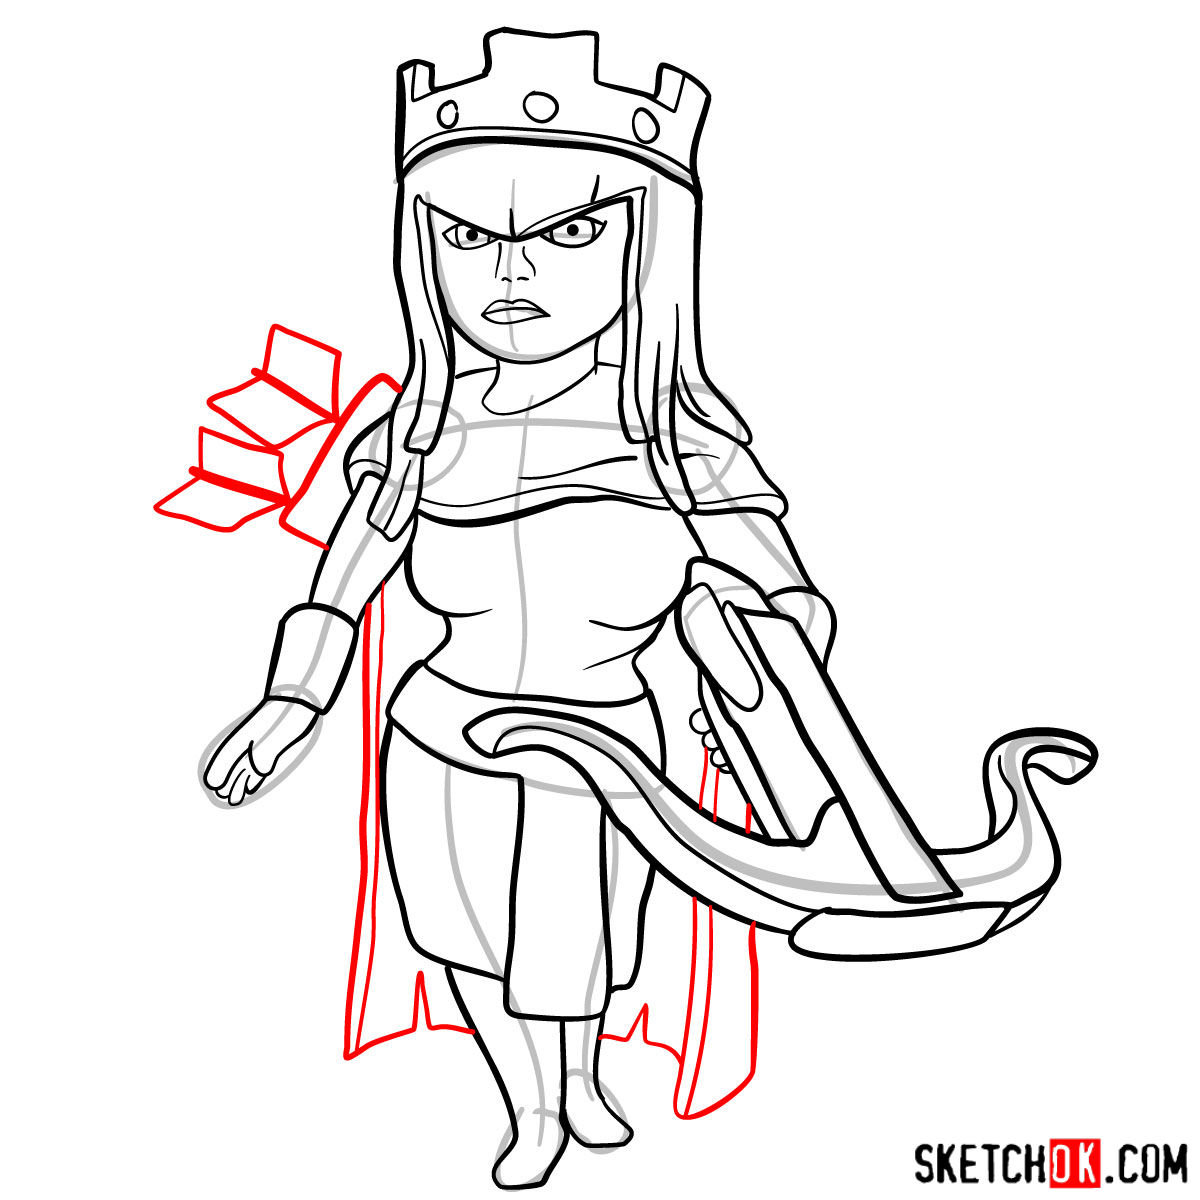
With the basic structure in place, refine your sketch by adding details and improving the proportions of the Archer Queen. Use reference images to capture her unique features, such as her flowing hair, royal cloak, and fierce bow.
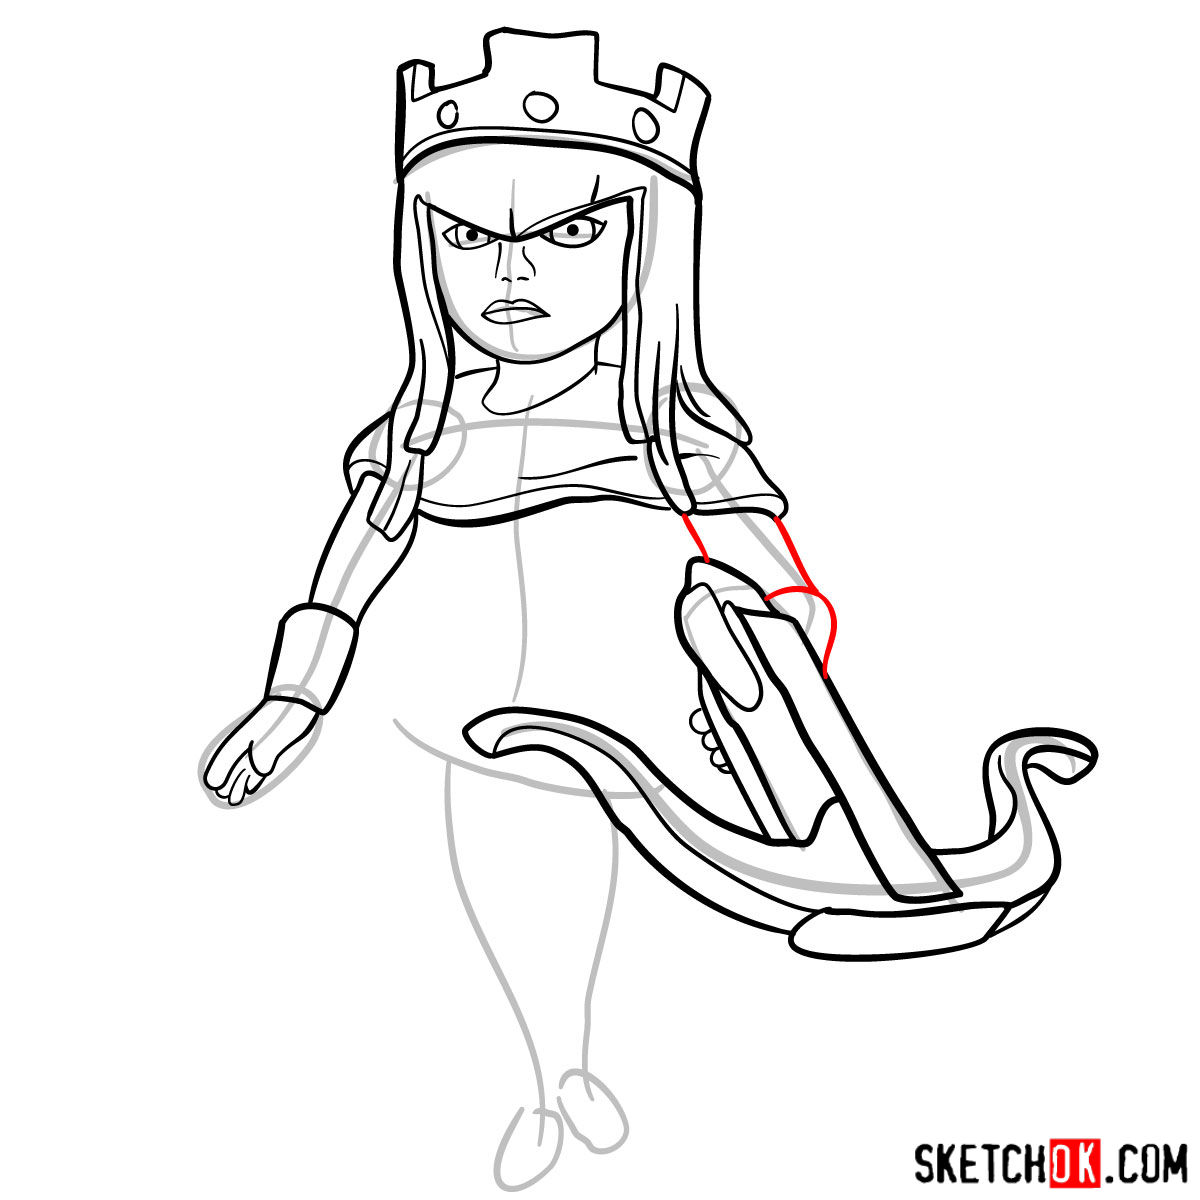
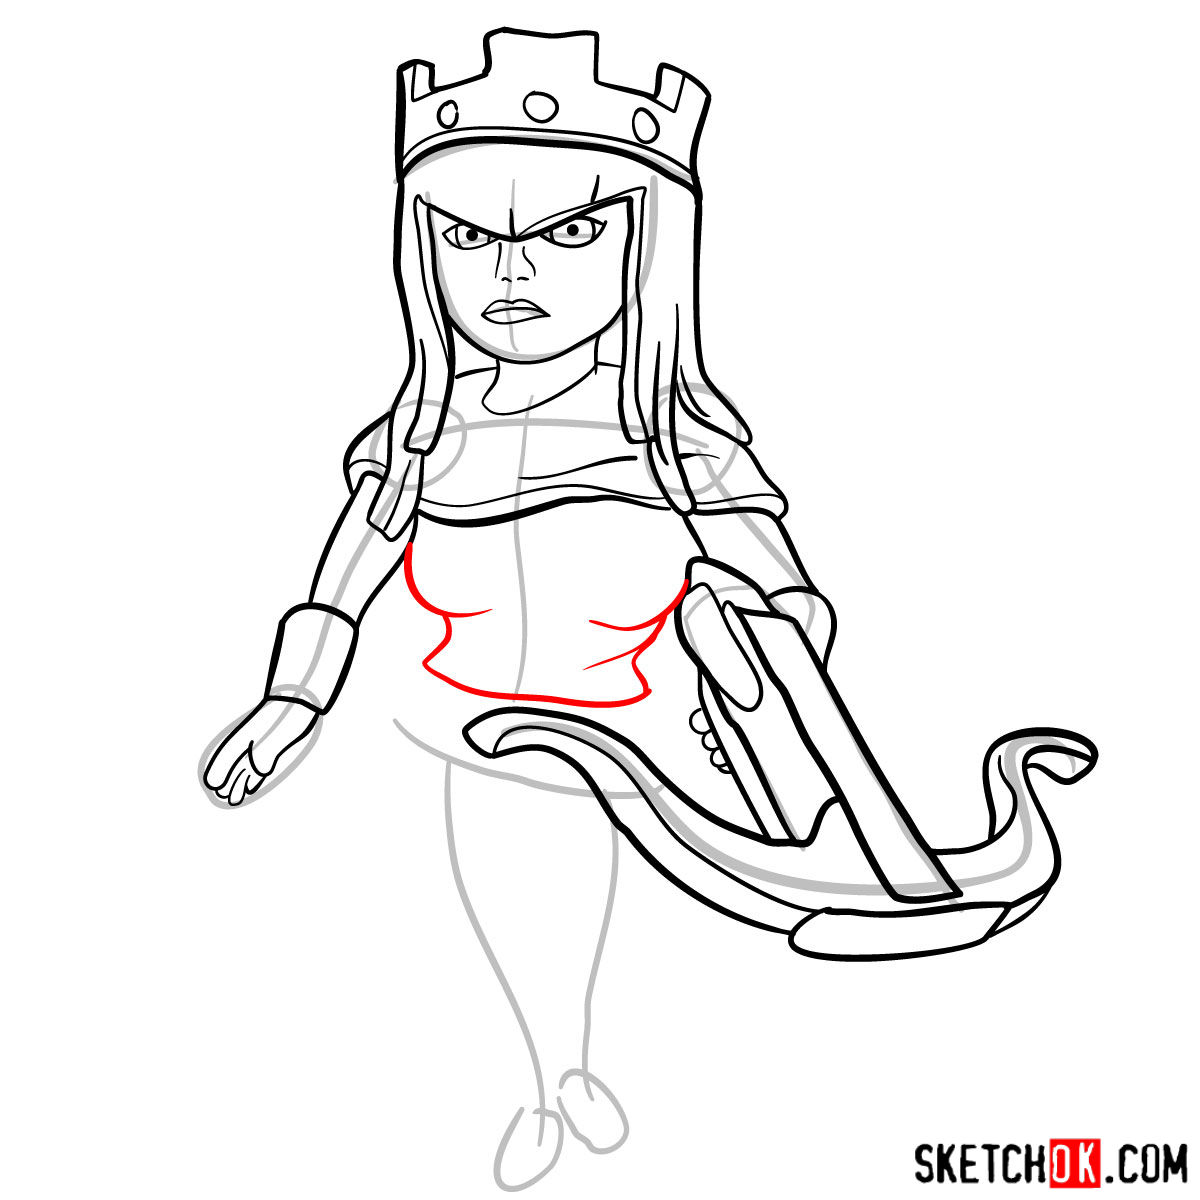
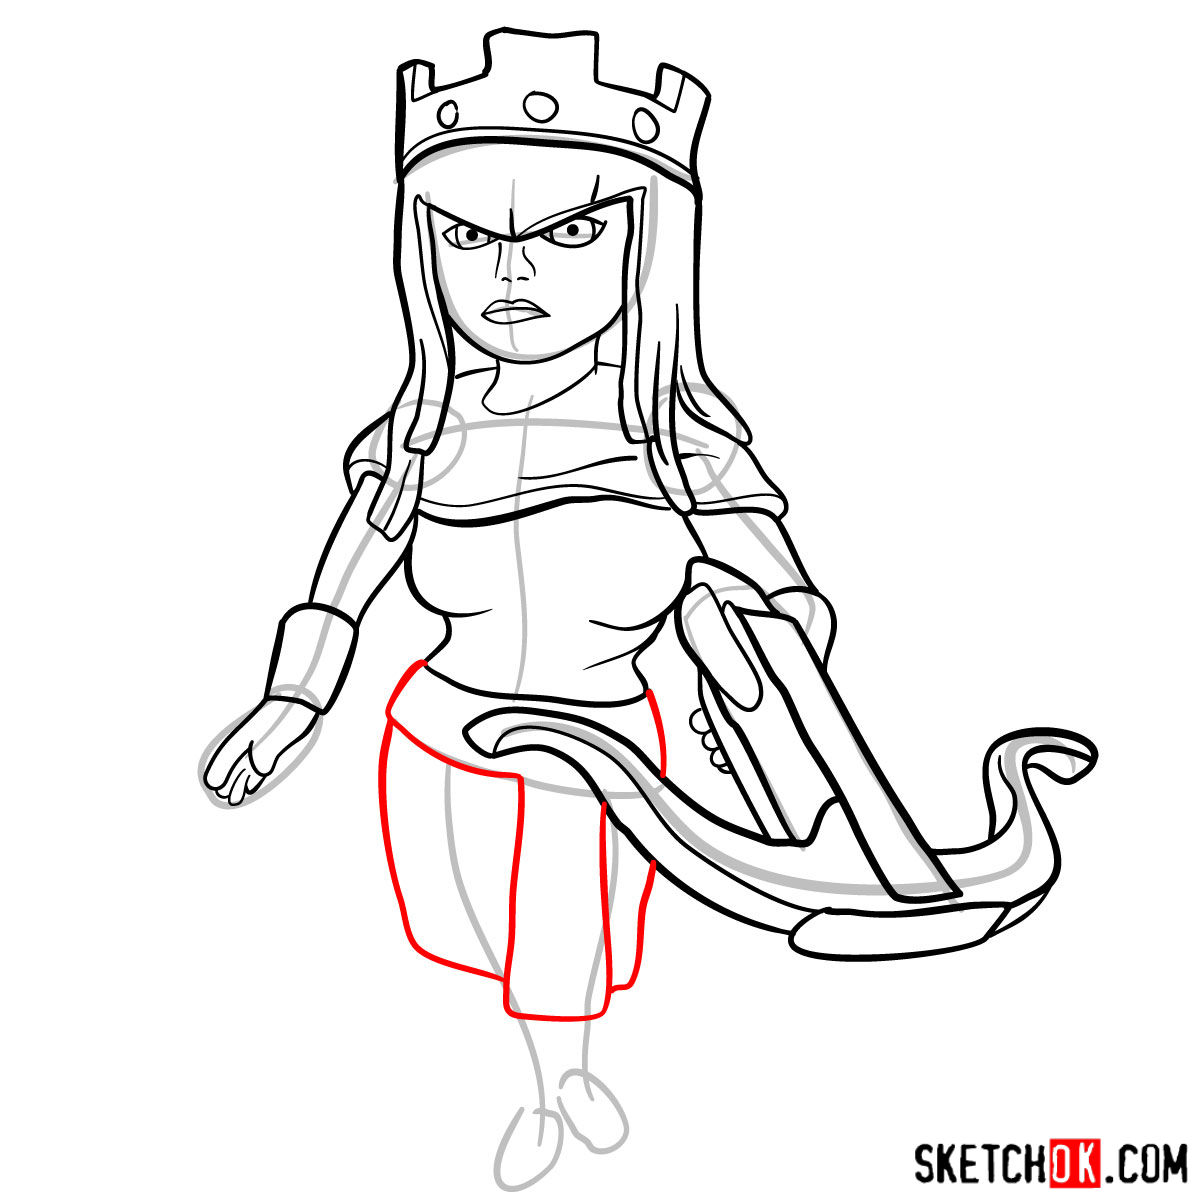
Part 3: Inking
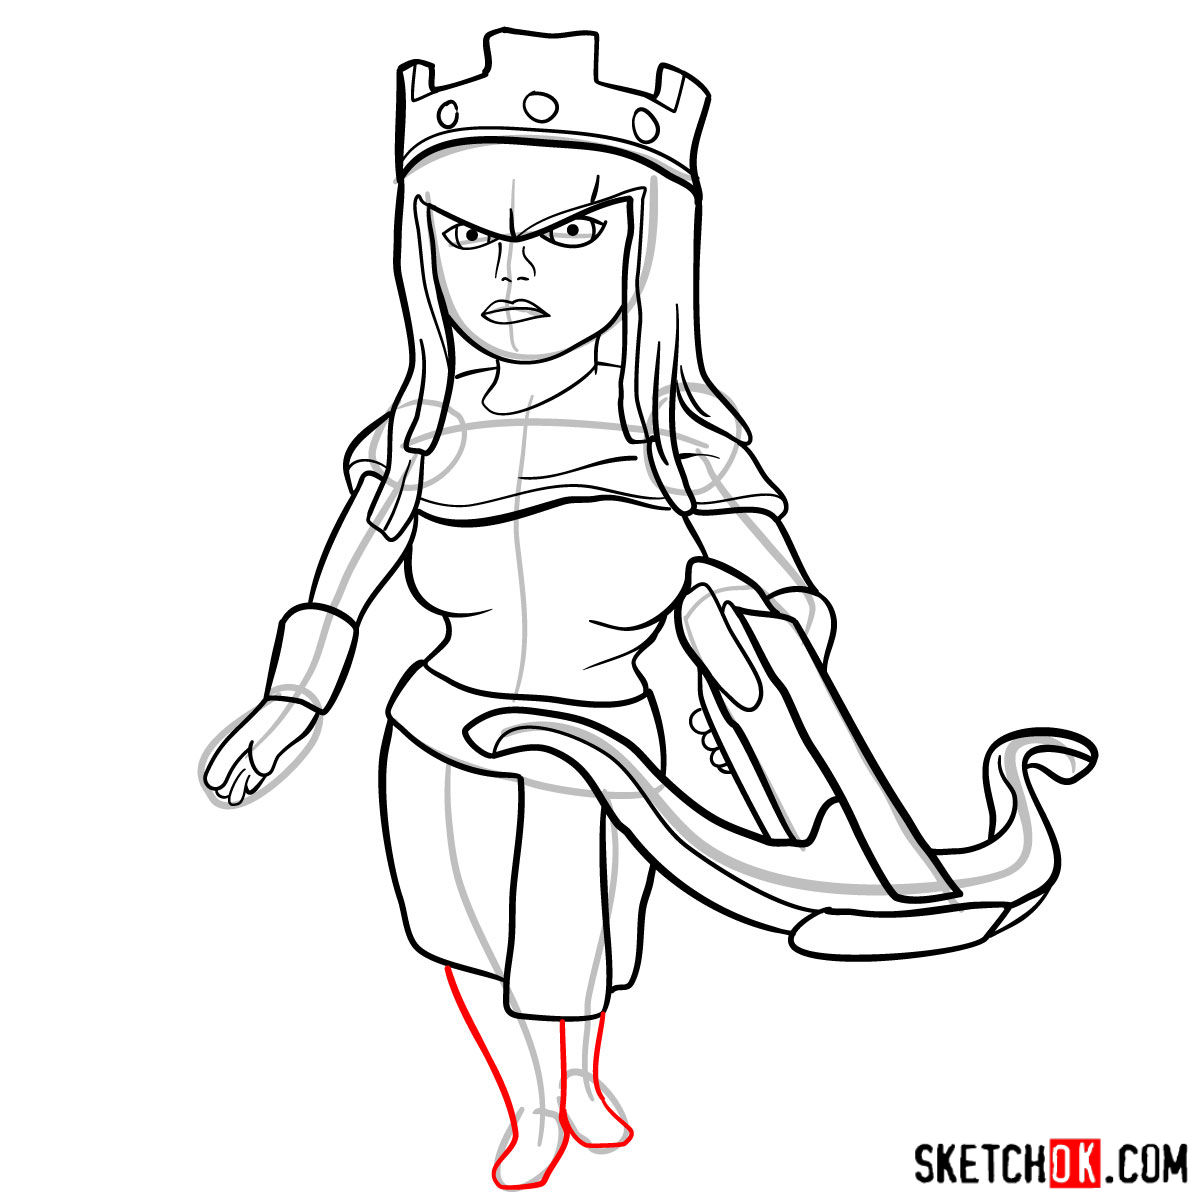
Once you’re satisfied with your refined sketch, proceed with inking the drawing. Outline your pencil lines using a fine inking pen, and add any final touches to enhance the character’s appearance. Remember to let the ink dry before moving on to the next step.

Part 4: Coloring and Shading
Now, bring your Archer Queen to life with color! Use colored pencils or markers to fill in the details, and add shading and highlights to create depth and dimension in your drawing. Experiment with blending tools to achieve a smooth and polished look.

Study the designs of similar Clash of Clans characters, such as Barbarian King, Grand Warden, and a regular Archer, to gain a better understanding of their style and anatomy.
Now that you’ve learned how to draw the Archer Queen from Clash of Clans, it’s time to unleash your creativity and share your artwork with the world! Remember, practice makes perfect, so keep honing your skills and exploring new techniques.