Are you a fan of the skilled archer and superhero Green Arrow? If so, this step-by-step drawing tutorial is perfect for you! In this guide, we’ll walk you through the process of creating your own Green Arrow drawing, from sketching to coloring. Follow along as we reveal the secrets to drawing this iconic DC Comics character. So keep your pencils close, sharpen your skills, and let’s dive in!
Exploring the World of Green Arrow: A Superhero’s Journey
Before we start drawing, let’s take a moment to learn more about Green Arrow’s story and appearance. Green Arrow, also known as Oliver Jonas Queen, is a wealthy businessman and celebrity who fights crime in Star City and Seattle. His signature weapon is his bow and arrow, which he uses with incredible precision. He has been a part of the Justice League and has fought alongside superheroes like Batman, Superman, and The Flash.
Green Arrow’s costume resembles that of Robin Hood, with a touch of modern superhero flair. His outfit is predominantly green, with a hood and mask to conceal his identity. Throughout his comic book appearances, character’s design has evolved, reflecting different artists’ interpretations and the character’s growth.
Assembling Your Artillery: Materials and Tools
Before we begin drawing Green Arrow, let’s gather our materials and tools. While you’re free to use any drawing tools you prefer, we recommend the following:
- Pencils: A range of hardness, from 2H for light sketching to 2B for shading and detailing.
- Erasers: A kneaded eraser for precision and a regular eraser for larger areas.
- Paper: A quality drawing paper that can handle erasing and shading without tearing.
- Inking pens: Fine-tipped pens for outlining and adding details.
- Coloring materials: Colored pencils, markers, or paints, depending on your preference.
The Quiver of Creativity: Step-by-Step Drawing Guide
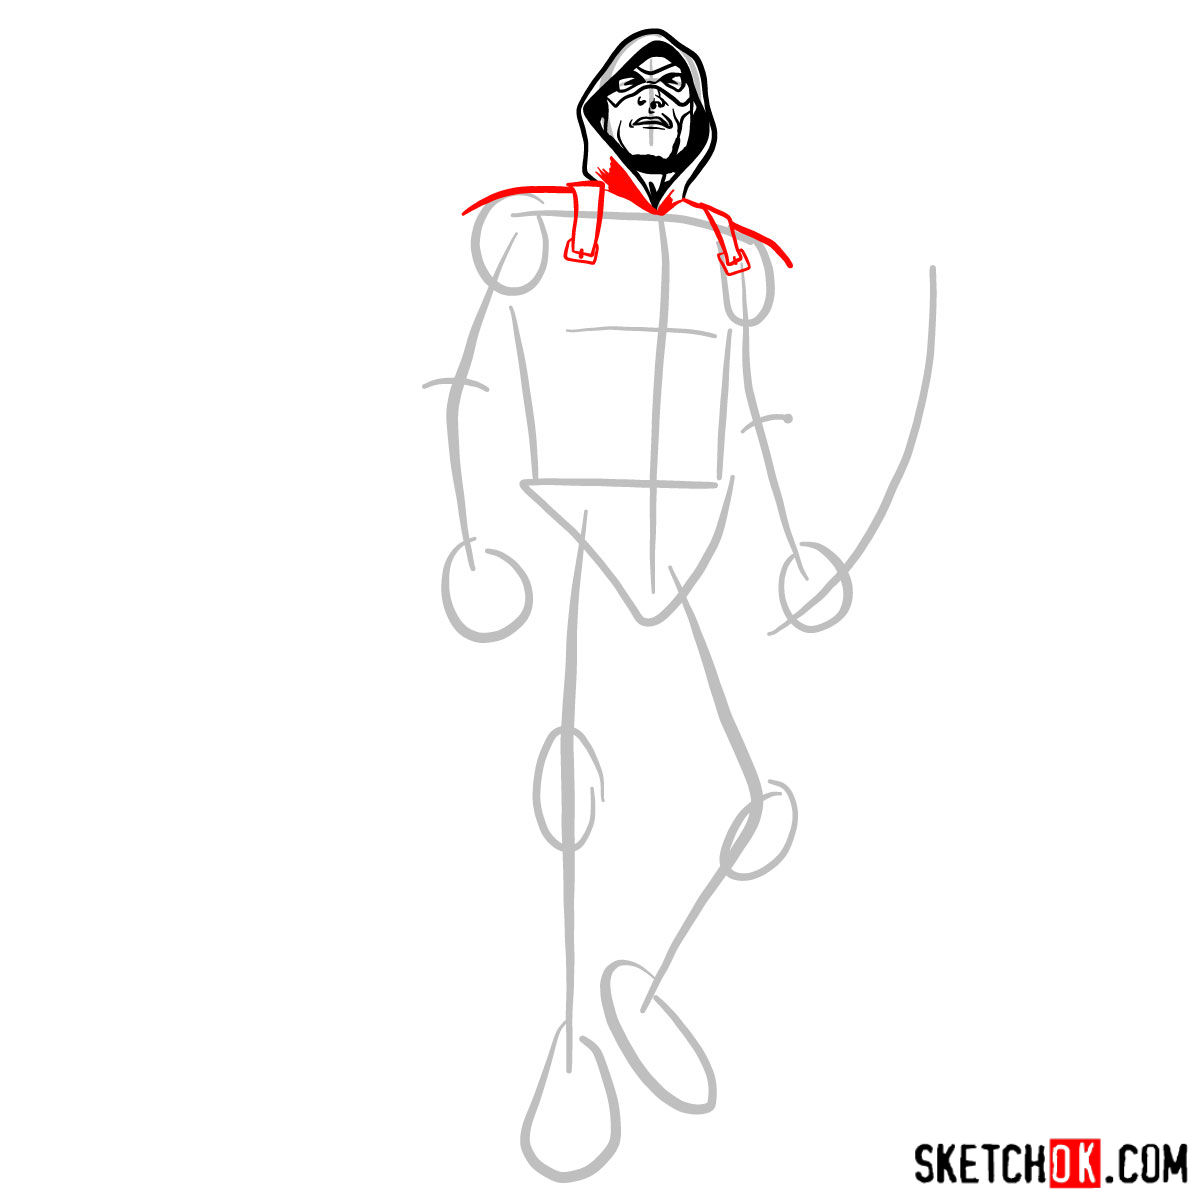
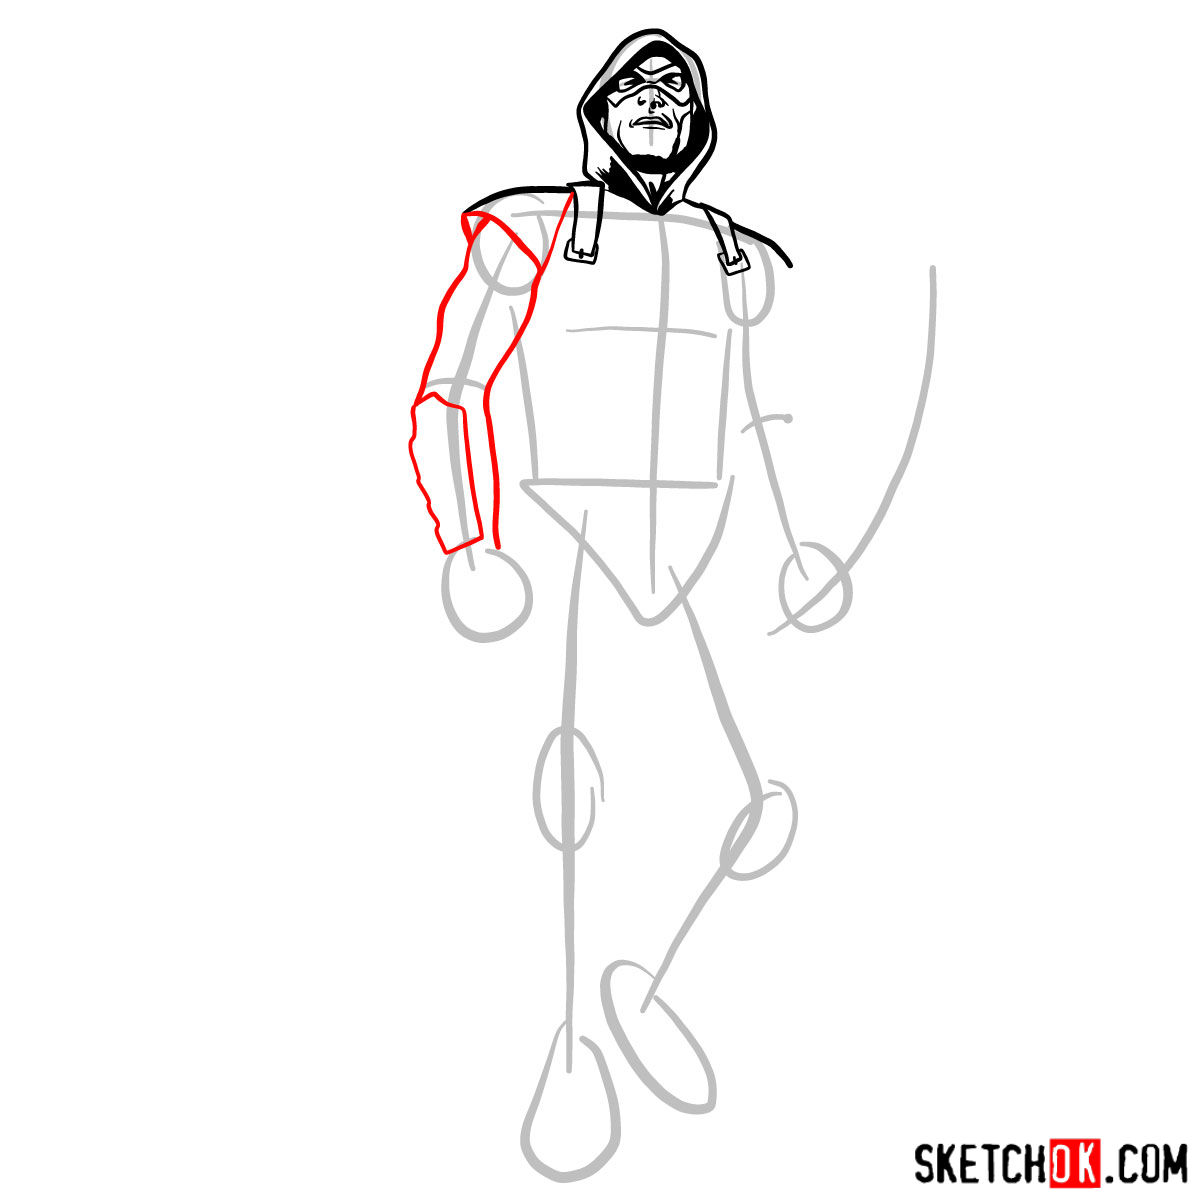
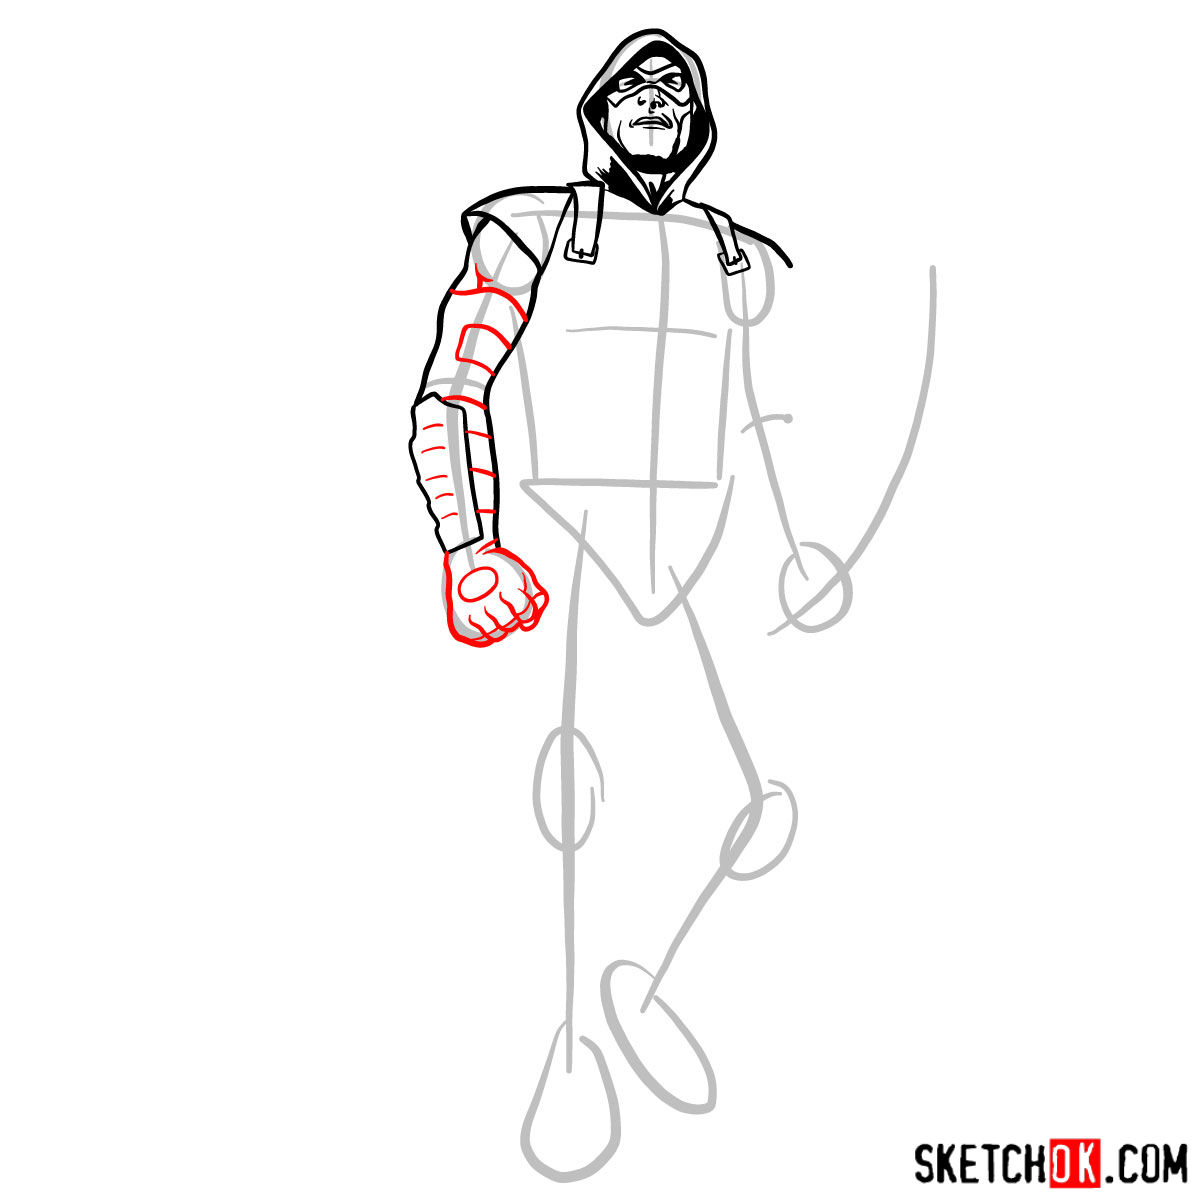
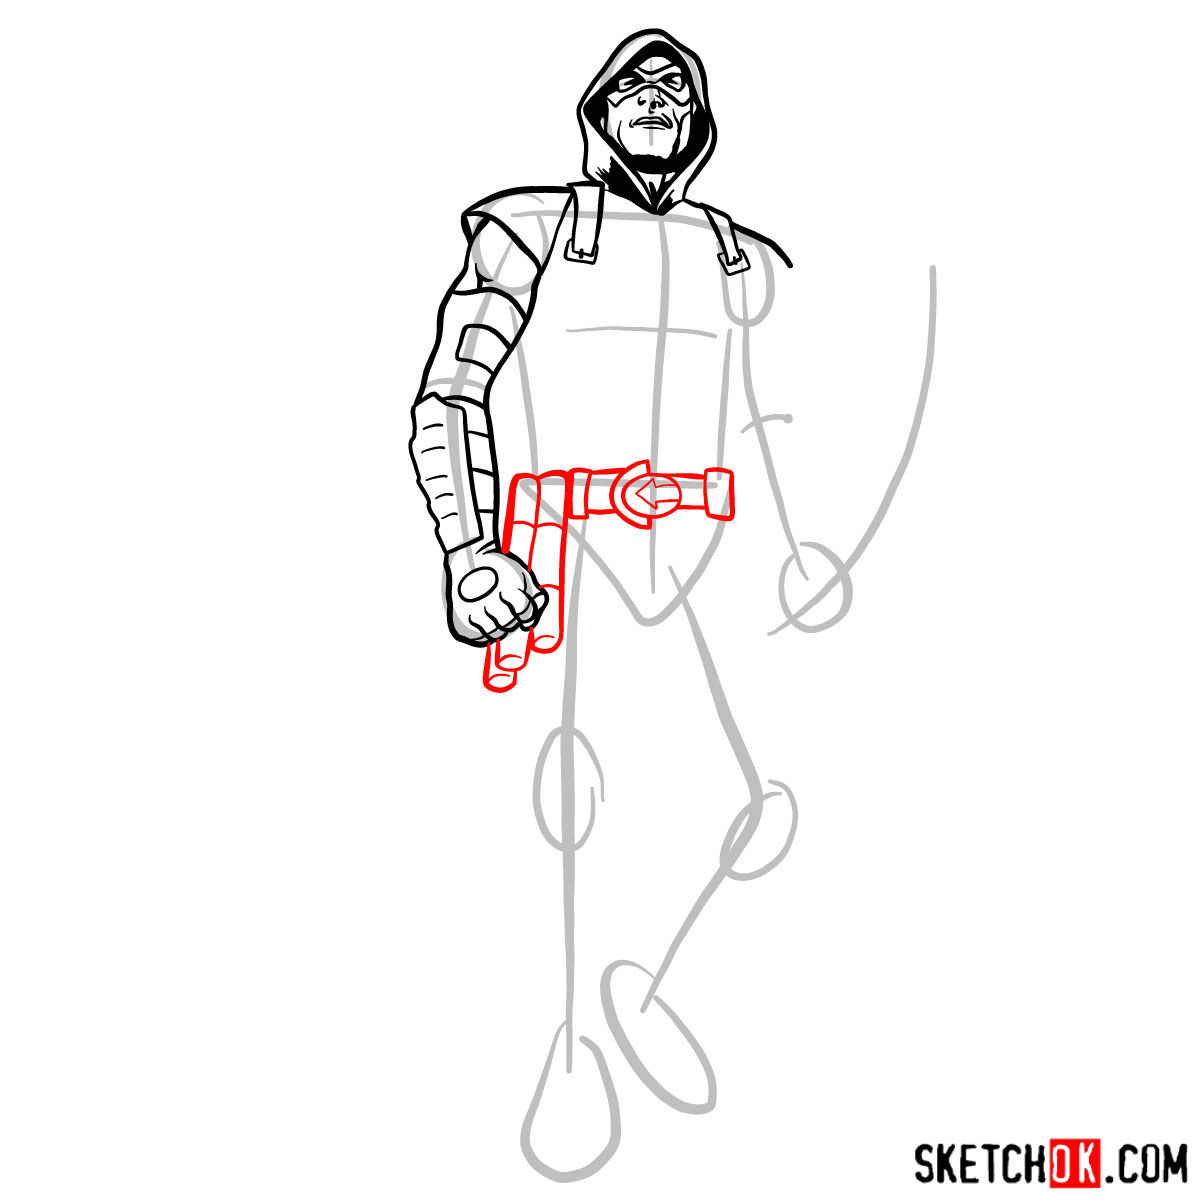
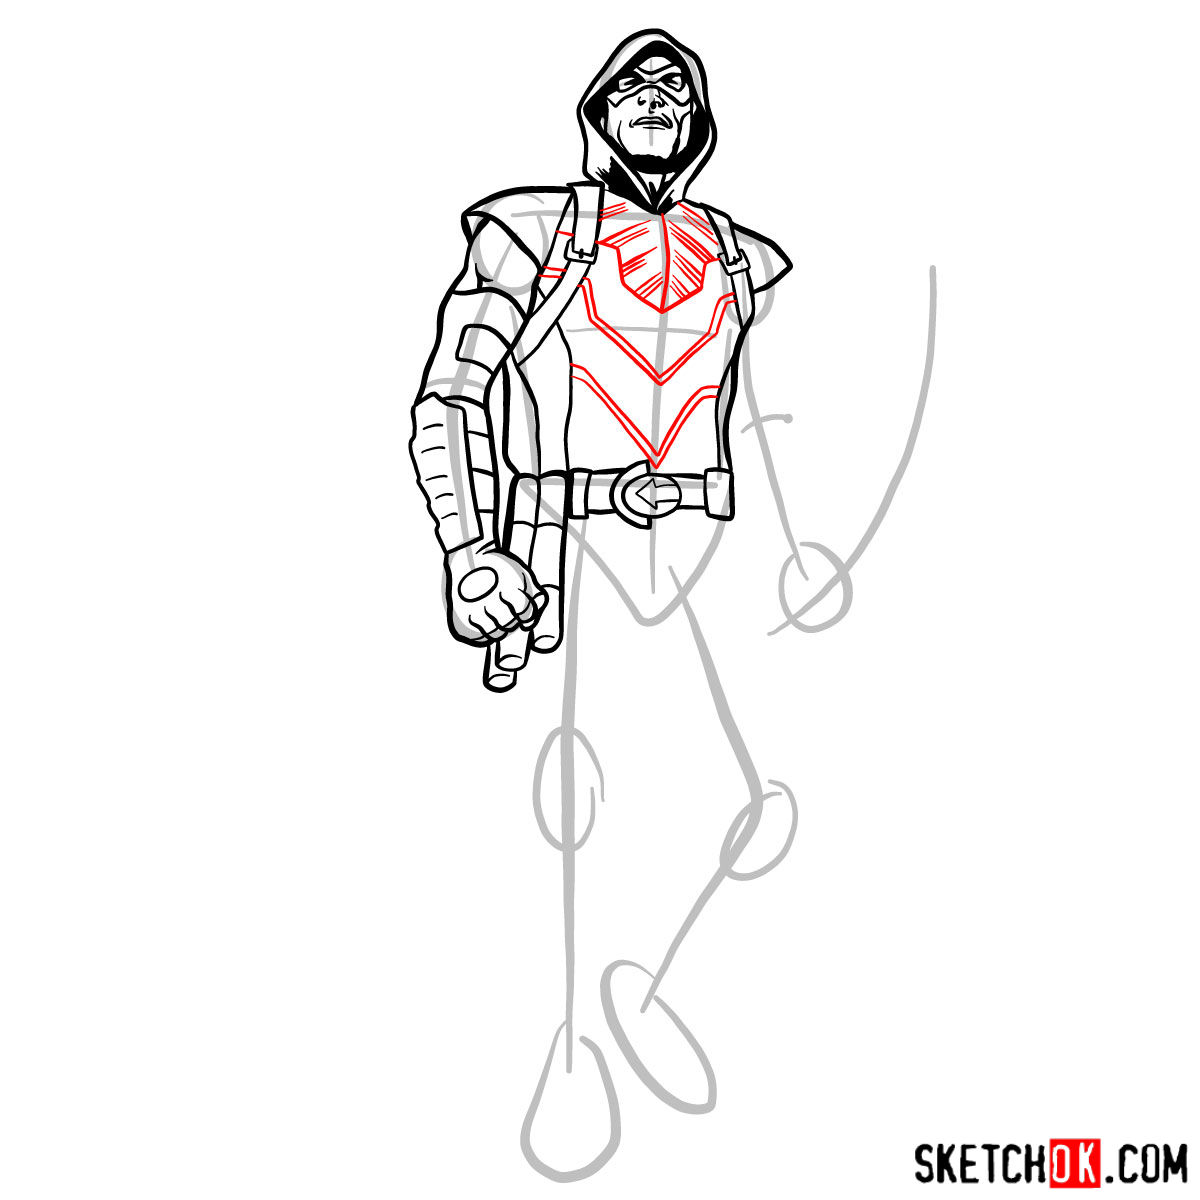
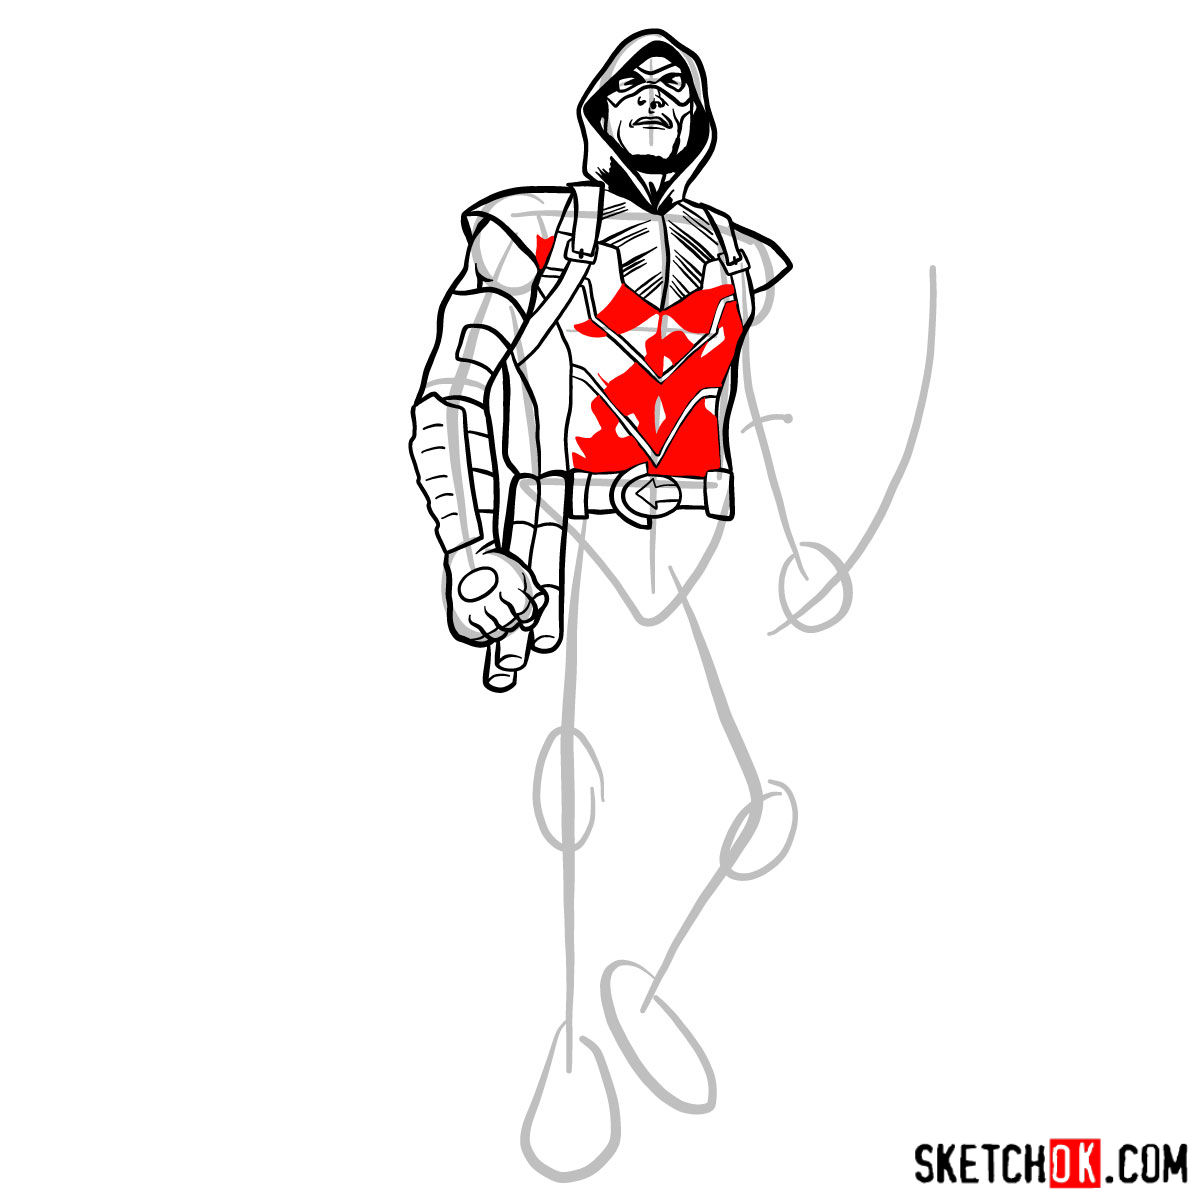
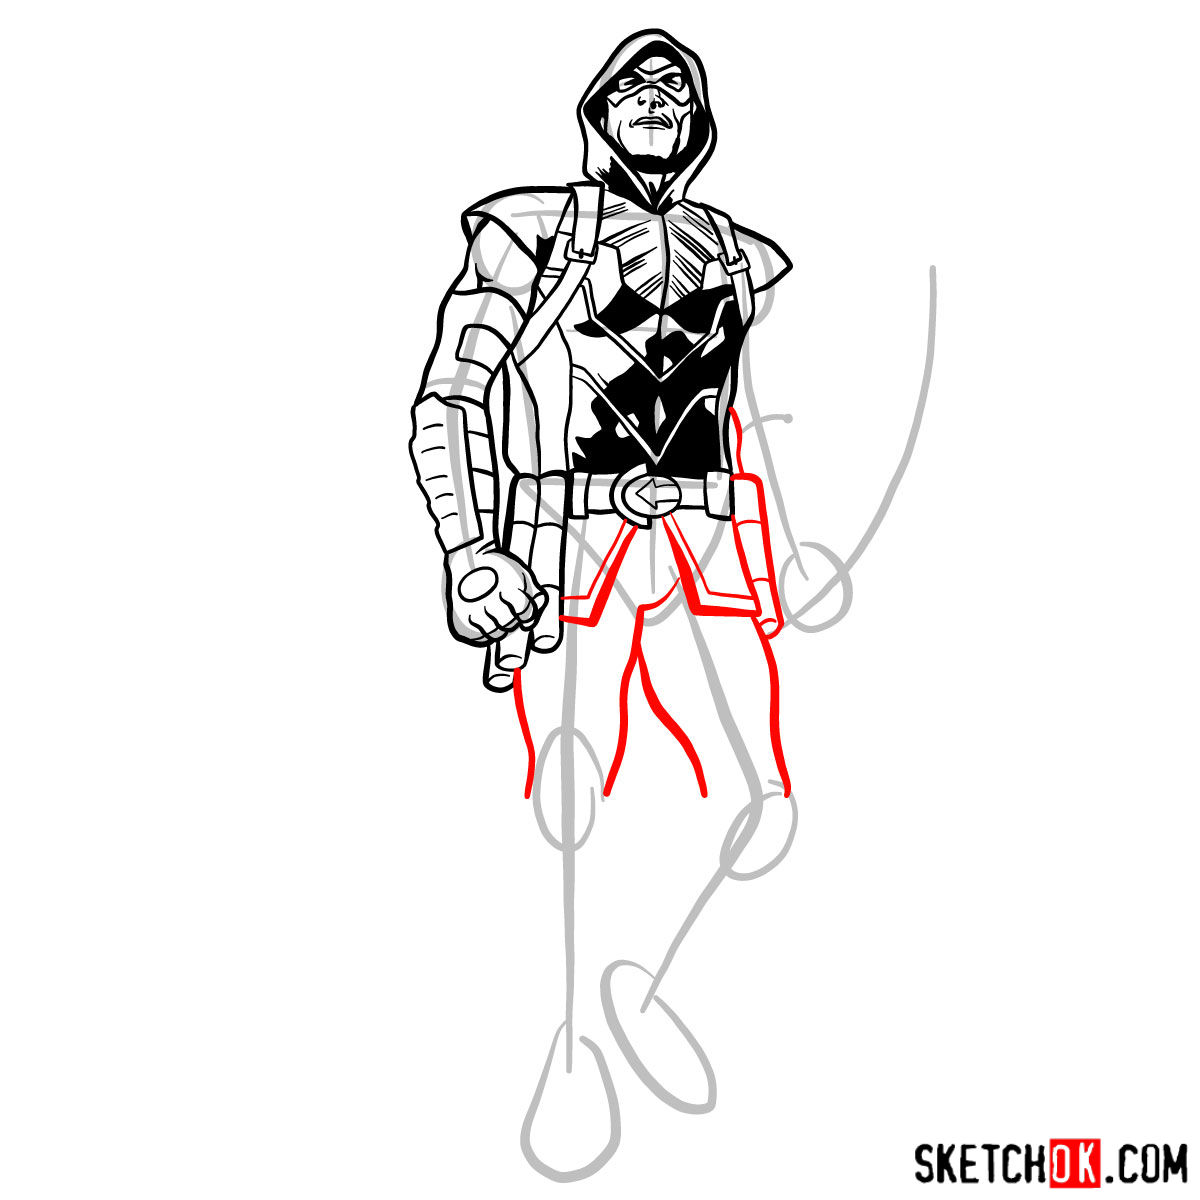
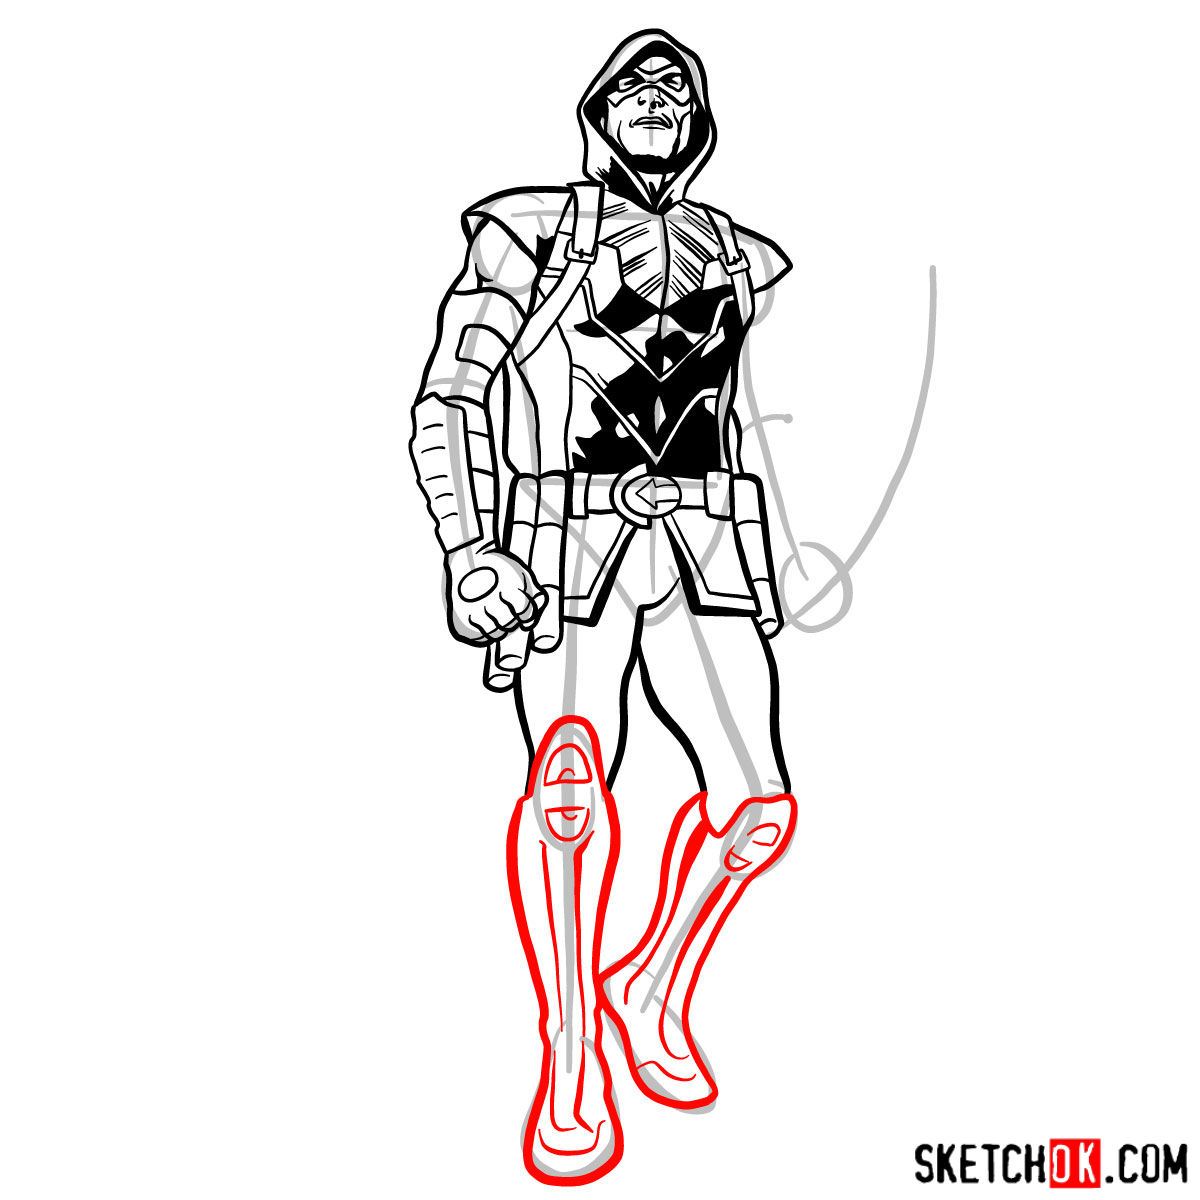
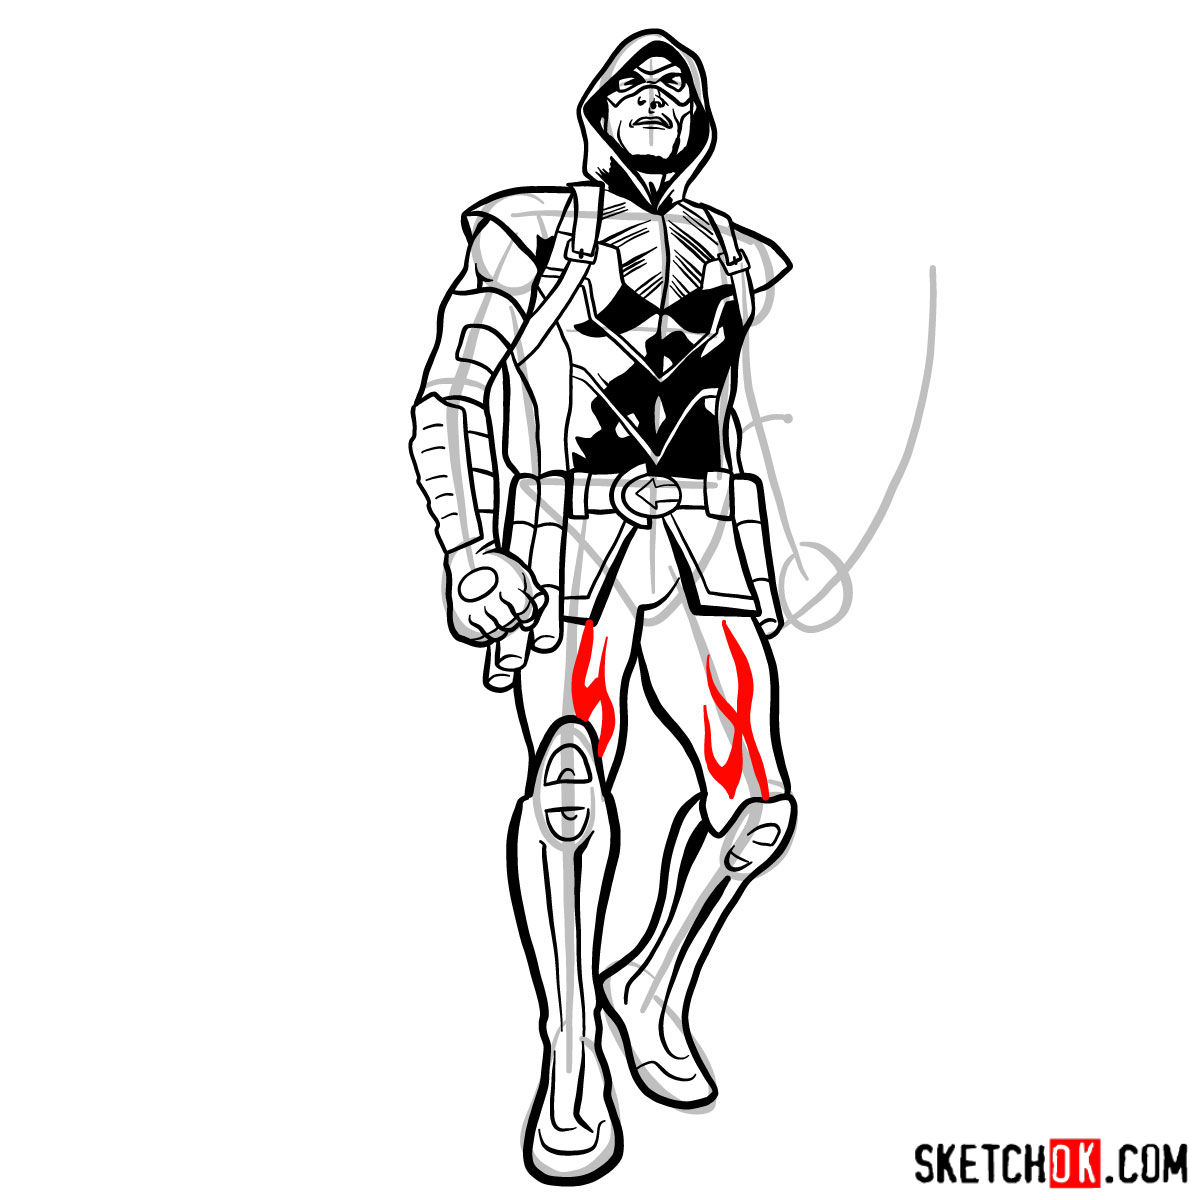
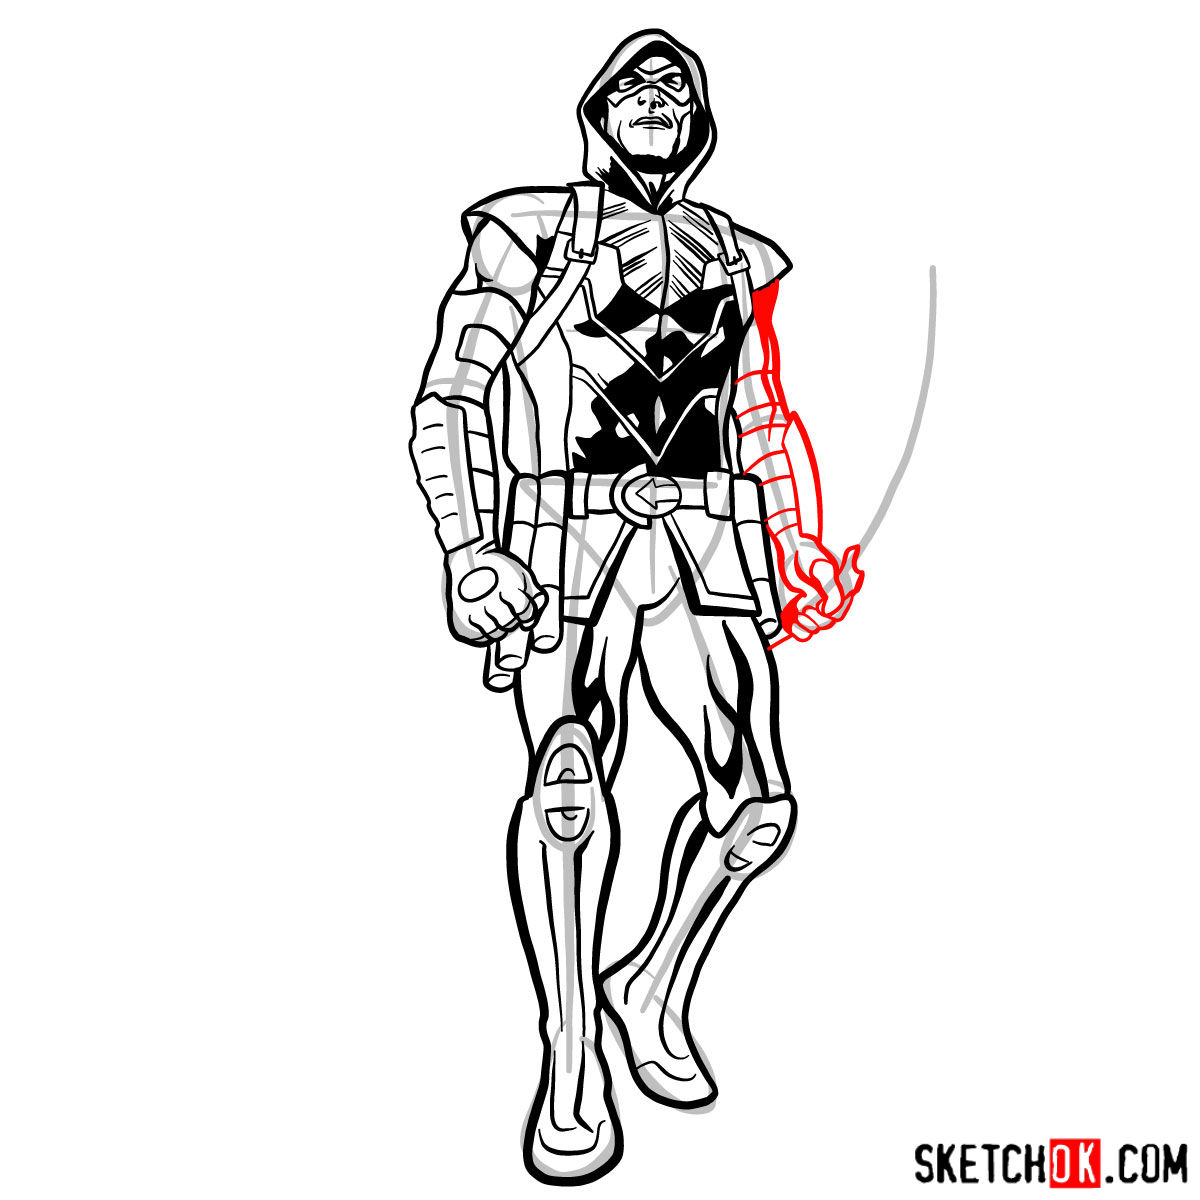
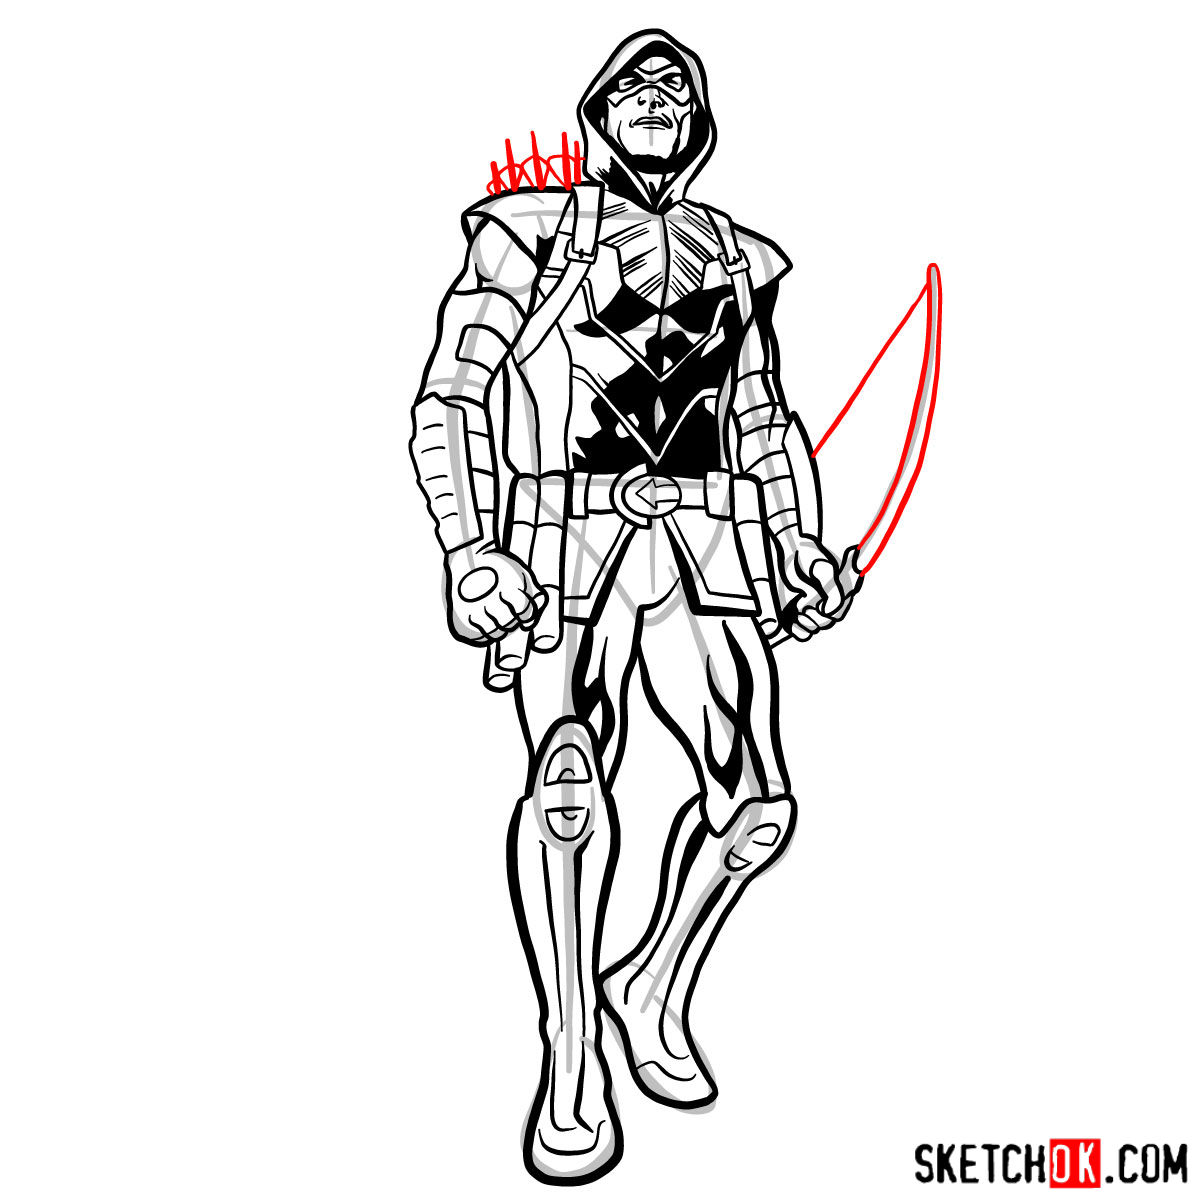
In this guide, you’ll find a series of images that illustrate each step of the drawing process. The red color in the images represents the current drawing step, while the grey color shows the basic proportions sketch, and the black color indicates what has already been drawn. Keep this in mind as you follow along.
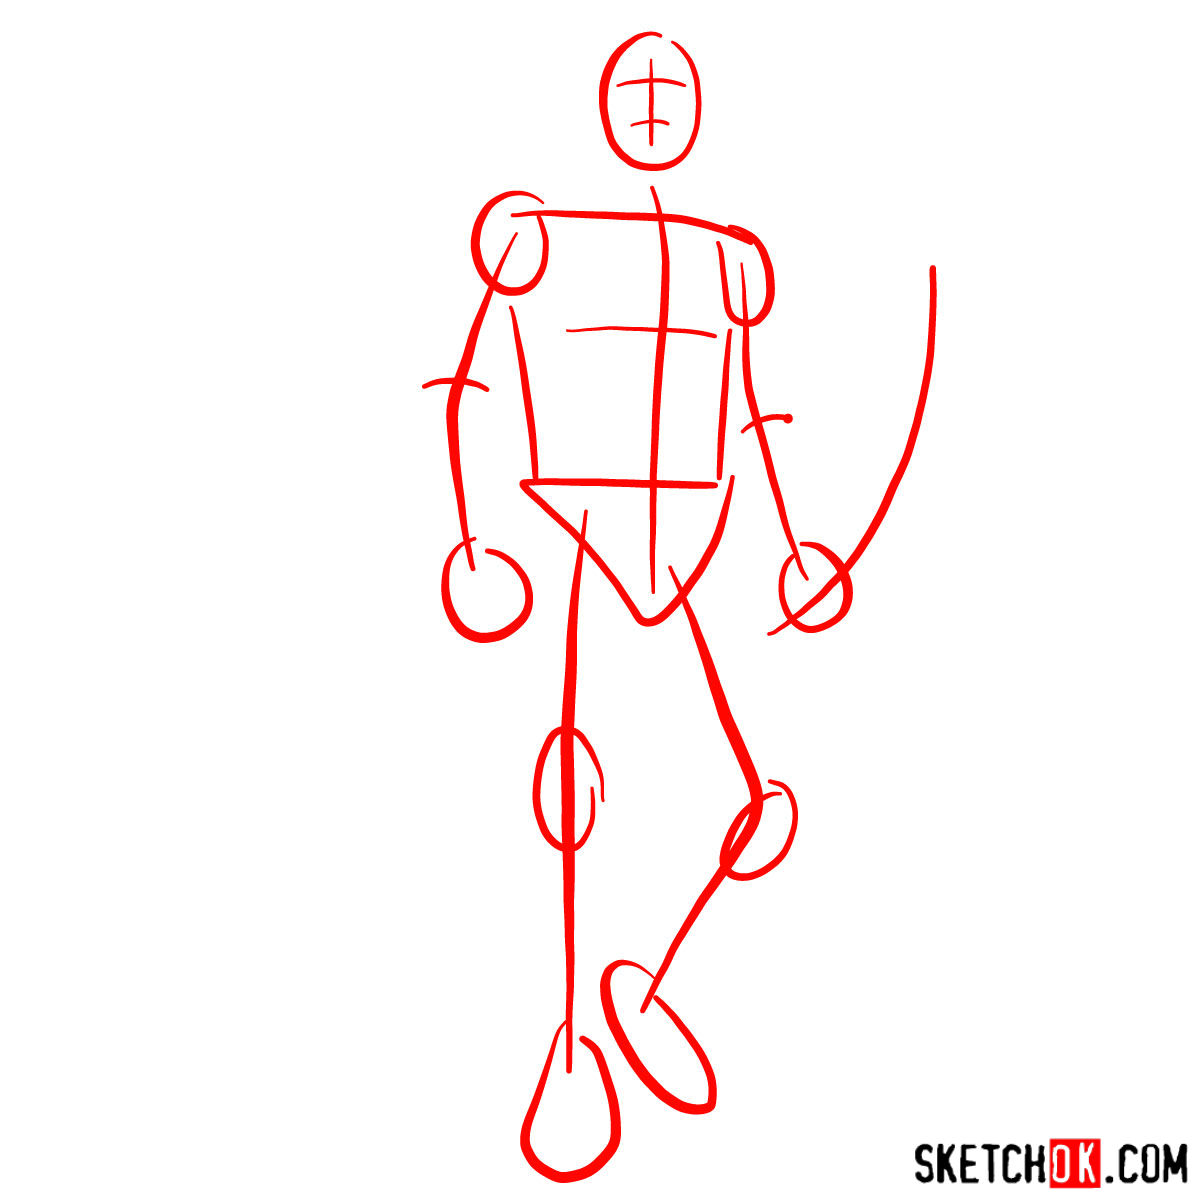
Part 1: Laying the Foundation
Begin by lightly sketching the basic structure of Green Arrow using pencil strokes. This step is crucial for establishing accurate proportions and creating a solid foundation for your drawing. Don’t worry about details just yet – focus on the overall shape and form of the character.
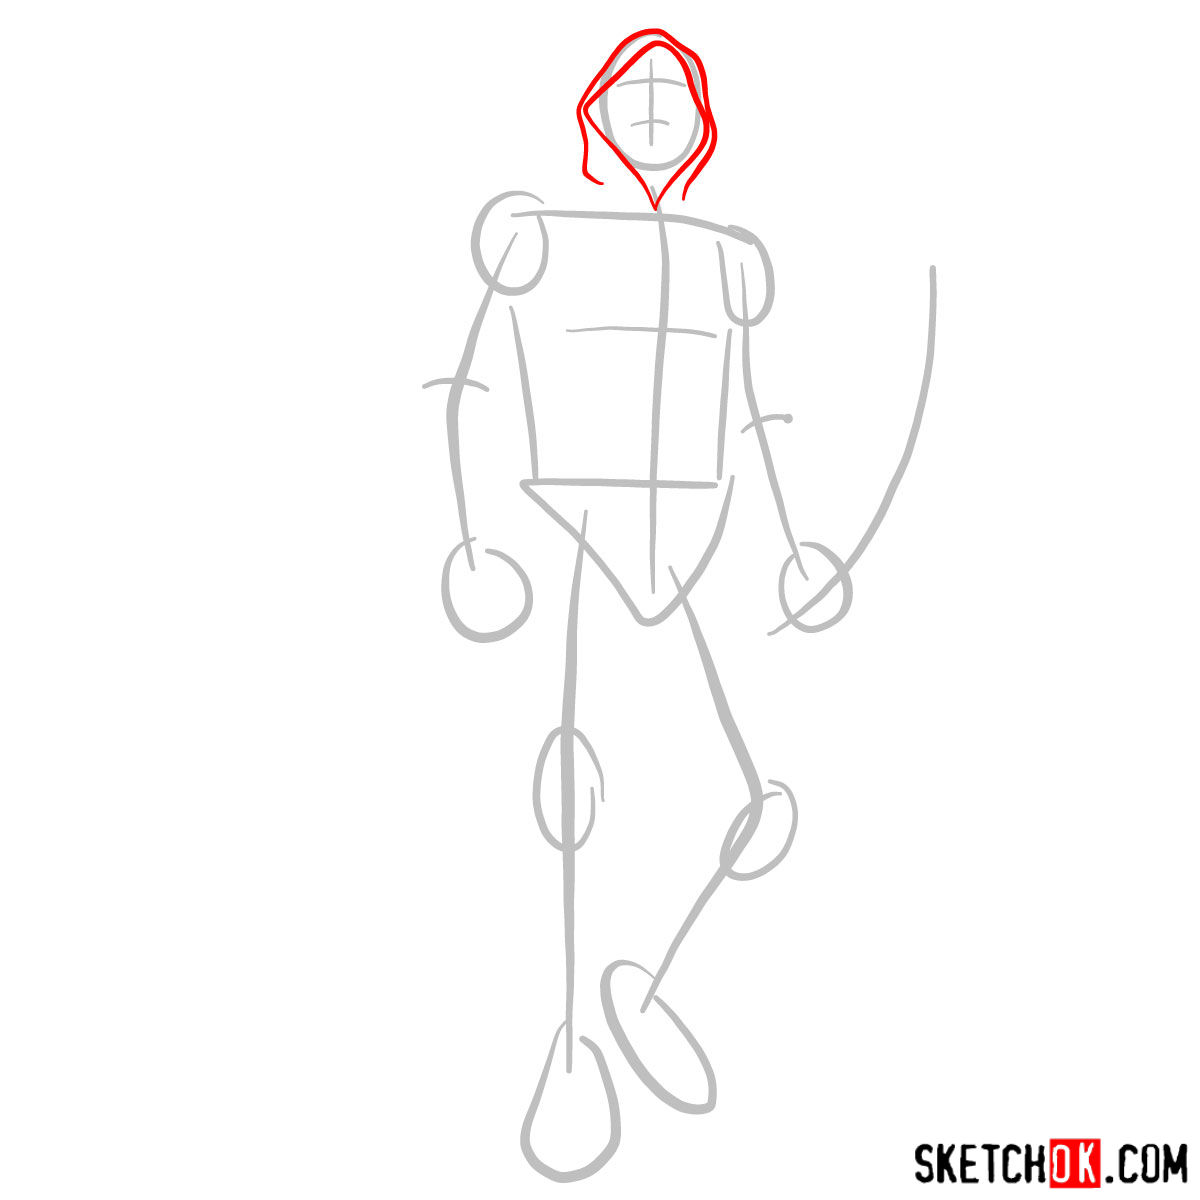
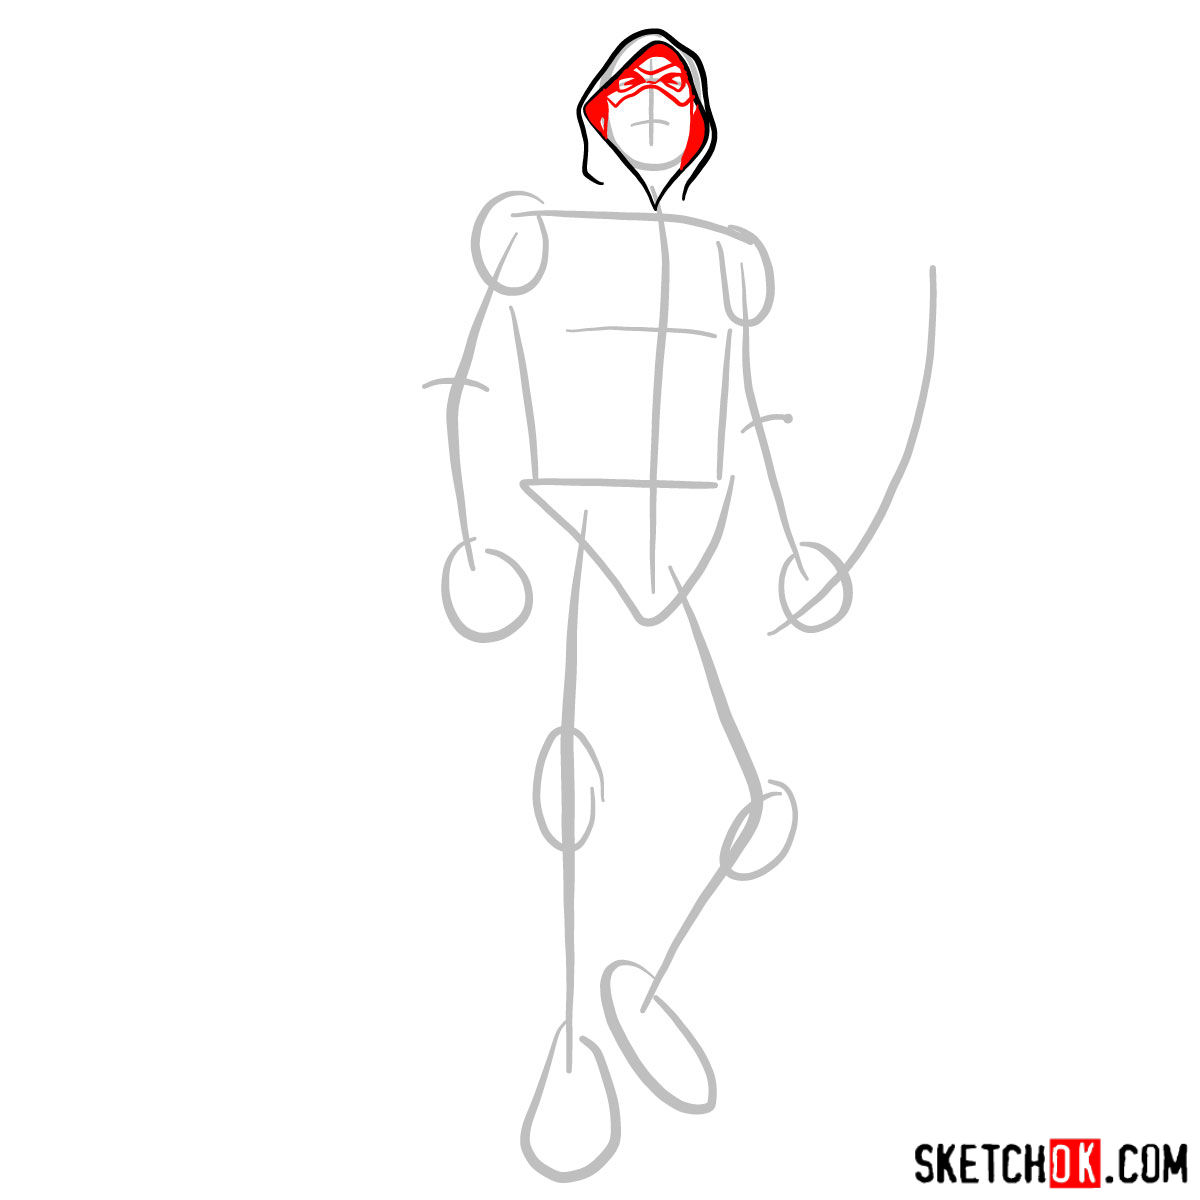
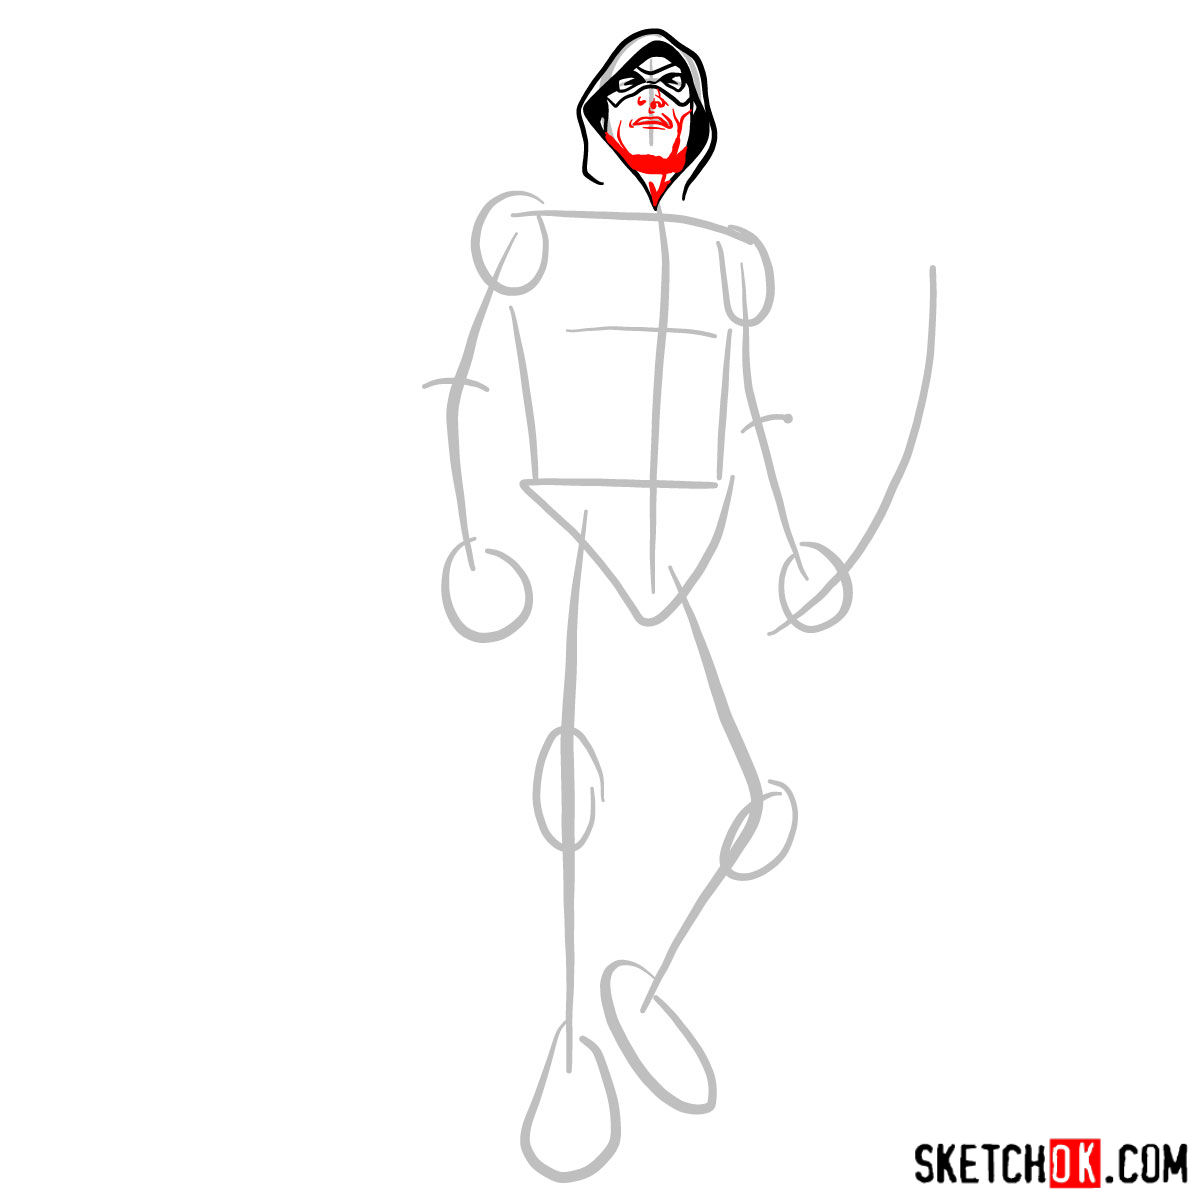
Part 2: Refining Your Sketch
Now that you have a basic structure in place, it’s time to refine your sketch. Start adding details to Green Arrow’s face, outfit, and weaponry. Pay attention to the character’s unique features, such as his hood, mask, and quiver of arrows. Gradually improve the proportions and refine your lines as you work.

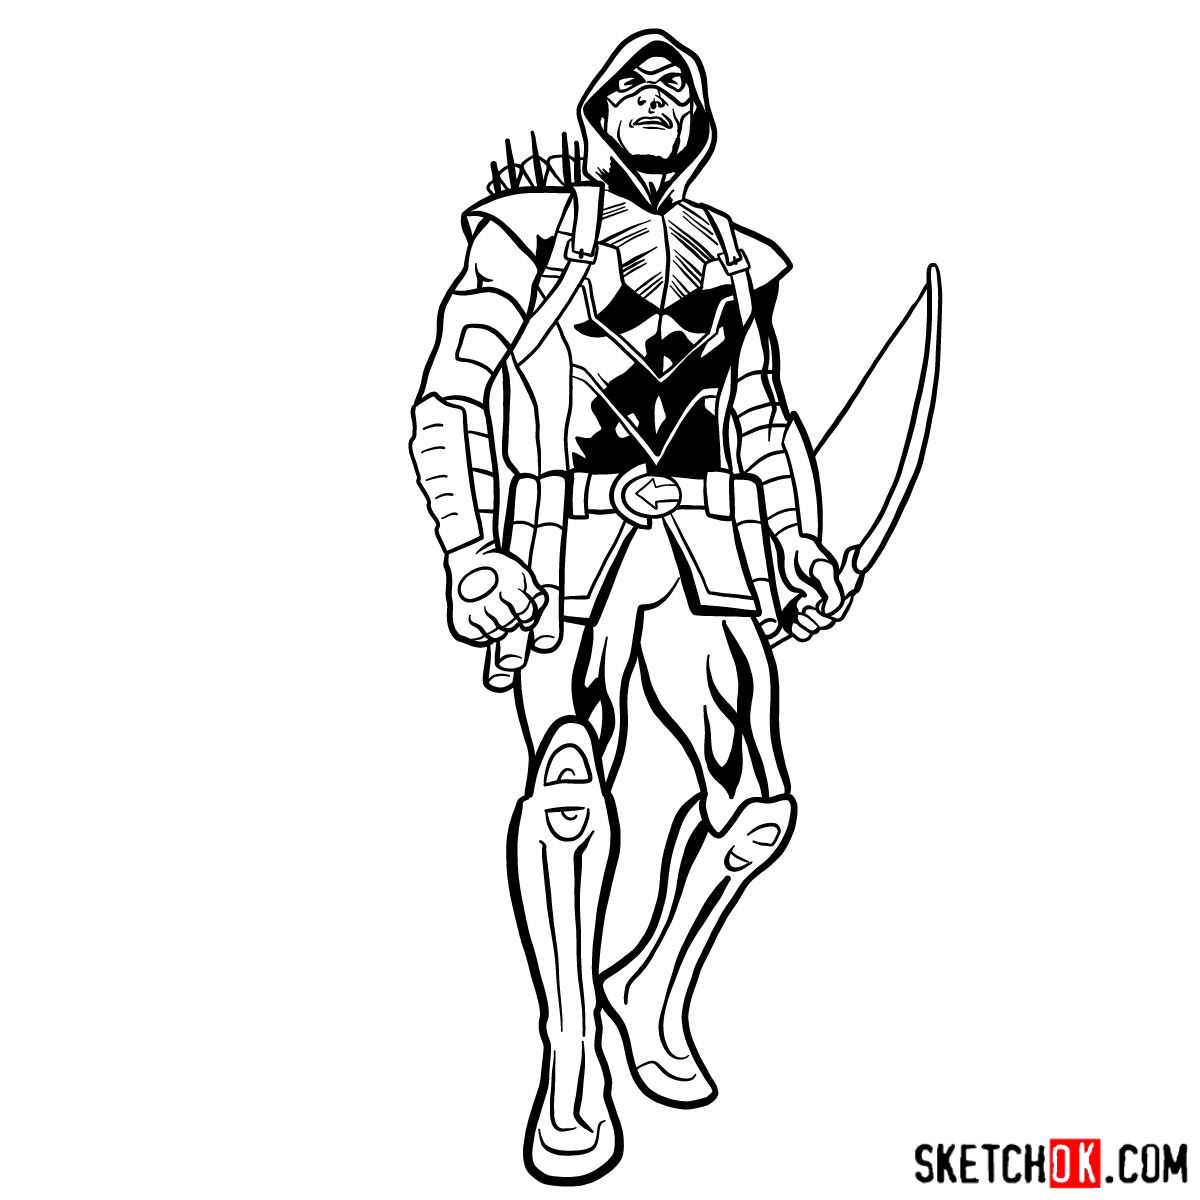
Part 3: Inking Your Artwork
Once you’re satisfied with your refined sketch, it’s time to ink your drawing. Use fine-tipped pens to outline Green Arrow, adding definition and contrast to your artwork. Be mindful of line weight, using thicker lines for bolder areas and thinner lines for delicate details. This stage is where your drawing will truly come to life!
Part 4: Coloring and Shading
With your inking complete, you’re ready to add color and shading to your Green Arrow drawing. Choose your preferred coloring medium (colored pencils, markers, or paints) and start by applying the base colors. Then, add shading and highlights to create depth and dimension, giving your artwork a polished, professional look.

Sharpening Your Skills: Tips and Techniques
Here are some additional tips and techniques to help you improve your Green Arrow drawing:
- Study the character’s design and features from different comic book issues and artists.
- Practice drawing Green Arrow’s various accessories, such as his bow, quiver, and trick arrows.
- Experiment with different poses and action scenes to make your drawing more dynamic.
- Look at reference images of other DC Comics characters, like Batman or The Flash, for inspiration and comparison.
- Take your time and don’t rush the drawing process – patience is key to creating a great piece of art.
Frequently Asked Questions
- What drawing techniques should I use when sketching Green Arrow?
- When sketching Green Arrow, consider using techniques like blocking in shapes, gesture drawing, and contour drawing. These methods can help you capture the character’s proportions, movement, and unique features more effectively.
- How can I improve my Green Arrow drawing?
- Practice makes perfect! The more you draw the superhero, the more comfortable and skilled you’ll become. Study different comic book art styles, experiment with poses and action scenes, and don’t be afraid to make mistakes – they’re part of the learning process.
Congratulations on completing your Green Arrow drawing! We hope this tutorial has been helpful and inspiring. Don’t forget to share your artwork with fellow fans and artists, and consider supporting the regular release of free drawing guides on SketchOk by donating at buymeacoffee.com/sketchok. Your support helps us continue to create more engaging and informative content for aspiring artists like you. Now go forth and draw more superheroes!