Welcome, aspiring artists! If you’re a fan of Marvel Comics and antiheroes, you’re in the right place. In this tutorial, we’ll guide you through a step-by-step process to draw Frank Castle, also known as the Punisher, armed with his trusty gun. Prepare to immerse yourself in the world of this iconic character while honing your artistic skills.
The Punisher: A Glimpse into Frank Castle’s World
Frank is a legendary Marvel character, known for his relentless war against crime. Created by Gerry Conway, John Romita Sr., and Ross Andru, this former Marine turned vigilante first appeared in The Amazing Spider-Man #129. Driven by the tragic loss of his family, Castle uses his exceptional combat and marksmanship skills to deliver his own brand of justice. His iconic skull emblem, once a skull-and-crossbones, now resembles the Japanese demon Oni, giving him a menacing appearance that sends chills down the spines of criminals.
Throughout the years, the Punisher has encountered various Marvel characters, such as Spider-Man, Daredevil, and even the Cosmic Ghost Rider, an alternate future version of himself. Although his brutal methods may not align with conventional superheroes, the Punisher remains a fascinating and complex figure in the Marvel Universe.
Equip Yourself for Battle: Recommended Tools and Materials
To embark on this artistic journey, you’ll need some essential tools and materials. While you’re free to use whatever you have on hand, we recommend the following for optimal results:
- Pencils: a range of hardness, from 2H to 6B
- Erasers: kneaded and plastic
- Paper: sketching or drawing quality
- Fineliners or inking pens: various sizes and colors
- Colored pencils or markers: for vibrant, eye-catching hues
A Step-by-Step Guide to Drawing the Punisher with a Gun
Now, let’s dive into the four main stages of creating your very own Punisher masterpiece. Remember, practice makes perfect, so don’t hesitate to experiment and make adjustments as you see fit.
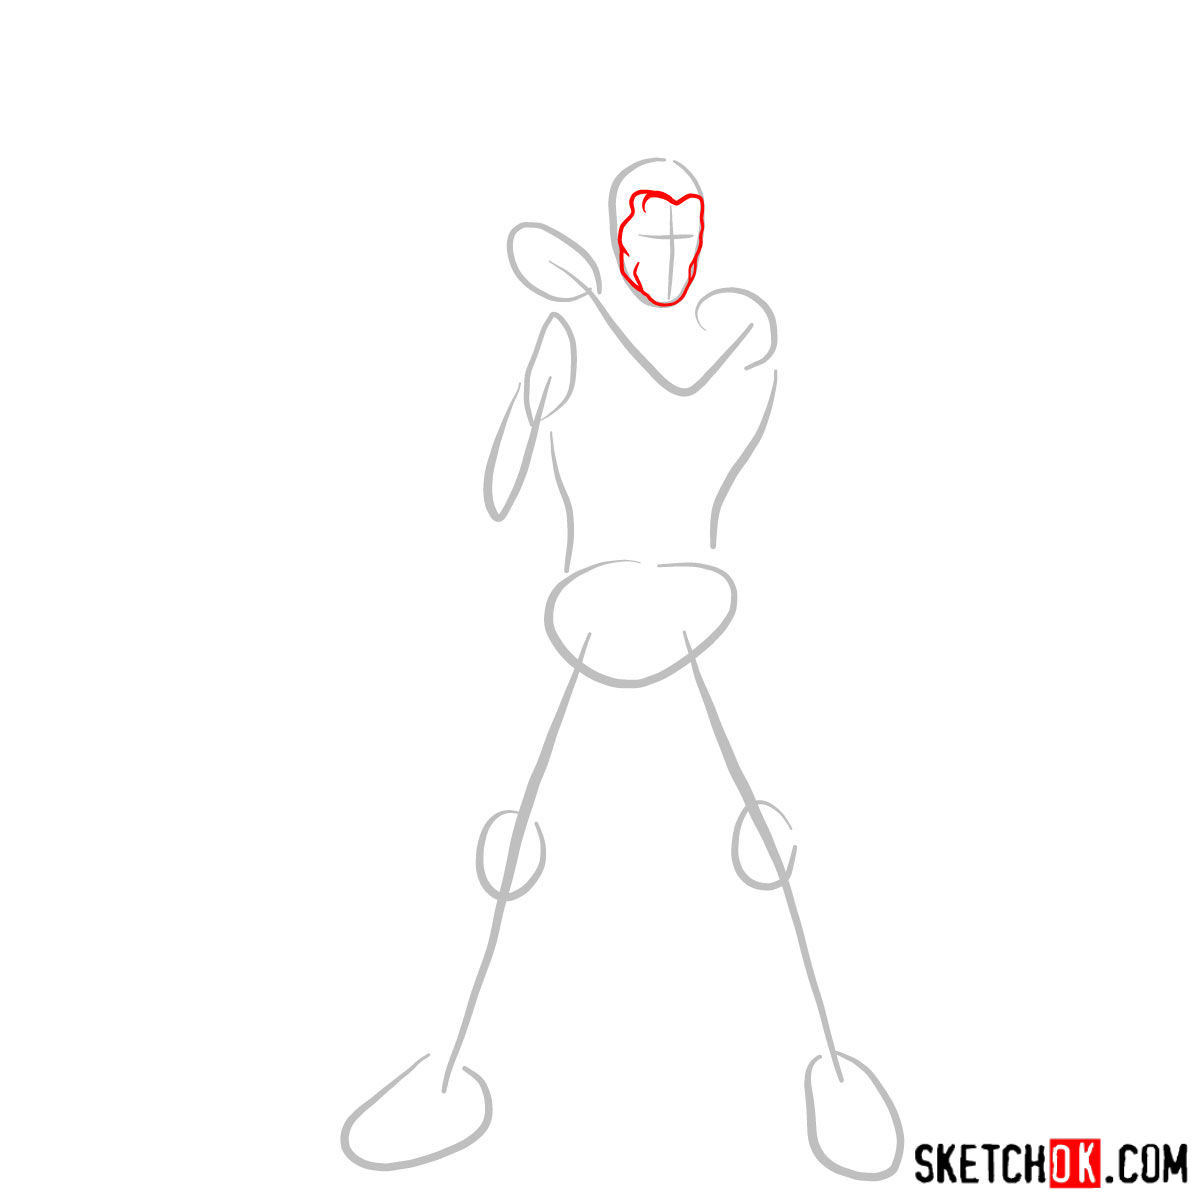
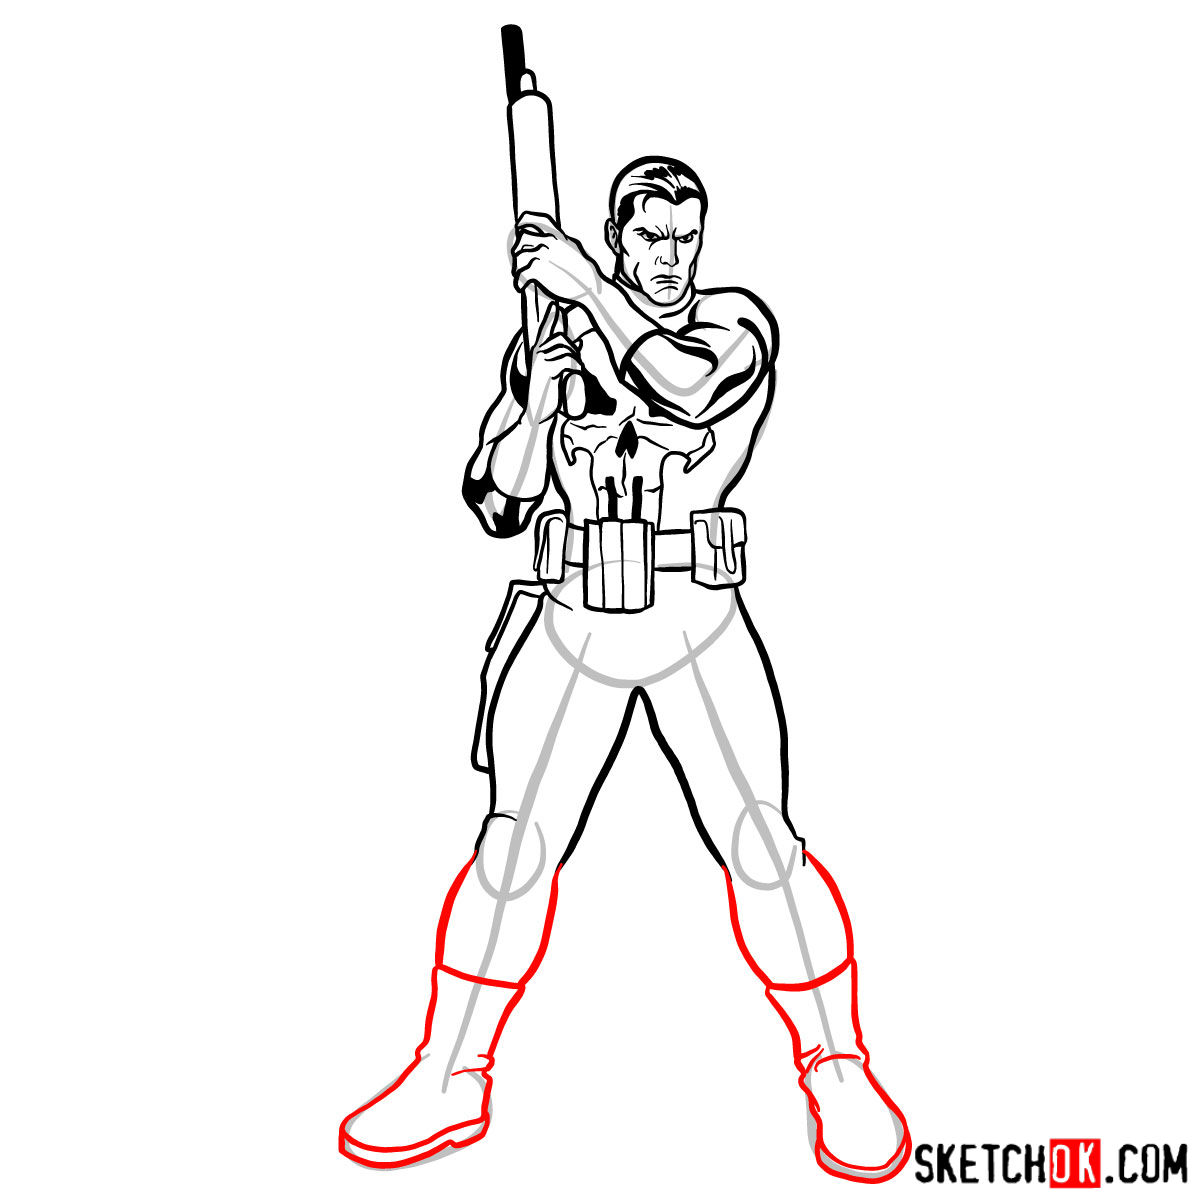
Part 1: Crafting the Basic Sketch
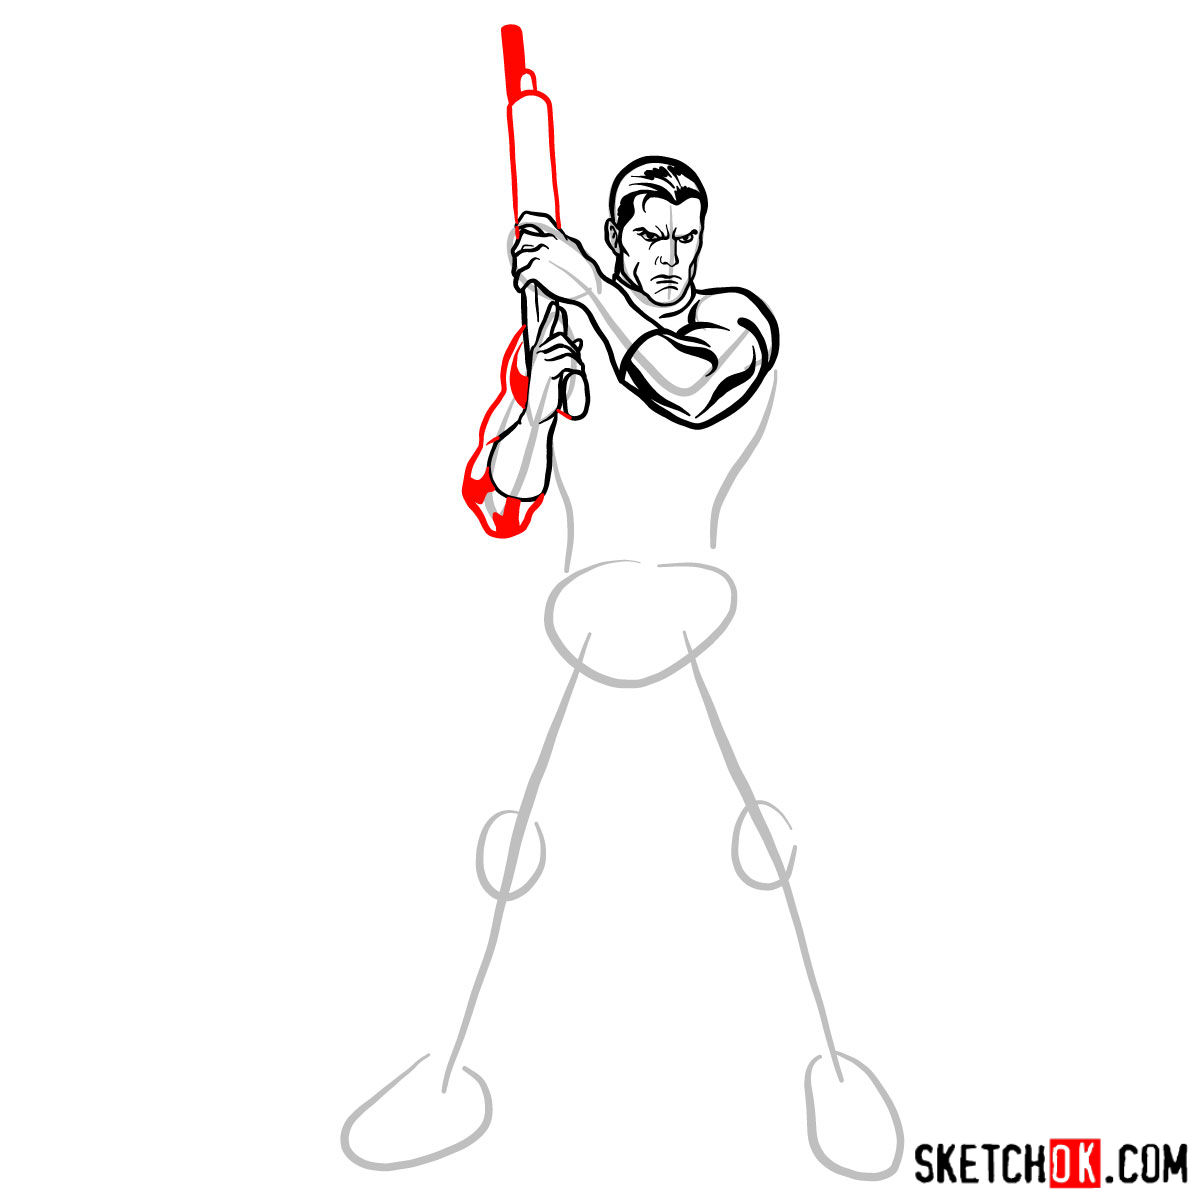
The foundation of any great drawing lies in its basic sketch. Using light pencil strokes, begin by establishing the overall structure and proportions of Frank Castle. This initial sketch will serve as a guide for the rest of the drawing, ensuring that your final piece remains accurate and true to the character.
Pay close attention to the Punisher’s pose, making sure to capture his strength and determination. Incorporate basic shapes to outline his muscular frame, and don’t forget to add the gun, a key element of this iconic antihero.

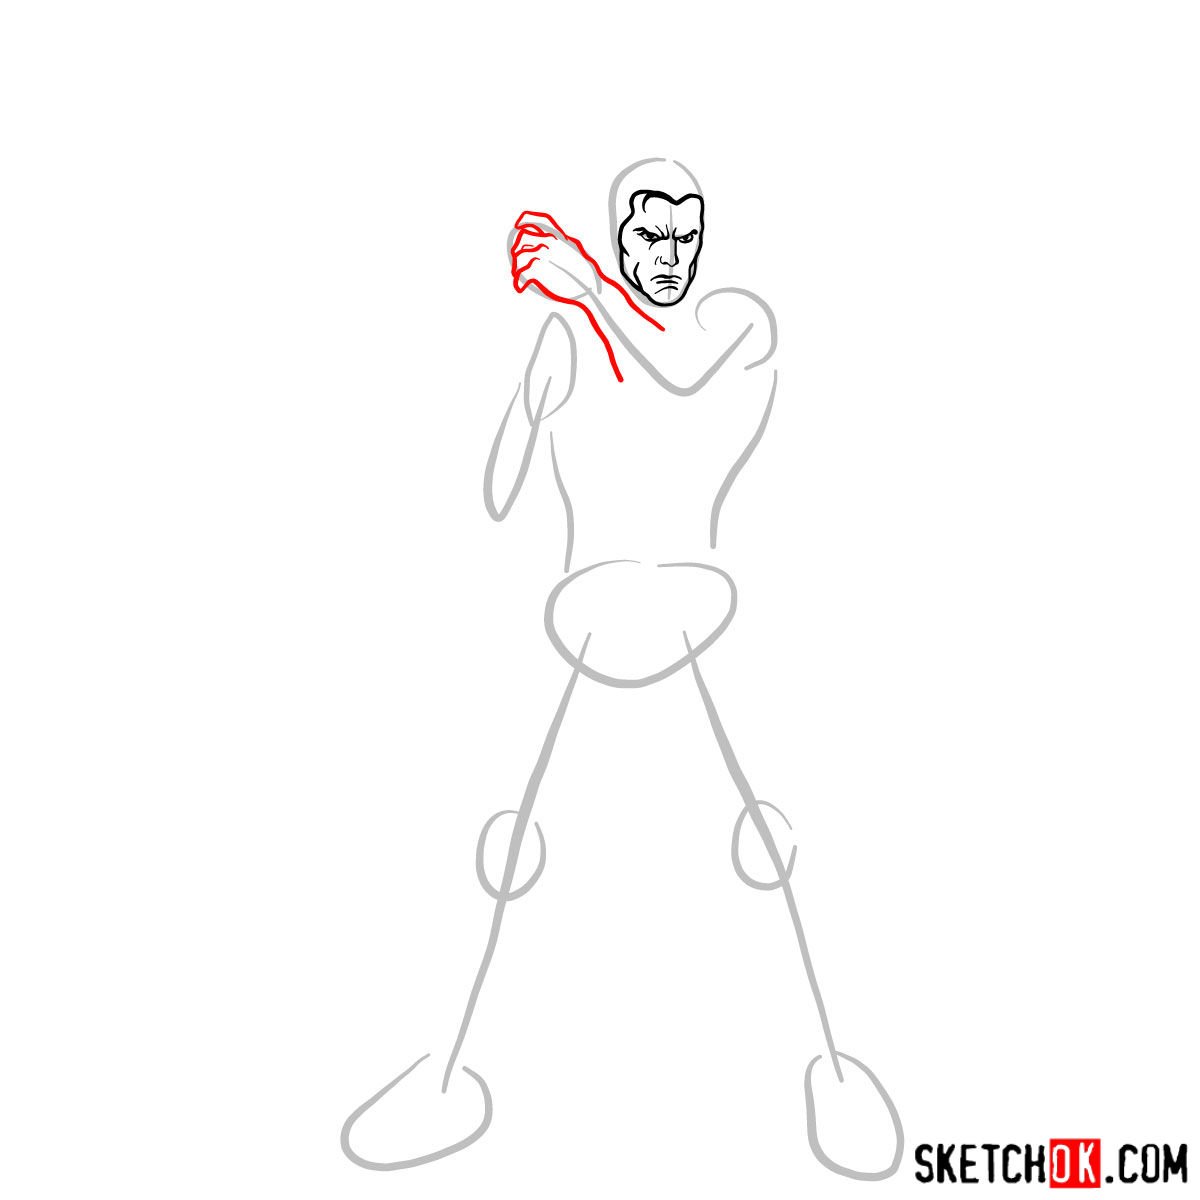
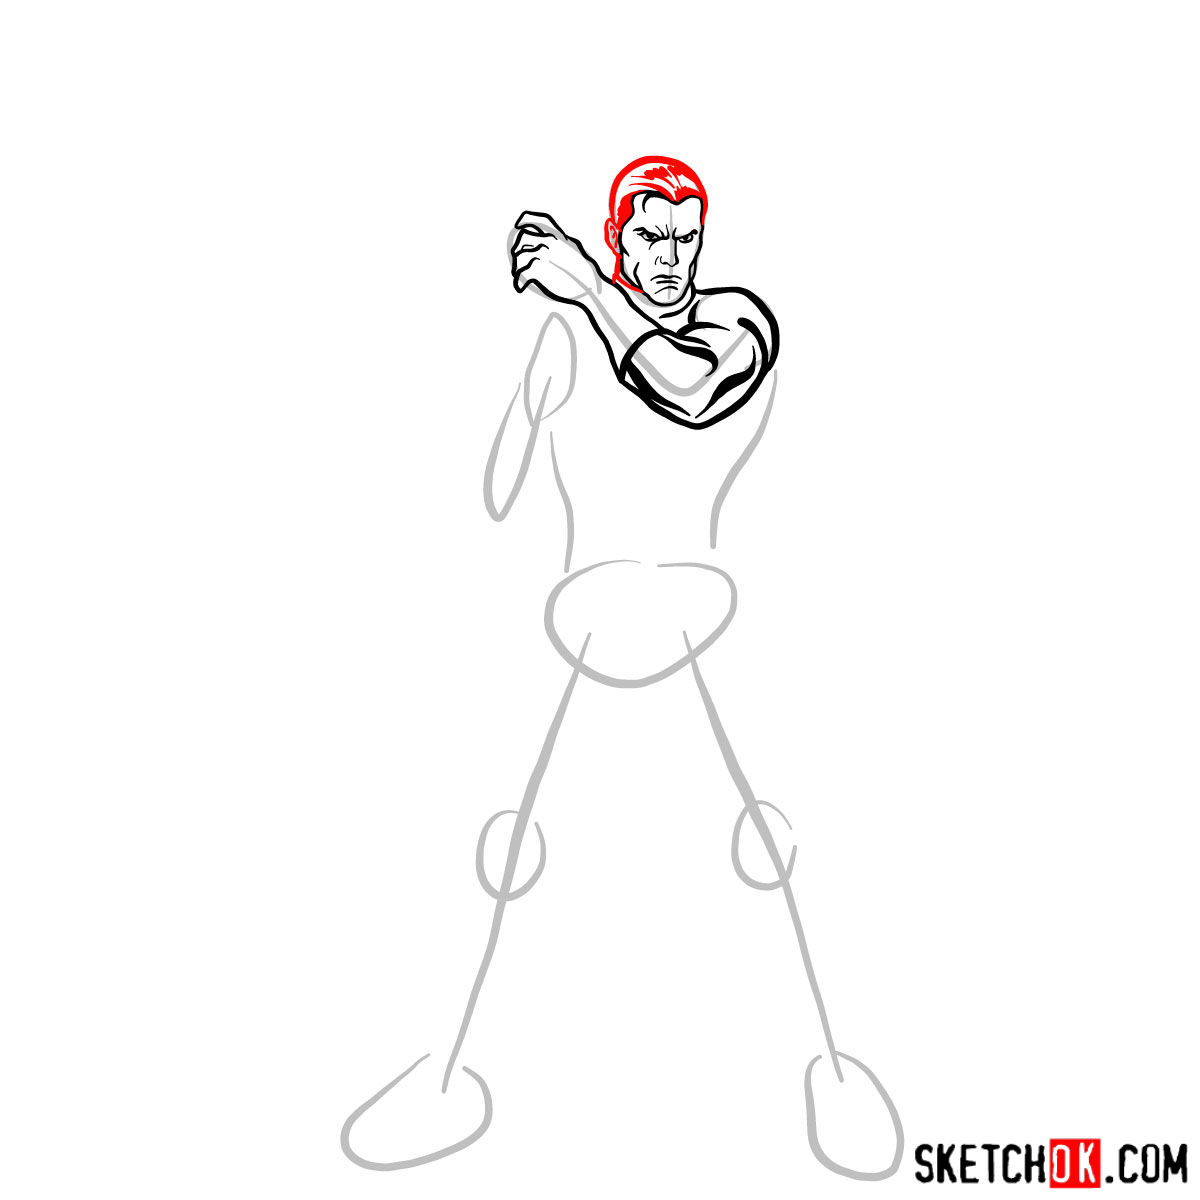
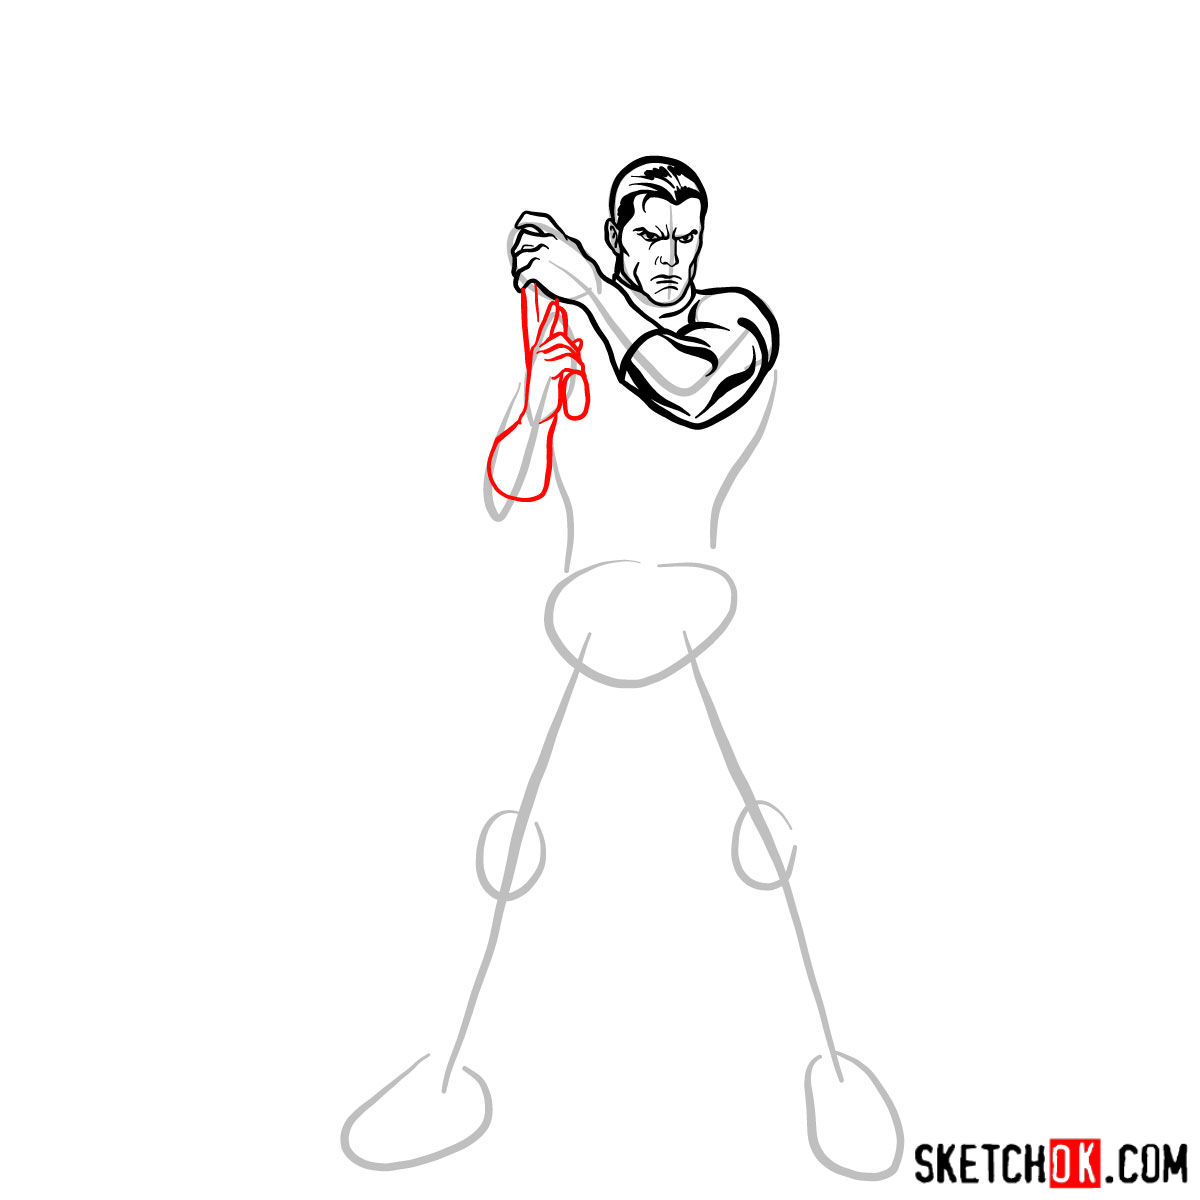
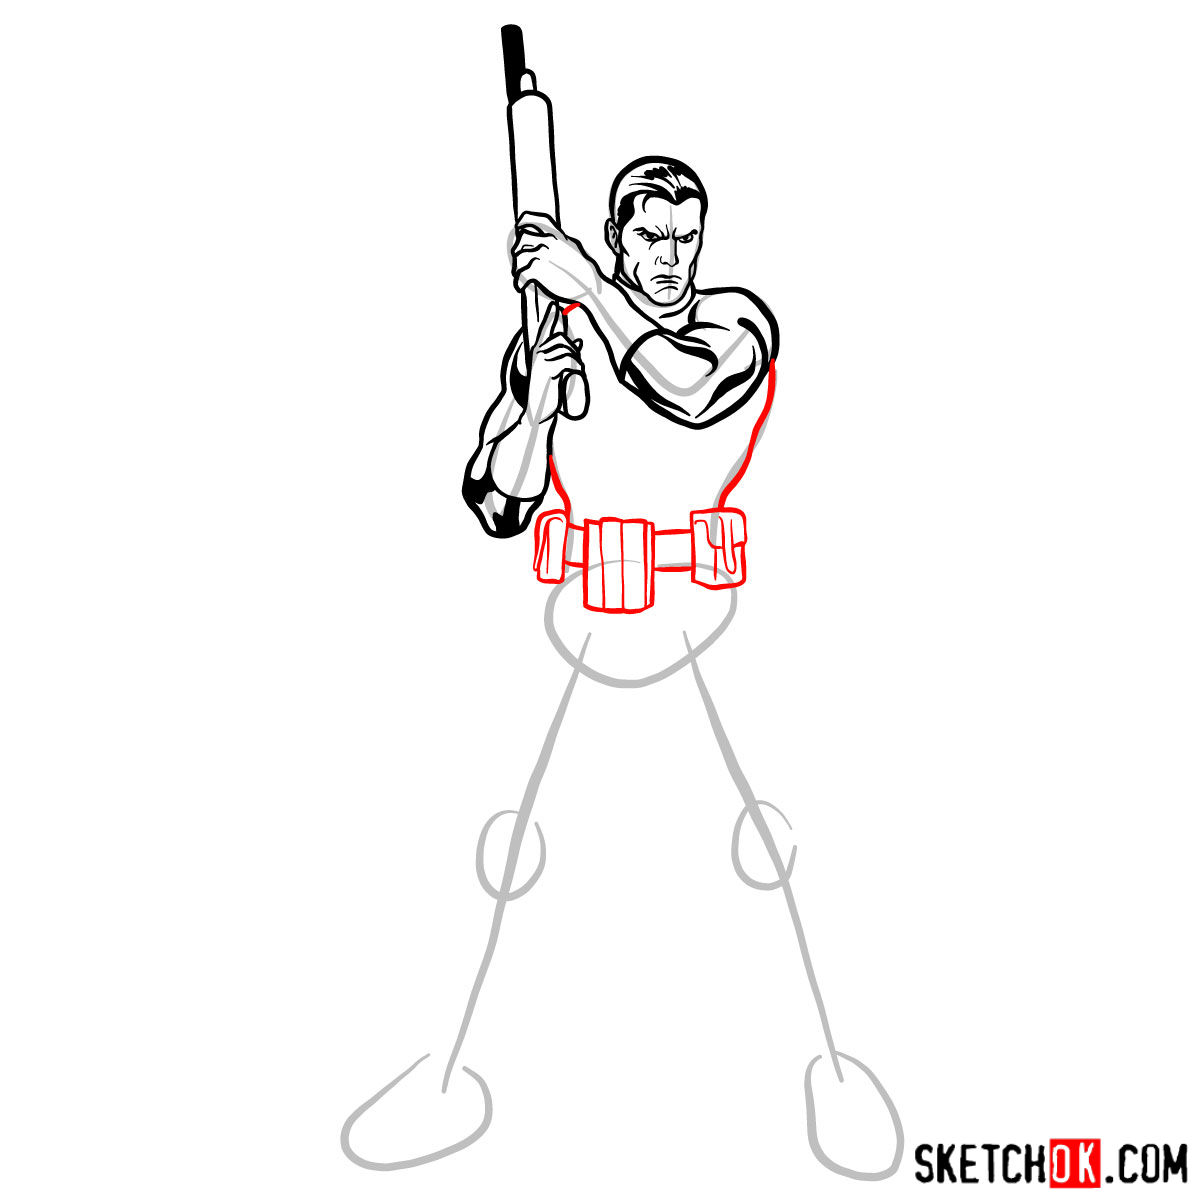
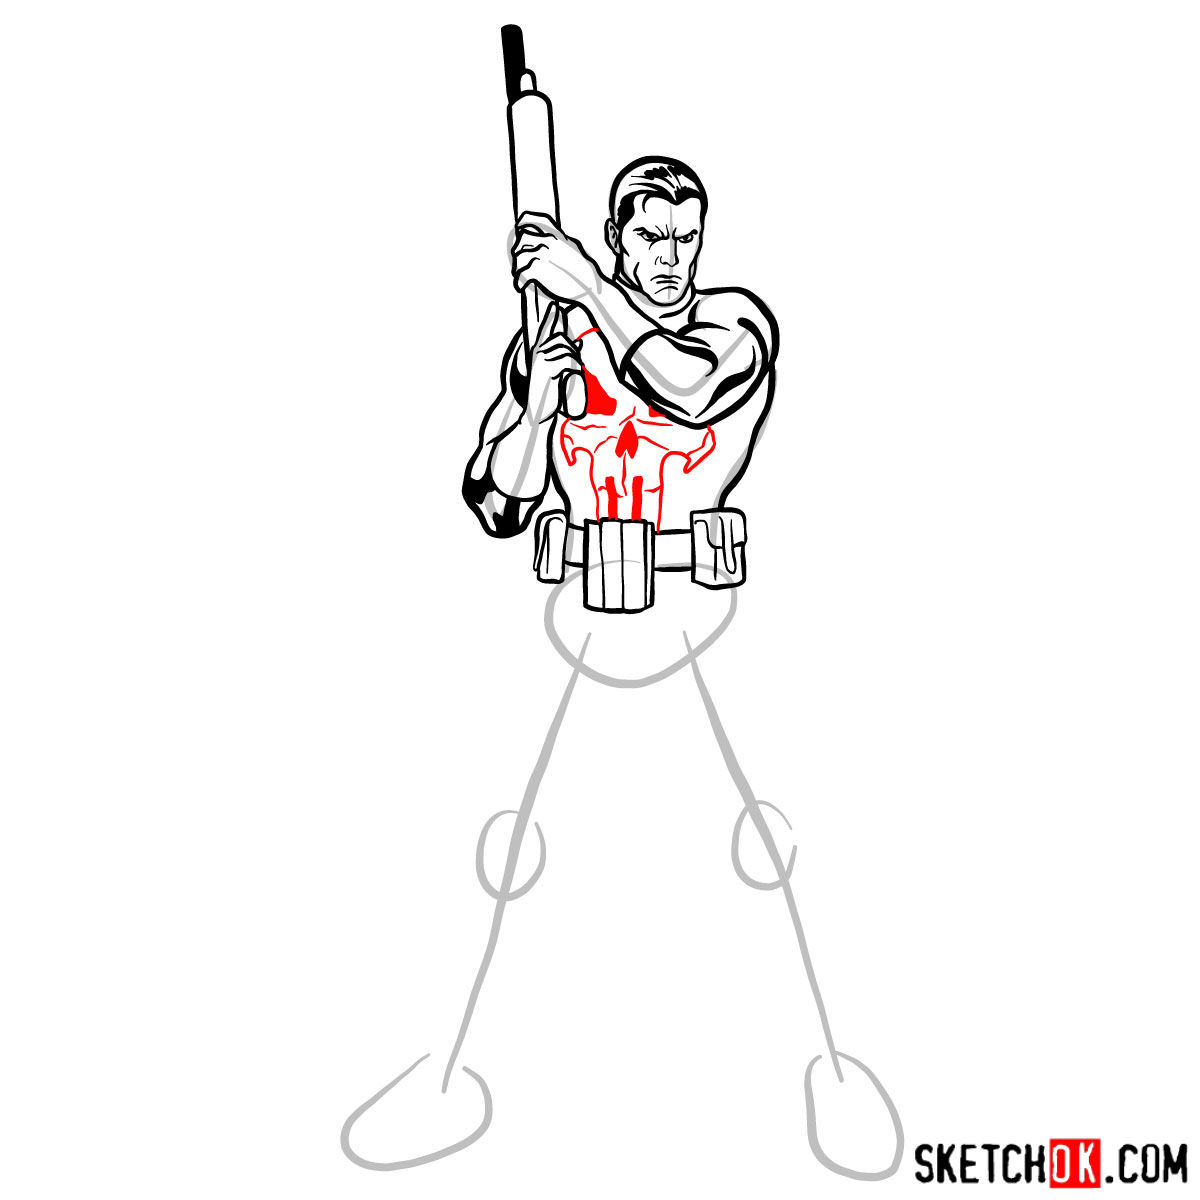
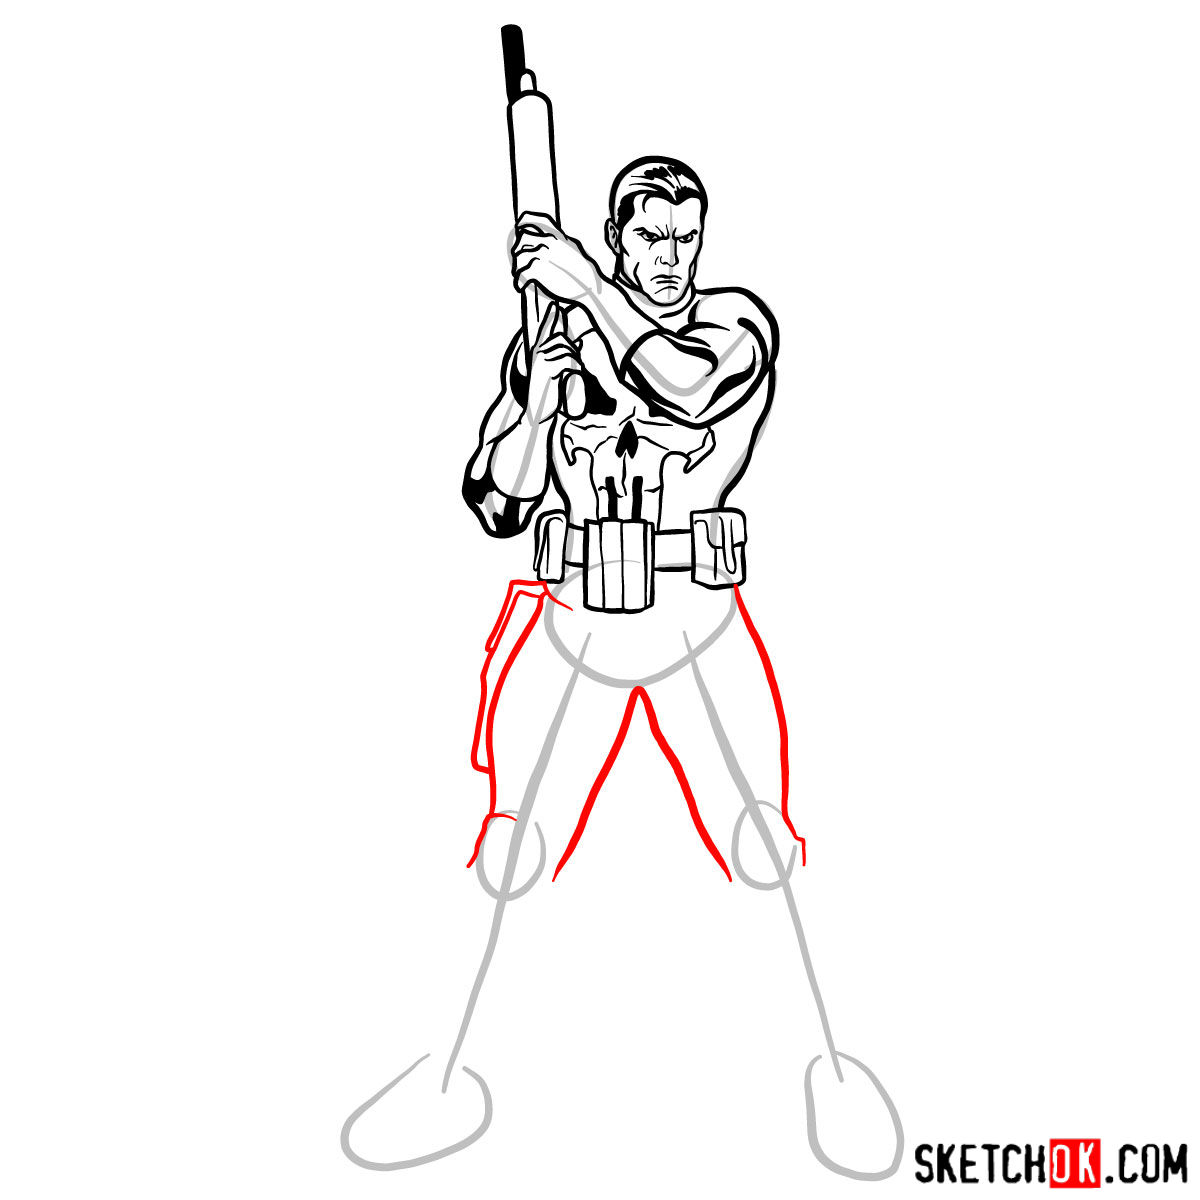
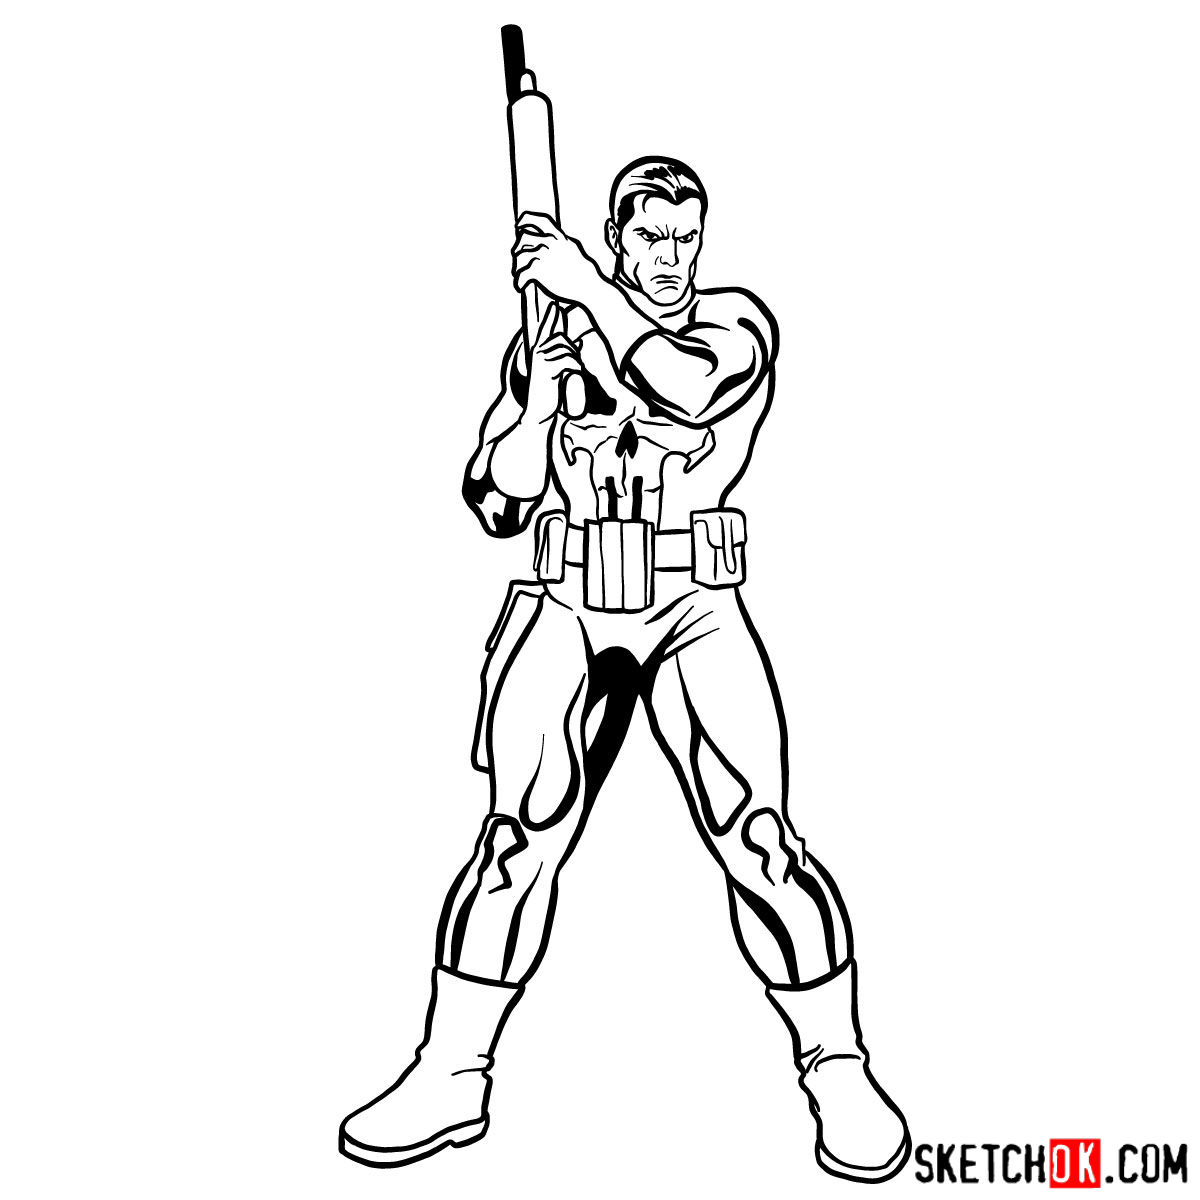
Part 2: Refining Your Sketch
With your basic structure in place, it’s time to refine the sketch. Add more details, such as facial features, clothing, and accessories. Keep in mind the character’s unique attributes, like his intimidating skull emblem and battle-worn attire. Gradually, you’ll see your drawing come to life as you enhance its intricacies and improve proportions. Remember to keep your pencil strokes light and fluid, as you’ll be inking over your sketch later on.


Part 3: Inking Your Masterpiece
Once you’re satisfied with your refined sketch, it’s time to ink the drawing. Using fineliners or inking pens, carefully outline the Punisher and his gun, adding depth and definition. Be mindful of varying line thickness to create a sense of depth and contrast. When you’re done inking, allow the ink to dry completely before erasing any remaining pencil marks. This step will help your drawing look clean and polished.
Part 4: Coloring and Shading Your Artwork
The final stage of your drawing journey involves adding color, shading, and highlights to your Punisher masterpiece. Use colored pencils or markers to bring Frank Castle to life, considering the character’s color scheme and style. Incorporate shading and highlights to give your drawing depth and dimension, making it truly stand out.

Tips and Techniques: Elevate Your Punisher Drawing
Here are some additional tips and techniques to enhance your Punisher artwork:
- Study the anatomy and proportions of the human body to create a more believable and dynamic character.
- Practice drawing different textures, such as fabric, metal, and skin, to add visual interest to your artwork.
- Experiment with lighting and shadows to create mood and atmosphere in your drawing.
Frequently Asked Questions
- Q: What drawing techniques can I use when sketching the Punisher?
- A: Some useful techniques include gesture drawing for dynamic poses, contour drawing for clean outlines, and hatching or cross-hatching for shading and texture.
- Q: How can I improve my drawing skills?
- A: Regular practice, studying references, and seeking feedback from fellow artists are all effective ways to enhance your drawing abilities.
Congratulations on completing this step-by-step drawing tutorial! You’ve successfully created your own rendition of Frank Castle, the Punisher, wielding his signature weapon. Don’t forget to share your artwork with friends, family, and fellow artists, showcasing your newfound skills and passion for this iconic Marvel character.
If you enjoyed this tutorial and found it helpful, consider supporting us by buying us a coffee. Your contribution will help us continue creating and sharing more engaging drawing guides like this one. Thank you for your support, and happy drawing!