With a wave of her magical broom and her iconic catchphrase, “Ippity – Pippity – Pow!”, Winsome W. “Winnie” Witch has been charming audiences since she first appeared in The Atom Ant/Secret Squirrel Show. This friendly, yet somewhat inept, witch has a distinctive character design that makes her a joy to draw. This tutorial will guide you on how to draw Winsome Witch, allowing you to unleash your inner artist and bring this beloved character to life on paper.
Spotlight on Winsome Witch: Character Traits to Focus On
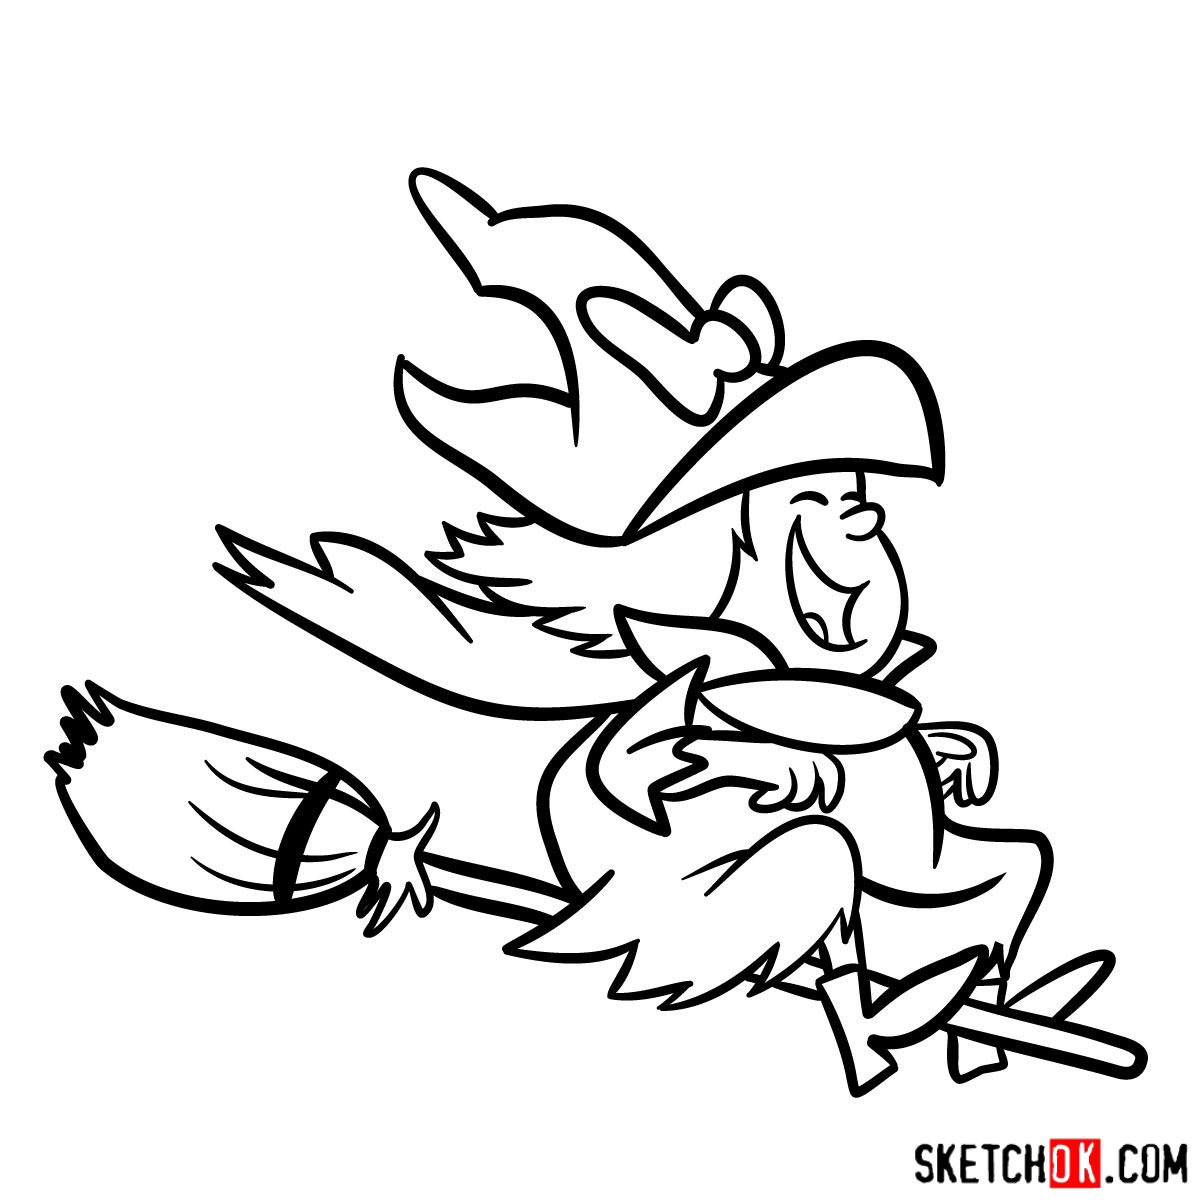
When drawing Winnie, it’s essential to focus on her defining characteristics, which includes her animated expression, her magical broom, and the quirky outfit that perfectly captures her whimsical nature. Here’s a breakdown of these essential elements:
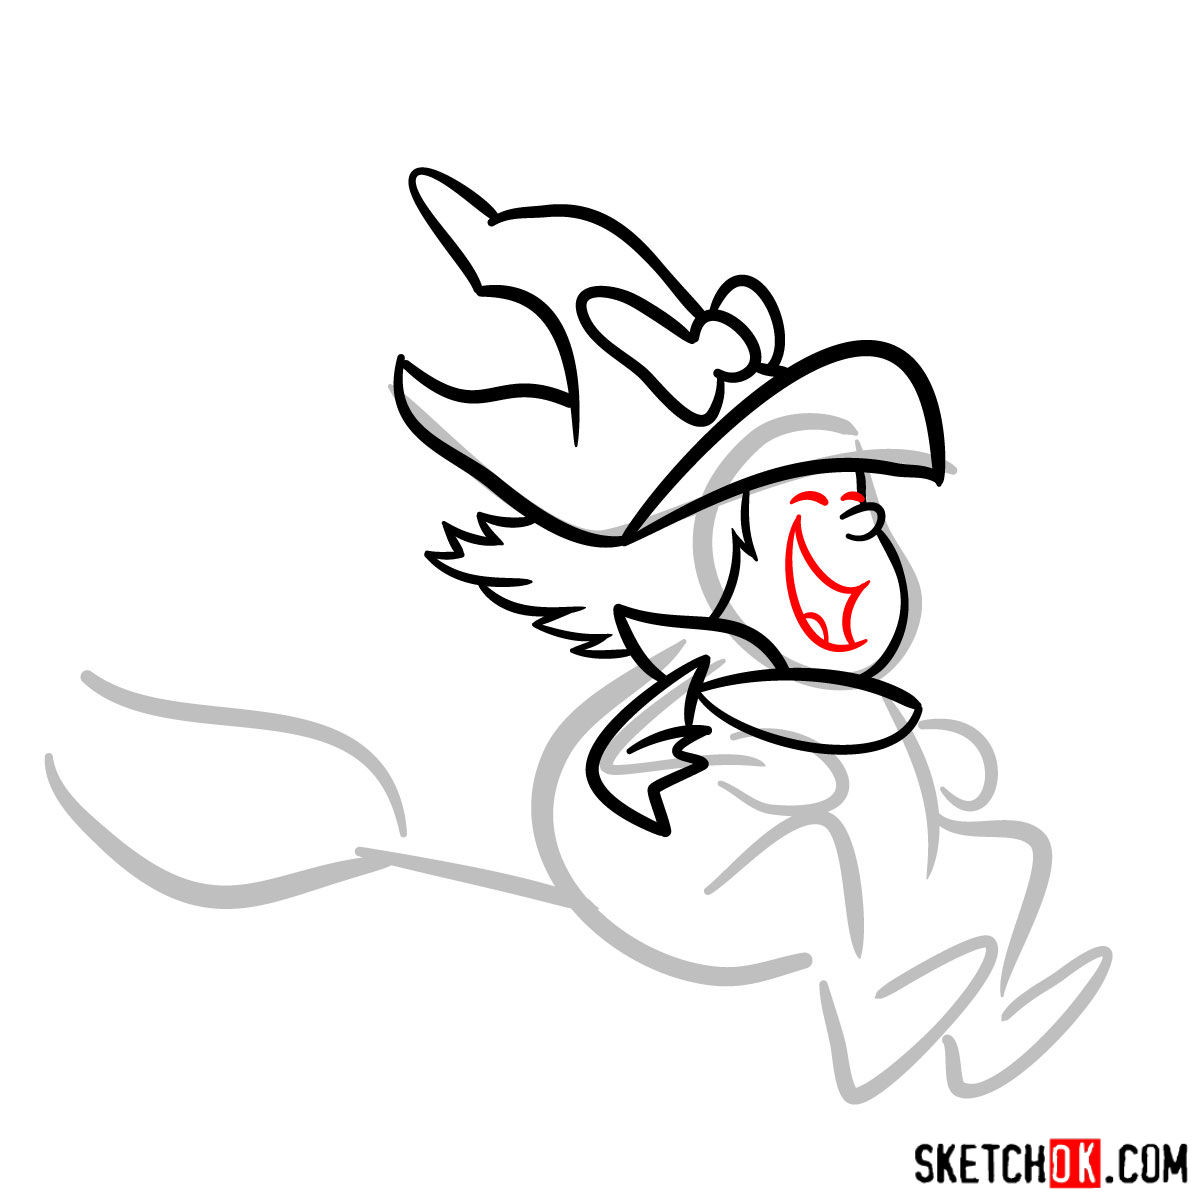
- Animated Expression: Winnie is known for her expressive face, and capturing her smile and twinkling eyes is crucial to recreating her on paper.
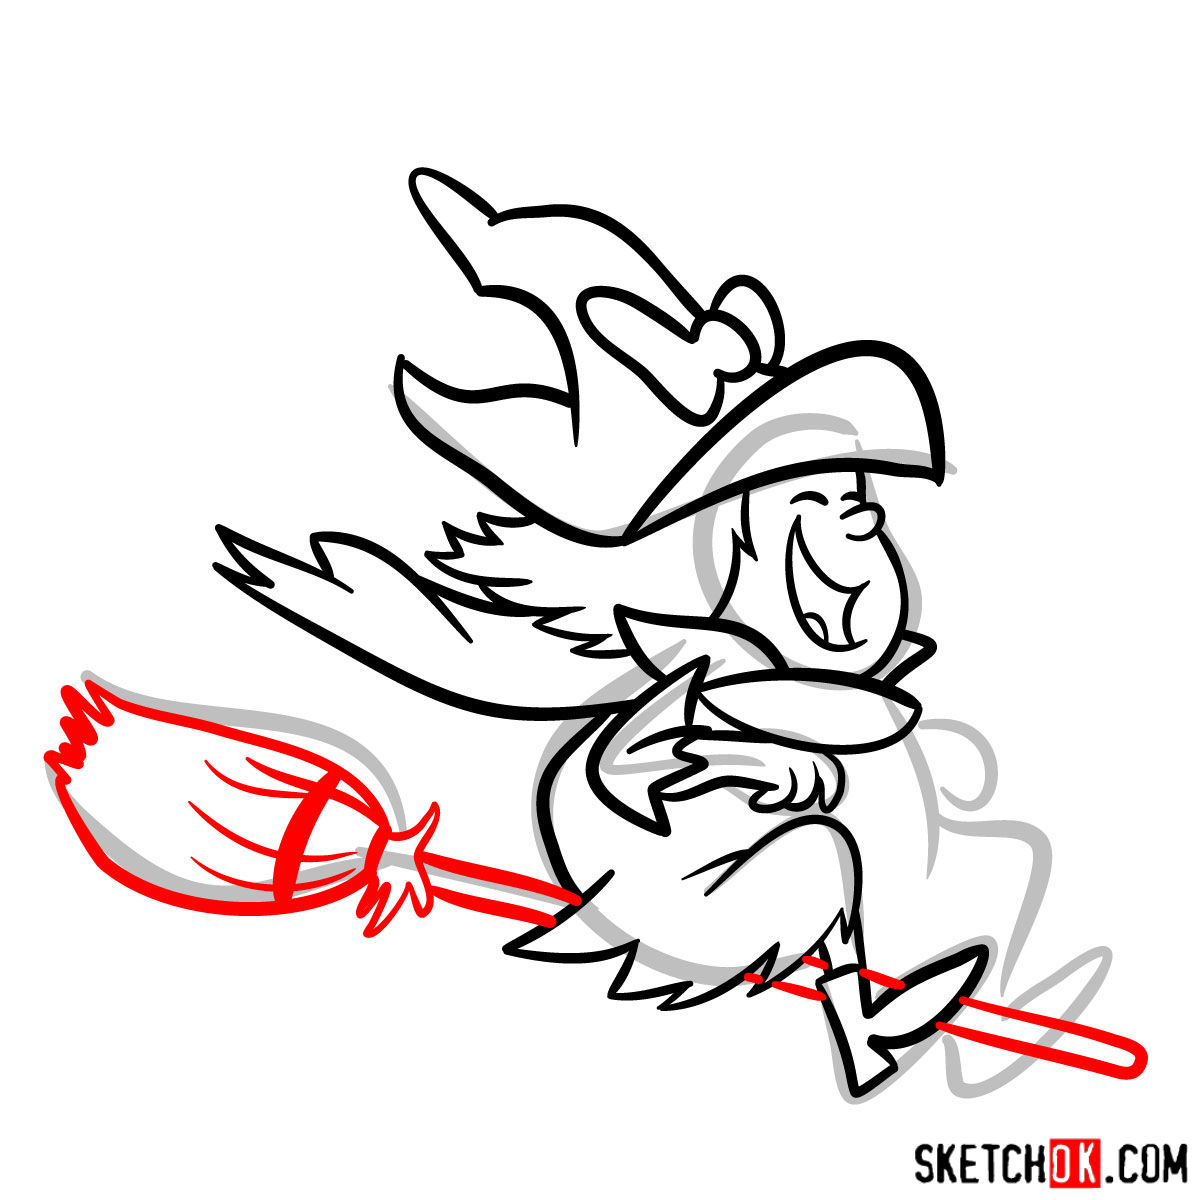
- The Magical Broom: Her broom is a character in its own right. It’s alive and often seen with Winnie as she flies around. Remember, the broom’s design is as important as Winnie herself.
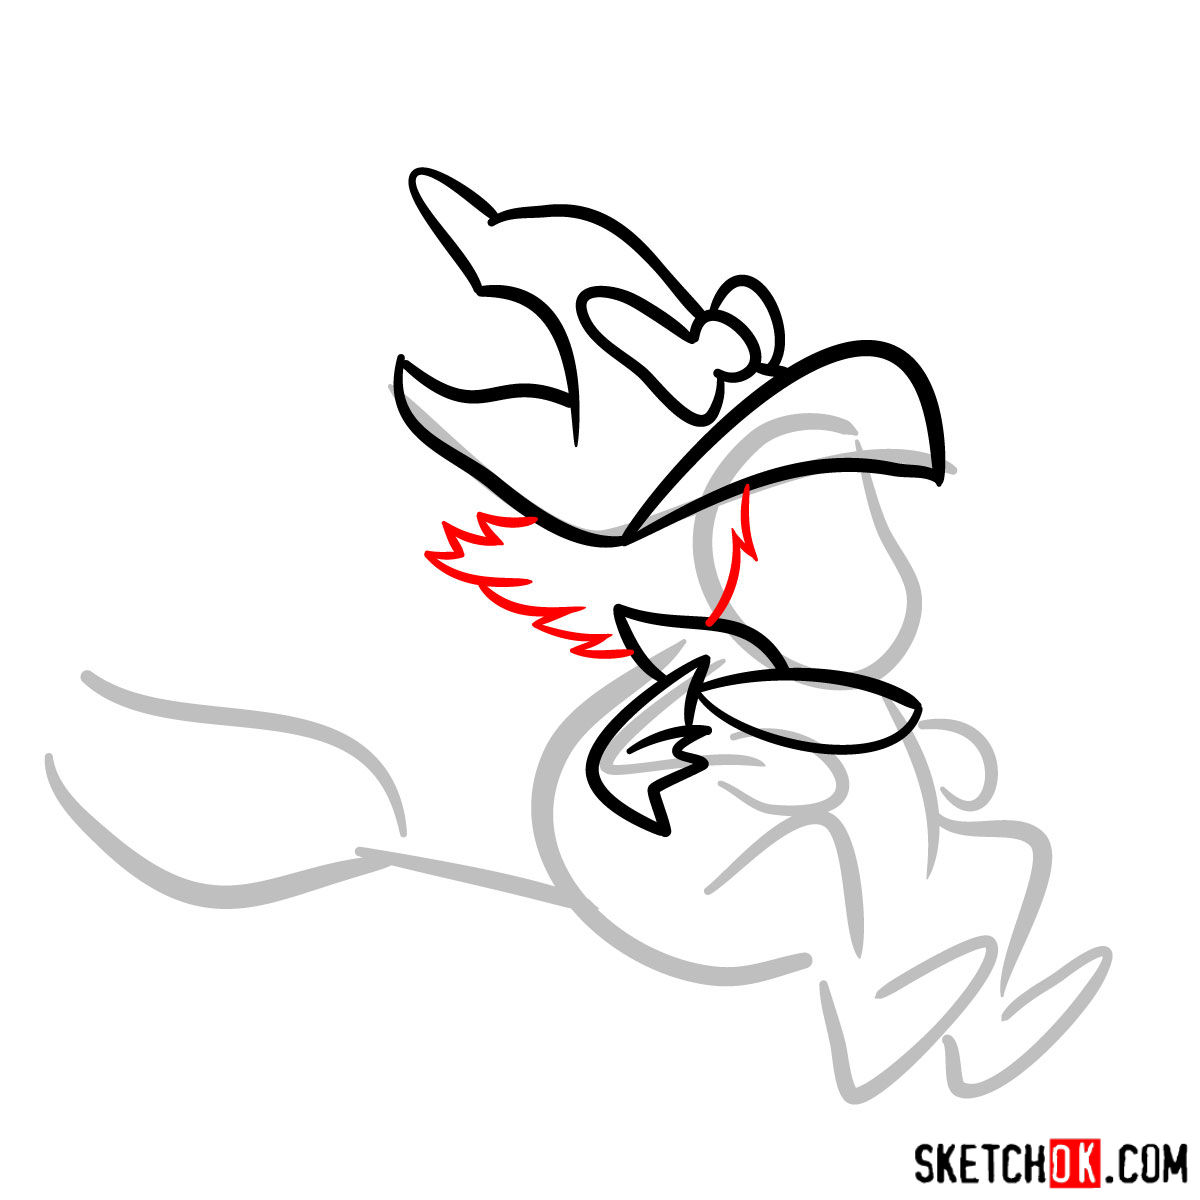
- The Quirky Outfit: A defining aspect of Winnie’s appearance is her witch outfit. Pay special attention to her hat and cloak, as these are her signature clothing items.
In terms of drawing similar characters, consider other whimsical witches like Ursula from the Little Mermaid or Magica De Spell from DuckTales. Integrating these characters into your sketch can create an enchanting witch-themed drawing!
Decoding the Guide: Understanding the Tutorial
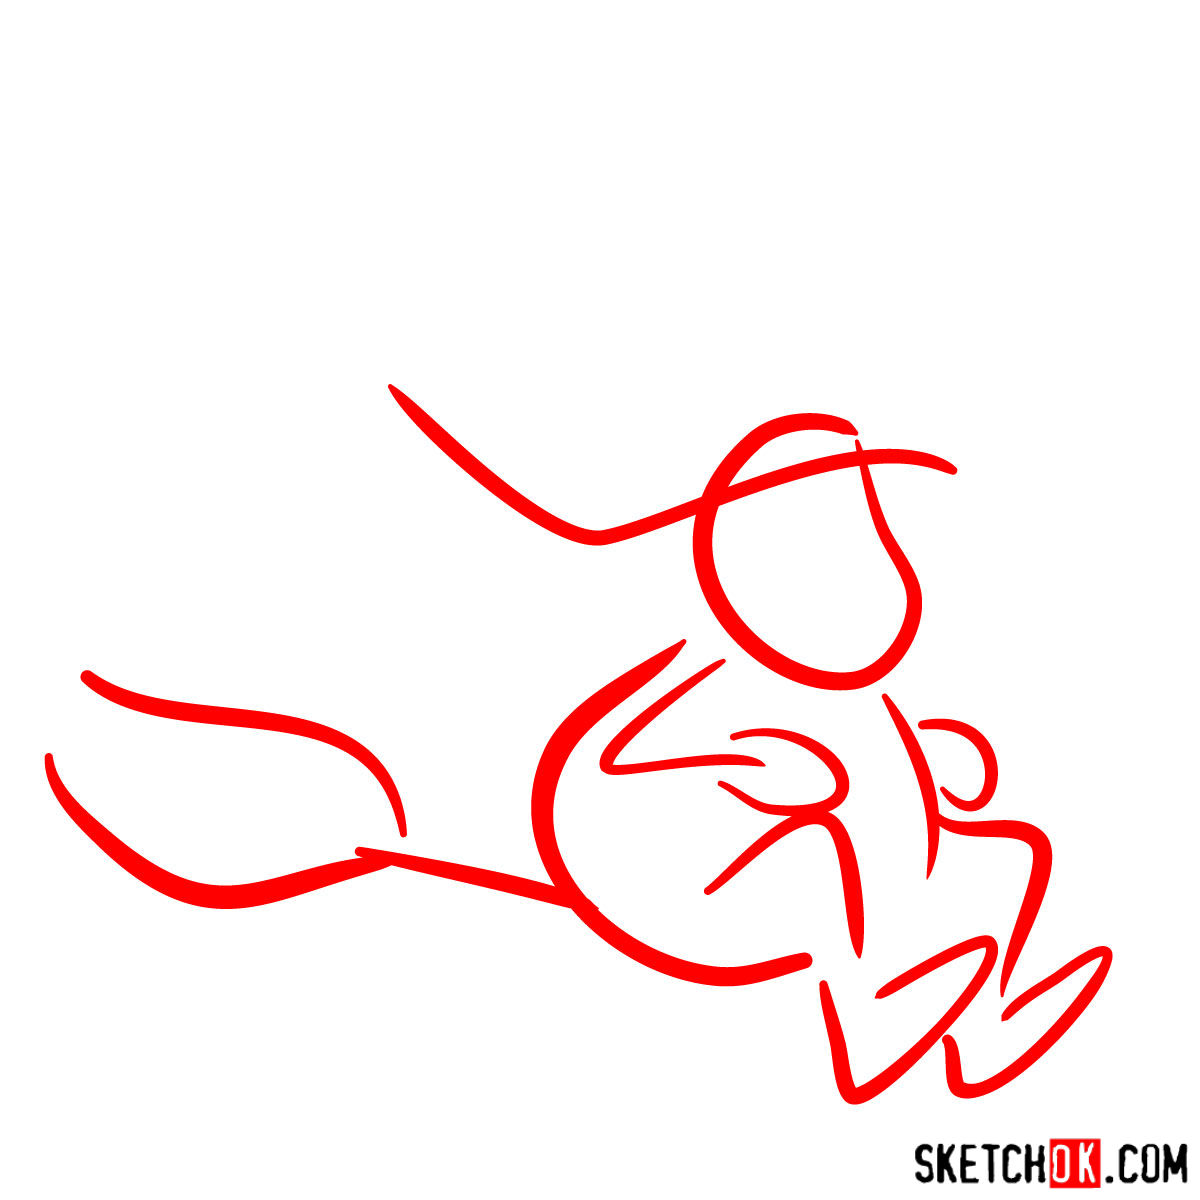
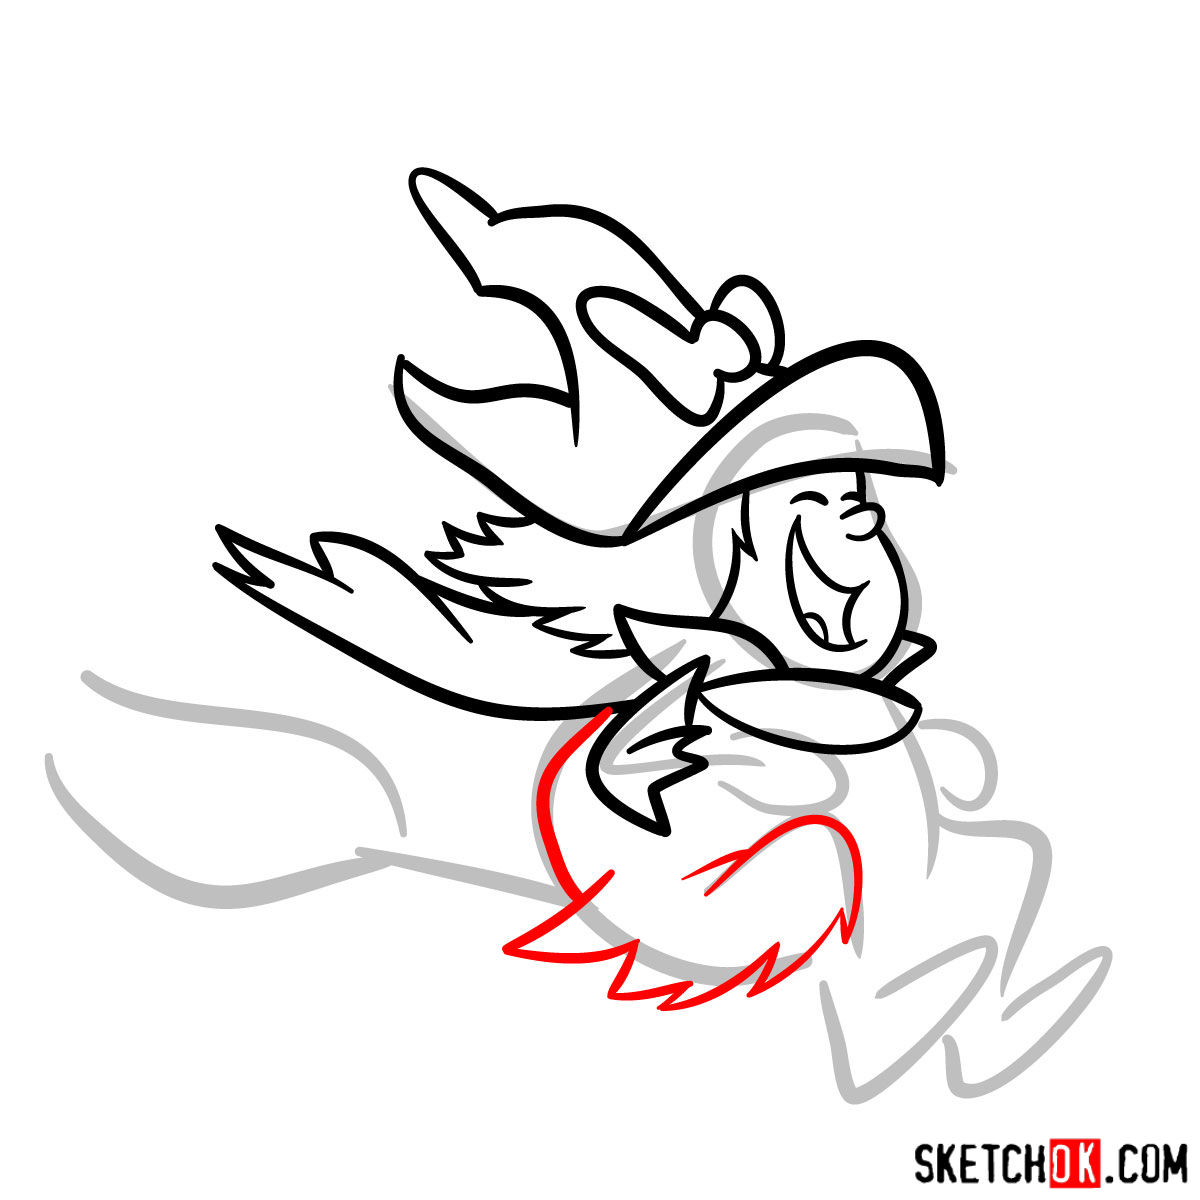
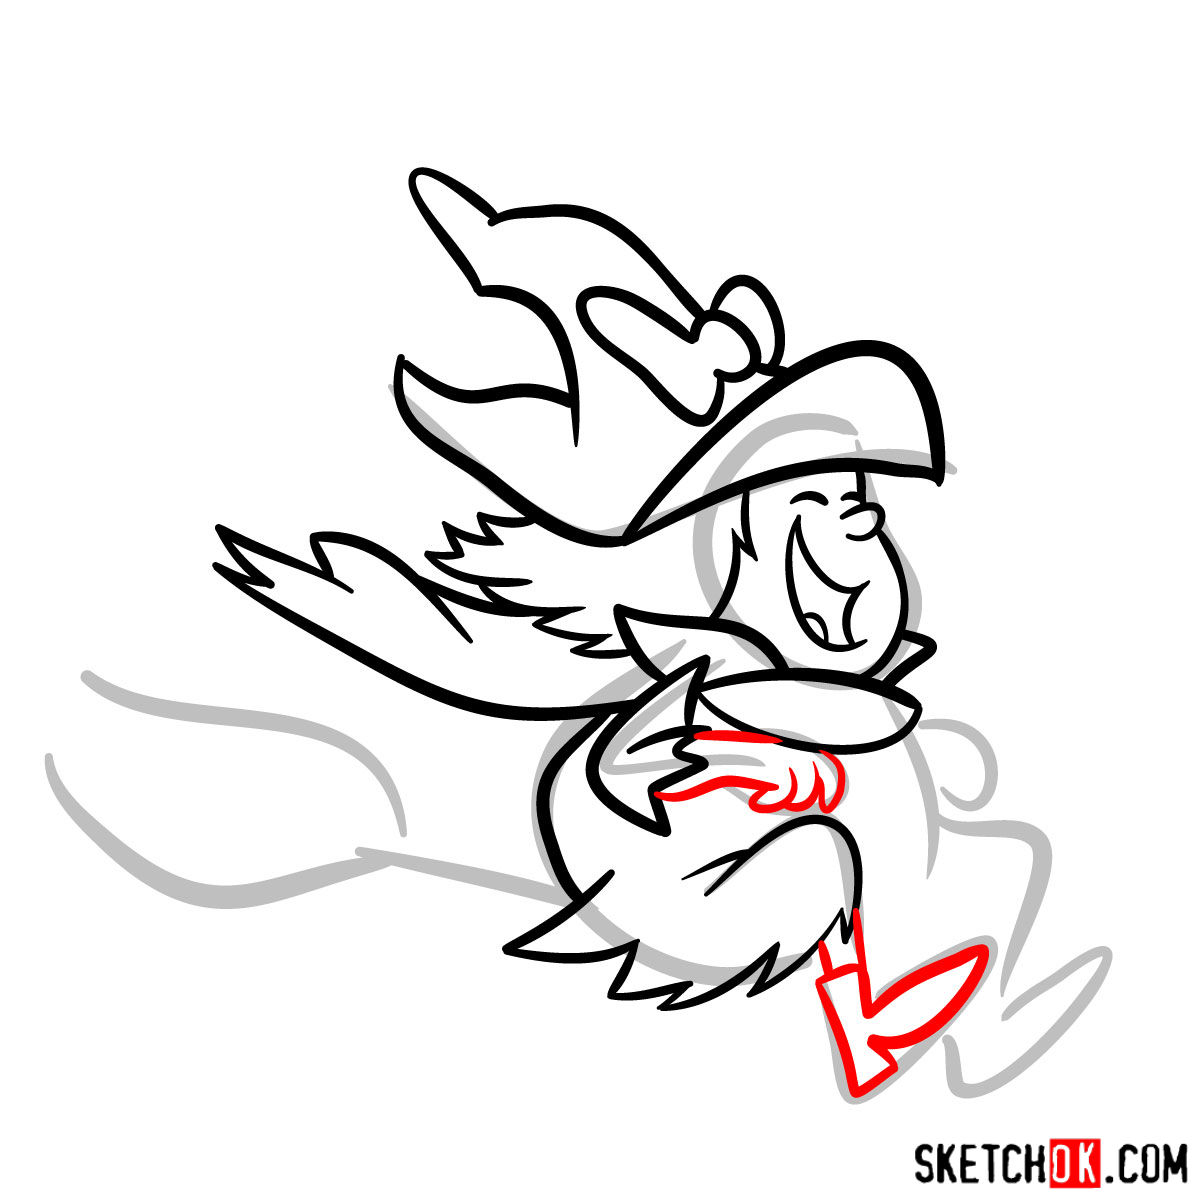
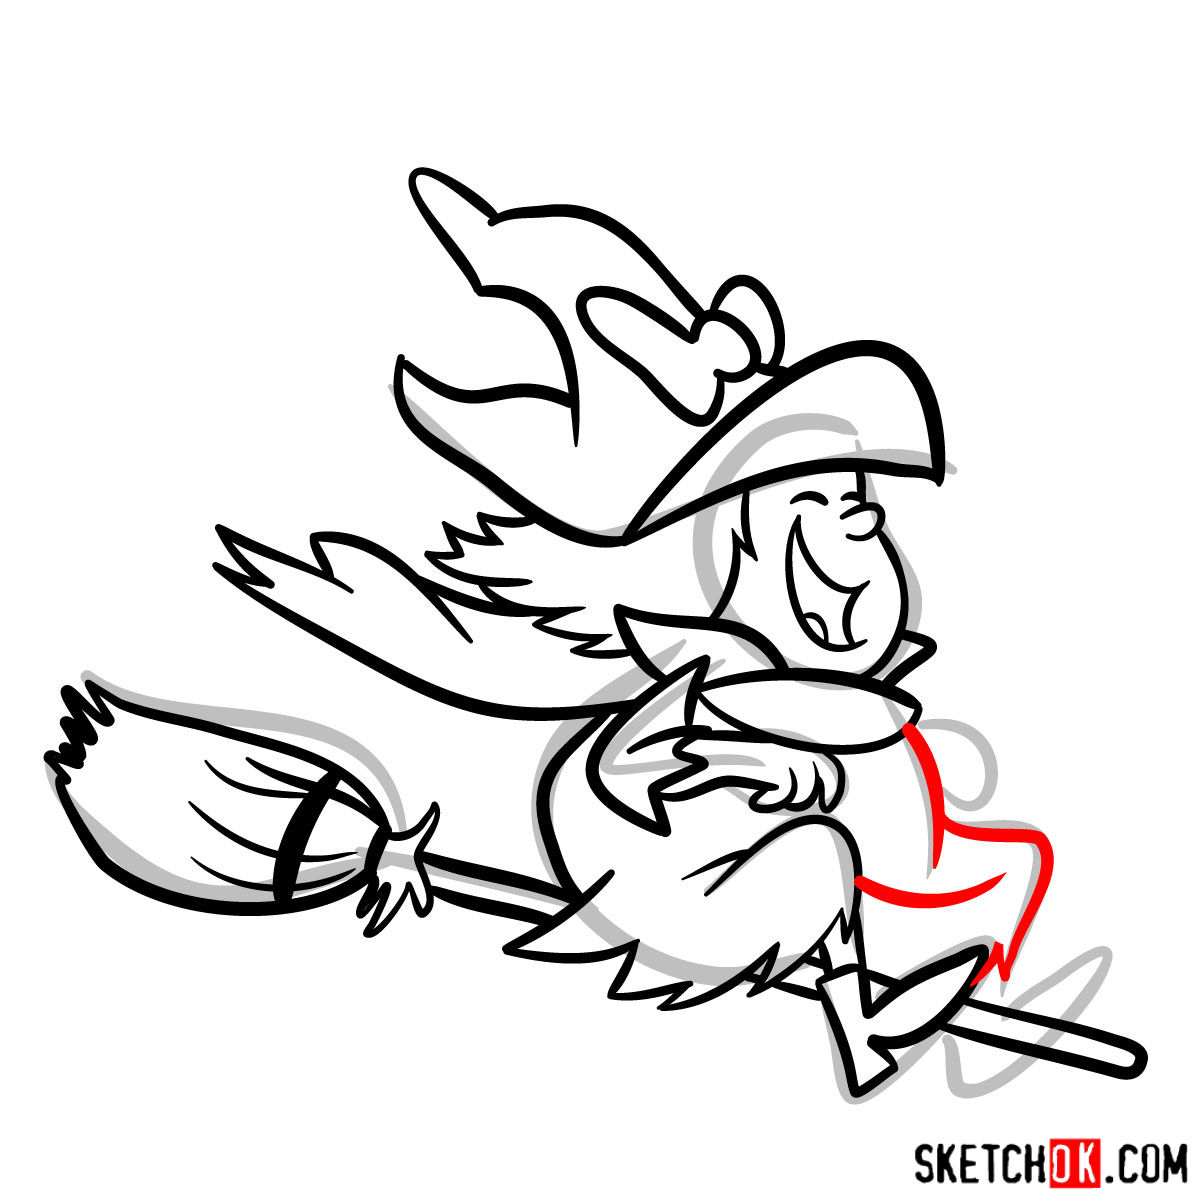
This guide is a 14-step journey to sketching Winsome Witch, featuring images that use a simple color coding system to help you follow along:
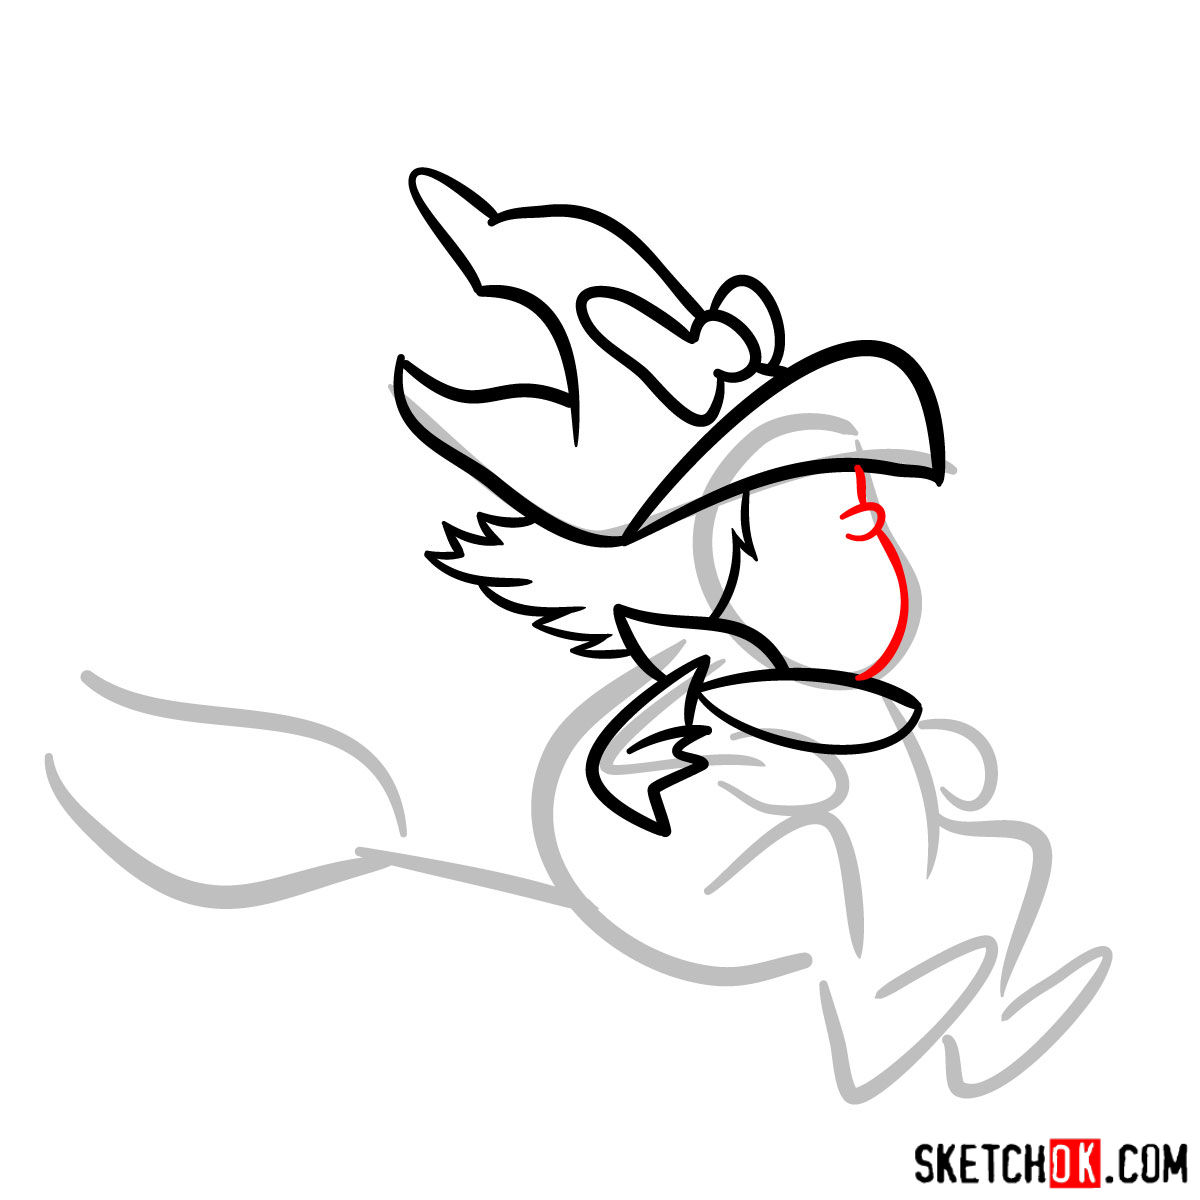
- Red Color: The red lines in each step highlight the new lines to be drawn.
- Black Color: The black lines represent the lines drawn in the previous steps.
- Grey Color: The grey lines serve as a basic sketch to maintain proportions, created in the initial step using light pencil strokes.
The first step is all about creating a basic structure for the sketch, ensuring that the proportions are correct. The last stage allows you the option to ink your sketch, giving it a finished look. Remember to wait until the ink dries before erasing the pencil sketch to avoid smudging your work.


FAQs About Drawing Winsome Witch
Why is it important to sketch lightly in the beginning?
Sketching lightly helps you to easily erase and adjust lines in the early stages. It makes the refining process more forgiving and less messy.
How can I make my sketch of Winnie more expressive?
Expressions bring life to a character. To make Winnie more expressive, focus on her eyes and mouth. Try to capture the spark in her eyes and her friendly smile. It’s these small details that can make a big difference in your sketch.
What should I focus on when drawing Winnie’s magical broom?
When drawing Winnie’s broom, pay special attention to its shape and movement. The broom should look dynamic and alive. Try to capture its character as Winnie’s loyal companion.
The Wrap-Up and a Call to Spread the Love for Art
I hope you’ve enjoyed this tutorial on how to draw Winsome Witch and feel inspired to keep practicing and honing your skills. Remember, every great artist started somewhere, and every drawing you create brings you one step closer to mastery.
If you found this guide useful, consider donating to keep the SketchOk project alive, helping us create more free drawing guides. You can also share this guide with others or on social media platforms to spread the love for art. Here are some links to our pages: Facebook, Instagram, Pinterest.
Your contributions and support not only help us but also encourage more people to start their drawing journey. After all, art is a language that connects us all, and together, we can make the world a more creative place. Keep drawing and keep growing!