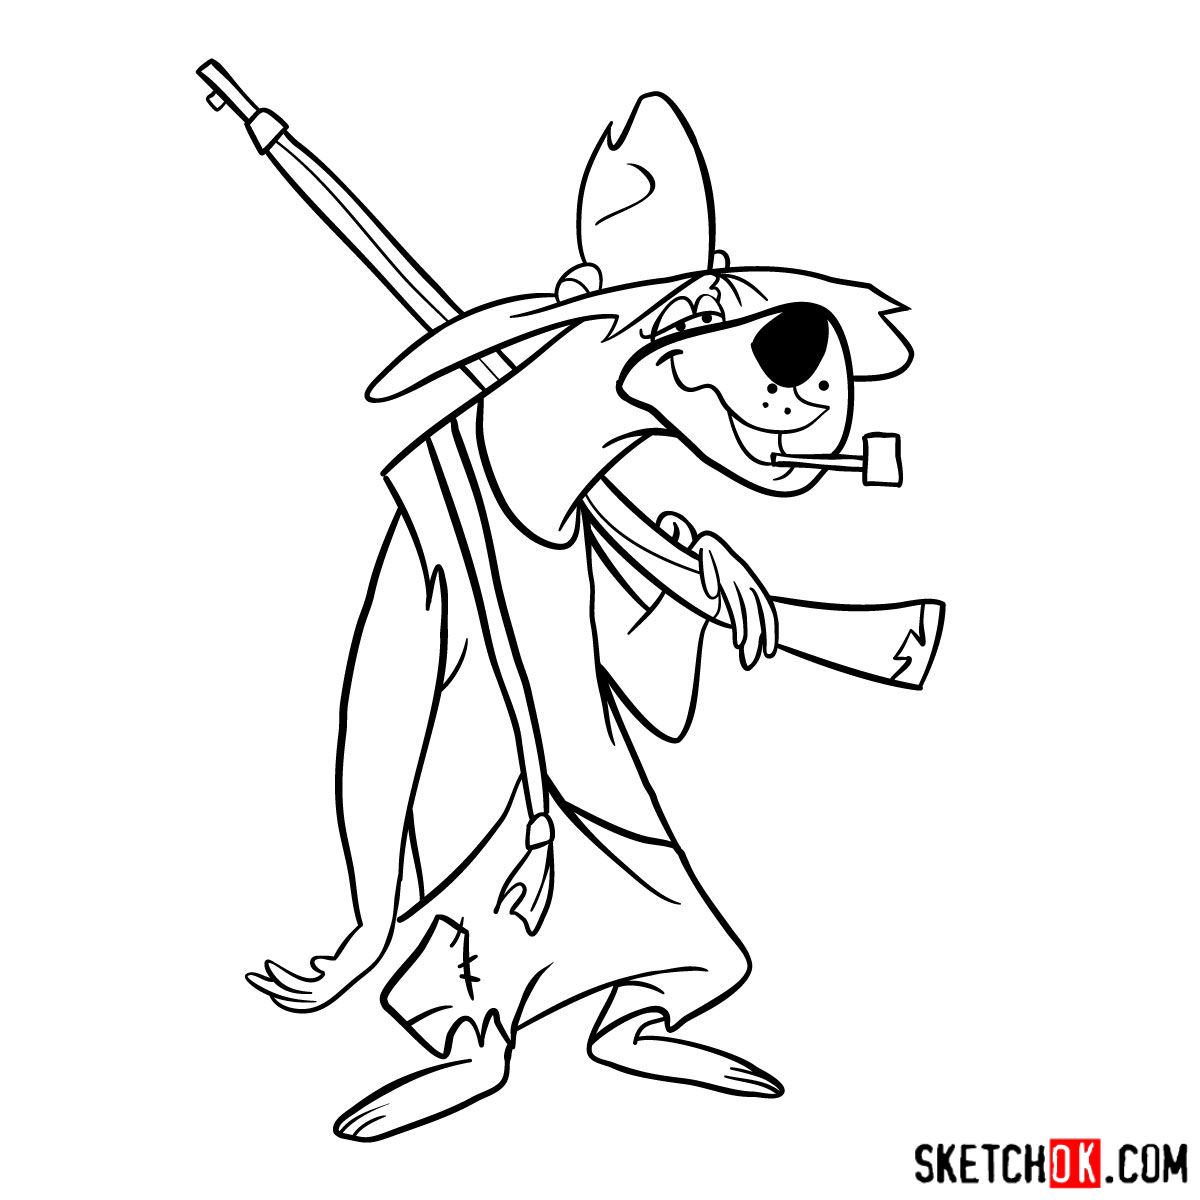
For fans of classic cartoons, drawing beloved characters can be an exciting journey. Today, we dive into the whimsical world of The Hillbilly Bears to learn how to draw the feisty yet lethargic Paw Rugg. This character, once voiced by Henry Corden and recently brought to life by Jim Conroy in Jellystone!, is a fan favorite and a great starting point for any budding artist.
Sketching Paw Rugg: Key Features
Drawing Paw Rugg isn’t just about replicating an image; it’s about understanding the character’s traits, personality, and iconic features. Here’s what to pay attention to:
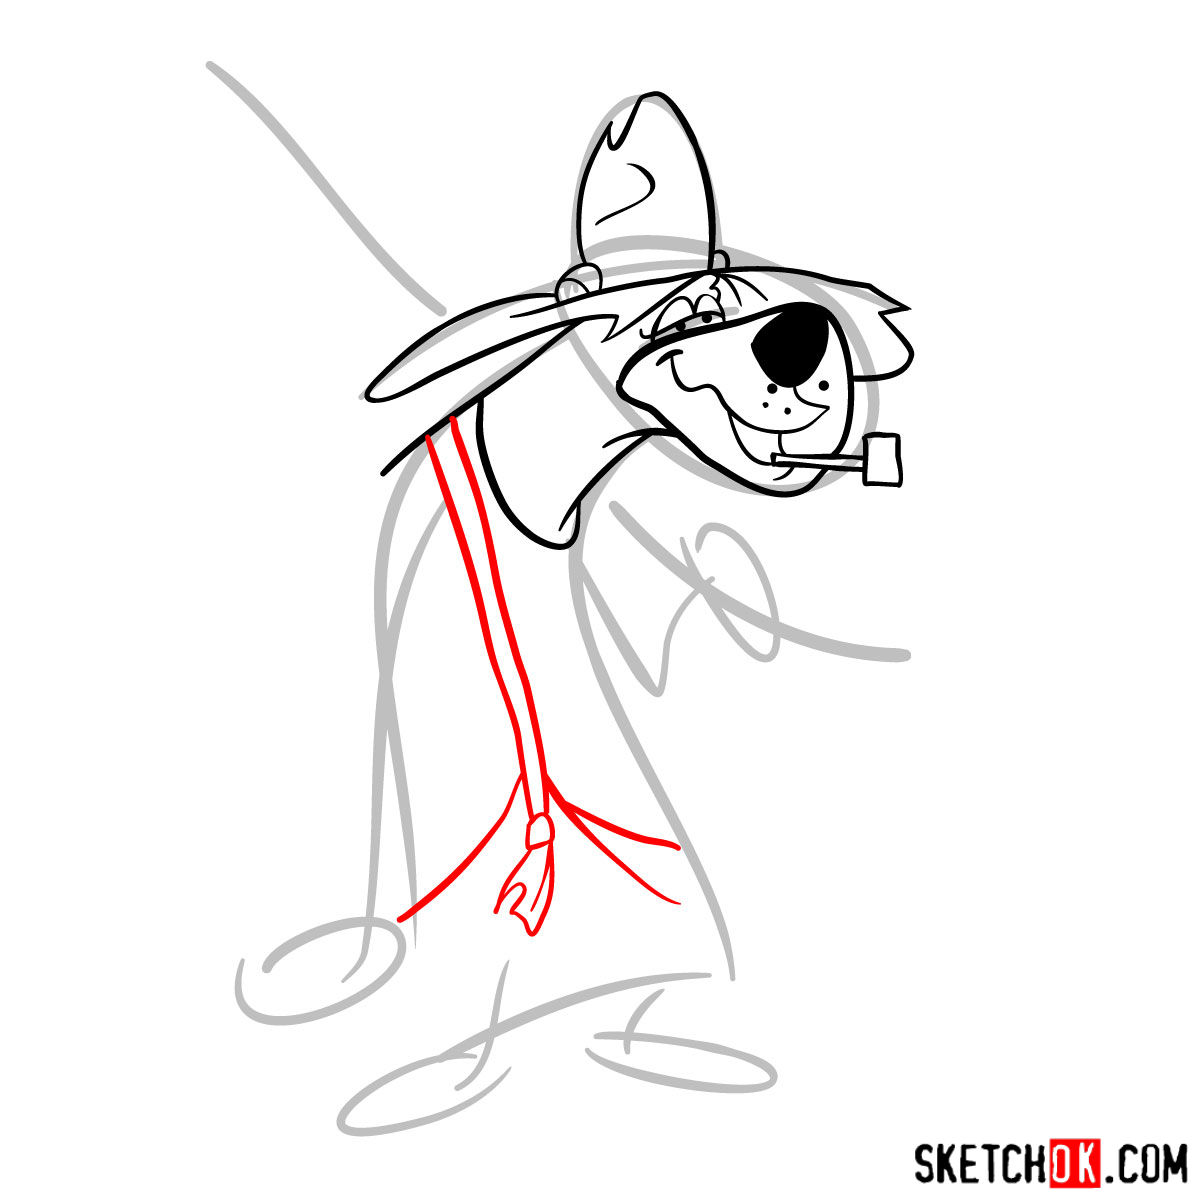
- Body shape: Paw Rugg has a bulky, barrel-shaped body.
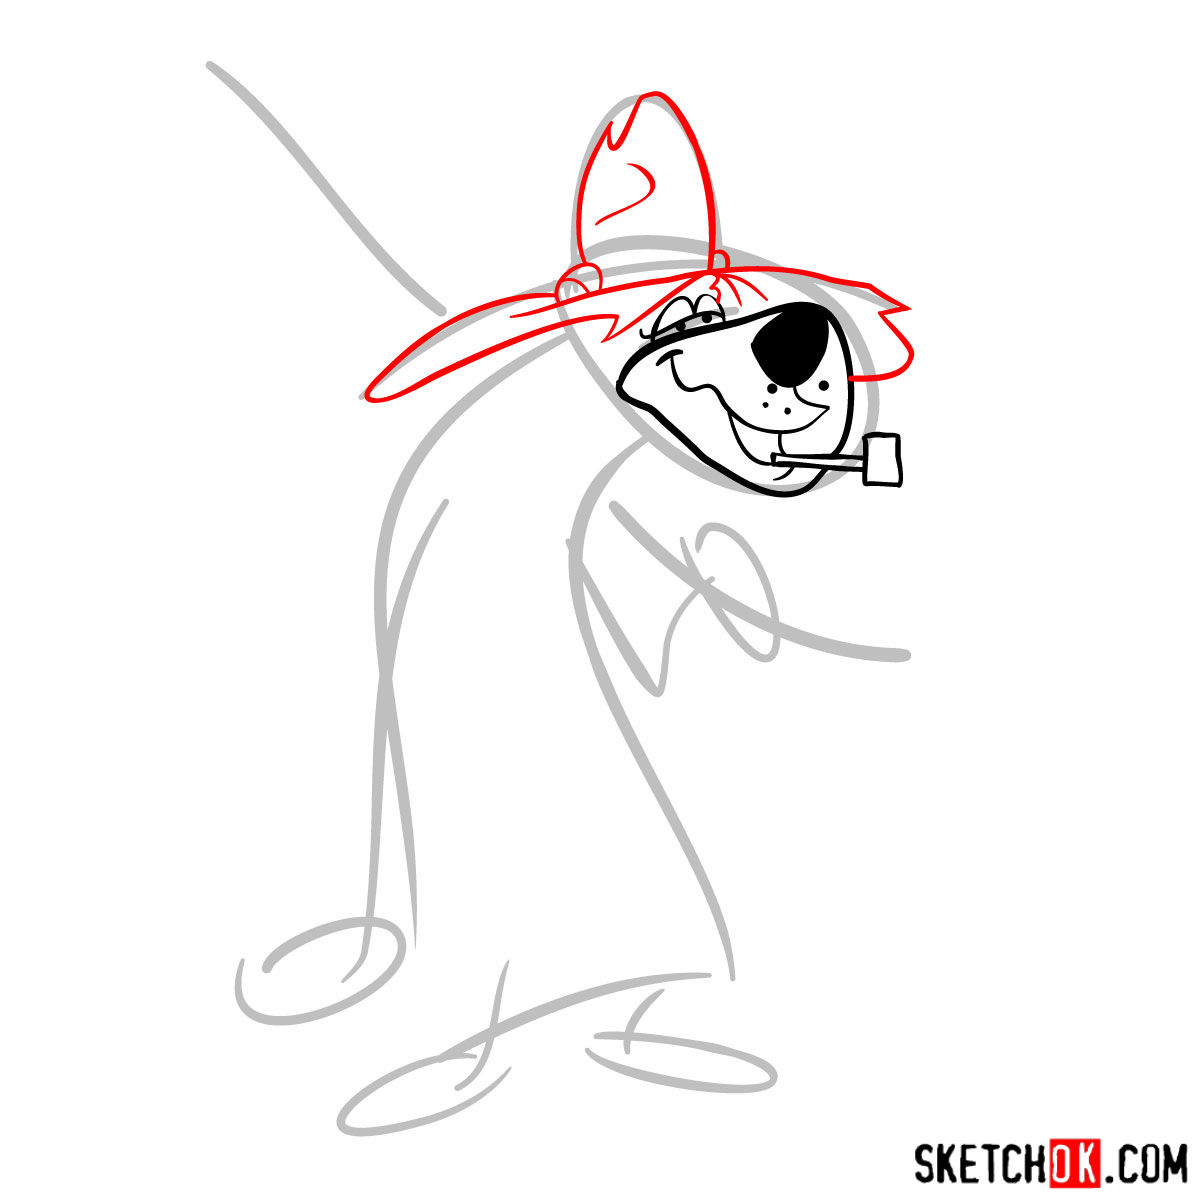
- Facial expression: Paw’s eyebrows are often furrowed, showing his constant vigilance and readiness for his next misadventure. Don’t forget about his signature pipe!
- Clothing: Paw Rugg wears a rustic, worn-out hat and patched trousers, adding to his Hillbilly persona. Keep these details in mind while sketching.
Remember, you could add his family, Maw Rugg, Floral, and Shag for a full-fledged Hillbilly Bears scene!
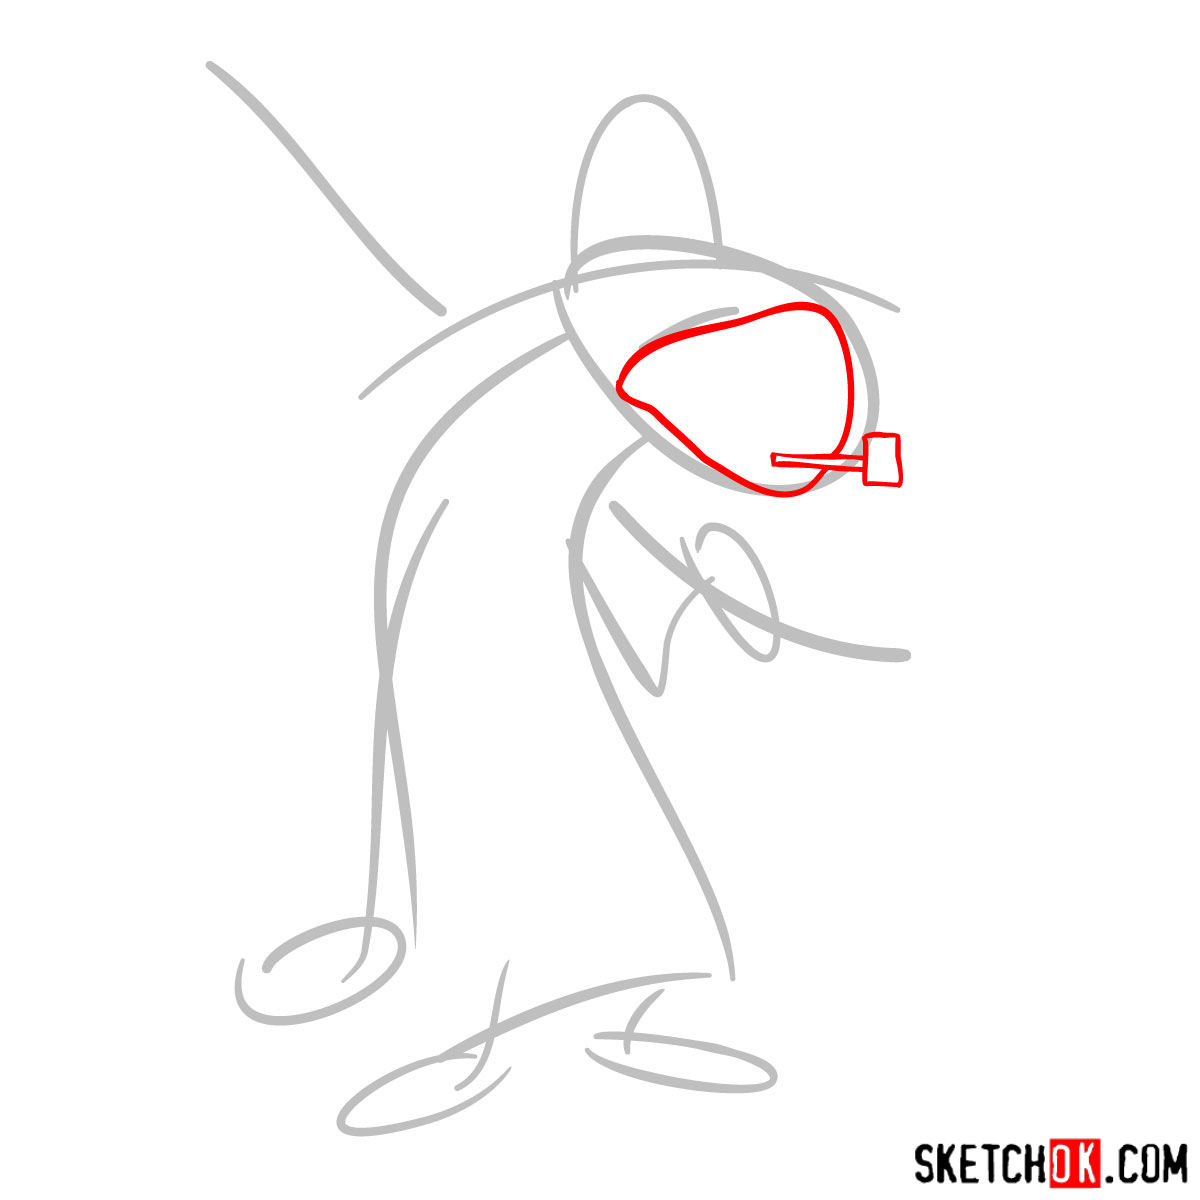
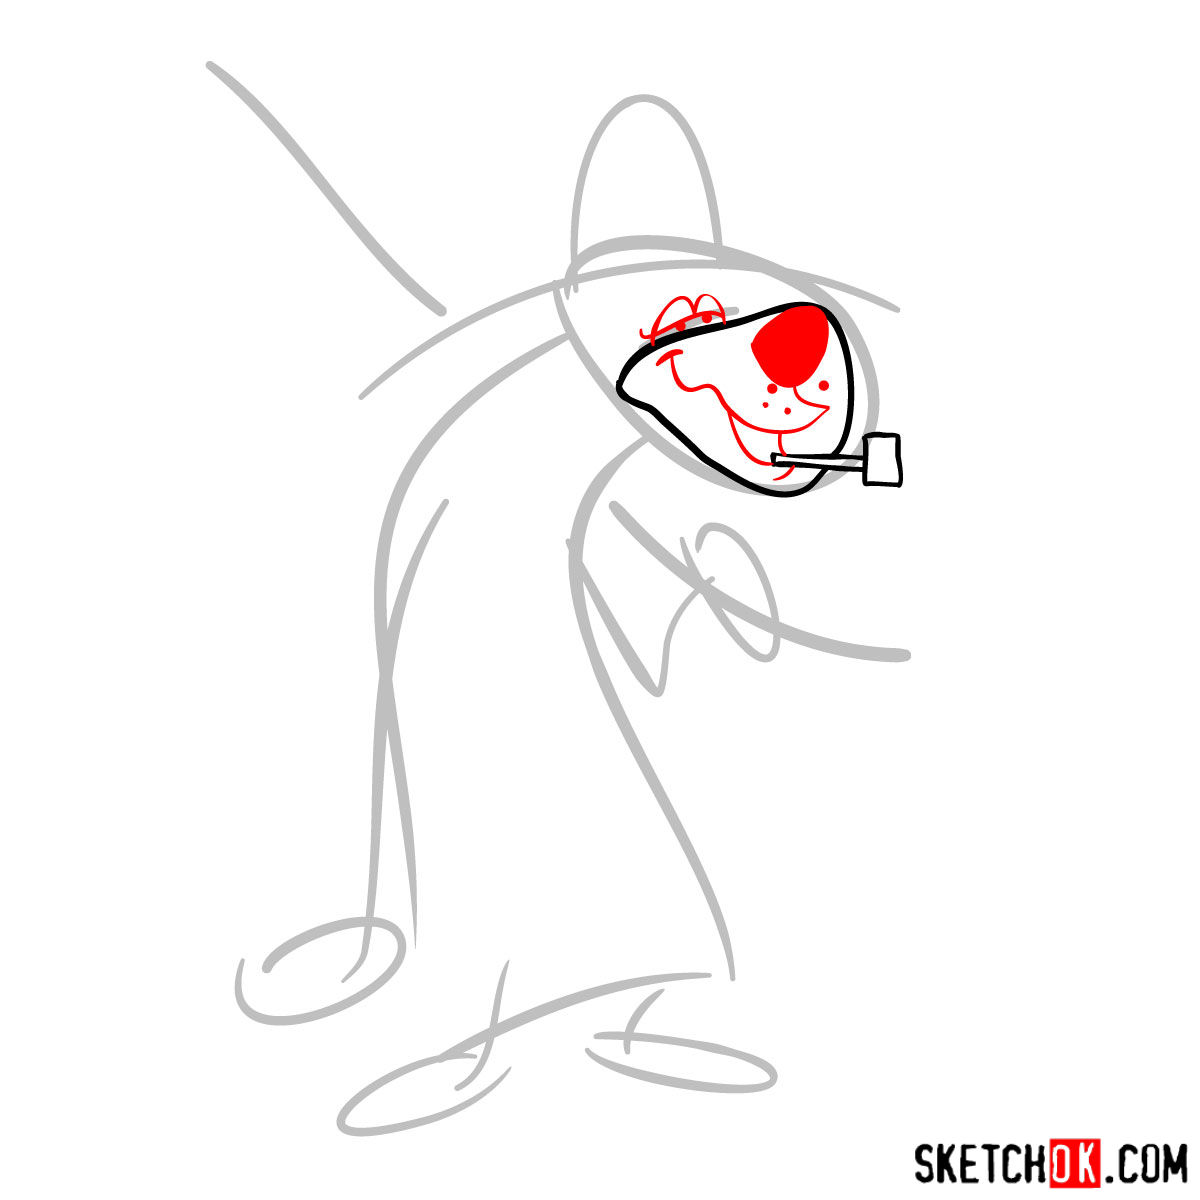
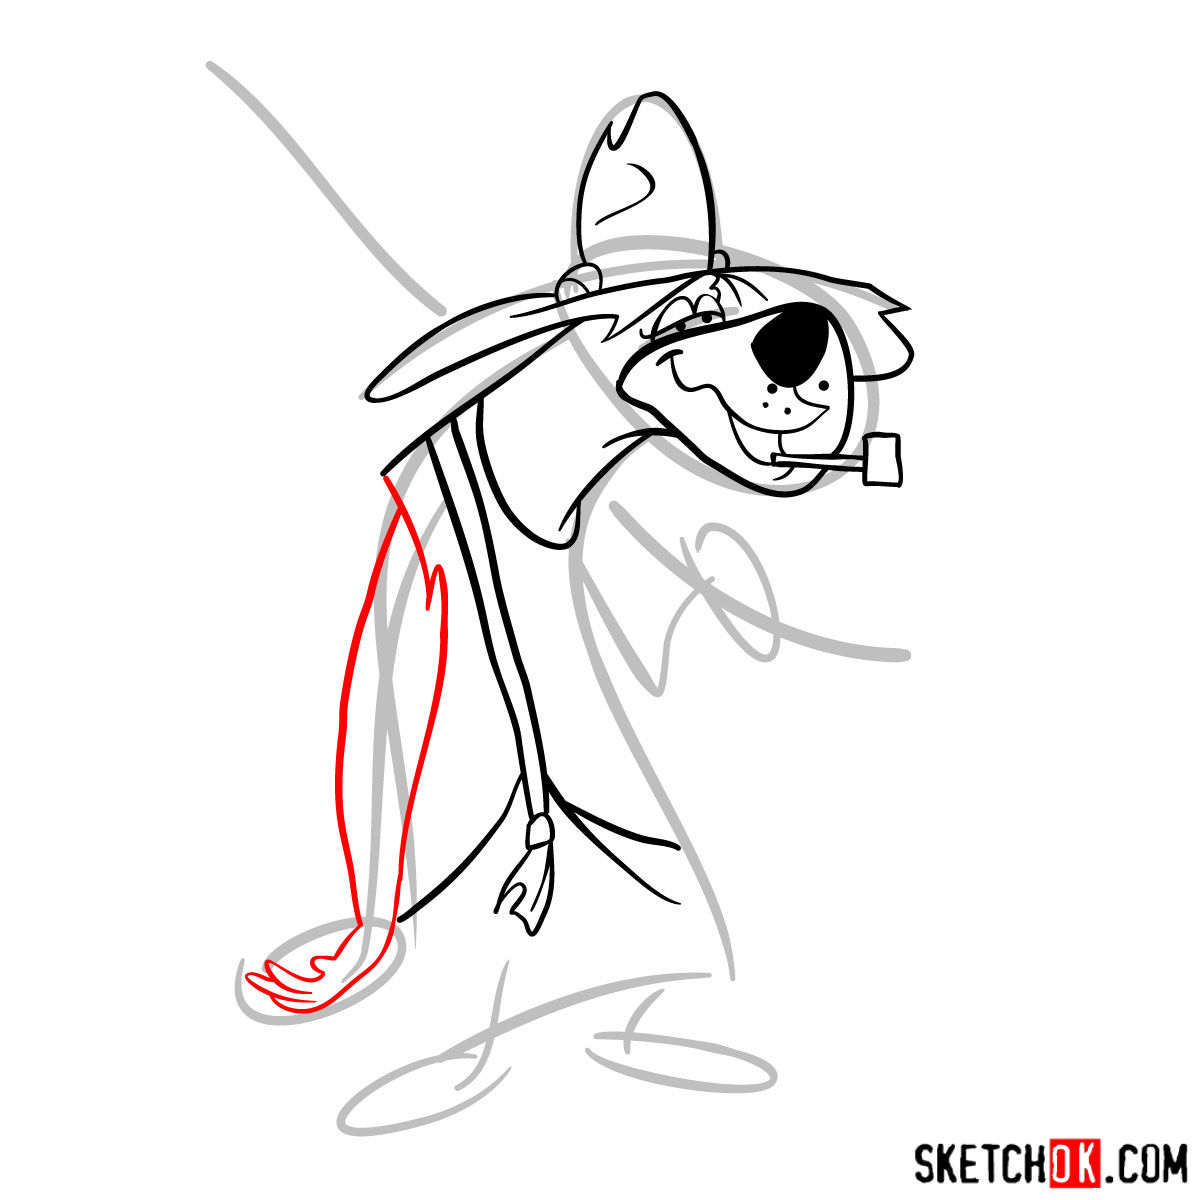
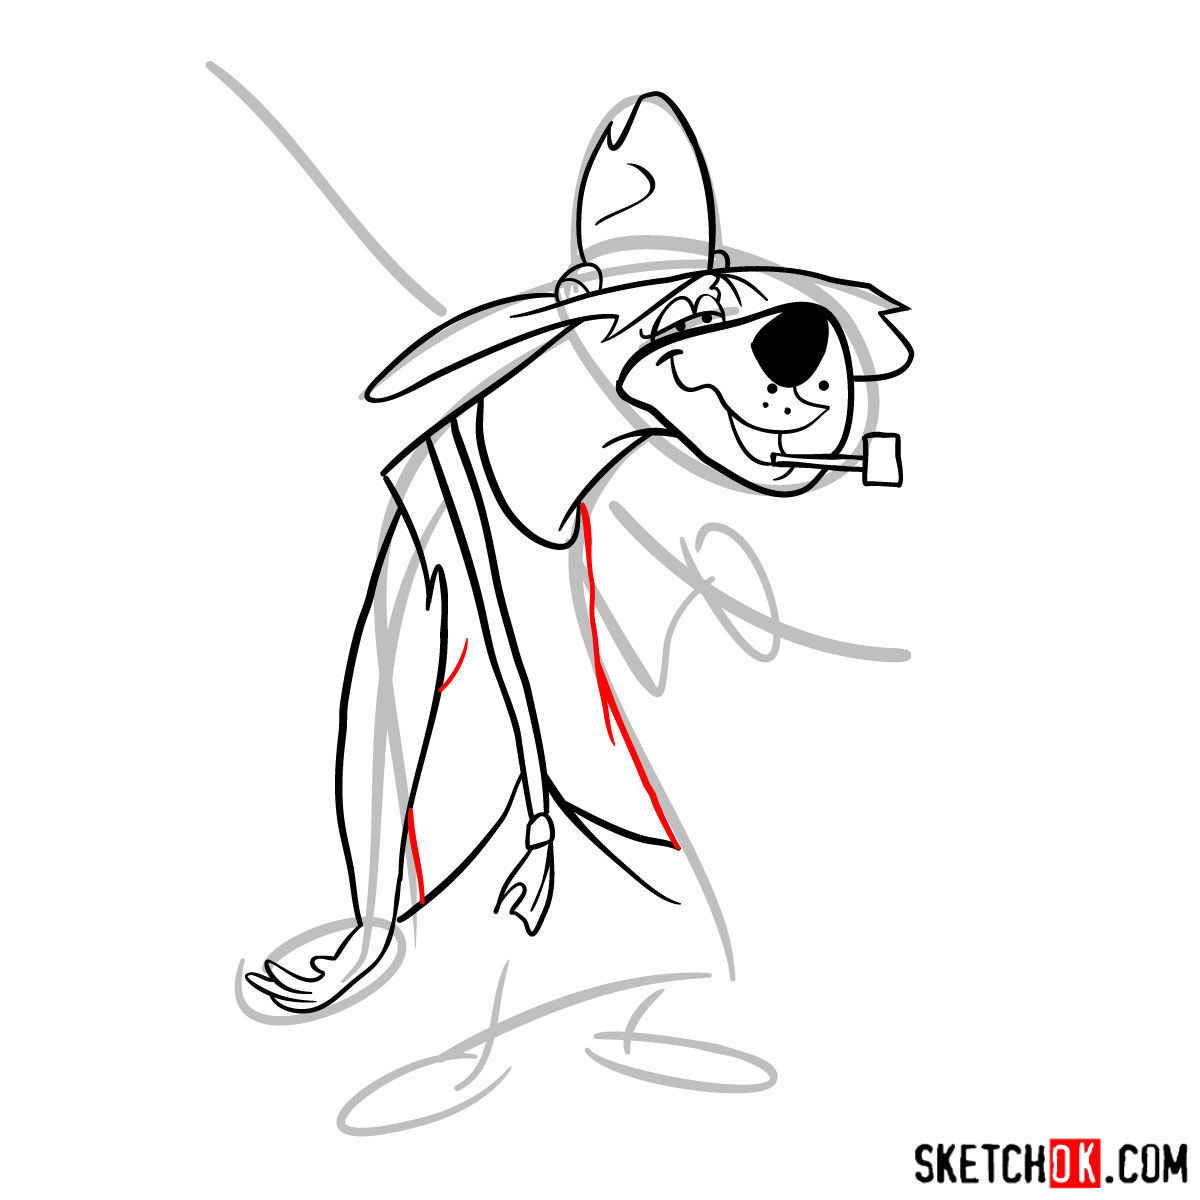
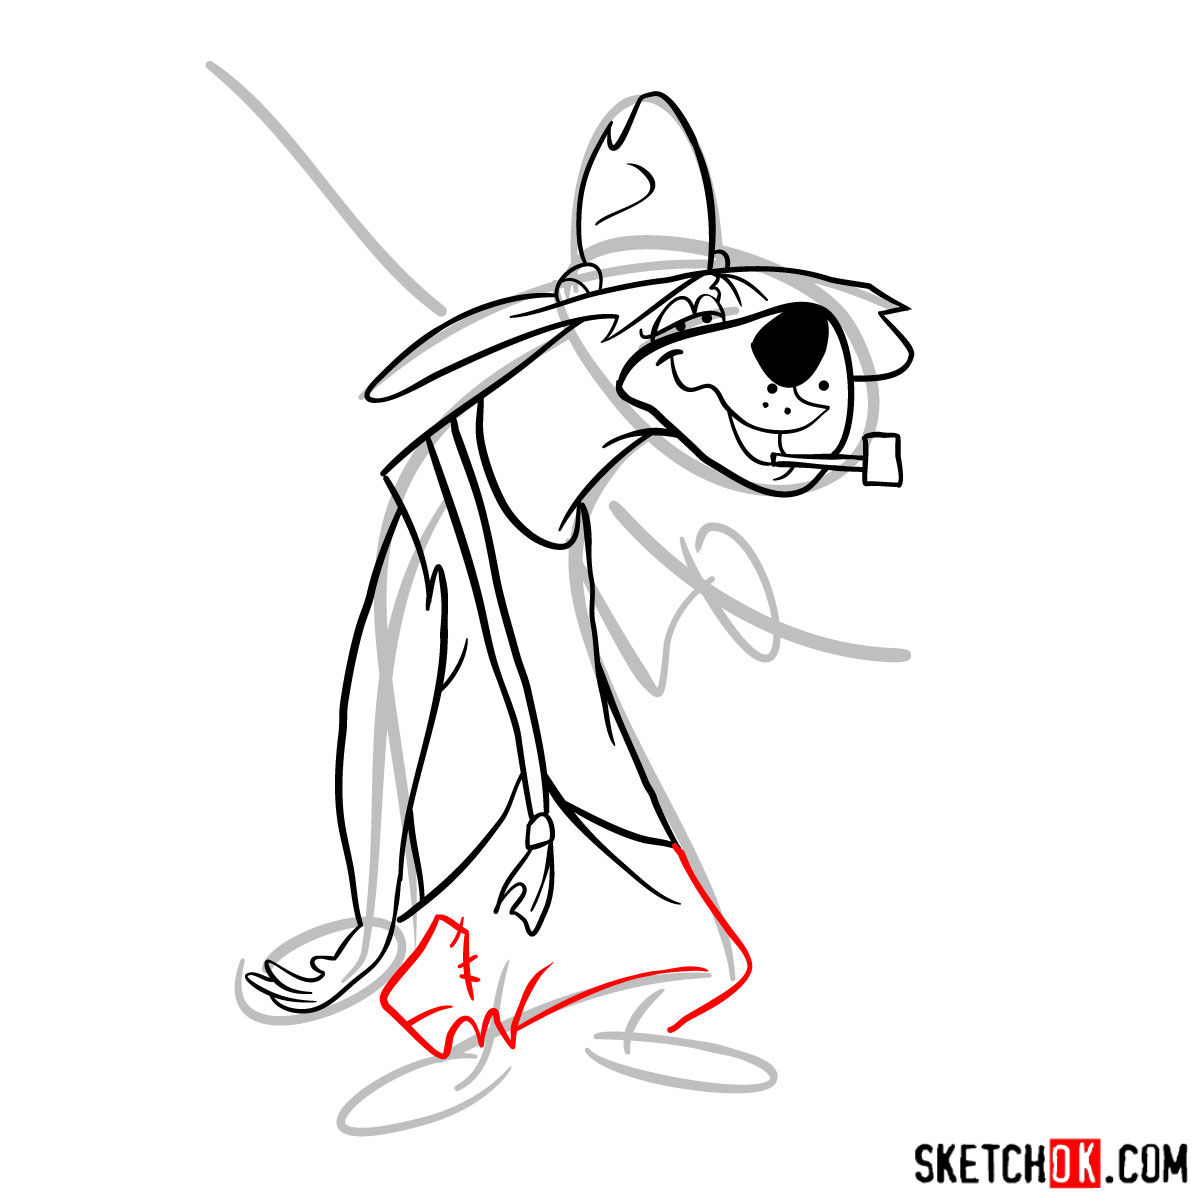
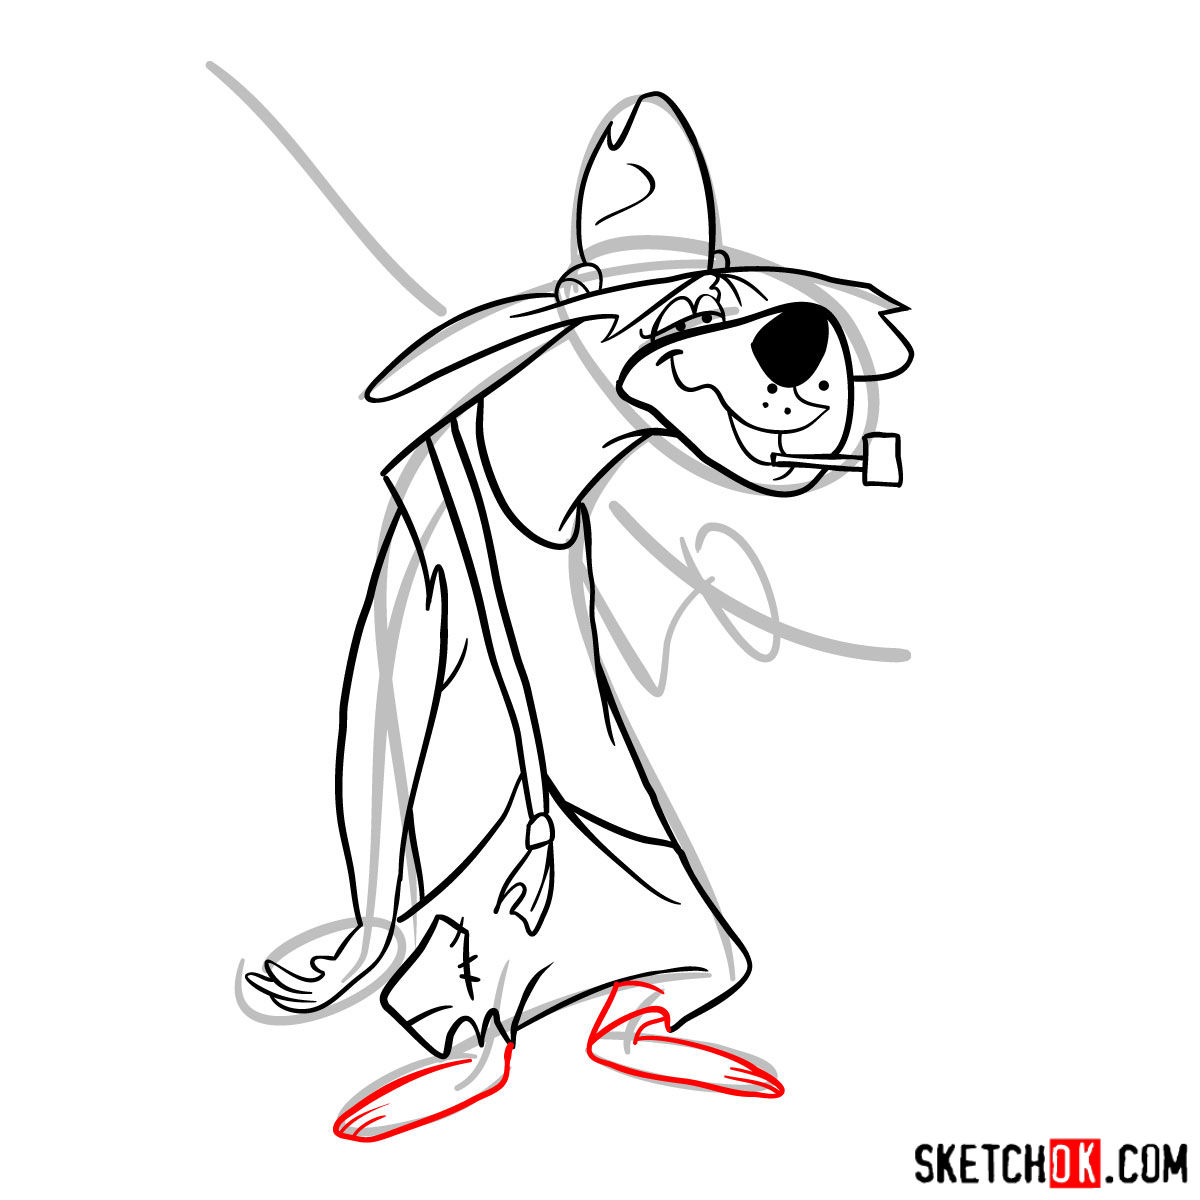
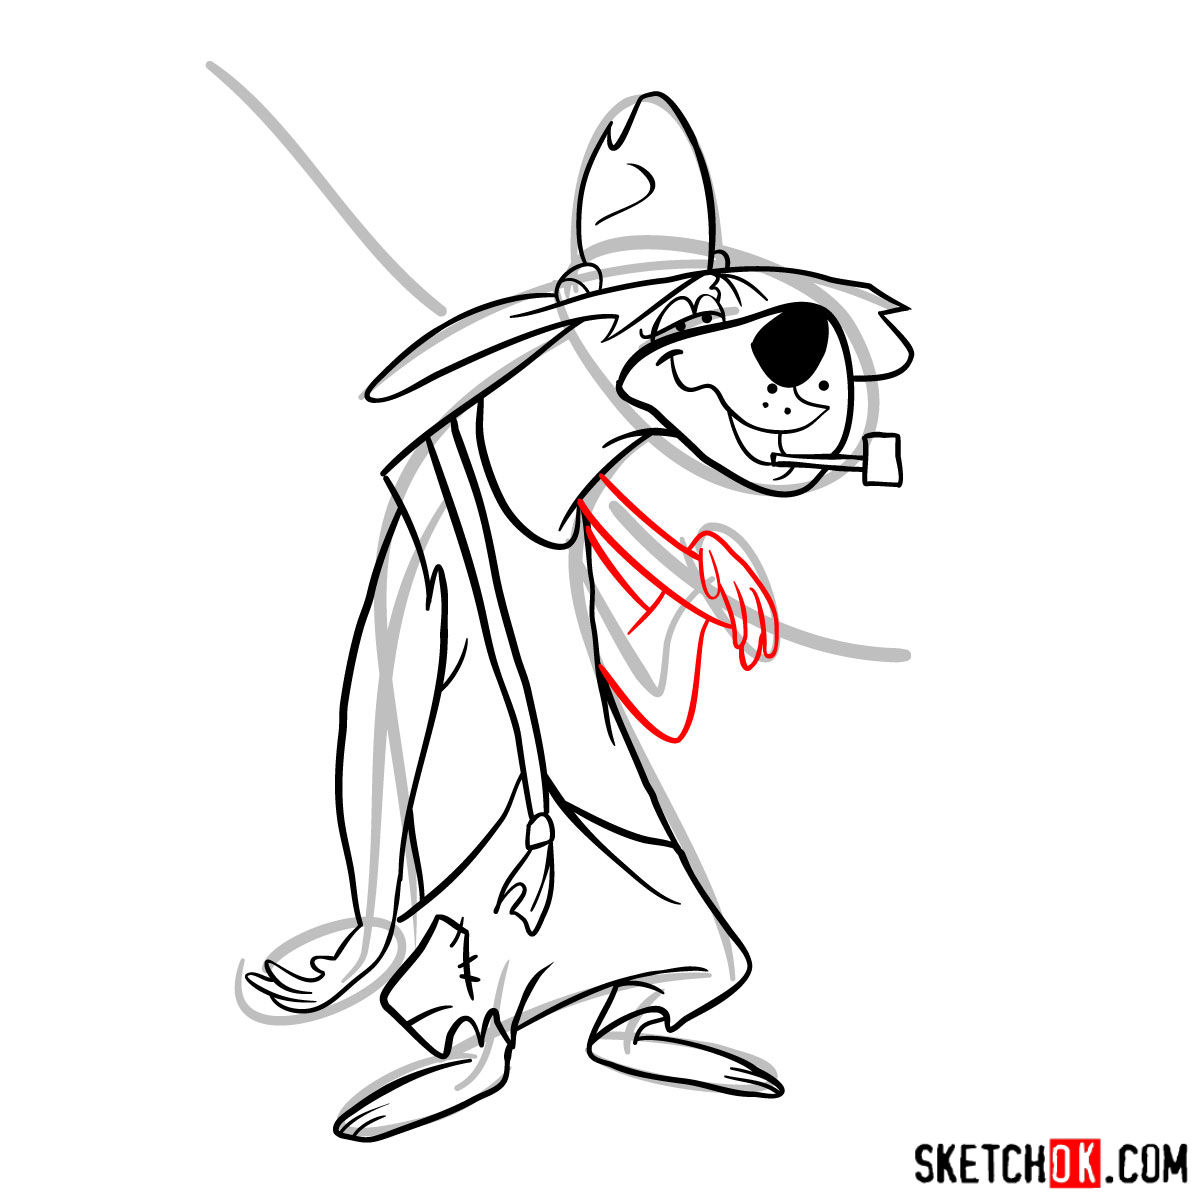
Decoding the Sketch Guide: Mastering the Steps
Our guide is designed to help you progress step-by-step, leading to a final sketch of Paw Rugg. Let’s understand the color coding:
- Red Color: Indicates the lines you should be drawing in the current step.
- Black Color: Shows the lines drawn in the previous steps.
- Grey Color: Represents the basic proportions sketch or guide.
The guide contains 14 steps, starting with the basic sketch. Light pencil strokes should be used initially to set the proportions. As you advance, your sketch will gradually take shape. In the end, you may choose to ink your sketch. However, wait until the ink is dry before gently erasing the pencil marks to avoid smudging.


Frequently Asked Questions
Why should I sketch lightly in the initial steps?
Sketching lightly helps you to easily erase and adjust lines in the early stages. It makes the refining process more forgiving and less messy. Light sketches allow you to establish proportions and overall structure without committing to final lines too early in the process.
What should I consider when inking my sketch?
When inking, take your time and be precise. Use a good quality fineliner or ink pen for clean and crisp lines. Ensure the ink is dry before erasing the pencil sketch to avoid smudges. Inking accentuates your sketch, making it stand out.
Can I add other characters to my drawing?
Absolutely! Adding other characters like Maw Rugg or Paw Hopper can provide a context for Paw Rugg’s personality and create a lively scene. Remember, each character adds complexity, so be mindful of the additional details.
Wrap-Up: Share the Art, Support the Project
Congratulations on reaching the end of the “how to draw Paw Rugg” guide! Your support and engagement mean the world to us at SketchOk. If you found our guide useful, consider sharing it with your friends, on social media, or any corner of the web. Every share helps others discover these free drawing guides.
Want to fuel more free guides? Consider making a donation on our Buy Me A Coffee page. Your contributions help keep SketchOk alive, allowing us to continue creating step-by-step drawing tutorials for everyone to enjoy.
Stay updated with new guides and tutorials by following us on Facebook, Instagram, and Pinterest. Together, let’s keep the creative spirit alive and kicking!