Home » Cartoon Characters » Various » How to draw Milo Murphy

How to draw Milo Murphy

Welcome, aspiring artists! Ever found yourself humming the tunes of “Milo Murphy’s Law” and daydreaming about bringing the delightful and disaster-prone Milo to life on your canvas? Well, this guide will walk you through just how to draw Milo Murphy in simple, easy-to-follow steps. We’ll not only look at the basic structure but also delve into the unique features that make him truly special.

Milo Murphy: Character’s Appearance and Key Drawing Focus Points

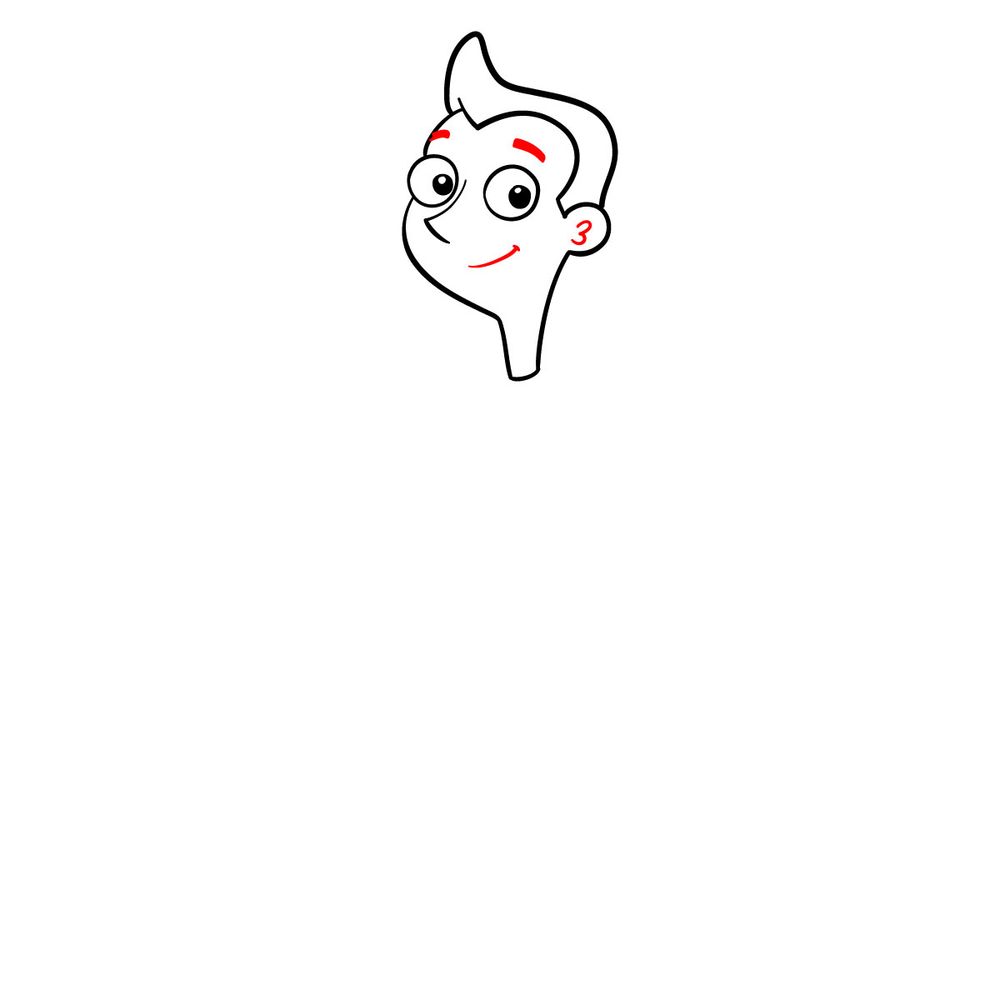
  • Face: Milo’s face is round with noticeable cheekbones and a pointed nose. This characteristic shape forms the foundation of his look.
  • Eyes: Dark brown, slightly oval-shaped, and always filled with mischief. Milo’s eyes express a lot of his personality.
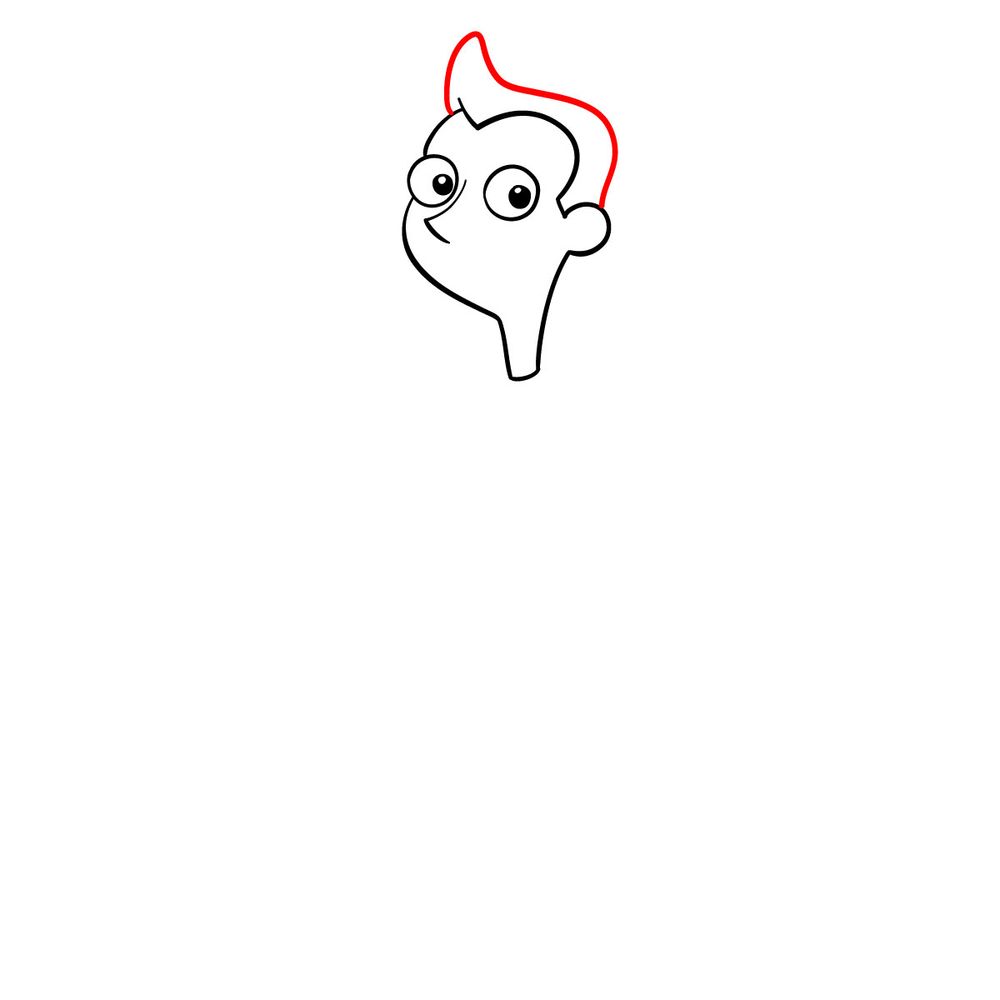
  • Hair: The signature quiff, also known as the “signature flip,” is a staple for the Murphy male lineage. Remember to give it the volume and lift it deserves!
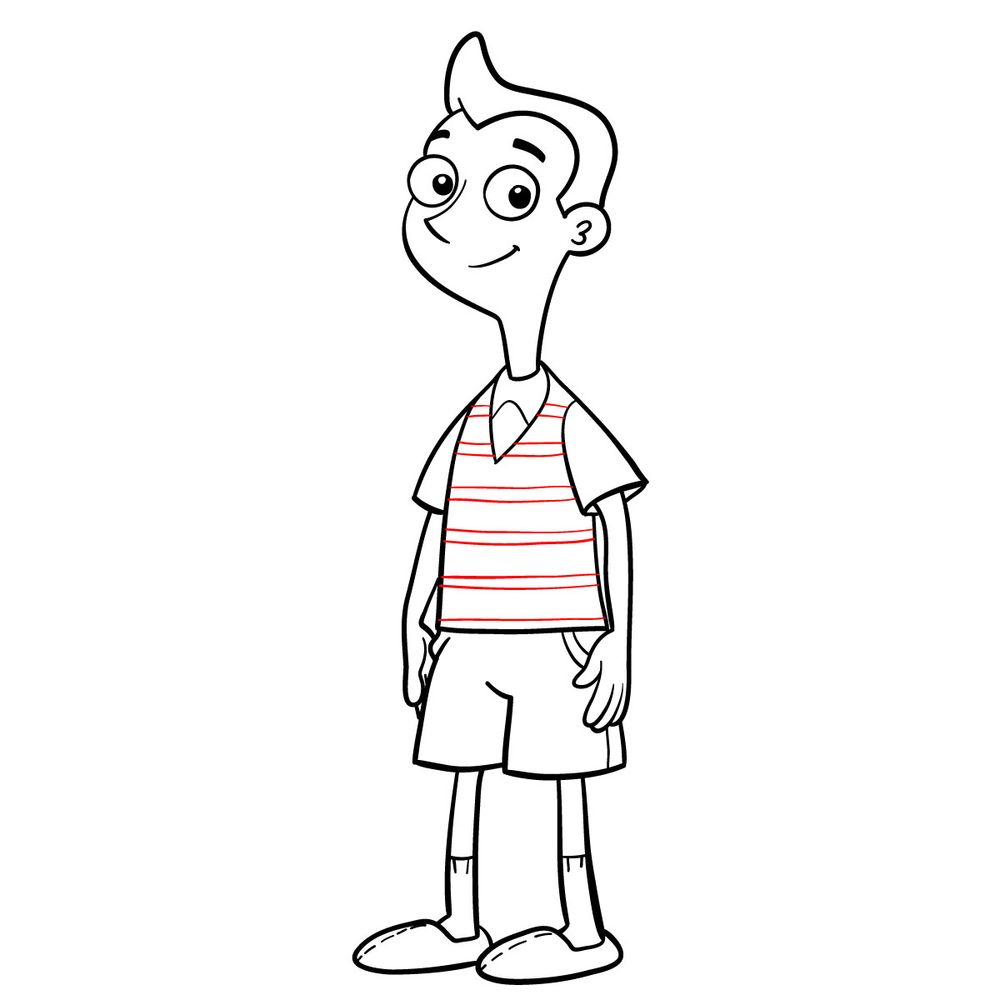
  • Outfit: His pink sweater vest layered over a pale-yellow t-shirt provides a quirky contrast. Meanwhile, the shorts and calf-length socks give him that youthful, carefree appearance.

For those who’ve watched the show, you might be familiar with Milo’s best friends, Zack Underwood and Melissa Chase. If you master drawing Milo, consider adding Zack or Melissa to your sketch to create an adventurous trio scene.


About This Drawing Guide

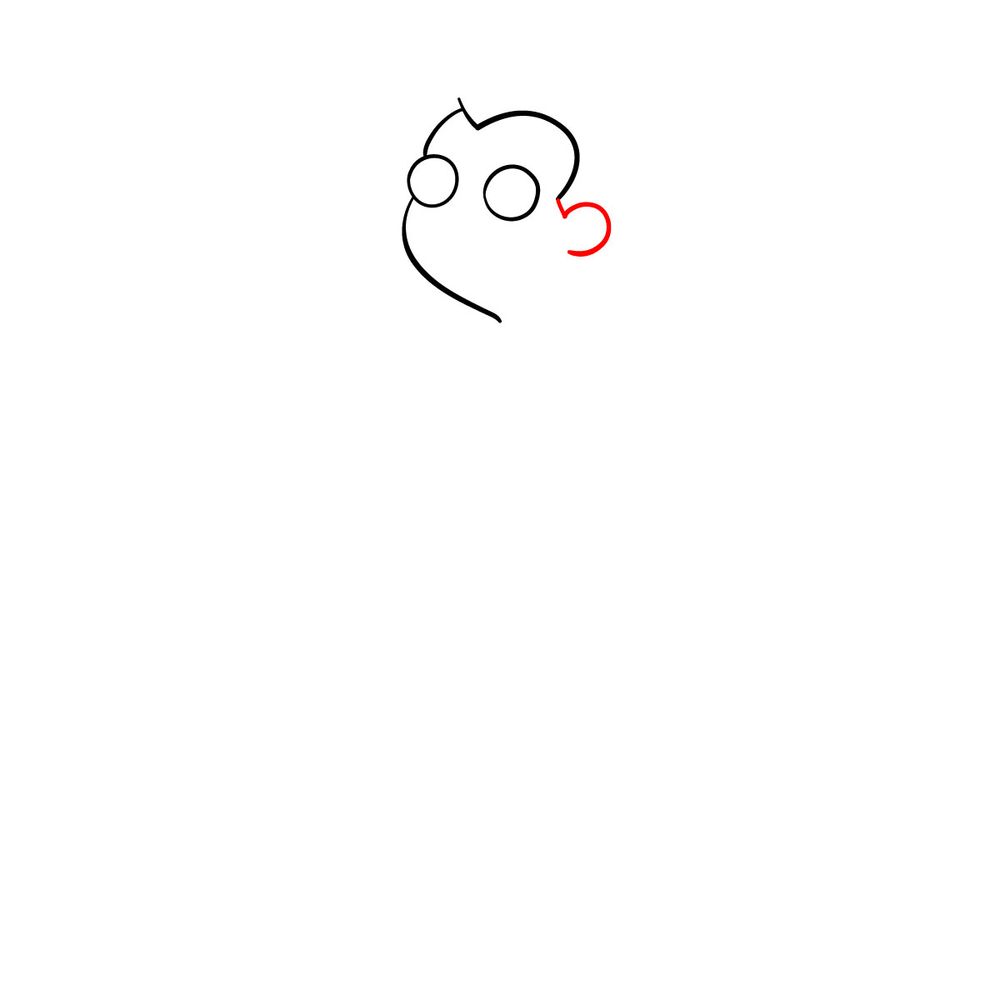
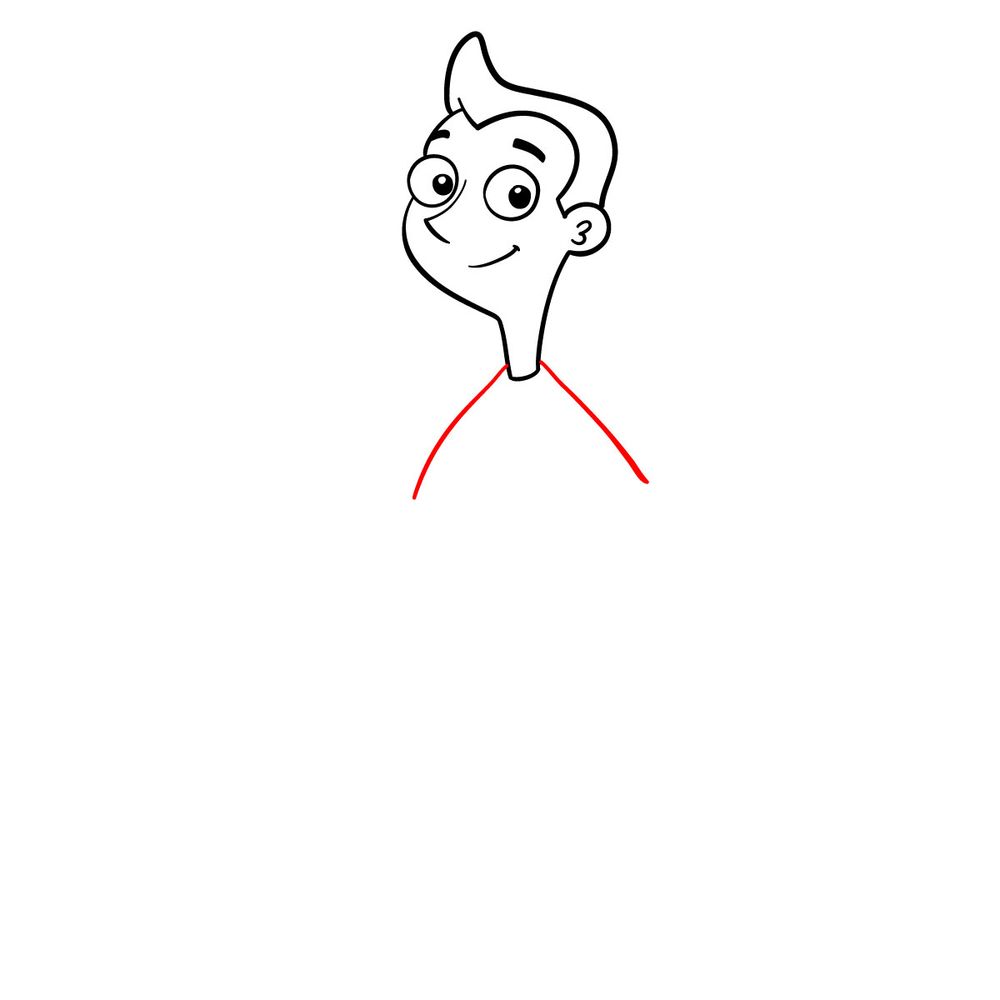
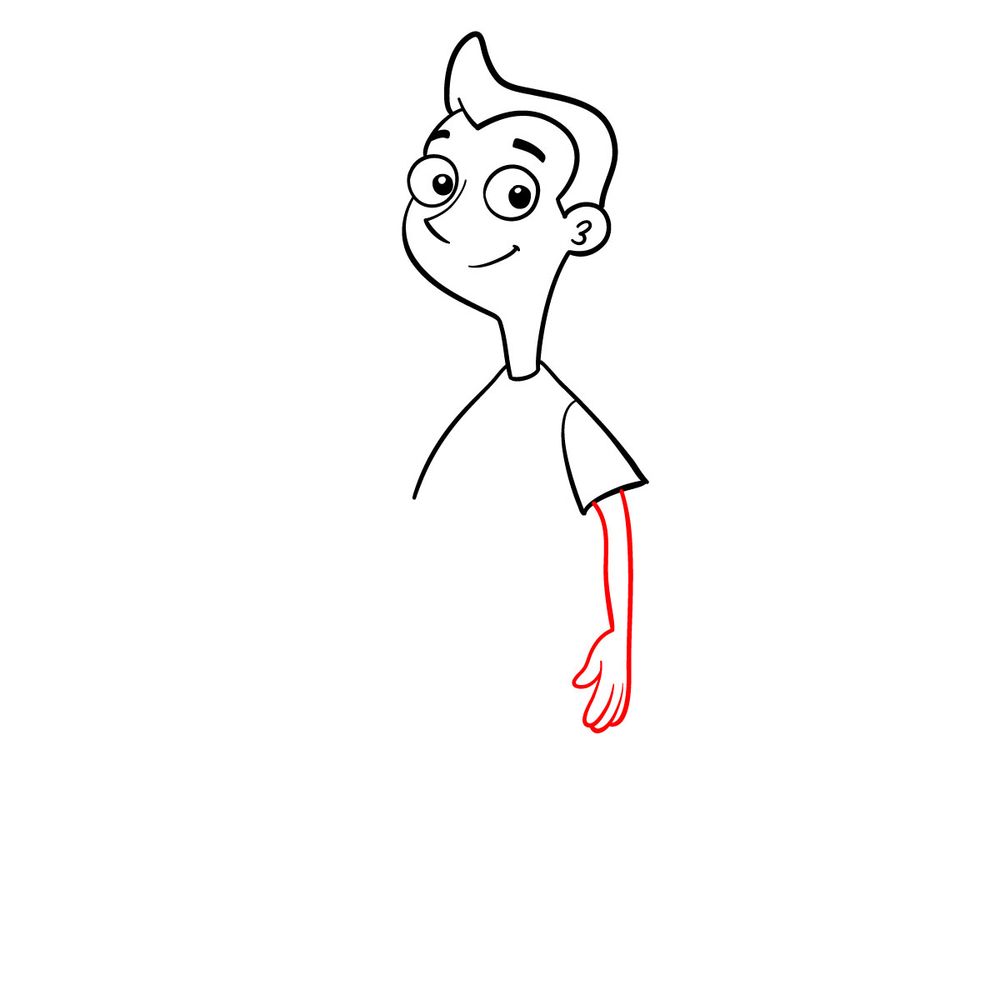
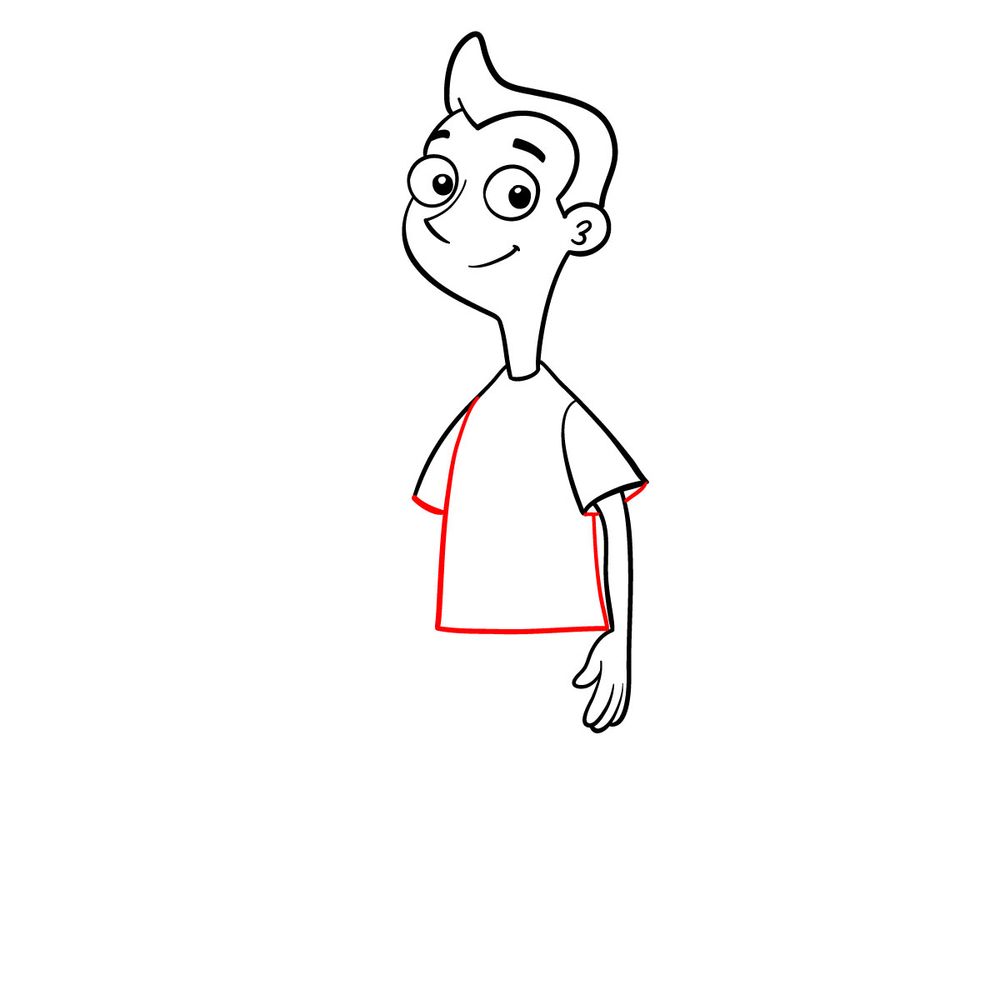
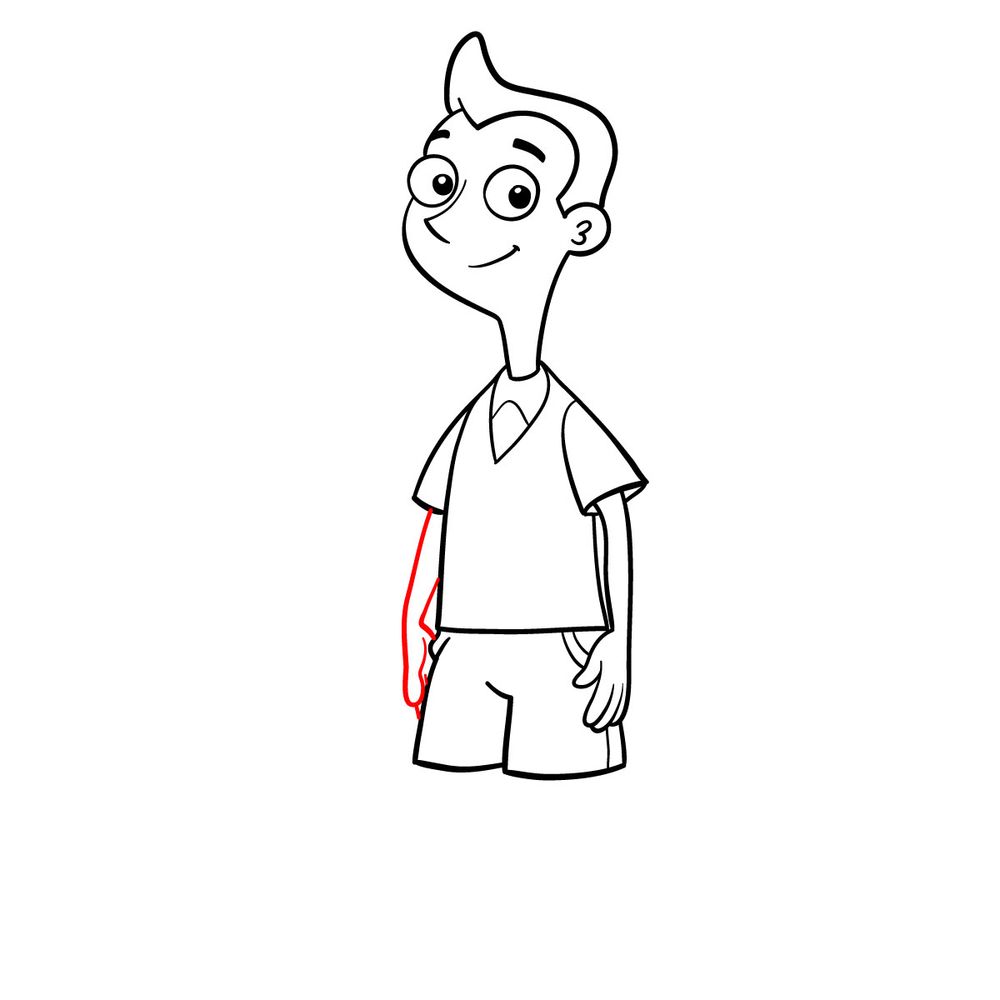
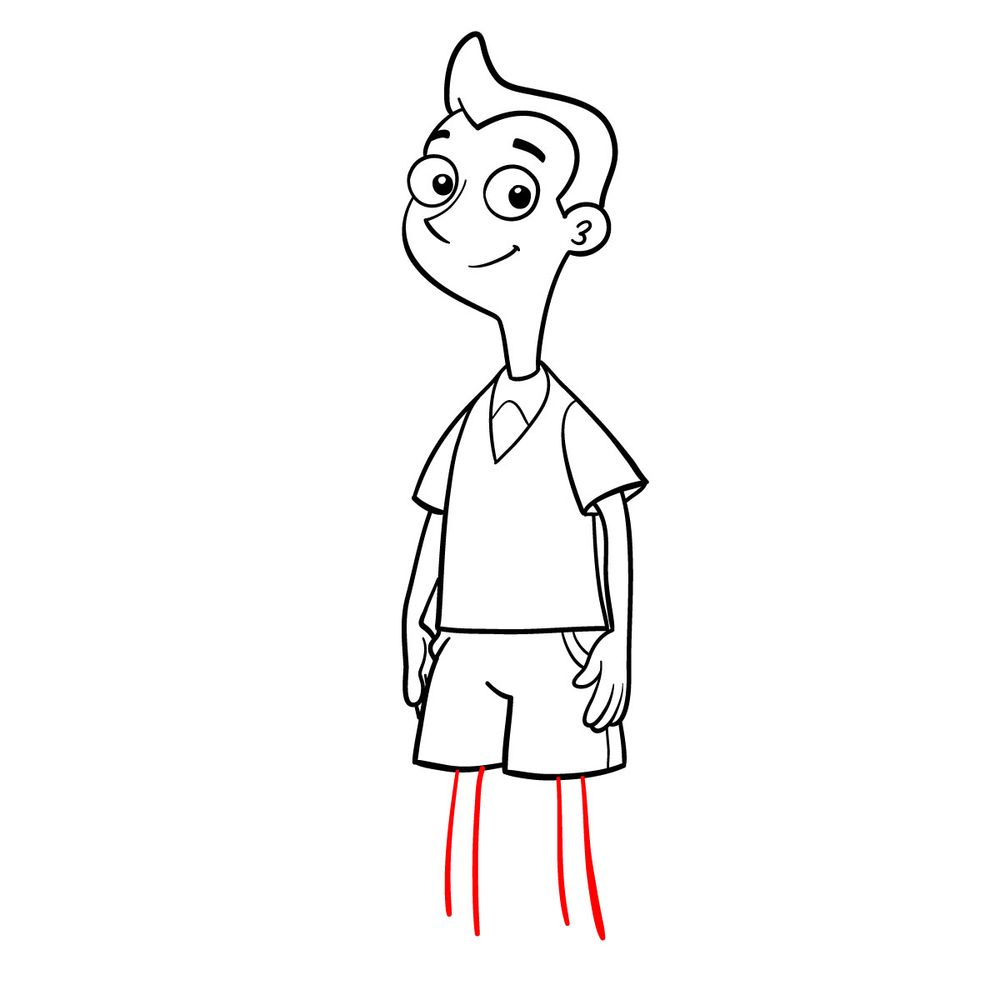
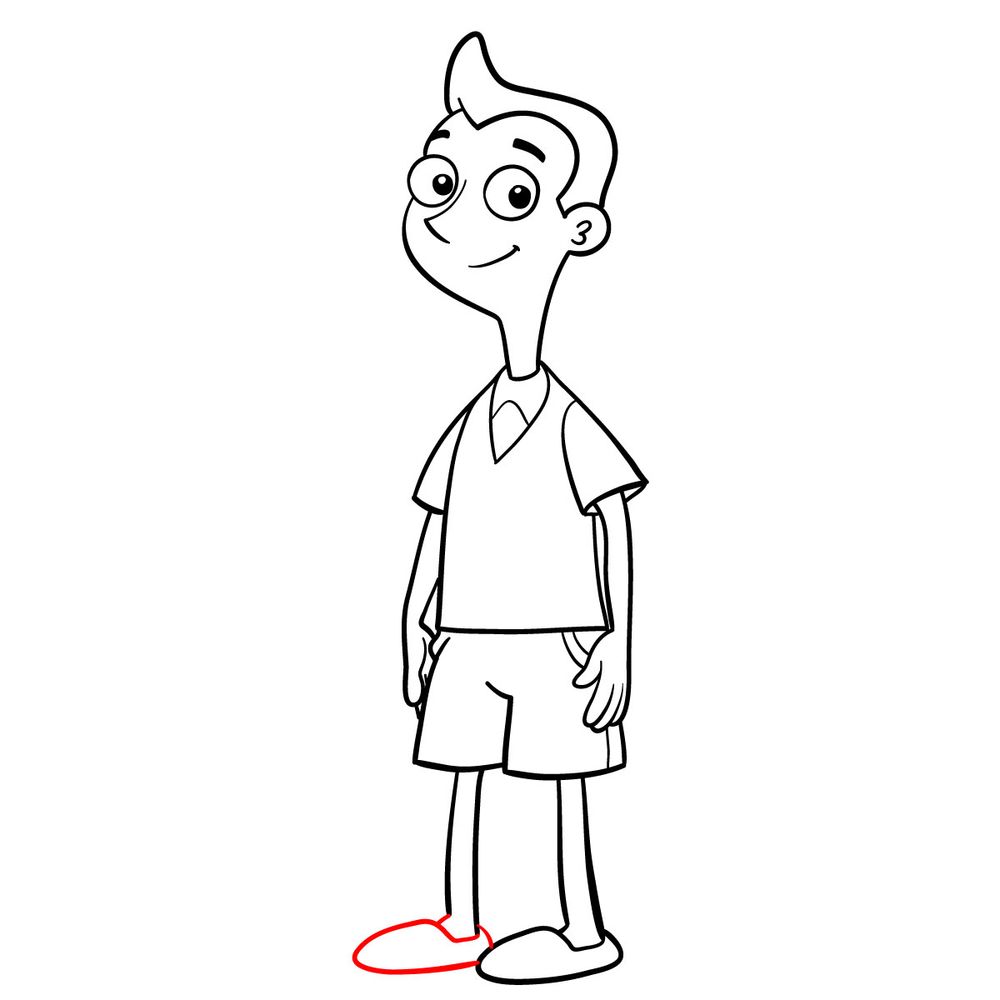
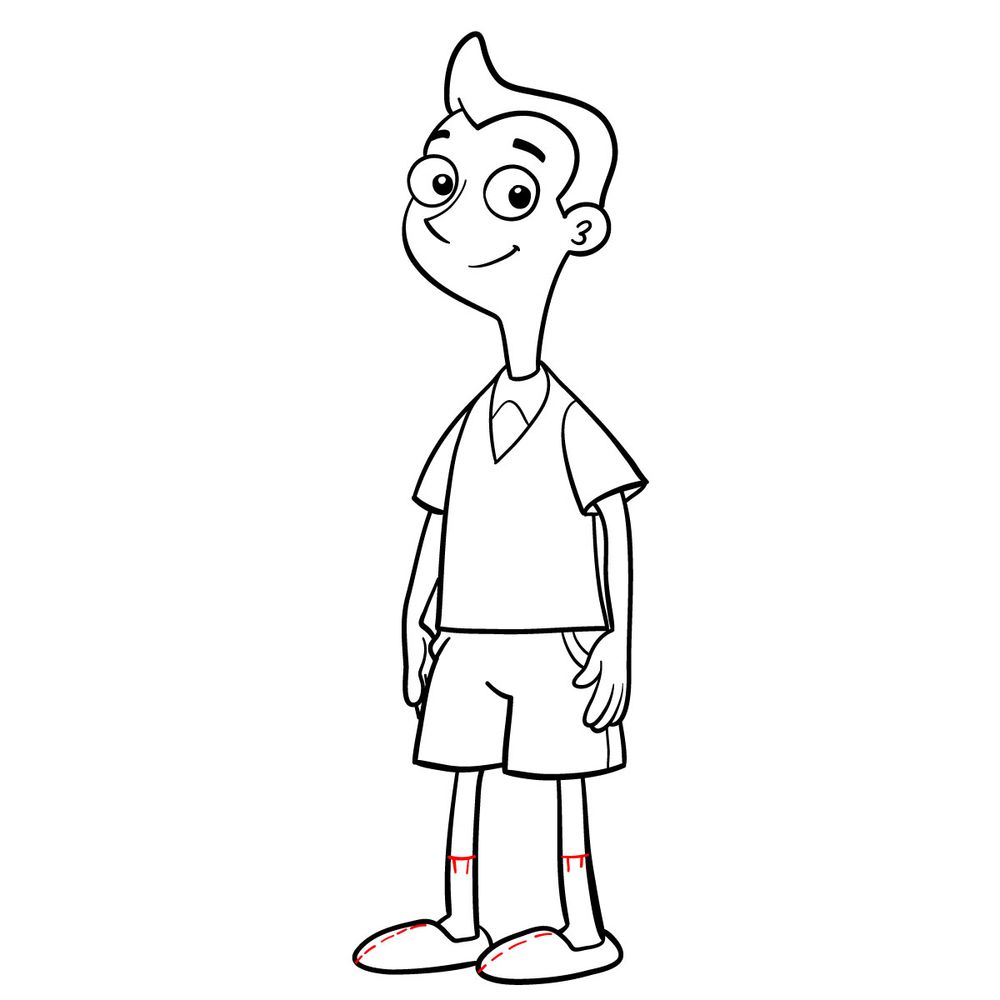
Red Color: Indicates the current step you’re working on. This is your immediate focus.
Black Color: Represents the lines you’ve already drawn in the previous steps.

Once you’ve nailed the sketch, you can opt to ink it. Ensure you wait for the ink to dry thoroughly before you erase the underlying pencil sketch, lest you smear the ink and dampen your masterpiece.

Step 01

How to draw Milo Murphy - step 01Pin

Step 02

How to draw Milo Murphy - step 02Pin

Step 03

How to draw Milo Murphy - step 03Pin

Step 04

How to draw Milo Murphy - step 04Pin

Step 05

How to draw Milo Murphy - step 05Pin

Step 06

How to draw Milo Murphy - step 06Pin

Step 07

How to draw Milo Murphy - step 07Pin

Step 08

How to draw Milo Murphy - step 08Pin

Step 09

How to draw Milo Murphy - step 09Pin

Step 10

How to draw Milo Murphy - step 10Pin

Step 11

How to draw Milo Murphy - step 11Pin

Step 12

How to draw Milo Murphy - step 12Pin

Step 13

How to draw Milo Murphy - step 13Pin

Step 14

How to draw Milo Murphy - step 14Pin

Step 15

How to draw Milo Murphy - step 15Pin

Step 16

How to draw Milo Murphy - step 16Pin

Step 17

How to draw Milo Murphy - step 17Pin

Step 18

How to draw Milo Murphy - step 18Pin

Step 19

How to draw Milo Murphy - step 19Pin

Step 20

How to draw Milo Murphy - step 20Pin

Step 21

How to draw Milo MurphyPin

Drawing Milo Murphy: FAQs

What technique works best for Milo’s “signature flip” hair?

For Milo’s distinctive hair flip, start by sketching a loose arc. Then finish the hair form as it is shown in the steps. Keep your strokes dynamic to capture its playful and buoyant nature.

How do I capture Milo’s mischievous eye expression?

Focus on the eyebrows and the curve of the eyelids. Raise the eyebrows slightly higher, and draw the eyes with a subtle glint. This combination offers that playful and cheeky look Milo often sports.


A Masterpiece in the Making: Conclusion and Next Steps

You’re almost there! Remember, drawing is a journey, and every stroke takes you closer to mastering the art. If you found this guide on how to draw Milo Murphy helpful, consider sharing it with other budding artists or on your social platforms. Your shares spread the joy of art to many!

Lastly, if you wish to support the ongoing creation of such free drawing tutorials, consider making a donation. Your generous contributions allow fans like you to suggest new tutorial ideas, ensuring that everyone can continue learning and growing.

Donate: Support SketchOk

Social Media: Facebook, Instagram, Pinterest

Drawing is not just about lines and shapes; it’s about capturing the essence. And with Milo Murphy, you’re bringing to life a character filled with spontaneity and adventure. Until next time, happy drawing!

Did you like the tutorial?

You can support the author of this website and also suggest your own ideas for new drawings by making a small donation here:

Leave a Comment

6