Last Updated on May 14, 2026
Welcome to a world where your creativity meets nostalgia! We are about to embark on an artistic journey together, where we will learn how to draw Linus Van Pelt from the renowned Peanuts comic strip. With our step-by-step guide, you will recreate this wise and sensitive character who stands out with his quirky philosophies.
Unlocking Linus: Key Features to Focus On
Linus, an integral part of Charles M. Schulz’s timeless creation, Peanuts, has a distinctive look that we will aim to capture in our drawing. Known as the strip’s intellectual powerhouse, Linus can be recognized by the following features:
- His thoughtful and somber facial expression
- Always seen with his blue security blanket (not in our drawing, but if you want a tutorial for Linus with the security blanket, leave a comment below)
- The iconic hair that is parted in the middle
- Donning a simple striped shirt and shorts, symbolizing his juvenile innocence
You might also want to include his elder sister, Lucy Van Pelt, his best friend, Charlie Brown, or everyone’s favorite Snoopy for a group portrait of Peanuts characters to amplify the fun.
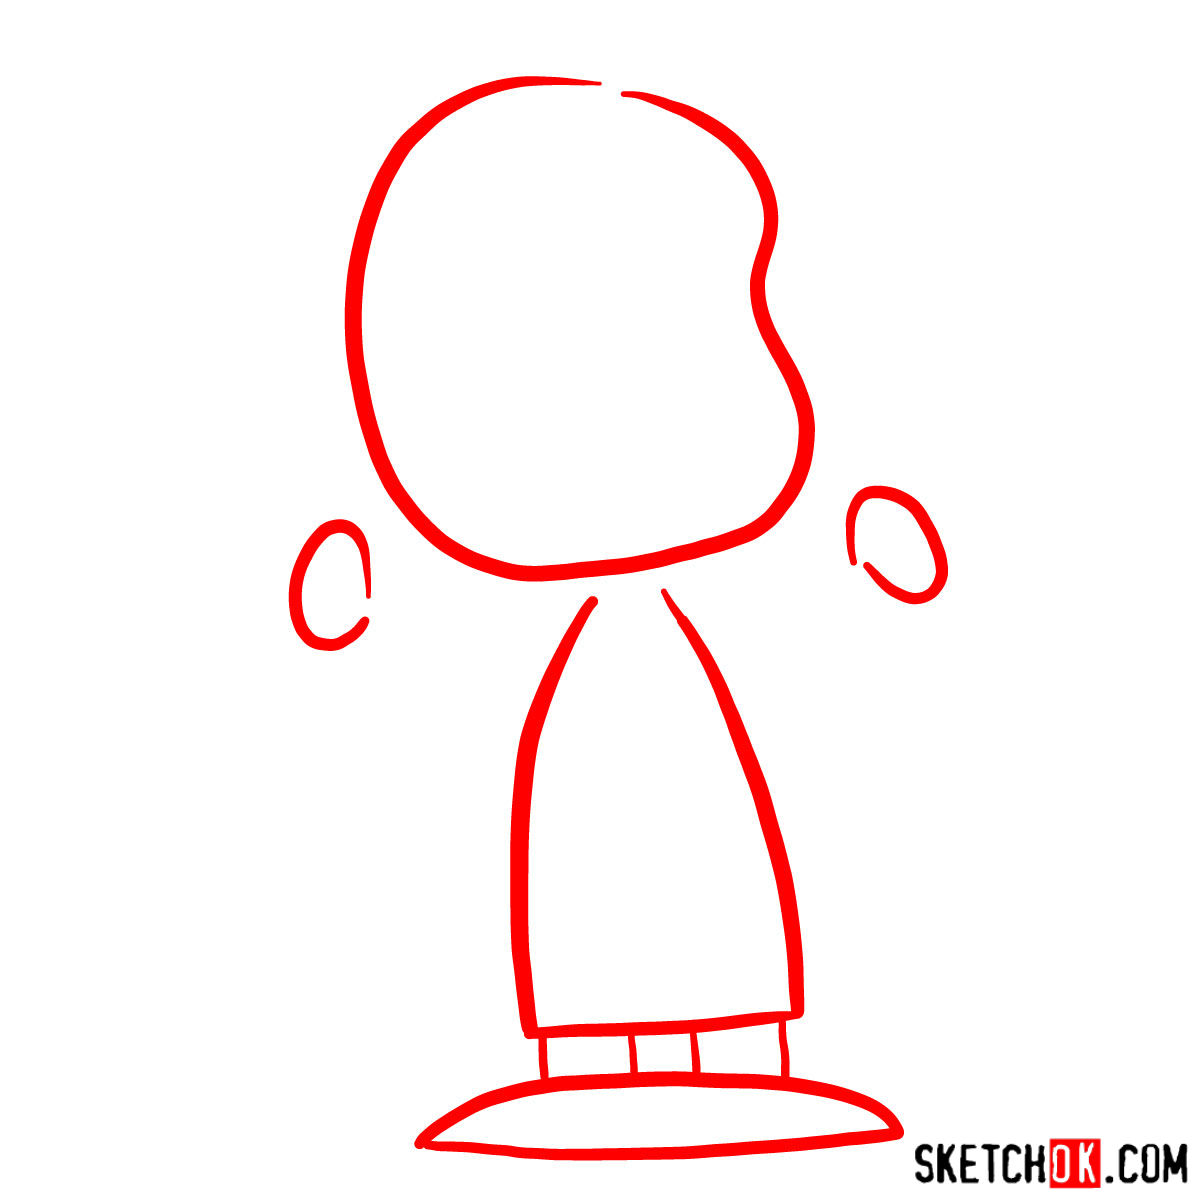
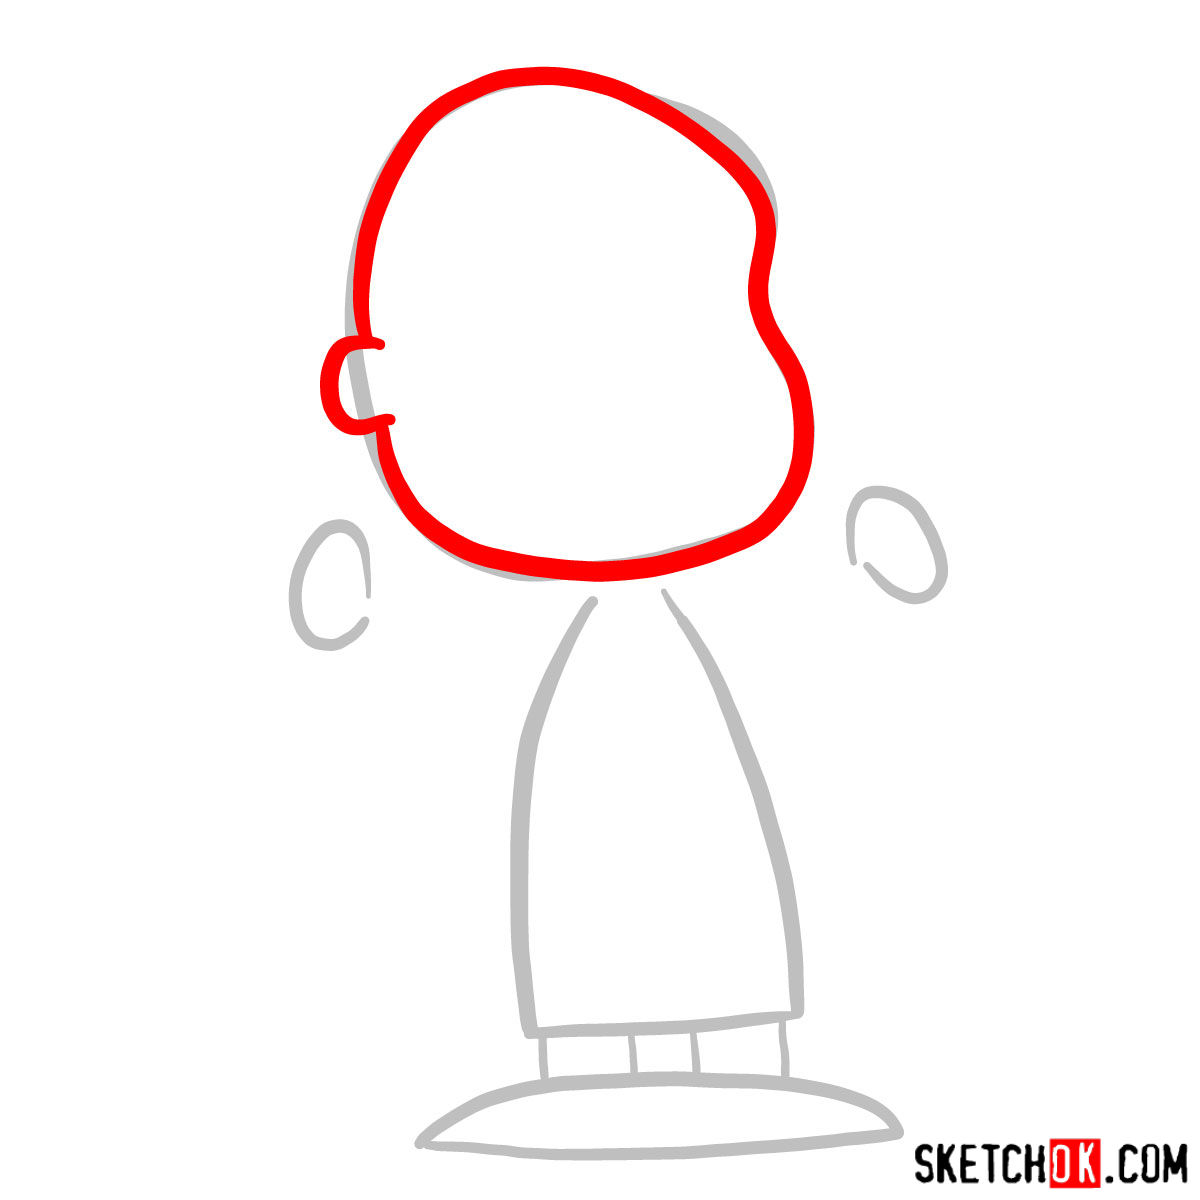
Decoding the Guide
Our guide simplifies the drawing process into 12 manageable steps. Here is what you need to understand about the guide’s color scheme:
- Red Color: It denotes the current step you should be working on.
- Black Color: It represents the lines you have previously drawn.
- Grey Color: It illustrates the basic proportions sketch.
The initial step involves crafting the simple basic sketch with light pencil strokes to set the right proportions. Upon reaching the final step, you might opt to ink your sketch. Remember to patiently wait until the ink dries before gently erasing the pencil marks to avoid smudges. The last image can serve as a color reference if you wish to breathe life into your Linus sketch with colors.


Your first attempt at how to draw Linus van Pelt might not turn out exactly how you pictured it, and that’s completely fine, most people need a few tries before things start clicking. Keep that first sketch around as a reference point, because looking back at early attempts is actually a great way to see your own progress. More guides like this one show up regularly, so following SketchOk on Pinterest or Facebook, or checking the YouTube channel for video versions, is a good way to stay in the loop.