Home » Cartoon Characters » Various » How to Draw Halloween Ariel

How to Draw Halloween Ariel

With Halloween just around the corner, there’s no better time to explore a darker, more mysterious side of our favorite ocean princess, Ariel. In this guide, you’ll learn how to draw Halloween Ariel up to her chest, blending her classic beauty with the thrilling aura of All Hallows’ Eve.

A Glimpse Into Ariel’s Halloween Makeover

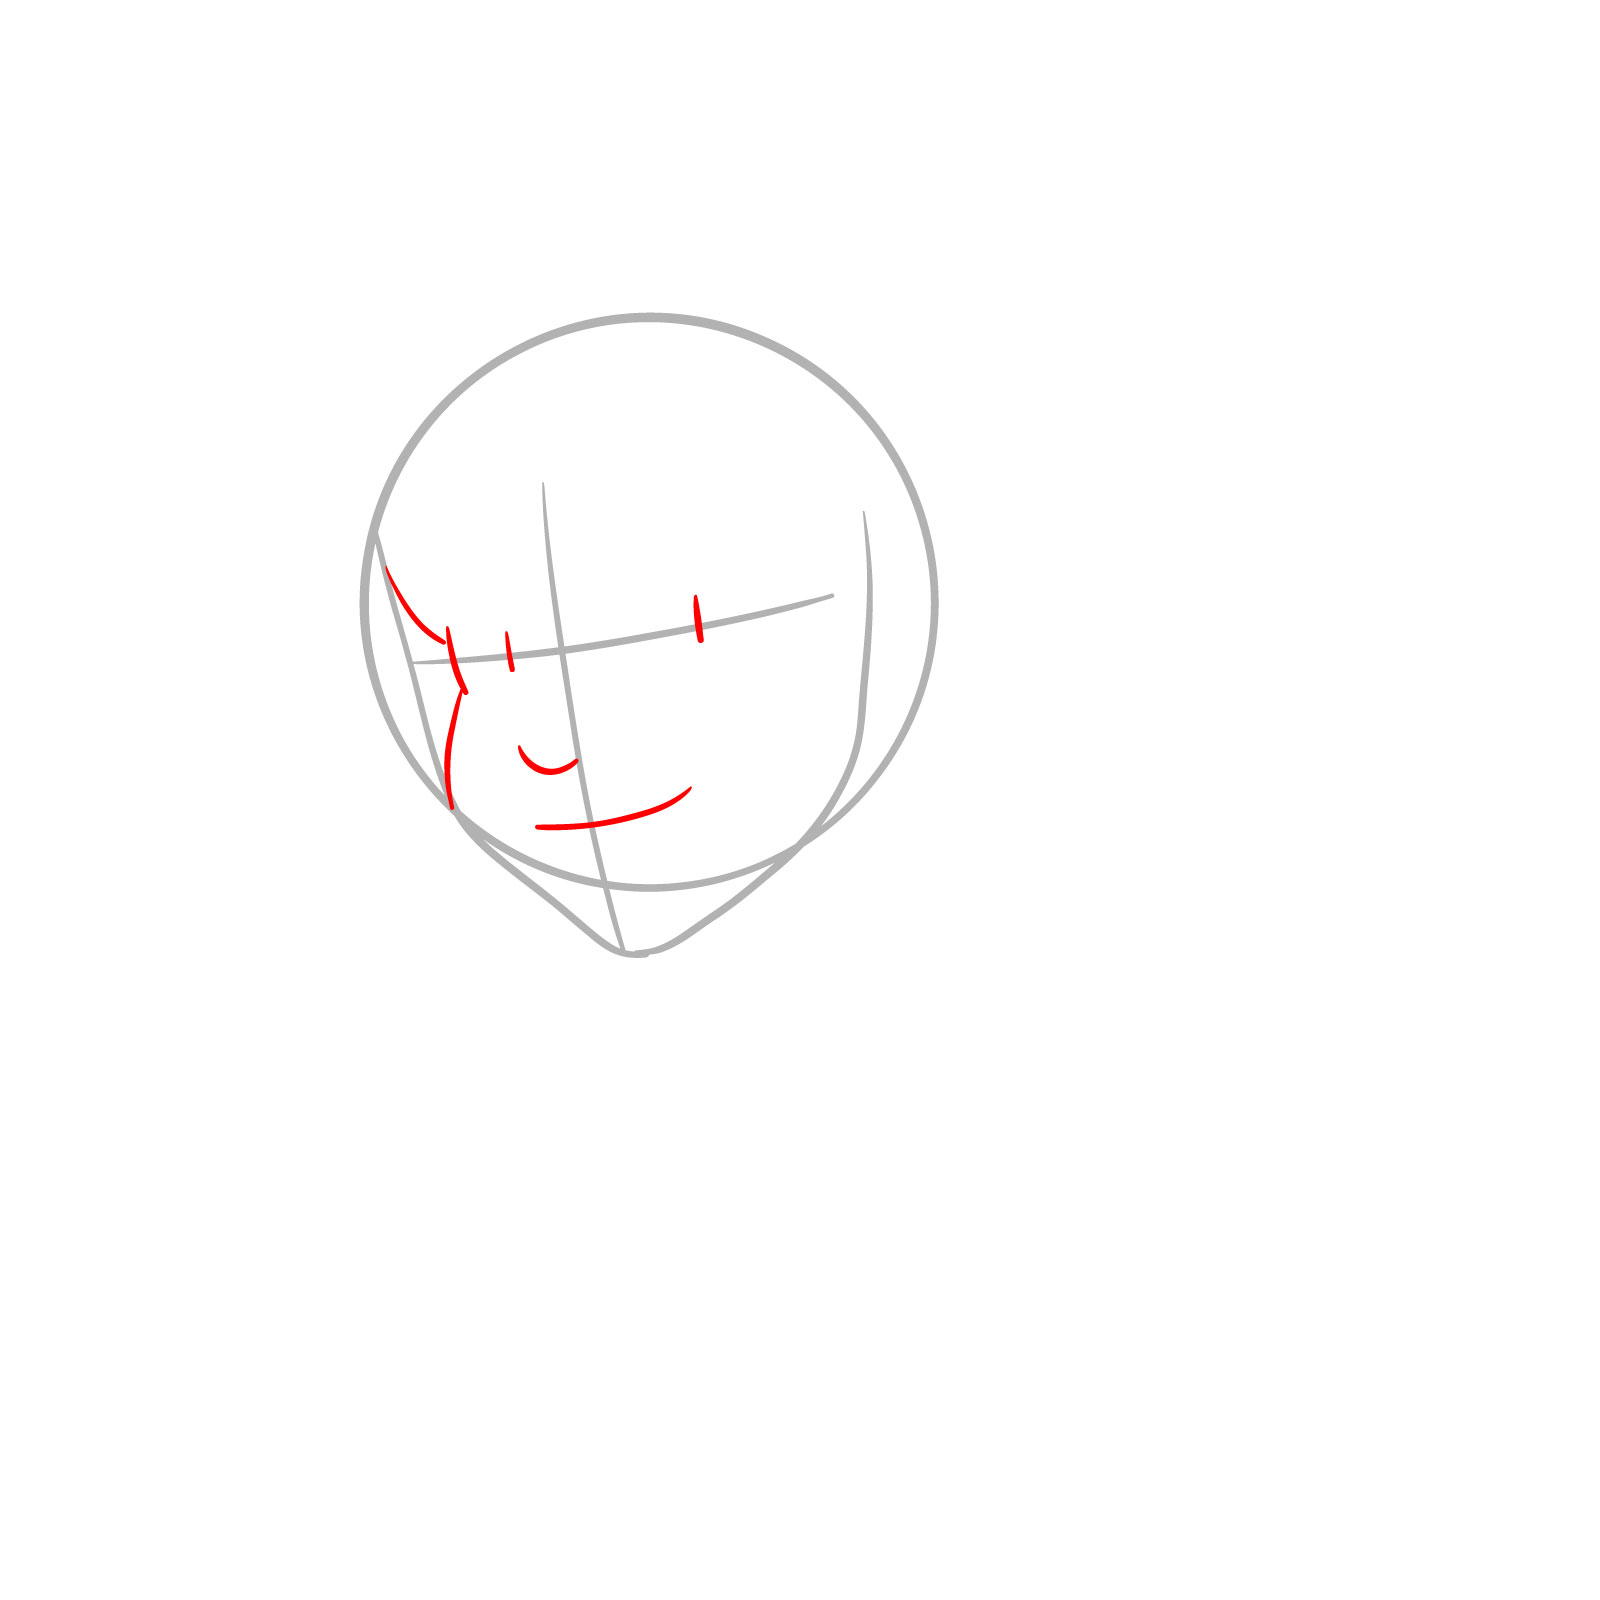
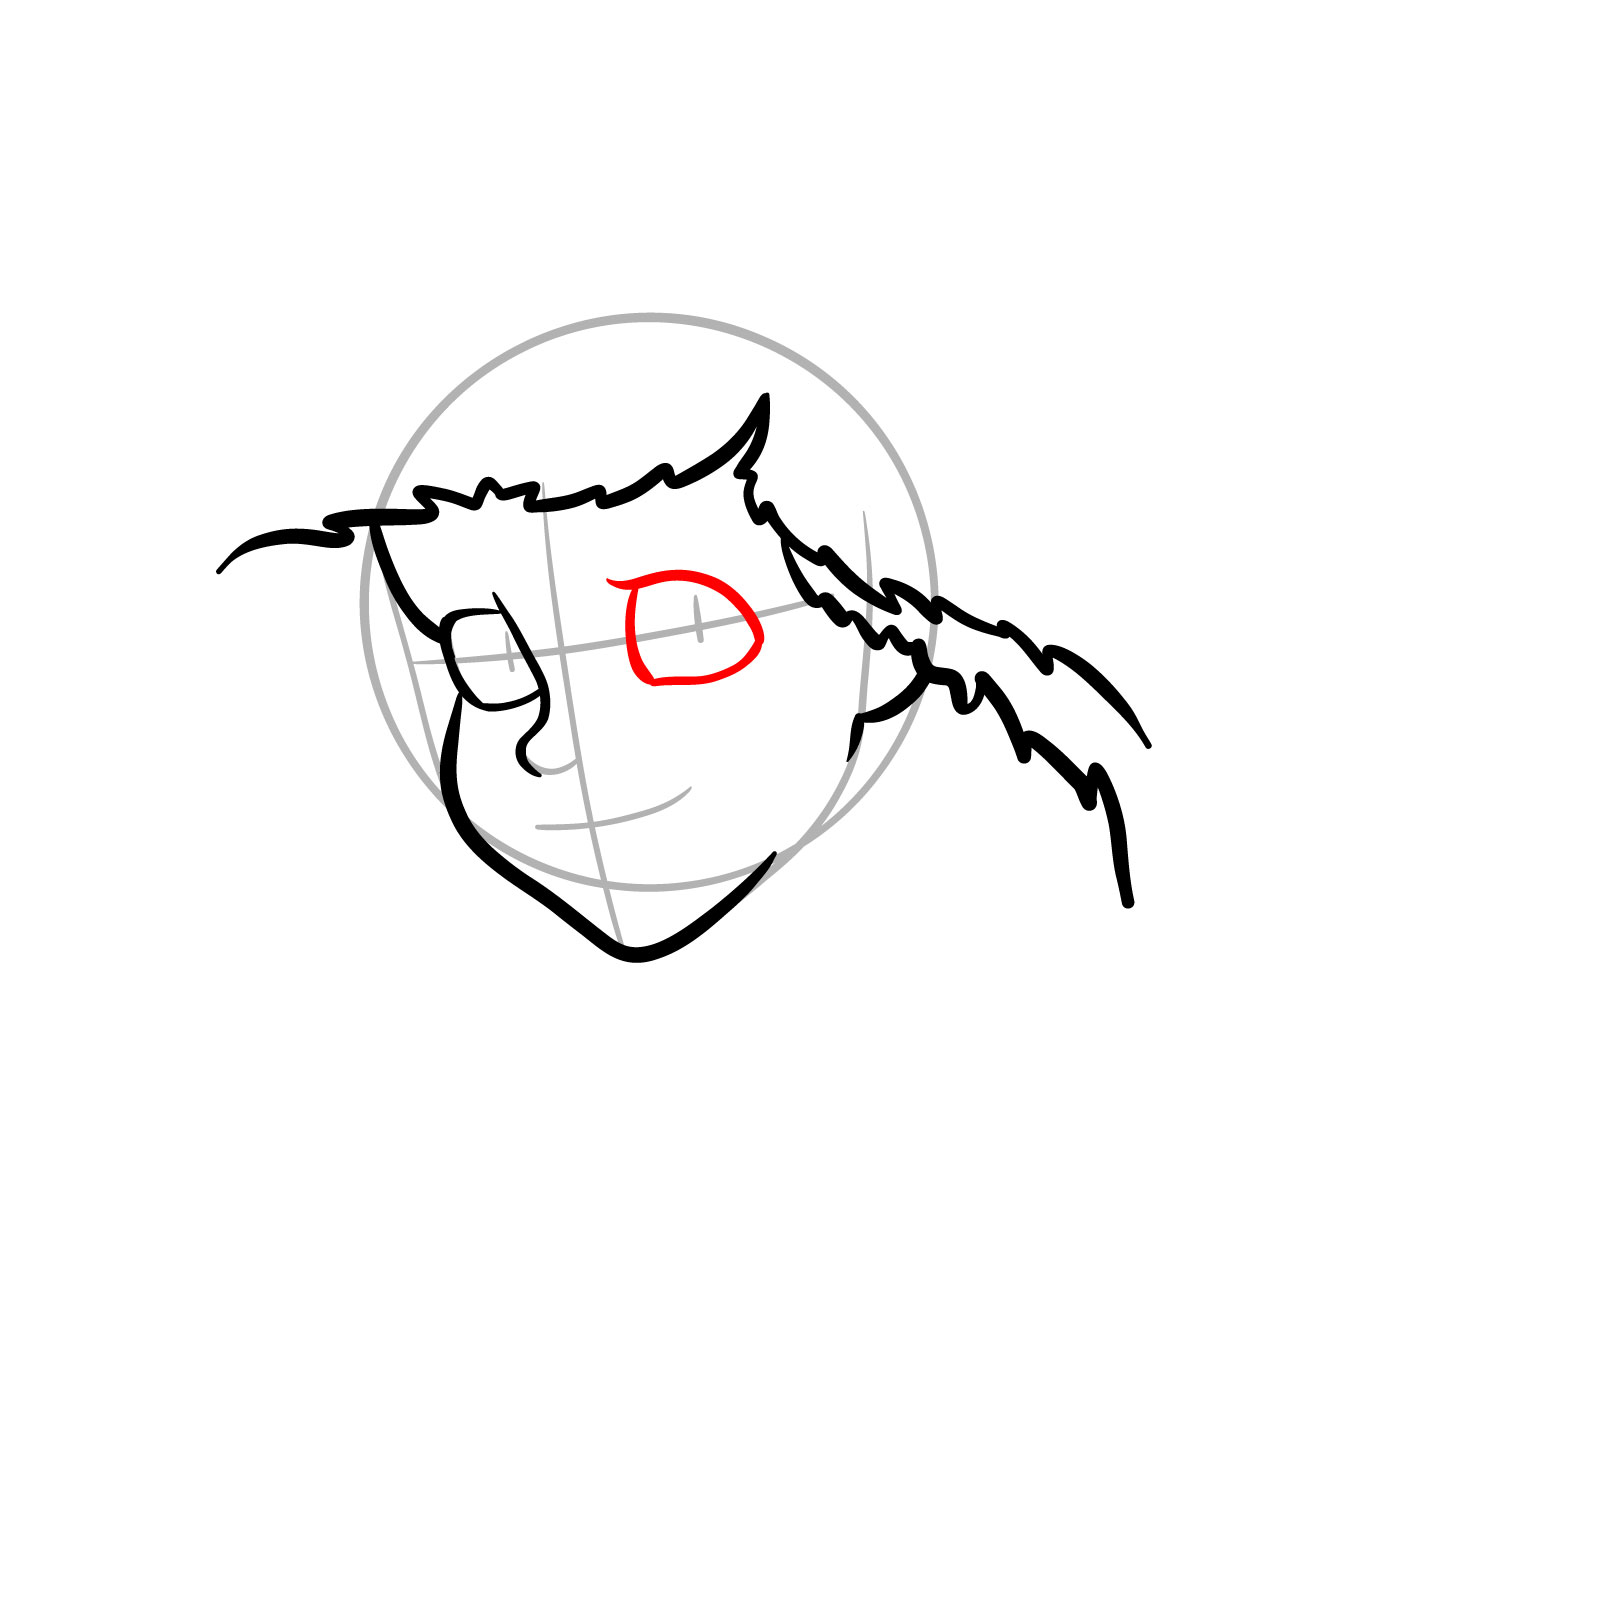
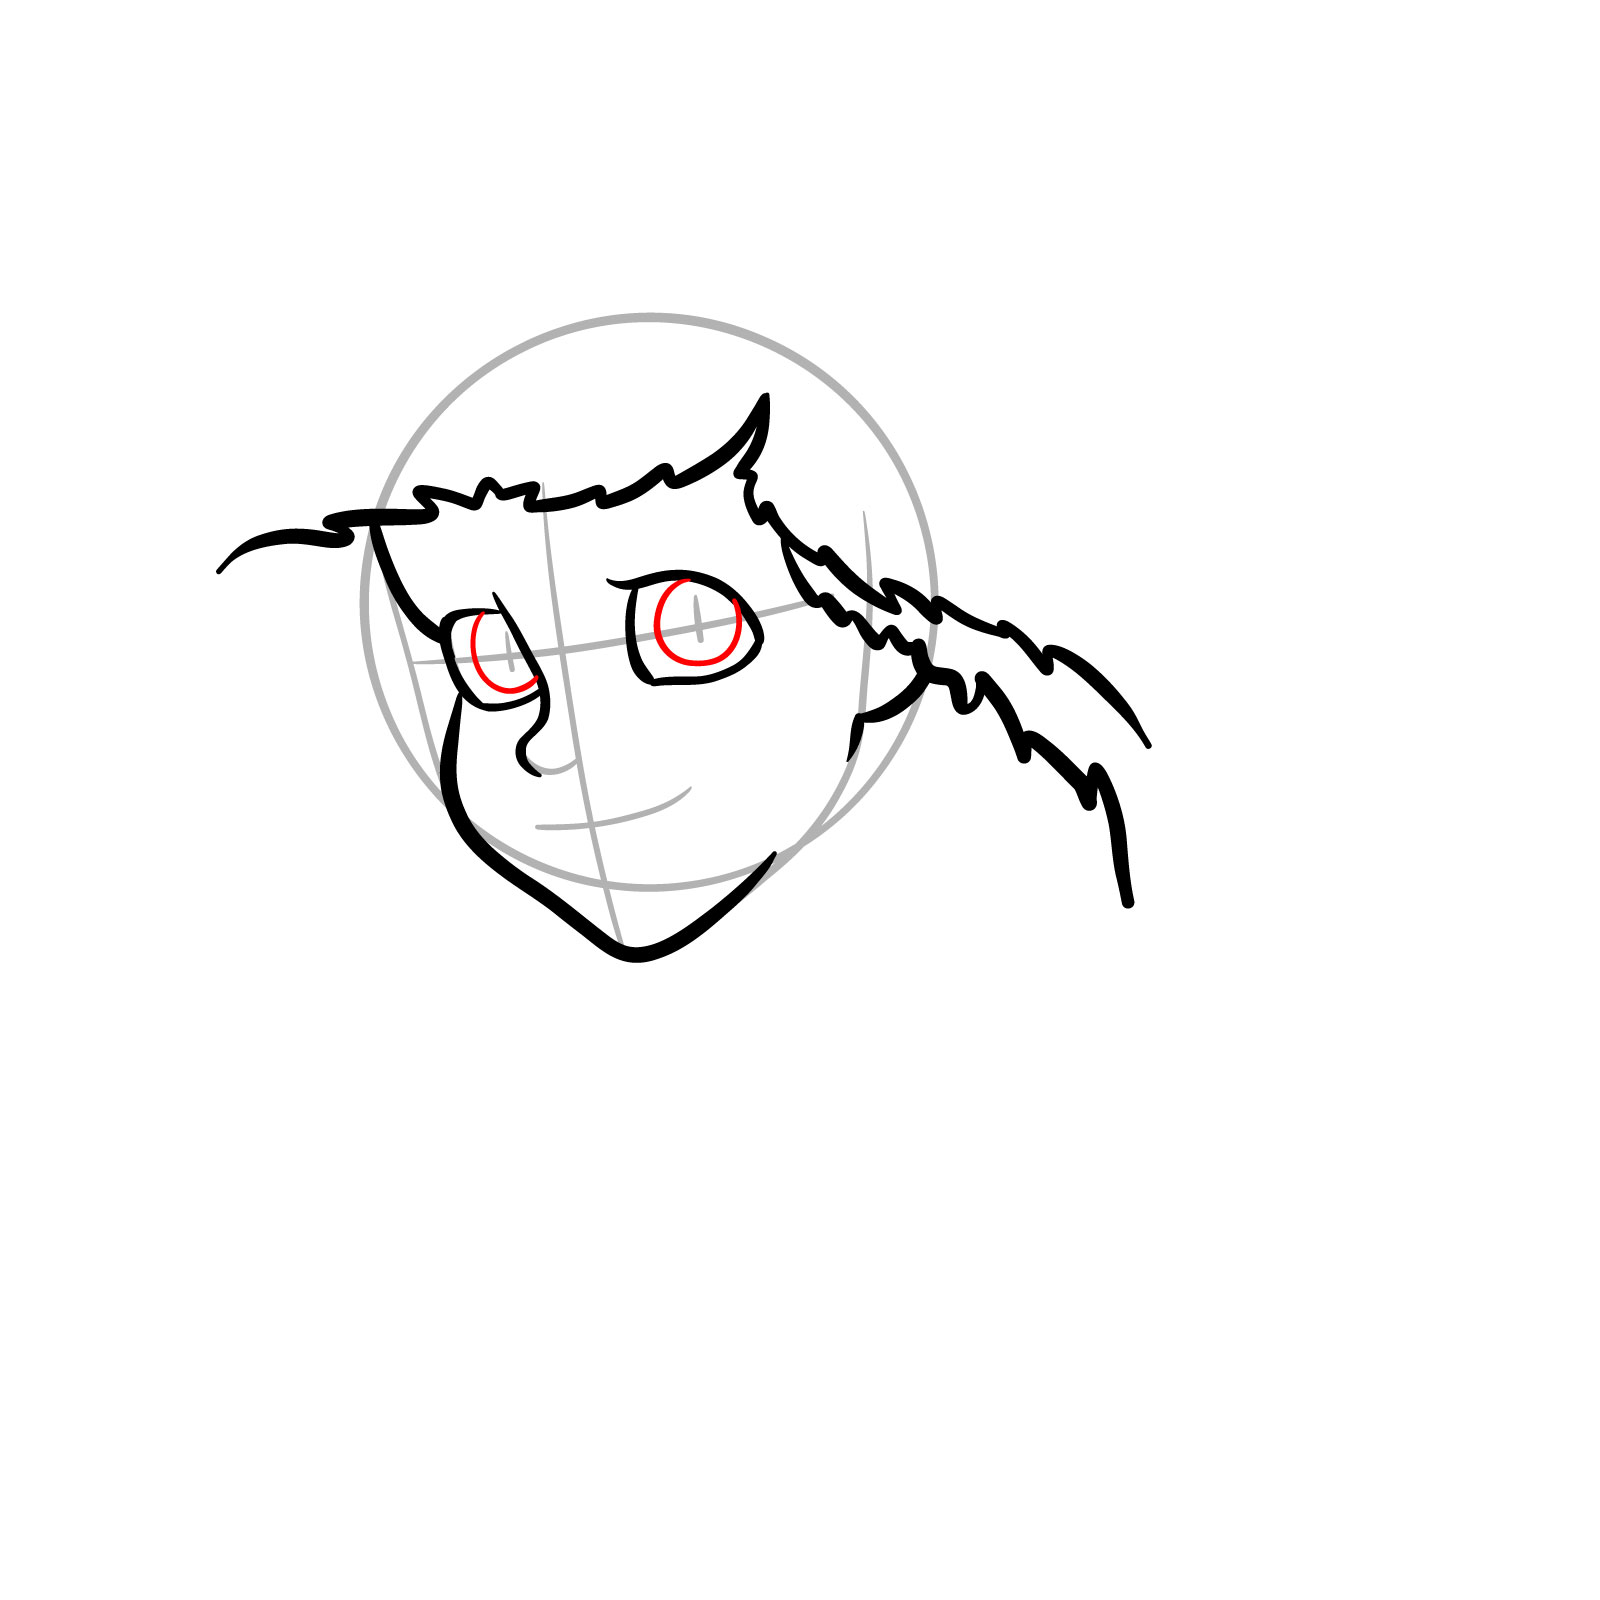
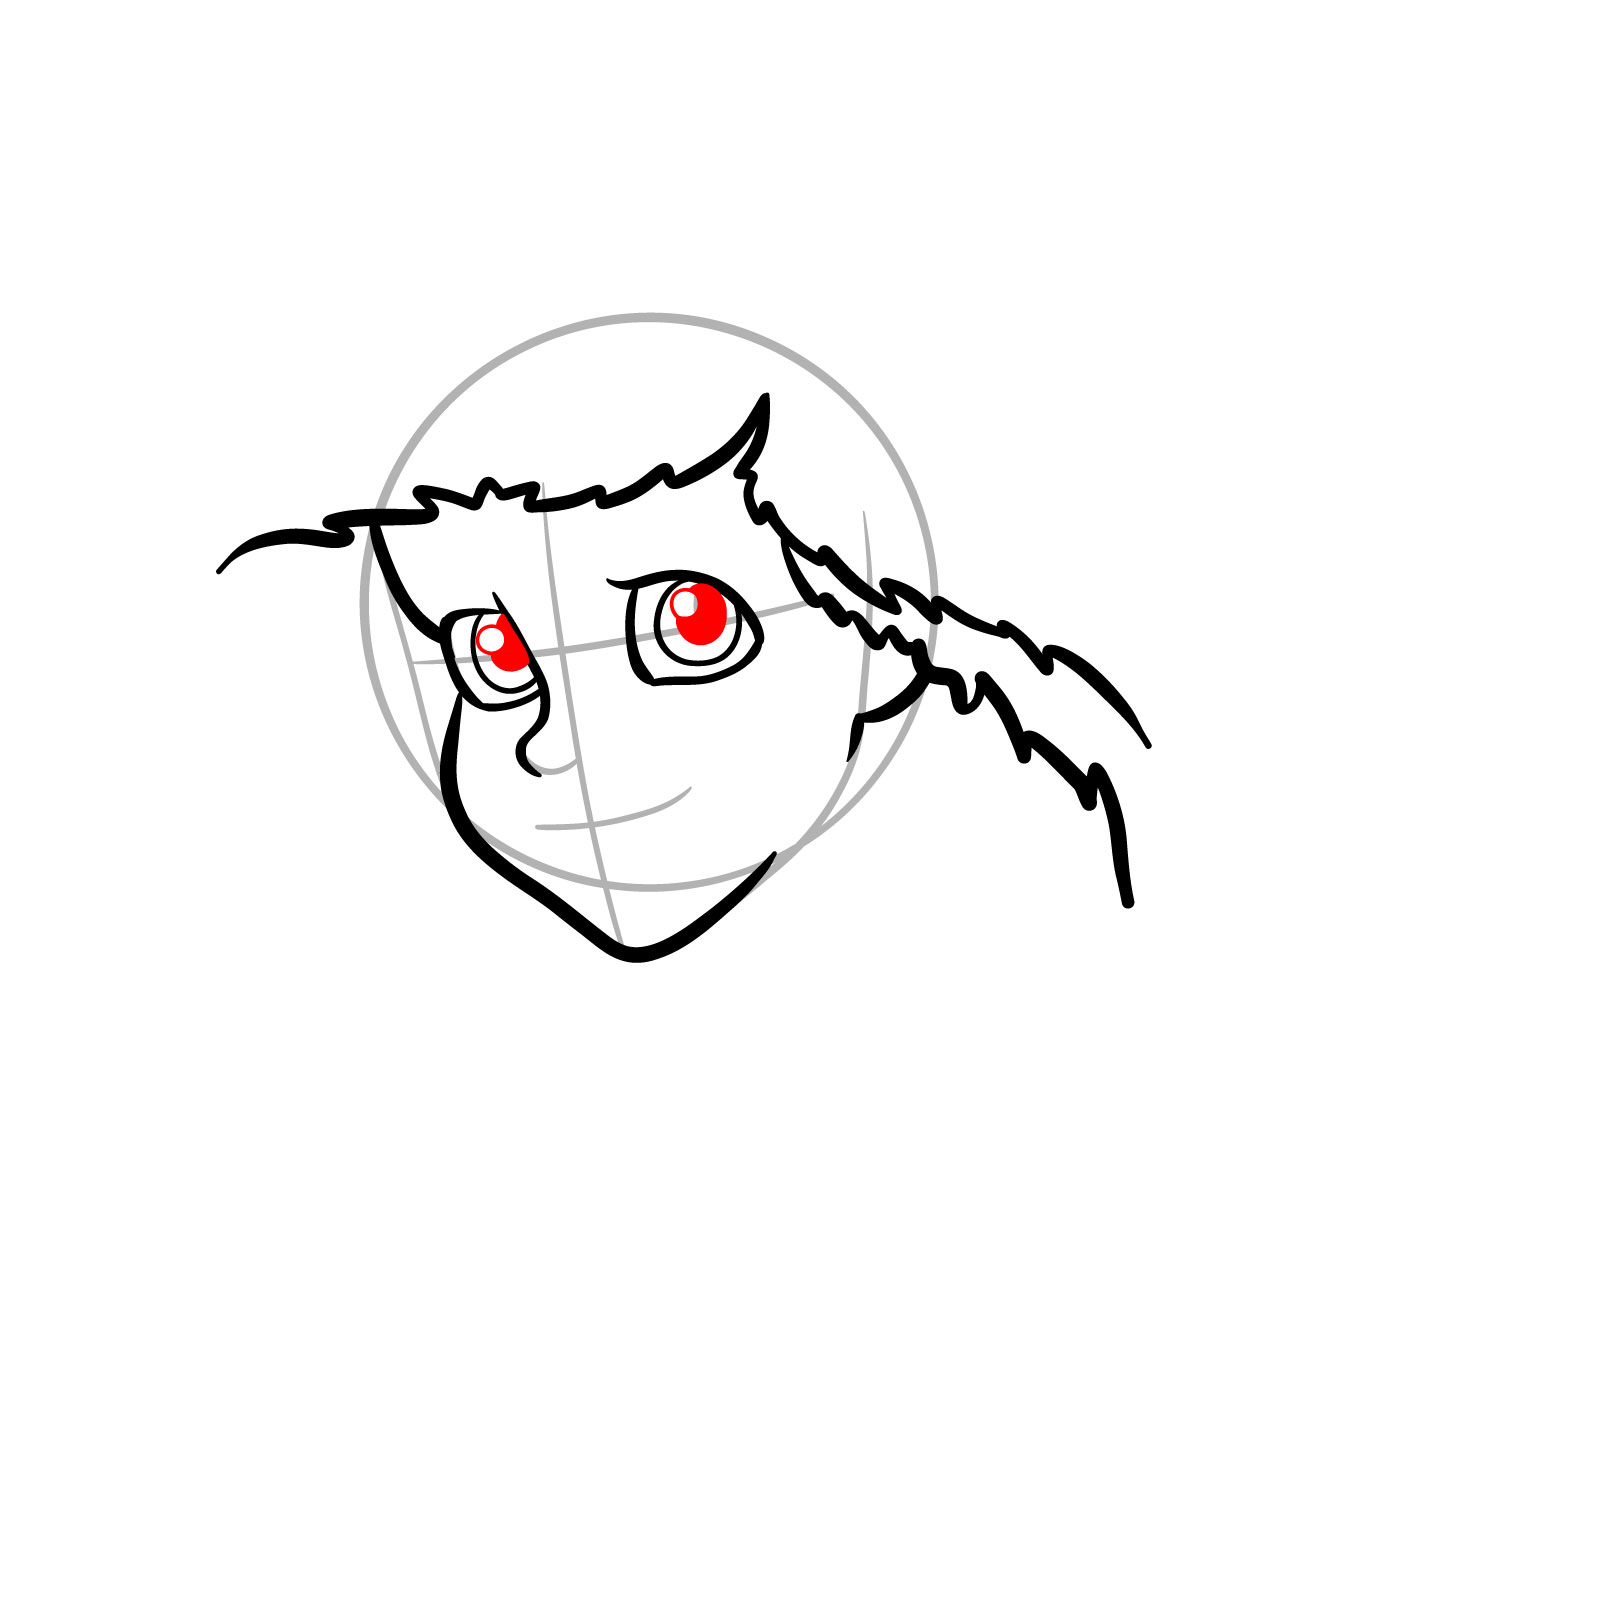
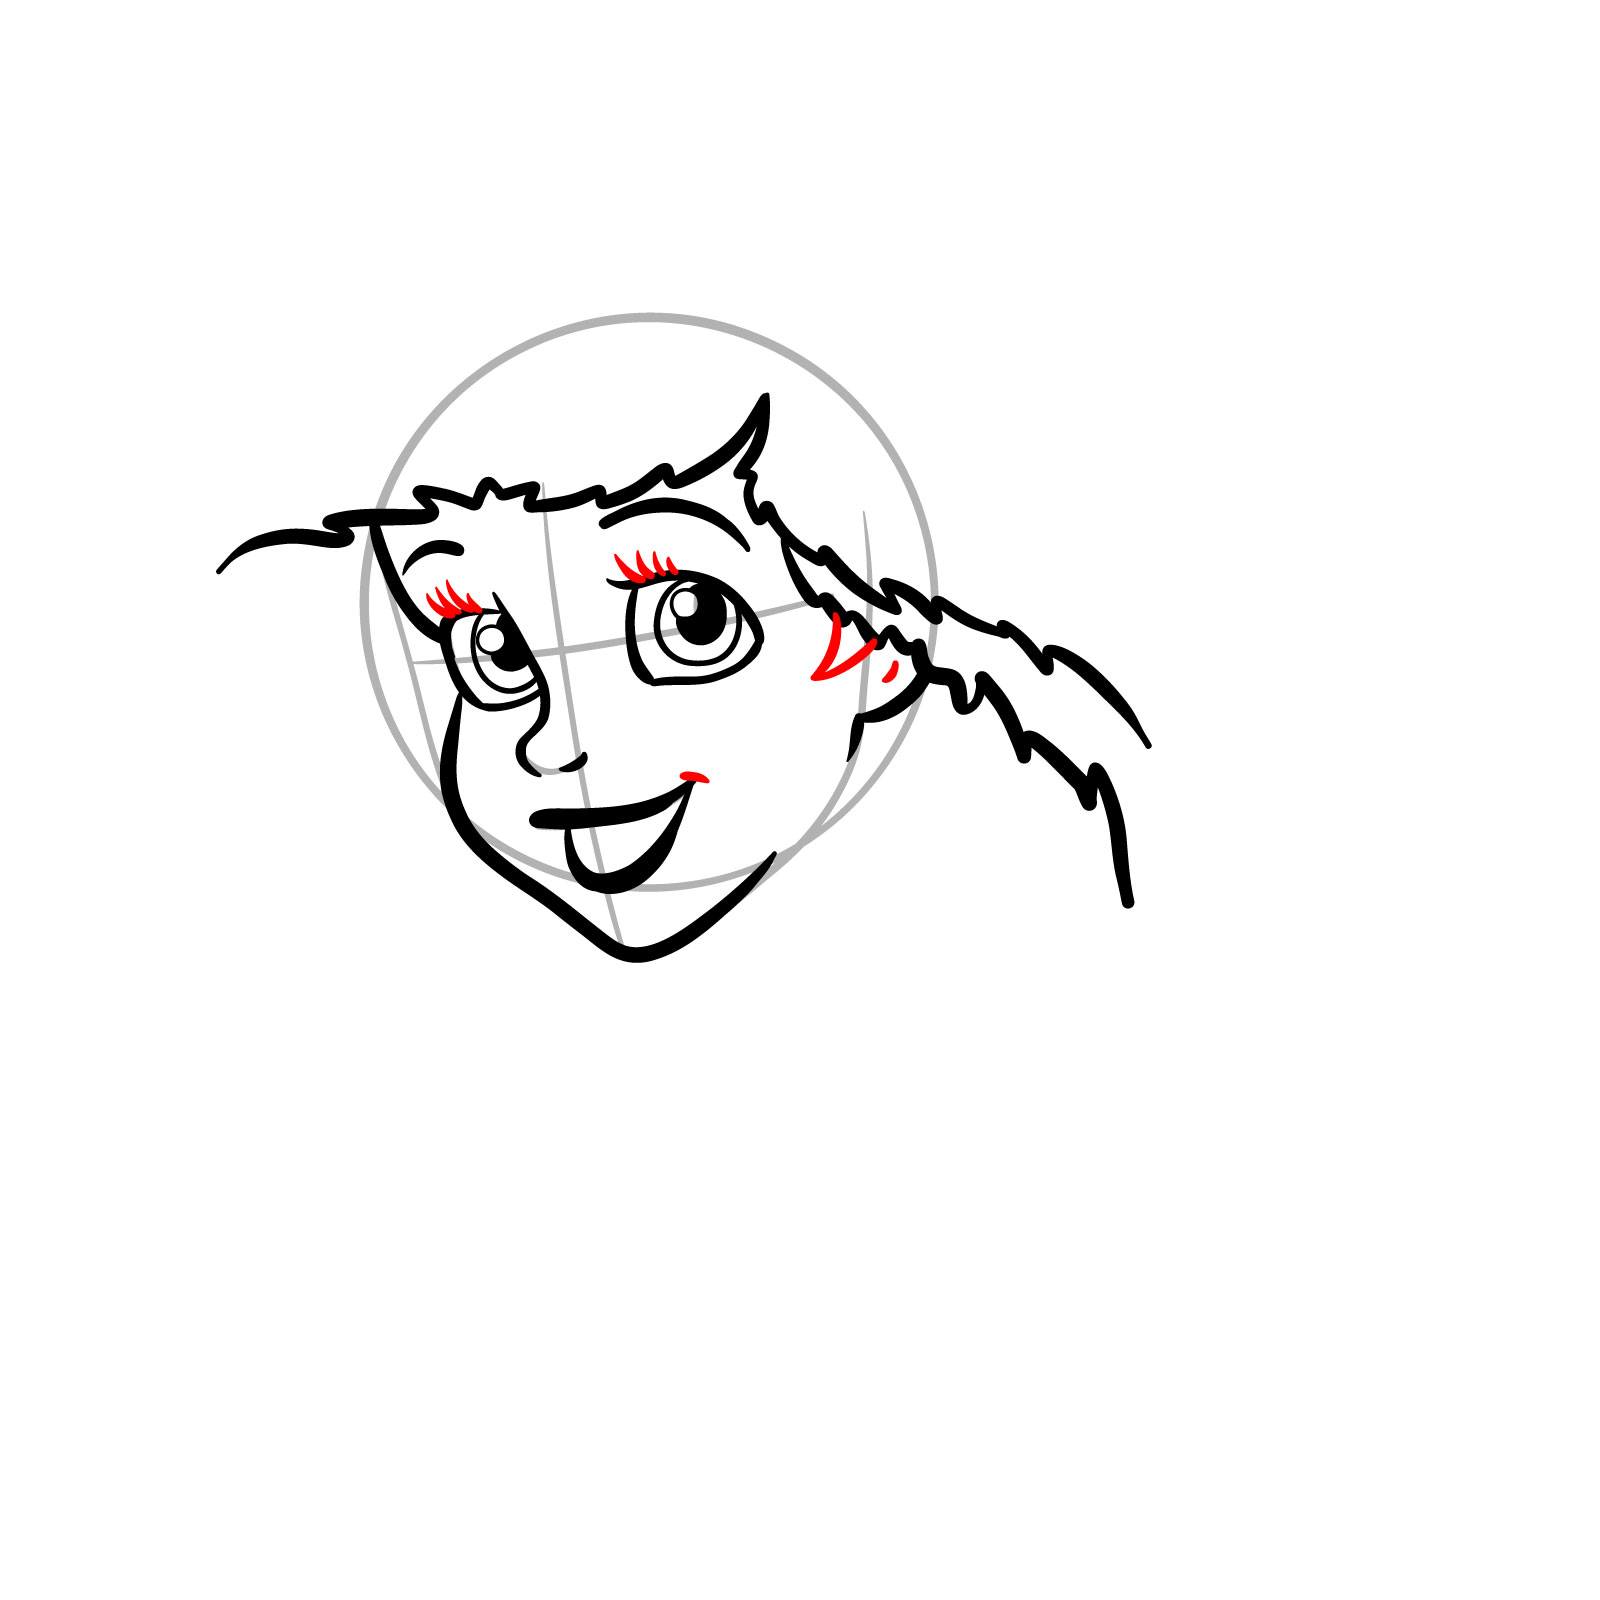
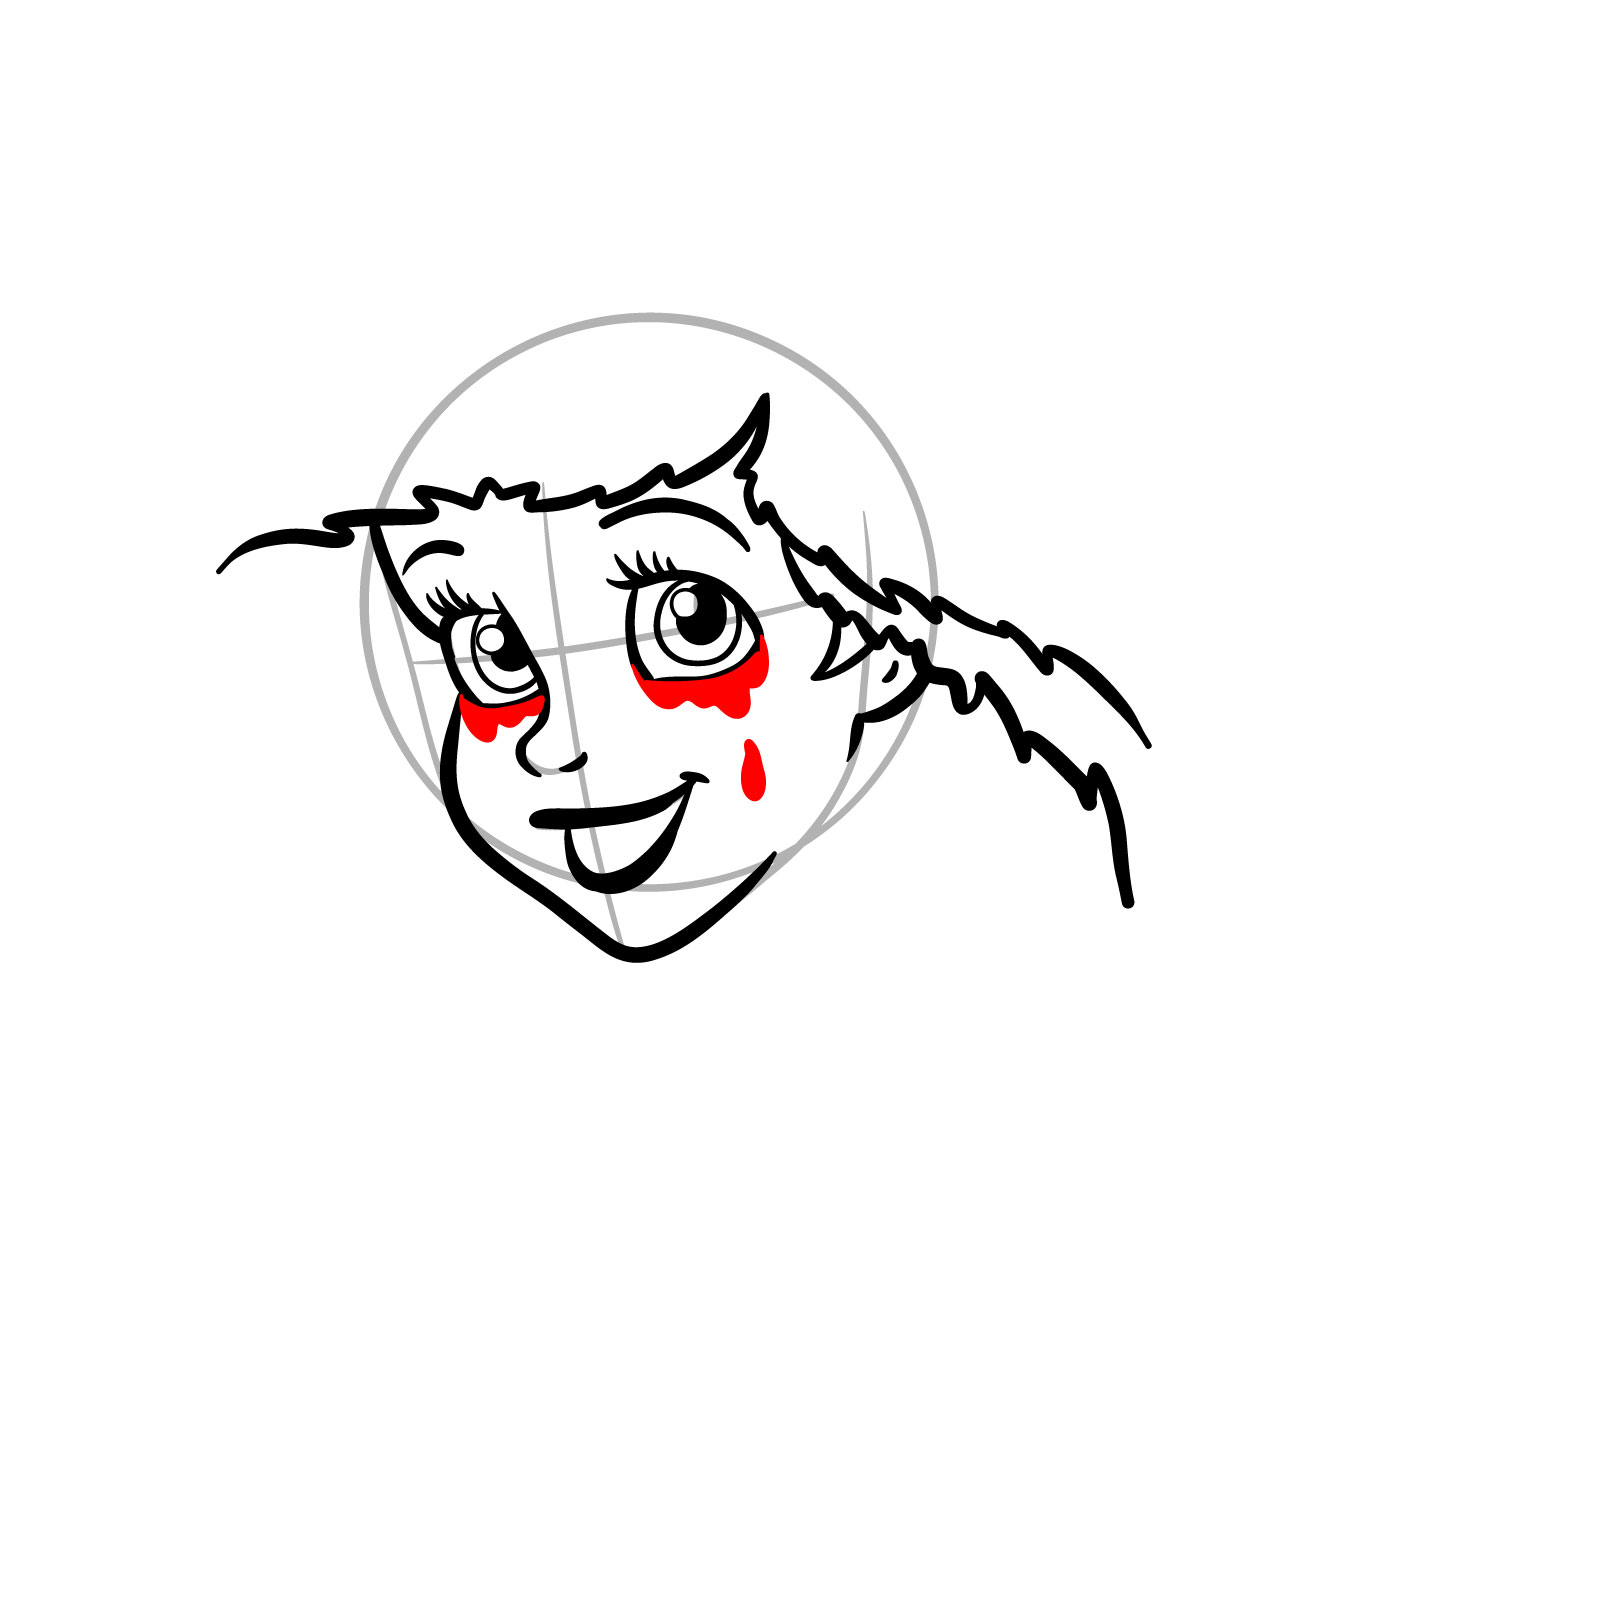
  • Intense Gaze: Ariel’s captivating eyes are further intensified with smokey makeup and a black tear drop on the left, adding to her haunting allure.
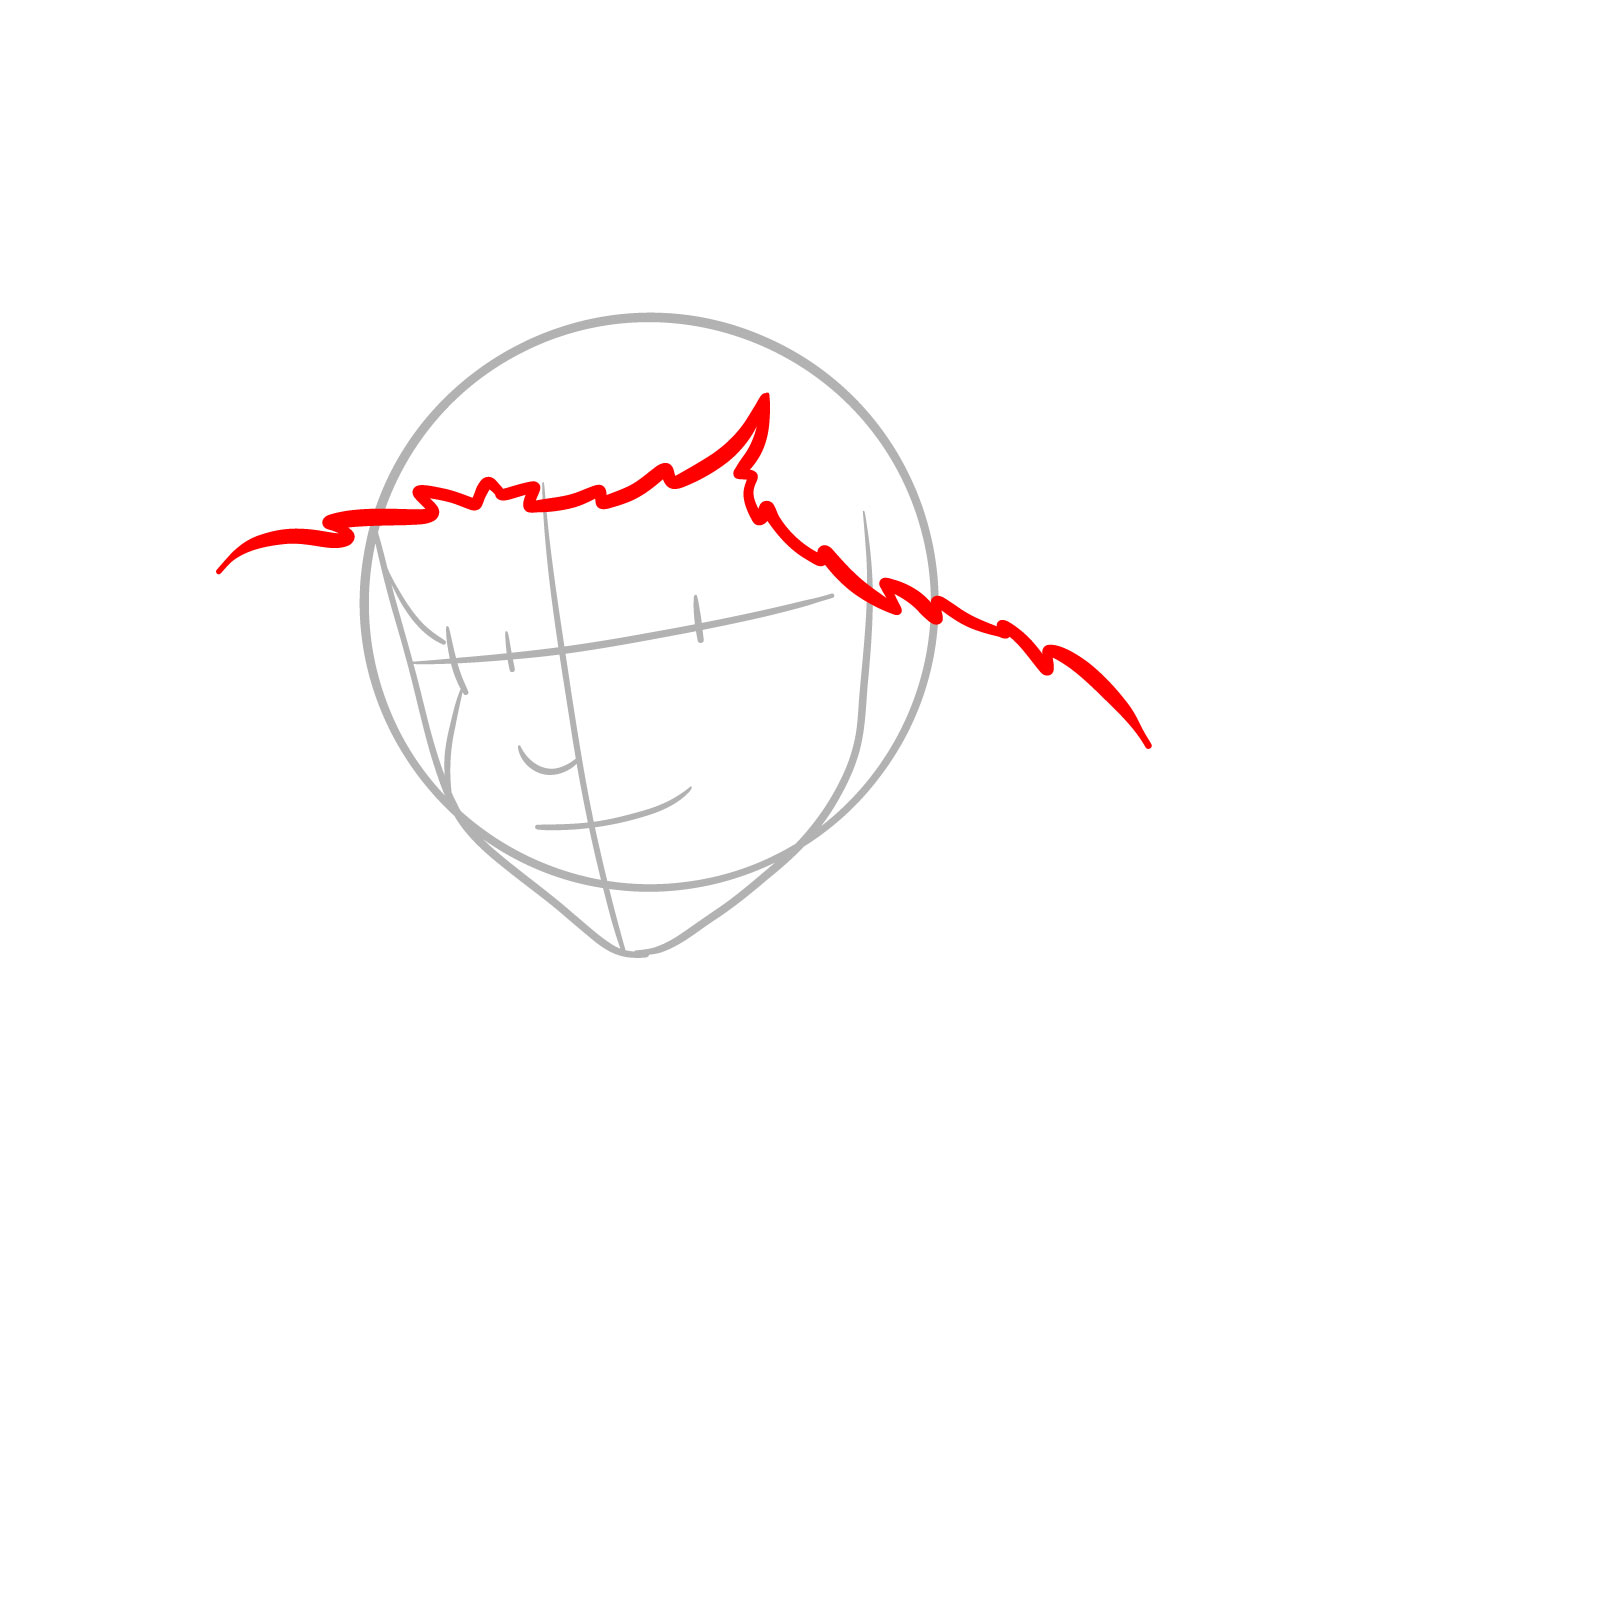
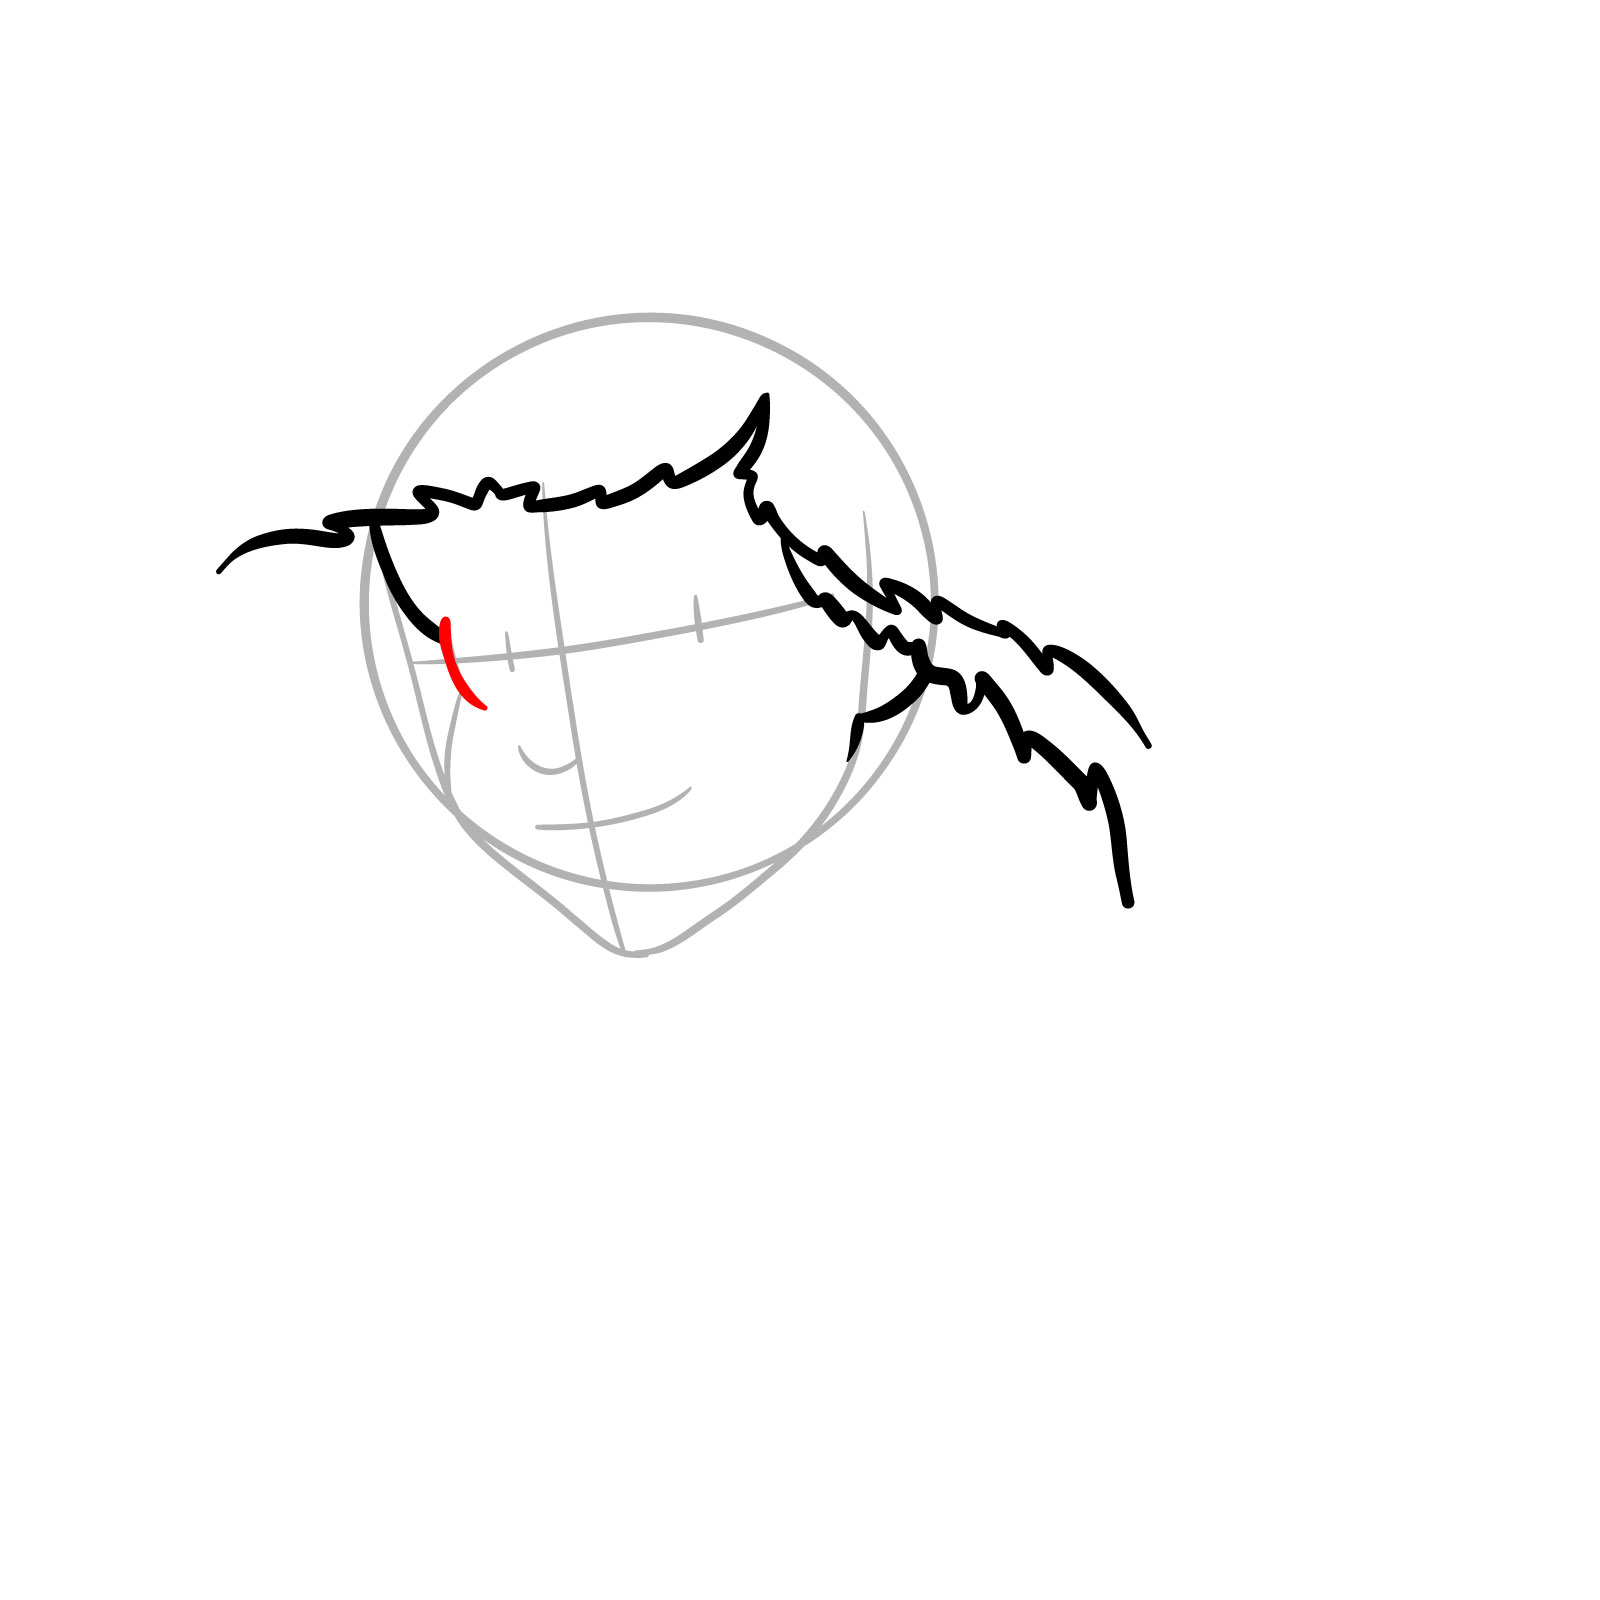
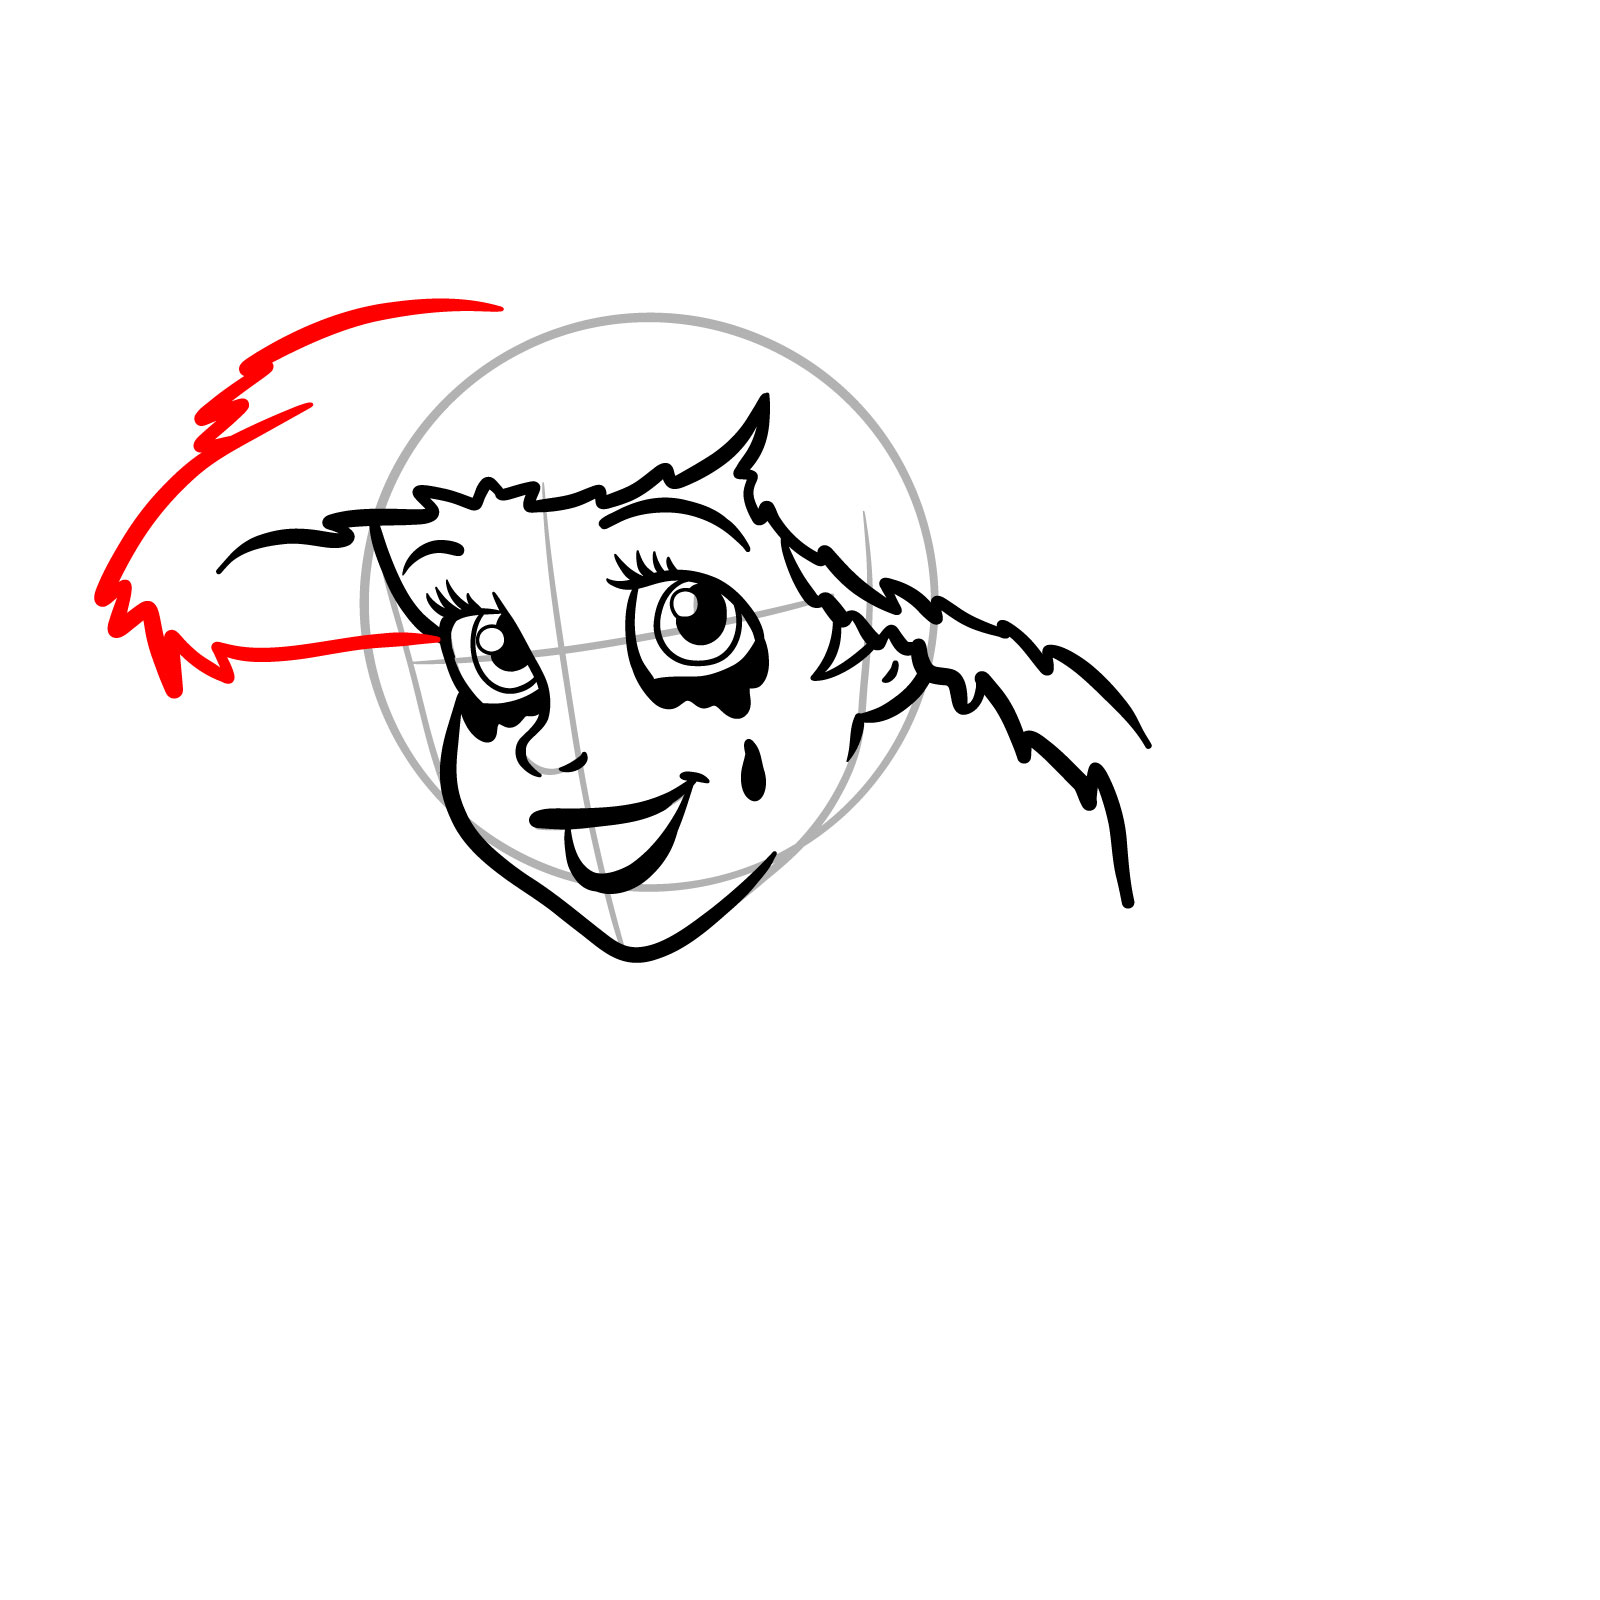
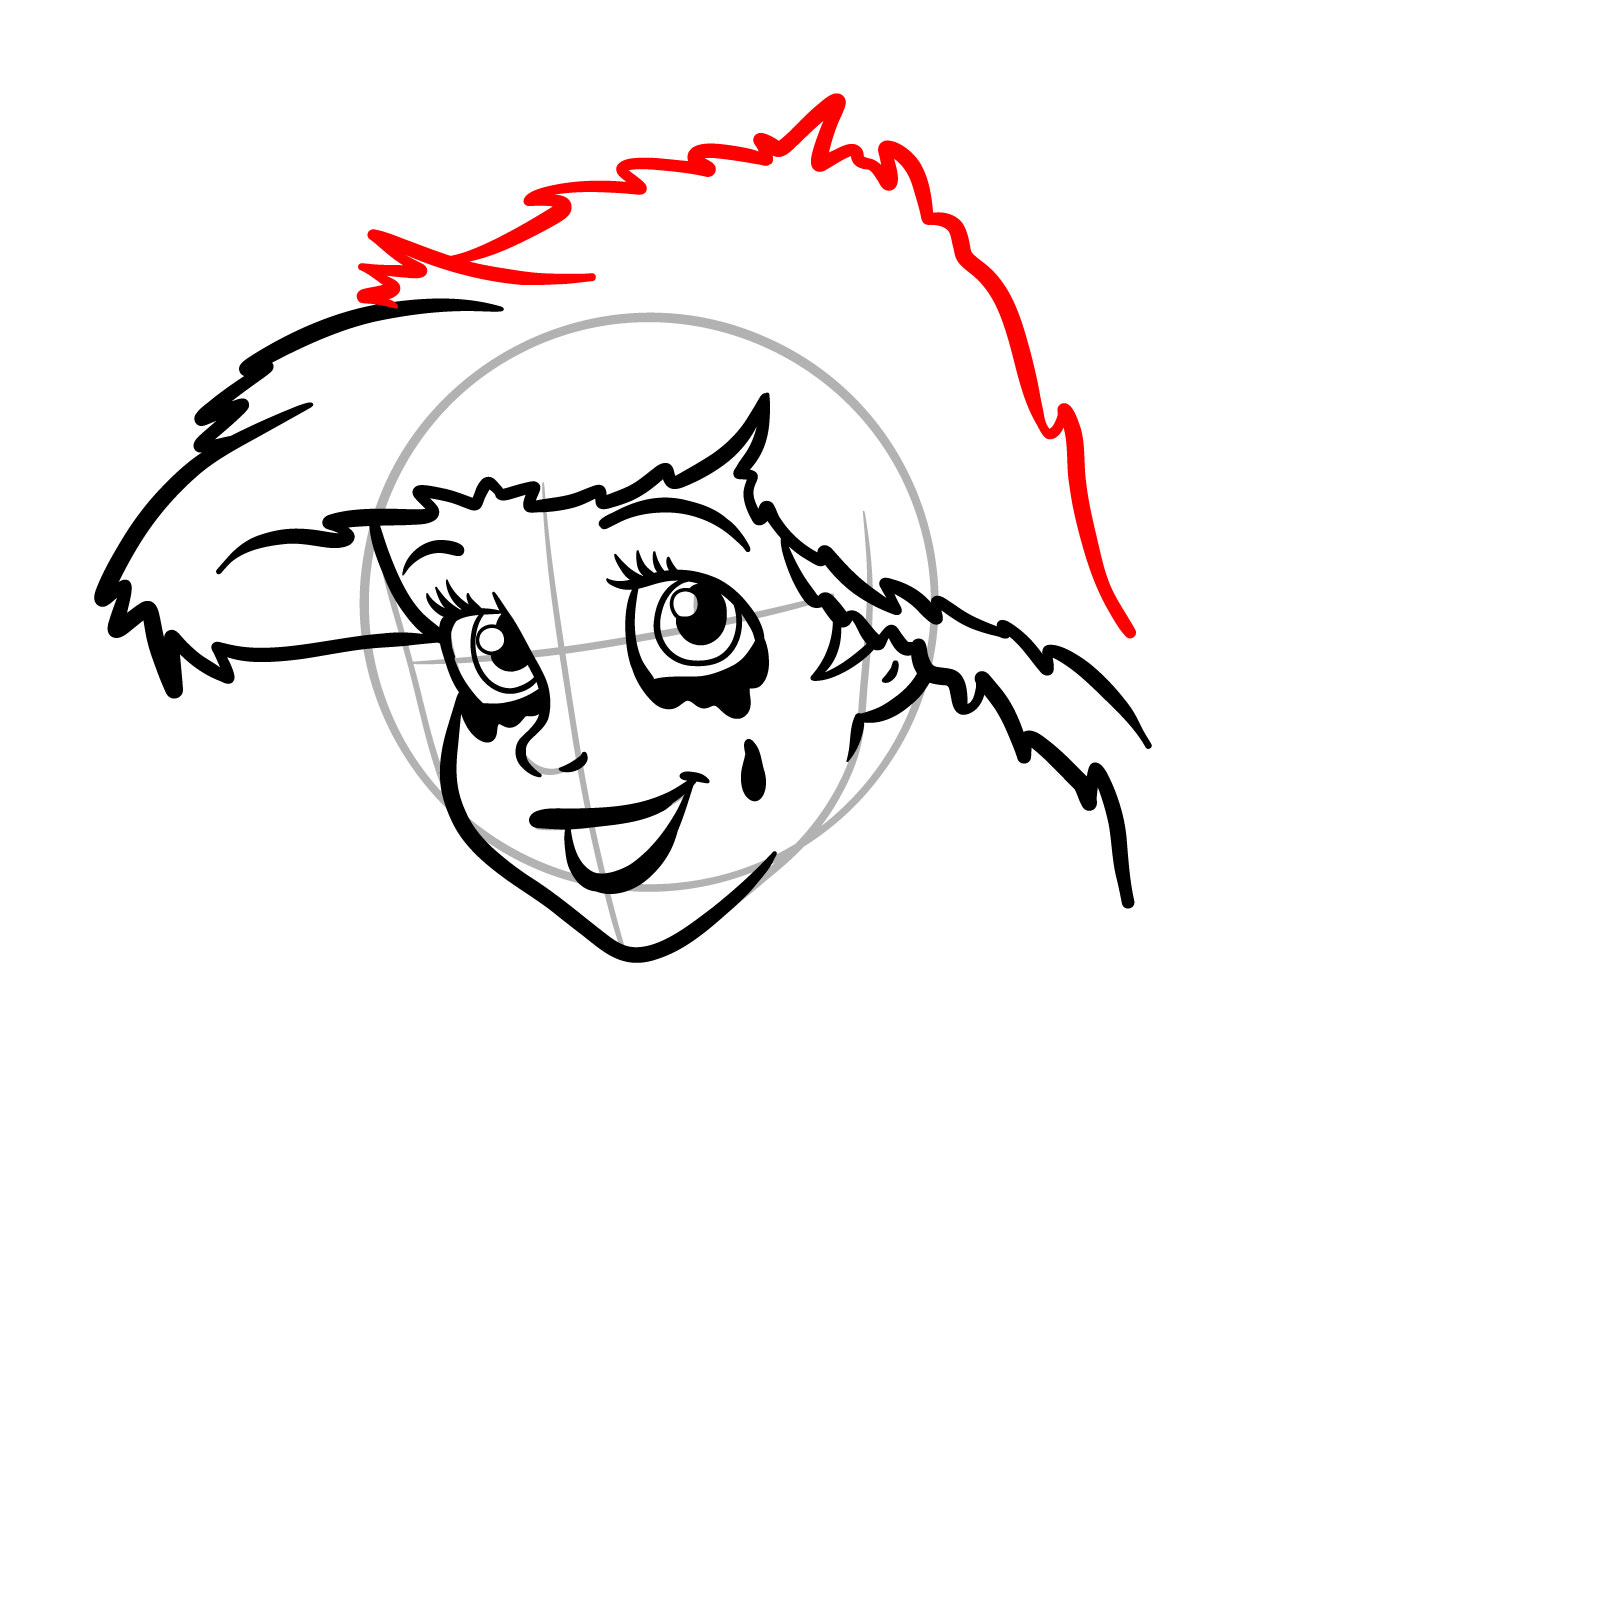
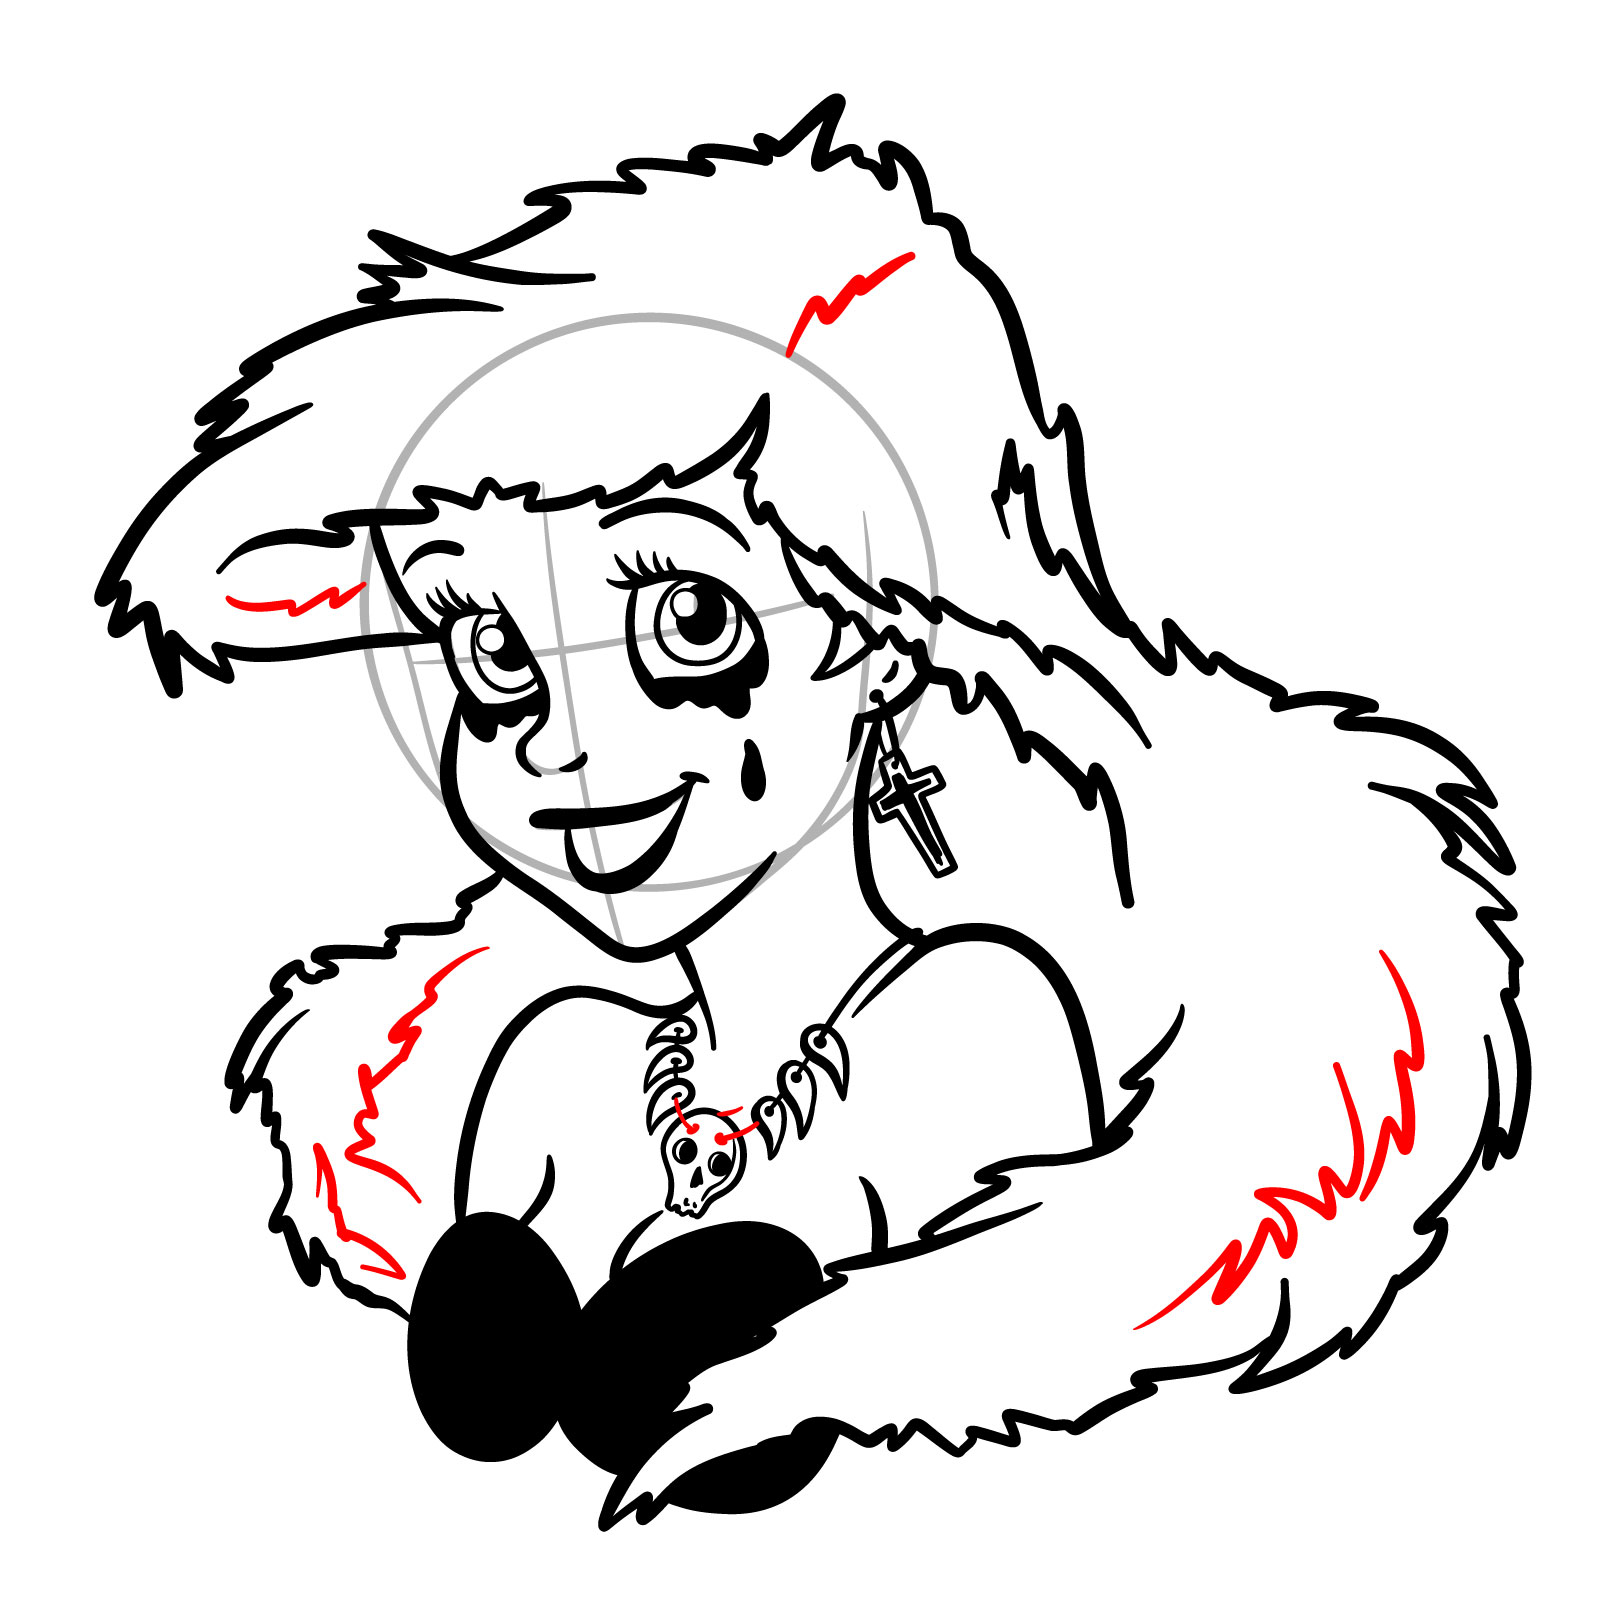
  • Wild Waves: While retaining her iconic hairstyle shape, Ariel’s hair takes on a messier, spikier appearance for the season.
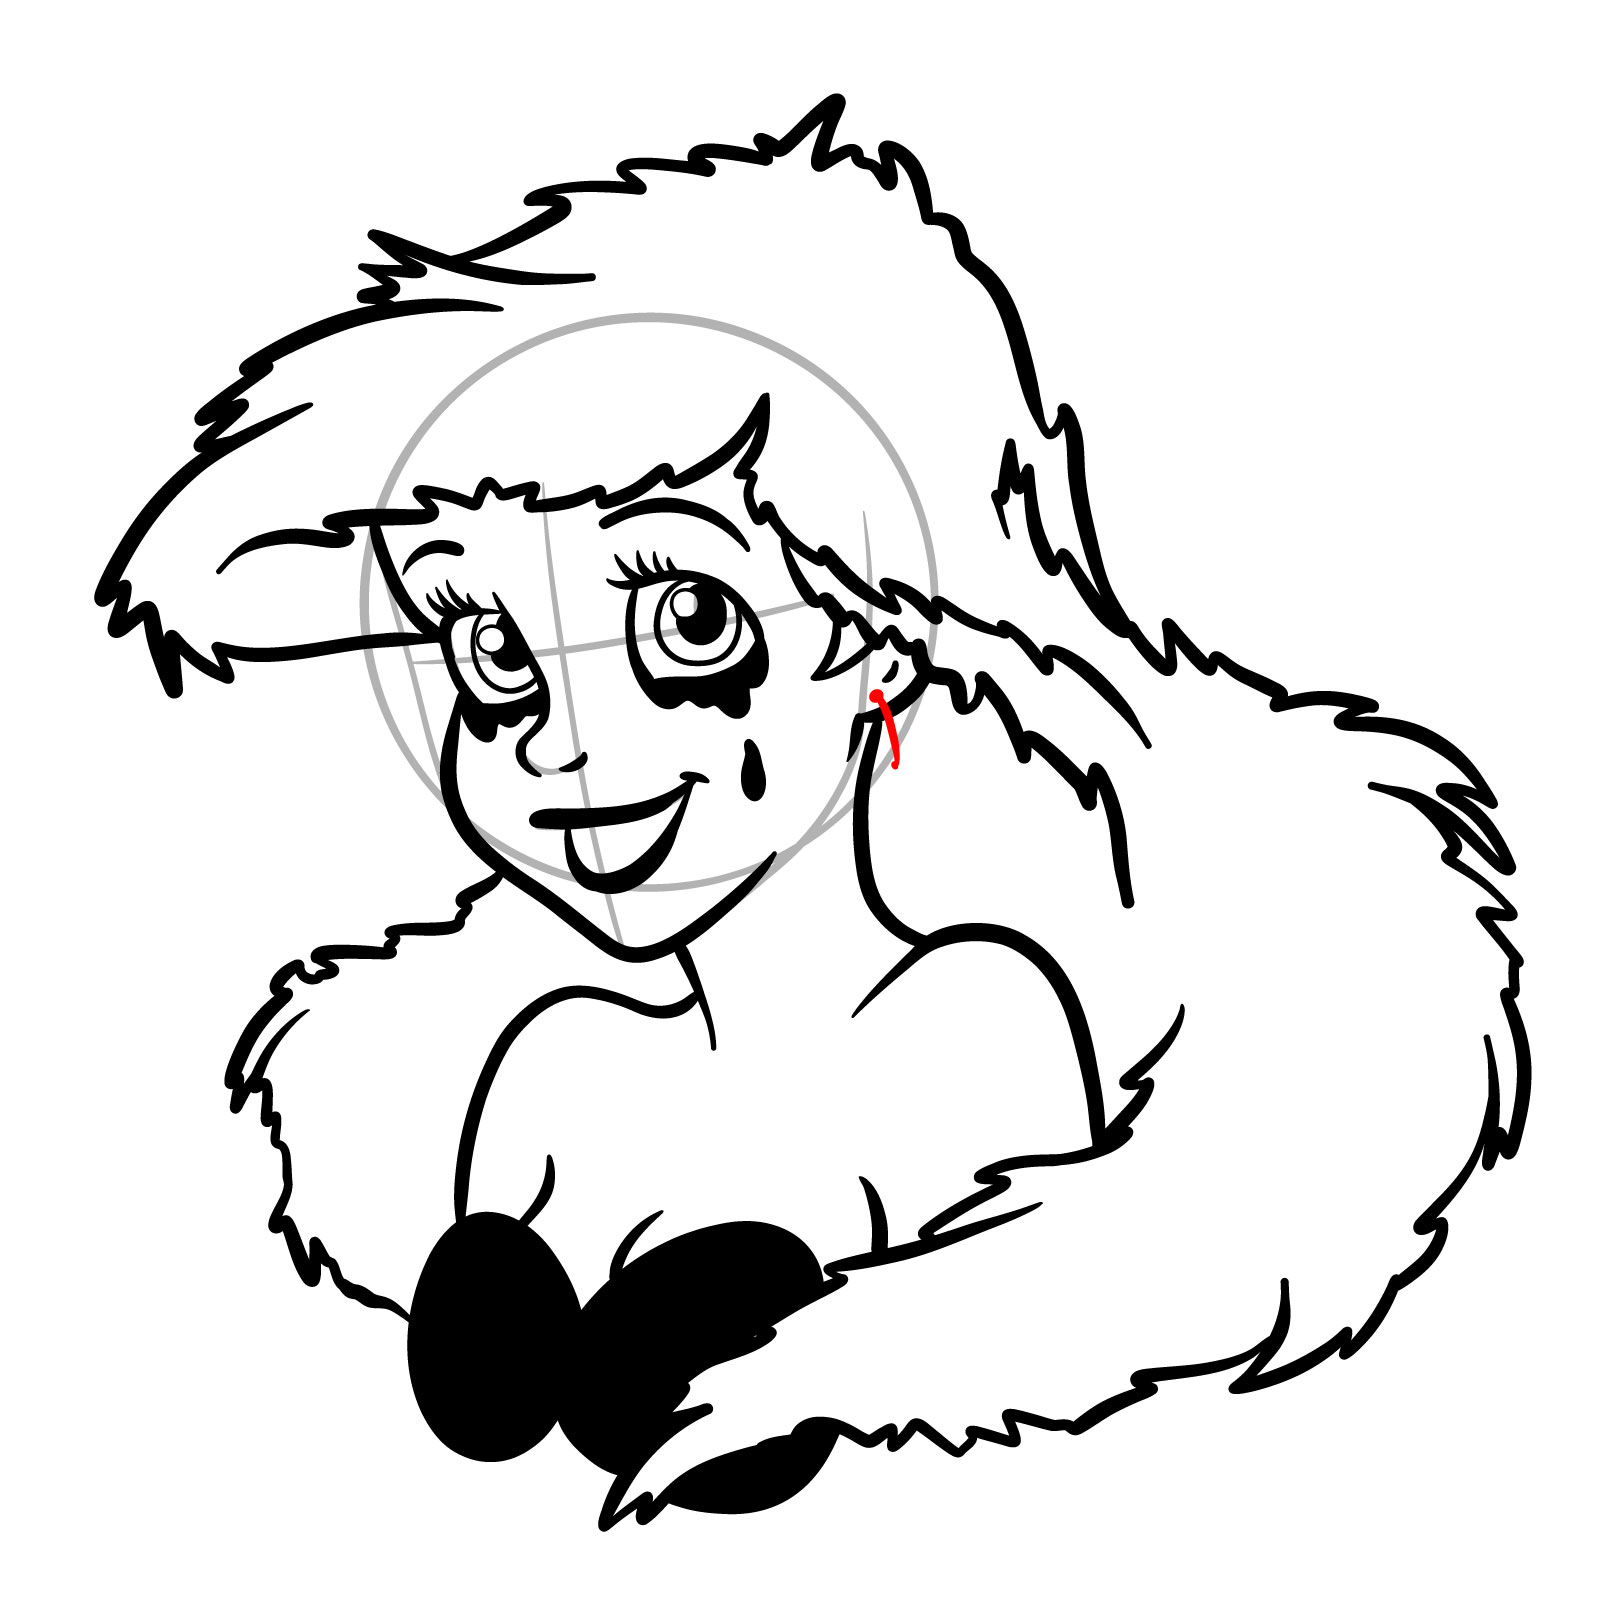
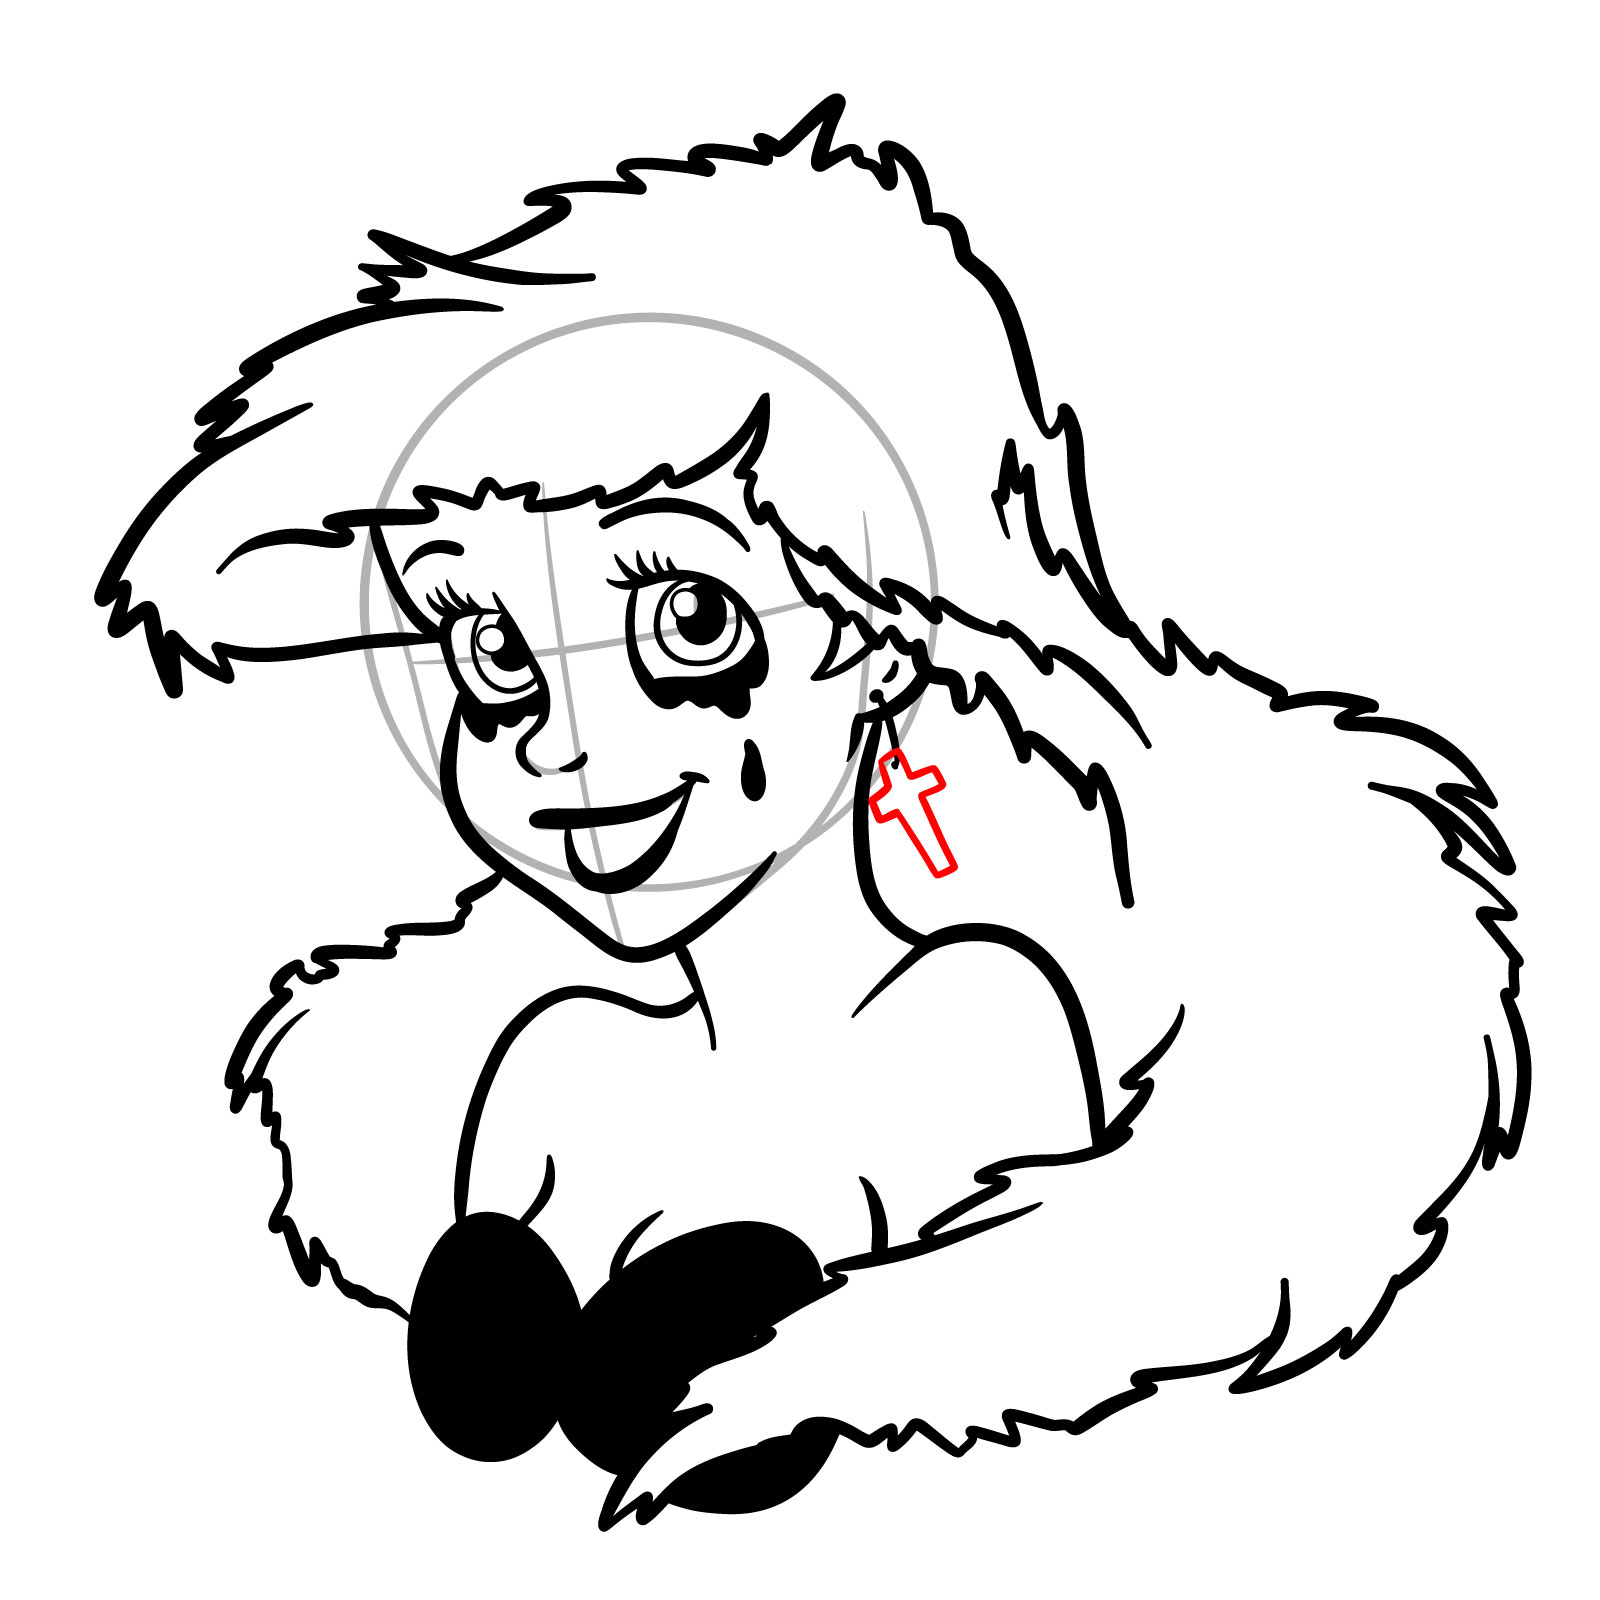
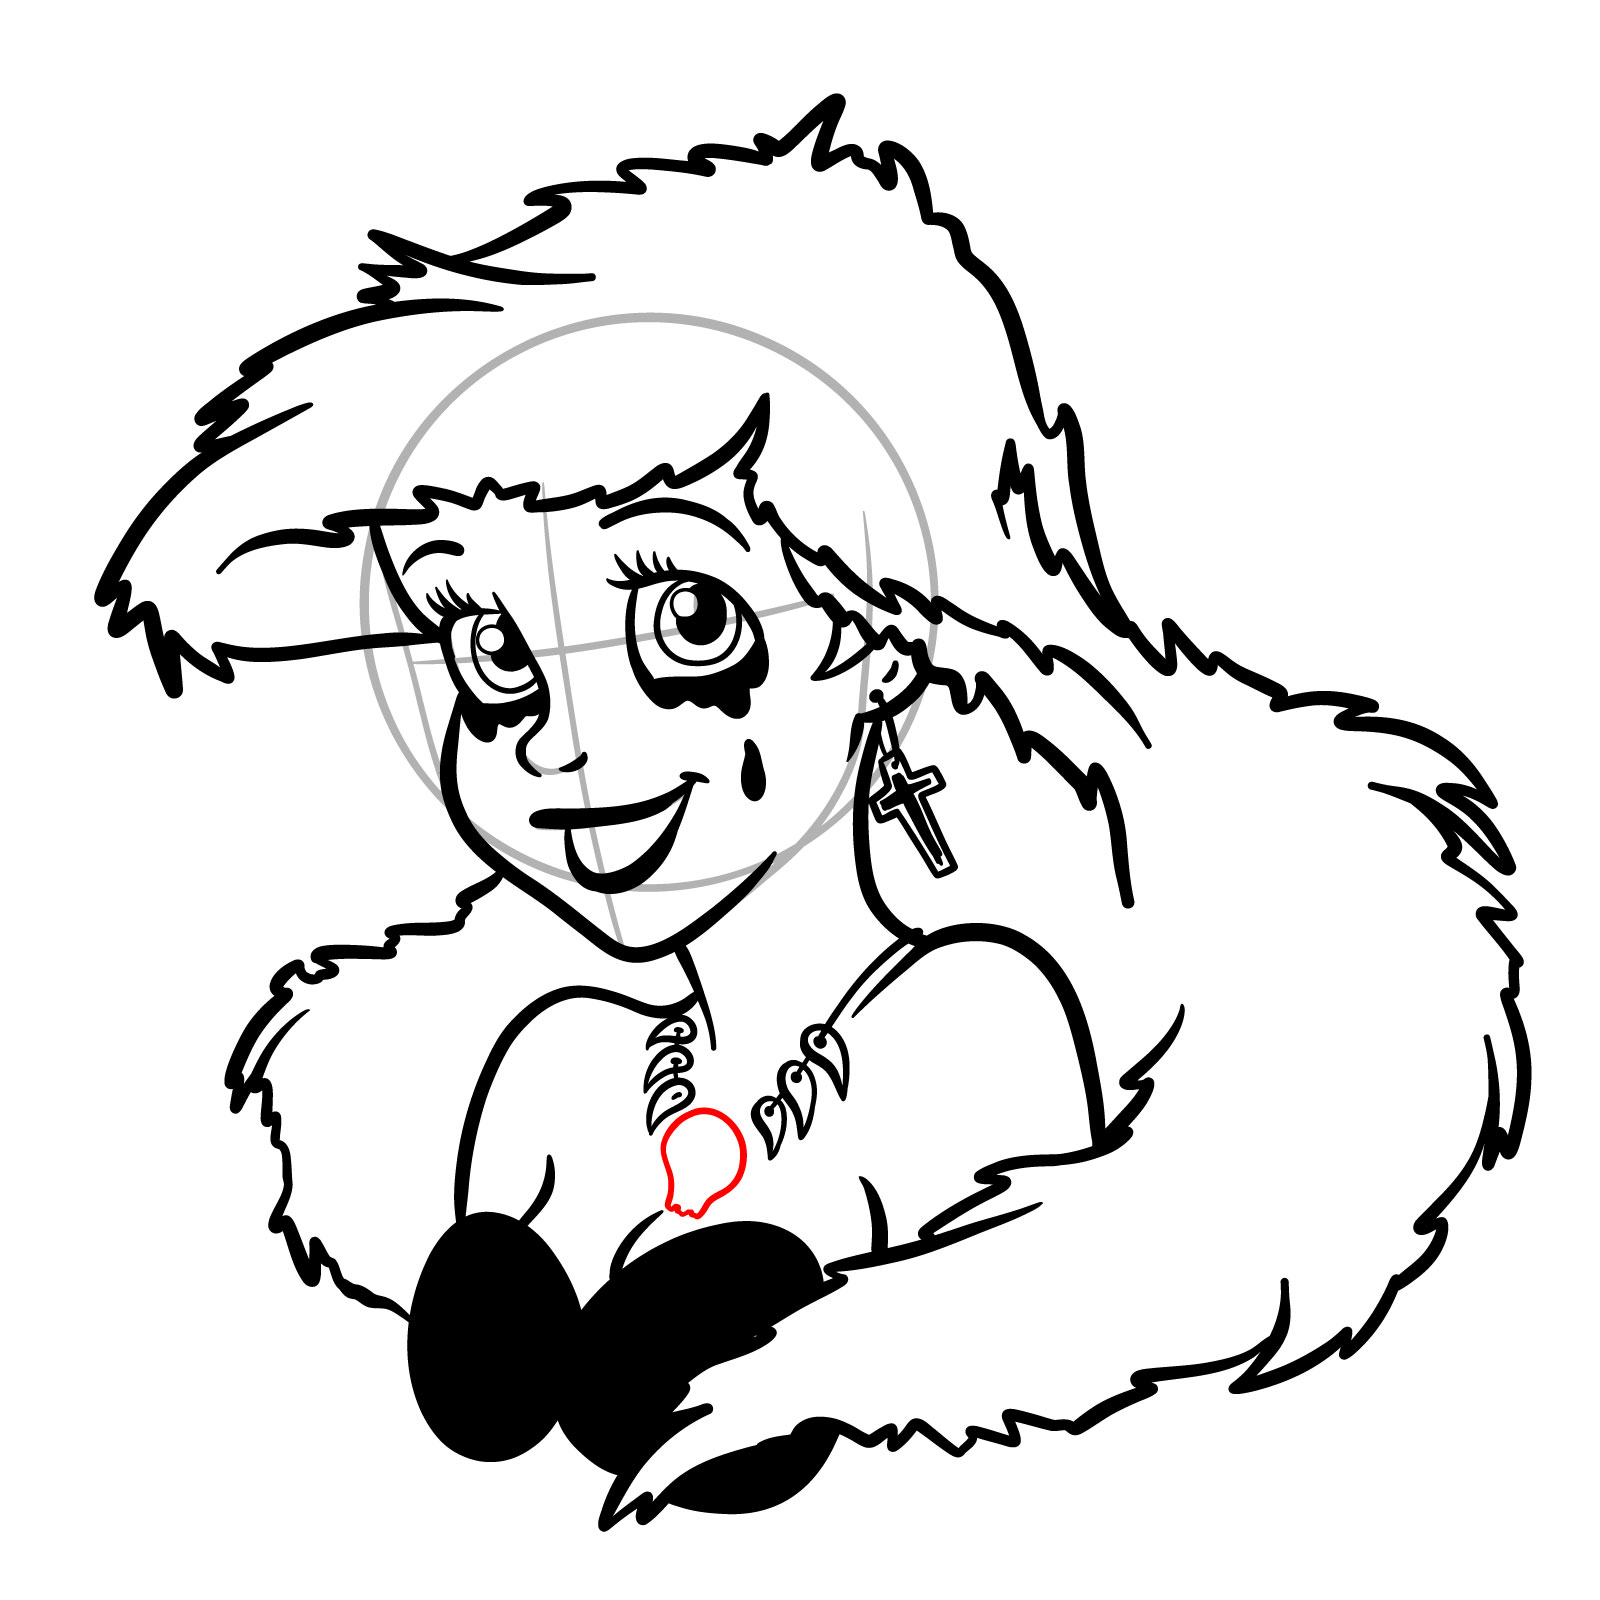
  • Spooky Adornments: Adding to her eerie charm, Ariel dons a cross earring and a necklace with fangs and a small central skull.
  • The Darkened Seashell Bra: A stark contrast to its usual vibrant color, her seashell bra turns completely black, enhancing the overall dark theme.

About the Drawing Guide

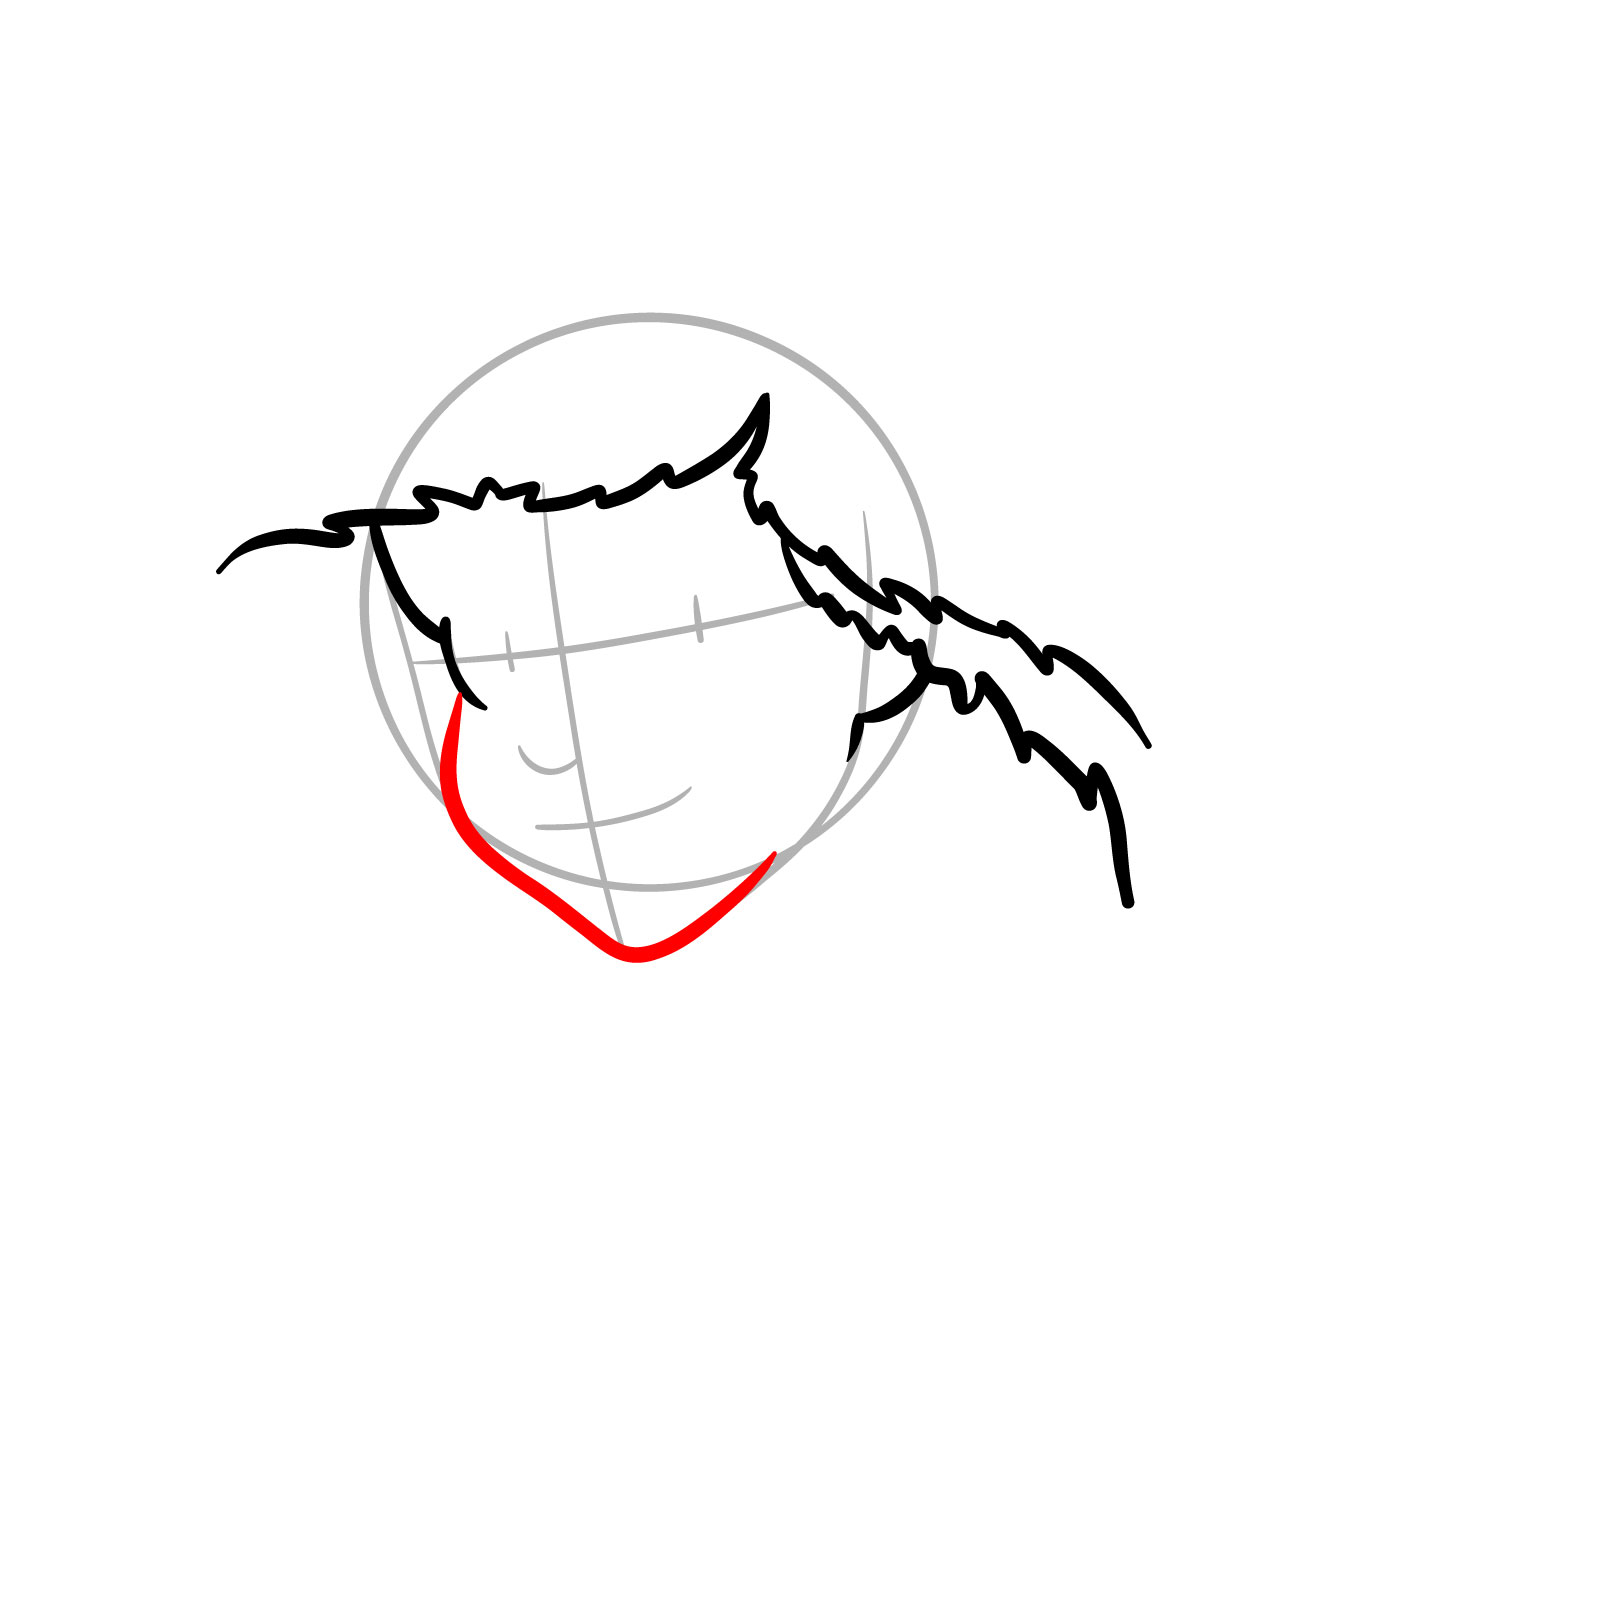
This guide offers a series of images to lead you through the process of bringing Halloween Ariel to life. Before diving deep into the drawing:

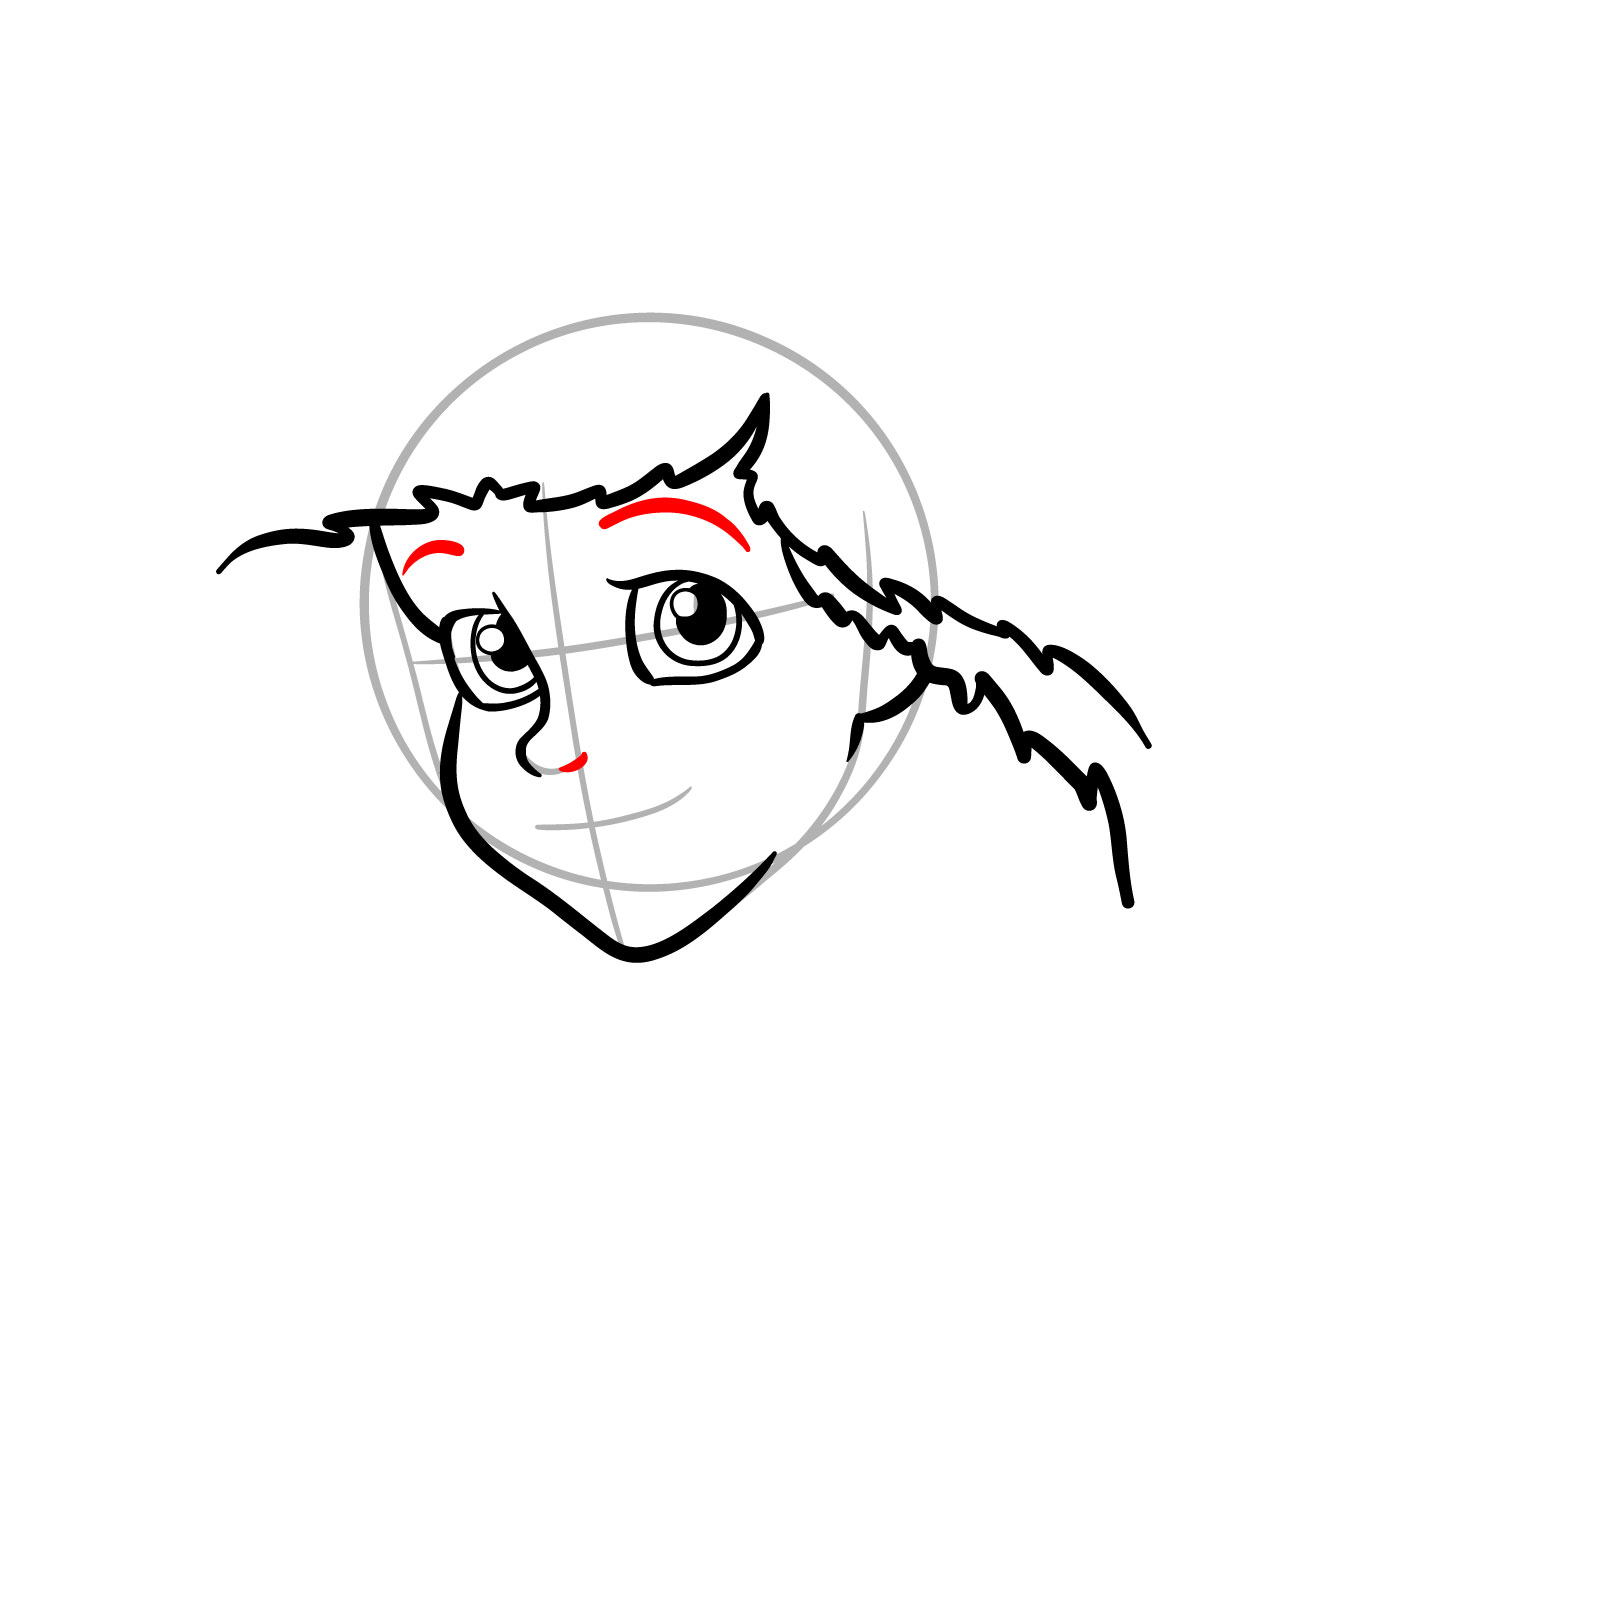
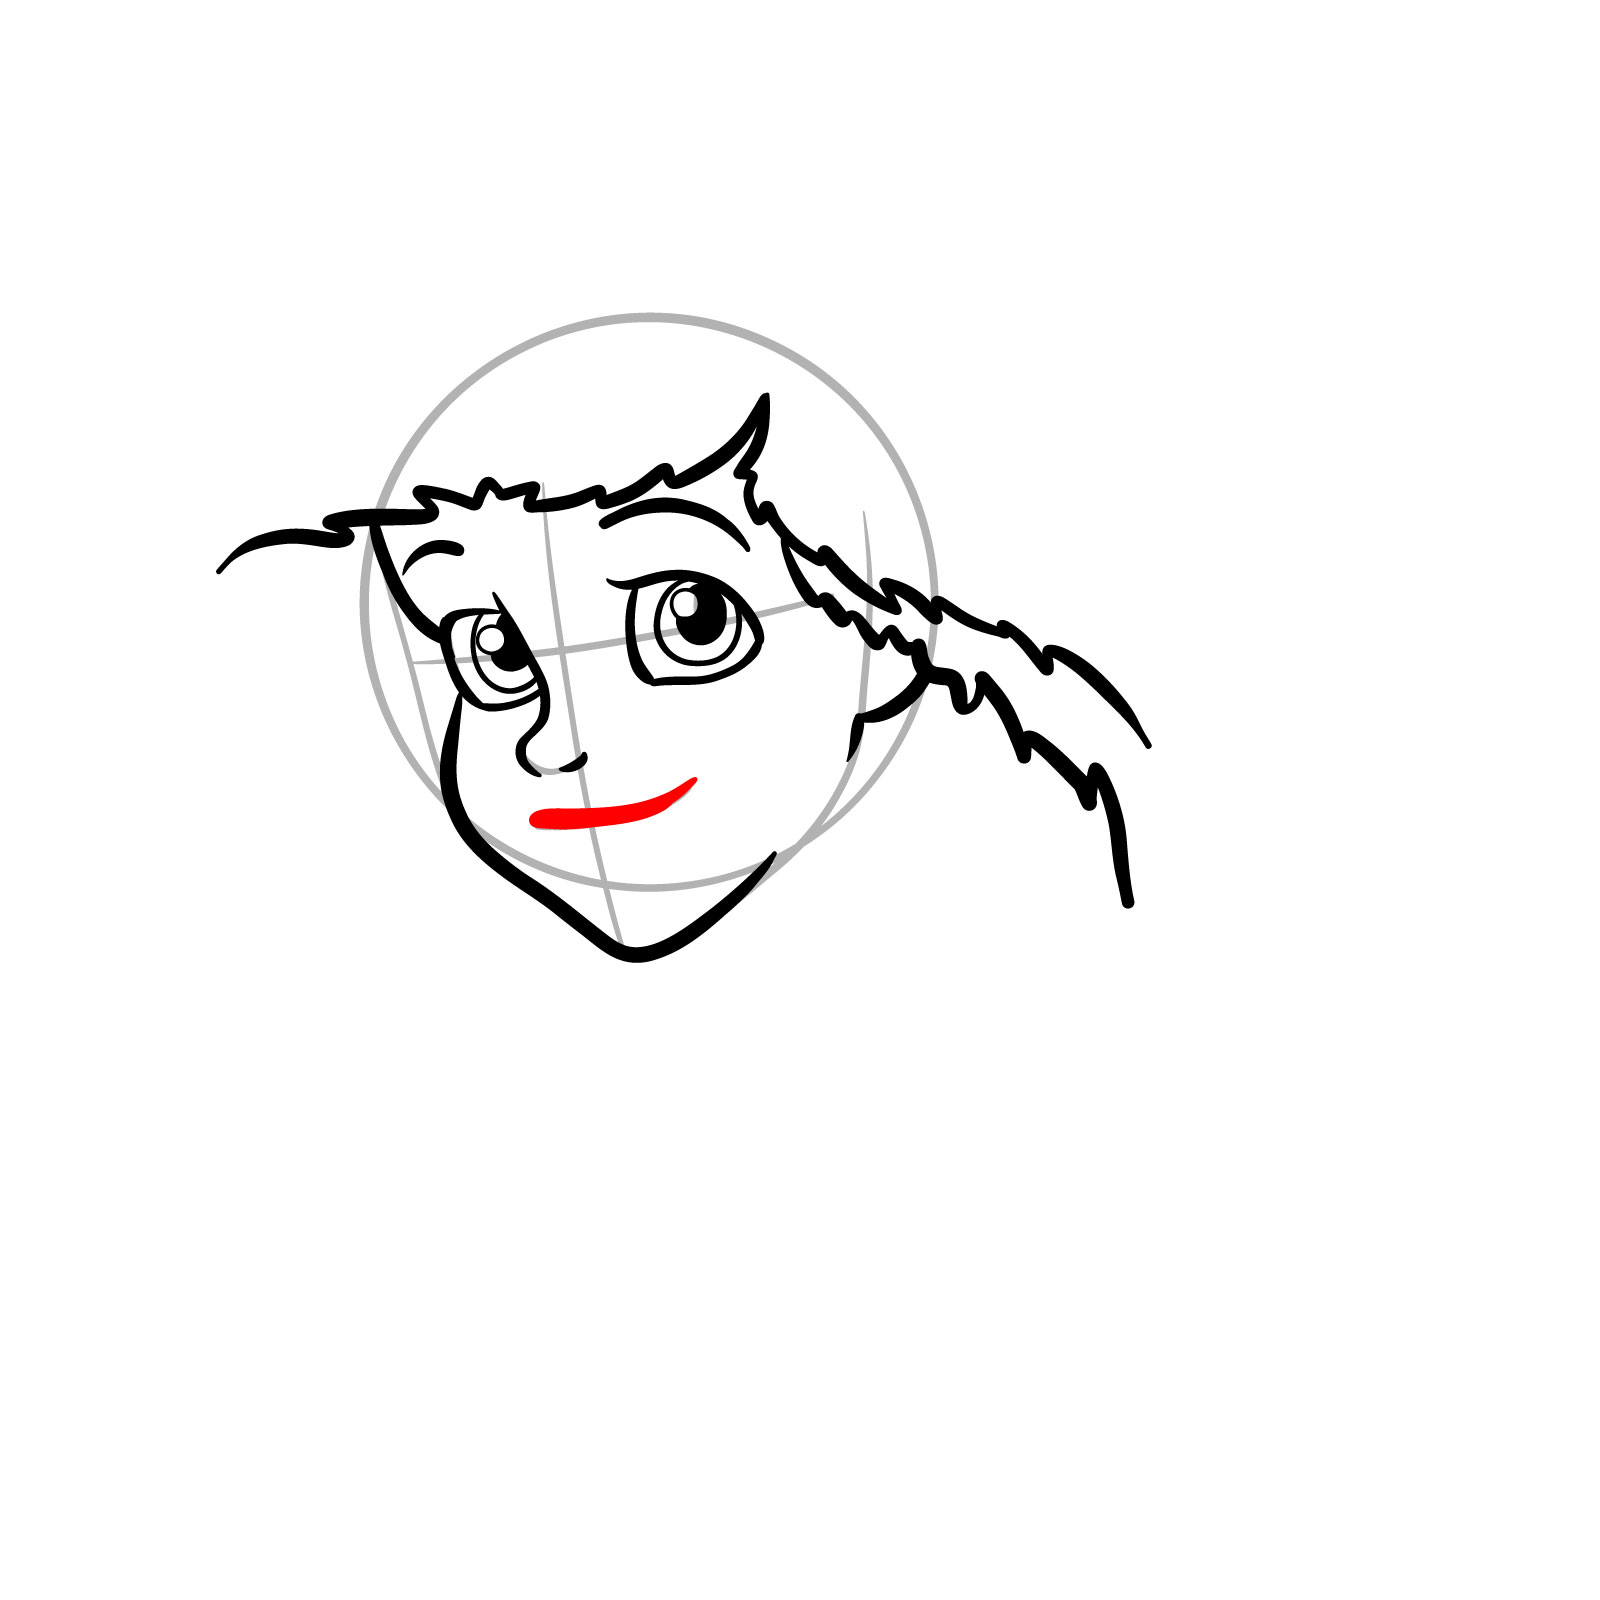
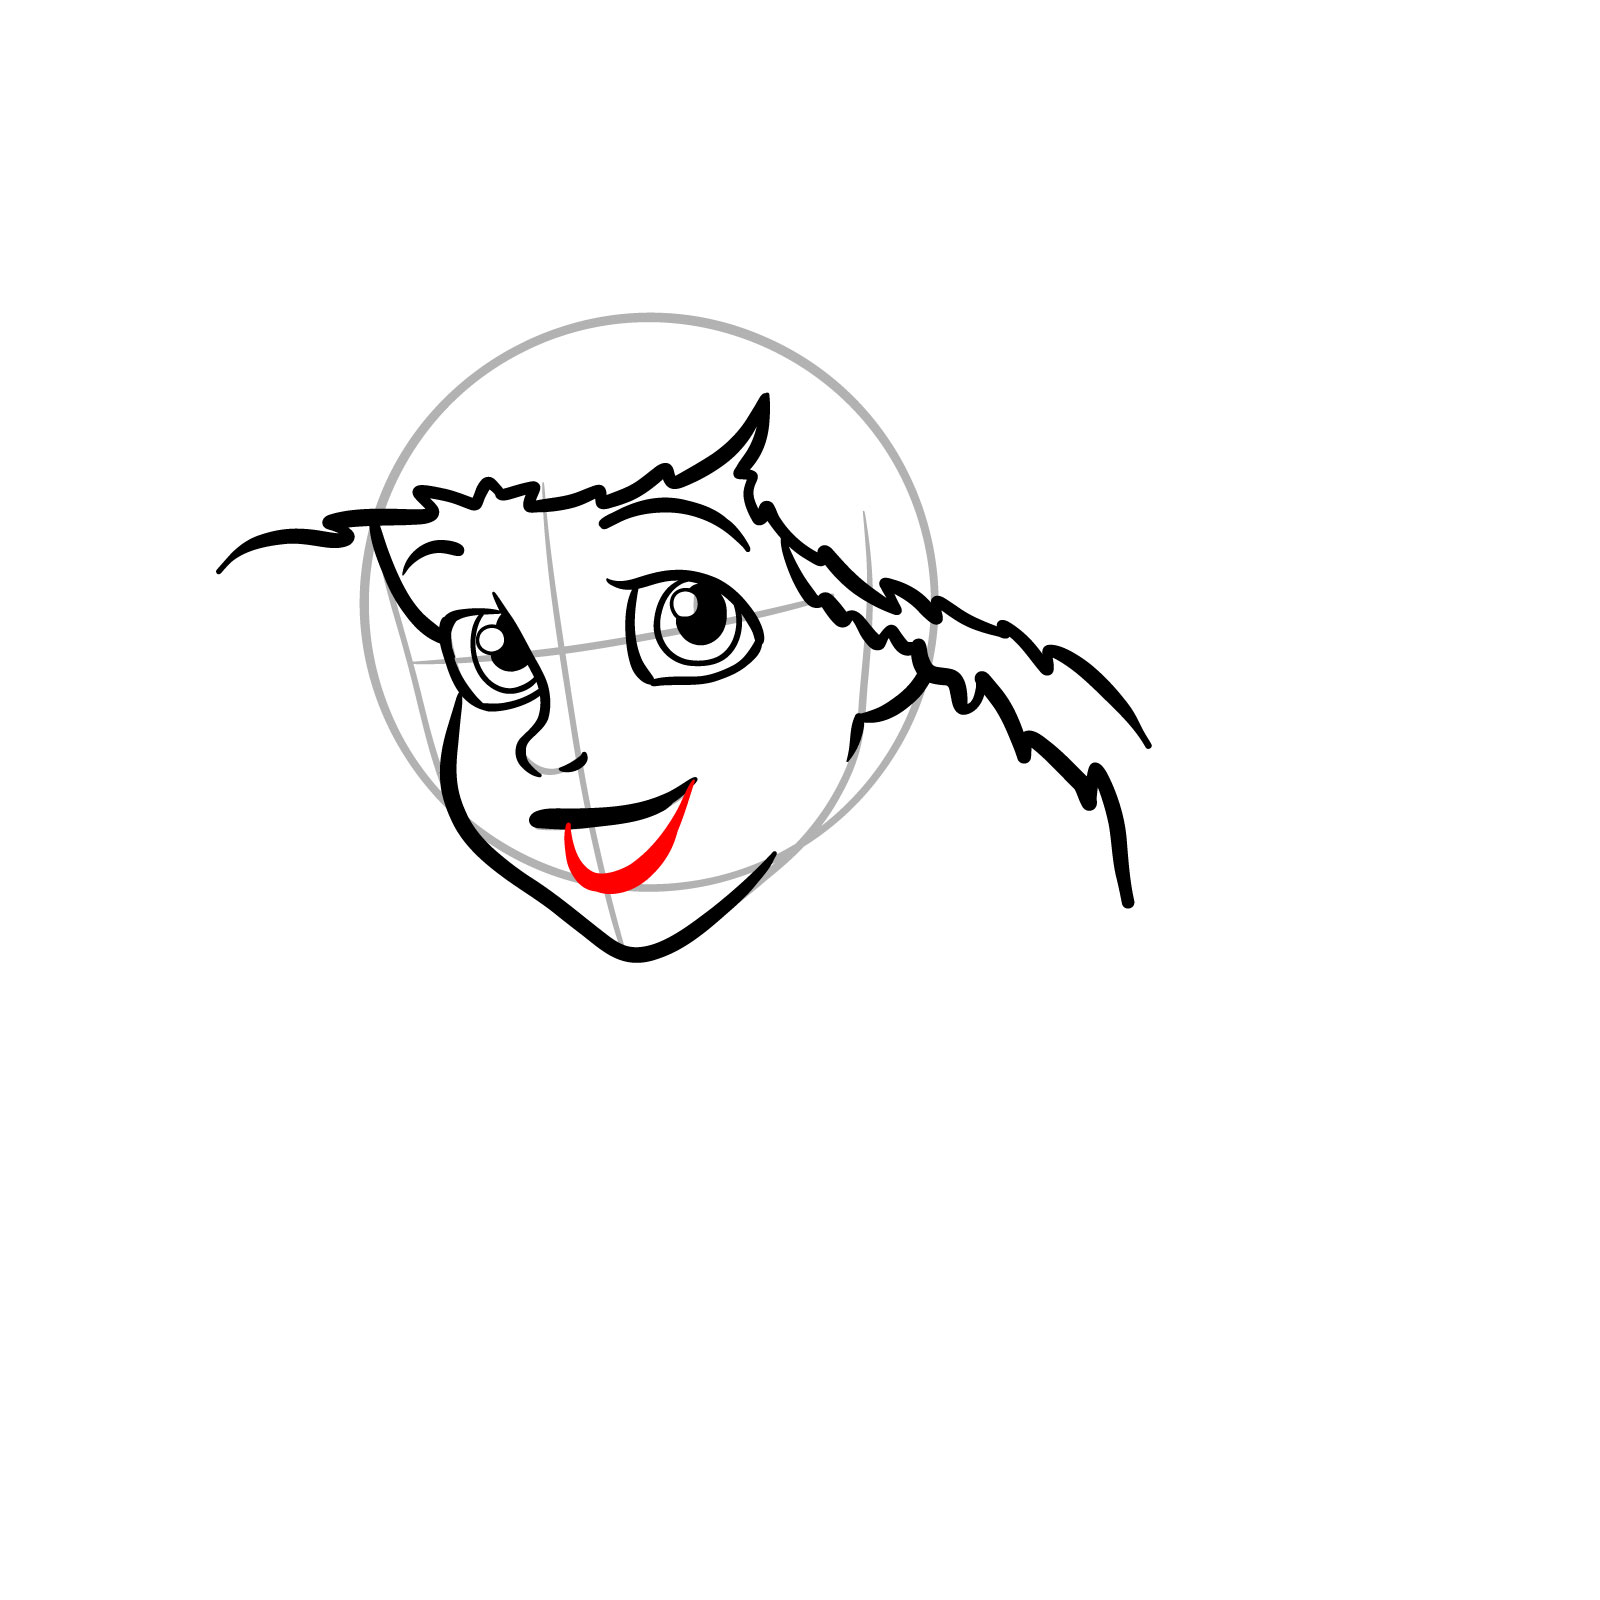
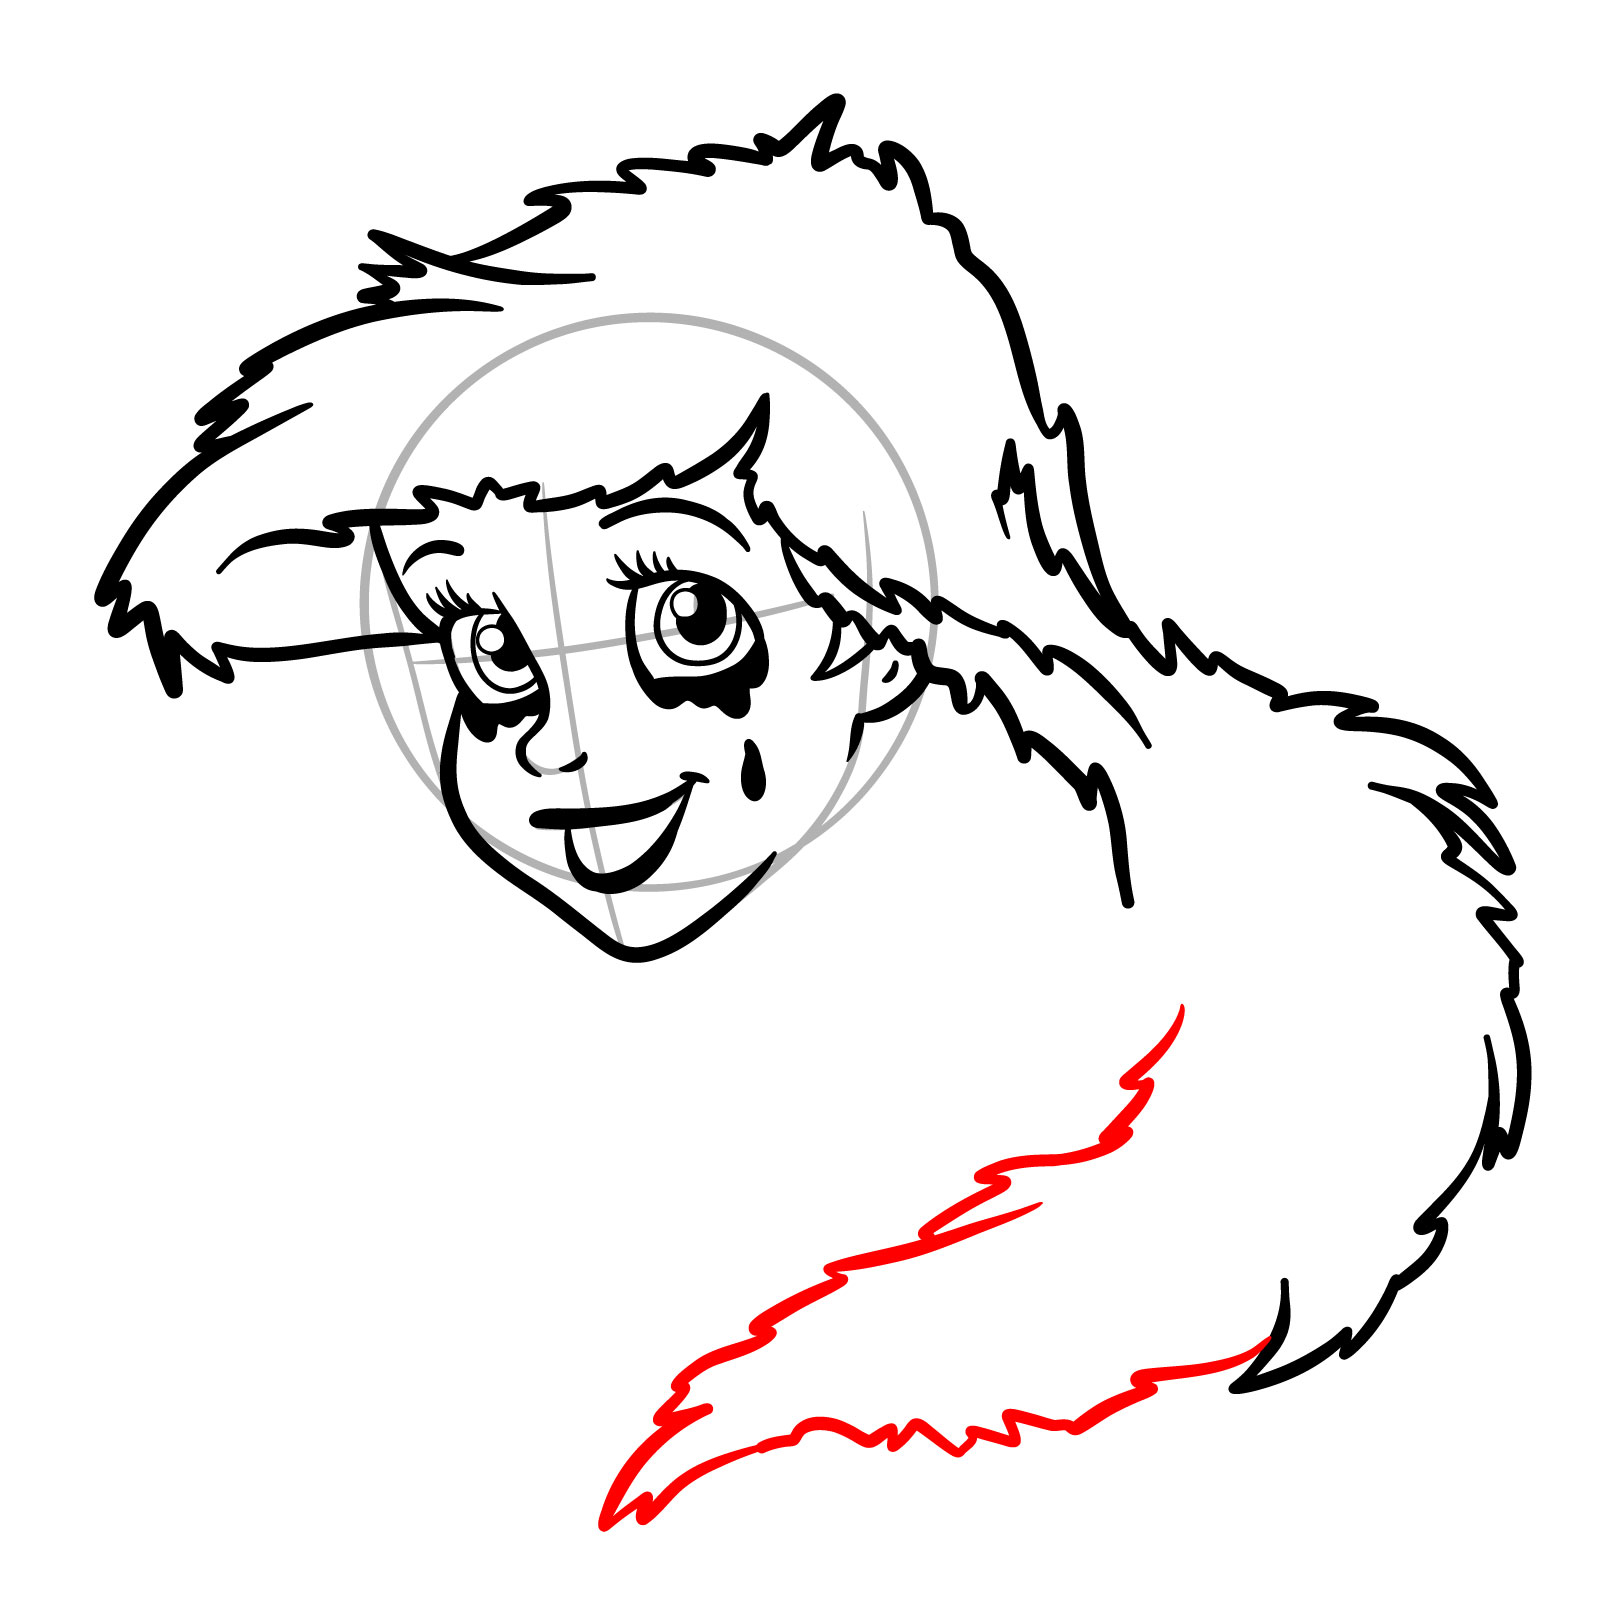
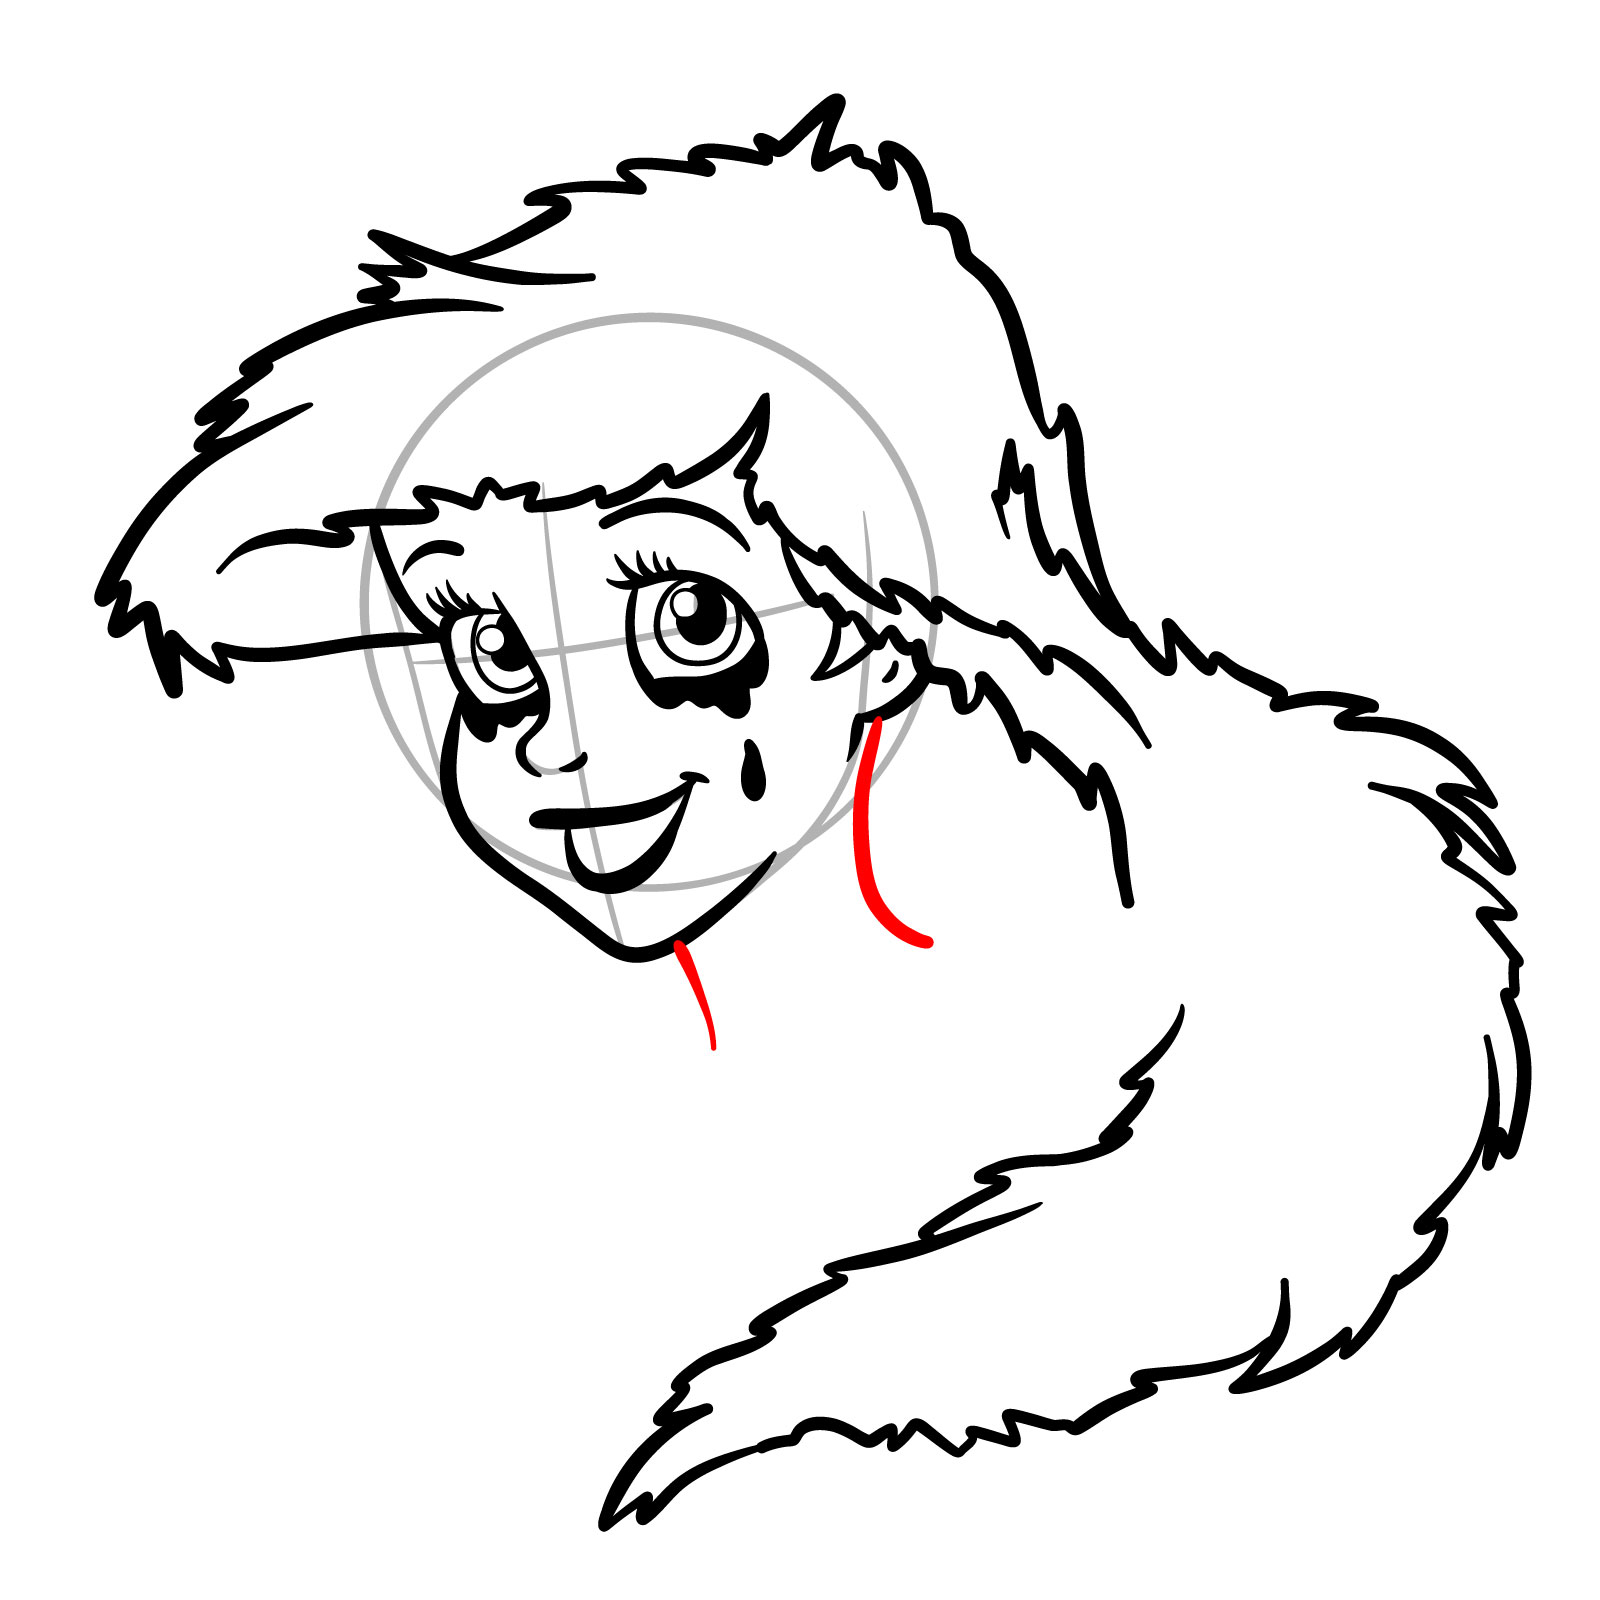
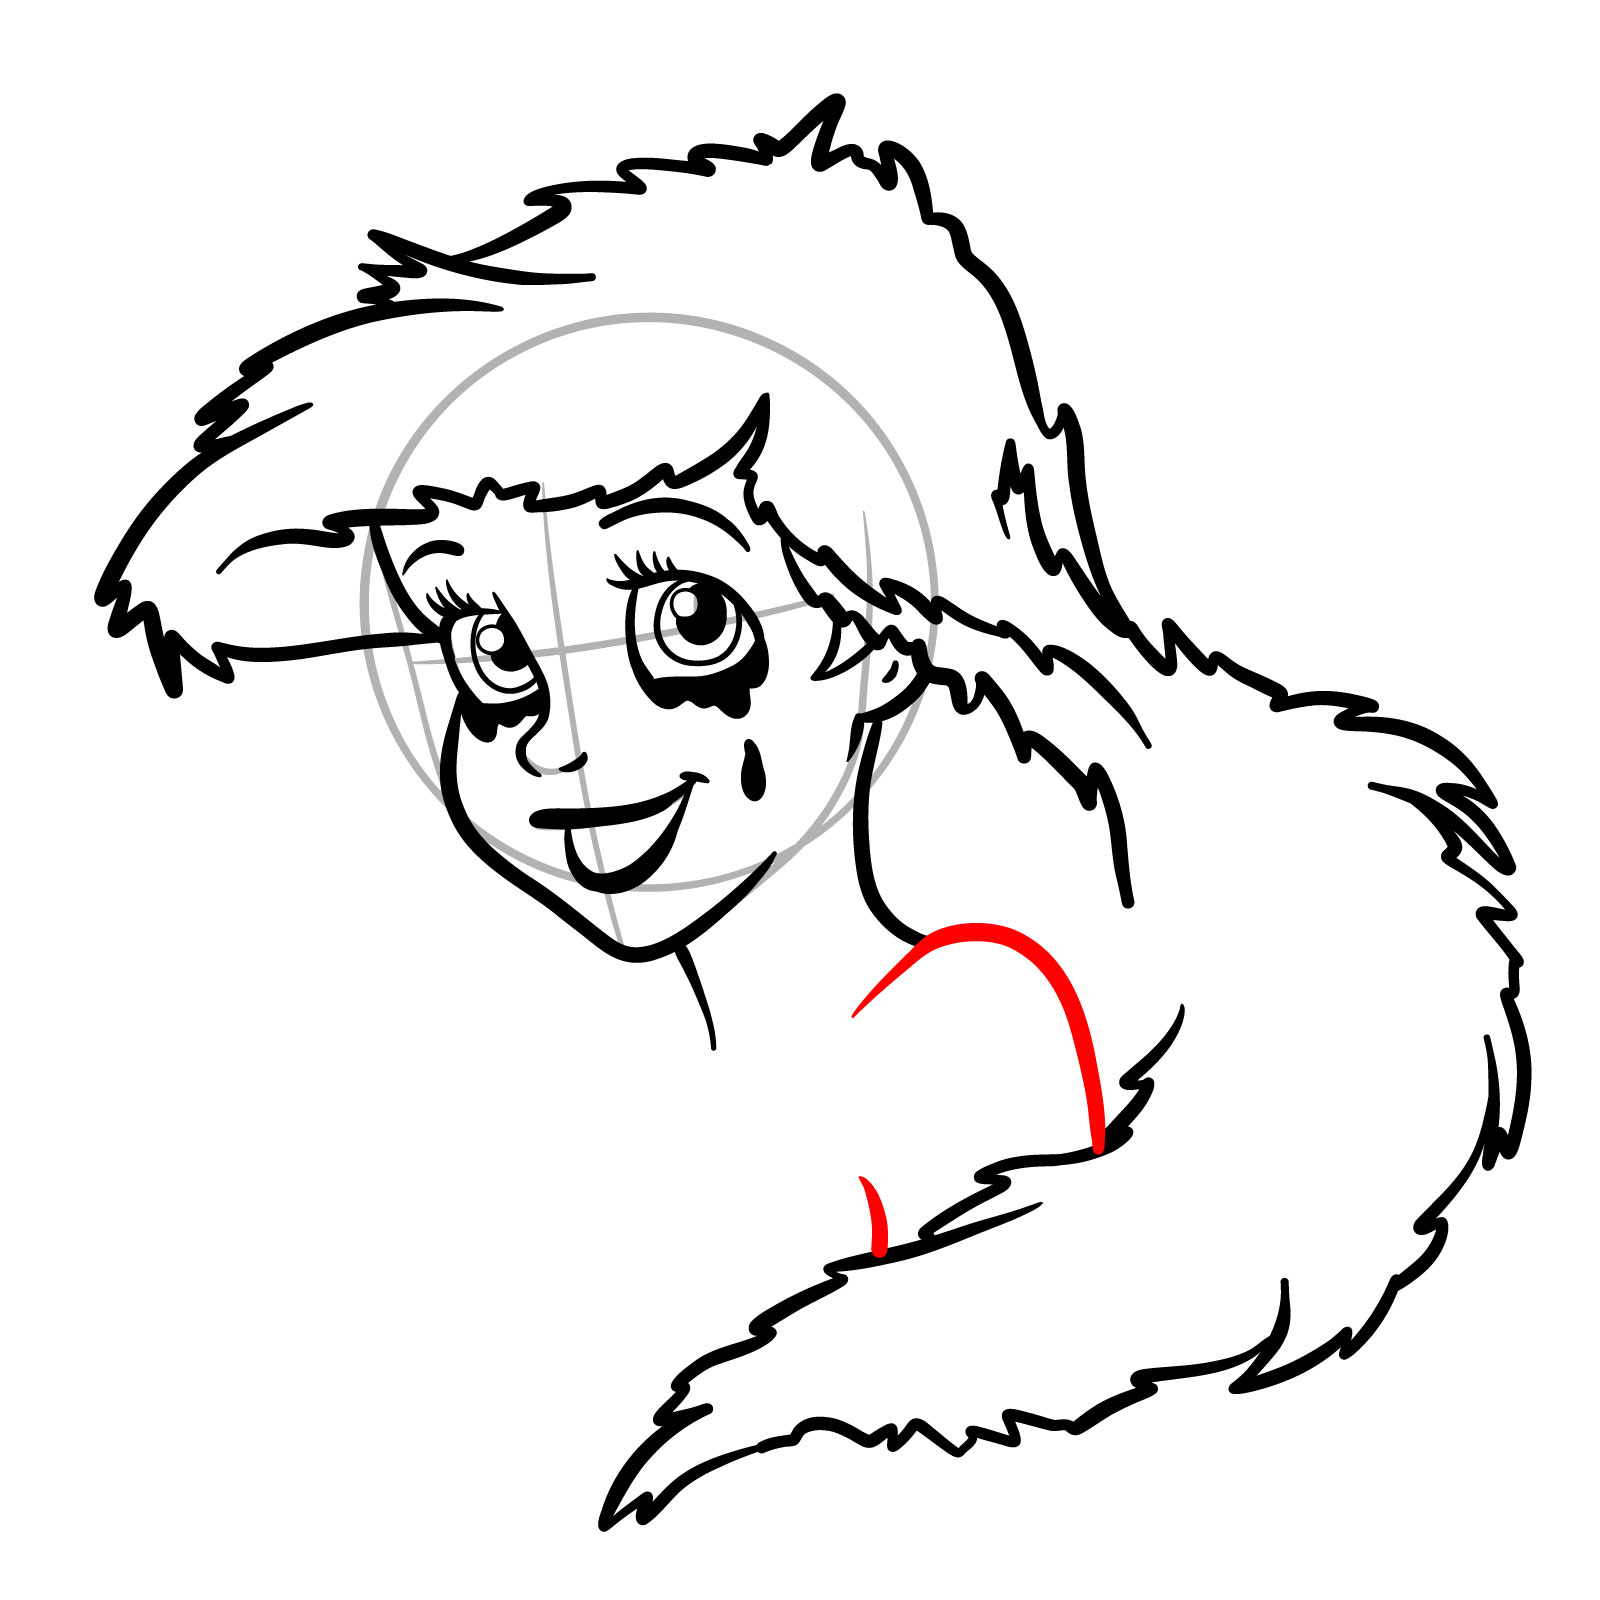
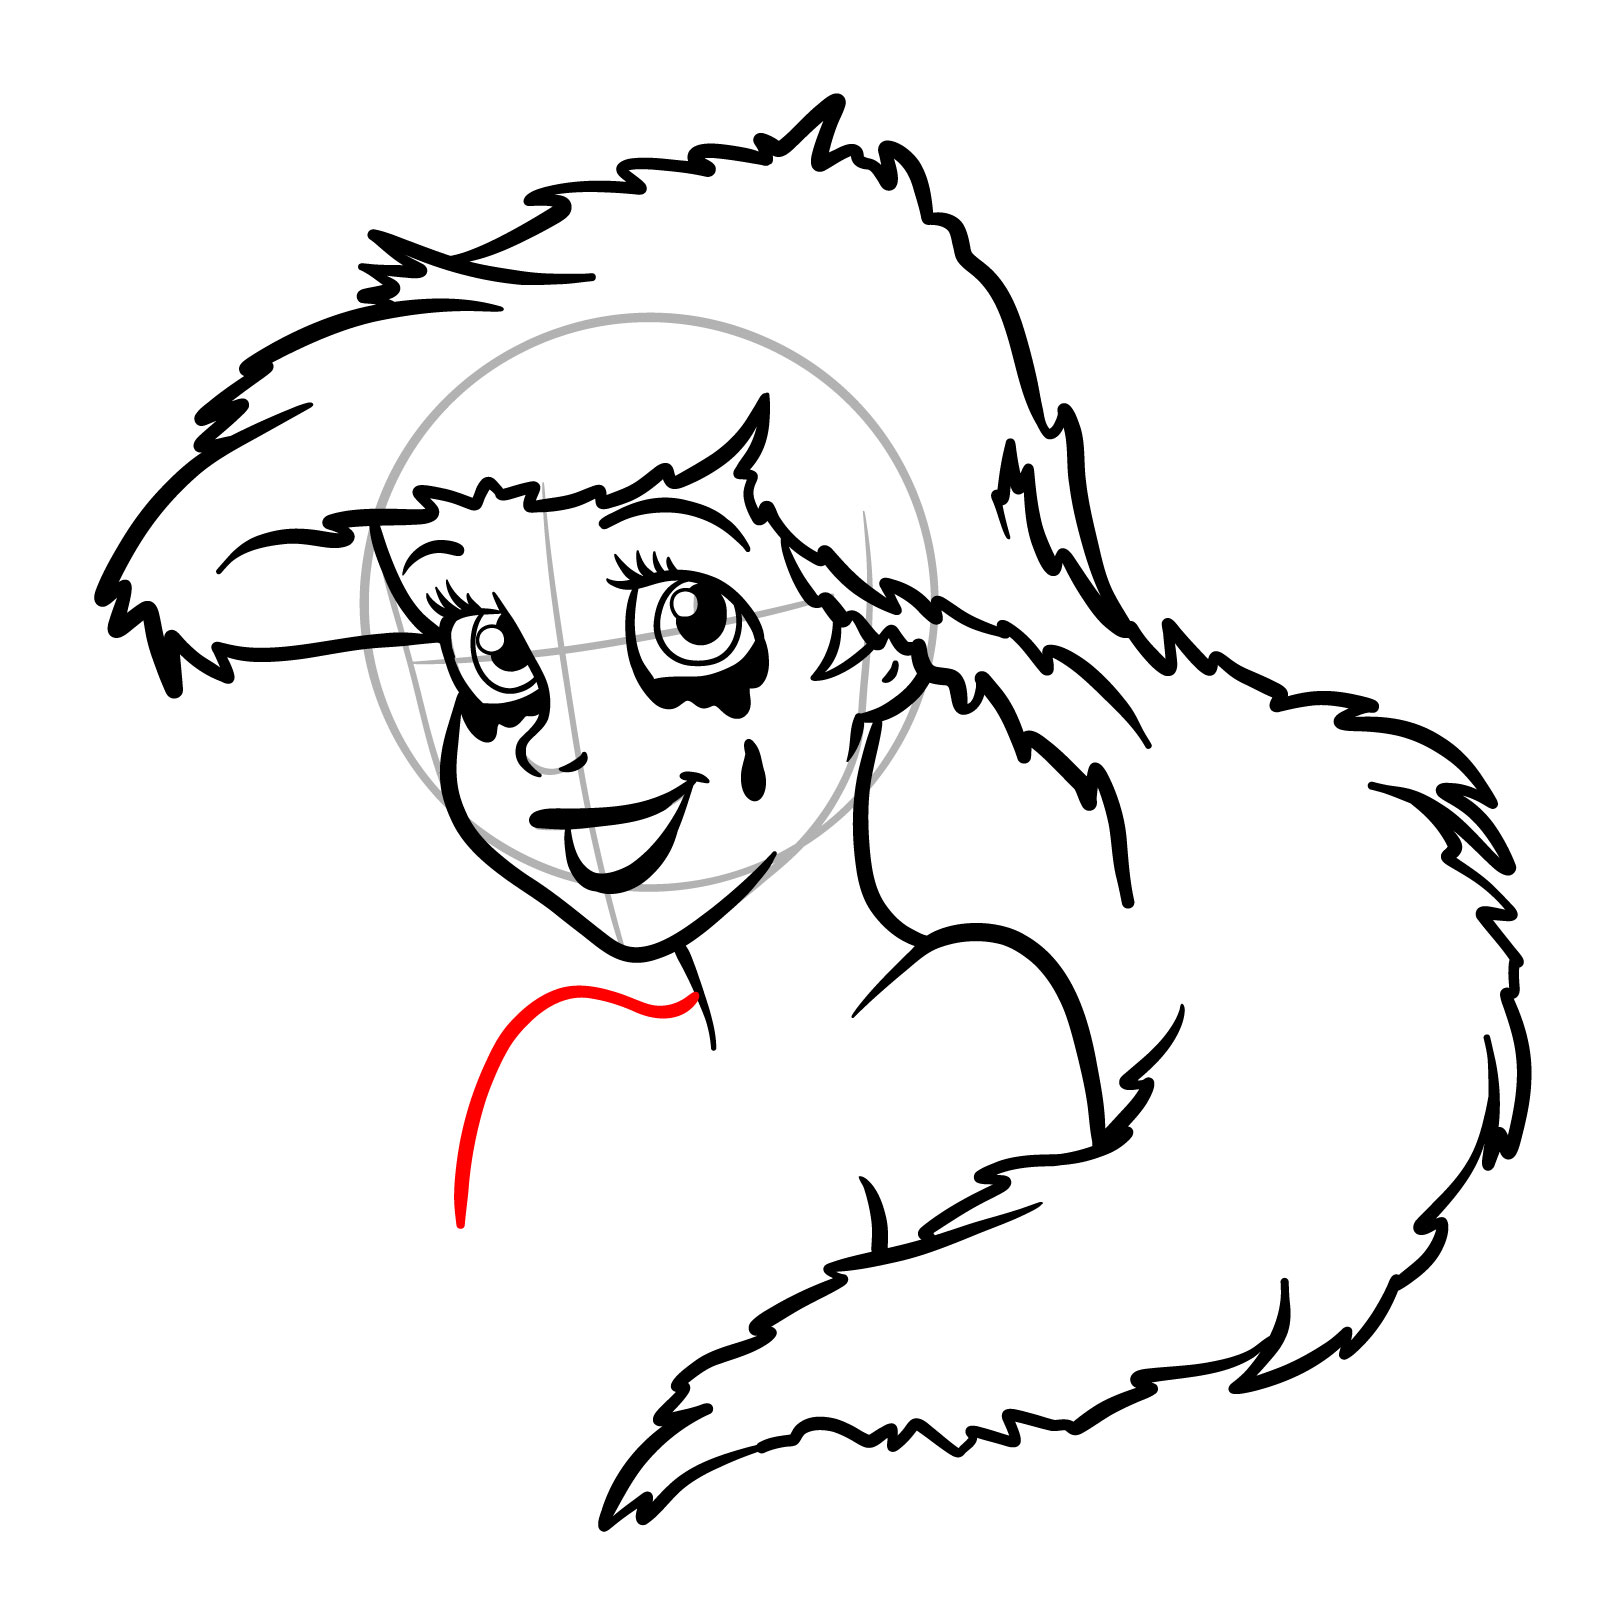
  • Red Color: Indicates the current step in your drawing journey.
  • Black Color: Highlights the lines that have been previously crafted.
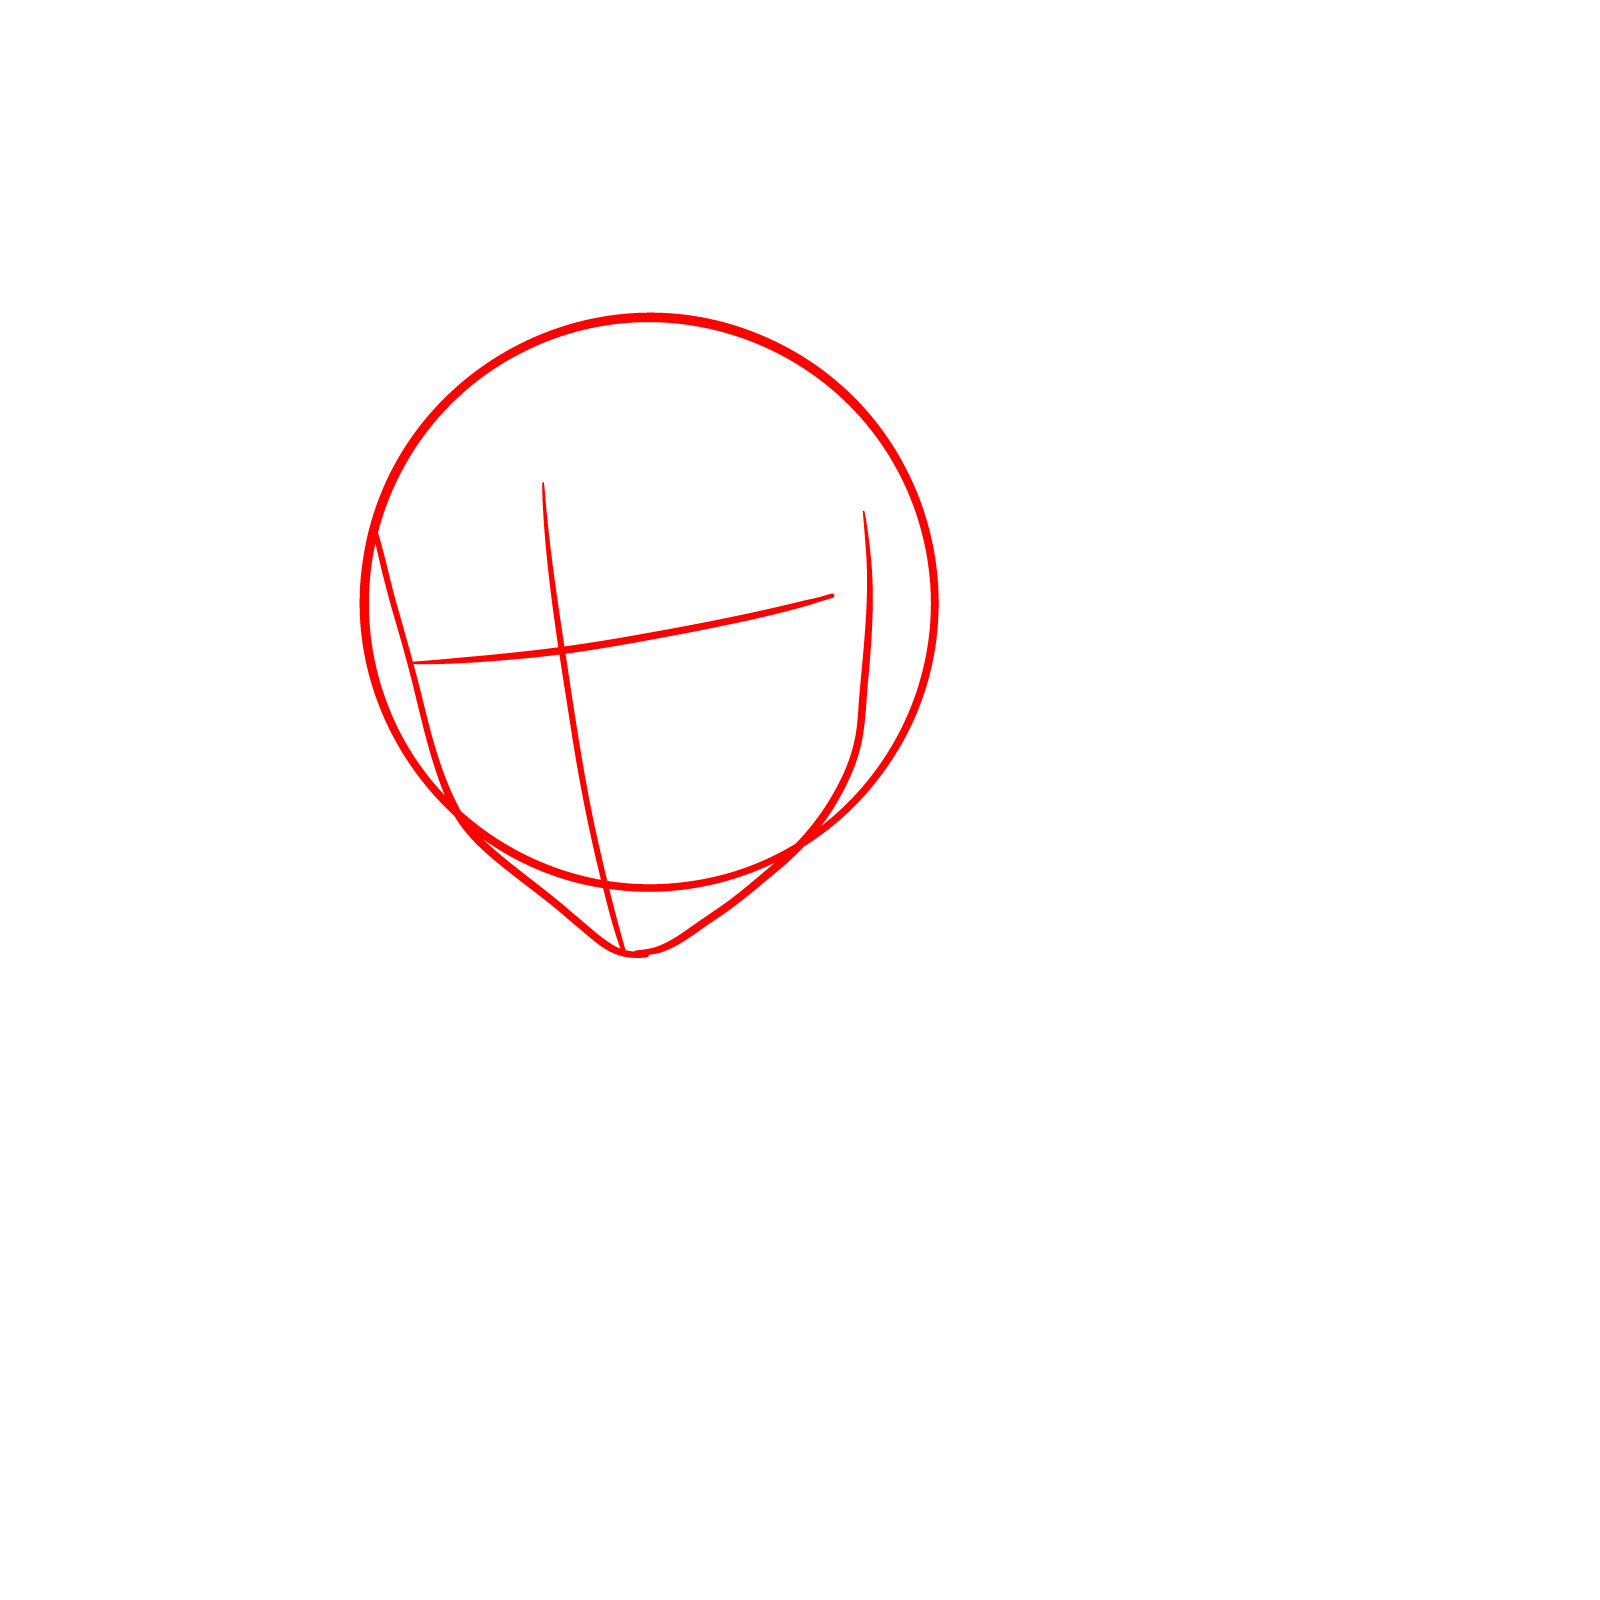
  • Grey Color: Displays the foundational sketch to ensure the proportions are perfect.

The guide is segmented into 34 steps, commencing with the essential structure of the sketch. As you conclude, you can ink your drawing. Remember, patience is crucial. Wait for the ink to dry before gently erasing the underlying pencil sketch to ensure smudge-free results.

Step 01

How to Draw Halloween Ariel - step 01Pin

Step 02

How to Draw Halloween Ariel - step 02Pin

Step 03

How to Draw Halloween Ariel - step 03Pin

Step 04

How to Draw Halloween Ariel - step 04Pin

Step 05

How to Draw Halloween Ariel - step 05Pin

Step 06

How to Draw Halloween Ariel - step 06Pin

Step 07

How to Draw Halloween Ariel - step 07Pin

Step 08

How to Draw Halloween Ariel - step 08Pin

Step 09

How to Draw Halloween Ariel - step 09Pin

Step 10

How to Draw Halloween Ariel - step 10Pin

Step 11

How to Draw Halloween Ariel - step 11Pin

Step 12

How to Draw Halloween Ariel - step 12Pin

Step 13

How to Draw Halloween Ariel - step 13Pin

Step 14

How to Draw Halloween Ariel - step 14Pin

Step 15

How to Draw Halloween Ariel - step 15Pin

Step 16

How to Draw Halloween Ariel - step 16Pin

Step 17

How to Draw Halloween Ariel - step 17Pin

Step 18

How to Draw Halloween Ariel - step 18Pin

Step 19

How to Draw Halloween Ariel - step 19Pin

Step 20

How to Draw Halloween Ariel - step 20Pin

Step 21

How to Draw Halloween Ariel - step 21Pin

Step 22

How to Draw Halloween Ariel - step 22Pin

Step 23

How to Draw Halloween Ariel - step 23Pin

Step 24

How to Draw Halloween Ariel - step 24Pin

Step 25

How to Draw Halloween Ariel - step 25Pin

Step 26

How to Draw Halloween Ariel - step 26Pin

Step 27

How to Draw Halloween Ariel - step 27Pin

Step 28

How to Draw Halloween Ariel - step 28Pin

Step 29

How to Draw Halloween Ariel - step 29Pin

Step 30

How to Draw Halloween Ariel - step 30Pin

Step 31

How to Draw Halloween Ariel - step 31Pin

Step 32

How to Draw Halloween Ariel - step 32Pin

Step 33

How to Draw Halloween Ariel - step 33Pin

Step 34

How to Draw Halloween Ariel - final stepPin

Frequently Asked Questions

What’s the ideal technique for drawing Ariel’s smokey eyes?

For the smokey eyes effect, start with a lighter shade as the base and gradually add layers of darker shades. Blend smoothly using a blending stump or your fingertip to achieve the desired smokiness. The black tear drop can be added as a final touch, making sure it stands out against the smokey backdrop.

How can I capture the messiness and spikiness of Ariel’s hair?

Begin with loose wavy lines to map out the hair’s flow. For the spiky effect, incorporate sharper, jagged lines. Ensure the lines are dynamic and varied to create a realistic messy look. Remember to maintain Ariel’s recognizable hair silhouette as a base.

Any tips for detailing the skull and fangs on Ariel’s necklace?

Start with basic shapes. For the skull, begin with a circle and add facial details. For the fangs, elongated triangles work well. Refine and add details gradually. Shadows and highlights can be added for depth and realism.

Wrapping It Up

Thank you for joining me in this artistic journey to bring Halloween Ariel to life. Sharing this guide with fellow art enthusiasts is the best way to spread the Halloween spirit and love for the Little Mermaid. If you wish to support my work further and even suggest themes for future tutorials, consider making a small gesture at Buy me a coffee. Every donation message there could shape our next guide!

Stay connected and inspired by following SketchOk on Facebook, Instagram, and Pinterest. Your support means the world to me, and together, we’ll continue exploring the magical realms of art.

Did you like the tutorial?

You can support the author of this website and also suggest your own ideas for new drawings by making a small donation here:

Leave a Comment