Last Updated on May 14, 2026
Frosty the Snowman, the loveable, animated character from the popular 1969 Christmas television special, has captivated the hearts of children and adults alike for over five decades. Our step-by-step guide will teach you how to bring this jolly figure to life on your sketchpad.
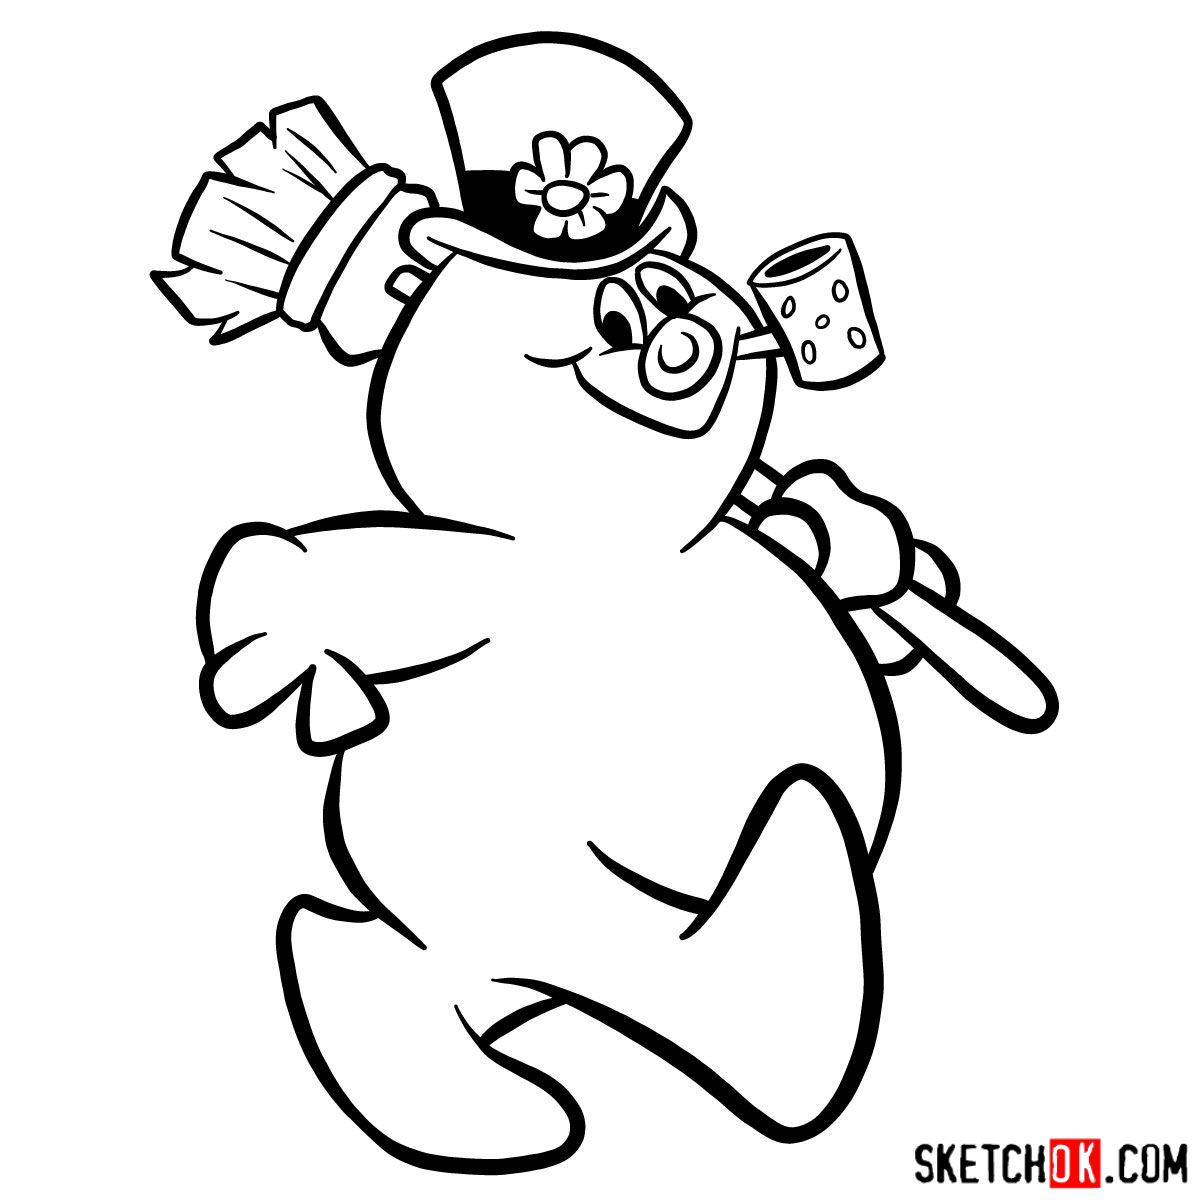
Sketching Frosty: Key Characteristics and Features
This can be your perfect Christmas drawing, but first let’s get familiar with the main focus points when sketching:
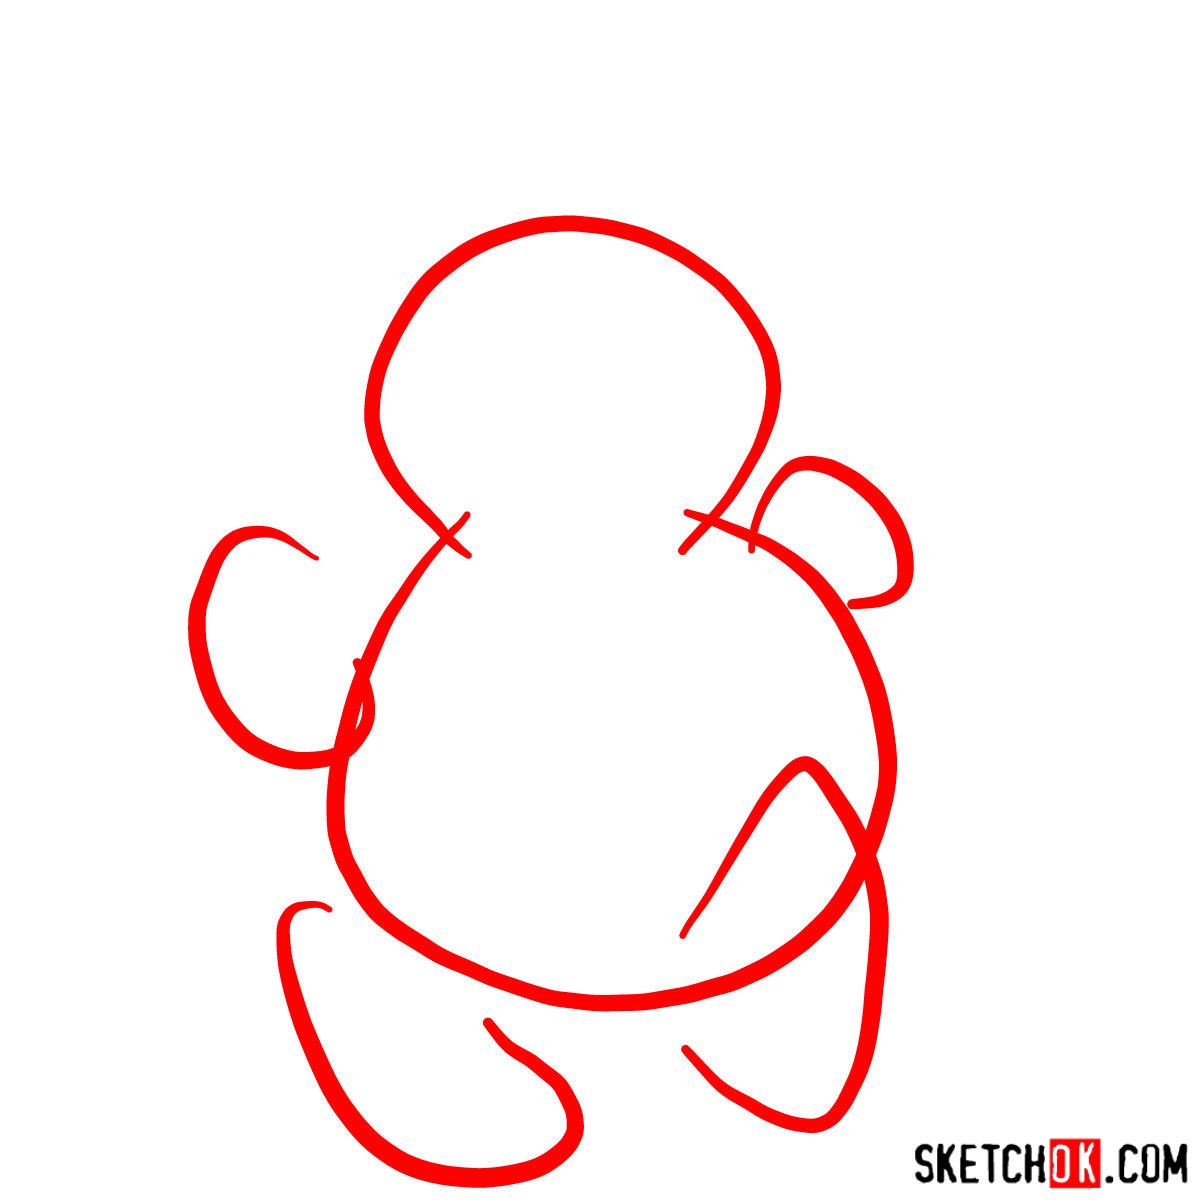
- Frosty’s Body: Frosty is, as his name suggests, a snowman, which means his body is comprised of large, rounded sections stacked on top of each other. Remember, they should have a softer and more rounded look.
- Magical Hat: The infamous magician’s hat that brought Frosty to life is an essential part of his character. It’s a tall, slightly worn-out top hat with a broad rim and a flower on the side.
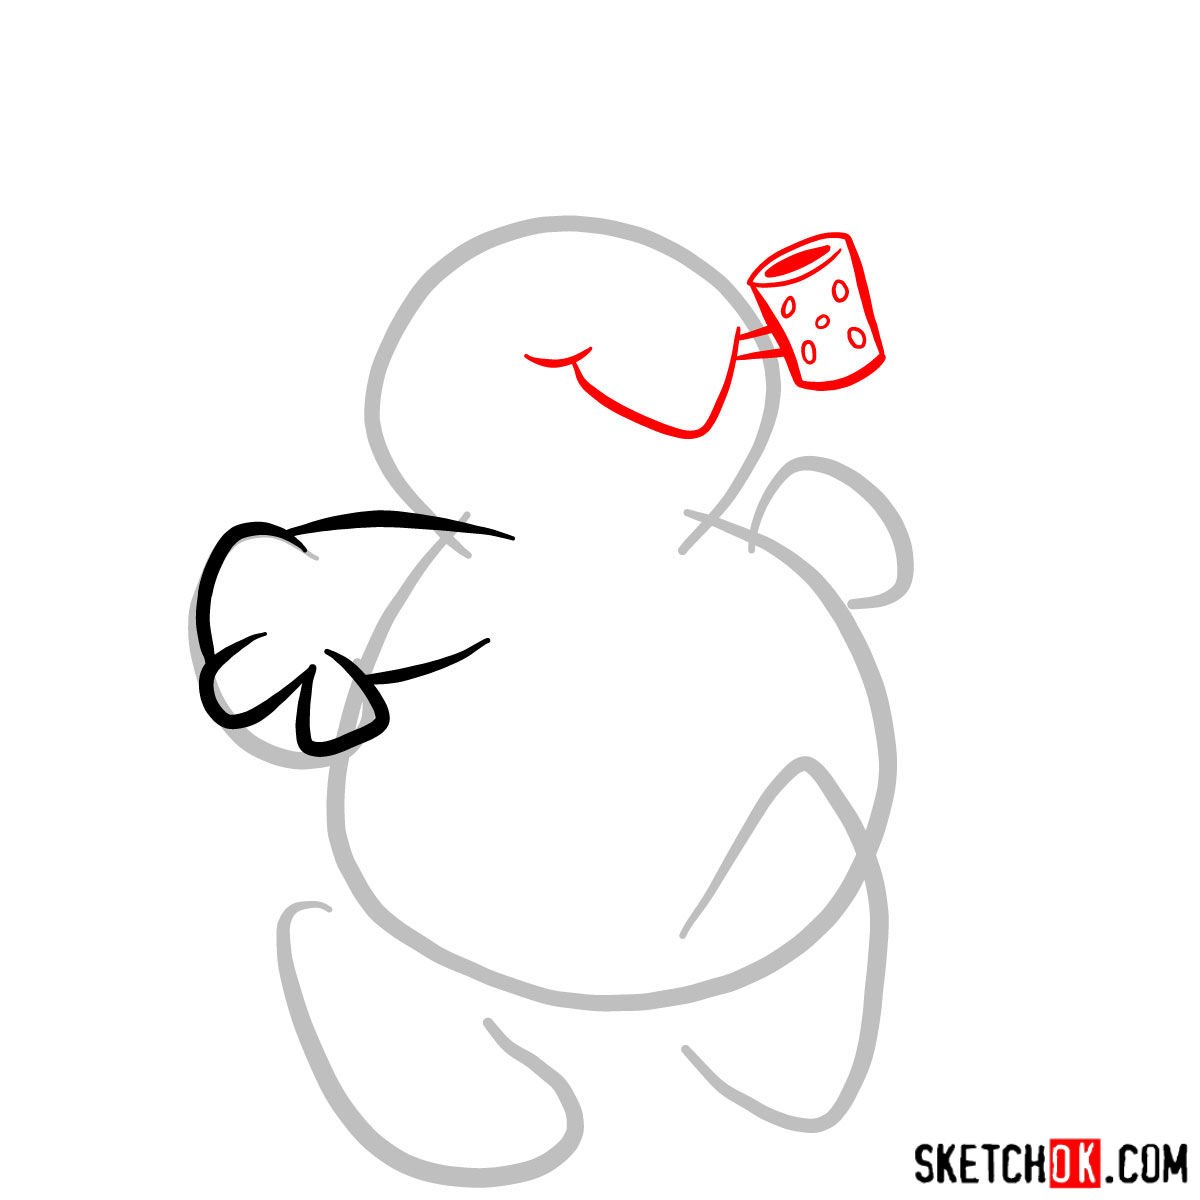
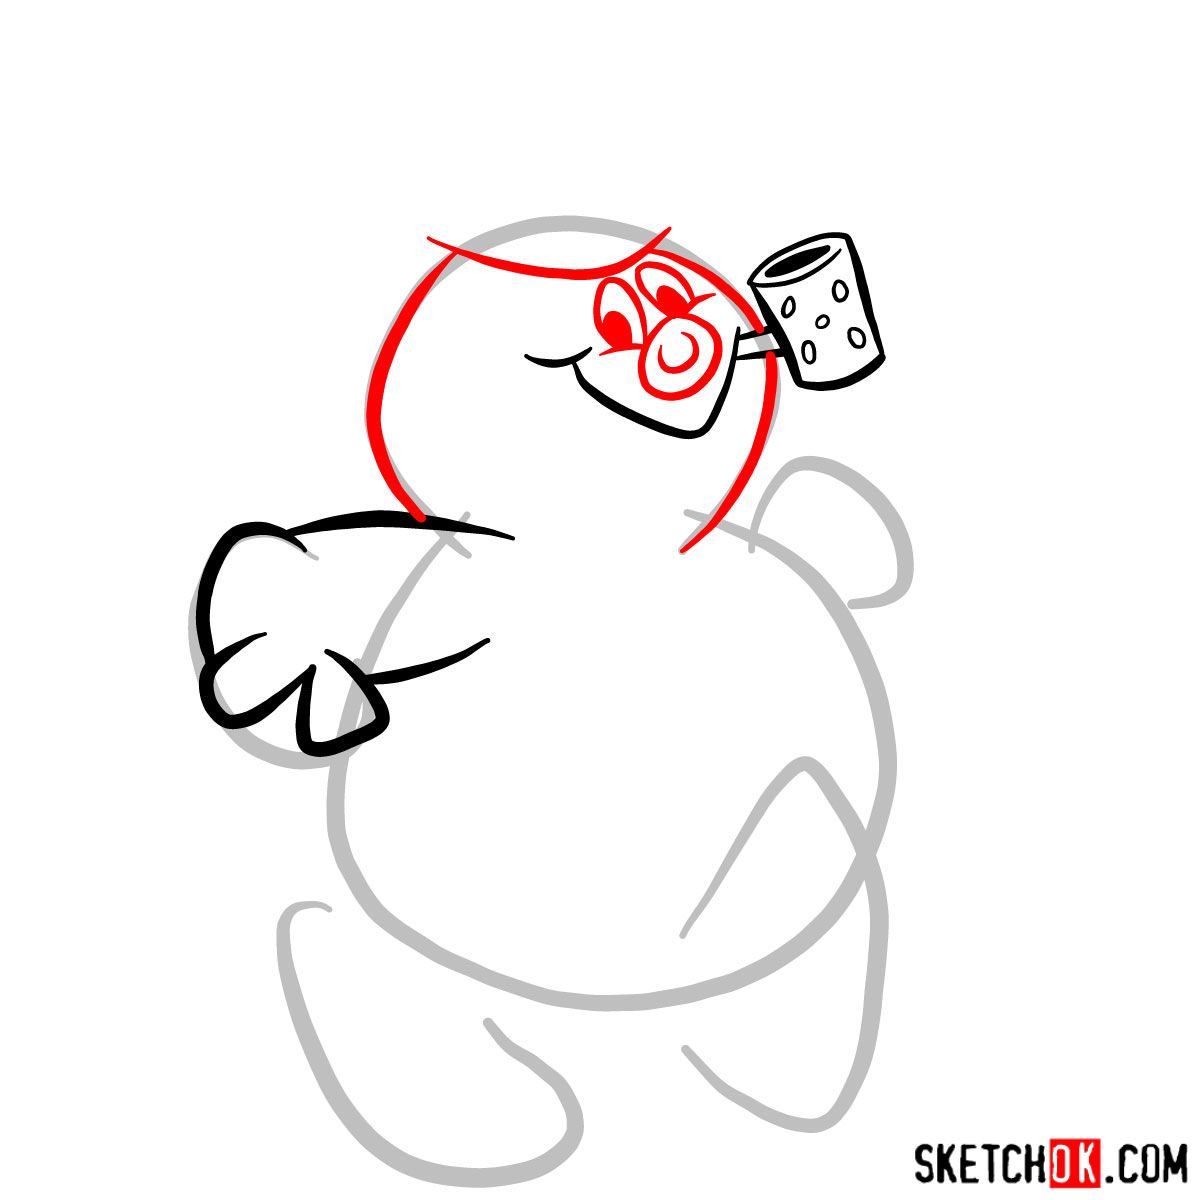
- Smiling Face: Frosty is always seen with a big, cheerful smile on his face, a button nose, and eyes made out of coal. These features make him an instantly recognizable character.
Similar characters you might consider adding to your drawing for a more complete holiday scene might include other beloved characters like Santa SpongeBob, the Grinch, Elf Bart Simpson, Chilly from Doc McStuffins or even Olaf, the cheerful snowman from Frozen.
About the SketchOk Drawing Guide
Our guide utilizes a simple and effective color-coding system to guide you through each step:
- Red Color: Represents the current step you should be focusing on.
- Black Color: Showcases the lines you have previously drawn.
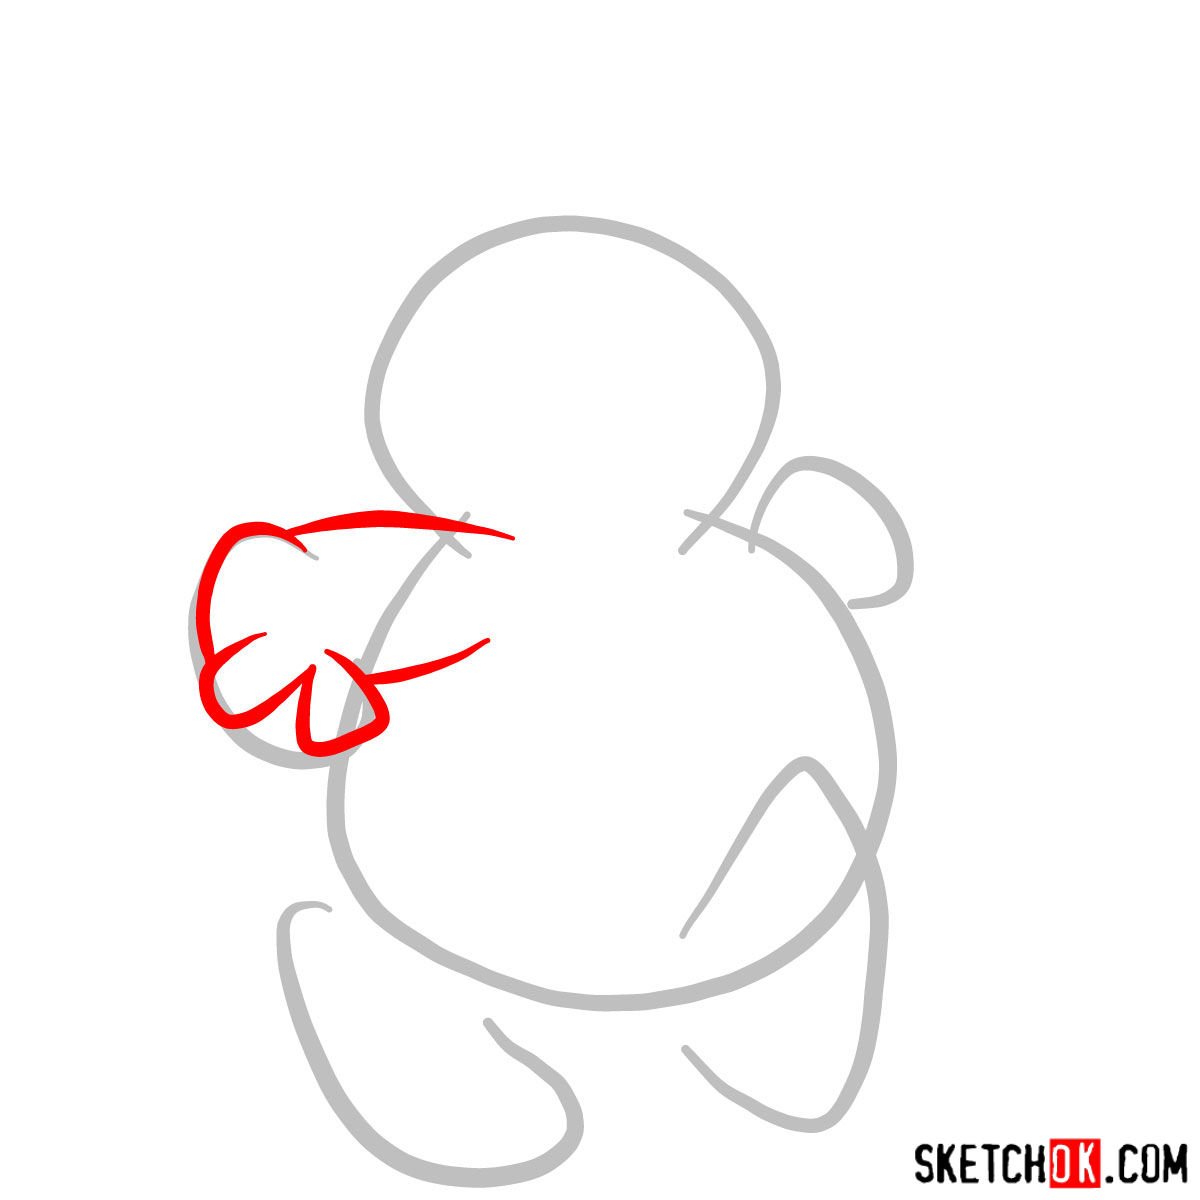
- Grey Color: Displays the basic proportions sketch, the skeleton of your drawing.
Our guide consists of 11 steps, starting with a basic sketch that helps maintain proportions. You’ll begin with light pencil strokes for the base structure, progressively adding details to your drawing.


Now that you’ve worked through how to draw Frosty the Snowman, was he easier or harder than you expected? Those little details like his corncob pipe and button eyes can trip people up, so let me know how it went for you in the comments on the pinned Pinterest post, where other readers share their versions too.