Home » Cartoon Characters » TMNT » How to draw Raph in Hamato Ninpō state

How to draw Raph in Hamato Ninpō state

For countless fans, the legend of the Teenage Mutant Ninja Turtles (TMNT) remains etched in their hearts. Among them, Raph stands out with his formidable spirit, strength, and incredible transformation into the Hamato Ninpō state. In this guide, we’ll navigate through the process of how to draw Raph in this awe-inspiring form.

Character’s Appearance and Key Focus Points:

When sketching Raph in Hamato Ninpō state, it’s essential to consider:

  • His bold and determined expression, showcasing his leadership qualities.
  • The signature bandages, symbolizing his combat-heavy lifestyle and frequent skirmishes.
  • The mystic might of the Hamato Clan that Raph emanates in this form.
  • The ability to generate weapons, especially his sai, from random objects.
  • And of course, the signature red bandana. Also, why not add characters like Leonardo, Donatello, or Michelangelo to depict a powerful Hamato Clan reunion?

About the Guide:

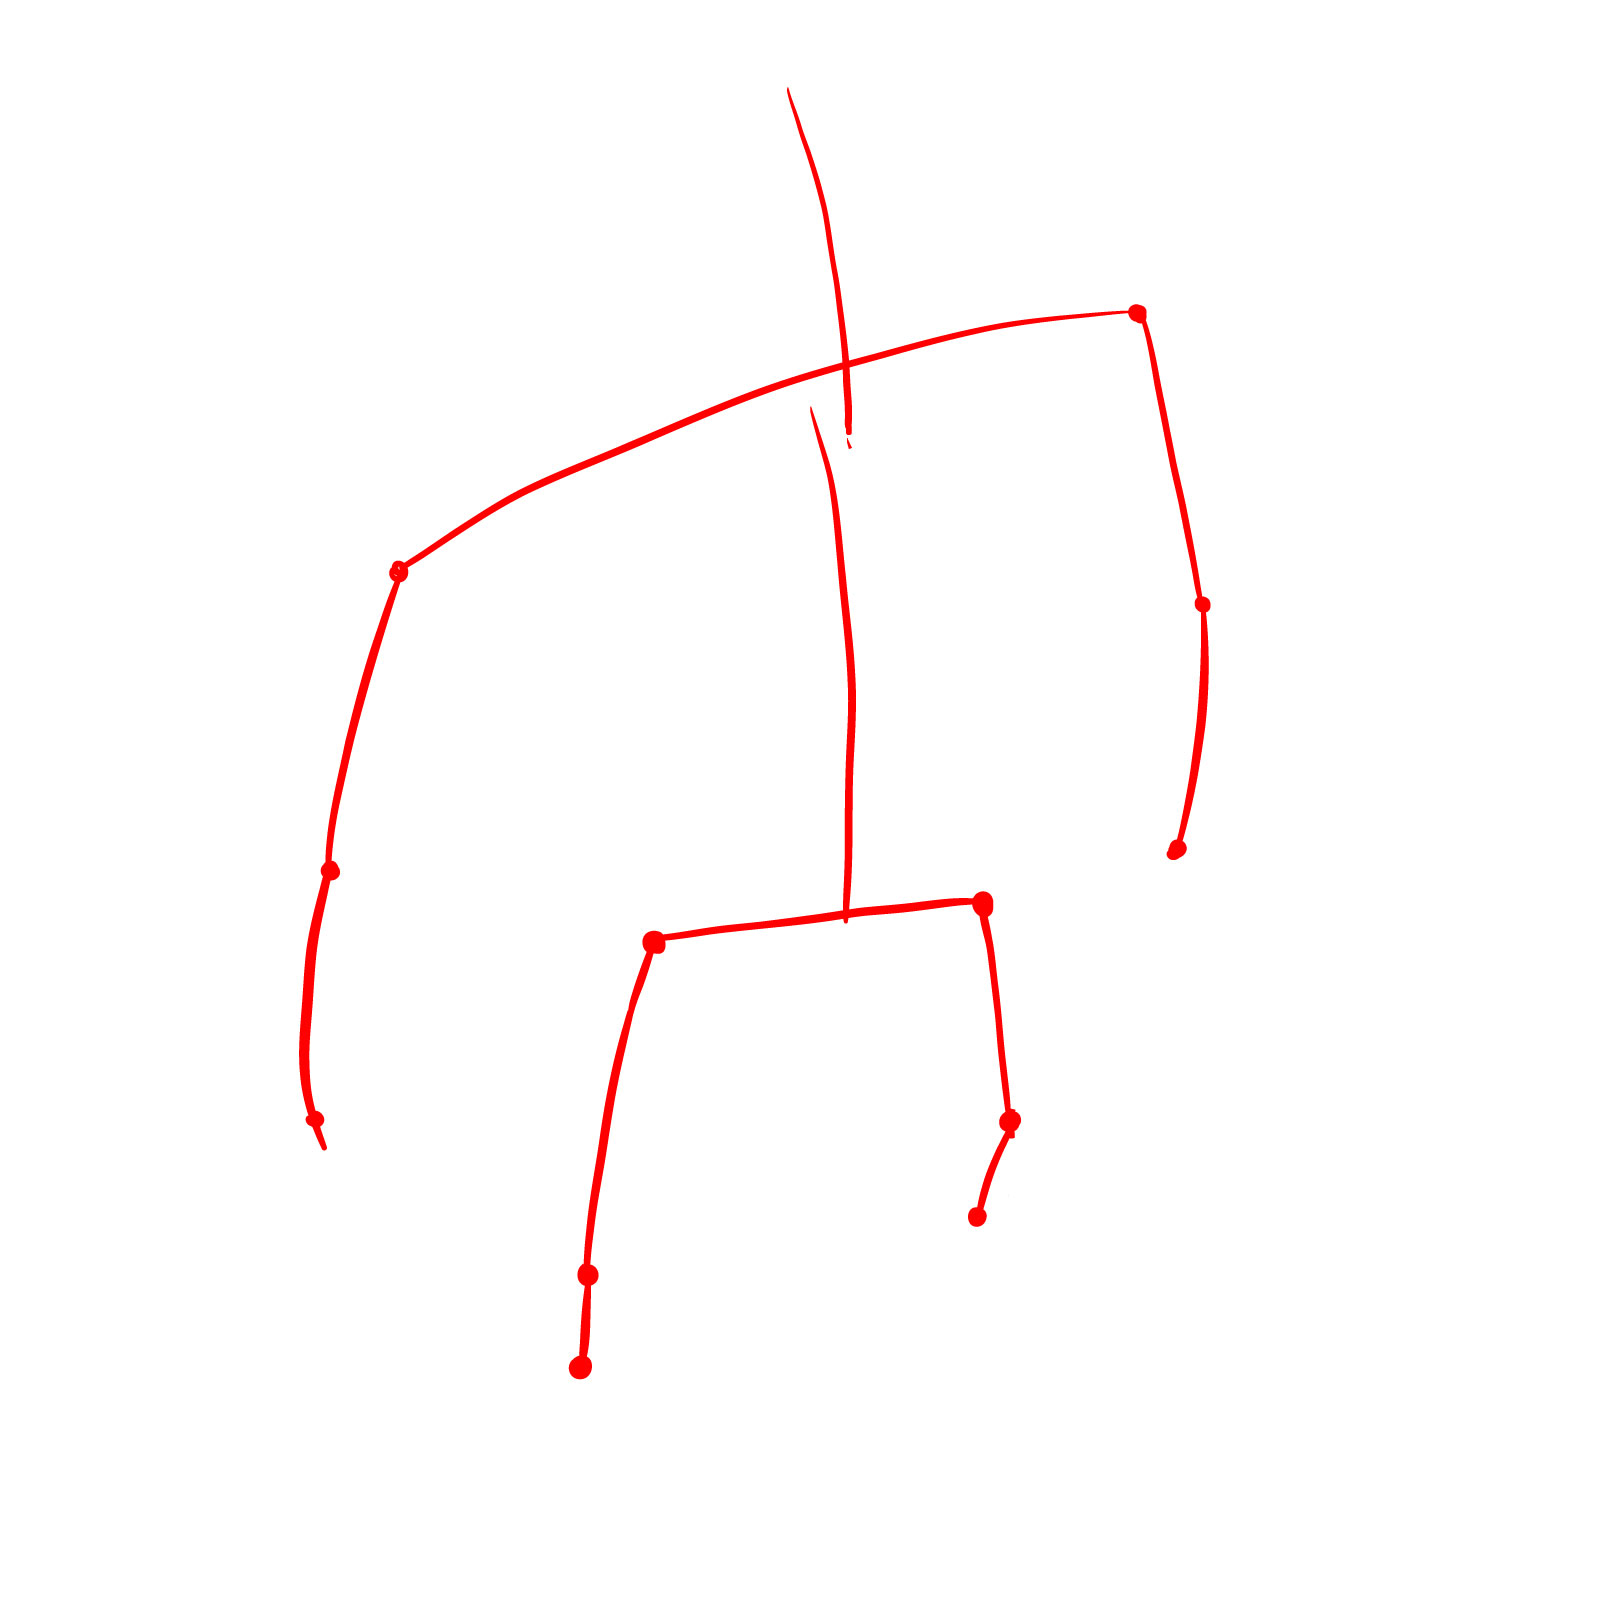
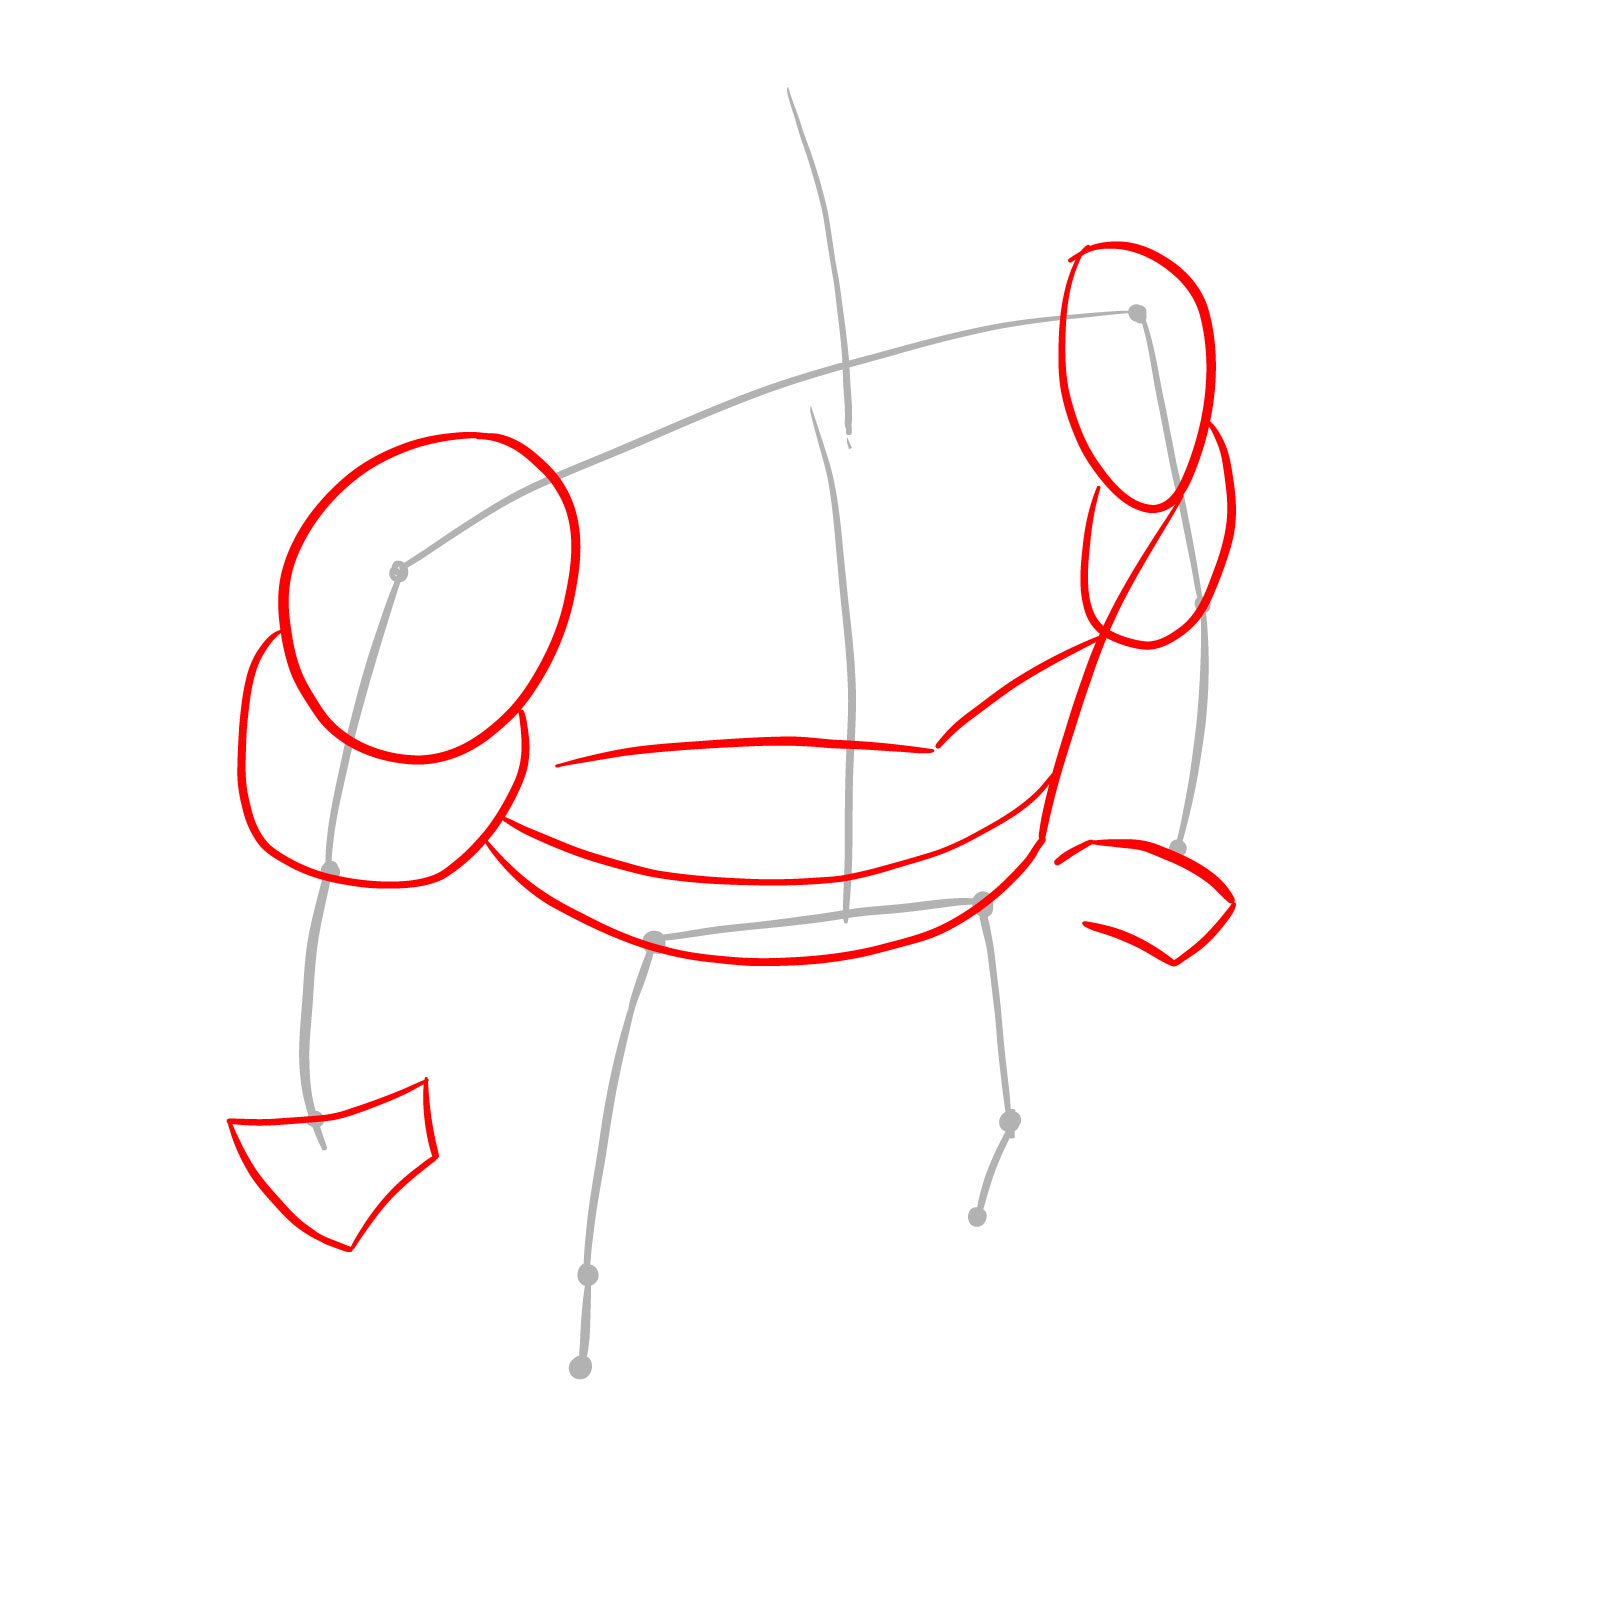
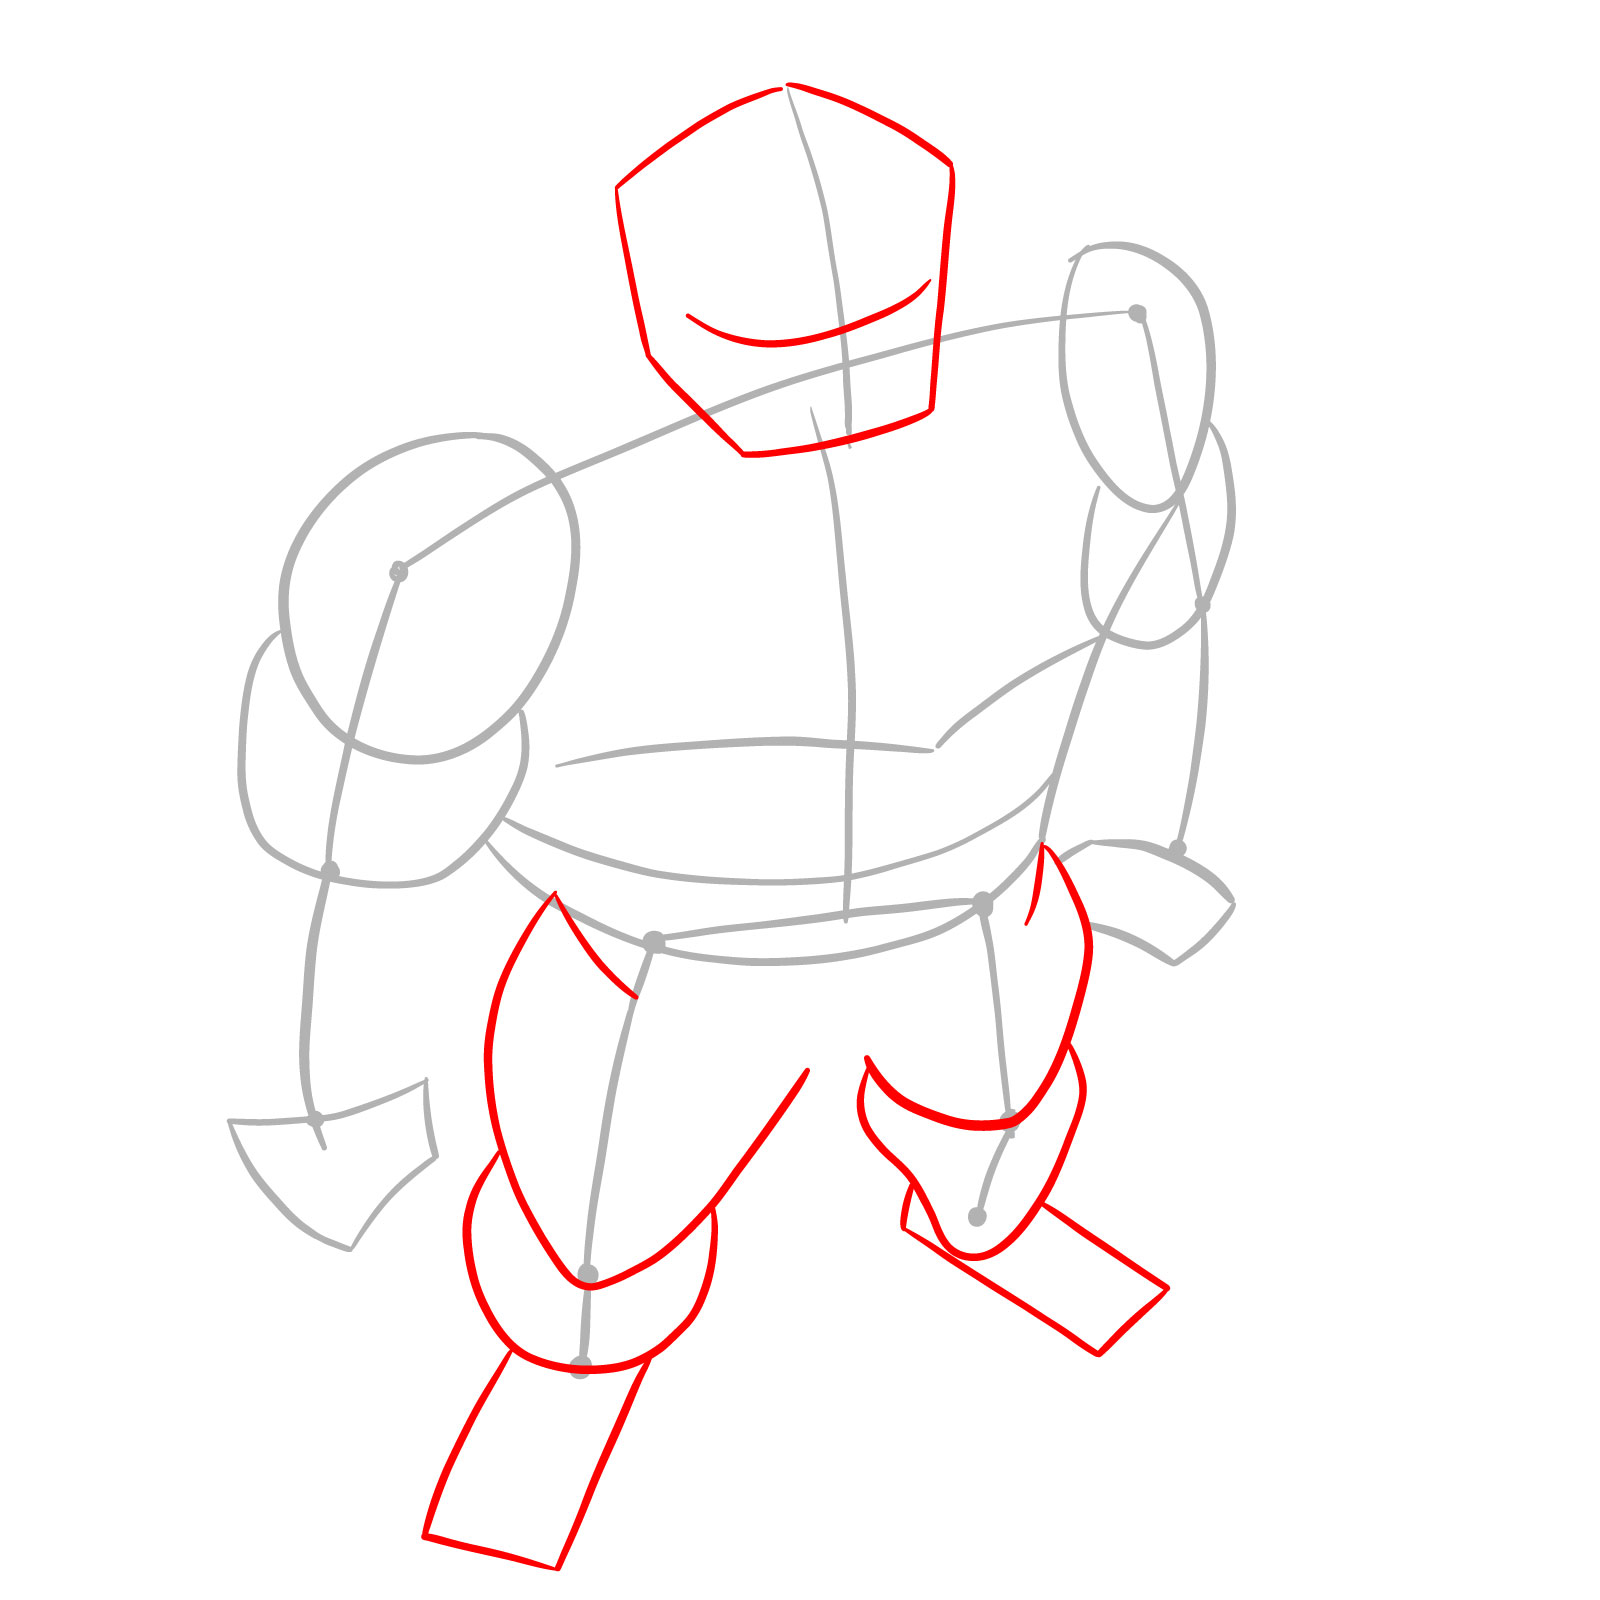
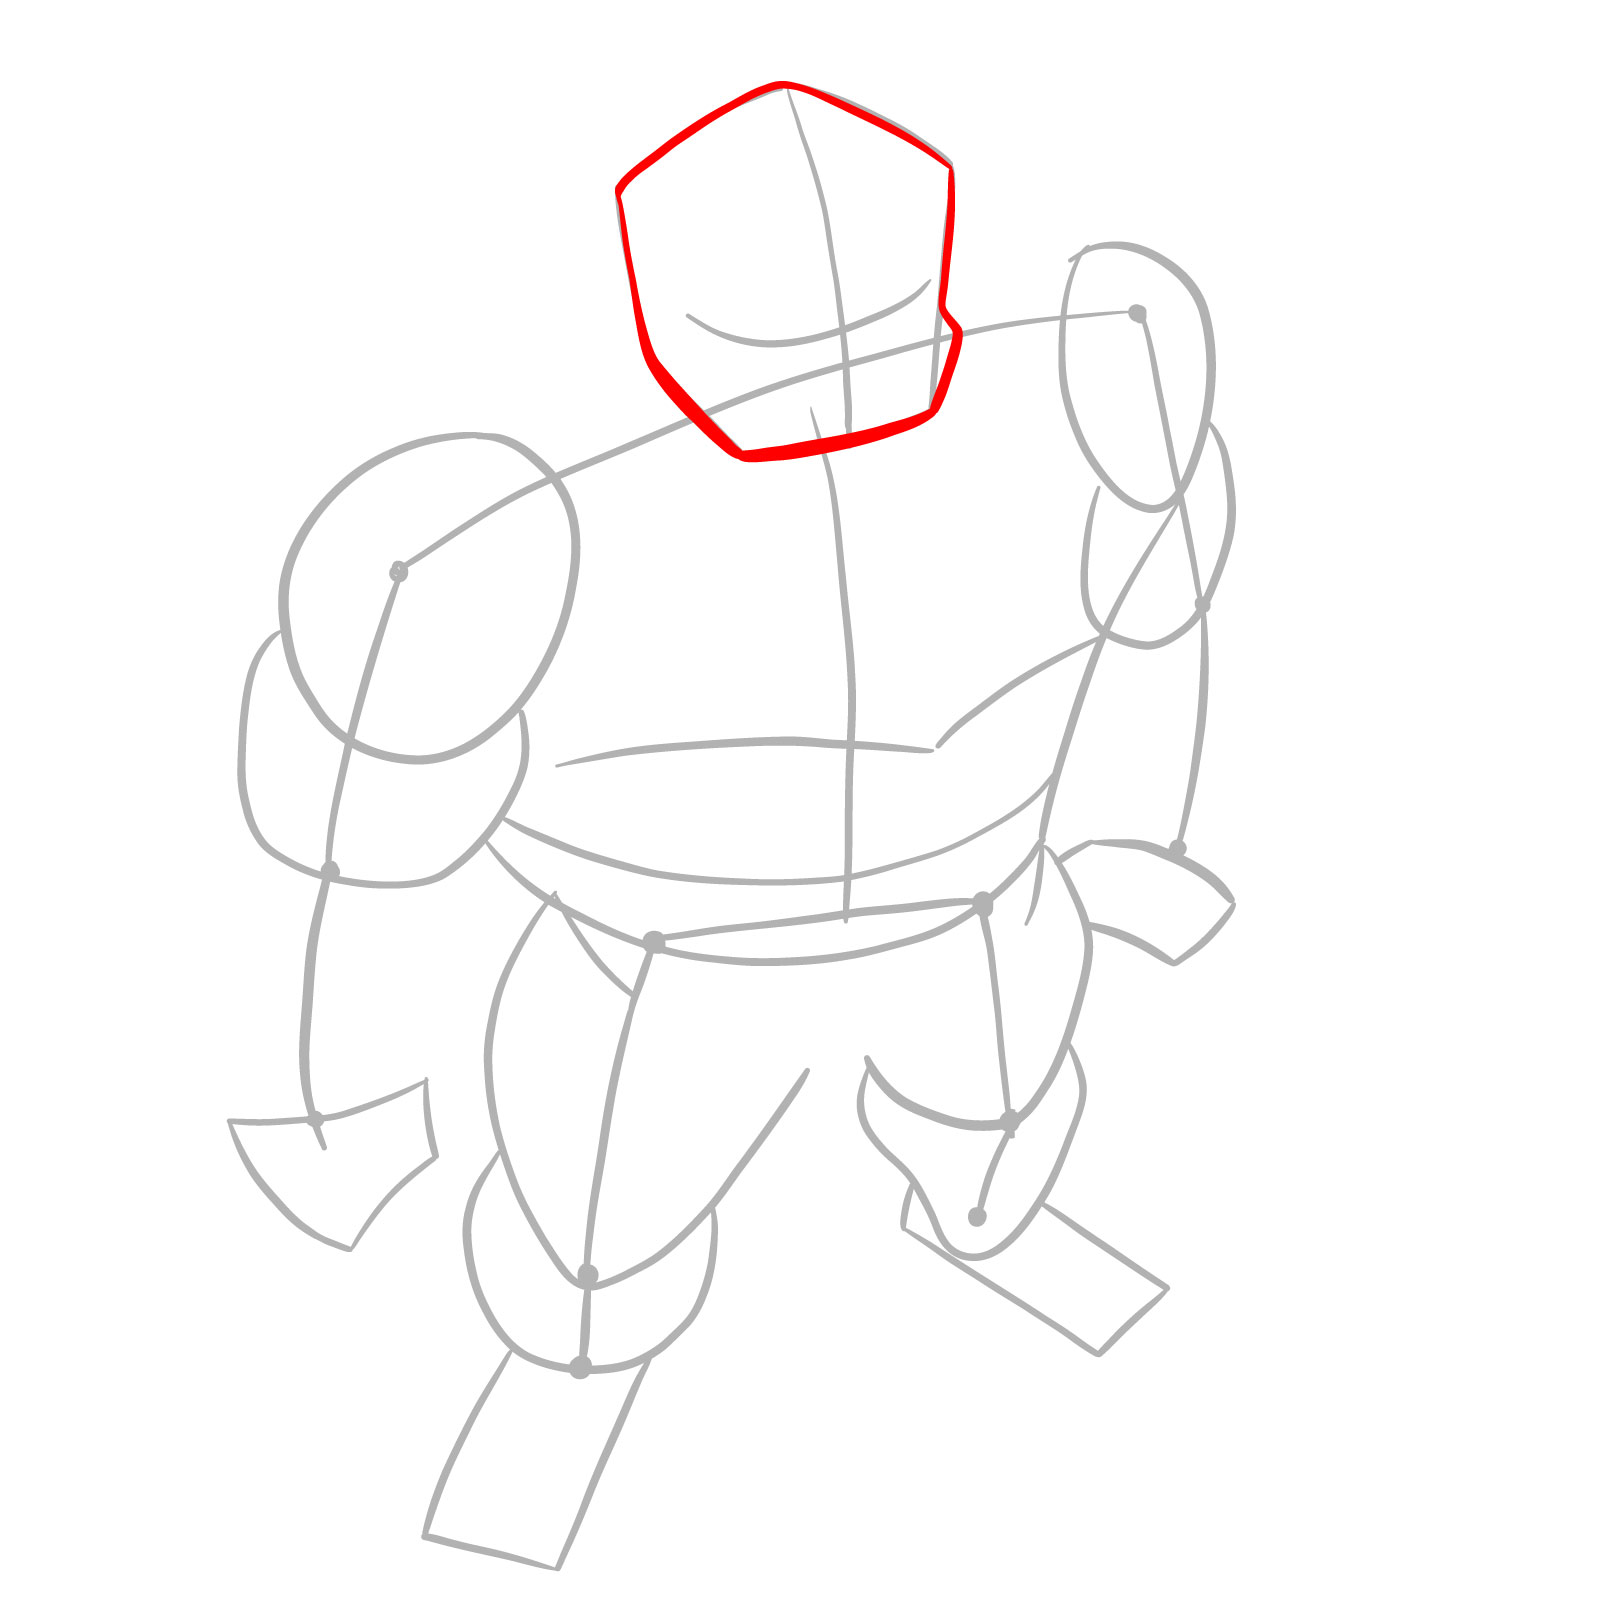
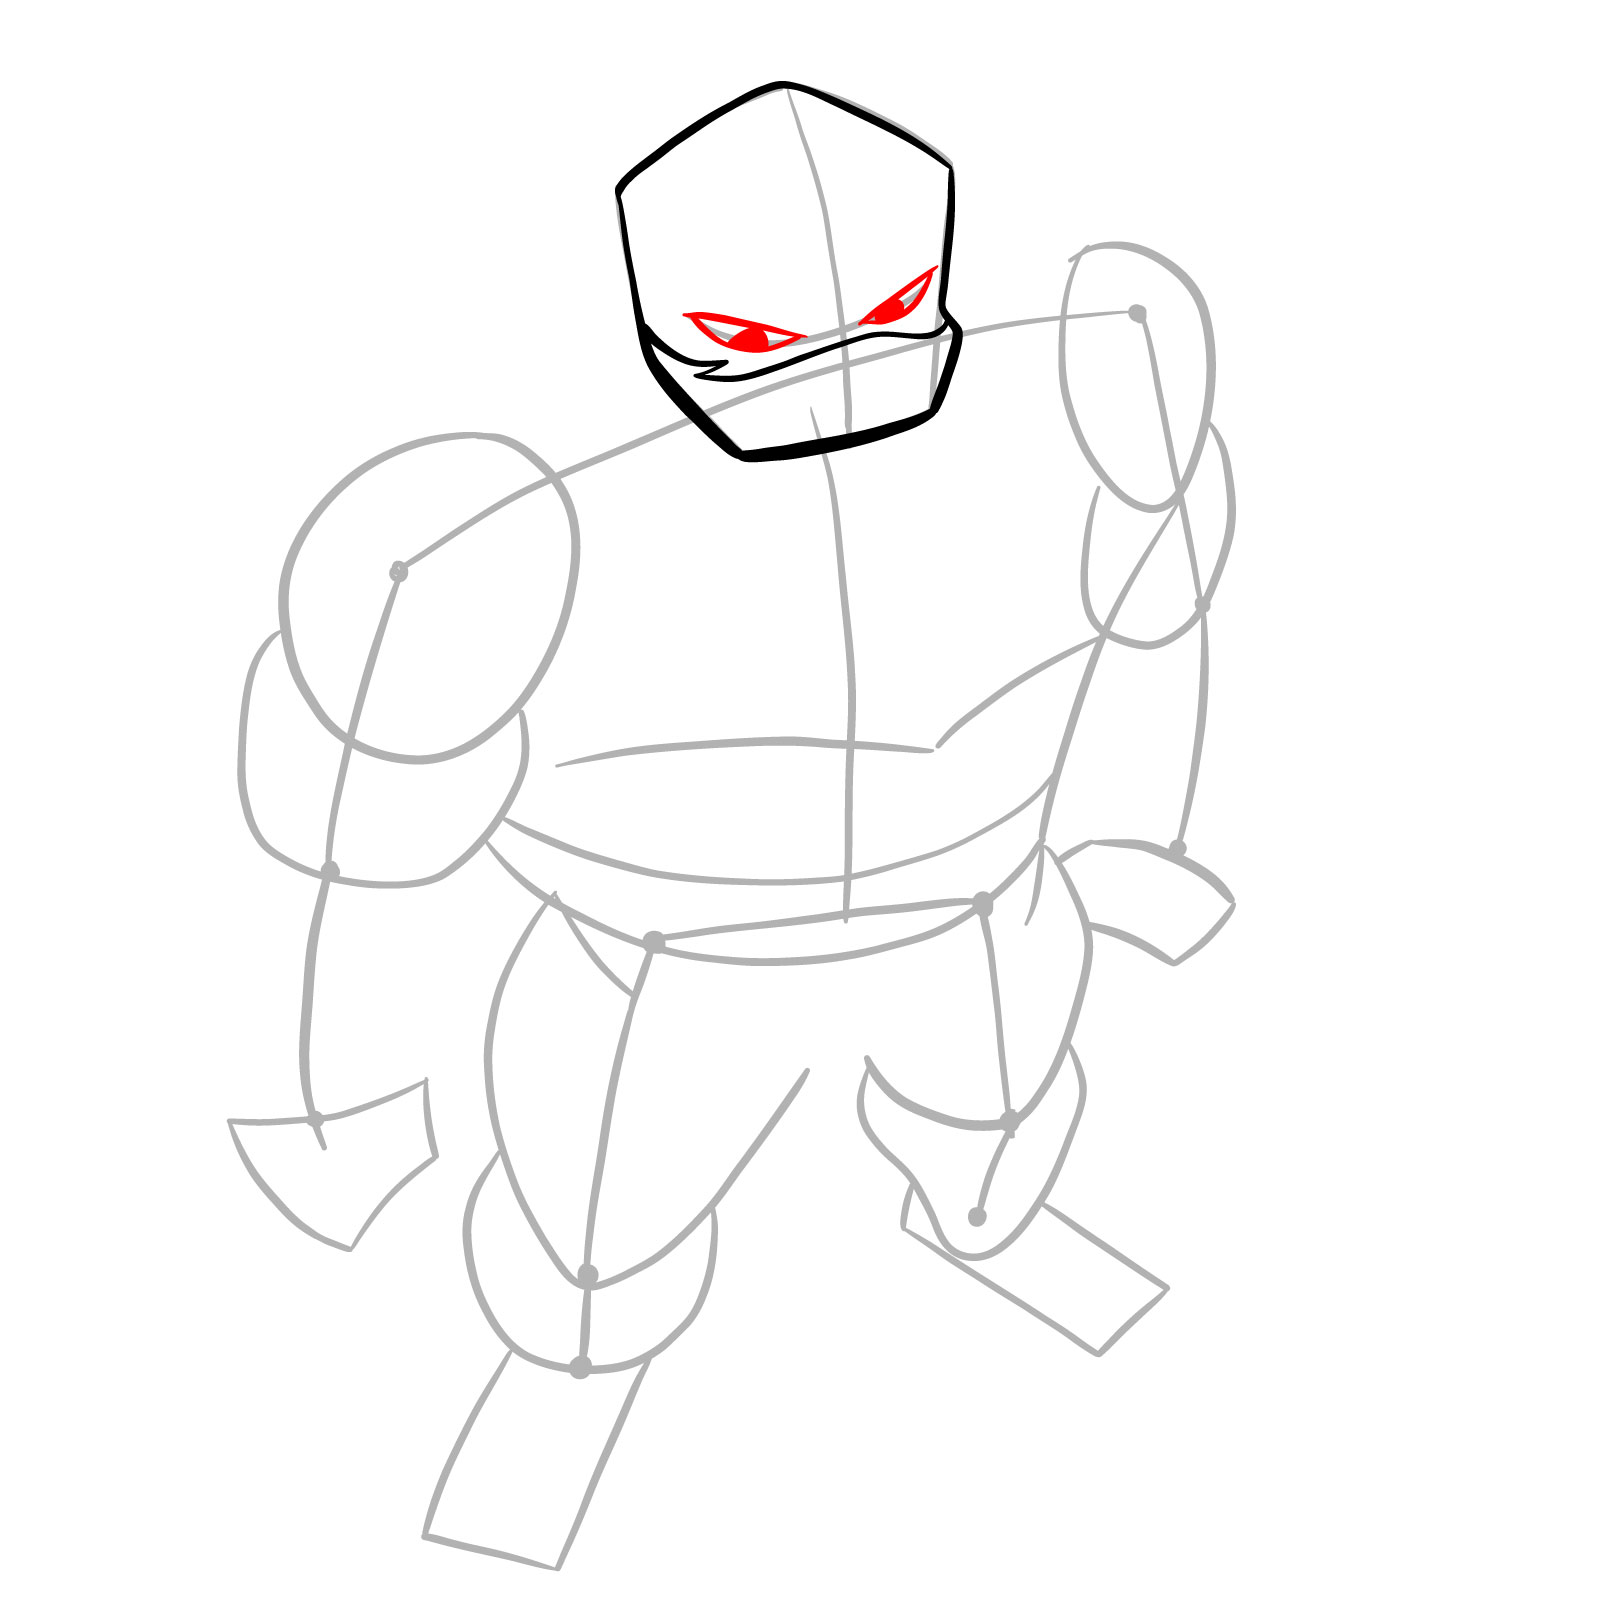
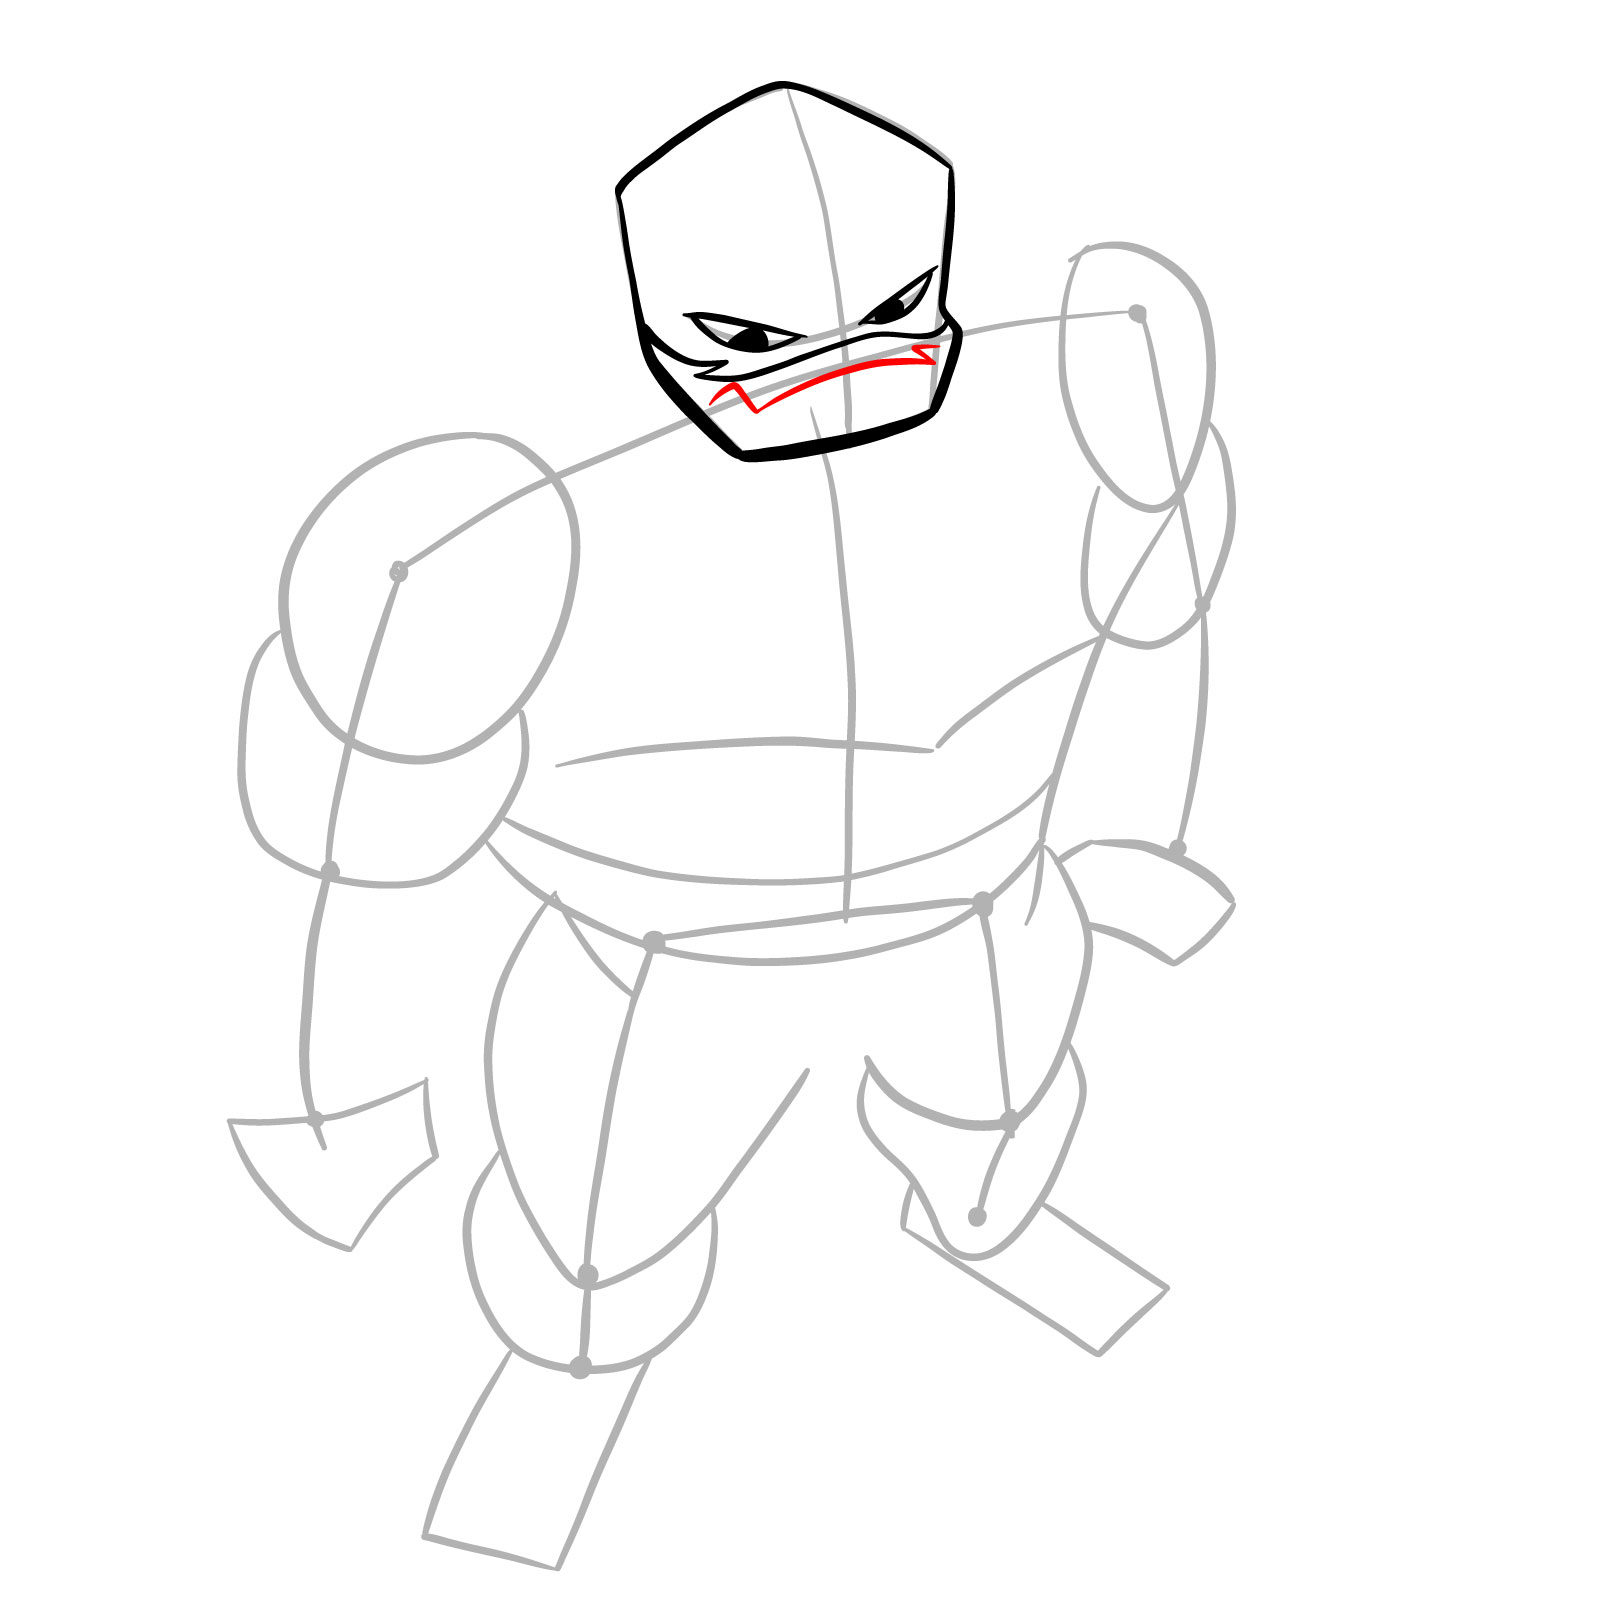
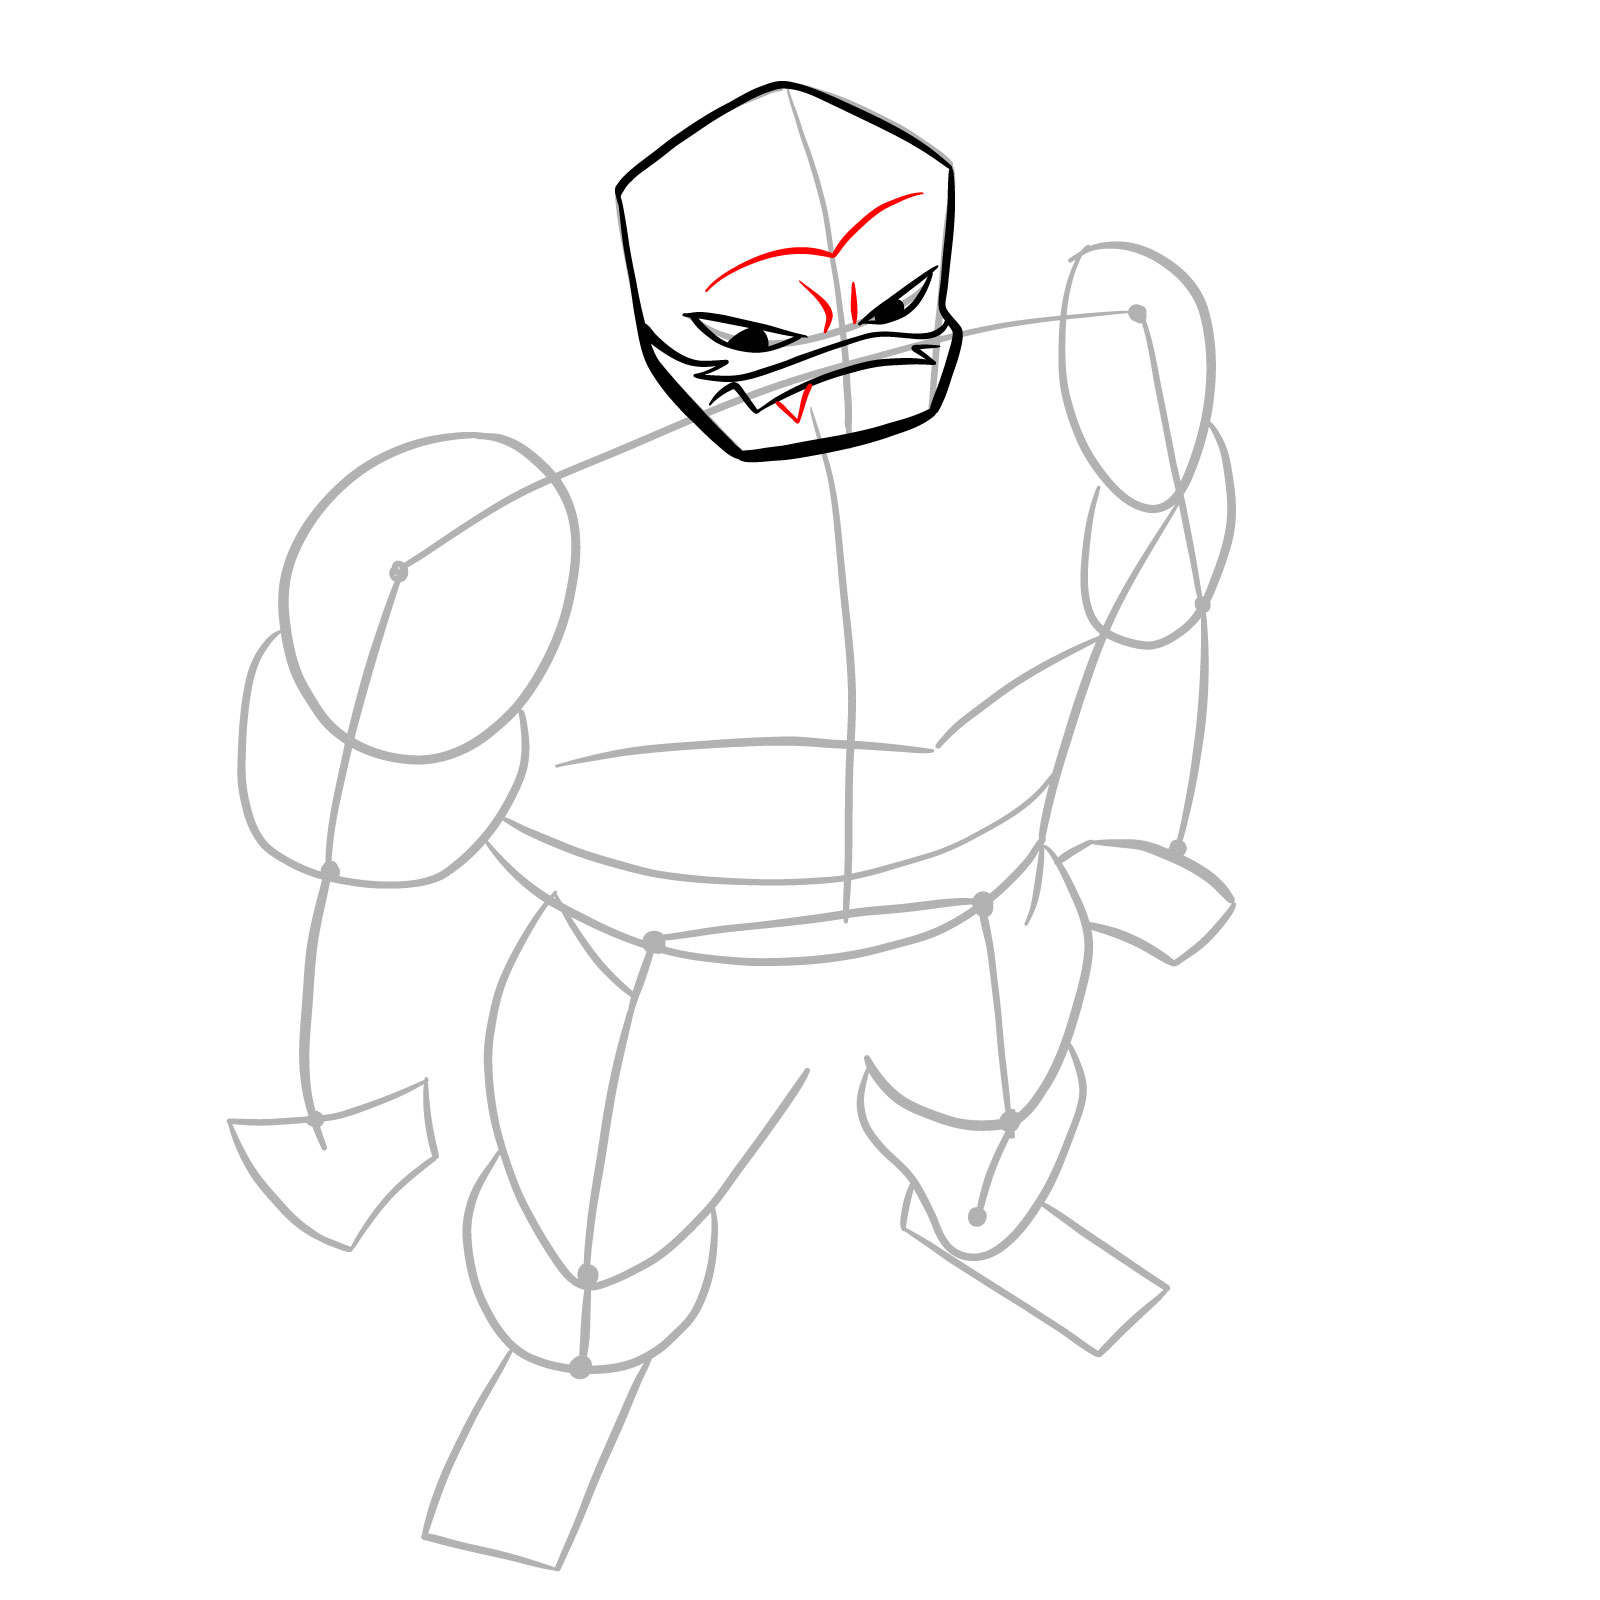
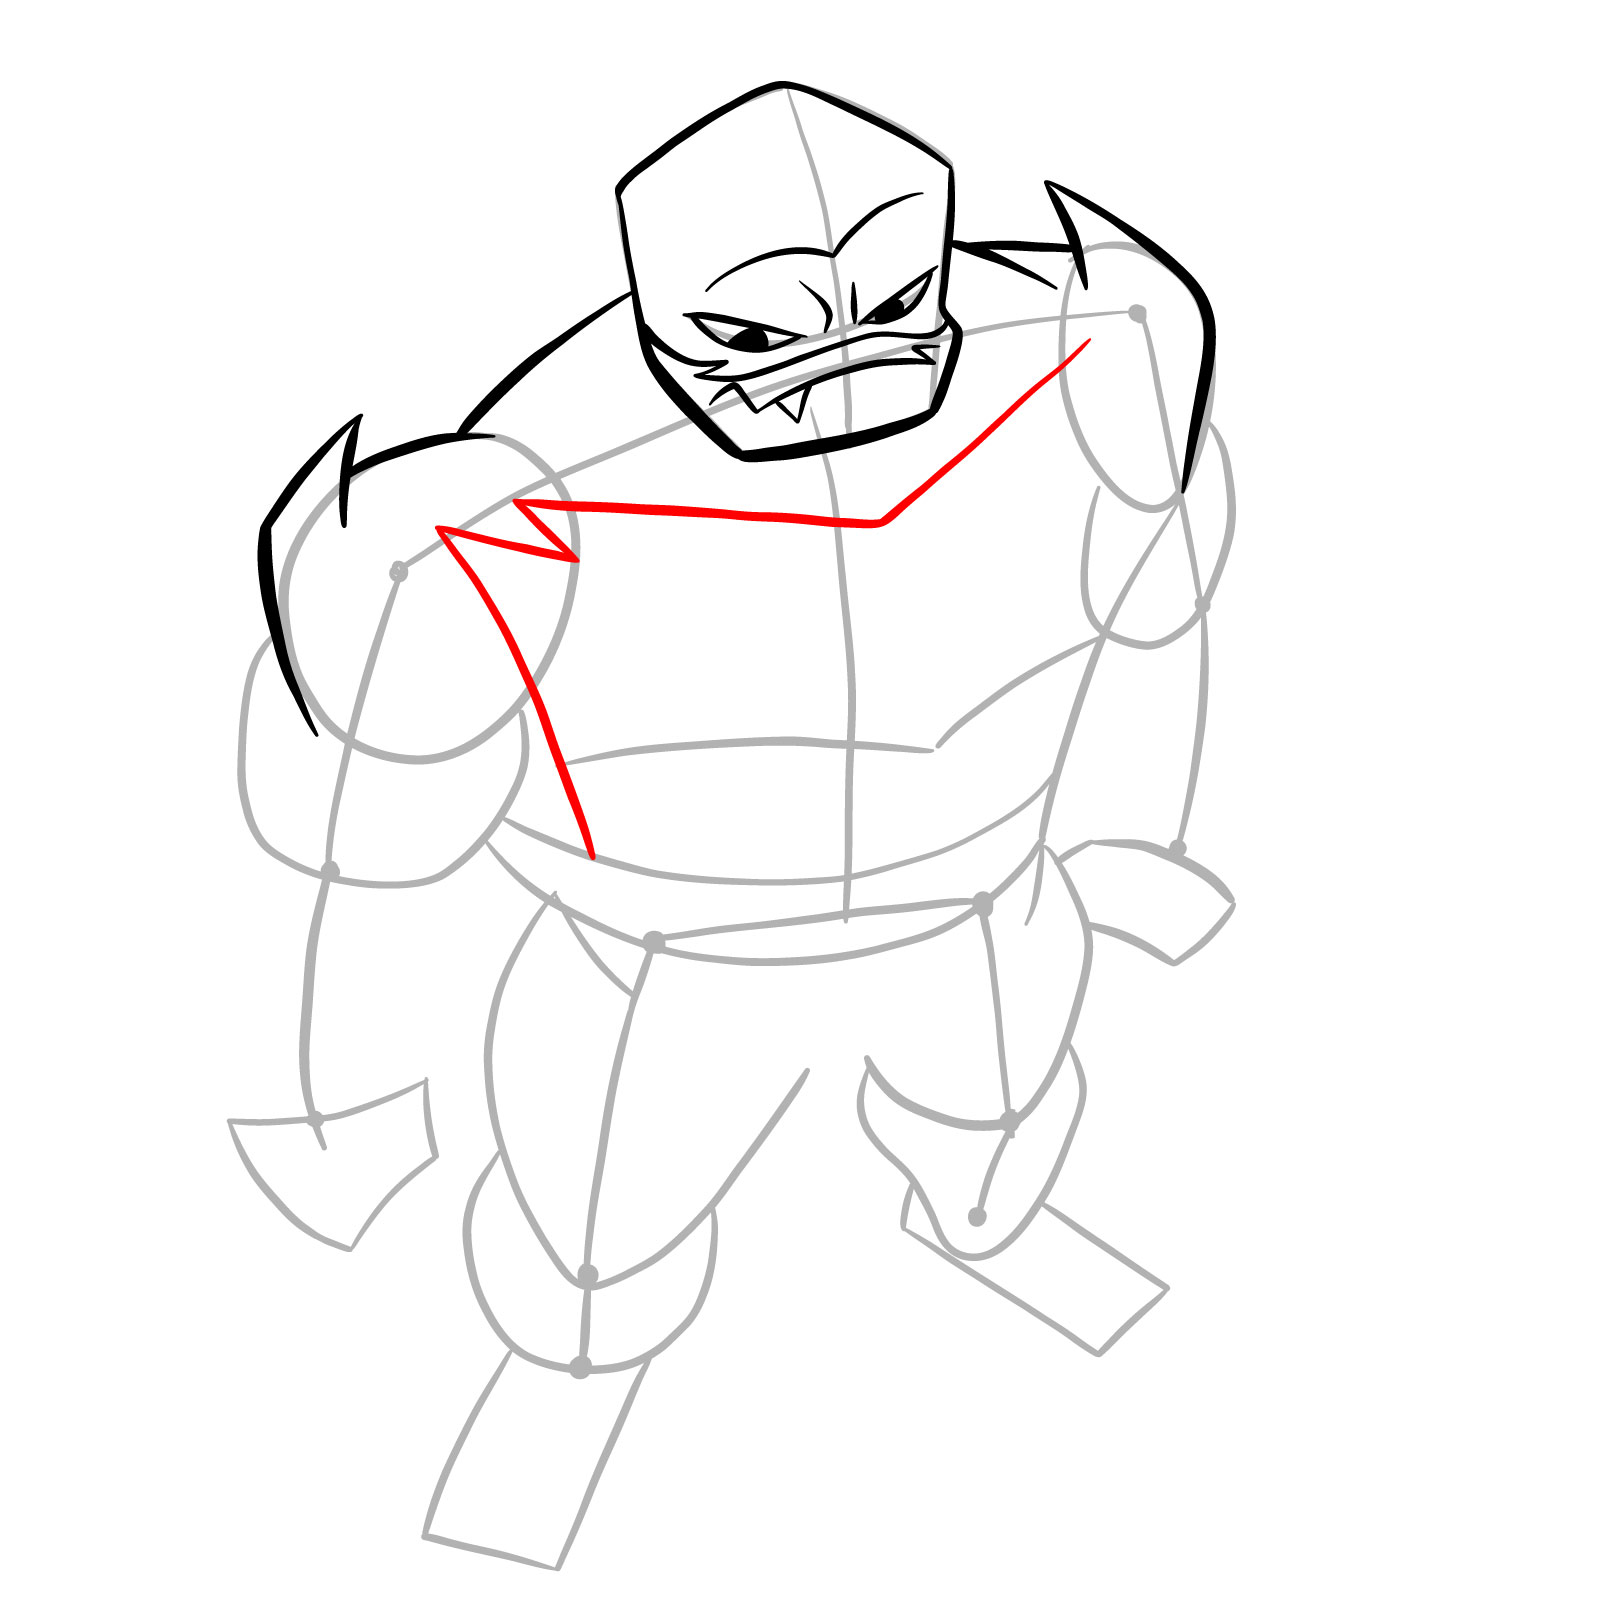
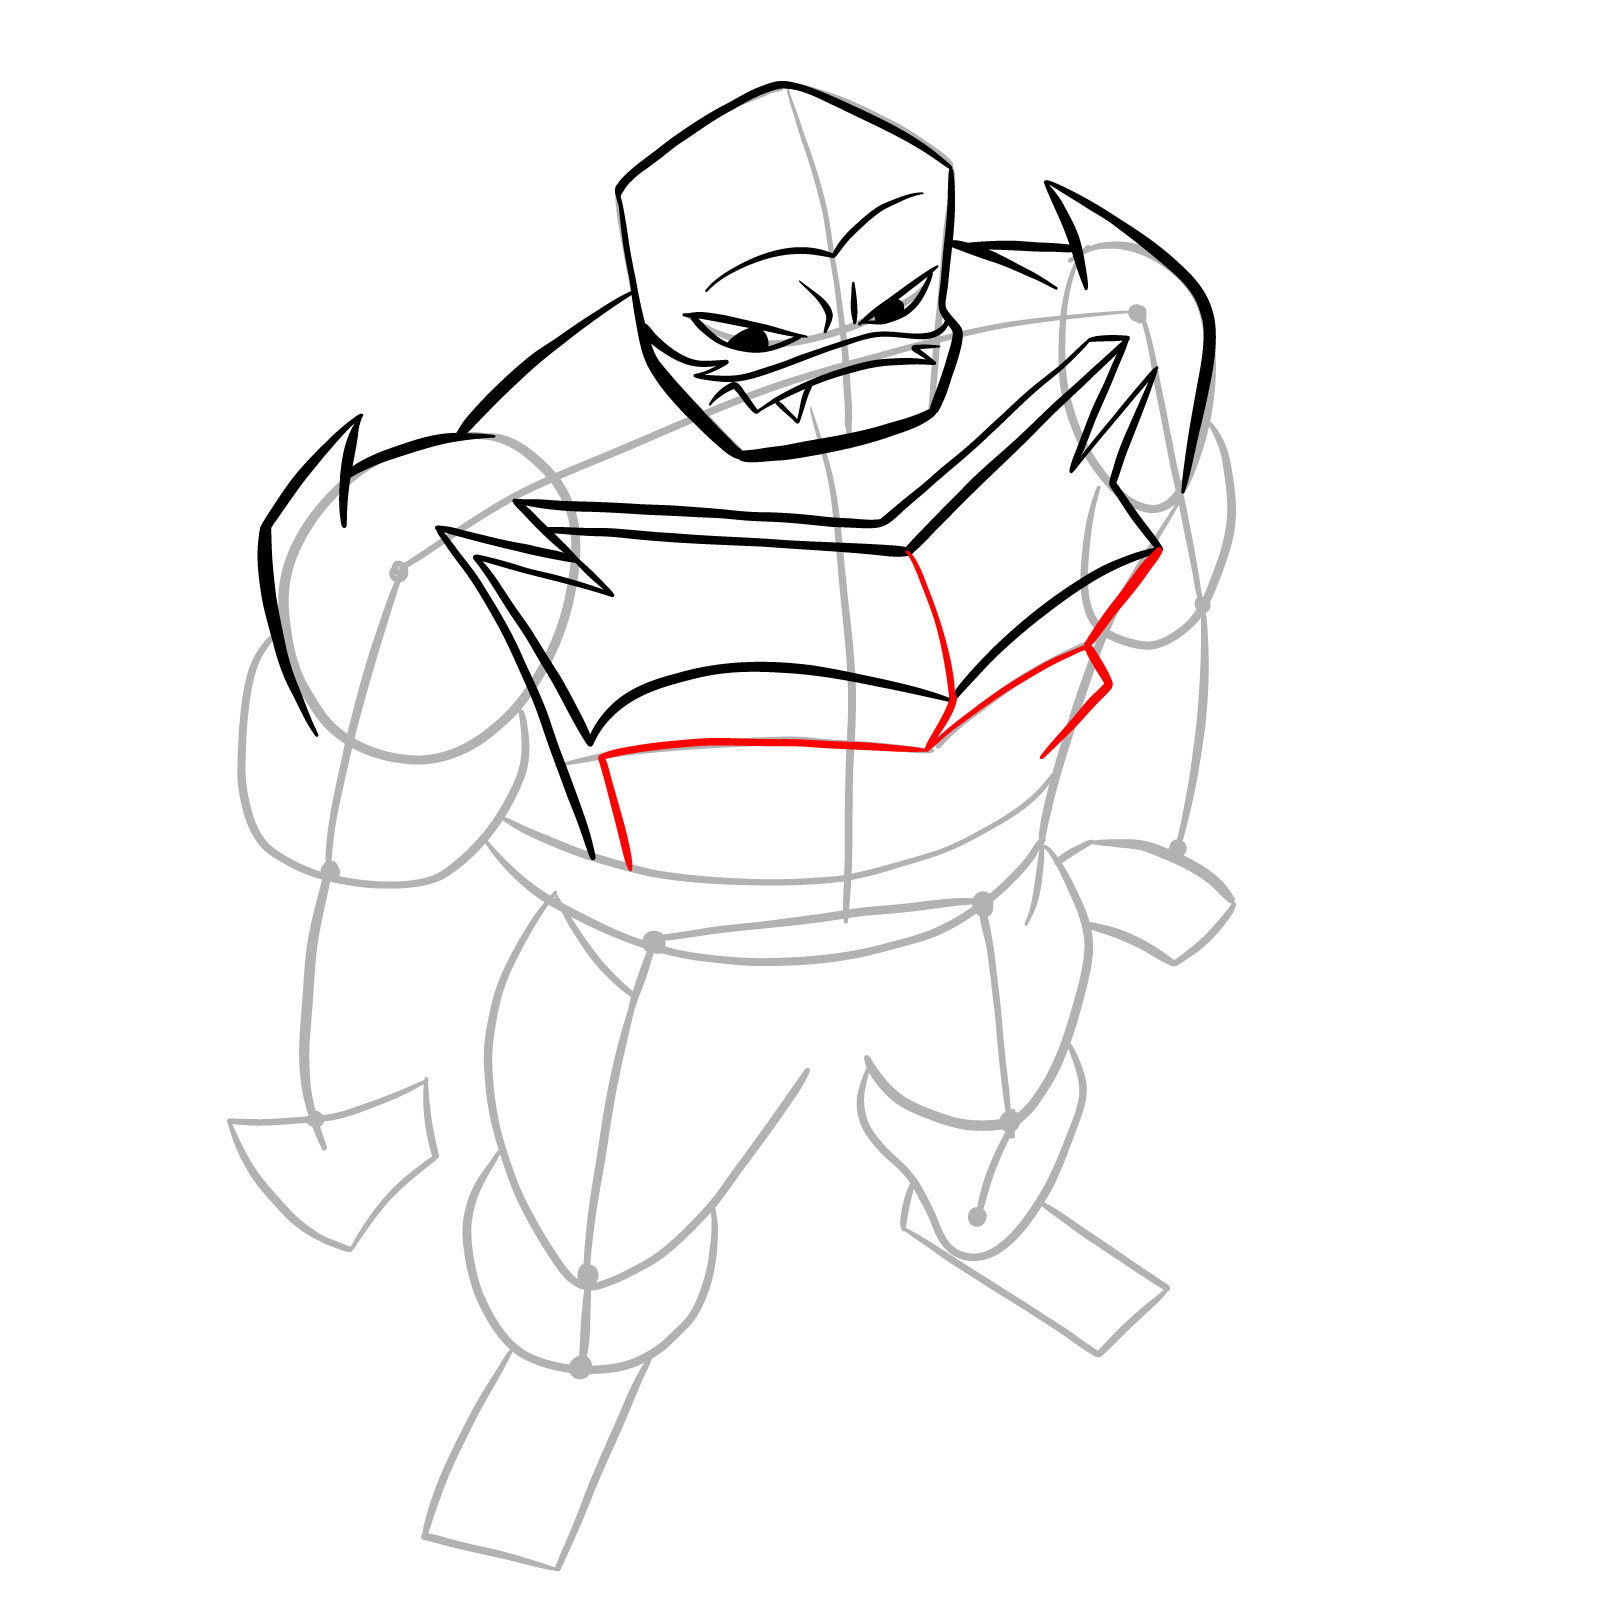
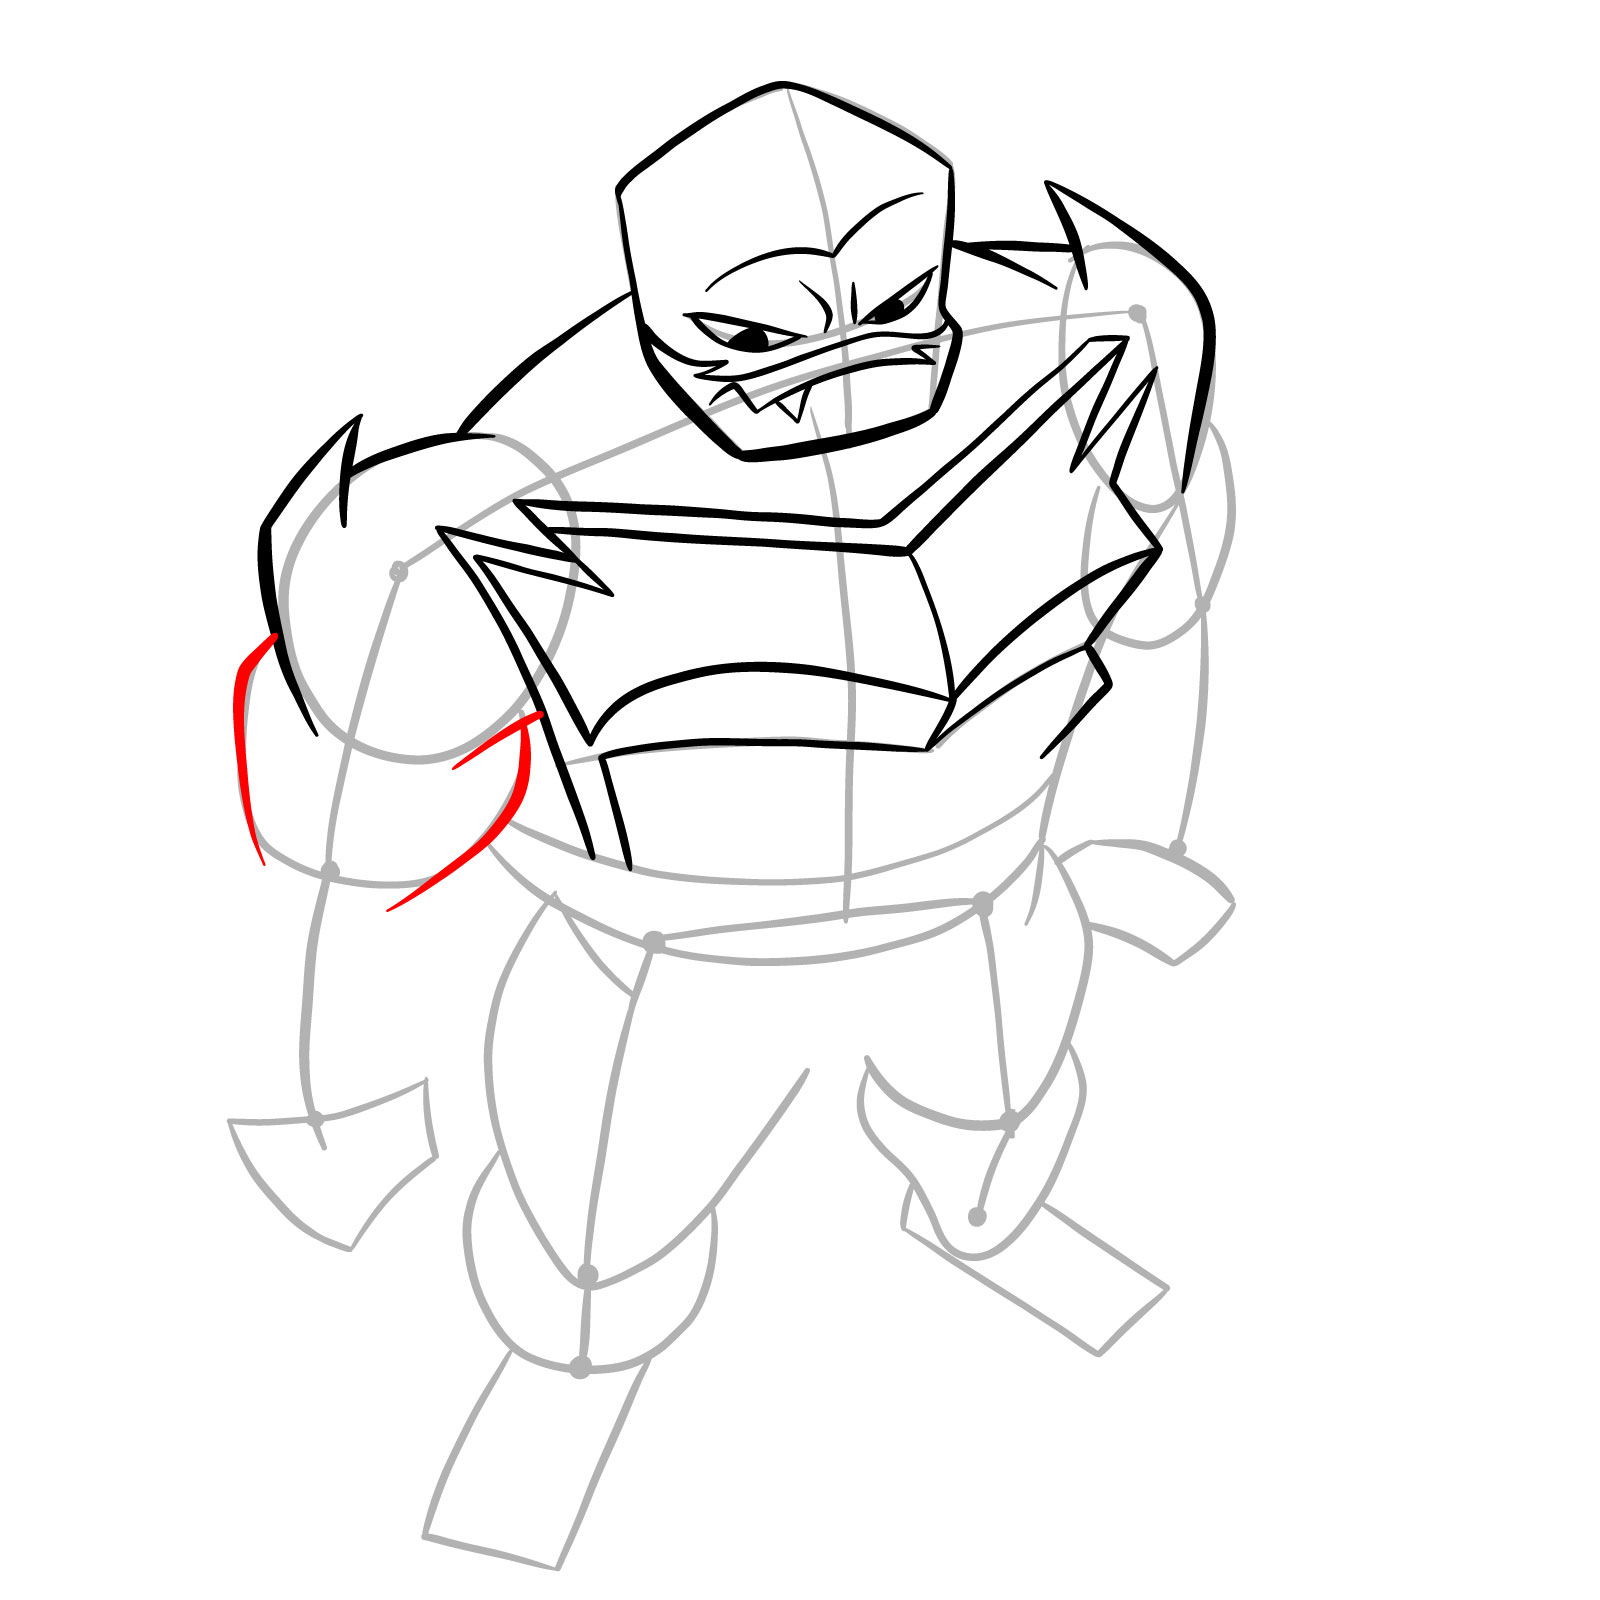
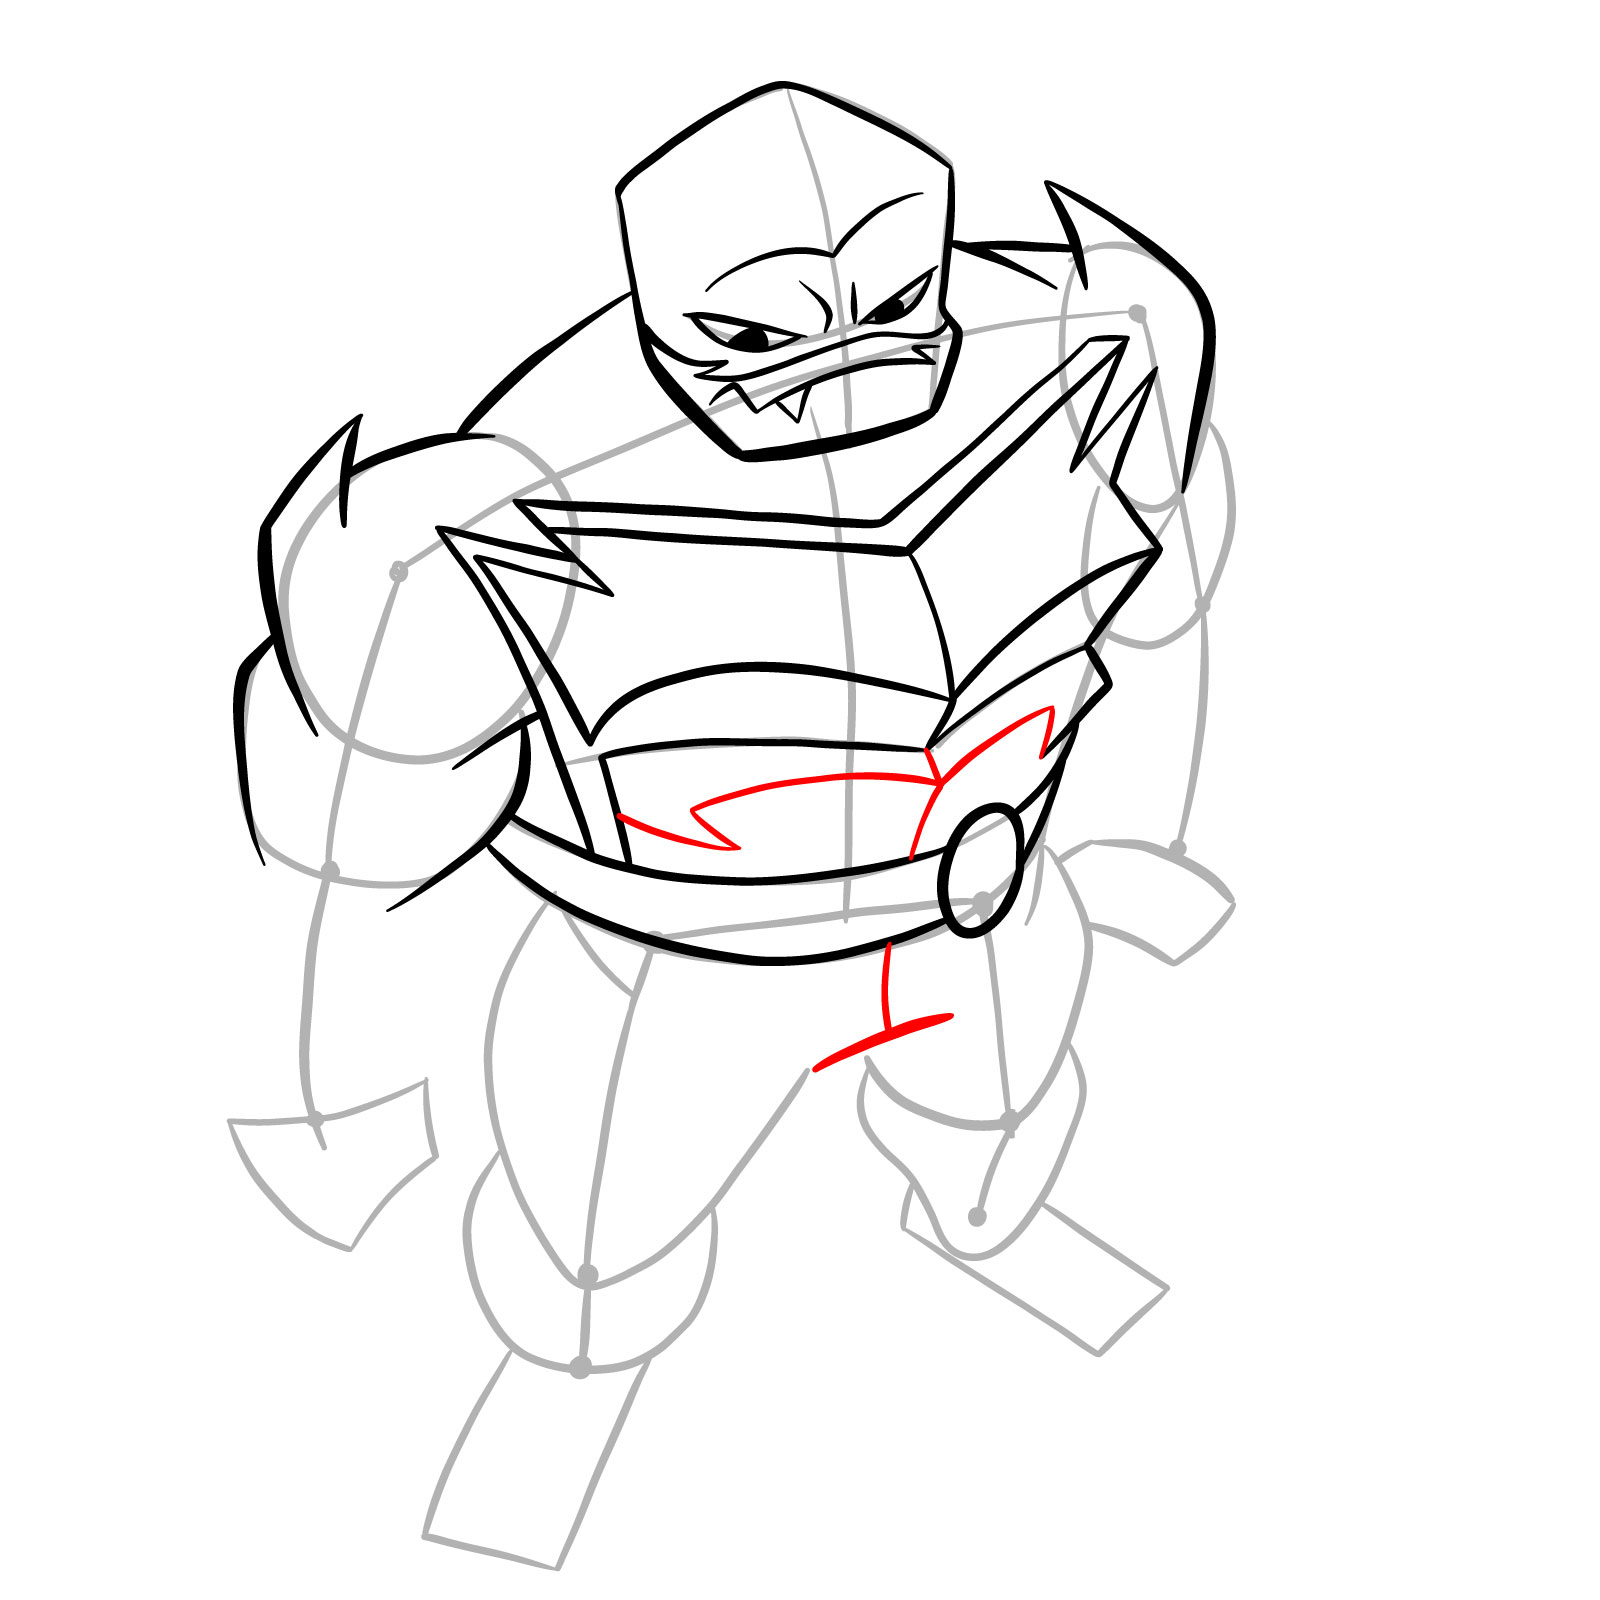
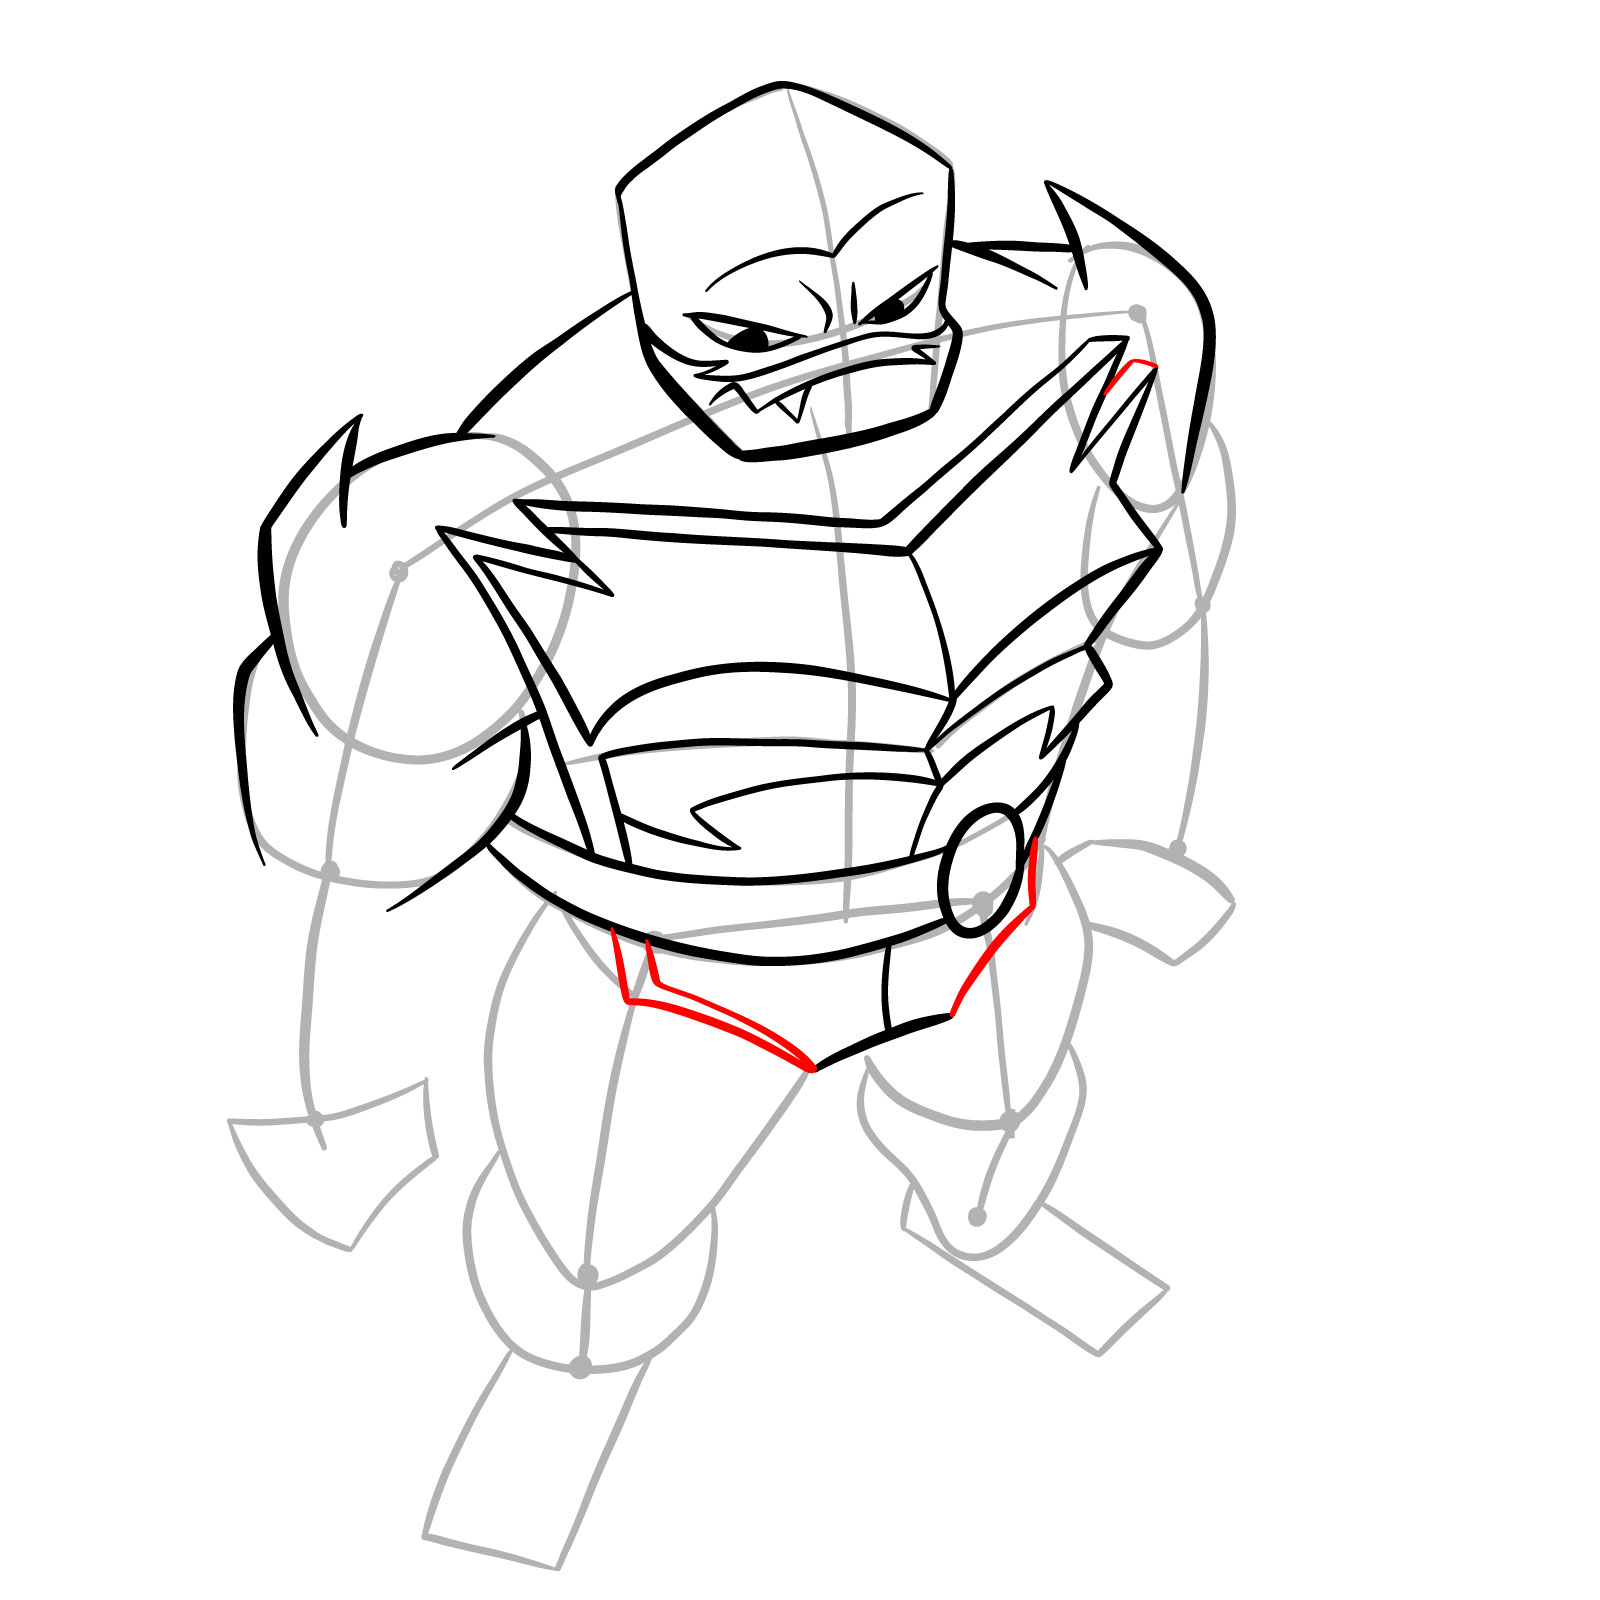
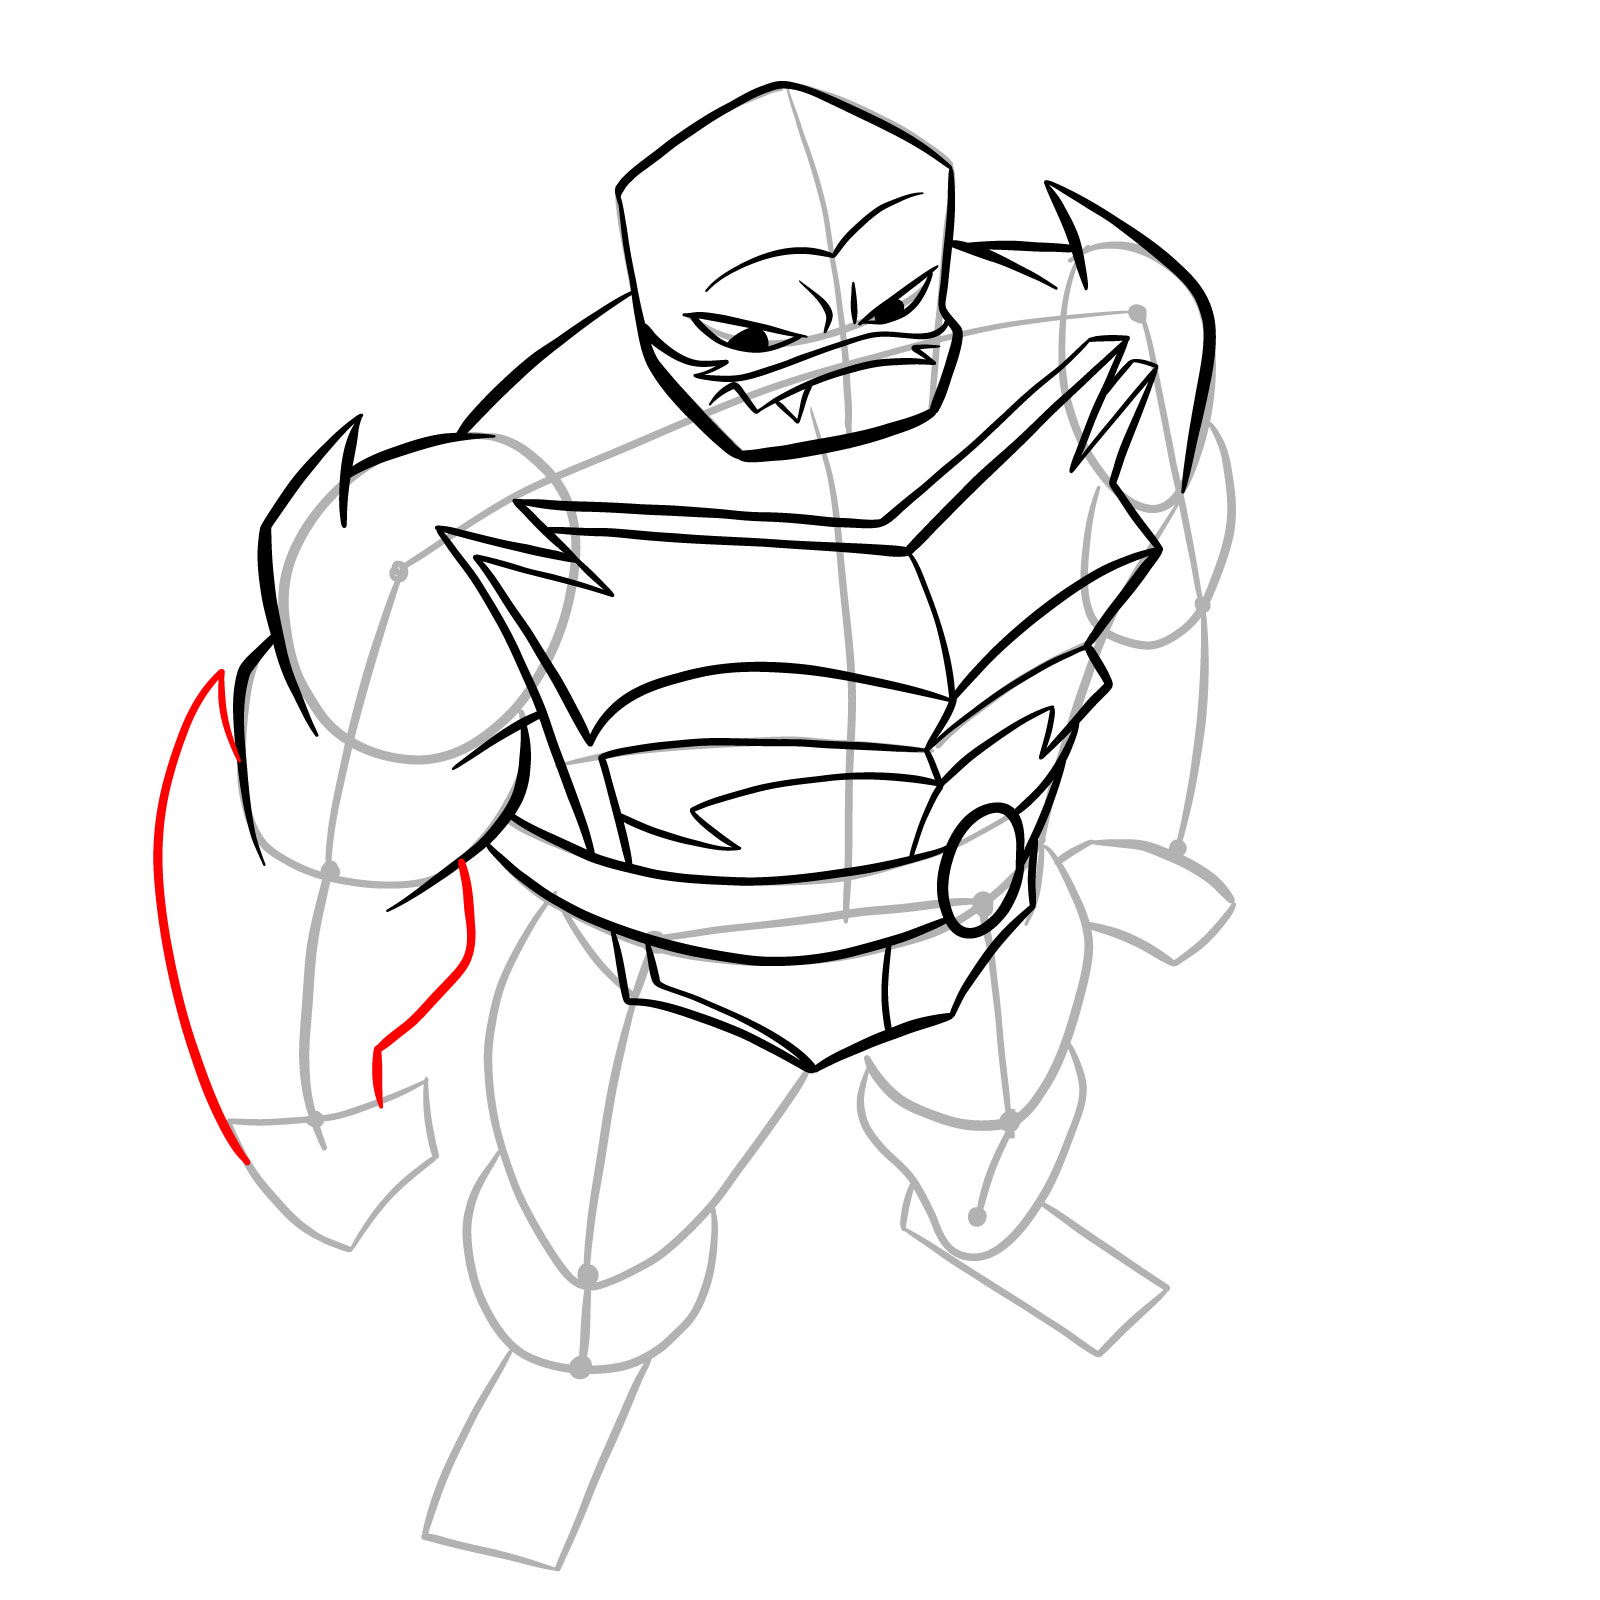
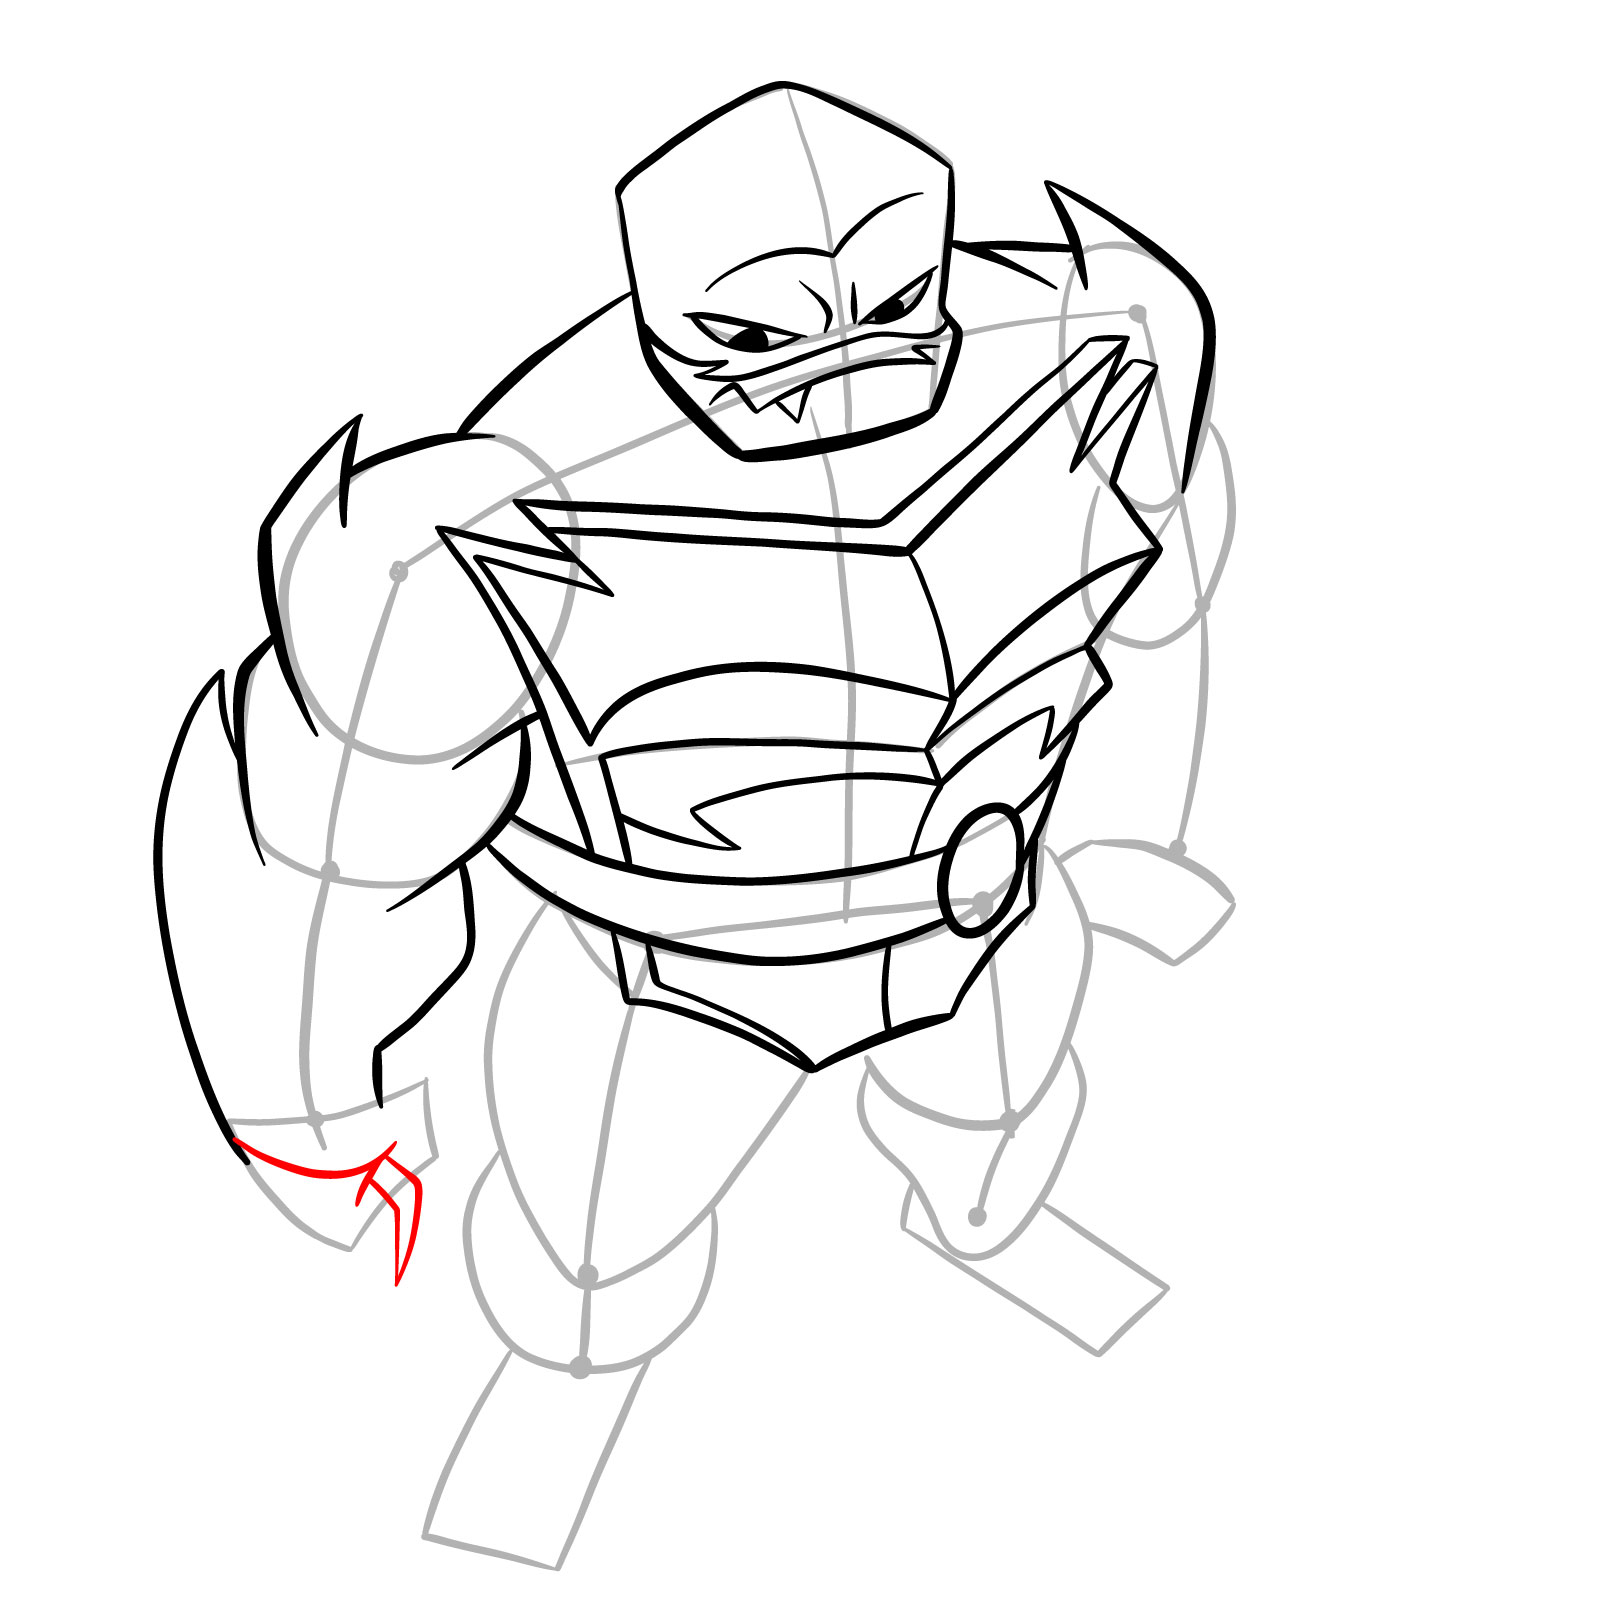
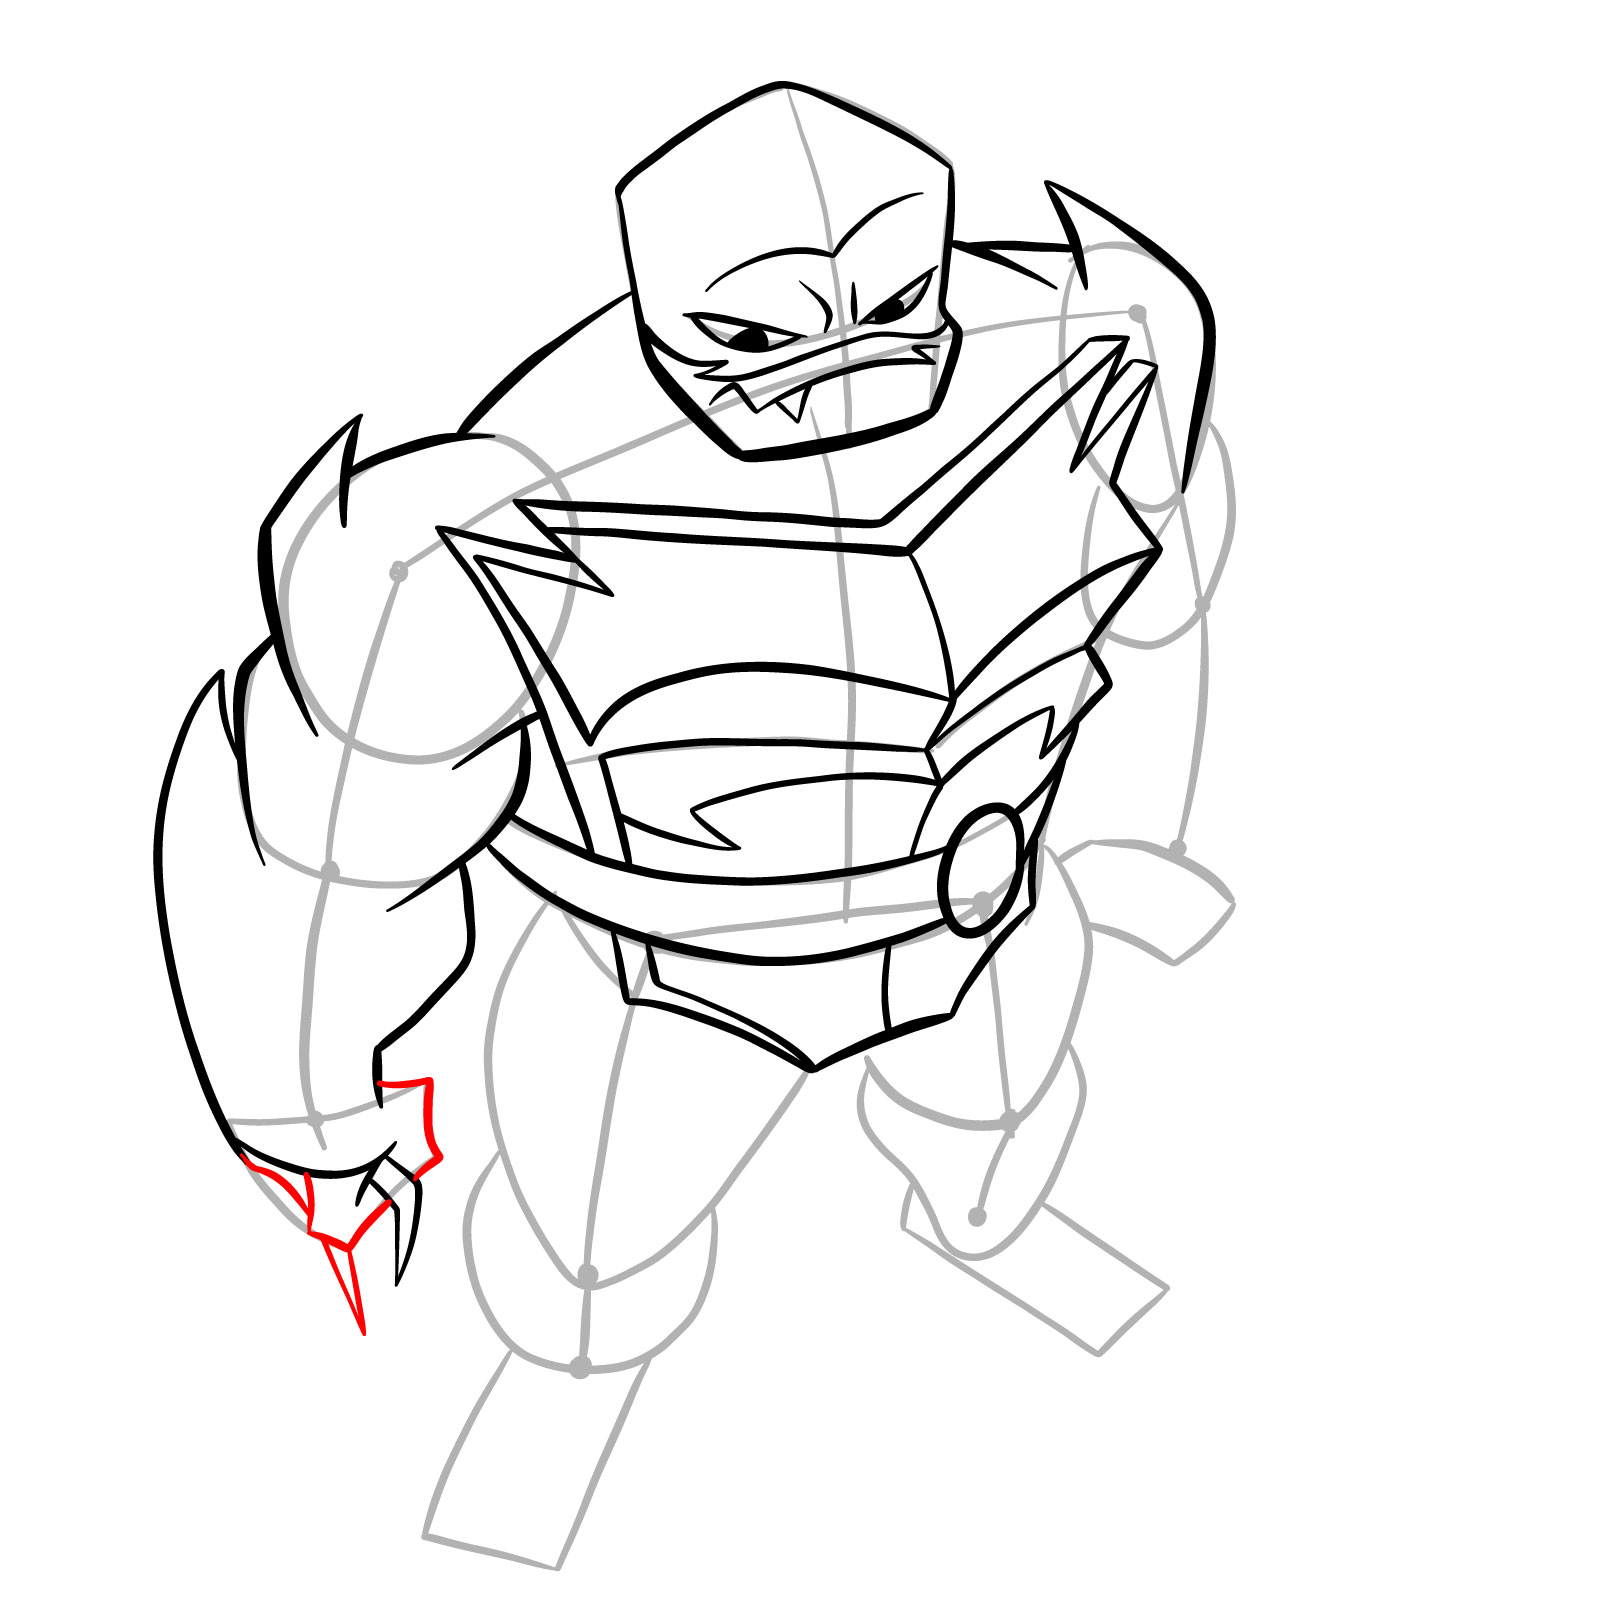
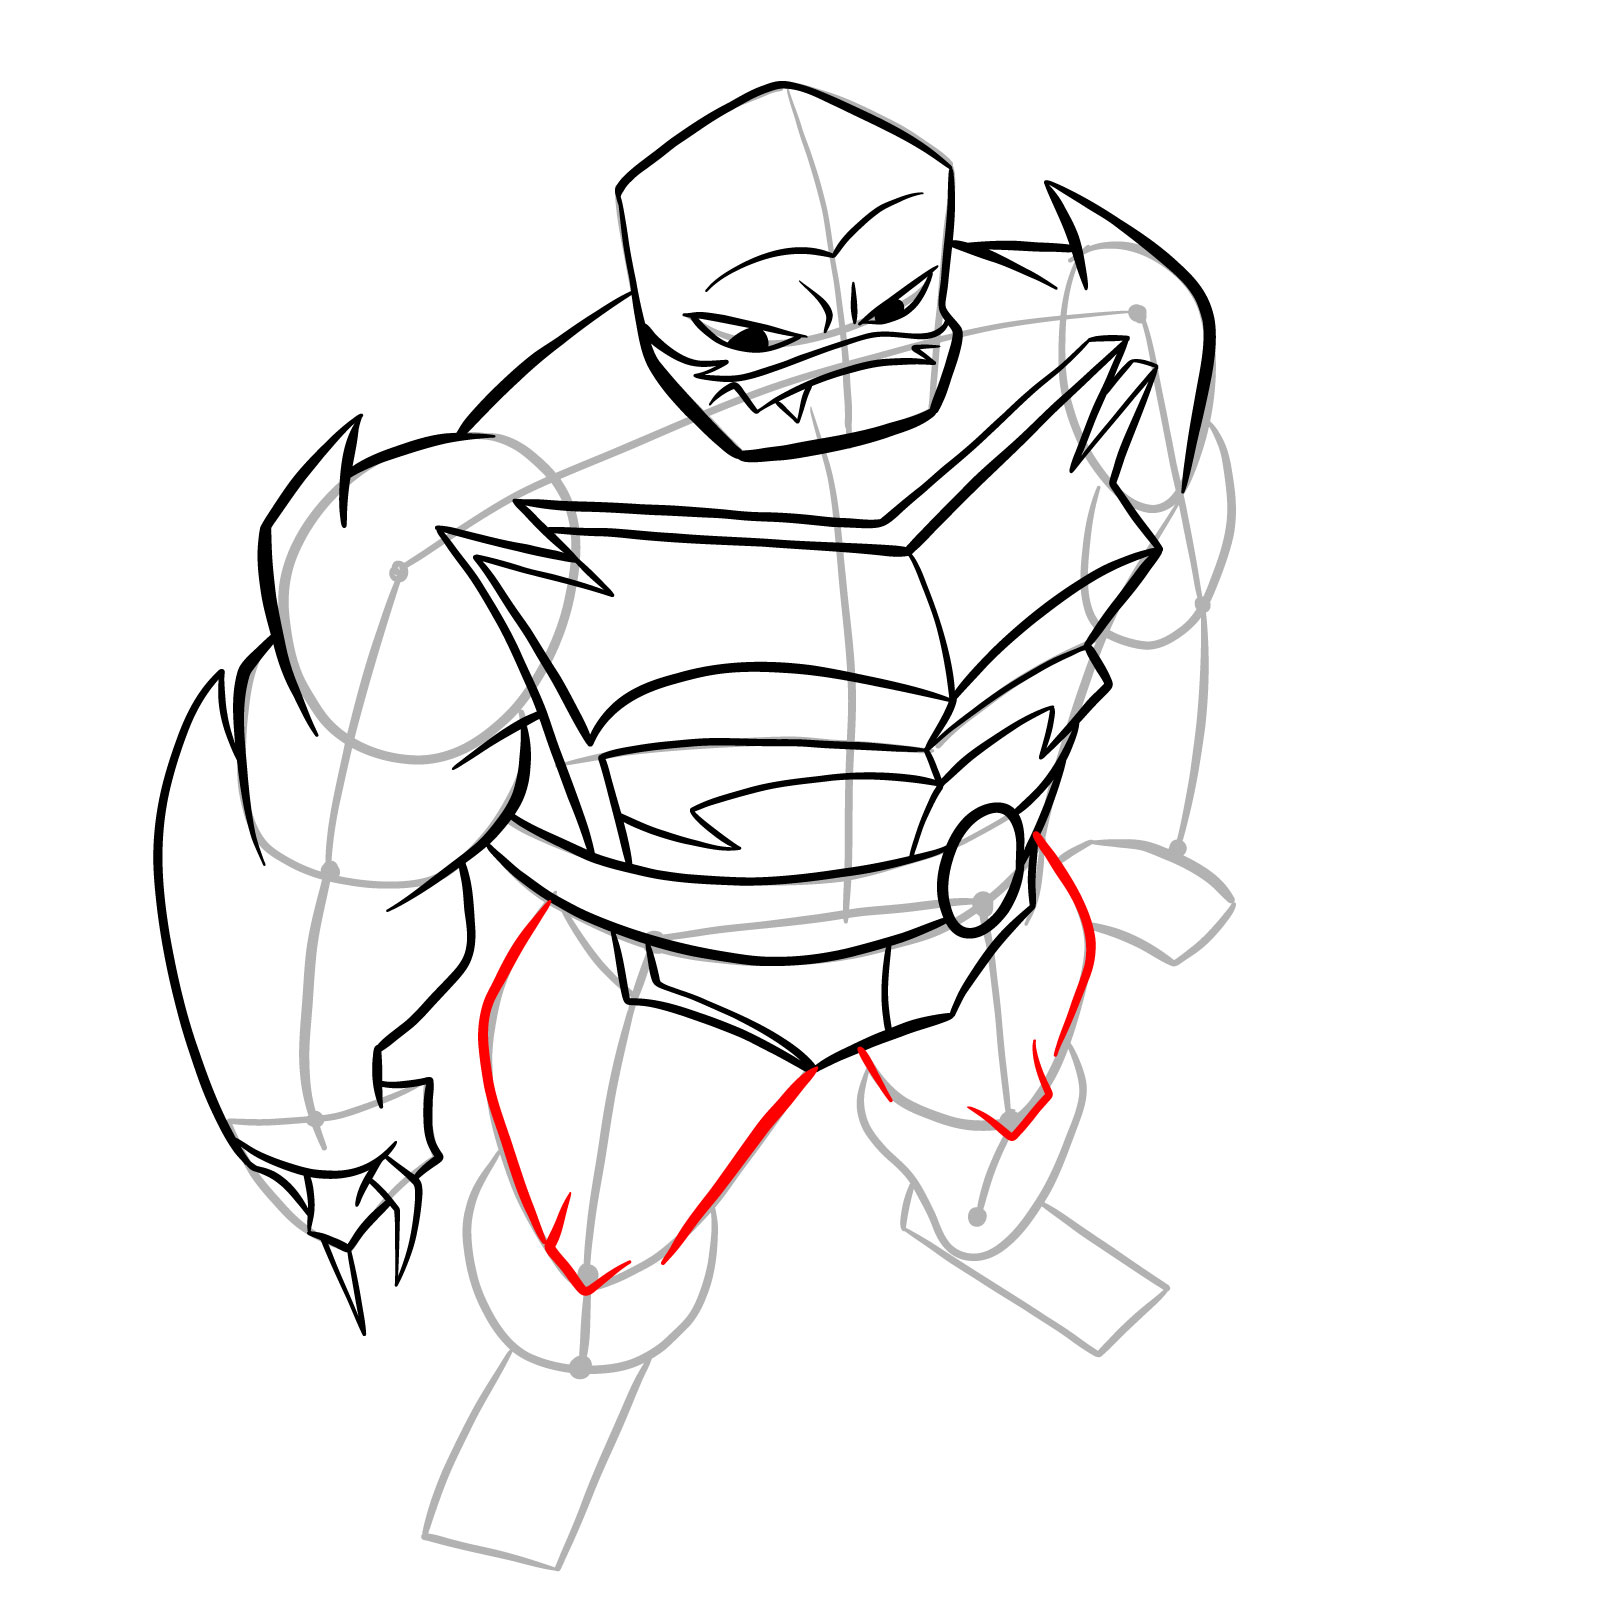
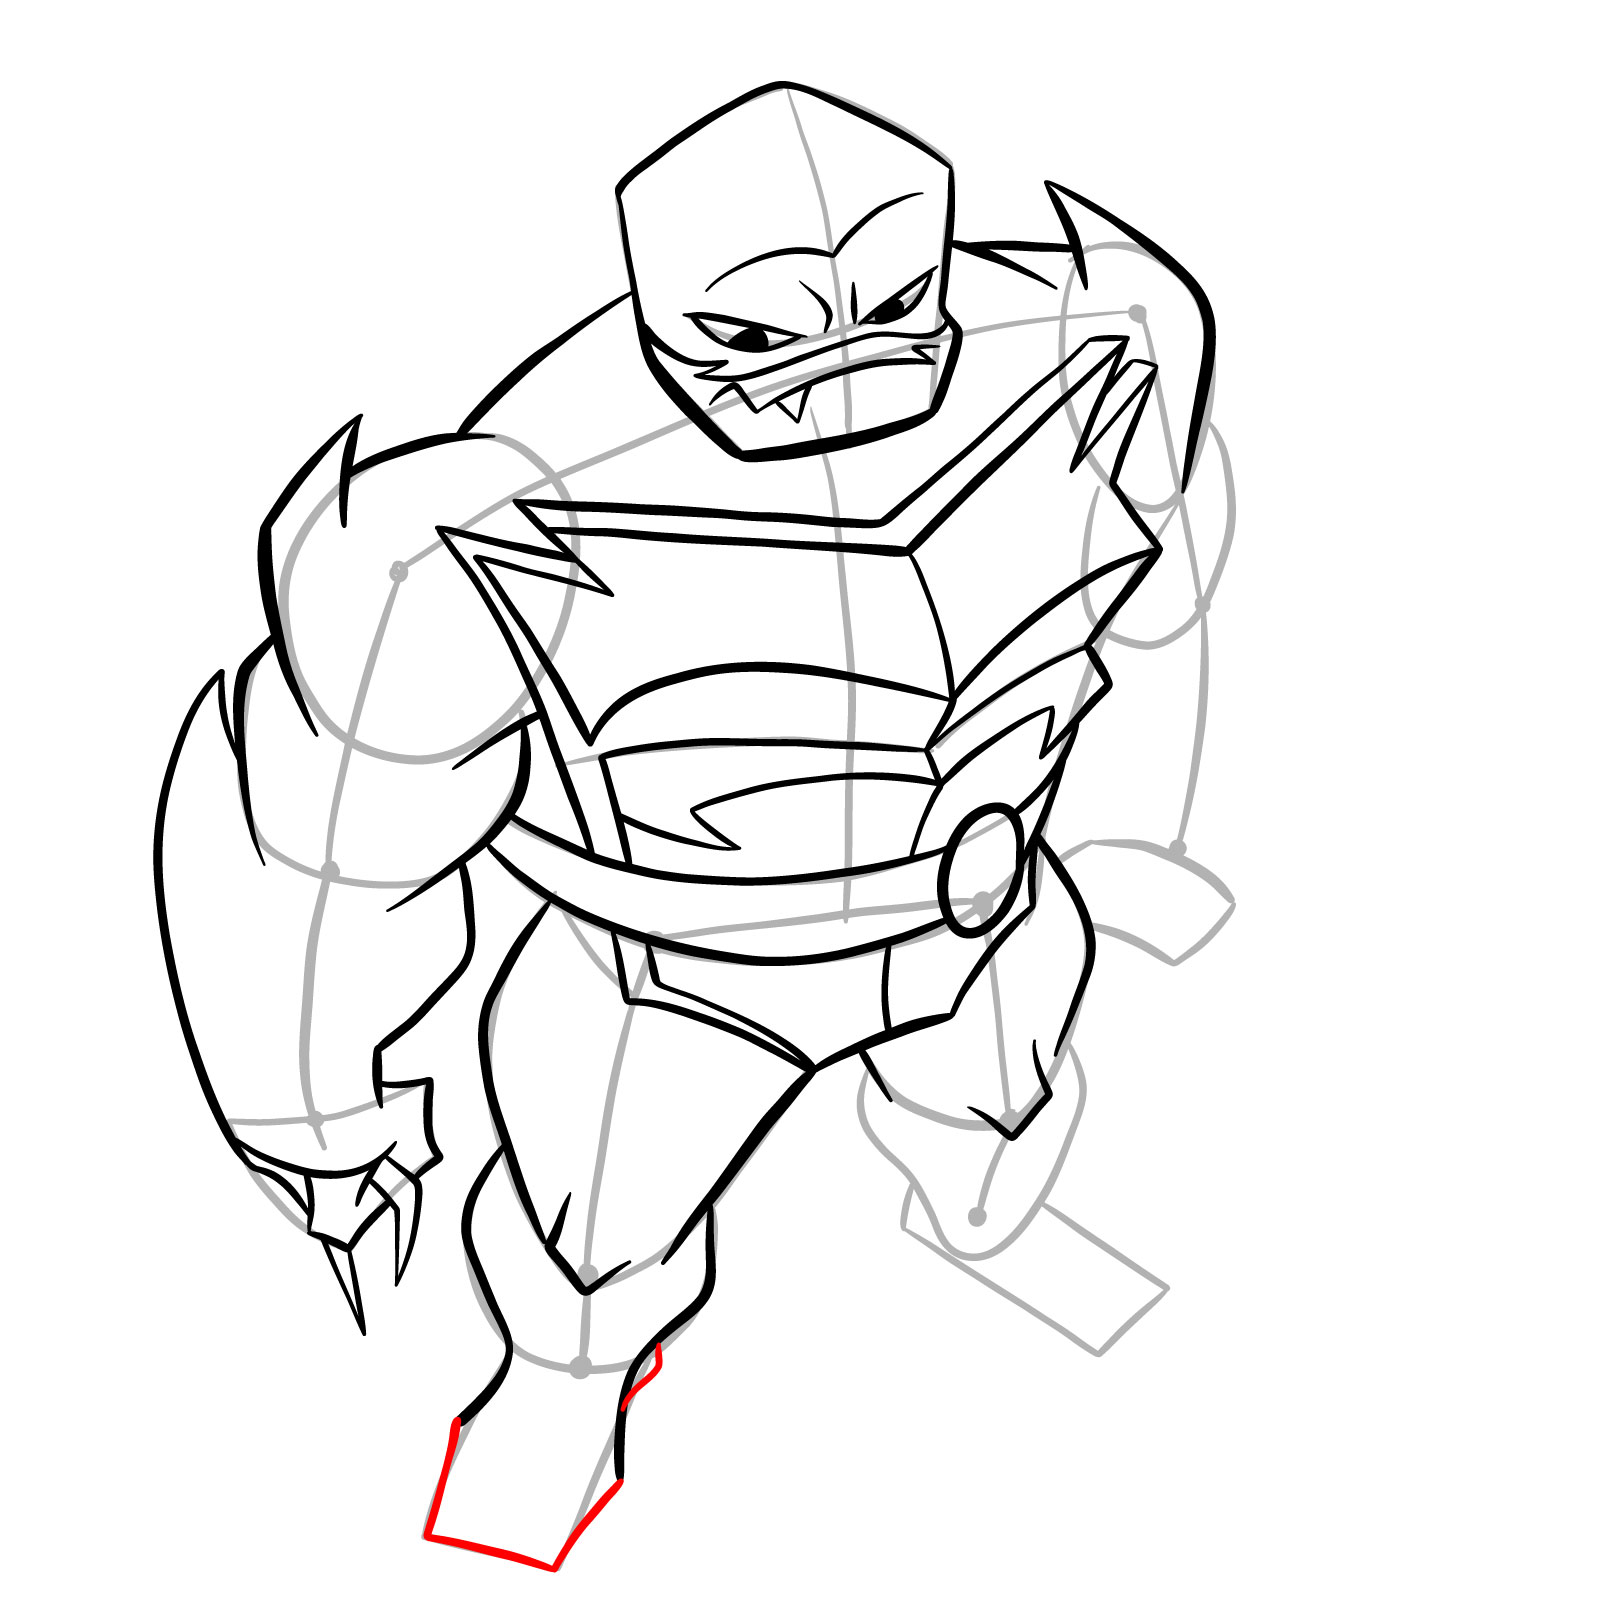
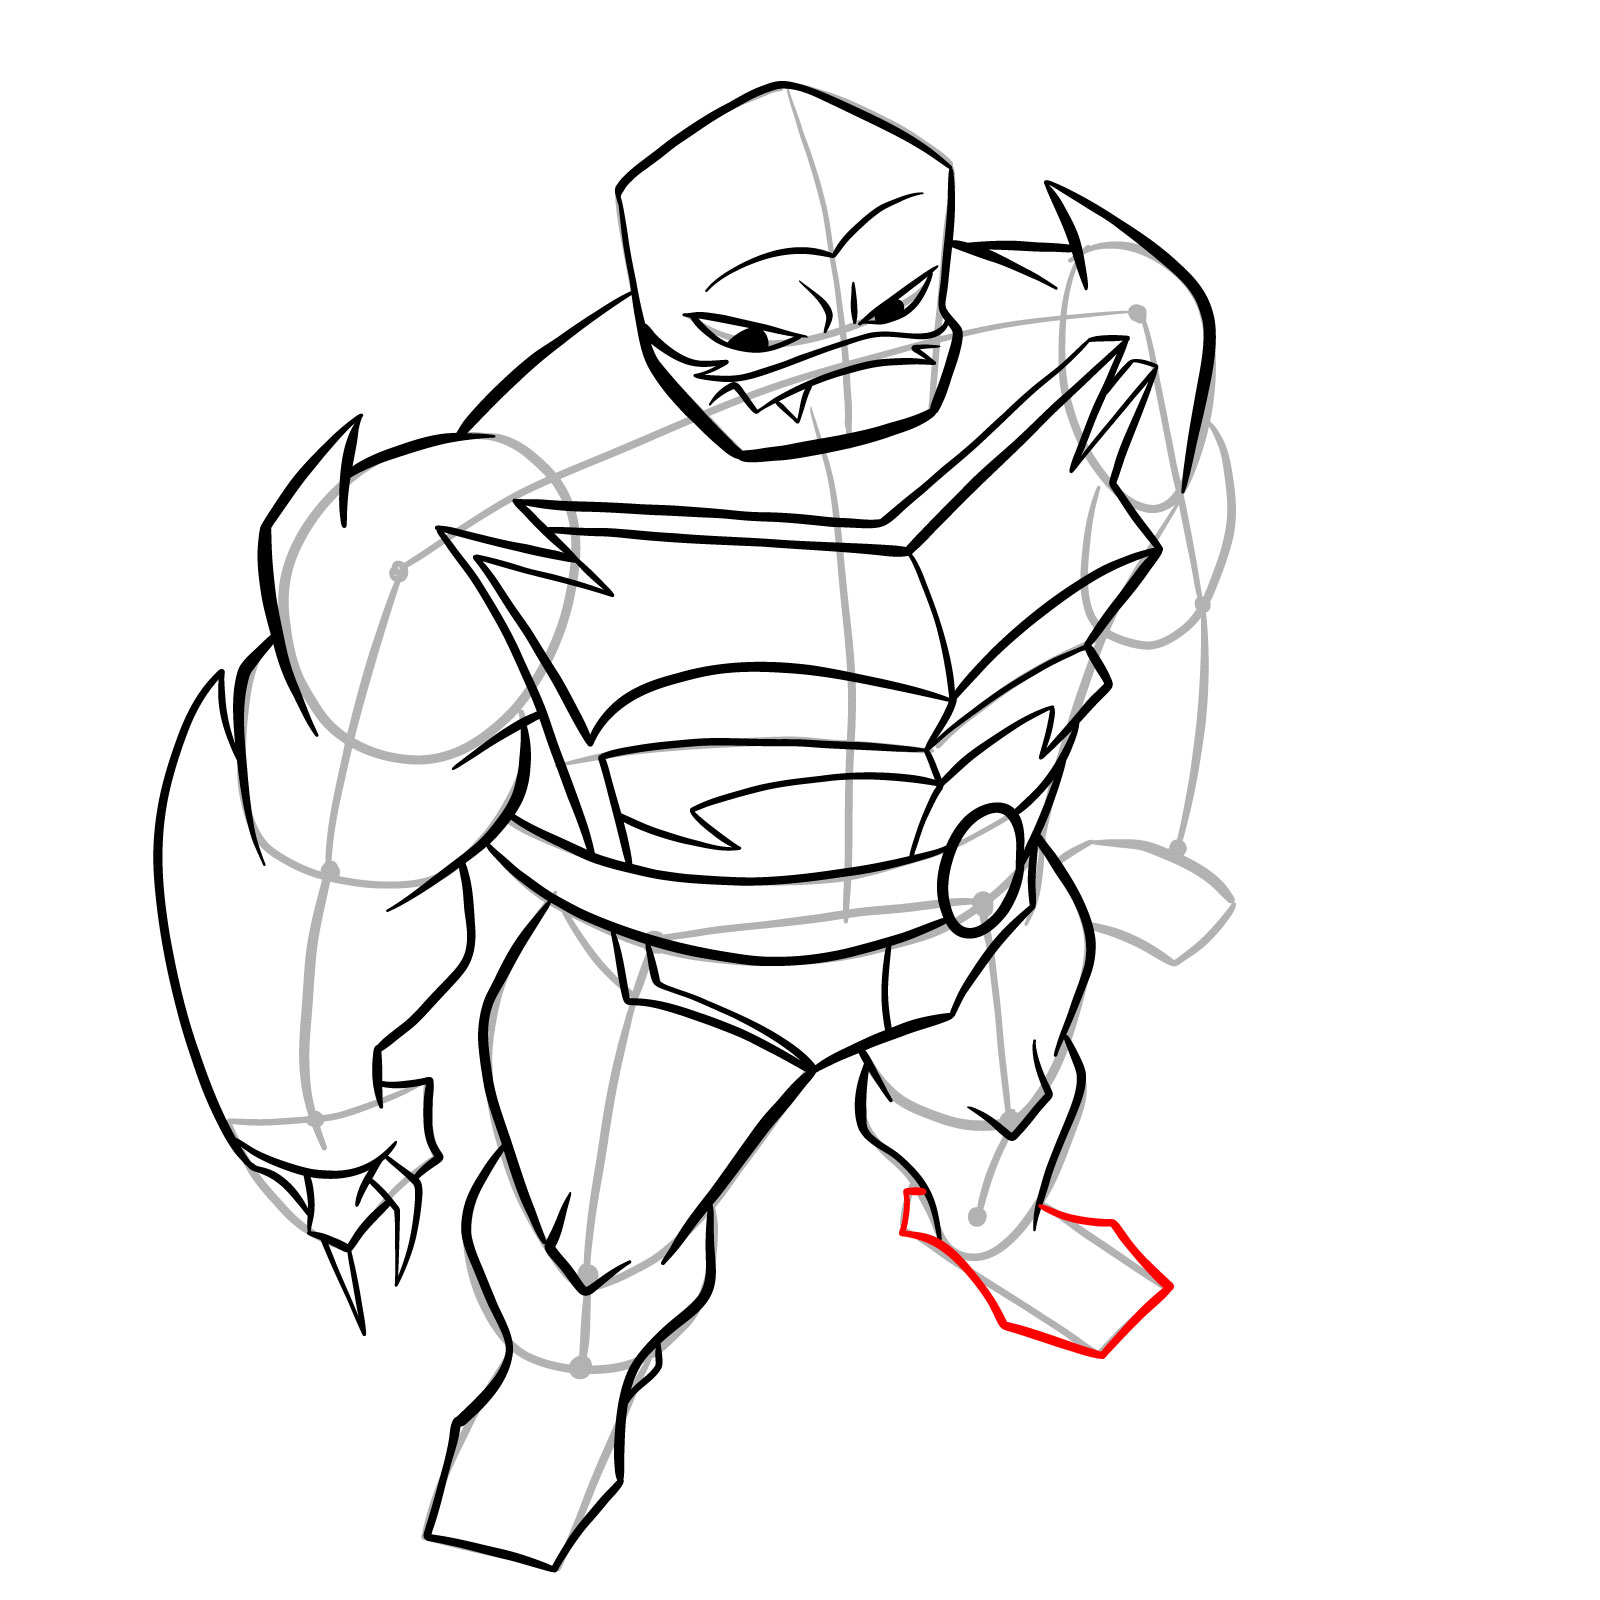
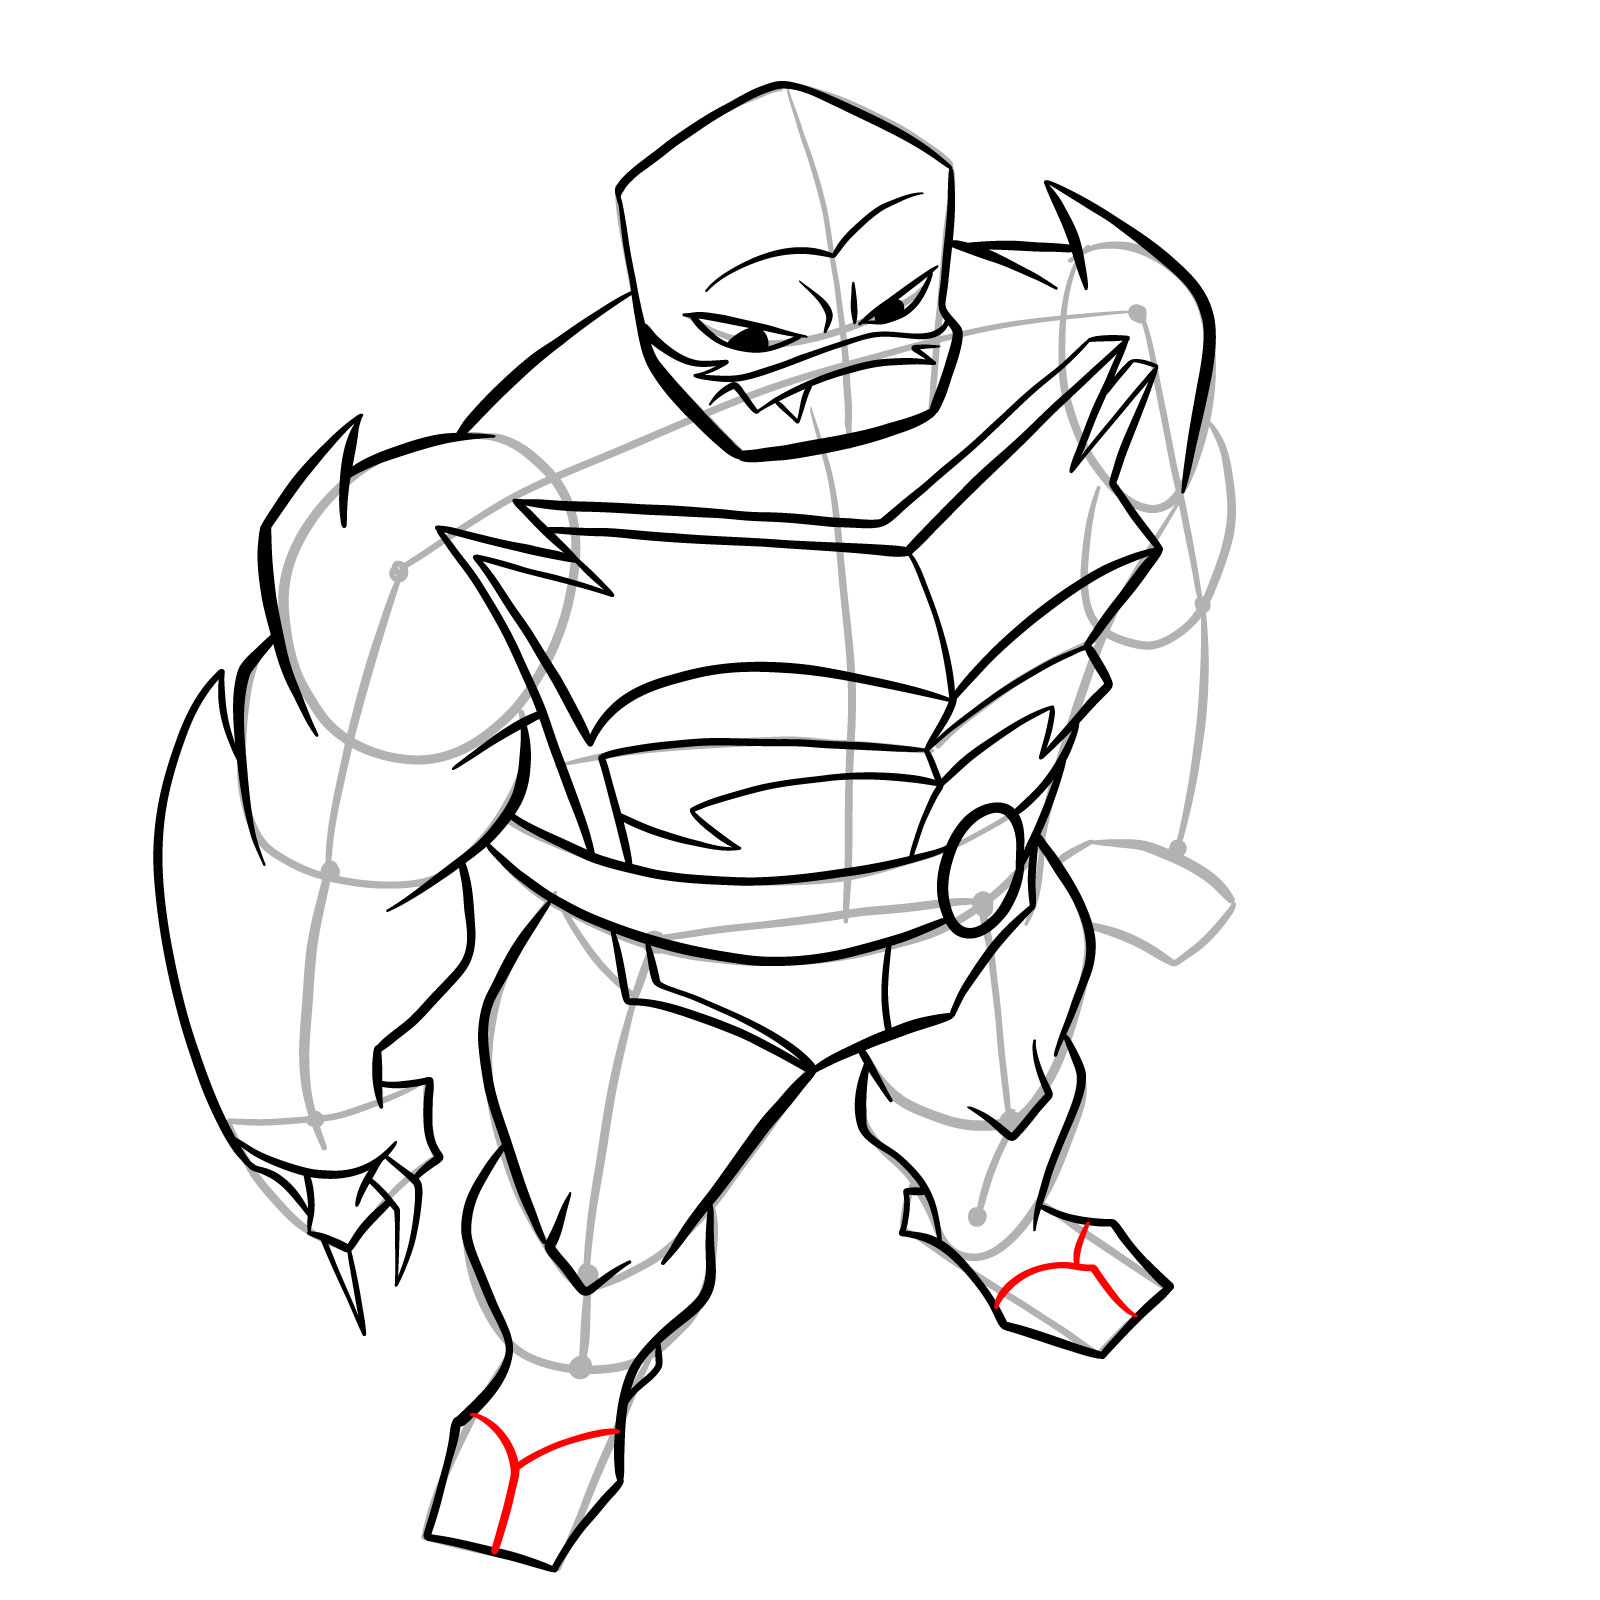
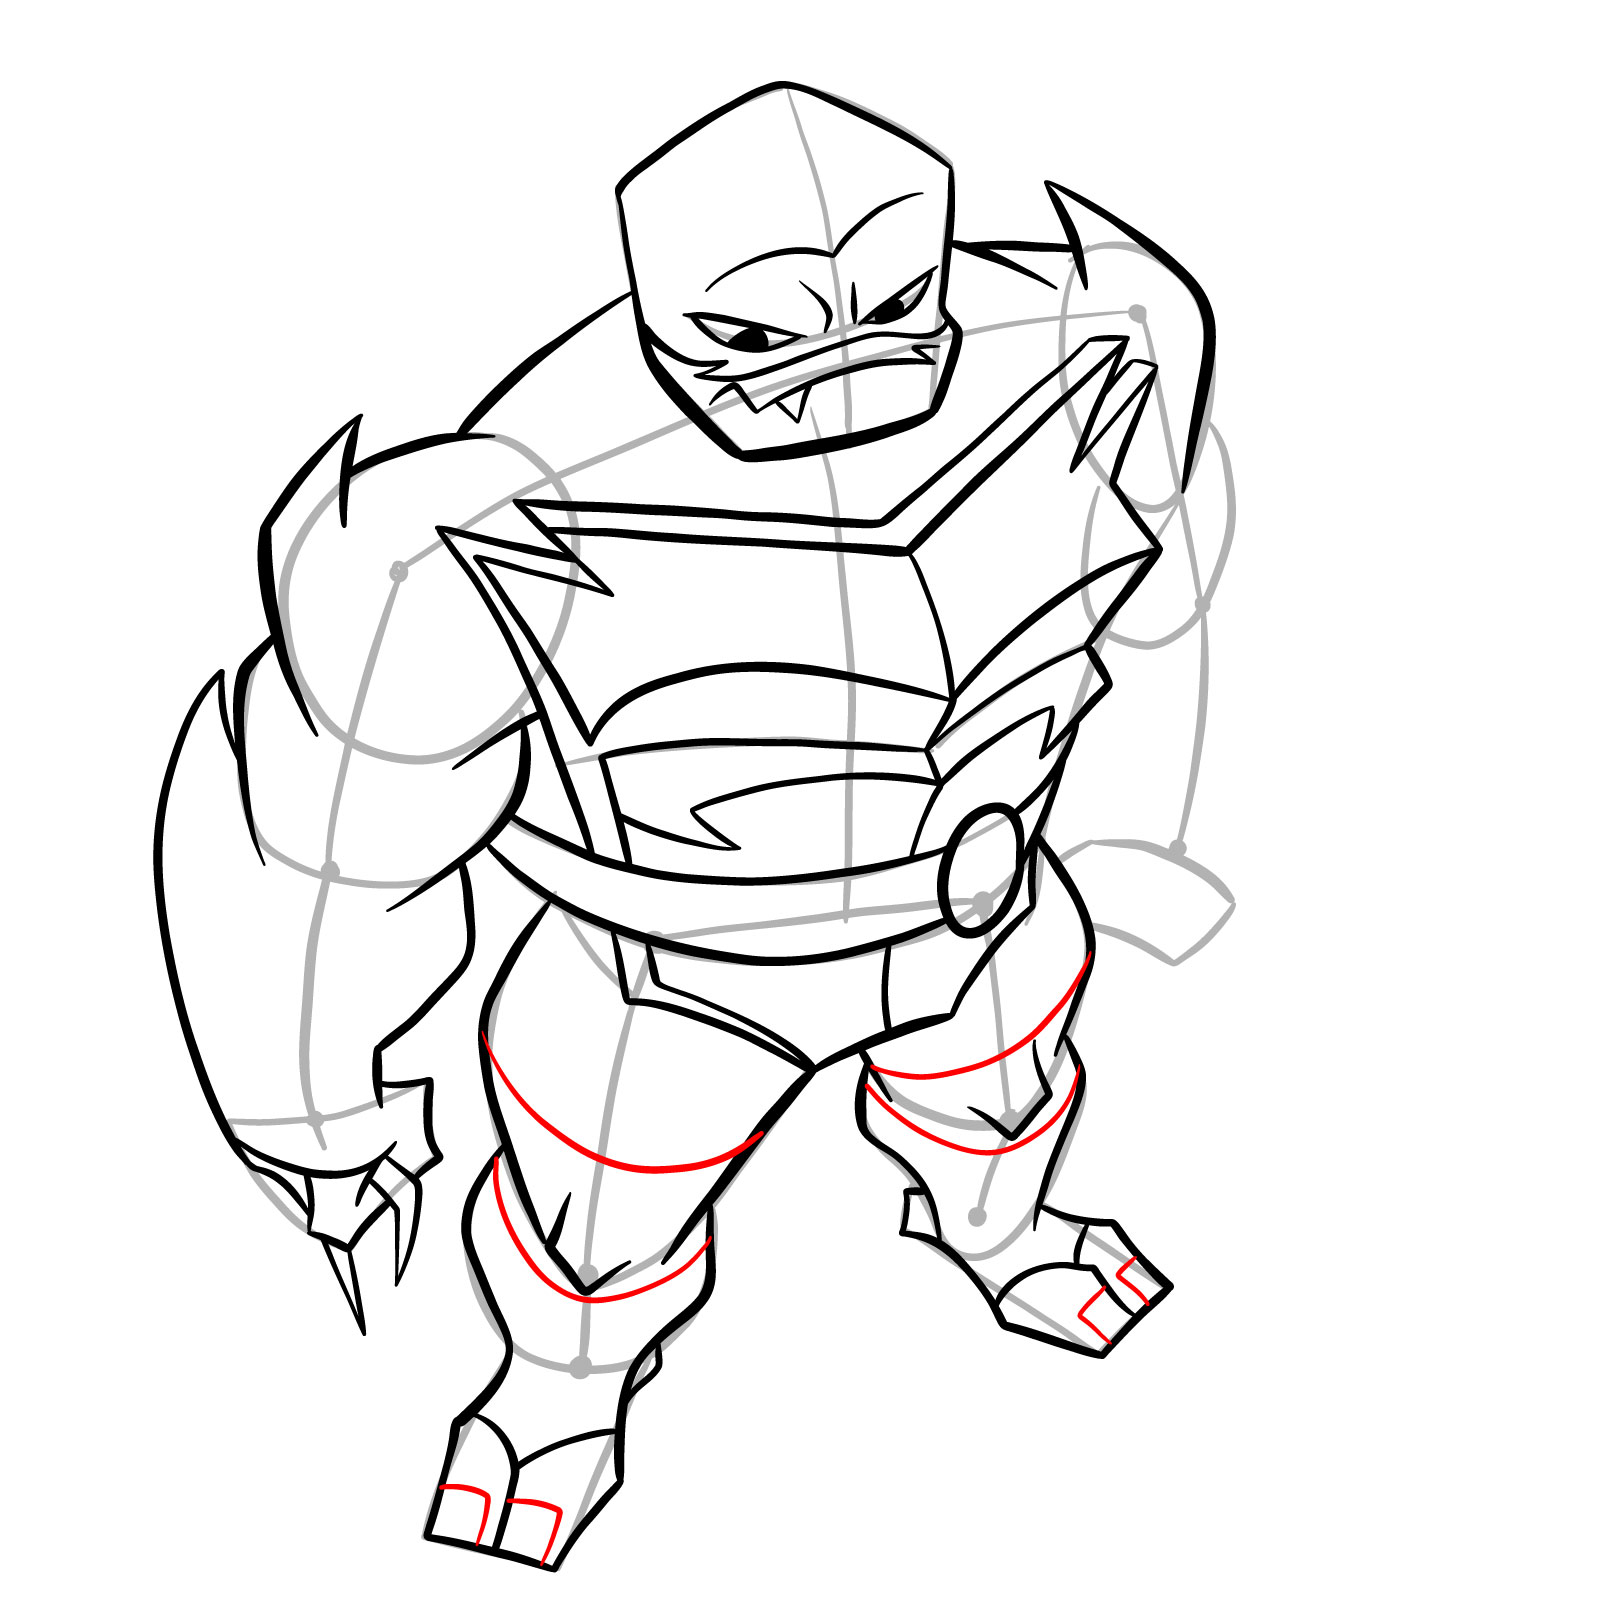
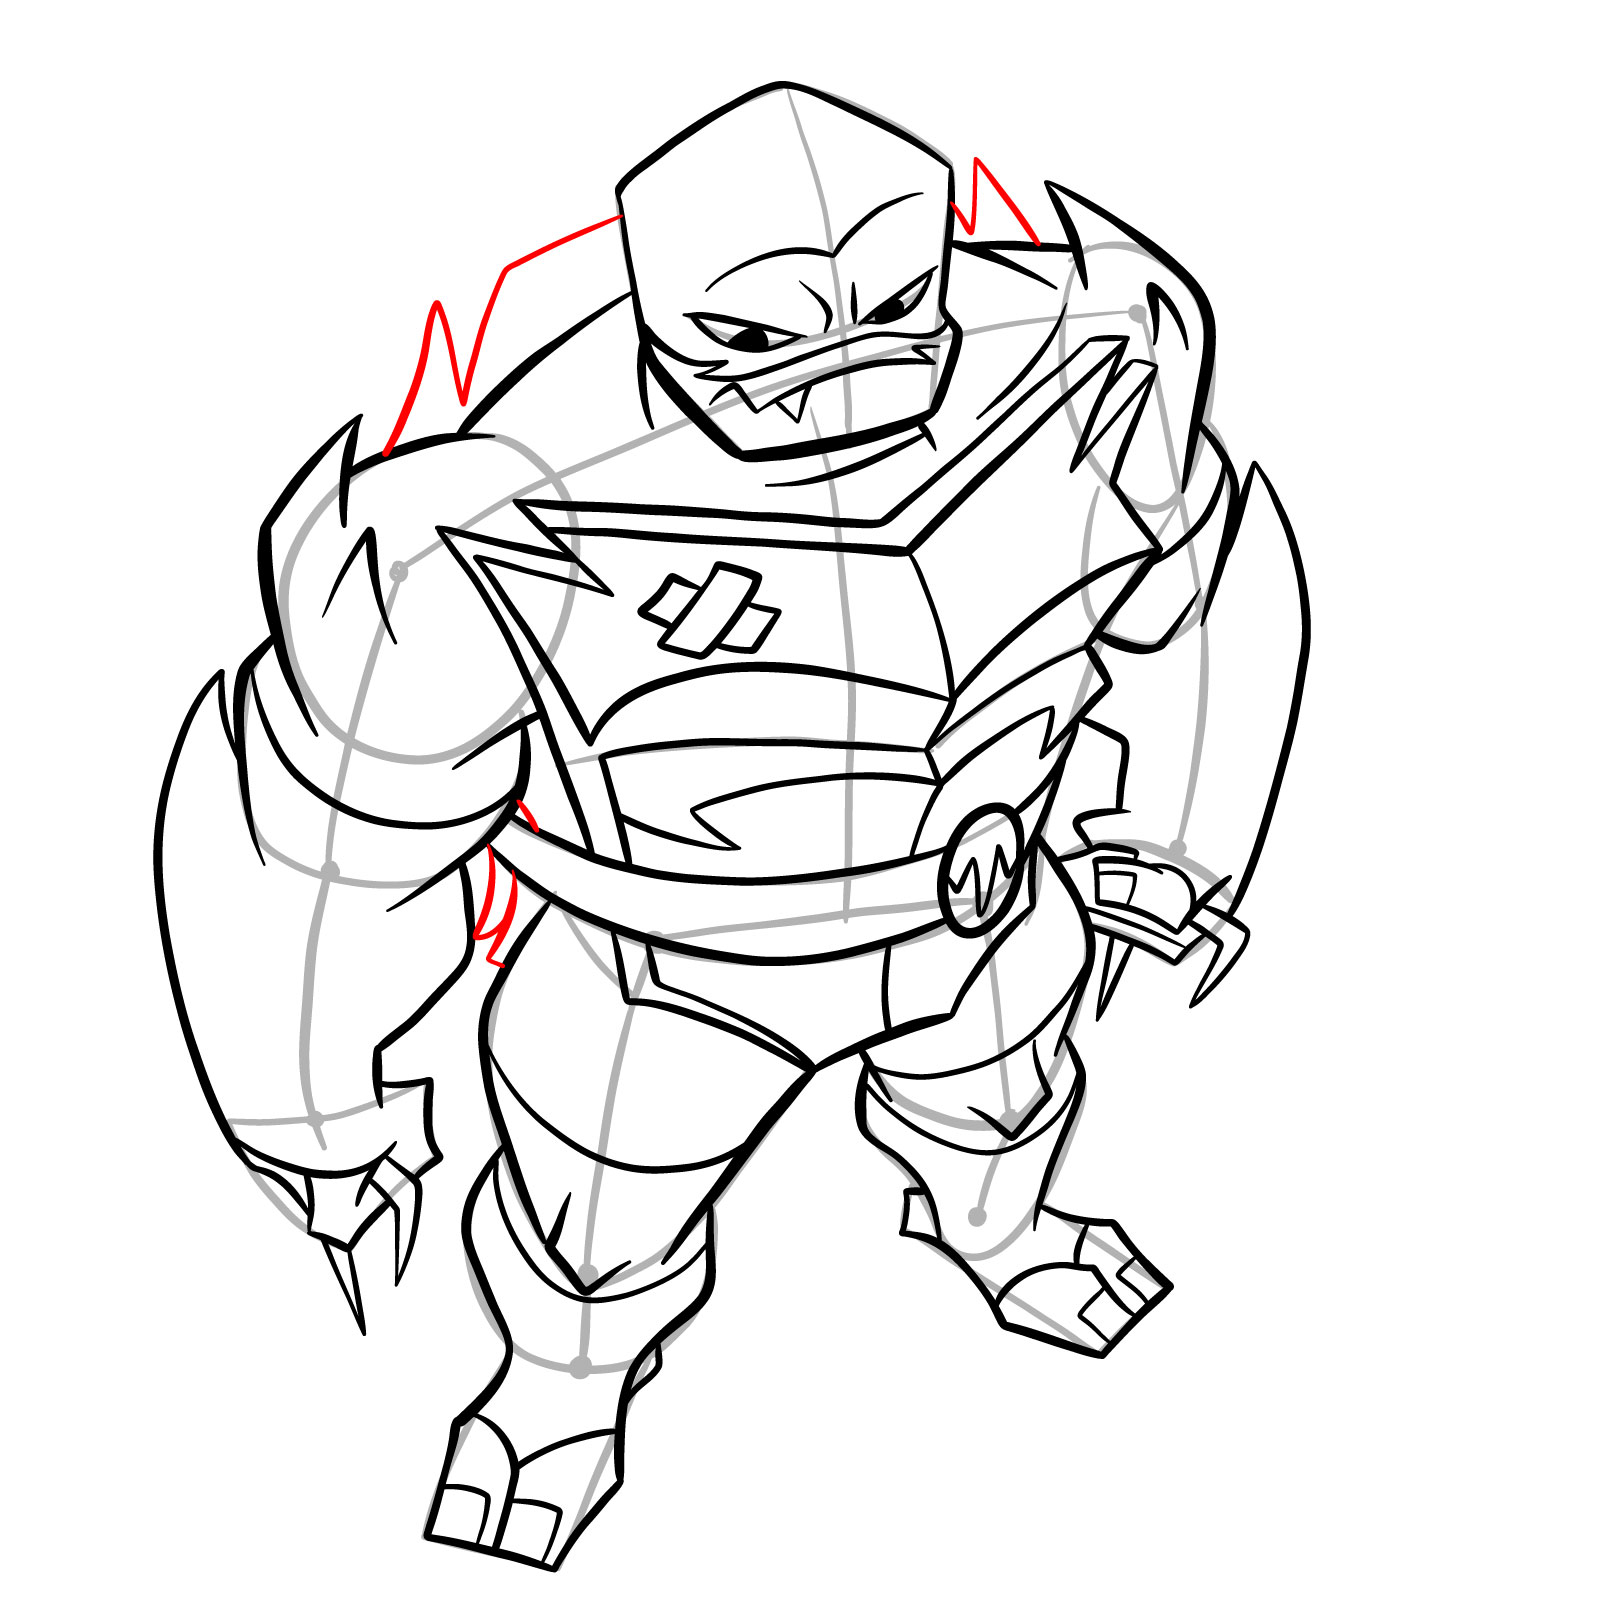
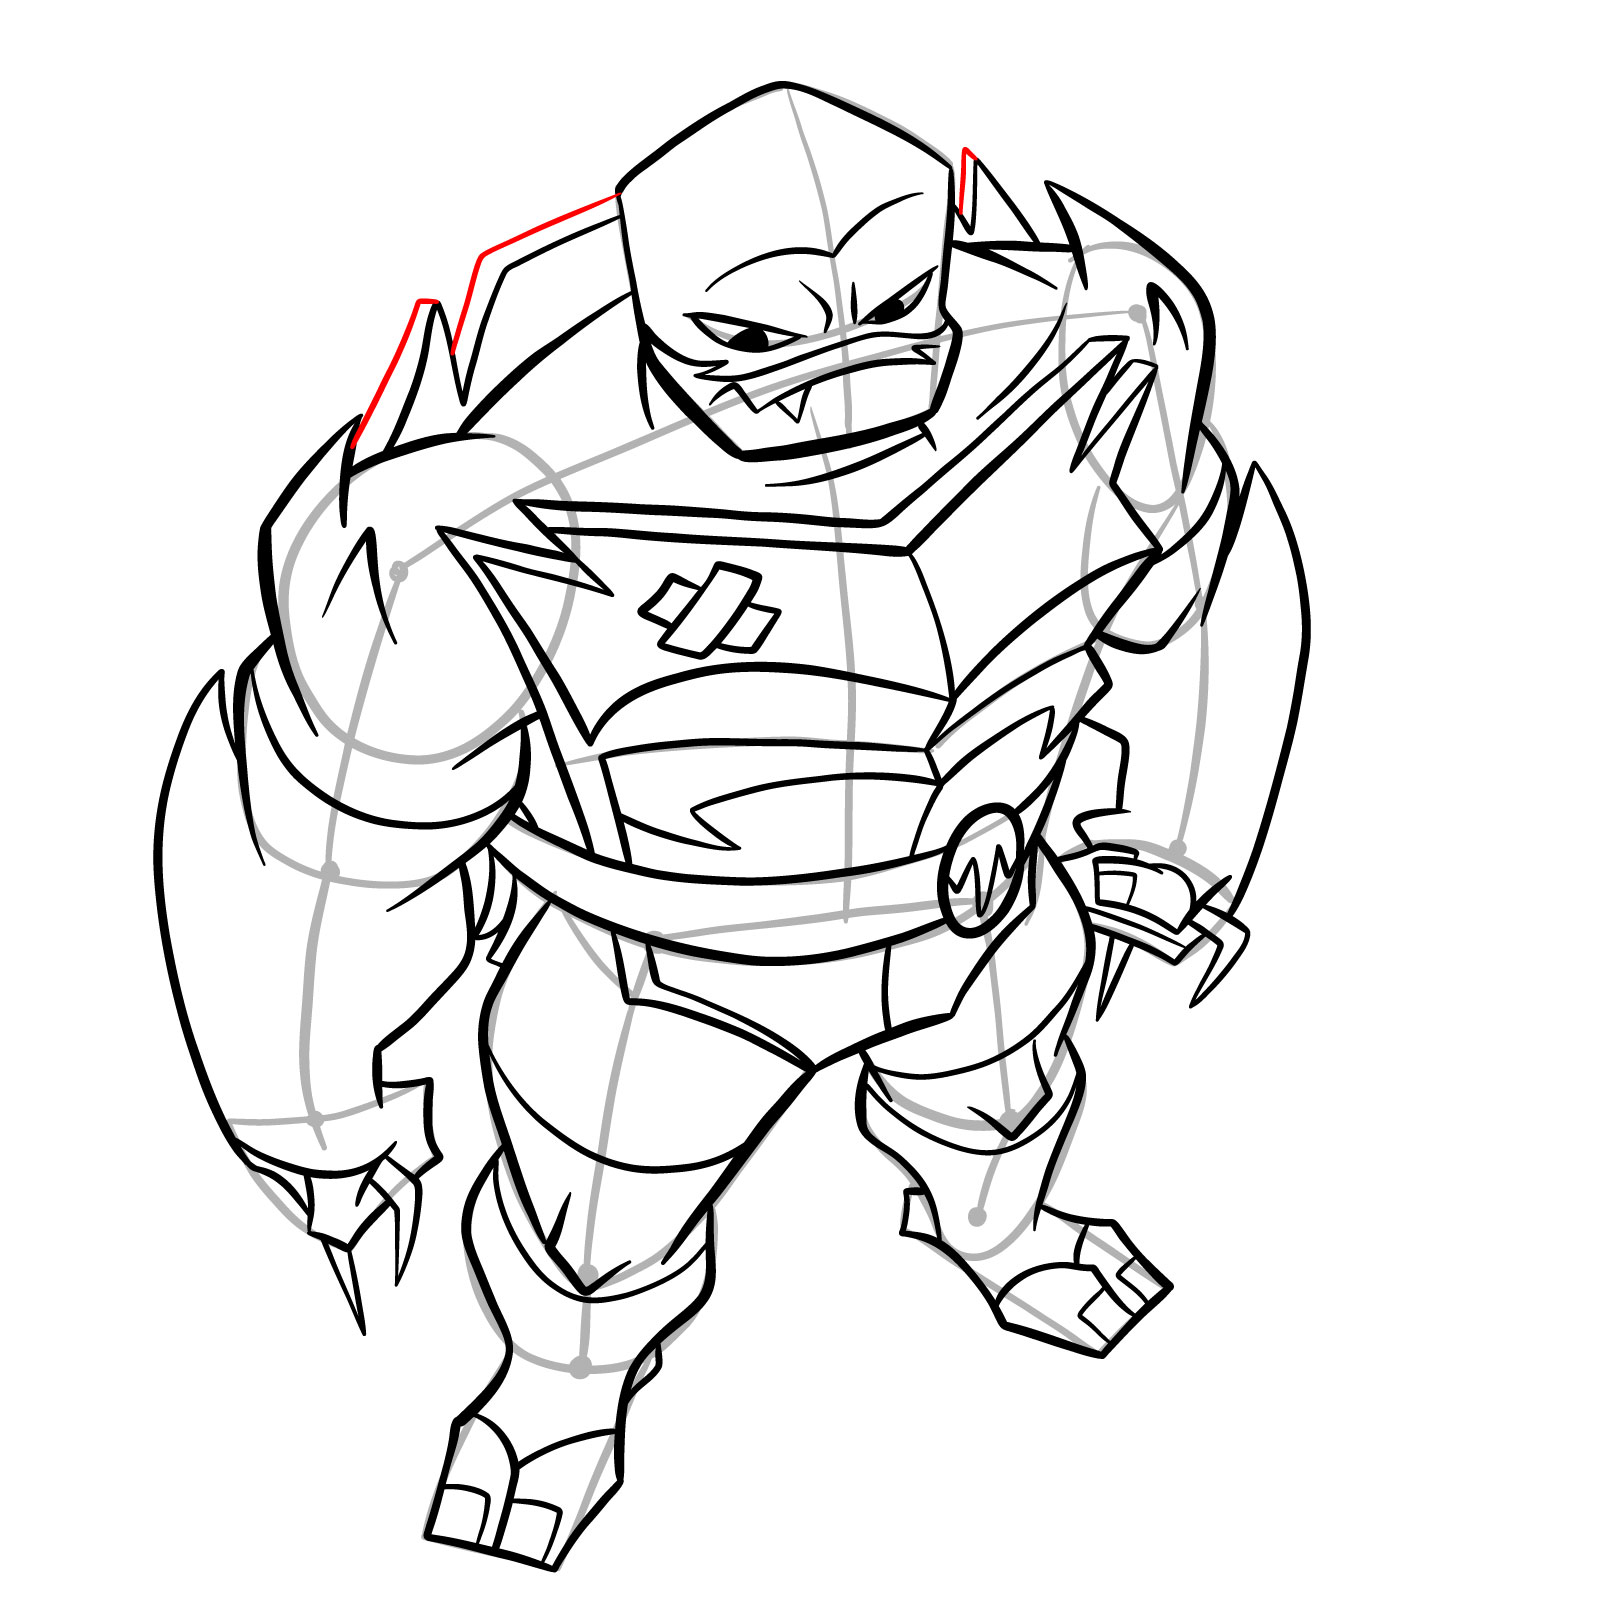
Our visual tutorial comprises 36 steps that break down the intricacies of capturing Raph in his Hamato Ninpō state. As you embark on this journey:

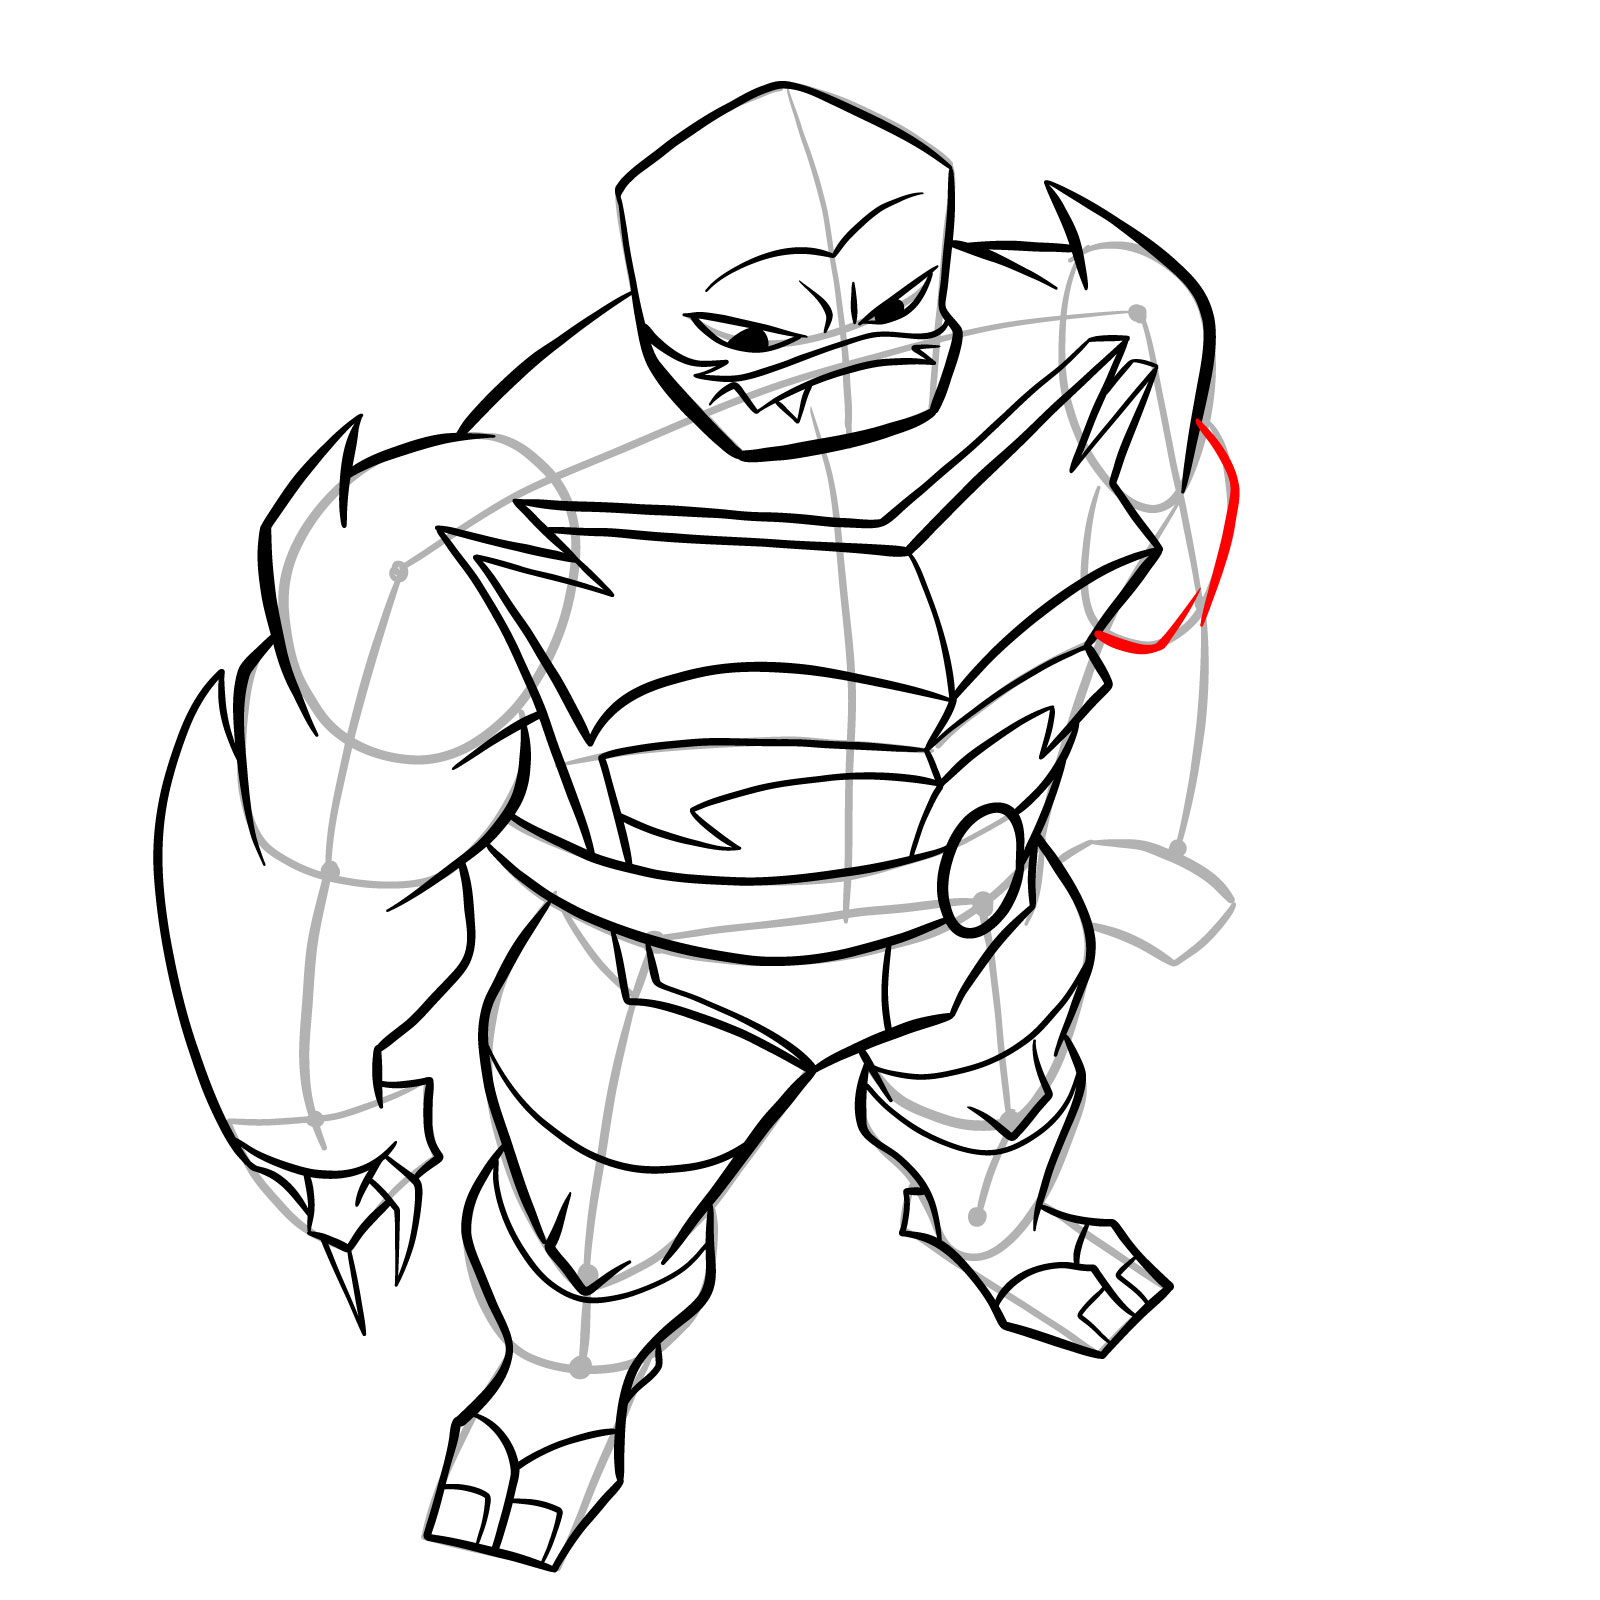
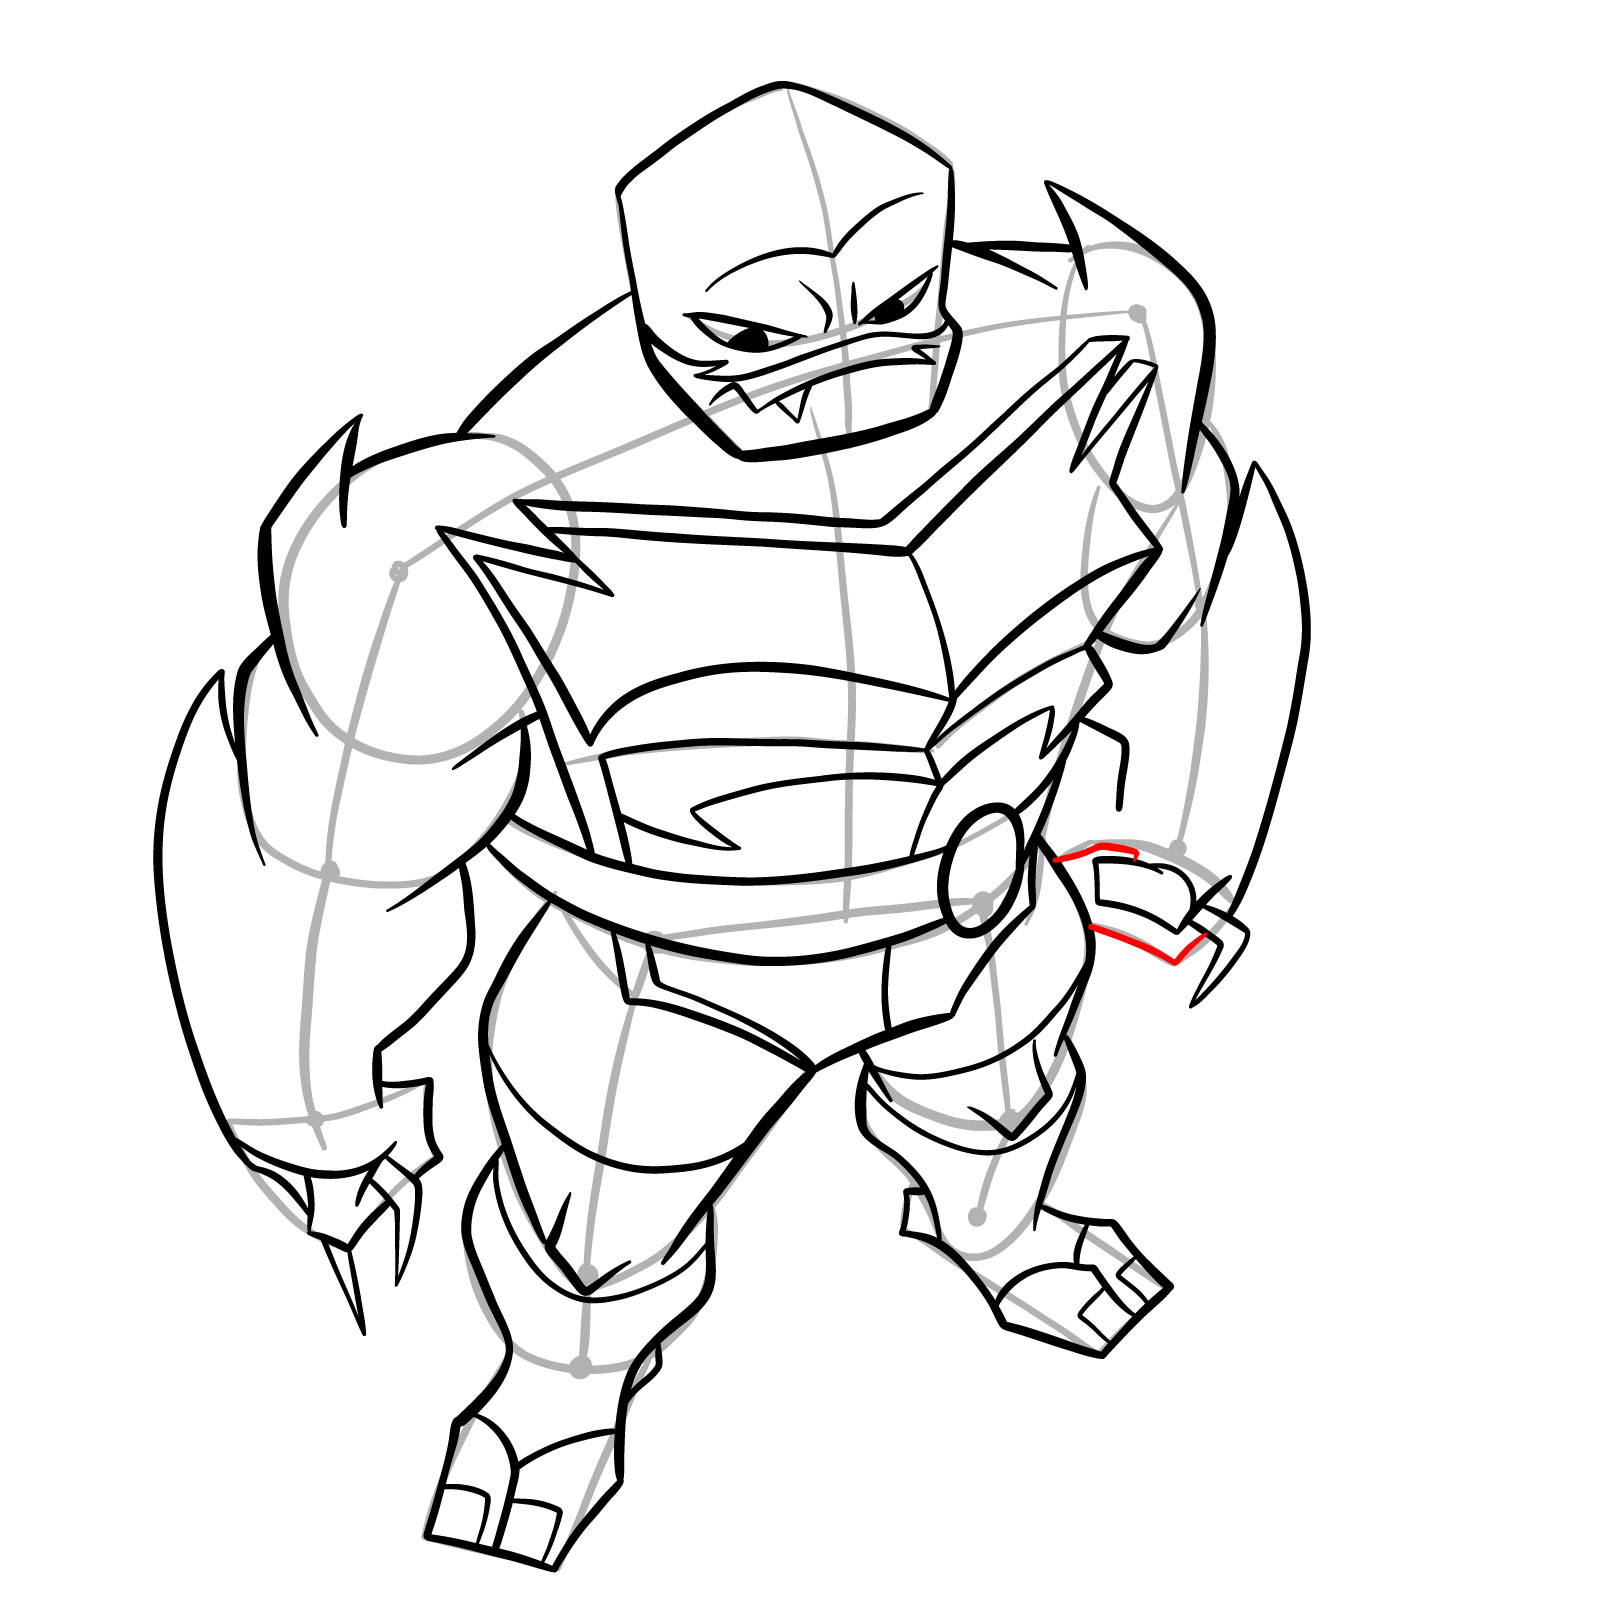
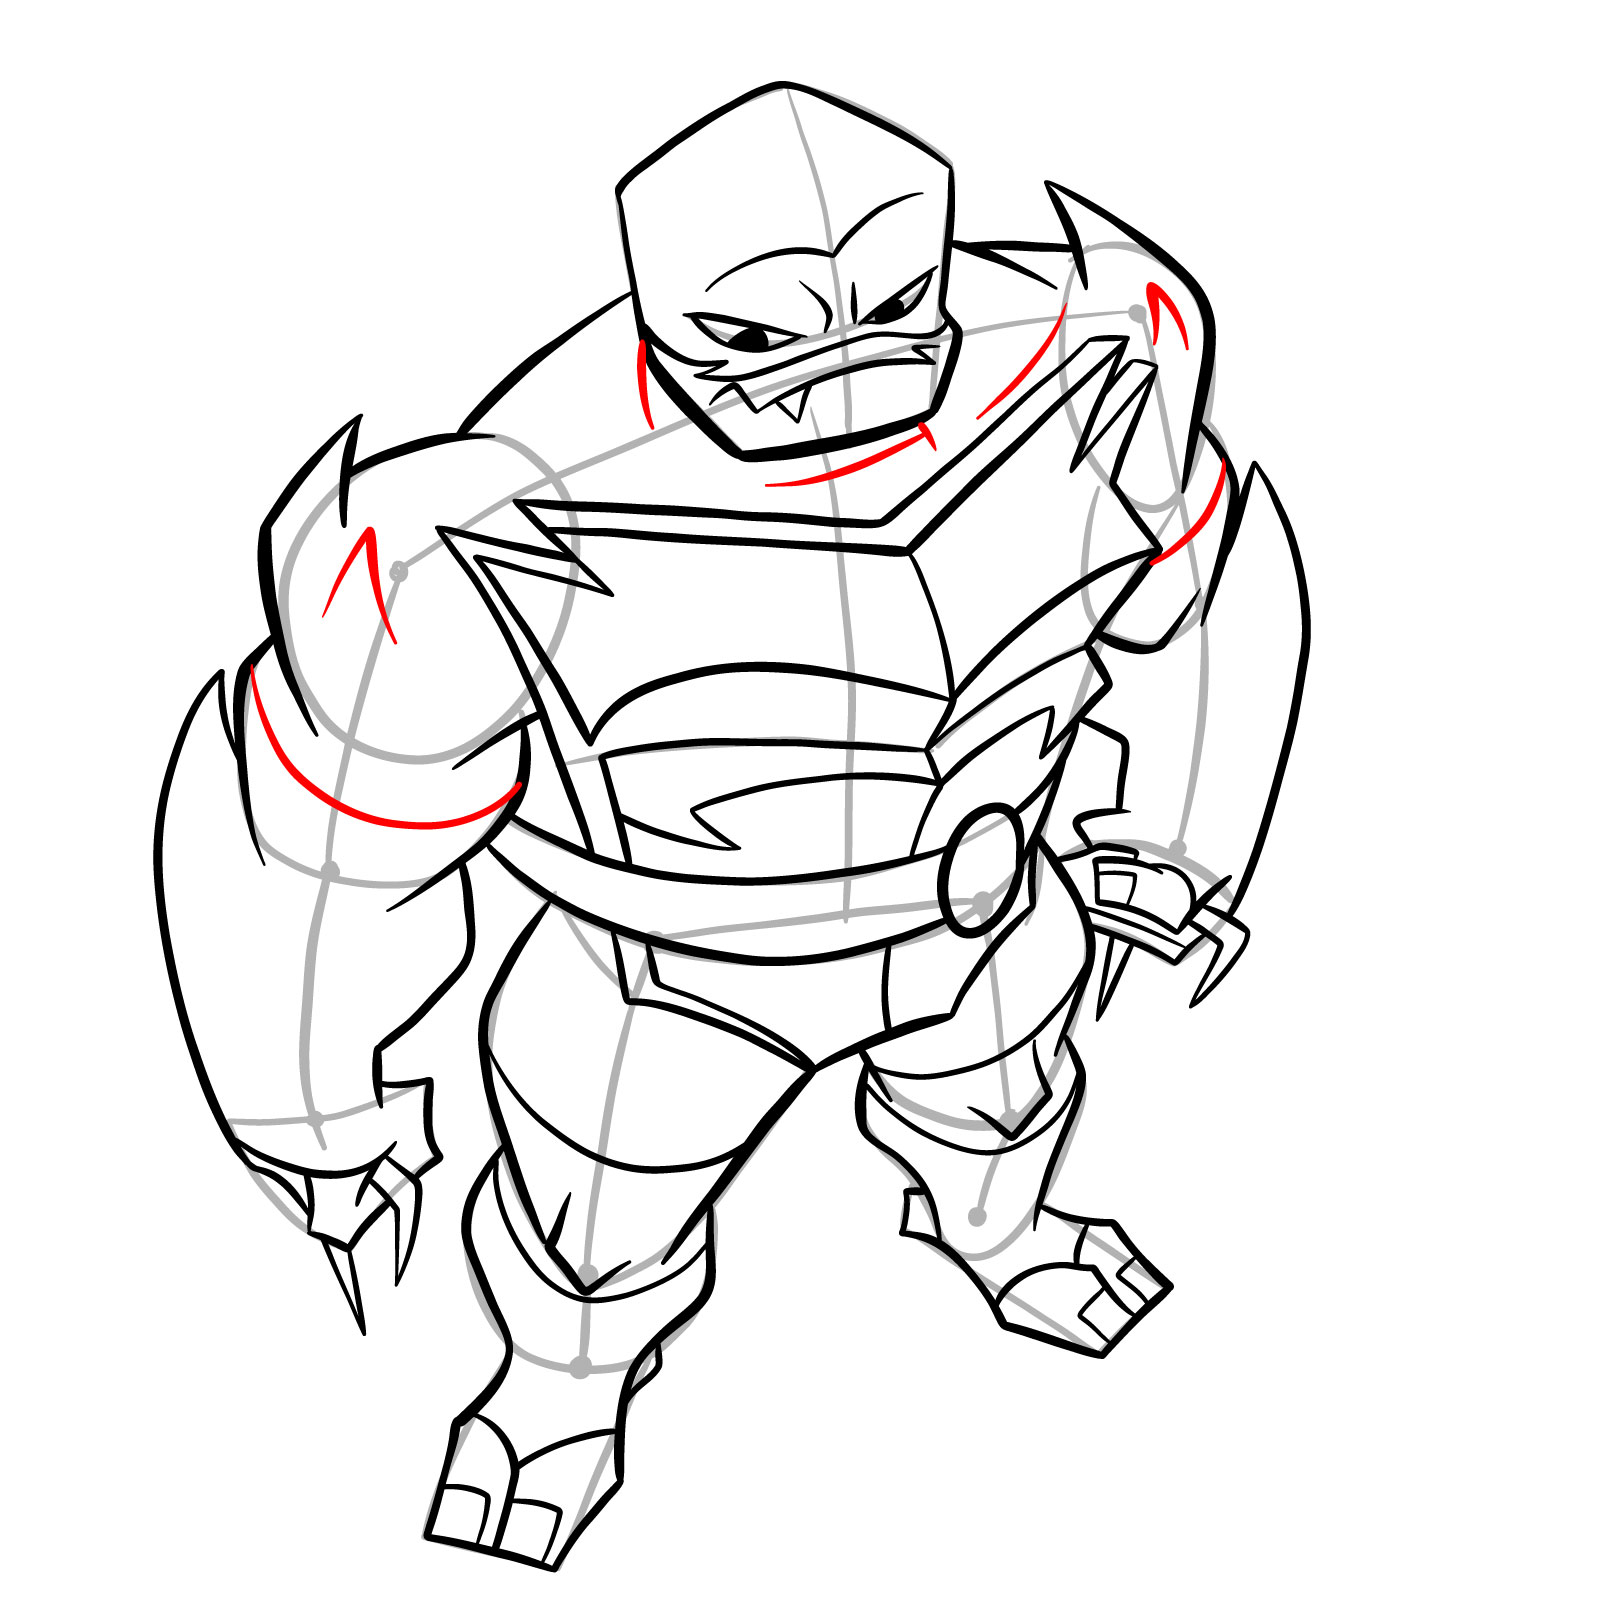
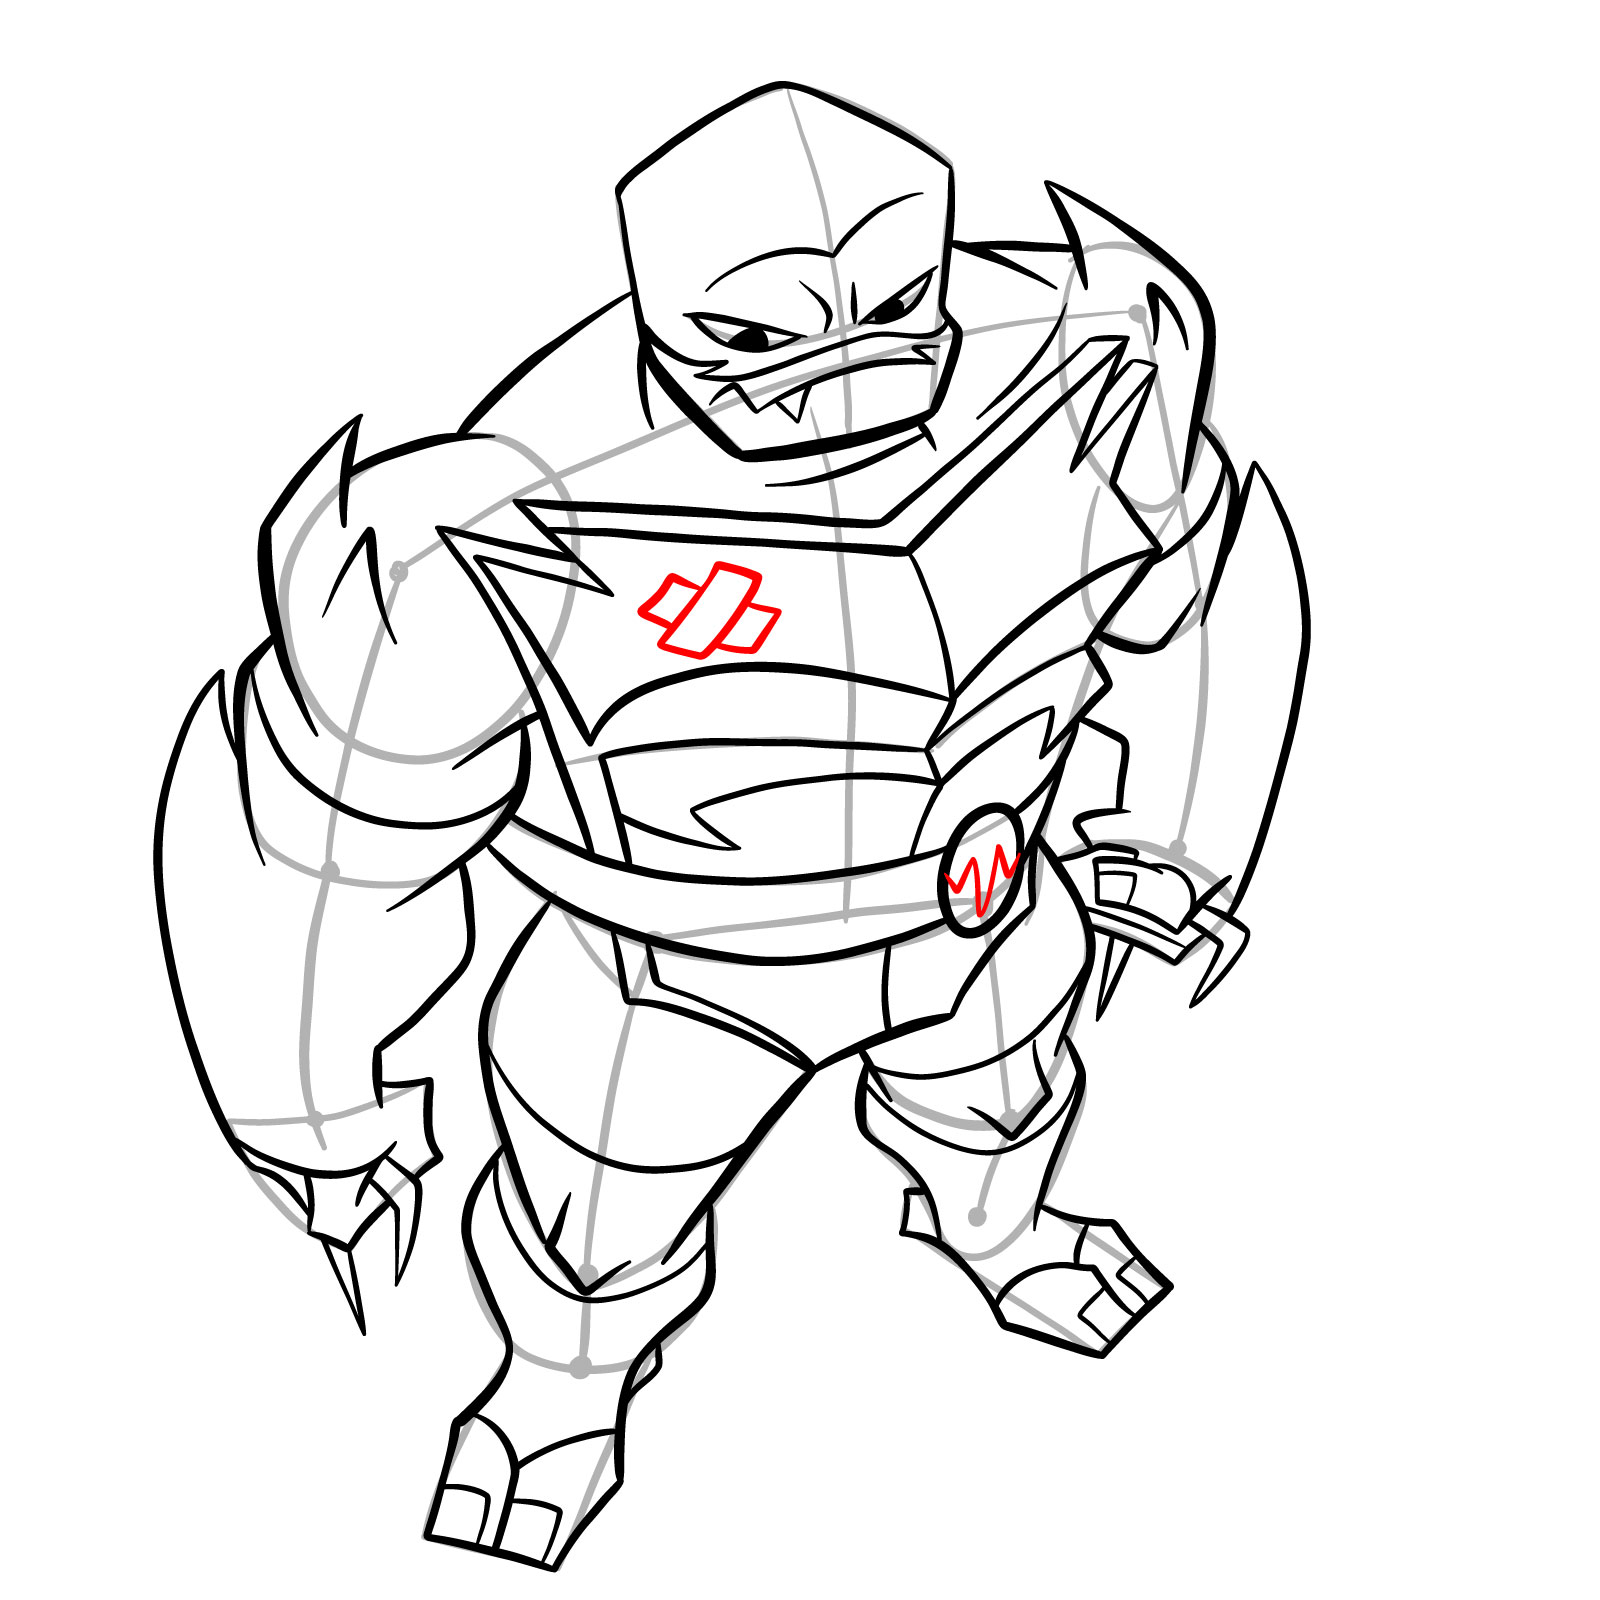
  • Red Color: Symbolizes the current step of your drawing journey.
  • Grey Color: Represents the foundational sketch, especially critical in the initial three steps.
  • Black Color: Highlights the lines you’ve previously crafted.

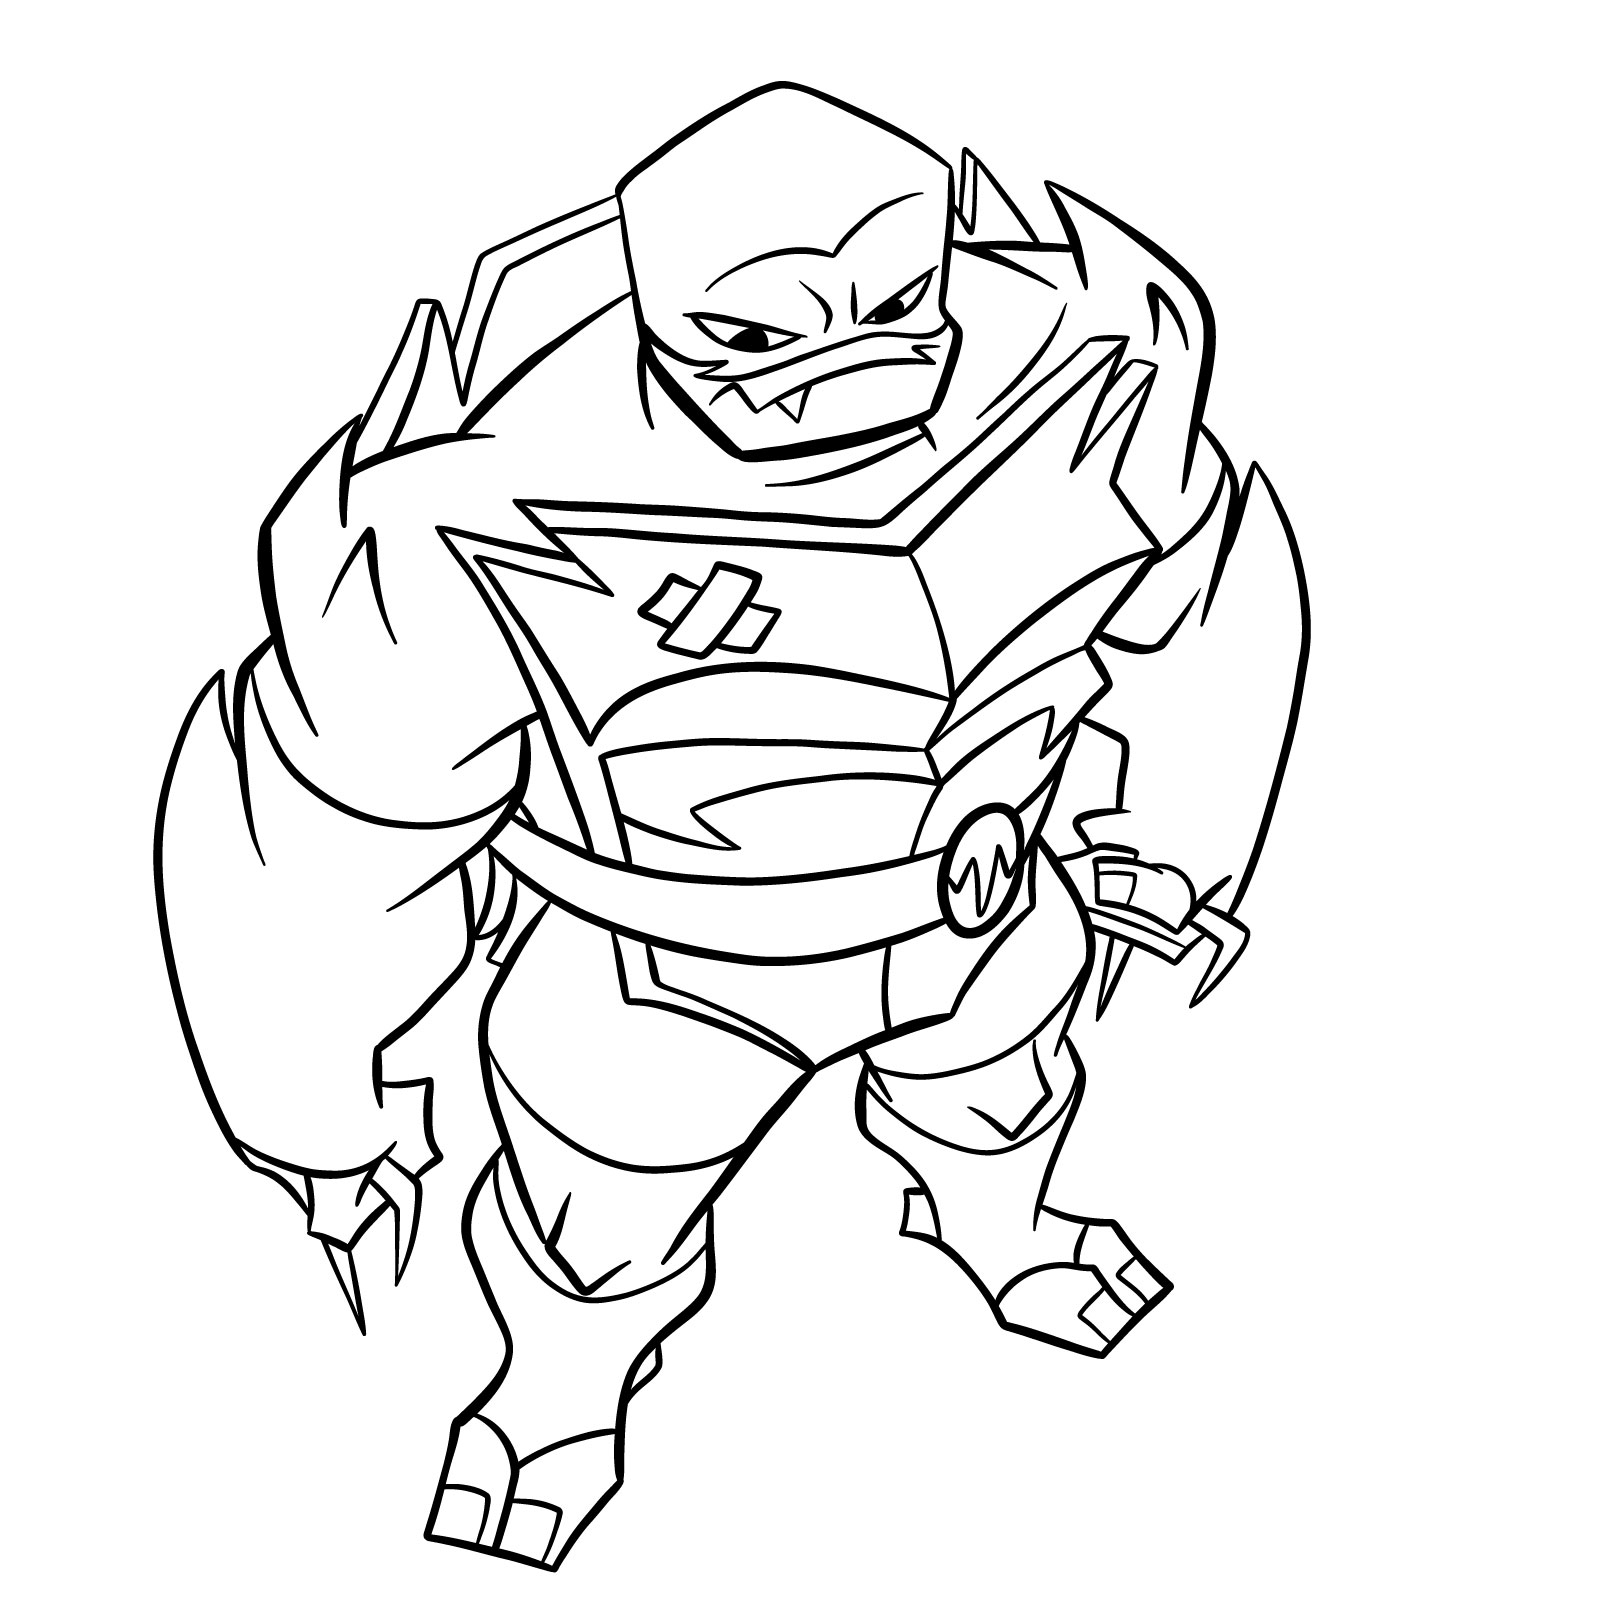
Once you’ve successfully traced Raph’s form, consider inking the sketch for a refined look. However, remember to let the ink dry before erasing the pencil outlines. Doing so ensures your artwork remains clean and smudge-free.

Step 01

How to draw Raph in Hamato Ninpō state - step 01Pin

Step 02

How to draw Raph in Hamato Ninpō state - step 02Pin

Step 03

How to draw Raph in Hamato Ninpō state - step 03Pin

Step 04

How to draw Raph in Hamato Ninpō state - step 04Pin

Step 05

How to draw Raph in Hamato Ninpō state - step 05Pin

Step 06

How to draw Raph in Hamato Ninpō state - step 06Pin

Step 07

How to draw Raph in Hamato Ninpō state - step 07Pin

Step 08

How to draw Raph in Hamato Ninpō state - step 08Pin

Step 09

How to draw Raph in Hamato Ninpō state - step 09Pin

Step 10

How to draw Raph in Hamato Ninpō state - step 10Pin

Step 11

How to draw Raph in Hamato Ninpō state - step 11Pin

Step 12

How to draw Raph in Hamato Ninpō state - step 12Pin

Step 13

How to draw Raph in Hamato Ninpō state - step 13Pin

Step 14

How to draw Raph in Hamato Ninpō state - step 14Pin

Step 15

How to draw Raph in Hamato Ninpō state - step 15Pin

Step 16

How to draw Raph in Hamato Ninpō state - step 16Pin

Step 17

How to draw Raph in Hamato Ninpō state - step 17Pin

Step 18

How to draw Raph in Hamato Ninpō state - step 18Pin

Step 19

How to draw Raph in Hamato Ninpō state - step 19Pin

Step 20

How to draw Raph in Hamato Ninpō state - step 20Pin

Step 21

How to draw Raph in Hamato Ninpō state - step 21Pin

Step 22

How to draw Raph in Hamato Ninpō state - step 22Pin

Step 23

How to draw Raph in Hamato Ninpō state - step 23Pin

Step 24

How to draw Raph in Hamato Ninpō state - step 24Pin

Step 25

How to draw Raph in Hamato Ninpō state - step 25Pin

Step 26

How to draw Raph in Hamato Ninpō state - step 26Pin

Step 27

How to draw Raph in Hamato Ninpō state - step 27Pin

Step 28

How to draw Raph in Hamato Ninpō state - step 28Pin

Step 29

How to draw Raph in Hamato Ninpō state - step 29Pin

Step 30

How to draw Raph in Hamato Ninpō state - step 30Pin

Step 31

How to draw Raph in Hamato Ninpō state - step 31Pin

Step 32

How to draw Raph in Hamato Ninpō state - step 32Pin

Step 33

How to draw Raph in Hamato Ninpō state - step 33Pin

Step 34

How to draw Raph in Hamato Ninpō state - step 34Pin

Step 35

How to draw Raph in Hamato Ninpō state - step 35Pin

Step 36

How to draw Raph in Hamato Ninpō state - final stepPin

Channeling the might and essence of Raph in his Hamato Ninpō state is an incredible journey for any artist. Remember, practice makes perfect, and every stroke brings you closer to mastering how to draw this iconic character. If you found this guide valuable and wish to support my work further, please consider donating. Your kind donations not only help keep the art alive but also grant you the power to suggest topics for future tutorials. Together, let’s create more art magic!

Feel free to share this guide’s link with other TMNT enthusiasts and aspiring artists. Stay updated on more tutorials by connecting with SketchOk on Facebook, Instagram, and Pinterest.

Did you like the tutorial?

You can support the author of this website and also suggest your own ideas for new drawings by making a small donation here:

Leave a Comment

14