Entering the vibrant world of The Powerpuff Girls, there’s no character as captivating as Blossom. As the self-proclaimed leader of the trio, she embodies a mix of intelligence, strength, and charm. If you’ve ever desired to bring her iconic look from the 2016 series onto paper, you’re in the right place. Our tutorial will take you on a journey on how to draw Blossom with precision and style.
Key Features of Blossom’s Appearance
Before diving into the drawing process, let’s familiarize ourselves with Blossom’s distinctive features:
- Long reddish-orange hair that flows with grace.
- Her signature red bow – a touch of style and identity.
- Expressive pink eyes that radiate confidence and leadership.
- A pink dress adorned with a black horizontal stripe, paired with white tights and black Mary-Janes.
When considering adding more characters, Bubbles and Buttercup, her two sisters, make for a dynamic trio. Their contrasting personalities can provide a comprehensive Powerpuff tableau.
Sketching Tips for Capturing Blossom Perfectly
Sketching a character like Blossom requires a keen eye for detail. Here are some expert tips:
- Start with light strokes to outline her structure. This helps in maintaining proportions.
- Pay attention to her distinctive features like the bow and her flowing hair. They define her character’s identity.
- Remember to maintain the fluidity of her pose, capturing her leadership and grace.
Navigating the Guide
This step-by-step guide is structured meticulously to ensure a seamless drawing experience. Consisting of high-quality images, each image is a beacon guiding you through the process. By following each step, Blossom’s image will gradually emerge on your canvas.
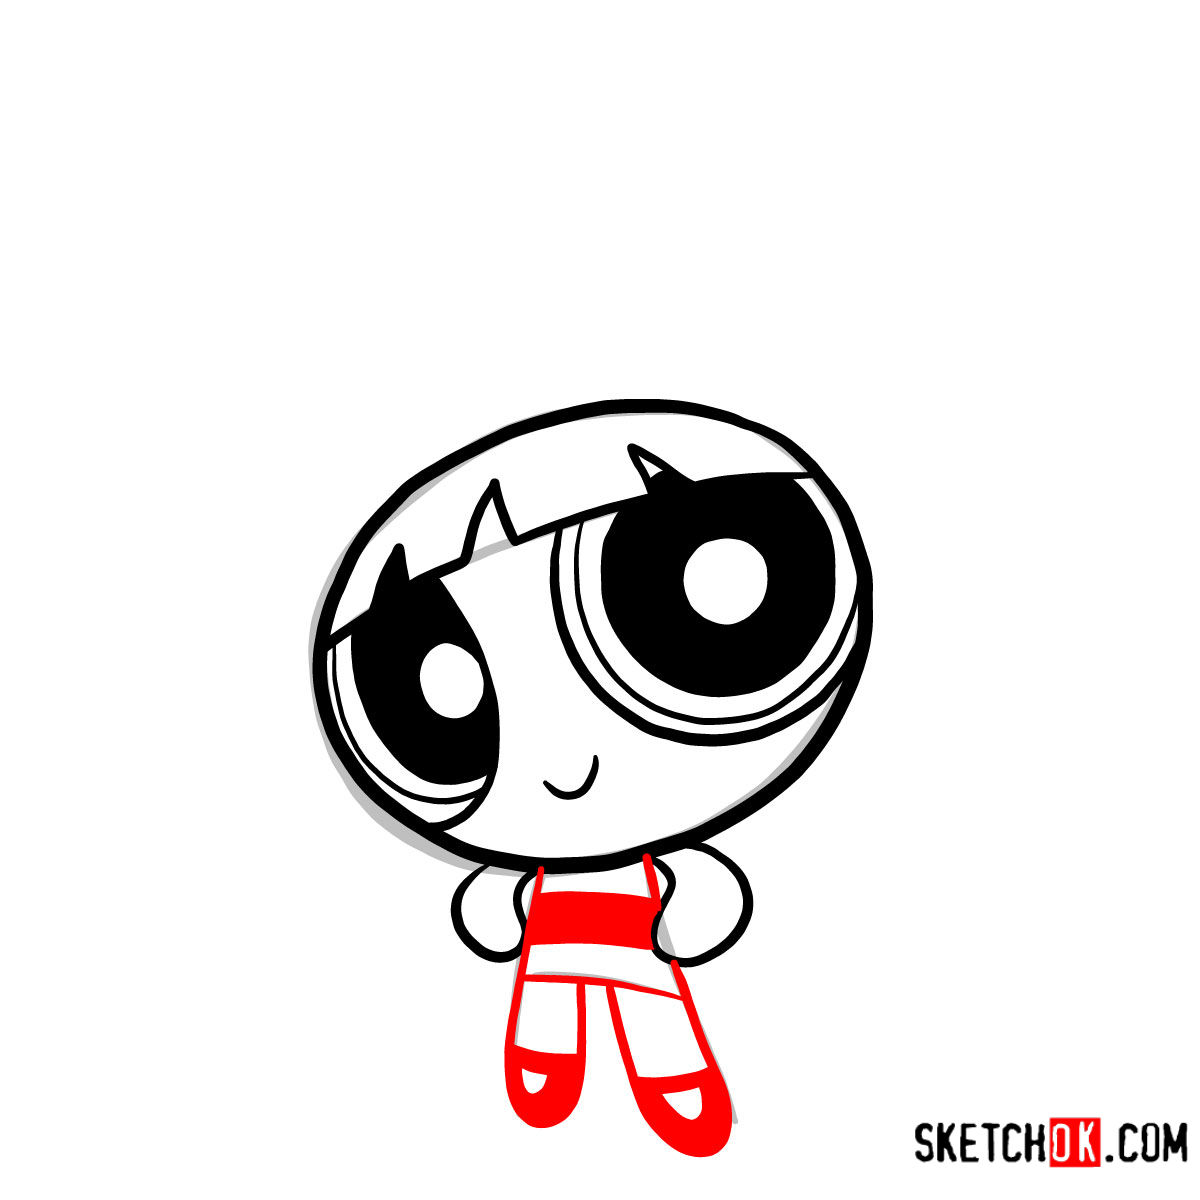
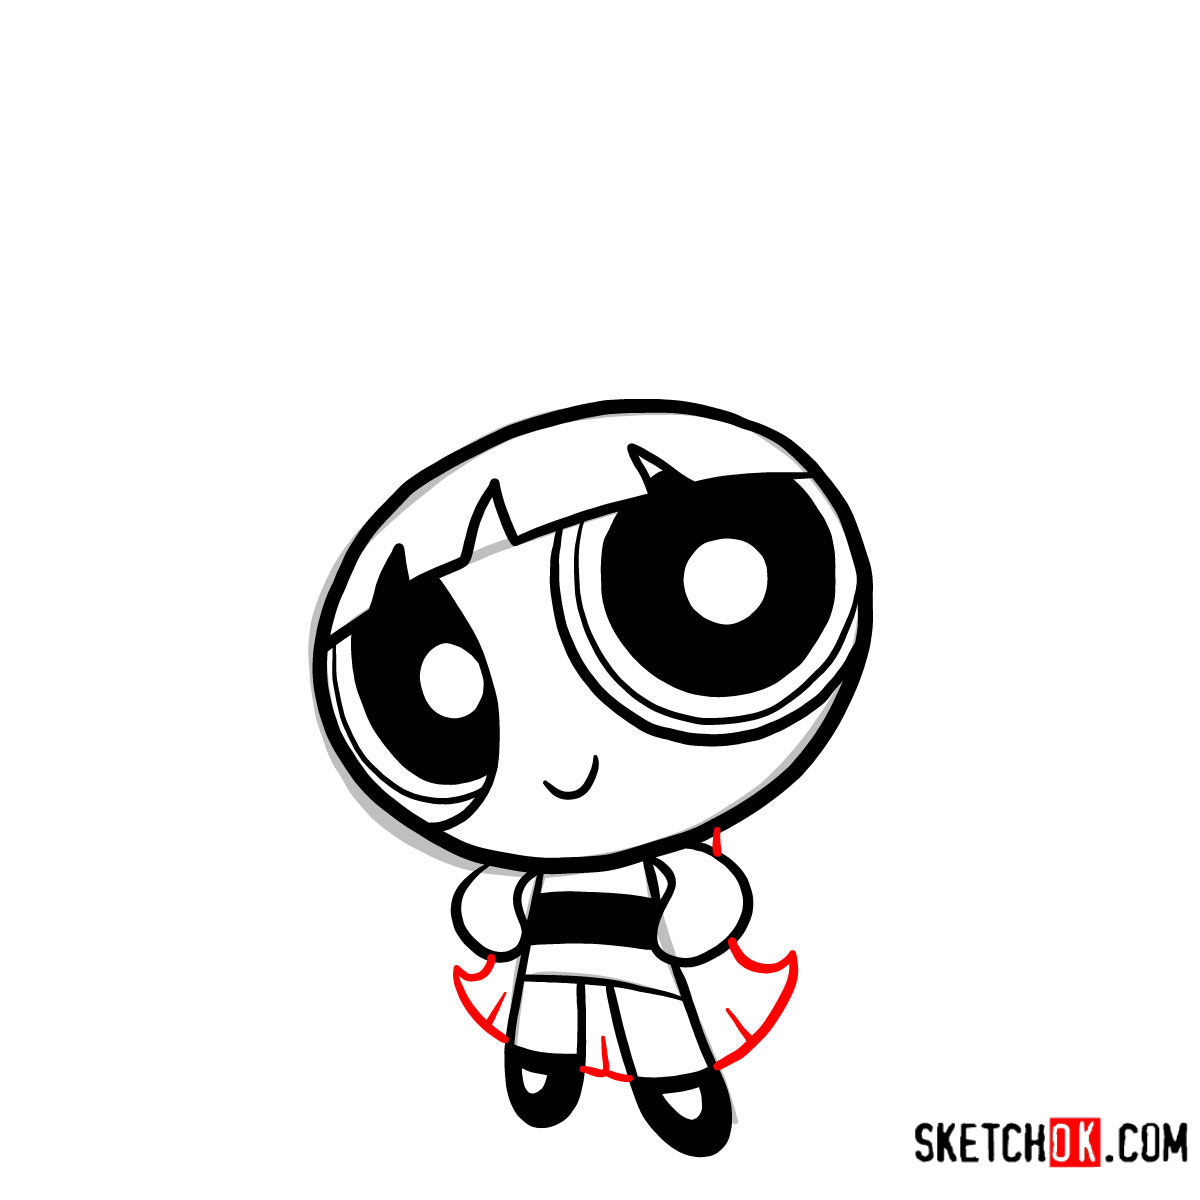
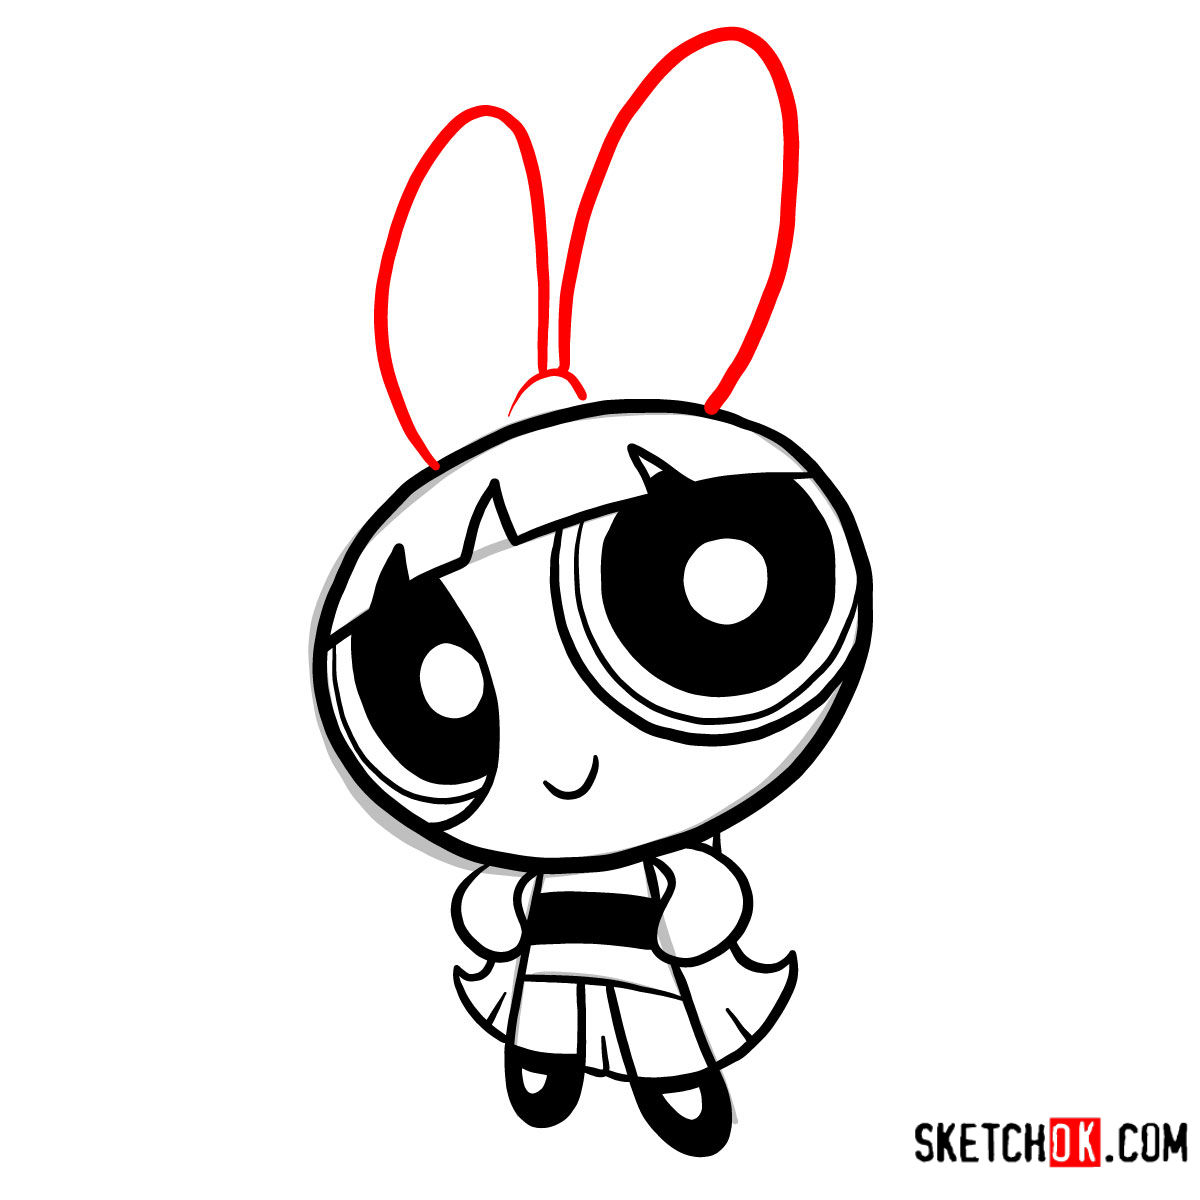
- Red Color: Represents the current drawing step.
- Grey Color: Indicates the basic sketch, helping maintain proportions.
- Black Color: Showcases the lines you’ve drawn in previous steps.
We’ve spread the tutorial across 9 meticulous steps. The initial stage emphasizes constructing the basic sketch, while the concluding stage offers artists the option to ink the drawing. Once the inking is done, wait patiently for the ink to dry before gently erasing the pencil marks, ensuring a clean, polished final piece.


Blossom Trivia: Did You Know?
Blossom isn’t just about looks; her character depth sets her apart. Known for her impeccable school attendance and her early acceptance into a top-tier university, her dedication knows no bounds. This Powerpuff Girl’s love for order even extends to her personal belongings, which are always kept meticulously organized.
As you finalize your artwork, you’re not just drawing a character; you’re encapsulating the essence of Blossom from the 2016 Powerpuff series. I, at SketchOk, take immense pride in guiding budding artists like you through this enriching journey. If you found this tutorial beneficial, don’t keep it to yourself! Share it with your friends and fellow artists. Also, consider connecting with us on Facebook, Instagram, and Pinterest. Let’s continue to spread the love for art together!