Welcome to our step-by-step guide on how to draw Twilight Sparkle, the enchanting character from My Little Pony. Dive deep into her intricate details, and by the end, you’ll have a magnificent artwork ready to be showcased.
Twilight Sparkle: A Glimpse into Her Magical World
Before we proceed with the sketching process, let’s delve into Twilight Sparkle’s background and understand her main features. This will ensure we capture her essence perfectly:
- Unicorn Turned Alicorn: One of the unique characteristics of Twilight Sparkle is her transition from a unicorn to an Alicorn, giving her a majestic appearance.
- Element of Magic: Representing the element of magic, her presence resonates with mystique and allure.
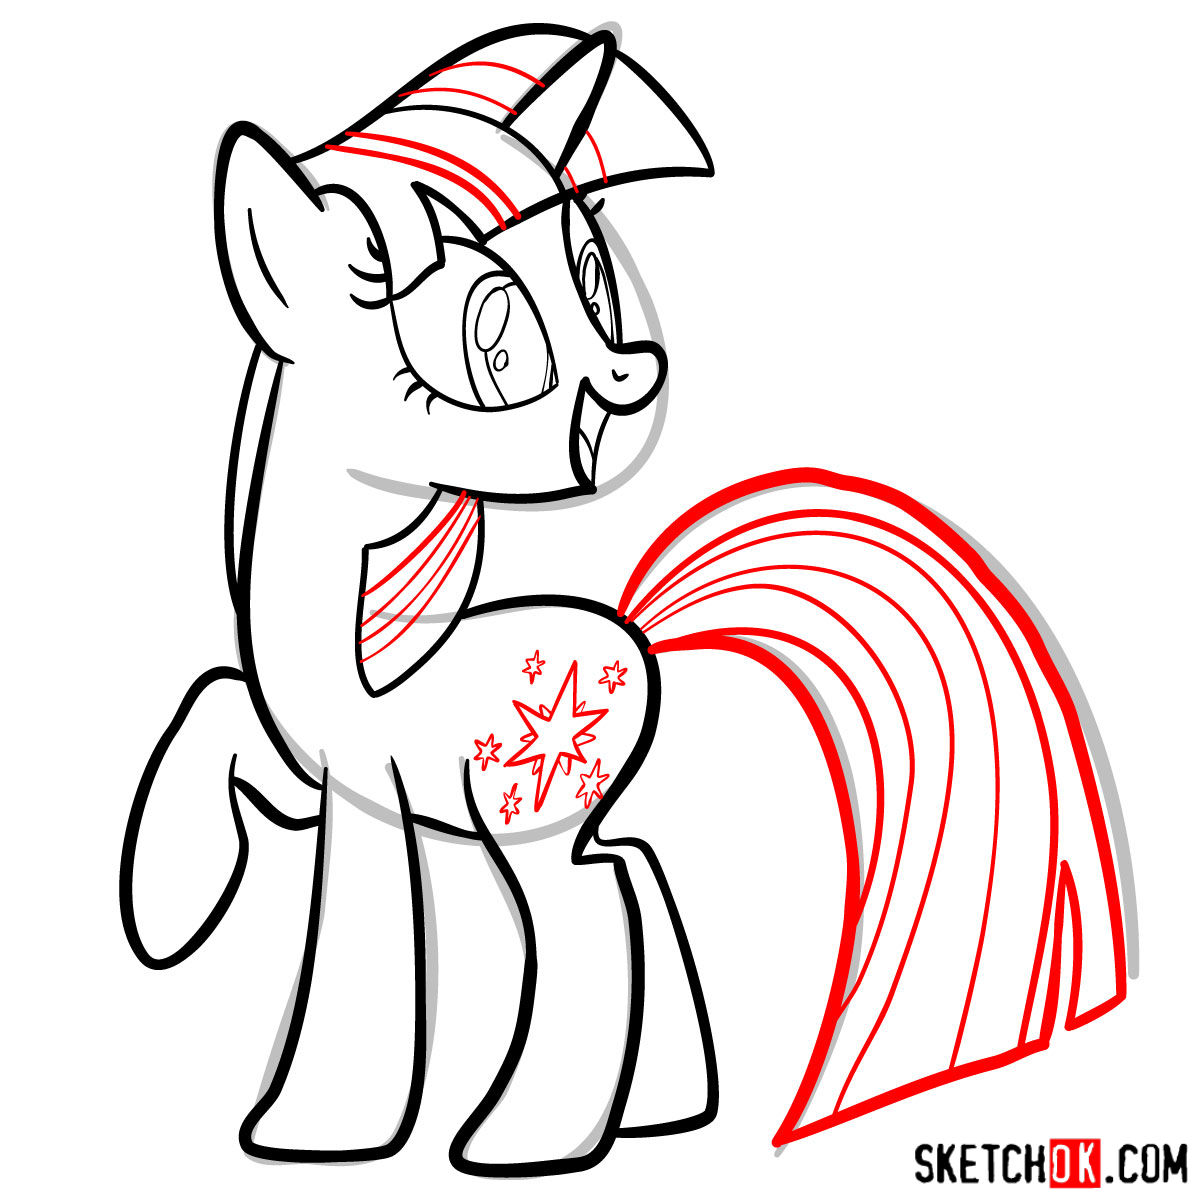
- Mane and Tail: Twilight’s mane and tail showcased hues of purple and magenta.
- Her Cutie Mark: A symbolic representation of her character, Twilight’s cutie mark has evolved over time. Today, it represents her royal and mystical aura.
If you enjoy drawing Twilight Sparkle, consider adding some related characters such as her assistant Spike, or her sister-in-law, Princess Cadance, to create a more vibrant scene.
Navigating the Guide: Understanding the Steps
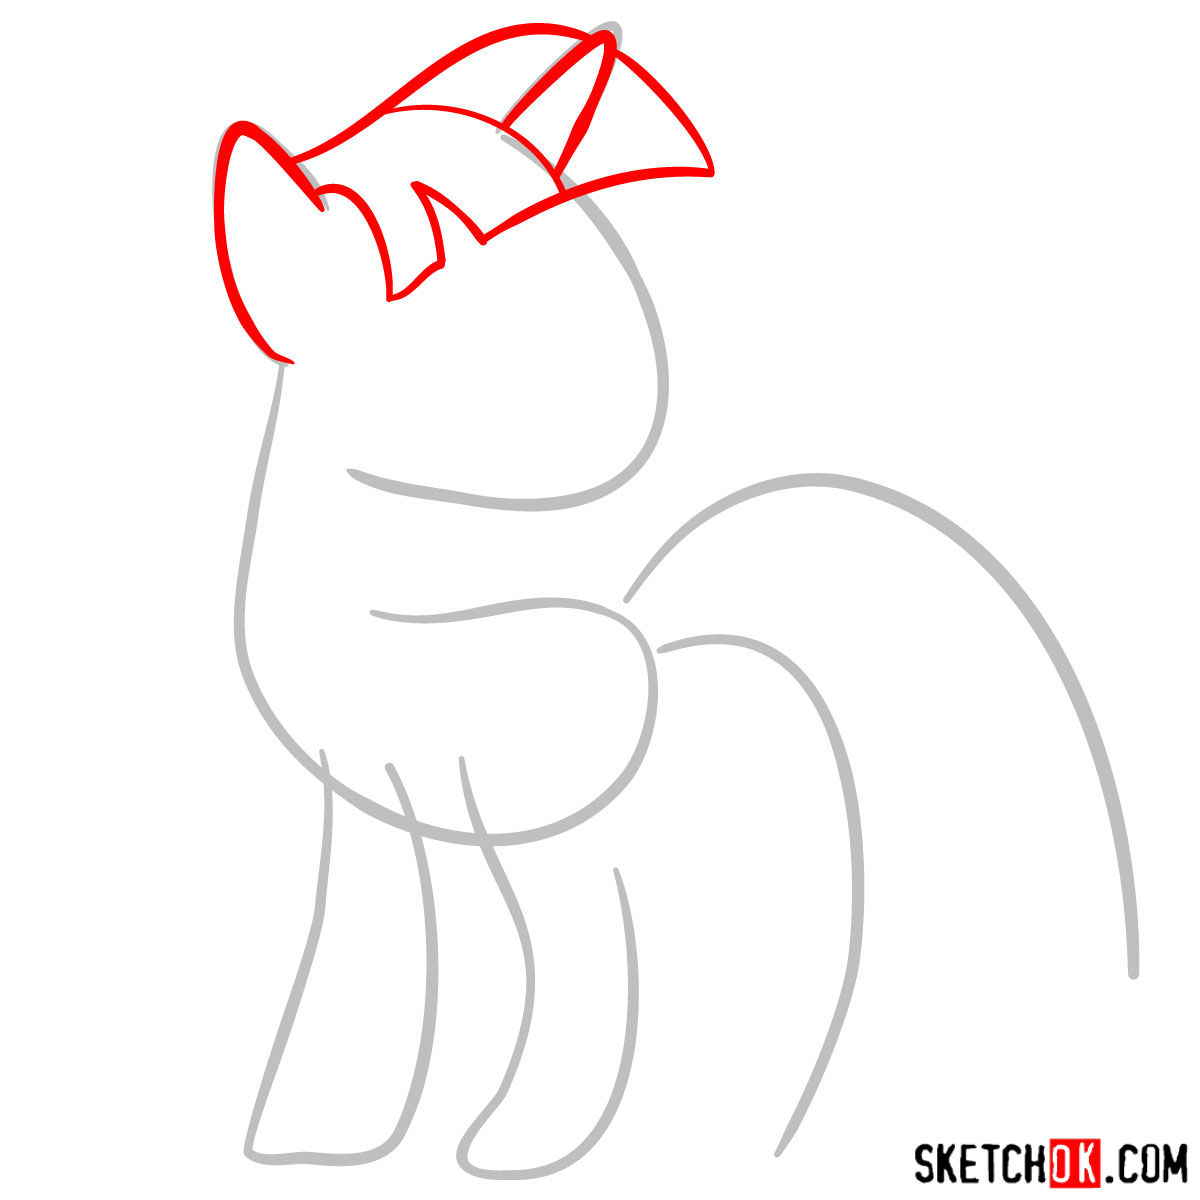
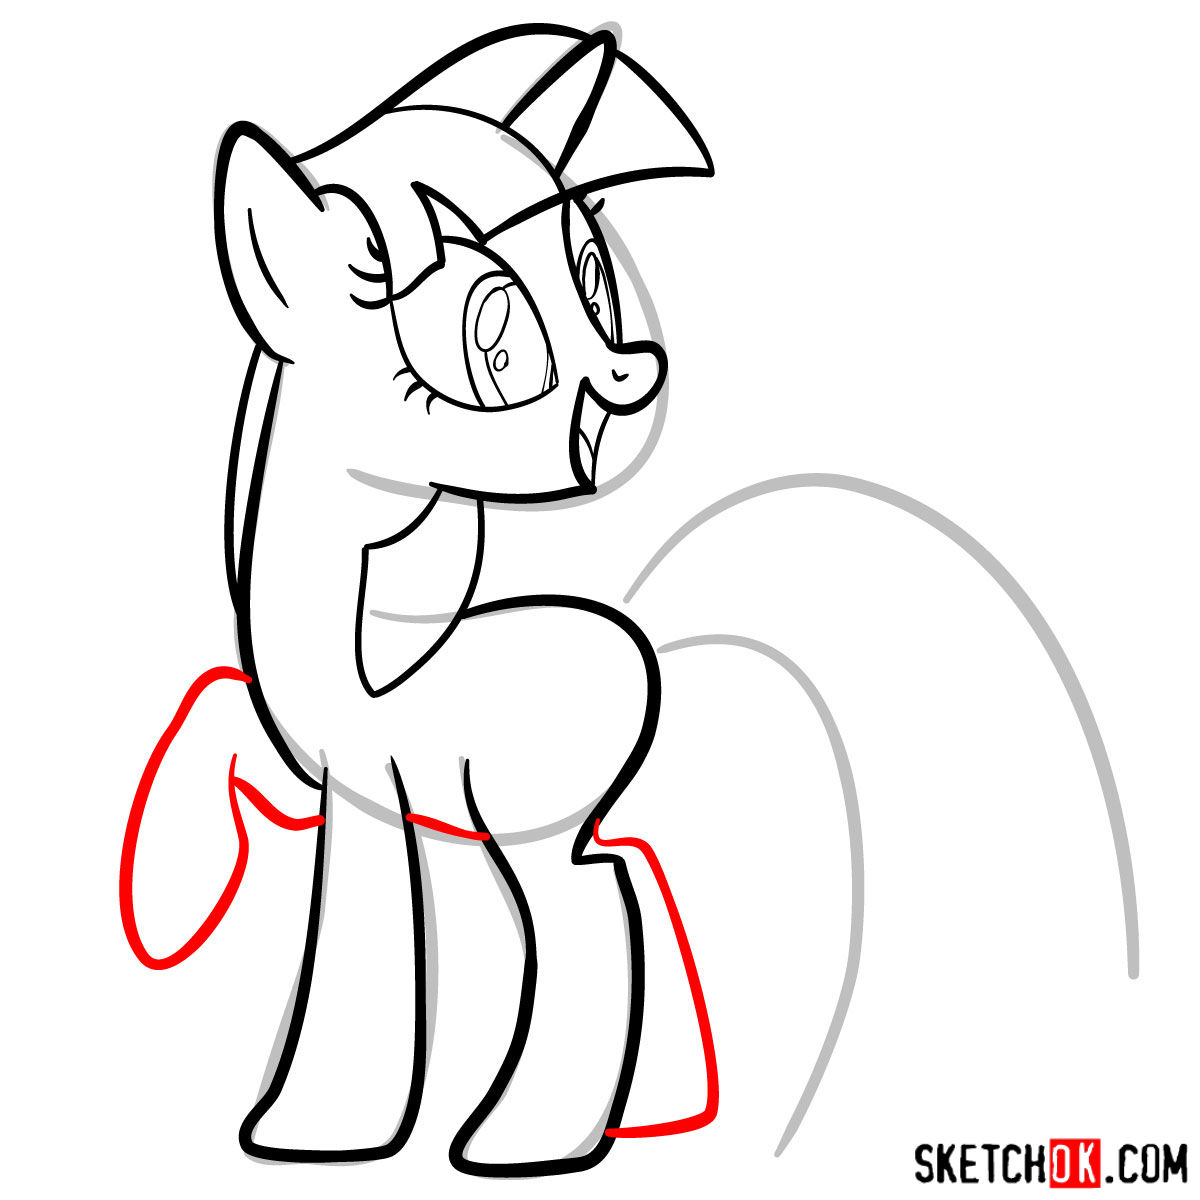
This guide provides a comprehensive approach to sketching Twilight Sparkle in 11 distinct steps. Let’s understand the color-coding system used in our guide:
- Red Color: Denotes the current drawing step. Ensure this is where your focus is at.
- Black Color: Indicates lines that were drawn in the previous steps. These will guide you as you progress.
- Grey Color: Represents the basic structure or skeleton sketch. This will serve as a blueprint for your drawing.
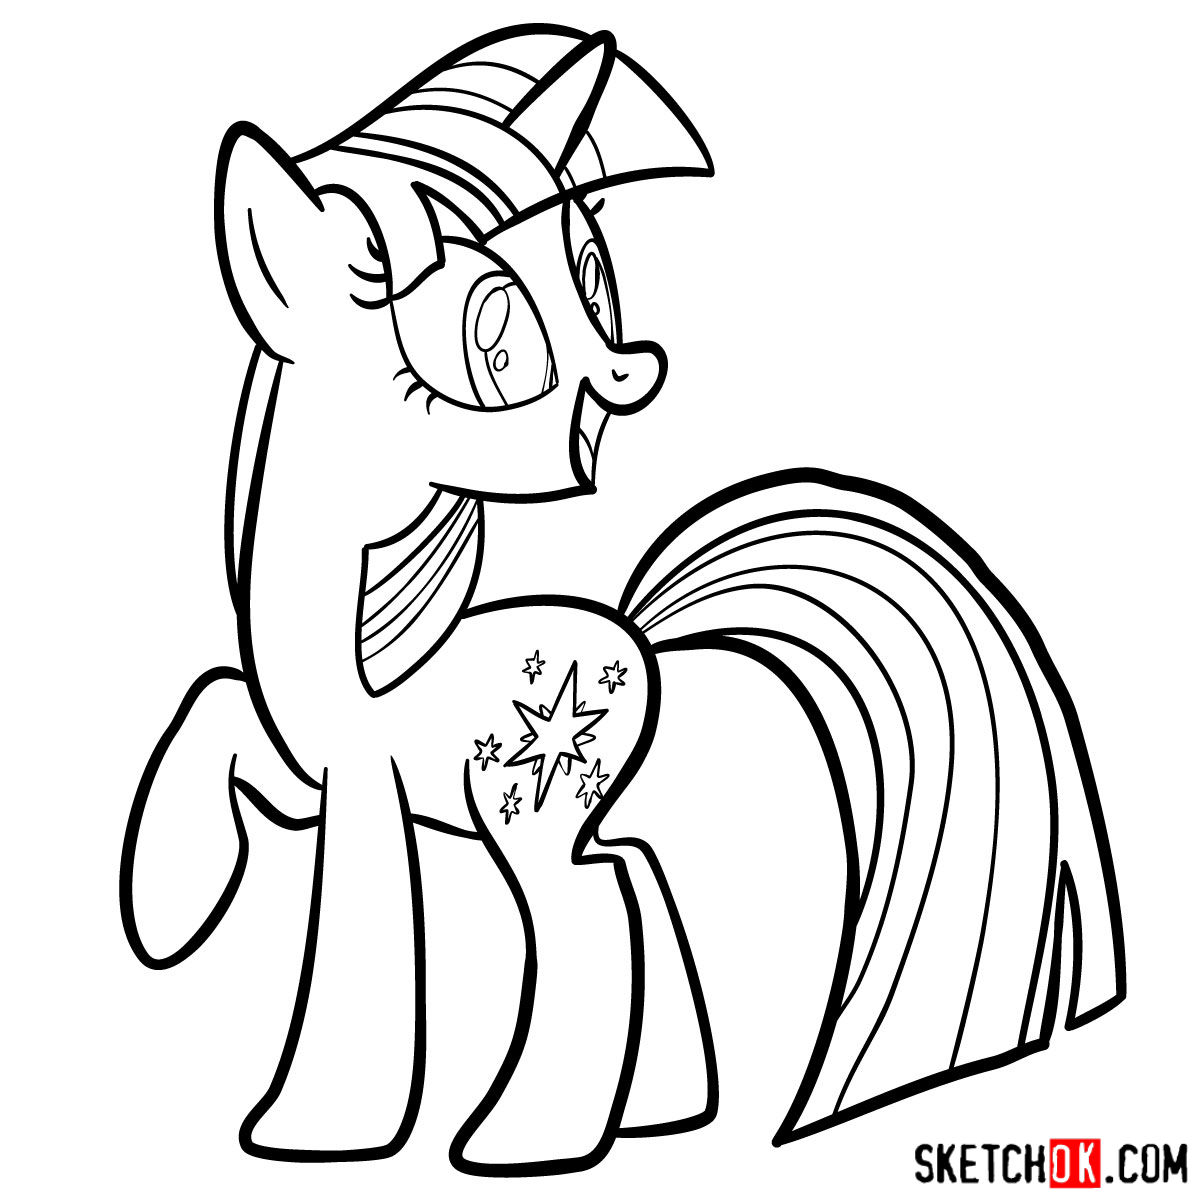
The first step revolves around sketching a basic proportionate structure using light pencil strokes. This ensures you can make easy adjustments later. Once you reach the end, you’ll have the option to ink your sketch. Inking gives a refined touch, making your artwork stand out. However, remember to wait for the ink to dry before gently erasing the pencil outlines to prevent smudging. The final image showcases a colored version of Twilight Sparkle, which can serve as a color reference if you wish to breathe life into your sketch with vibrant hues.


Drawing Twilight Sparkle: FAQs
What technique is best for drawing Twilight Sparkle’s flowing mane and tail?
The key to capturing Twilight Sparkle’s mane and tail lies in the technique of soft, curved strokes. Begin with light, curved lines, progressively layering and refining them. This creates a sense of movement and volume, capturing the fluidity of her mane and tail.
How do I sketch Twilight’s iconic cutie mark?
Twilight’s cutie mark is a combination of a crescent moon and a star, symbolizing her royal and mystical essence. Start by drawing a crescent shape, followed by a five-pointed star within it. Ensure smooth lines and even proportions to maintain authenticity.
Conclusion: Bringing Twilight Sparkle to Life
With every stroke and detail, you’ve now learned how to draw Twilight Sparkle, encapsulating her magical and regal essence. Drawing is more than just a skill; it’s a journey, and we’re thrilled to have been a part of yours.
If you found this guide valuable, consider sharing it with other budding artists, enthusiasts, or even on social media. By doing so, you’re helping spread the word about our mission and project. Your generous donations at BuyMeACoffee not only sustain the SketchOk initiative but also provide you an opportunity to suggest ideas for new drawing tutorials.
Stay connected with us on Facebook, Instagram, and Pinterest for more drawing guides and tutorials. Every sketch you create is a story waiting to be told. Keep sketching, and until next time!