For many, Rarity stands out as an epitome of elegance and sophistication in the world of My Little Pony. A unicorn pony with a flair for fashion, her distinct design and persona have made her a favorite among fans and artists alike. In this guide, we’ll walk you through a step-by-step process on how to draw Rarity, ensuring your art piece captures her true essence.
Rarity’s Signature Look and Drawing Focus Points
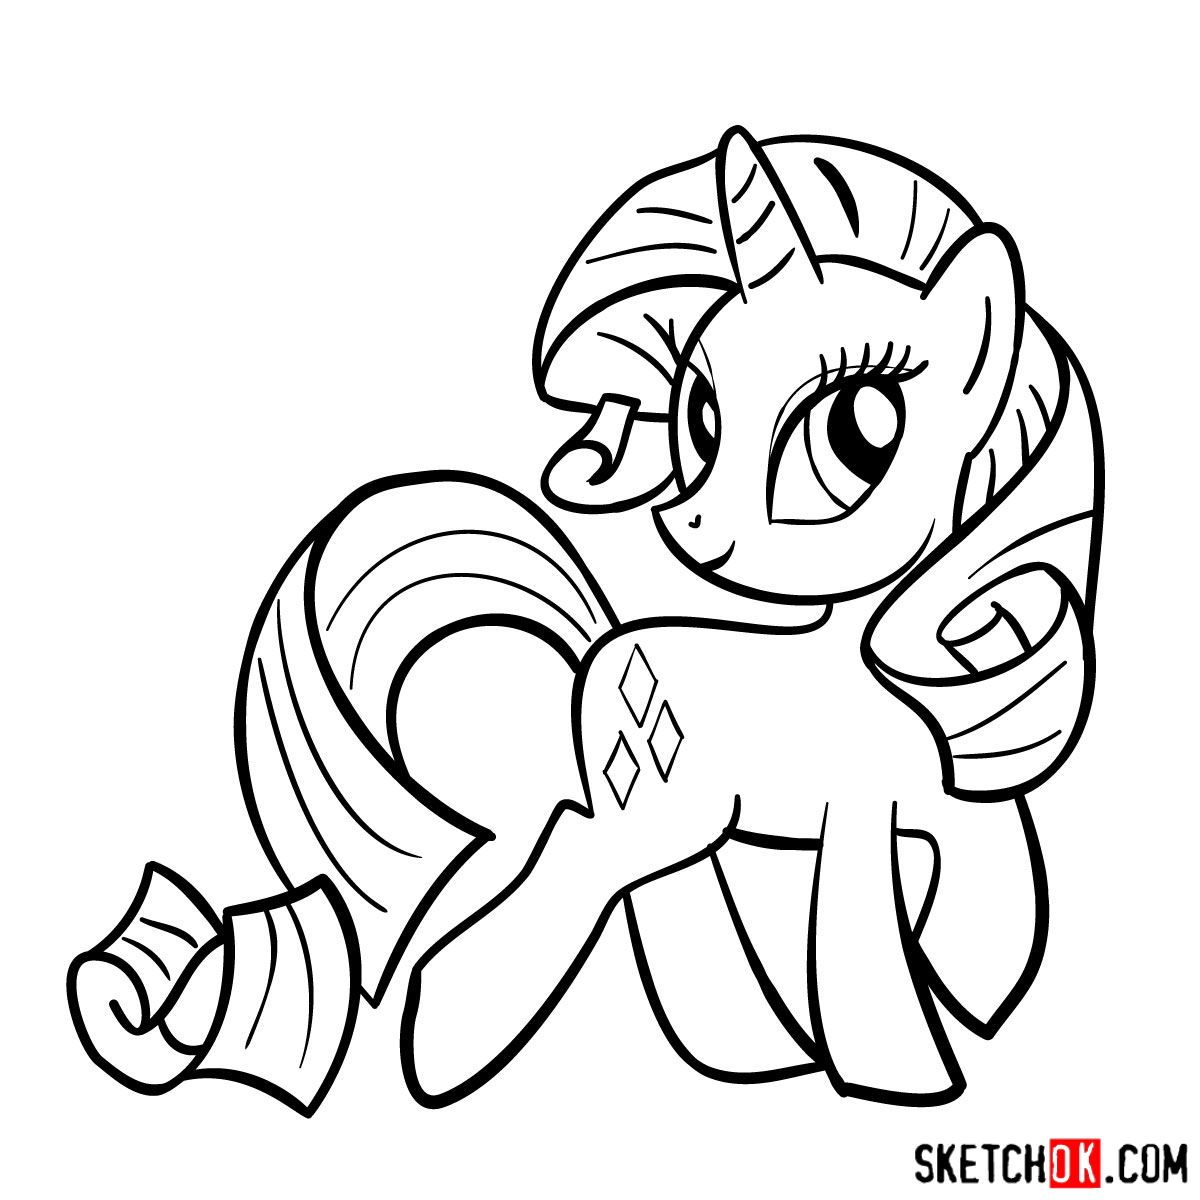
Rarity boasts a sleek white coat complemented by a lustrous purple mane and tail, embodying a palette of regal tones. Here are key elements to consider while sketching:
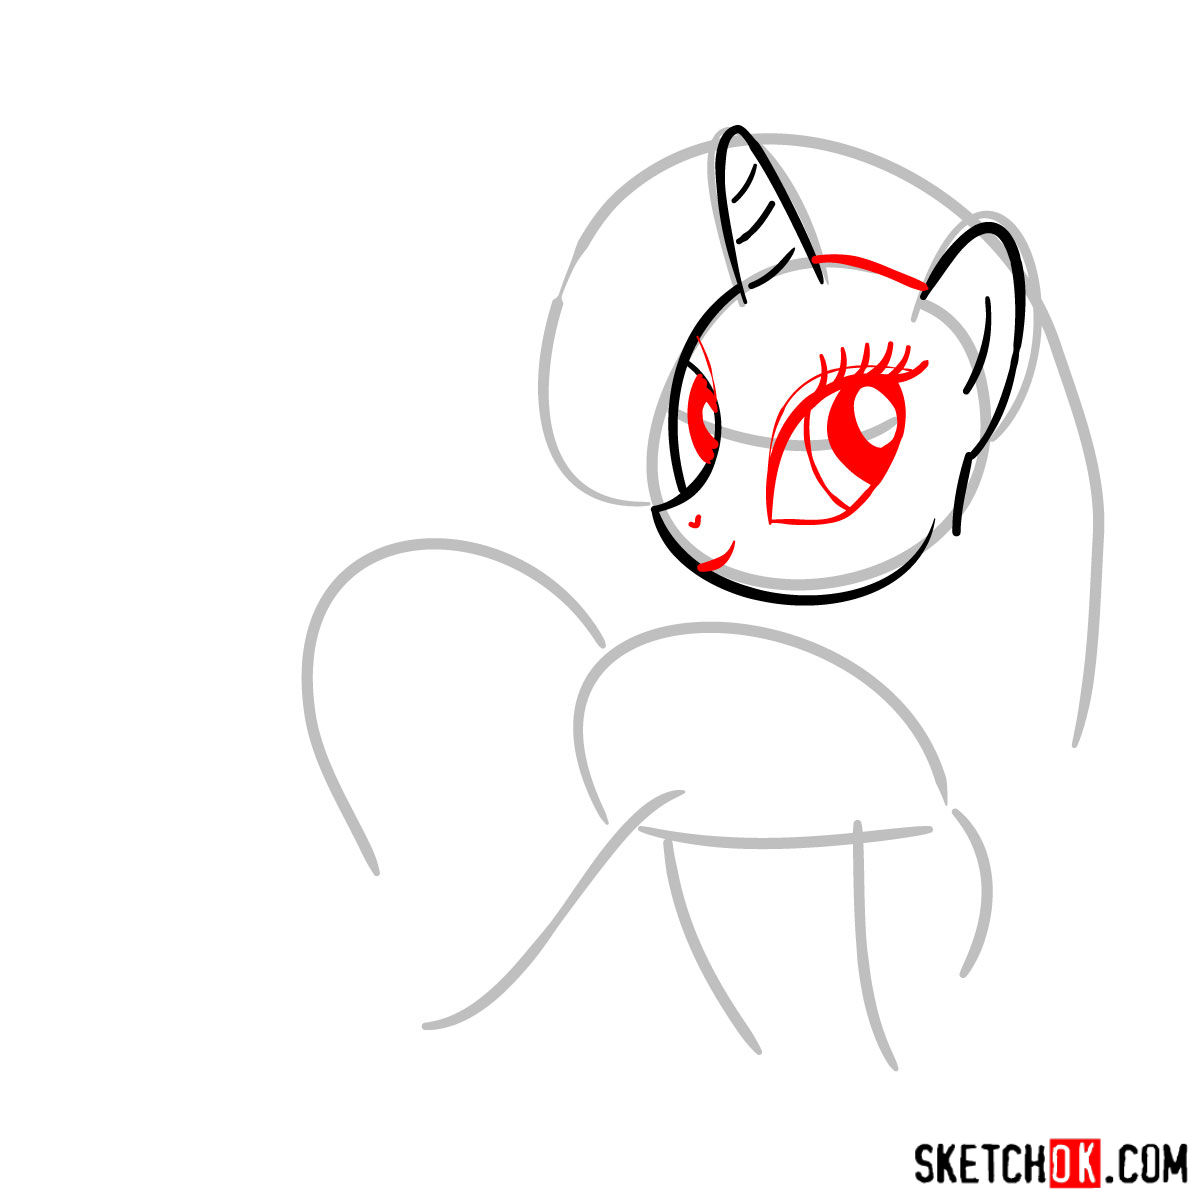
- Facial Features: Rarity’s expressive blue eyes, always showcasing her emotive nature.
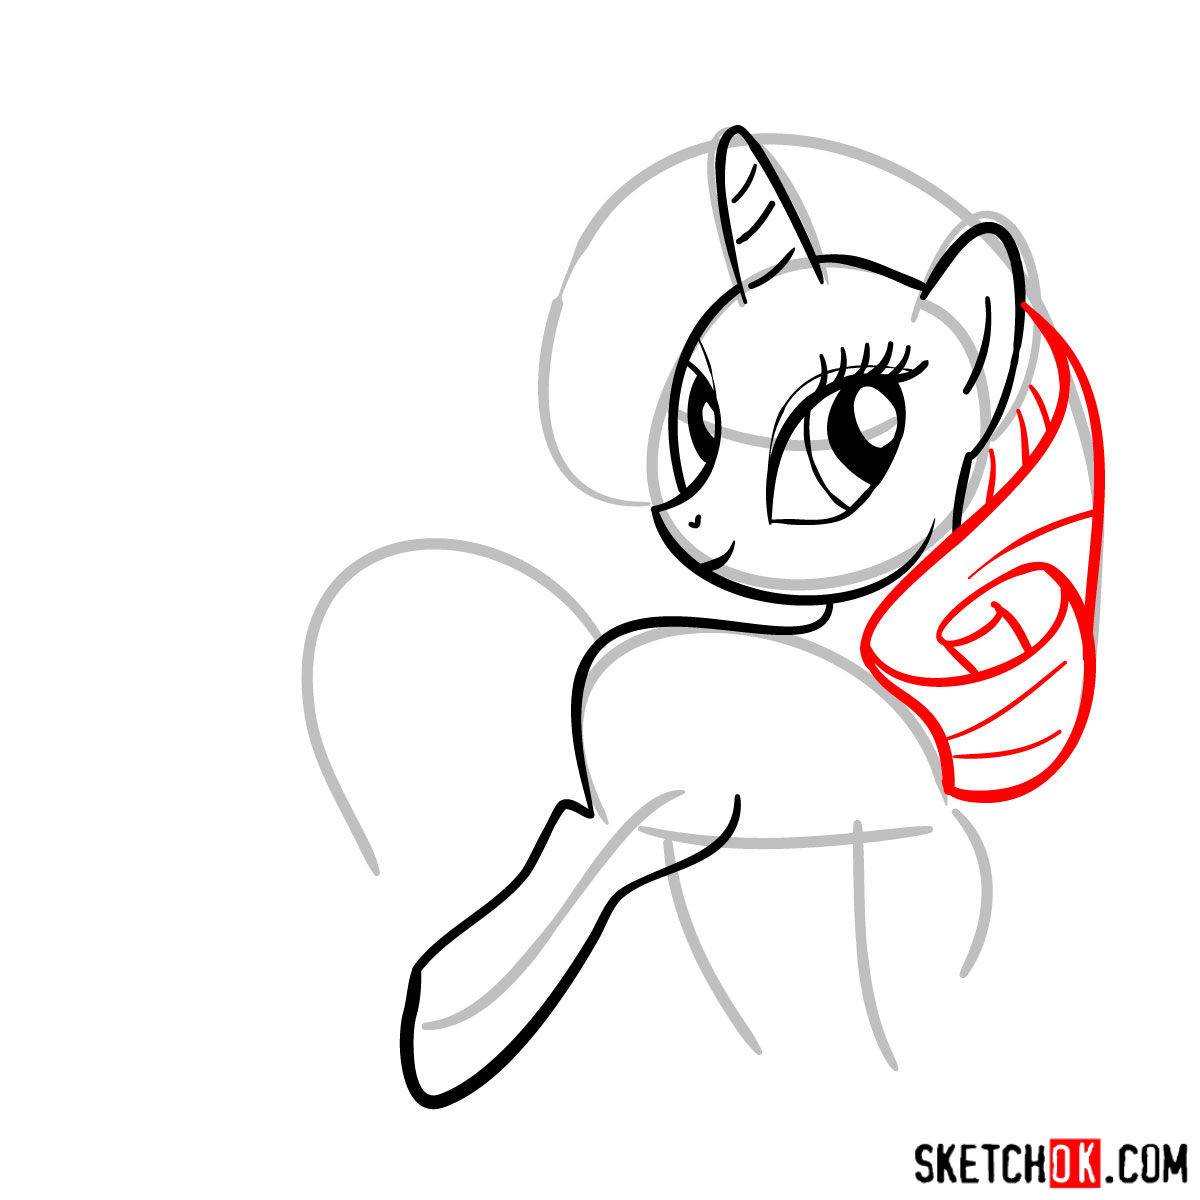
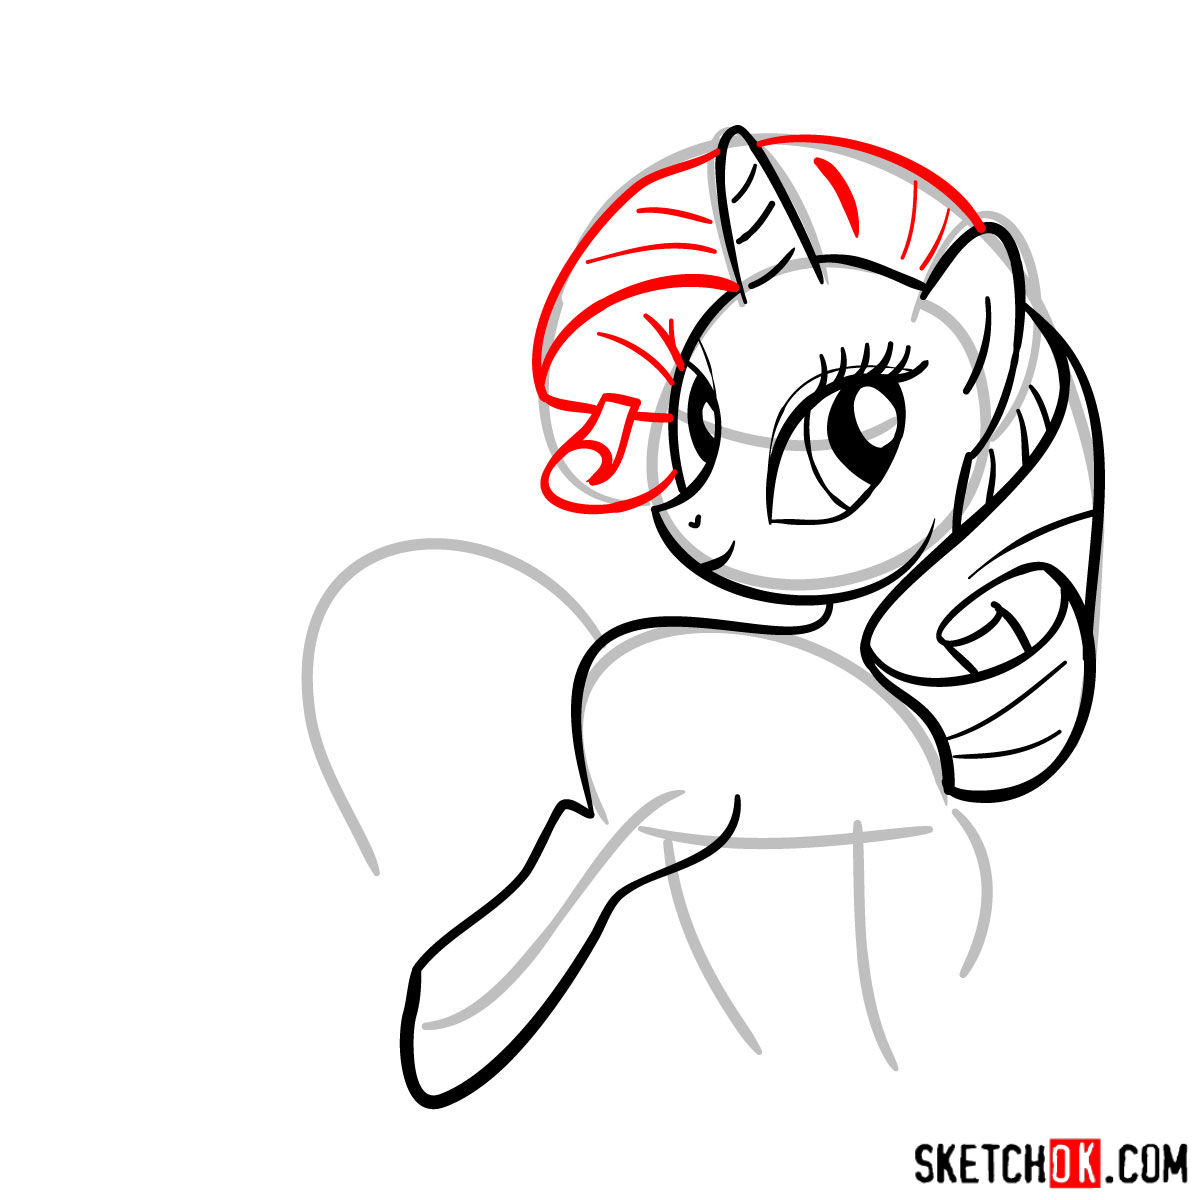
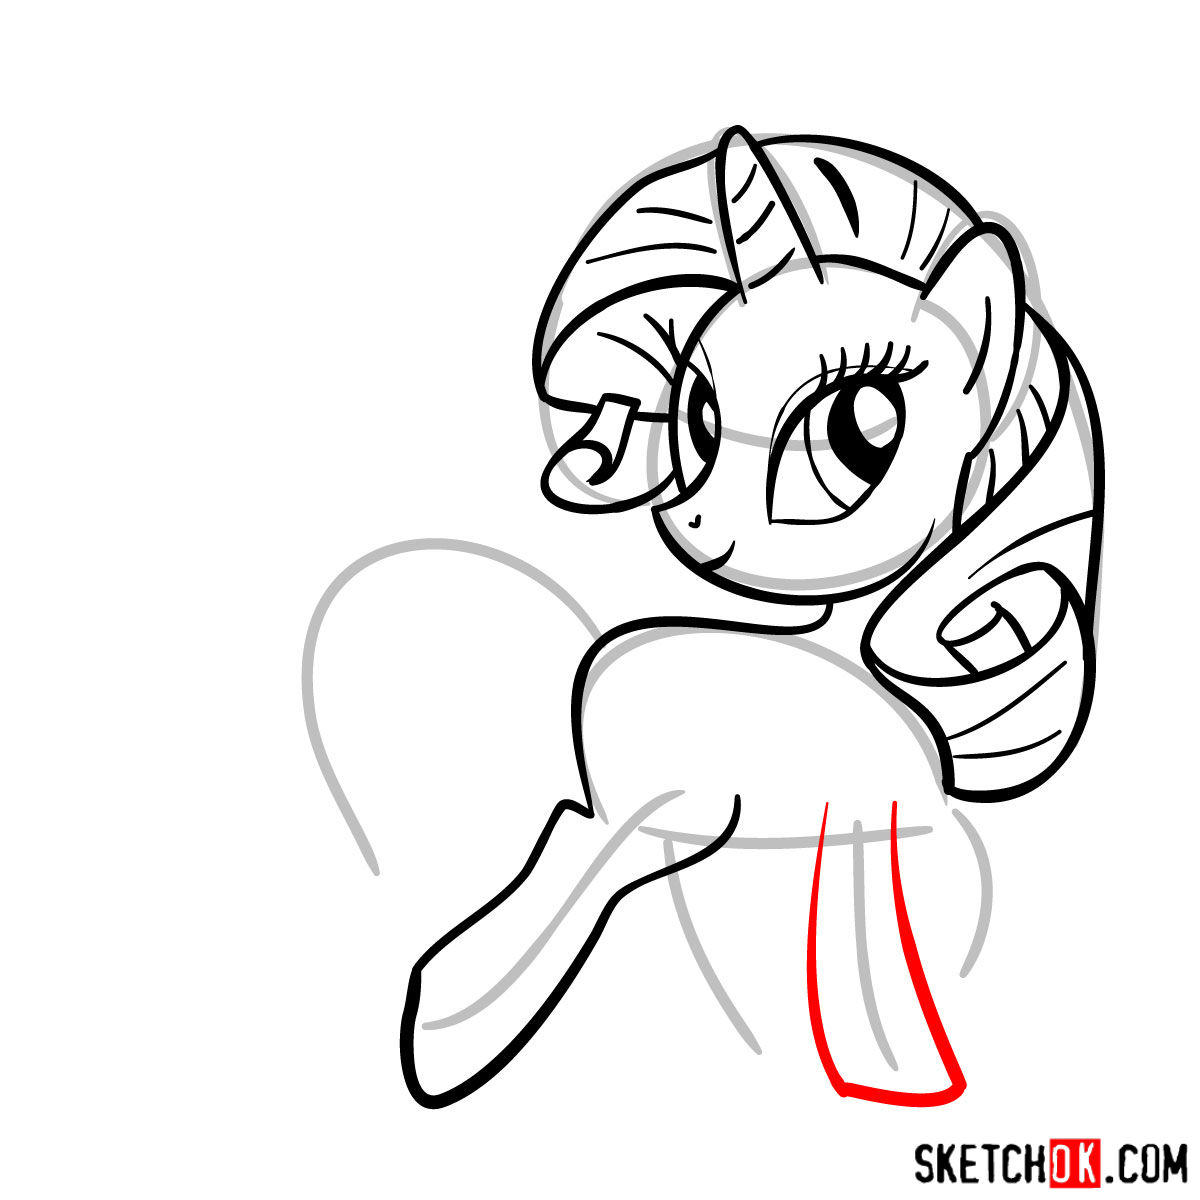
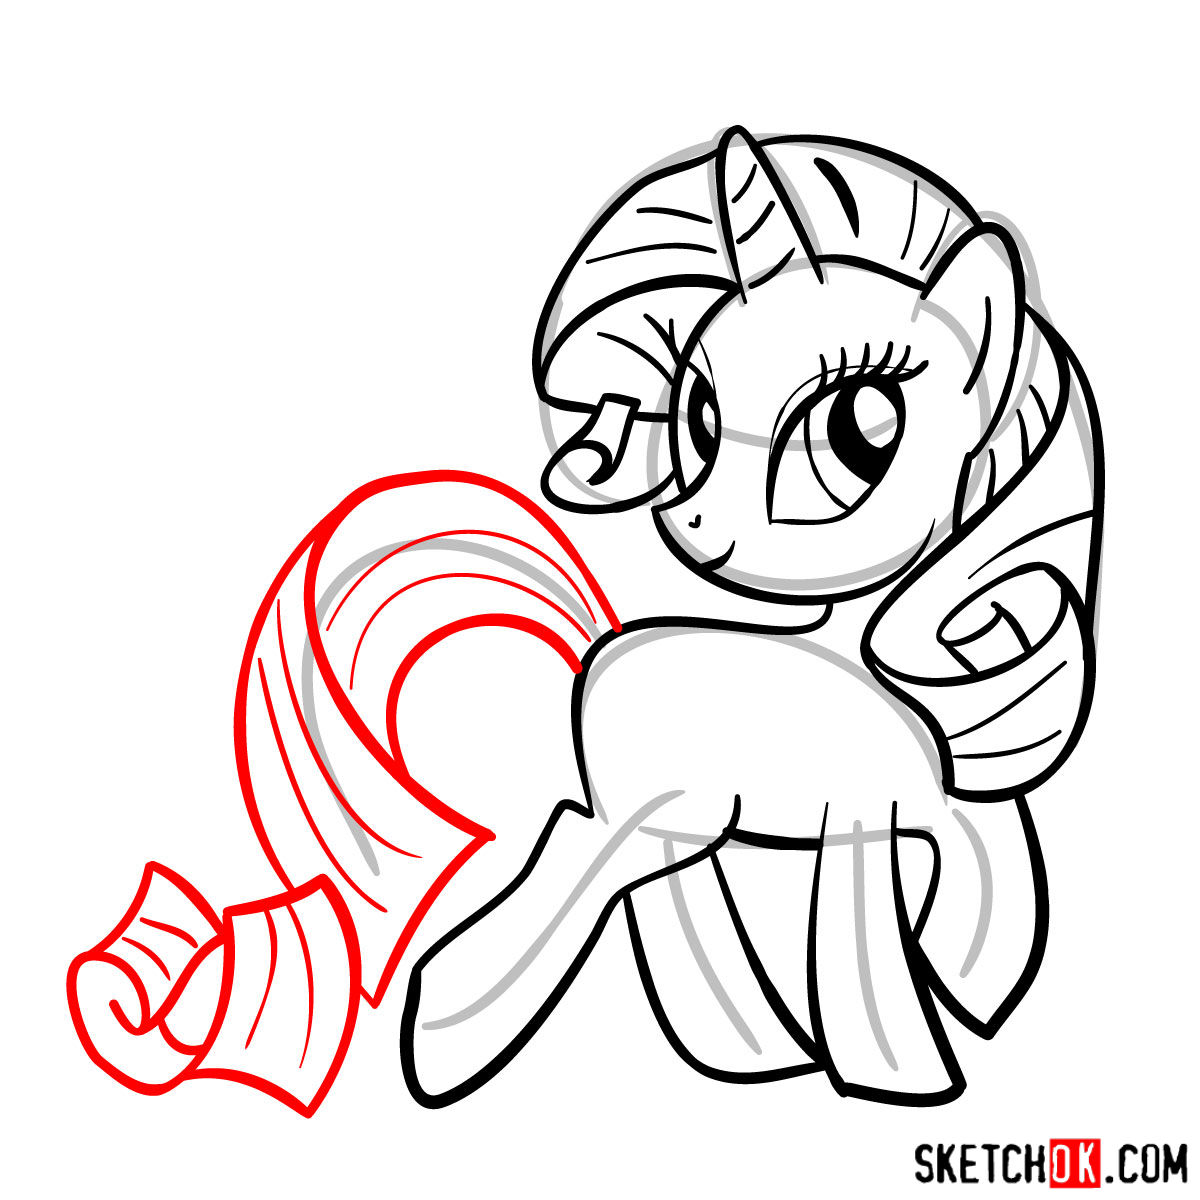
- Mane and Tail: Flowing and wavy, her purple mane and tail demand attention, capturing the essence of her poised elegance.
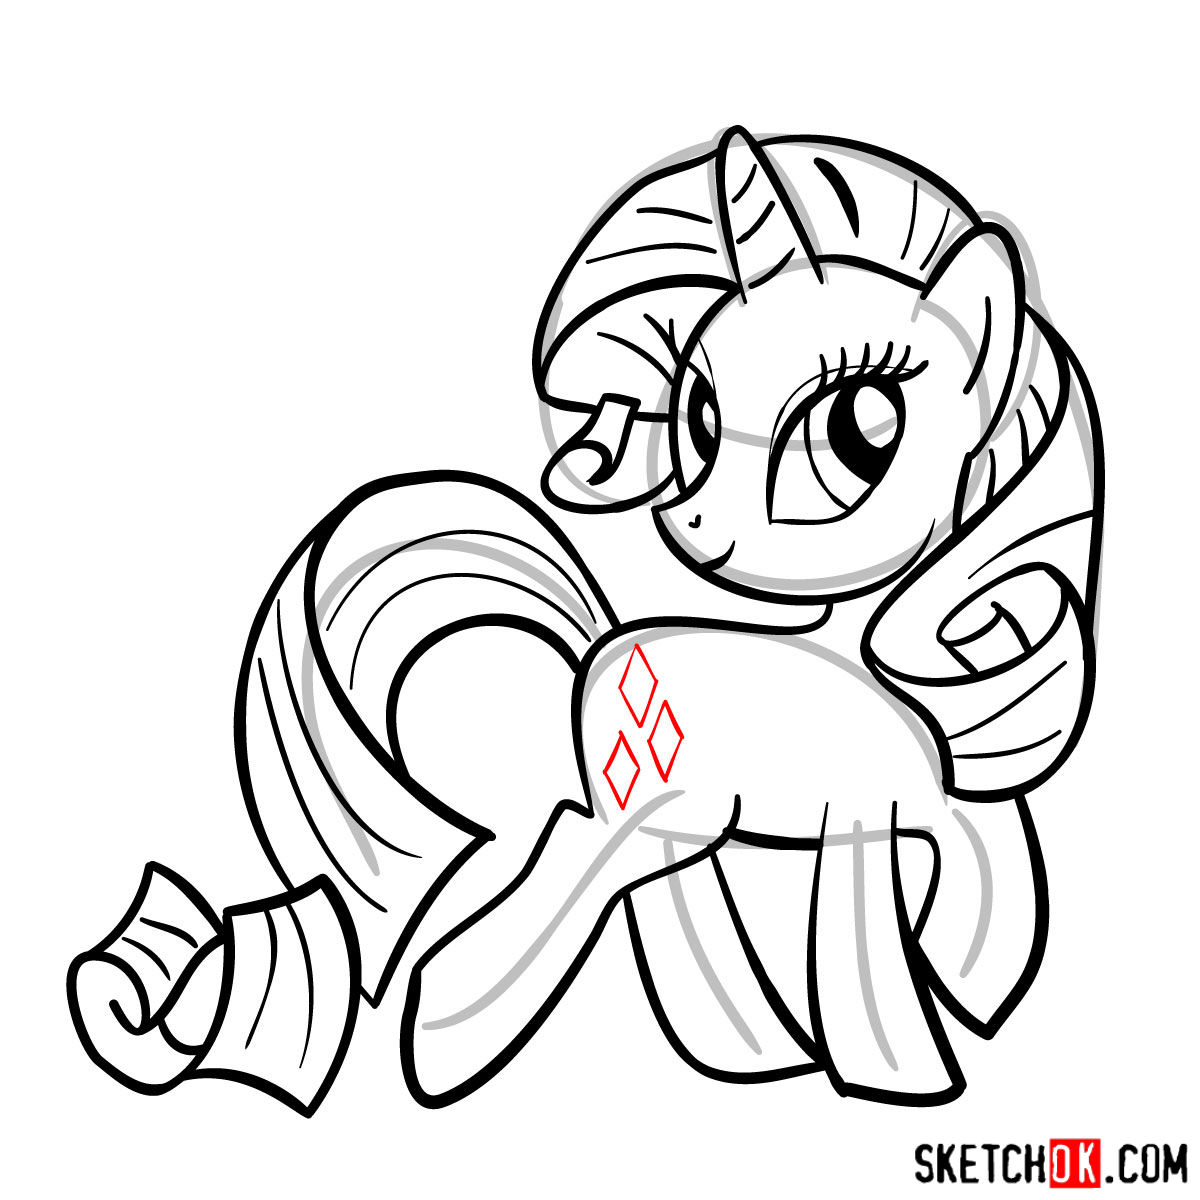
- Cutie Mark: Three diamonds symbolizing her sparkling personality and keen eye for detail.
If you’re keen on sketching a scene, consider adding Sweetie Belle to showcase the sibling bond.
Understanding the Drawing Guide
Before delving into the sketch, it’s vital to comprehend our guide’s color-coded system:
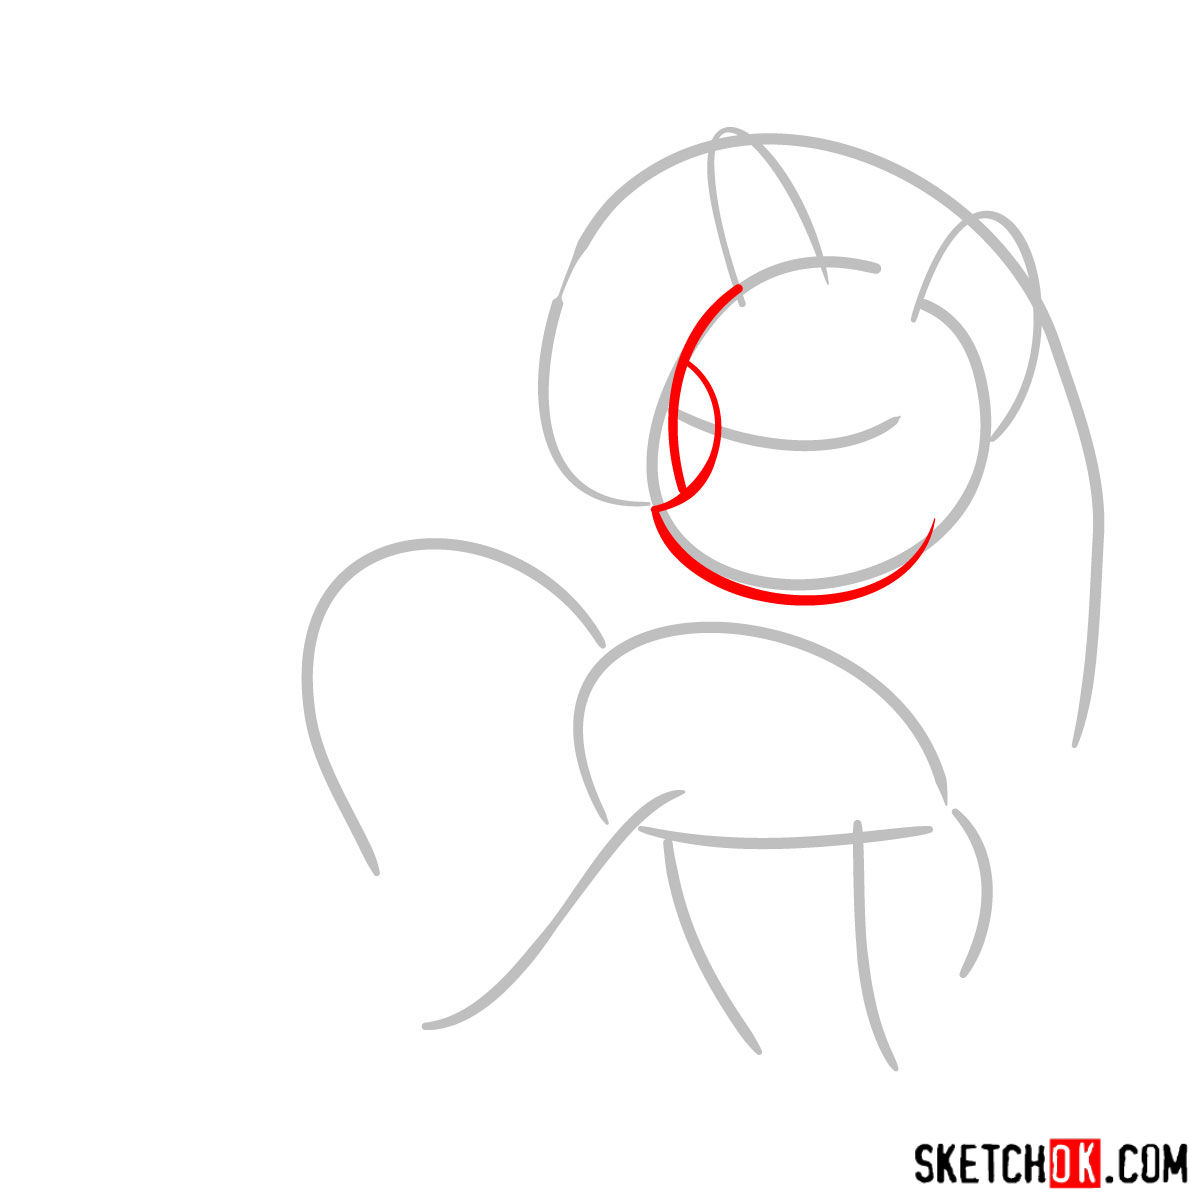
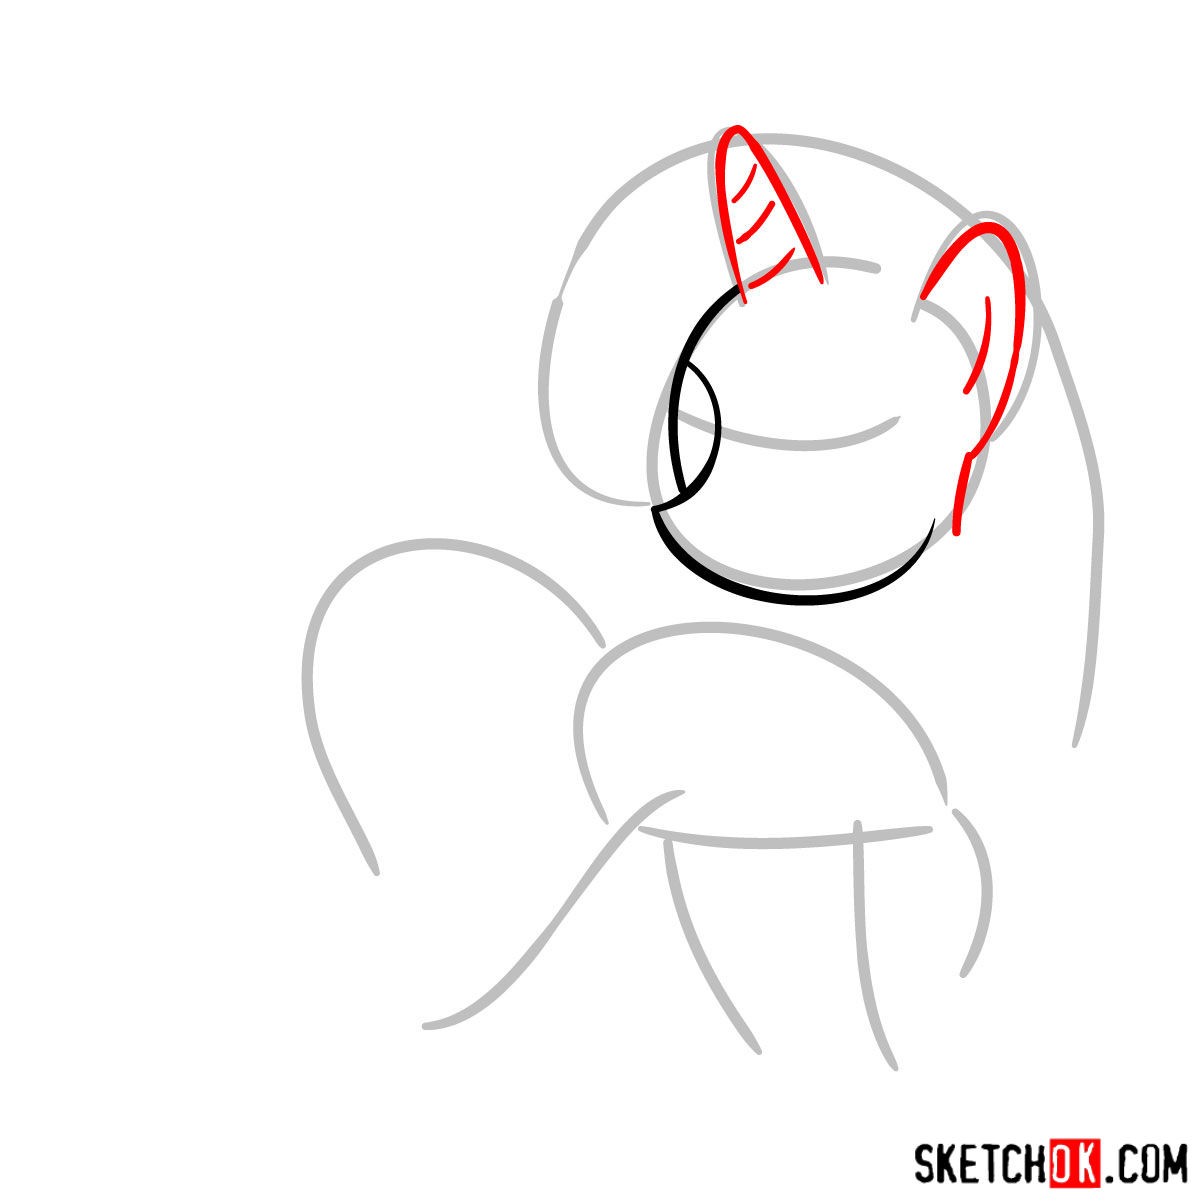
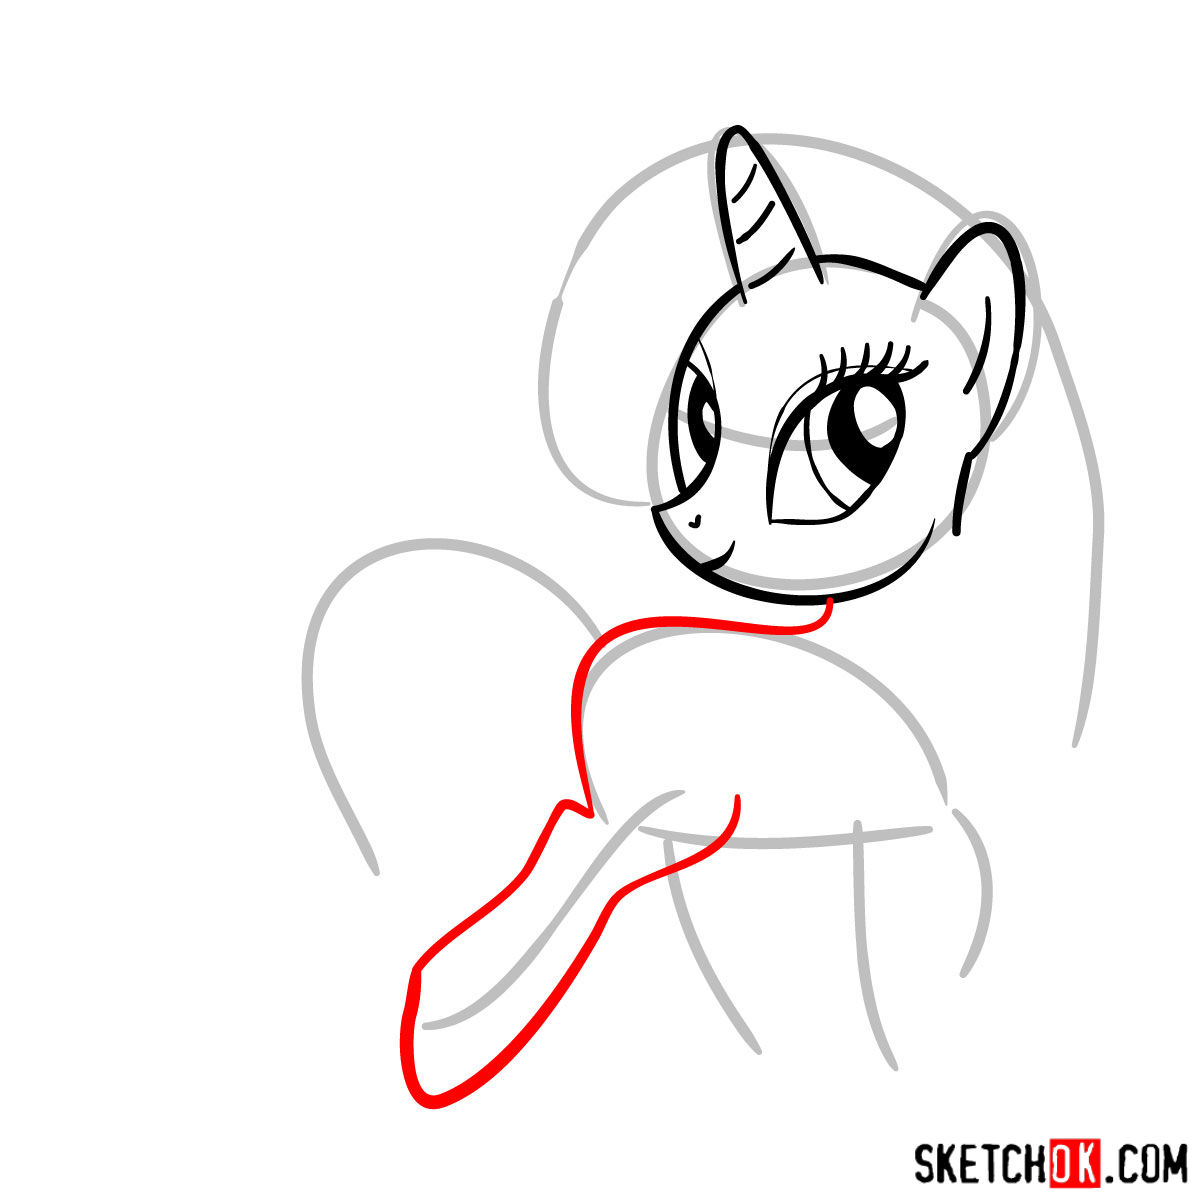
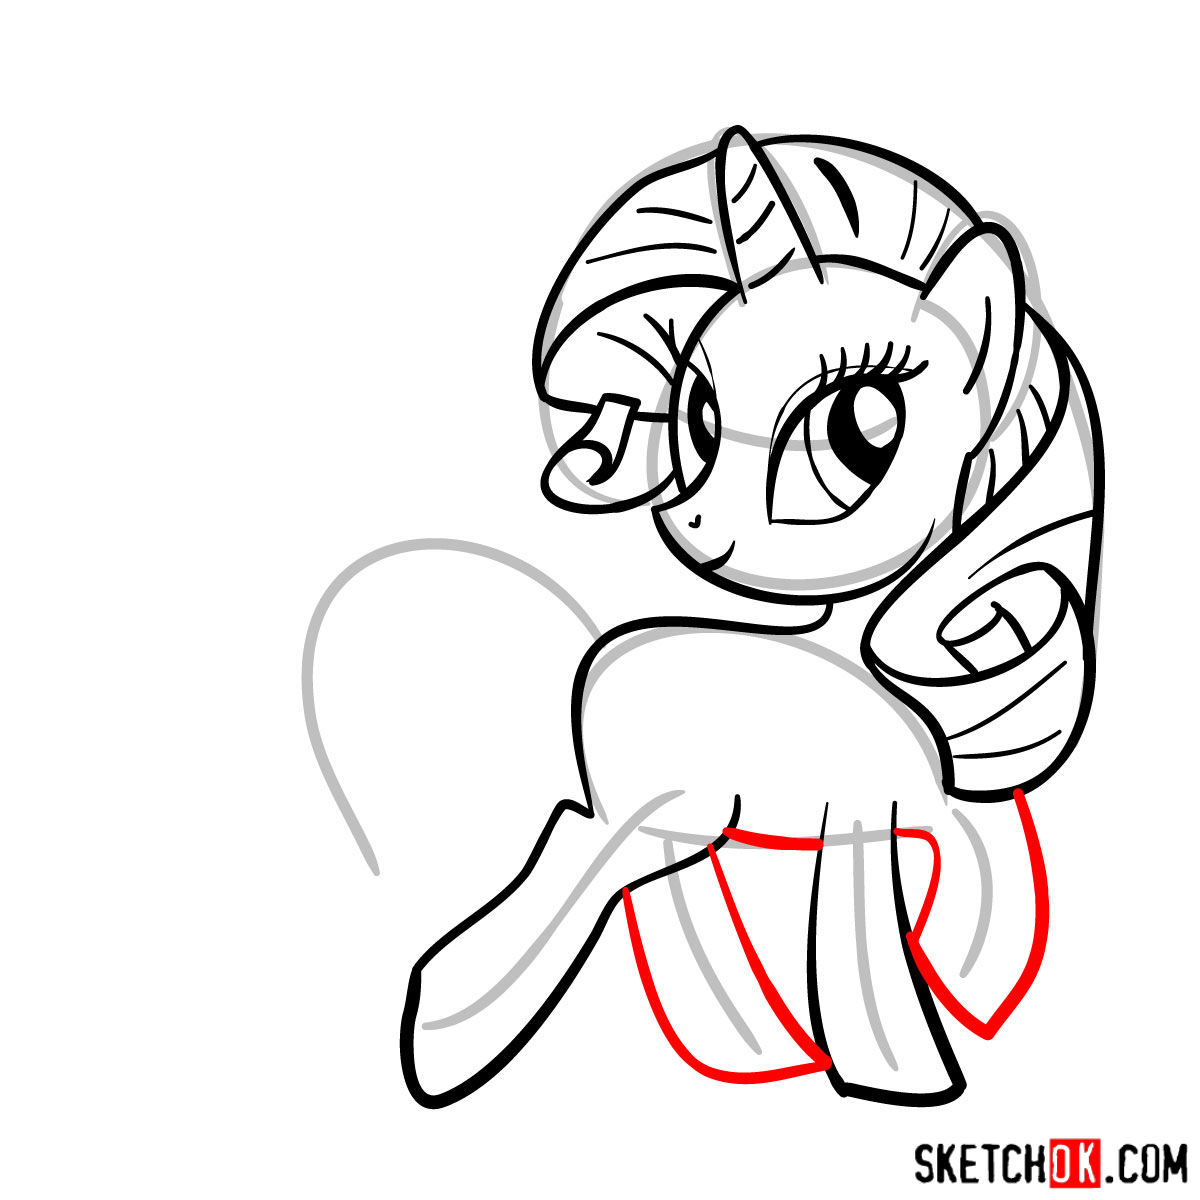
- Red Color: Highlights the current drawing step. Ensure your focus remains here.
- Black Color: Represents lines previously drawn, serving as a reference for progression.
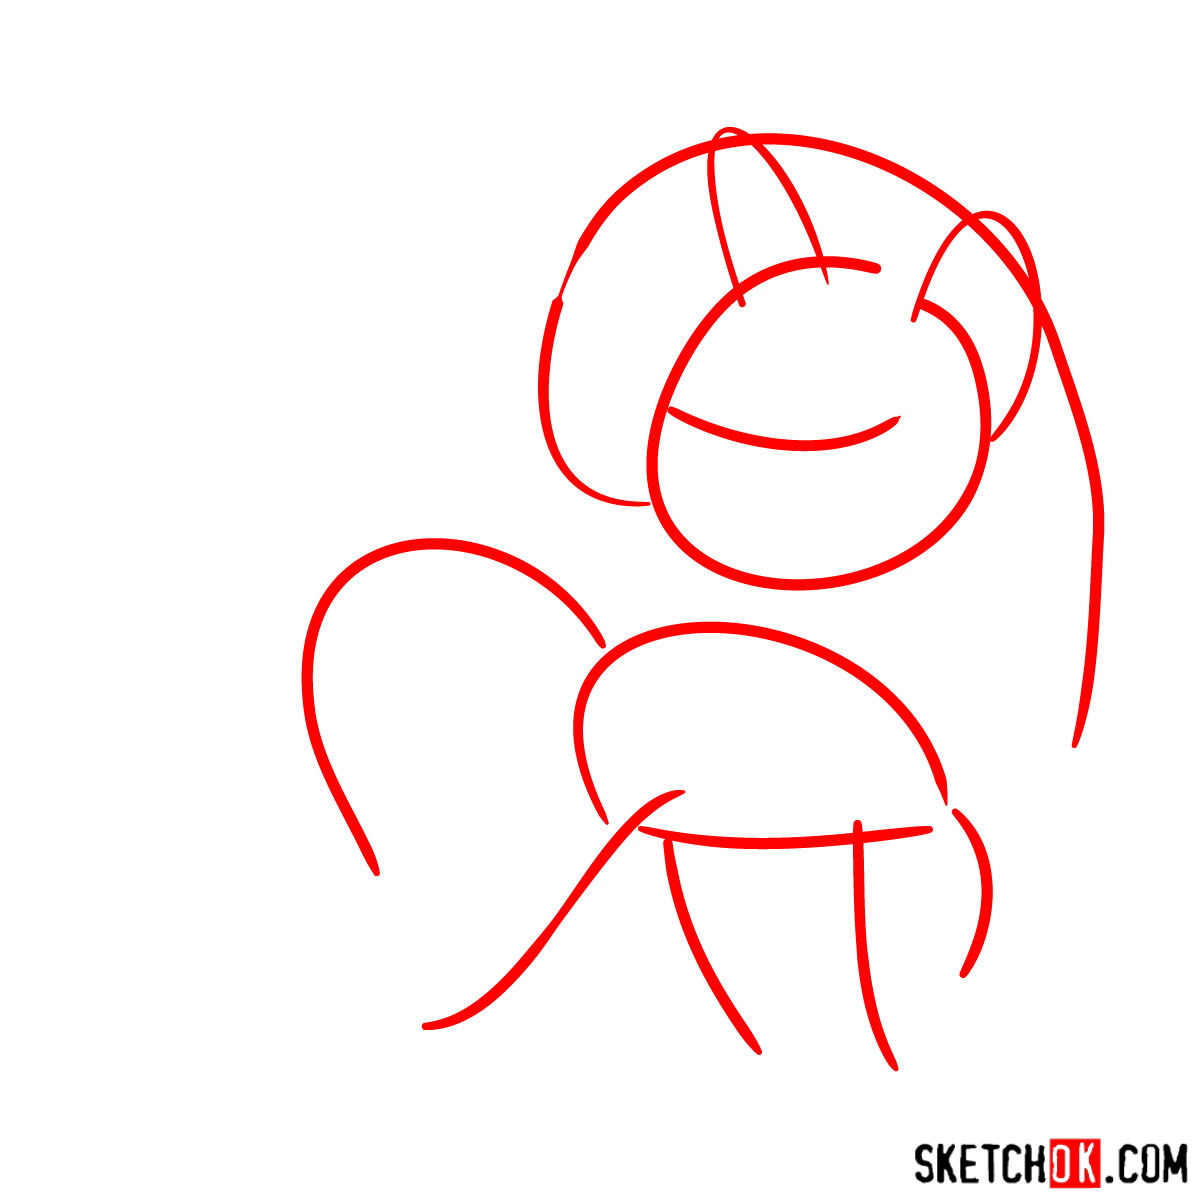
- Grey Color: Illustrates the basic sketch and proportions. Always begin with light strokes to ensure easy adjustments later.
This guide consists of 13 comprehensive steps. The first step emphasizes the basic sketch, setting the proportion foundations. The subsequent steps gradually refine Rarity’s defining characteristics. Finally, artists have the choice to ink their sketch. When doing so, patiently wait for the ink to dry to prevent smudges. Post drying, gently erase the underlying pencil sketch. The culmination is a colored image serving as a visual guide for those who wish to add hues to their masterpiece.

Now that you know how to draw Rarity pony, it would be genuinely interesting to hear what you used to get there, whether that was pencil and paper, a drawing tablet, Procreate, or something else entirely. The range of tools people use for the same tutorial is always surprisingly varied. Drop your version in the comments on the pinned Pinterest post, and feel free to mention your setup too.