When it comes to the world of My Little Pony, few characters are as iconic and memorable as Rainbow Dash. The vibrant Pegasus, known for her incredible speed and love for flying, has captured the hearts of fans across the globe. But how does one go about capturing her essence on paper? Well, that’s where our tutorial on My Little Pony comes in handy. Whether you’re an experienced artist or someone just starting out, this guide is tailored to assist every step of the way.
Anatomy of Rainbow Dash
Understanding the anatomy and key features of Rainbow Dash is crucial for capturing her essence. Here are some notable points to consider:
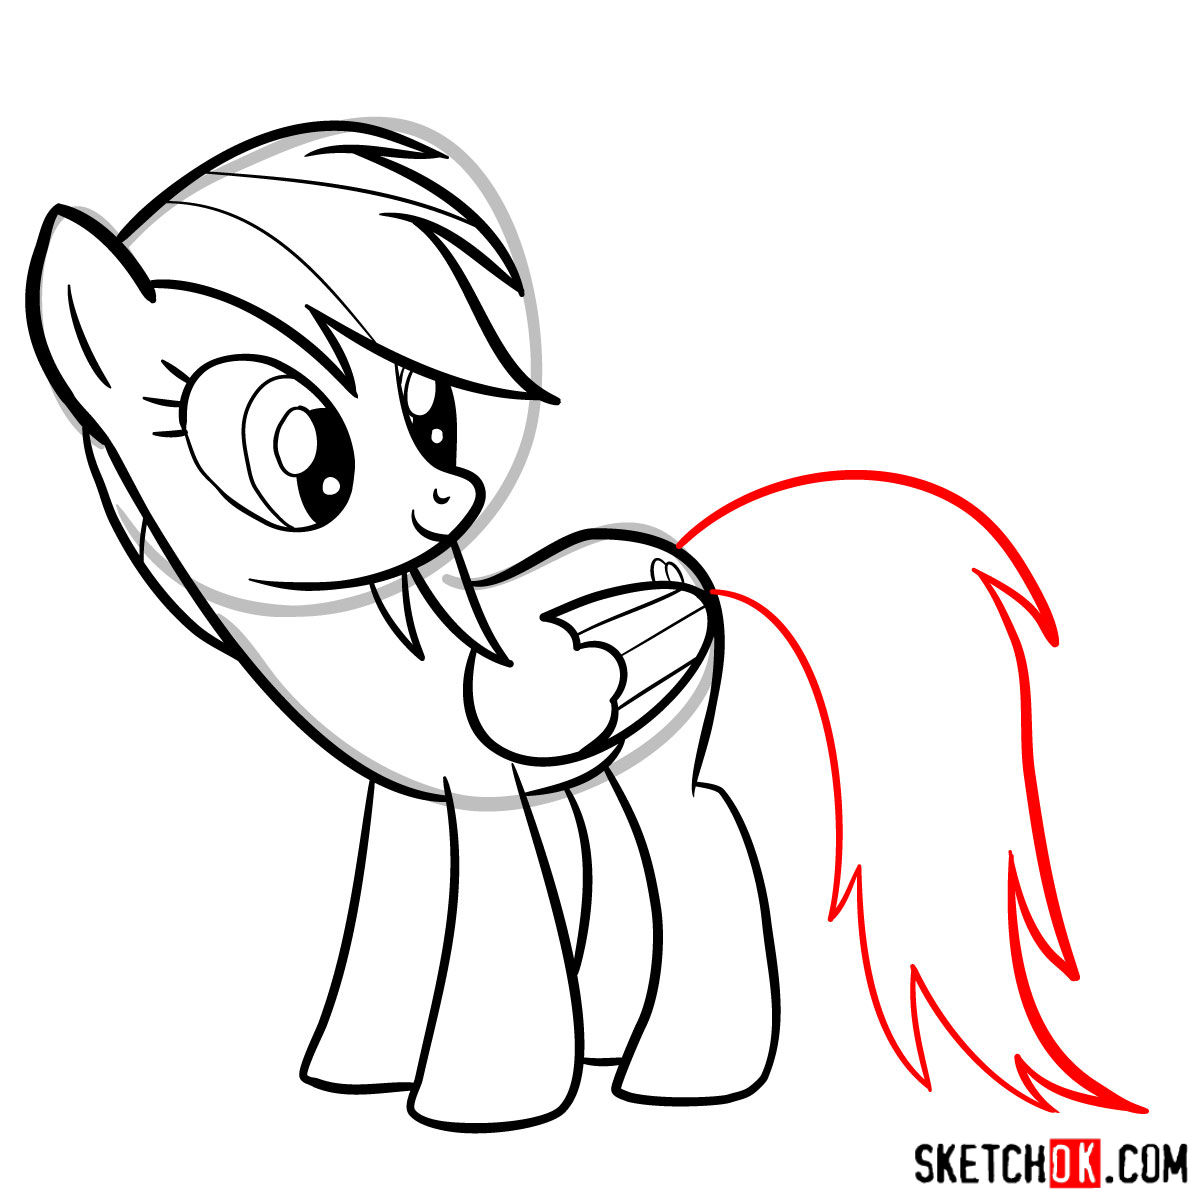
- Maine: A striking blend of six colors – purple, blue, green, yellow, orange, and red, making it resemble a rainbow.
- Body Color: A gorgeous light blue shade that stands out.
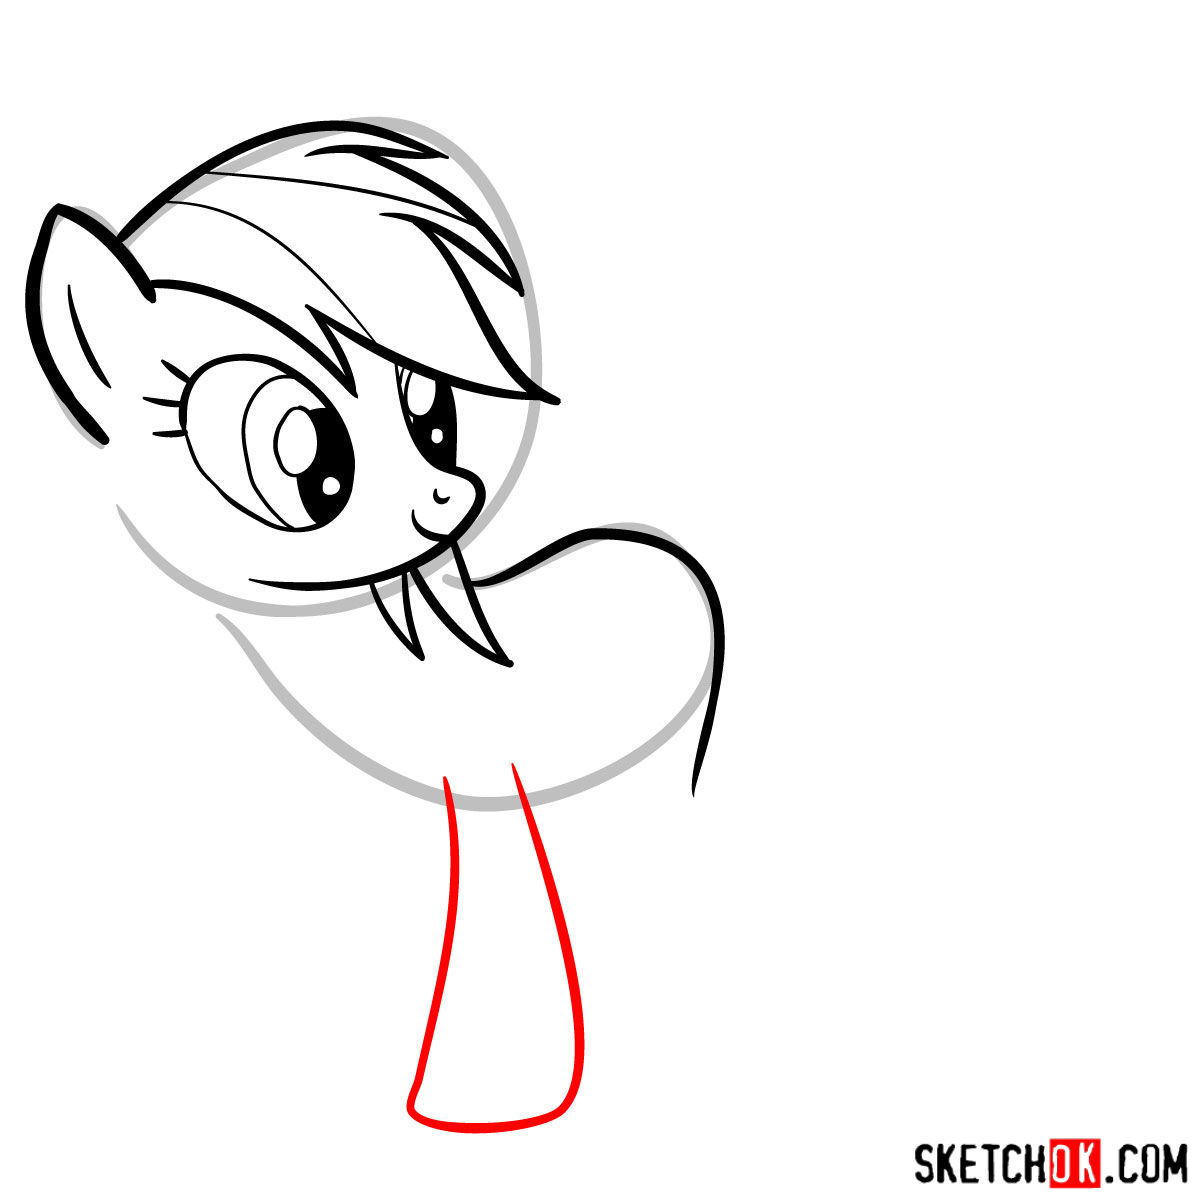
- Eyes: Bold, rose-colored eyes that are full of life and adventure.
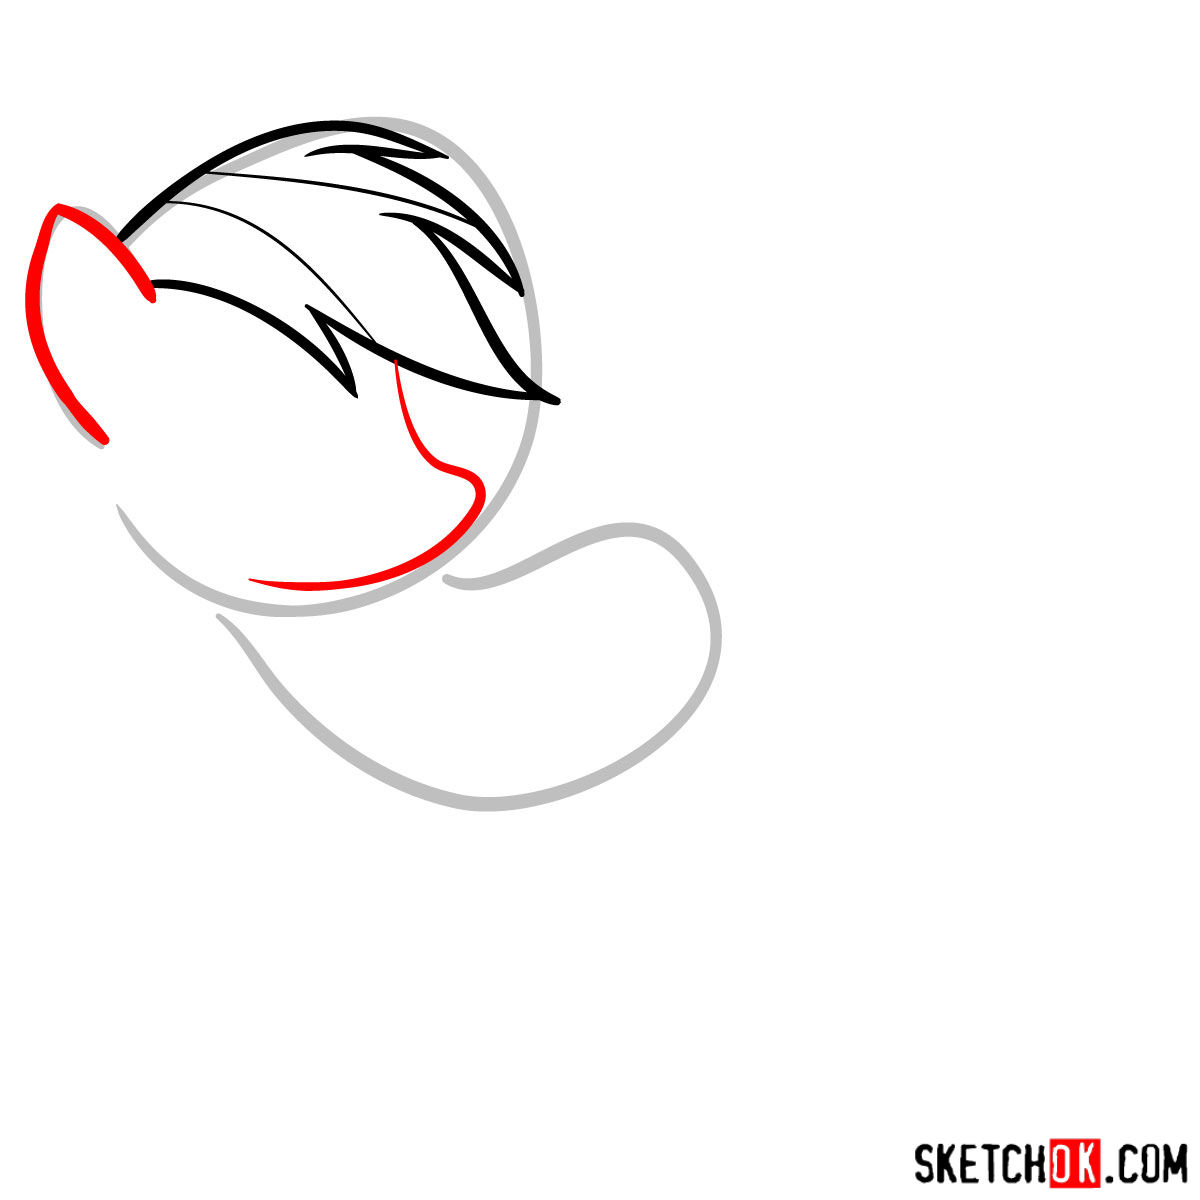
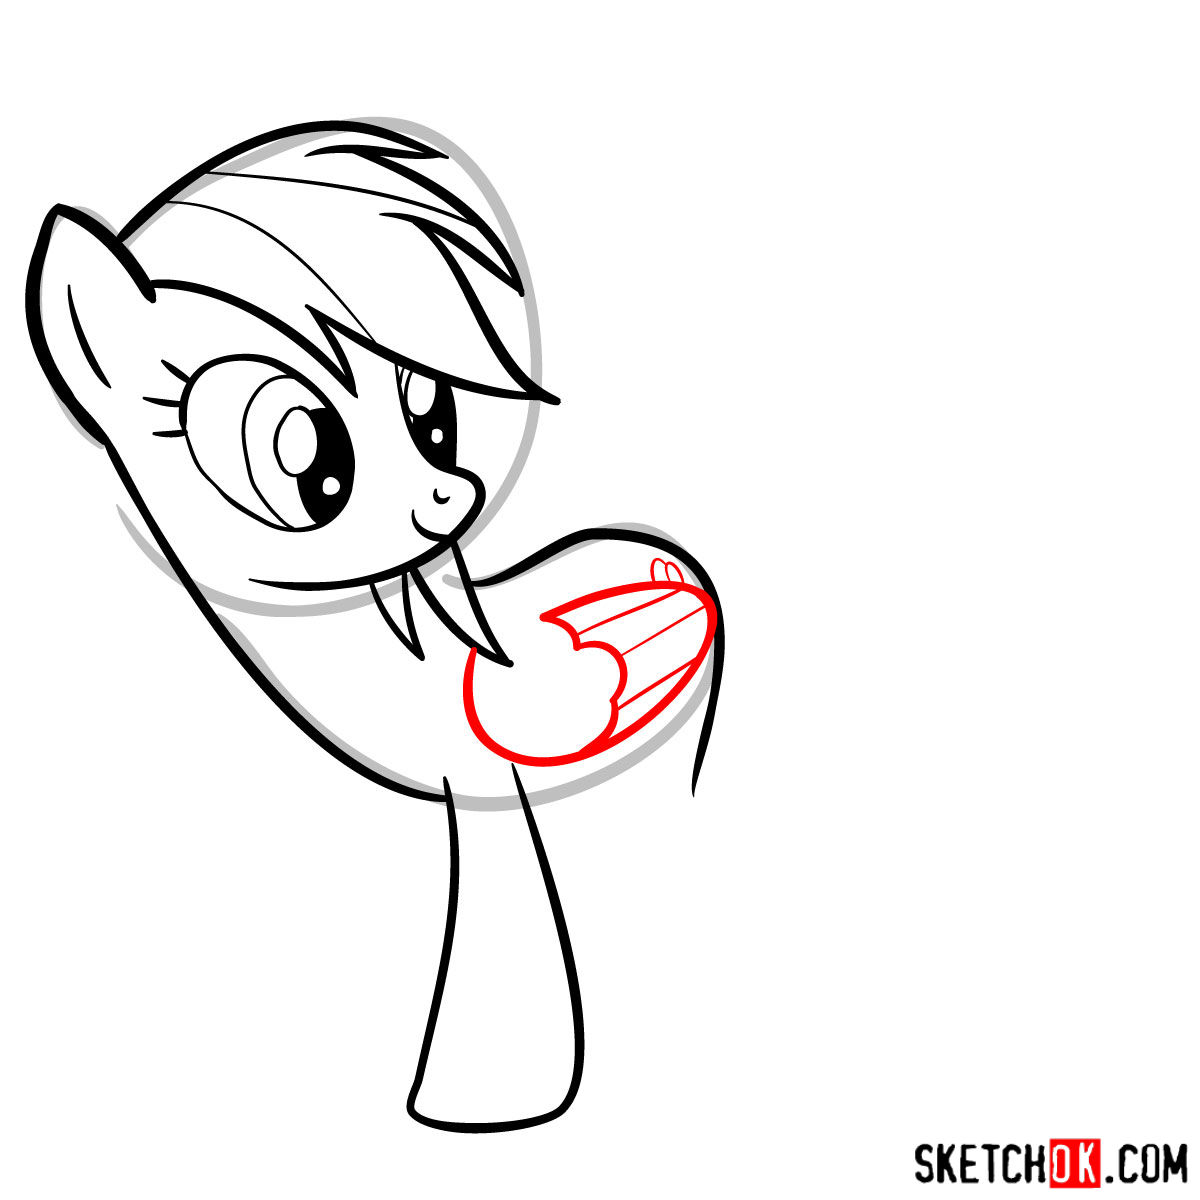
- Wings: Remember, Rainbow Dash is a Pegasus. So, her wings, though petite, are essential for her identity.
- Character Traits: Beyond physical attributes, her confident posture, often seen bragging and showing off, adds to her persona. But she’s also deeply loyal, representing the Element of Loyalty among the six main ponies.
While focusing on Rainbow Dash, you might also consider adding other beloved characters like Twilight Sparkle or Applejack for a more ensemble sketch.
Guided Steps to Perfection
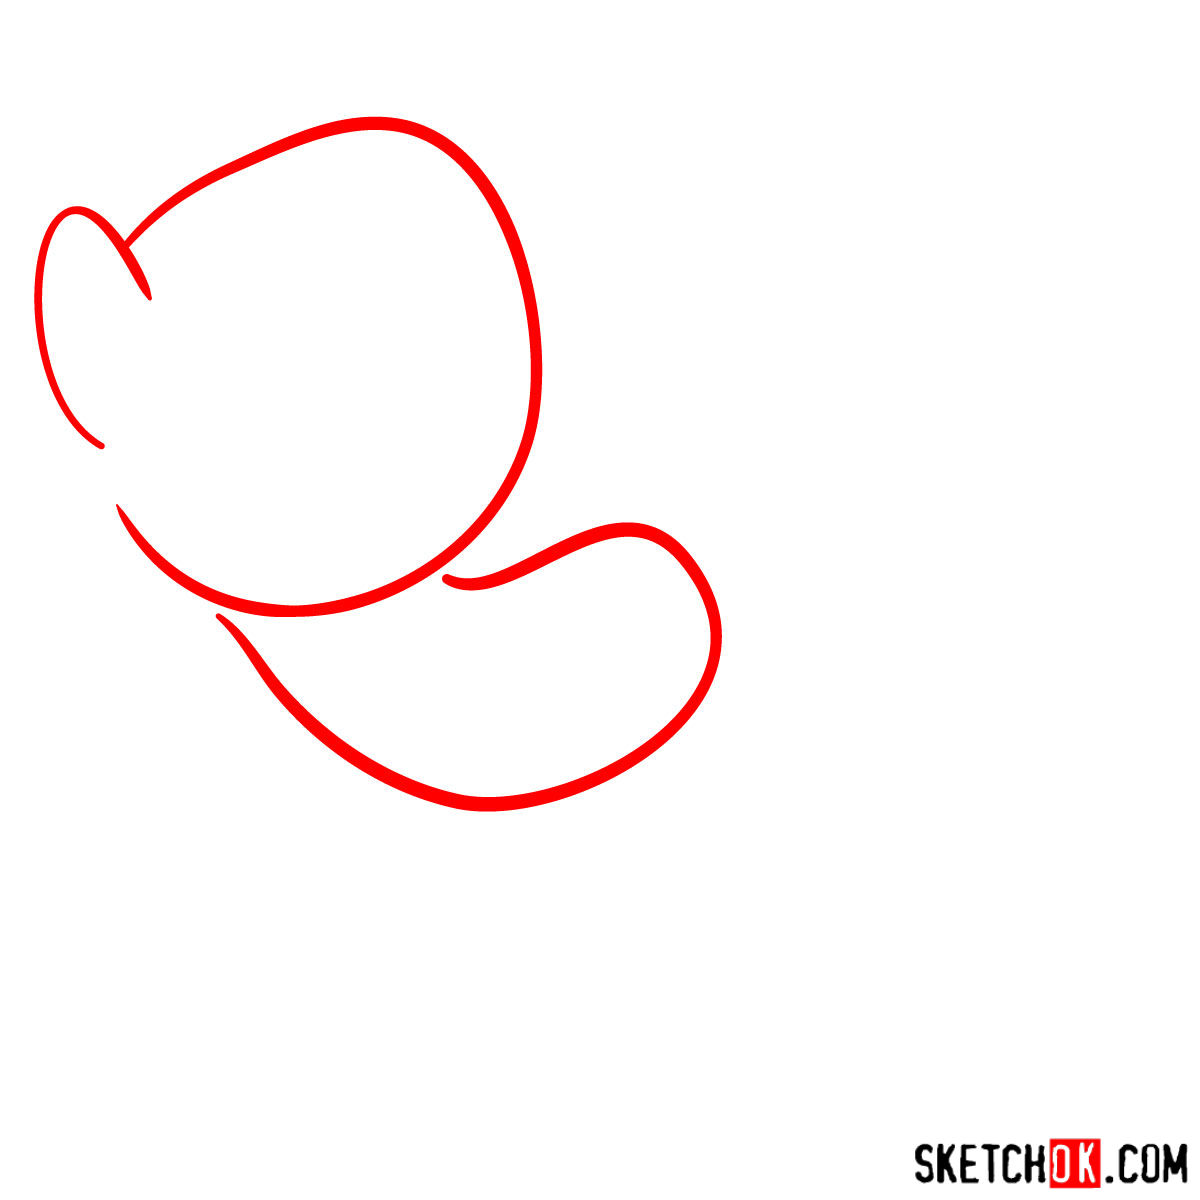
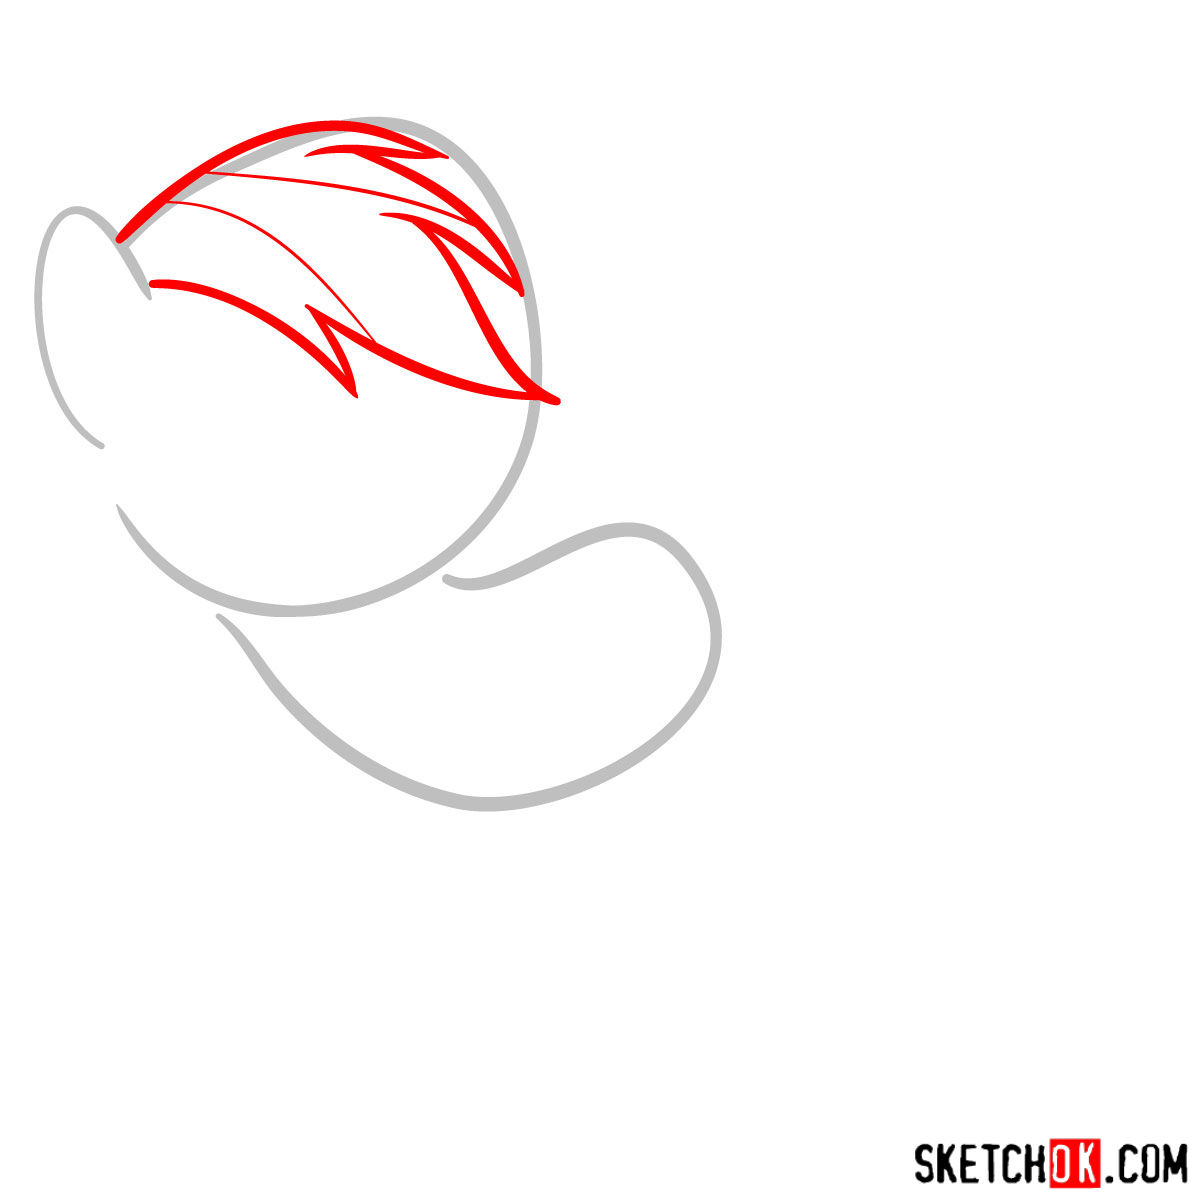
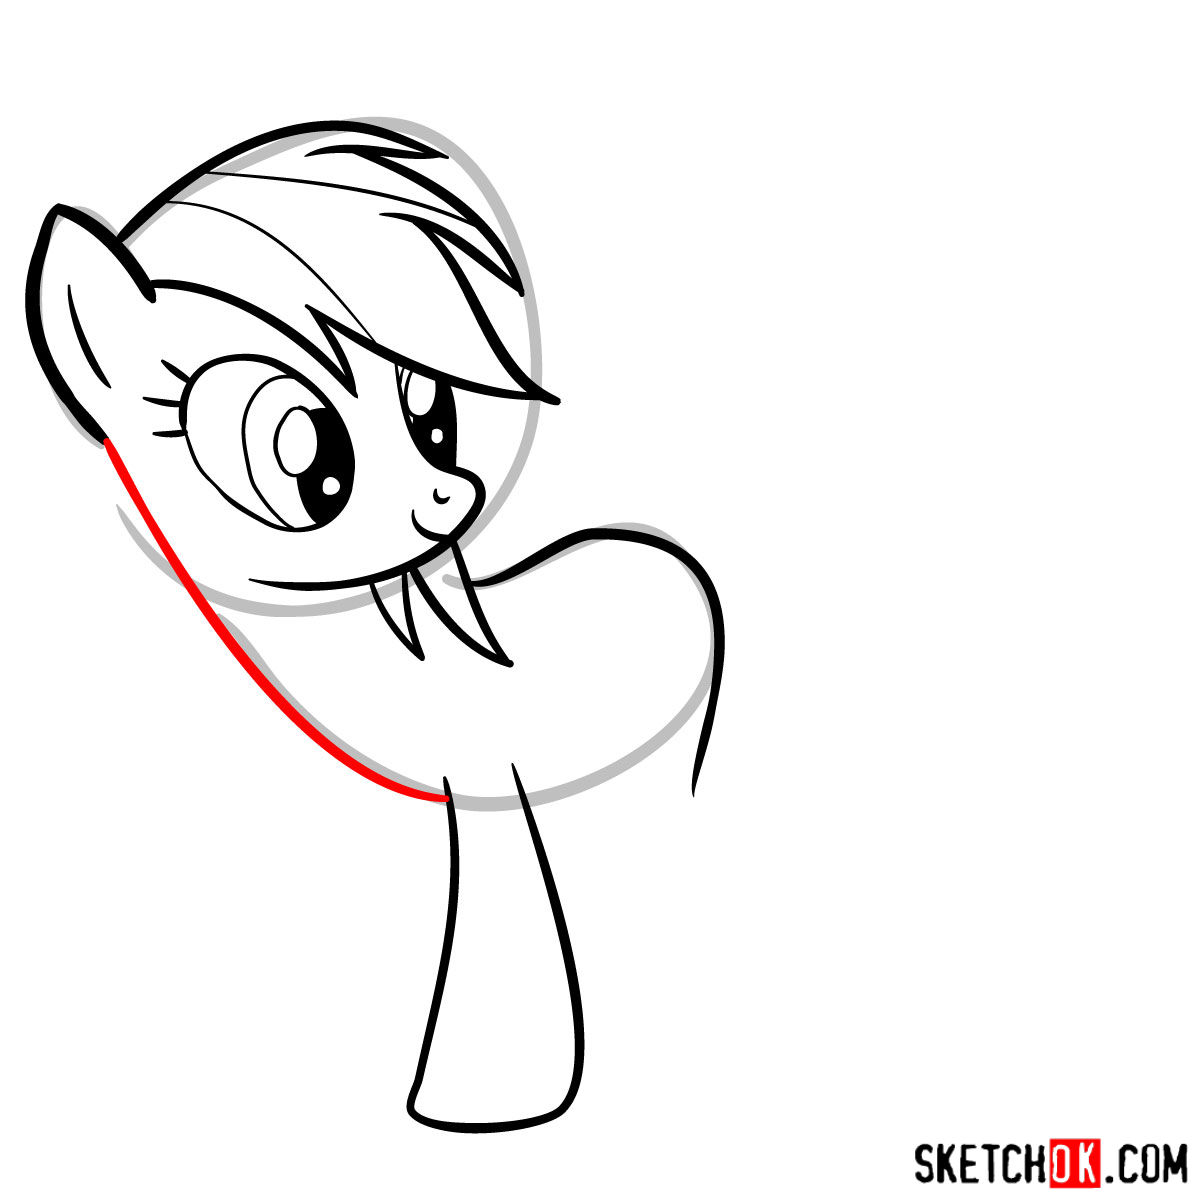
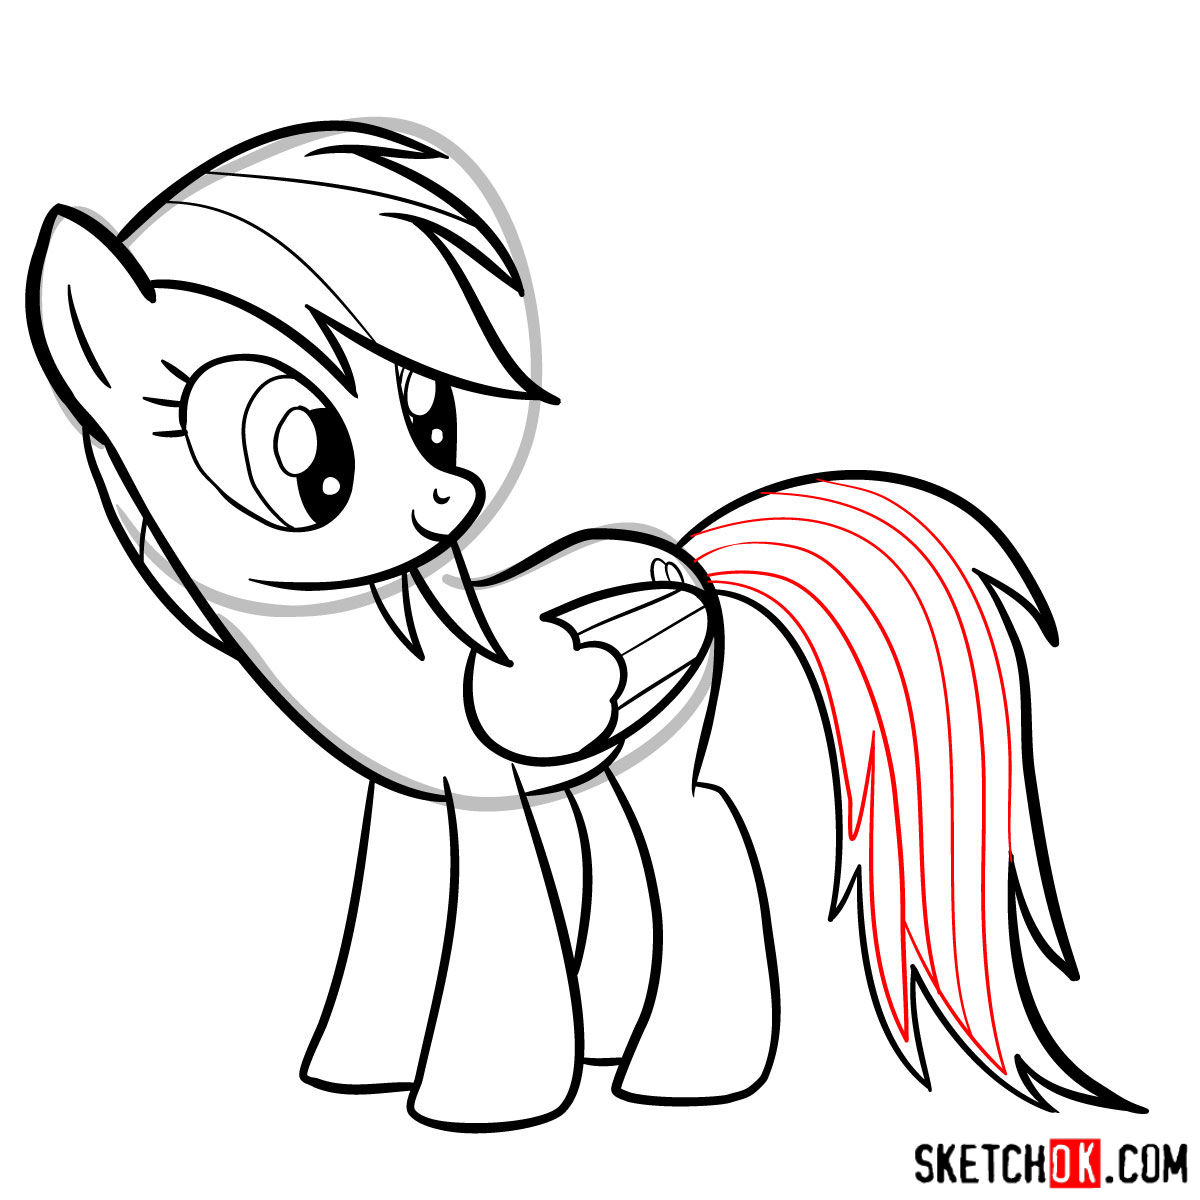
Our guide is constructed in a manner that ensures clarity at every stage. The tutorial consists of 14 progressive images, with each step leading you closer to your final drawing. To assist in this journey, we’ve used a color-coded system:
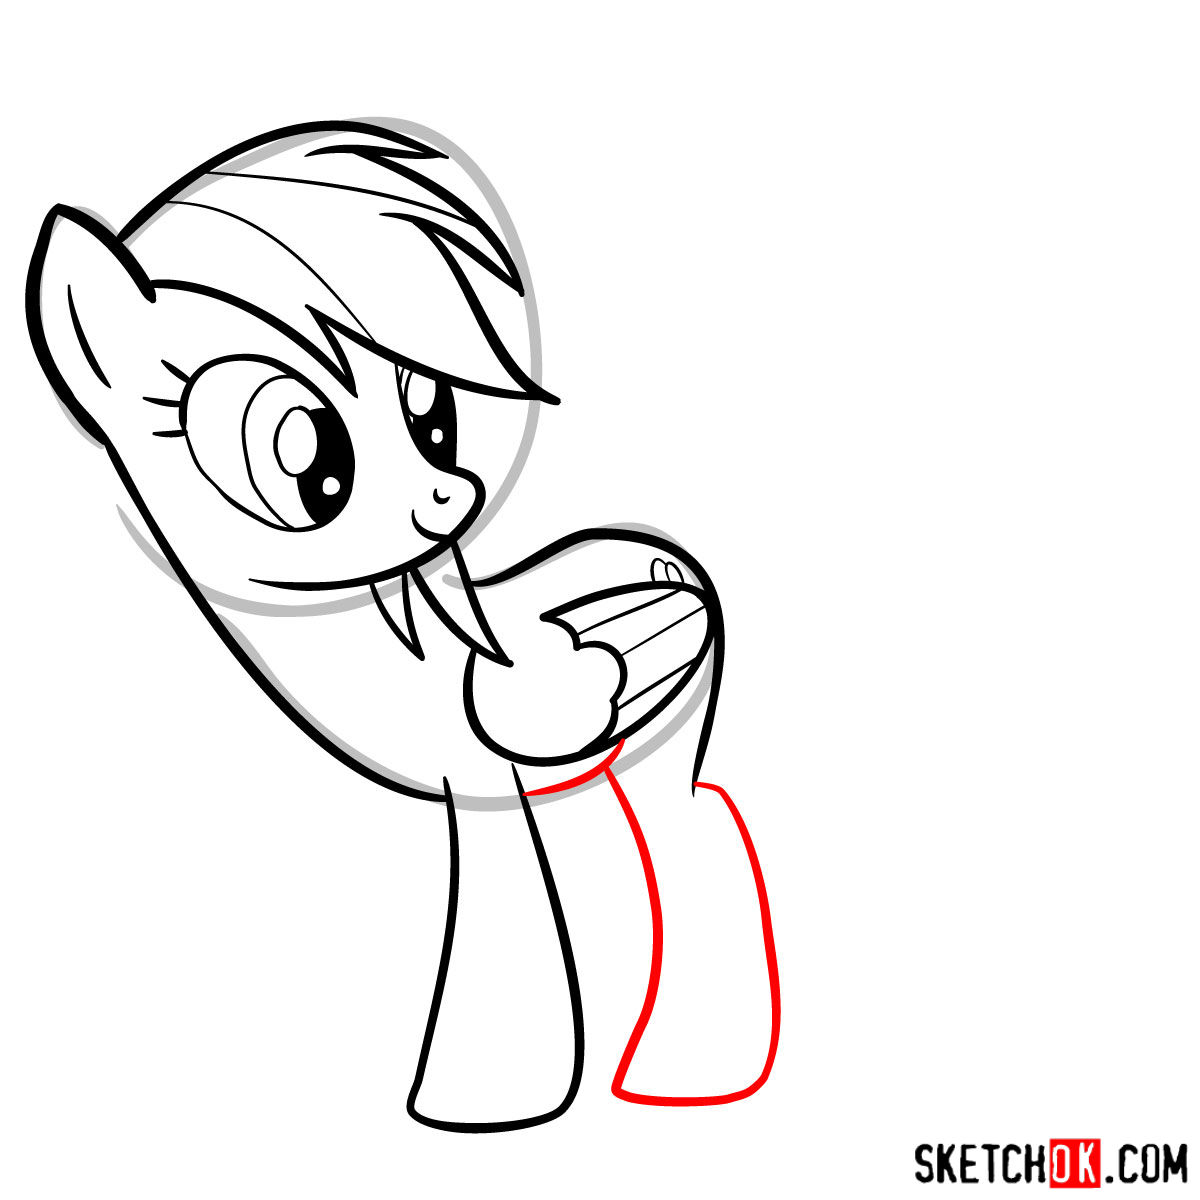
- Red Color: Highlights the current drawing step.
- Black Color: Denotes lines from the previous steps.
- Grey Color: Indicates the basic structure sketch for maintaining proportions. Make sure to use light strokes for this foundational sketch.
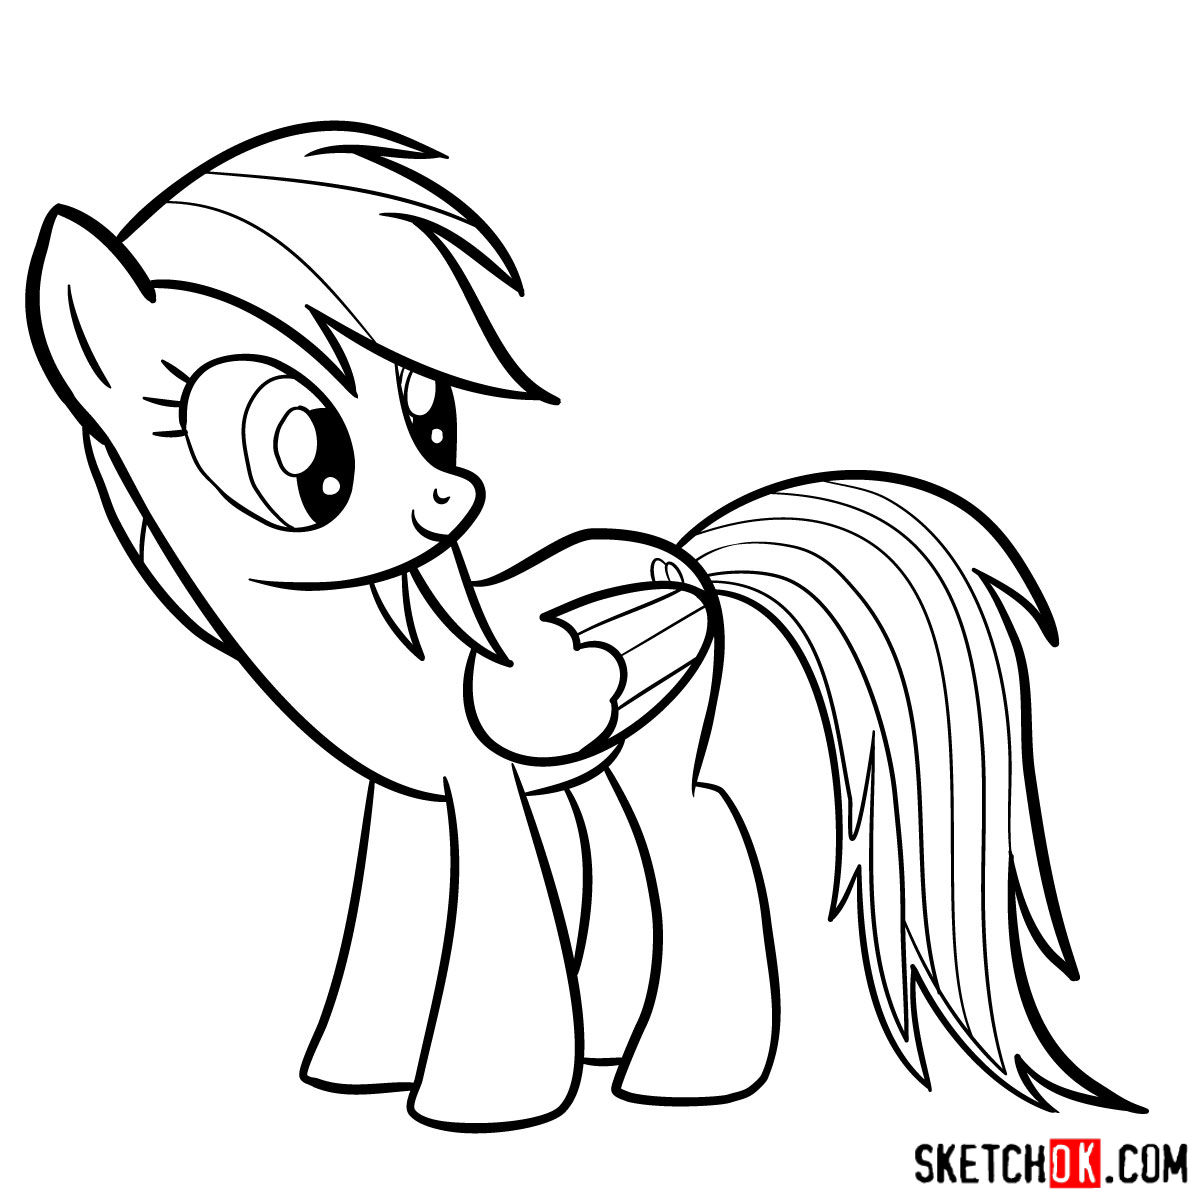
While progressing through the steps, the initial stage is all about creating the basic structure. As you approach the end, you have the choice to ink your sketch. It’s pivotal to let the ink dry before gently erasing the pencil marks. This avoids smudging and ensures the clarity of lines. And for those seeking a full-color experience, the last image displays a beautifully colored version of Rainbow Dash, serving as a perfect color reference.


That covers how to draw Rainbow Dash pony, and I hope she turned out looking just as bold and speedy as she should. Head over to the pinned Pinterest tutorial to share what you came up with, I’d love to see your version.