Every artist, beginner or seasoned, enjoys the thrill of bringing fictional characters to life. Today, we delve into the art of sketching Nina Thumbell, a dynamic character from Ever After High, known for her connection to nature and her tiny, yet profound stature. So, if you’ve ever wondered how to draw Nina Thumbell, here’s your guide to mastering the art.
Understanding Nina Thumbell’s Aesthetics
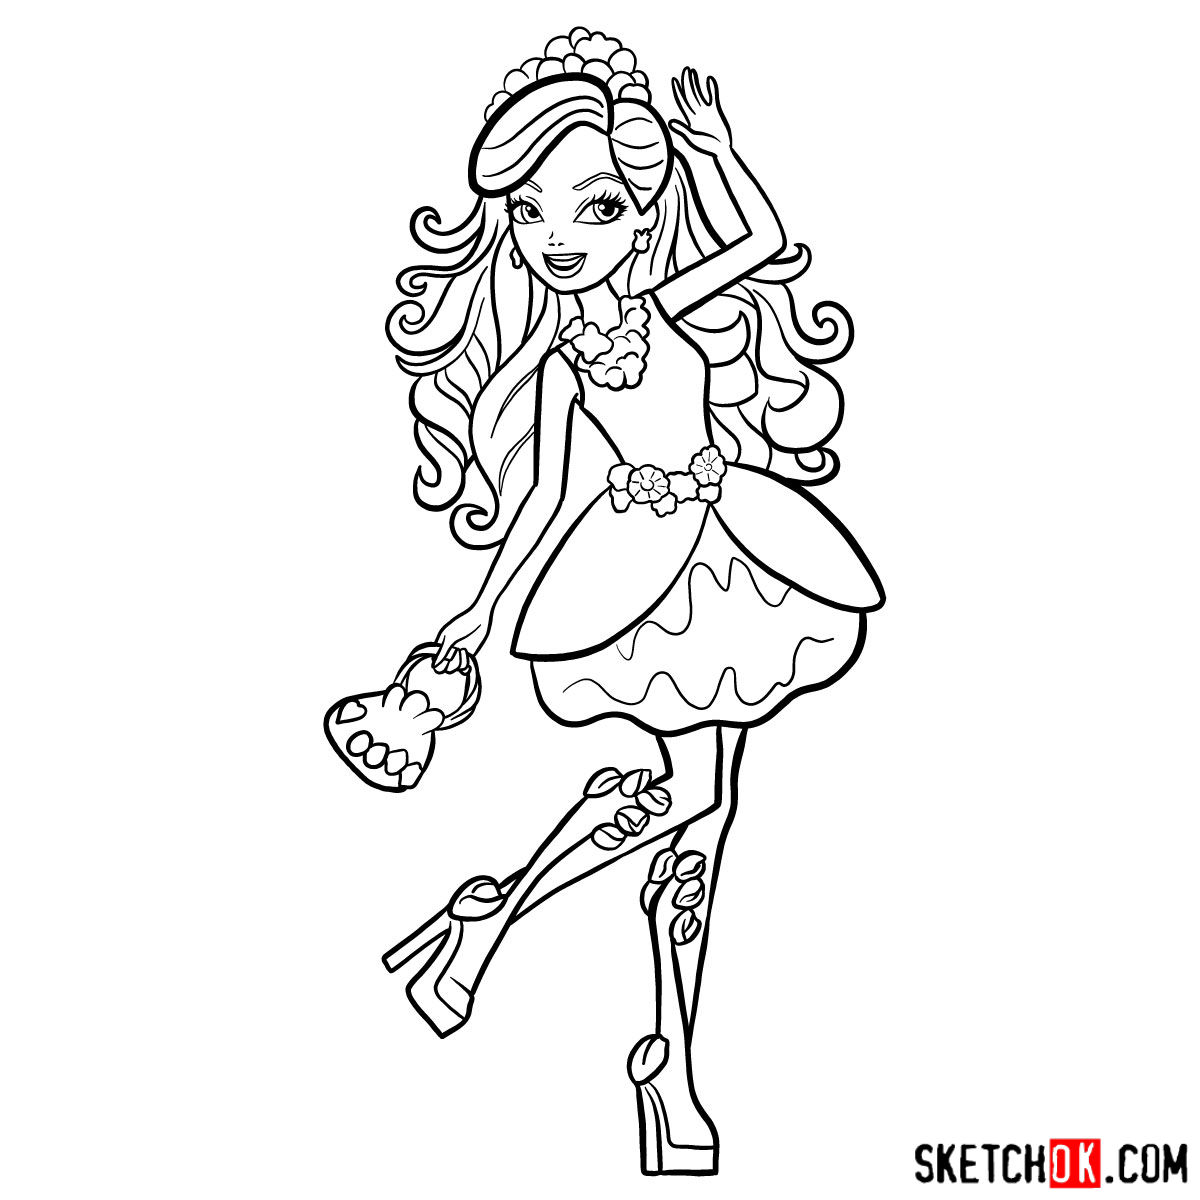
- Stature: Nina stands out in any crowd, being a head shorter than her peers. Her ability to shrink and grow on a whim is noteworthy, but naturally, she’s no taller than a thumb.
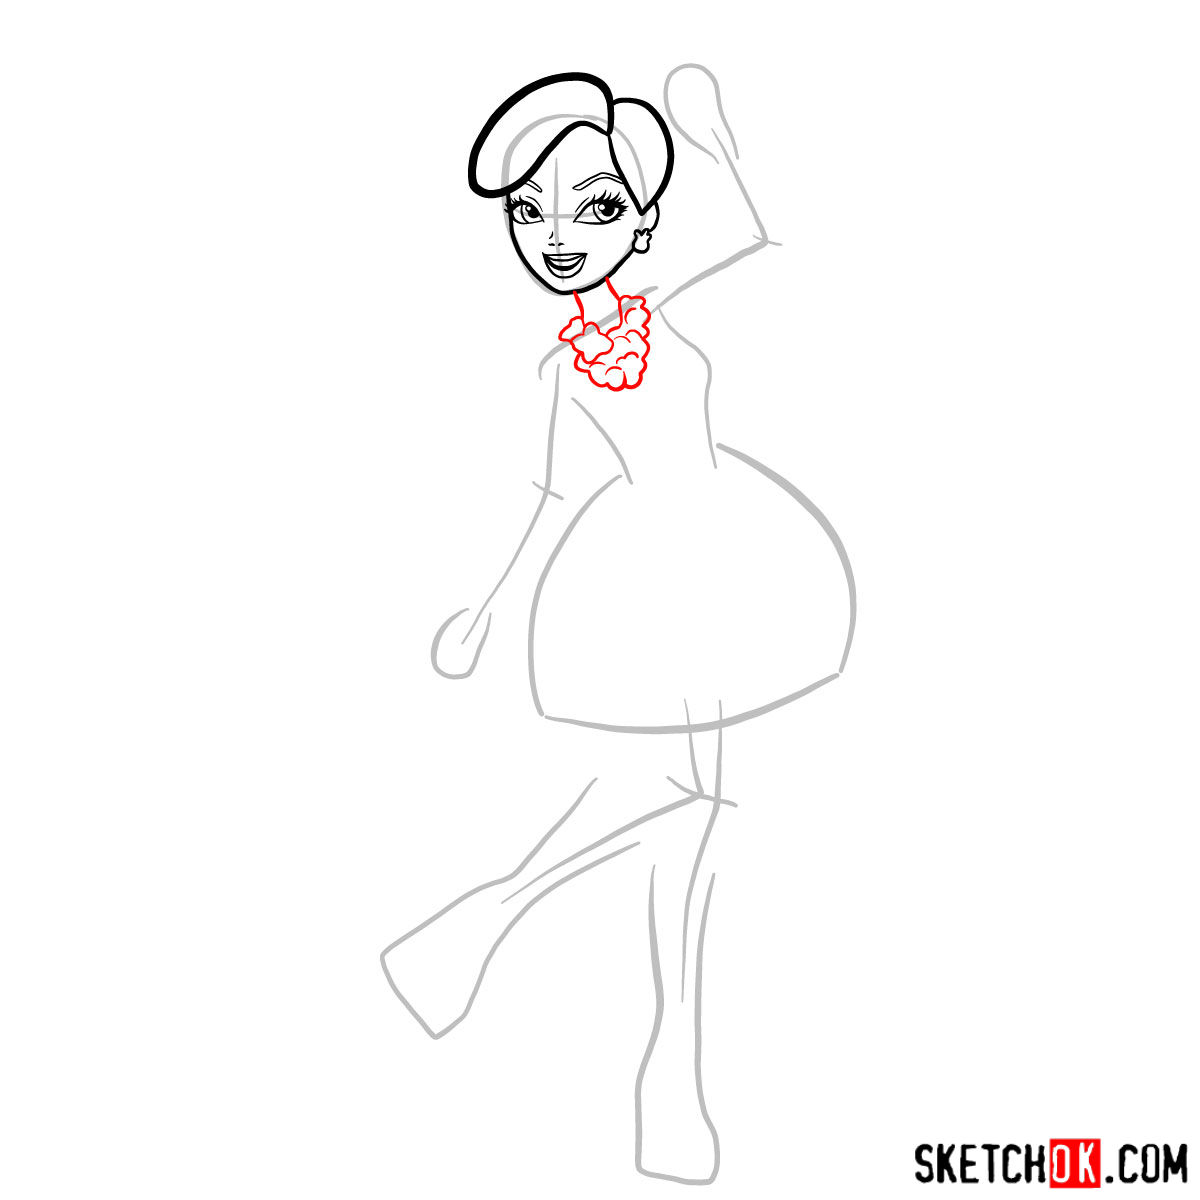
- Facial Features: Her slate blue eyes radiate with warmth, complemented by her cute pale-pink lips and rosy red cheeks.
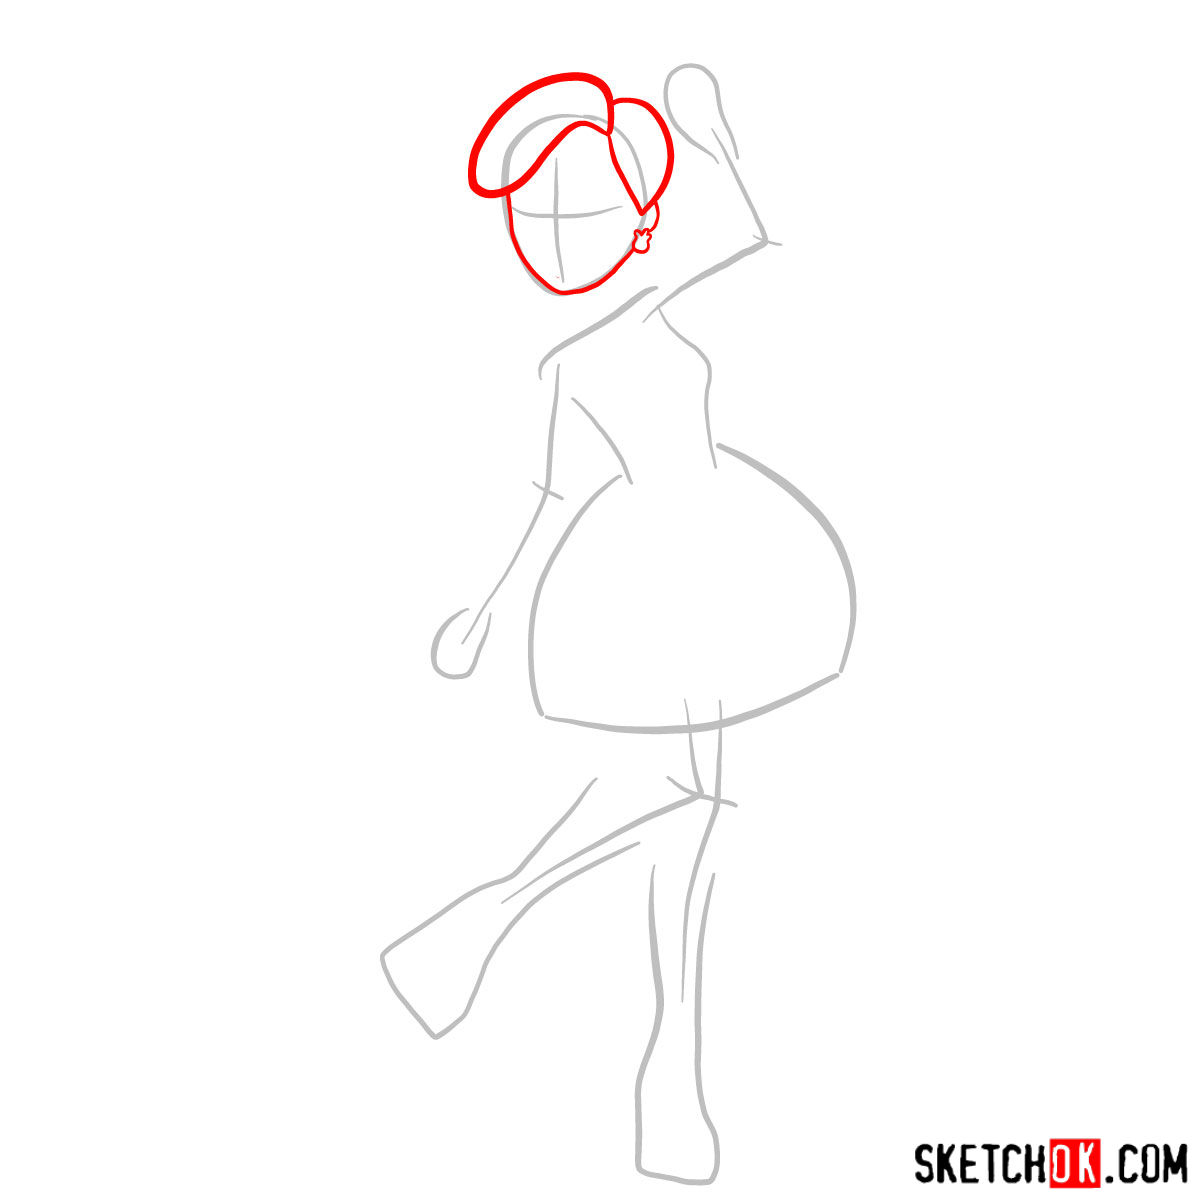
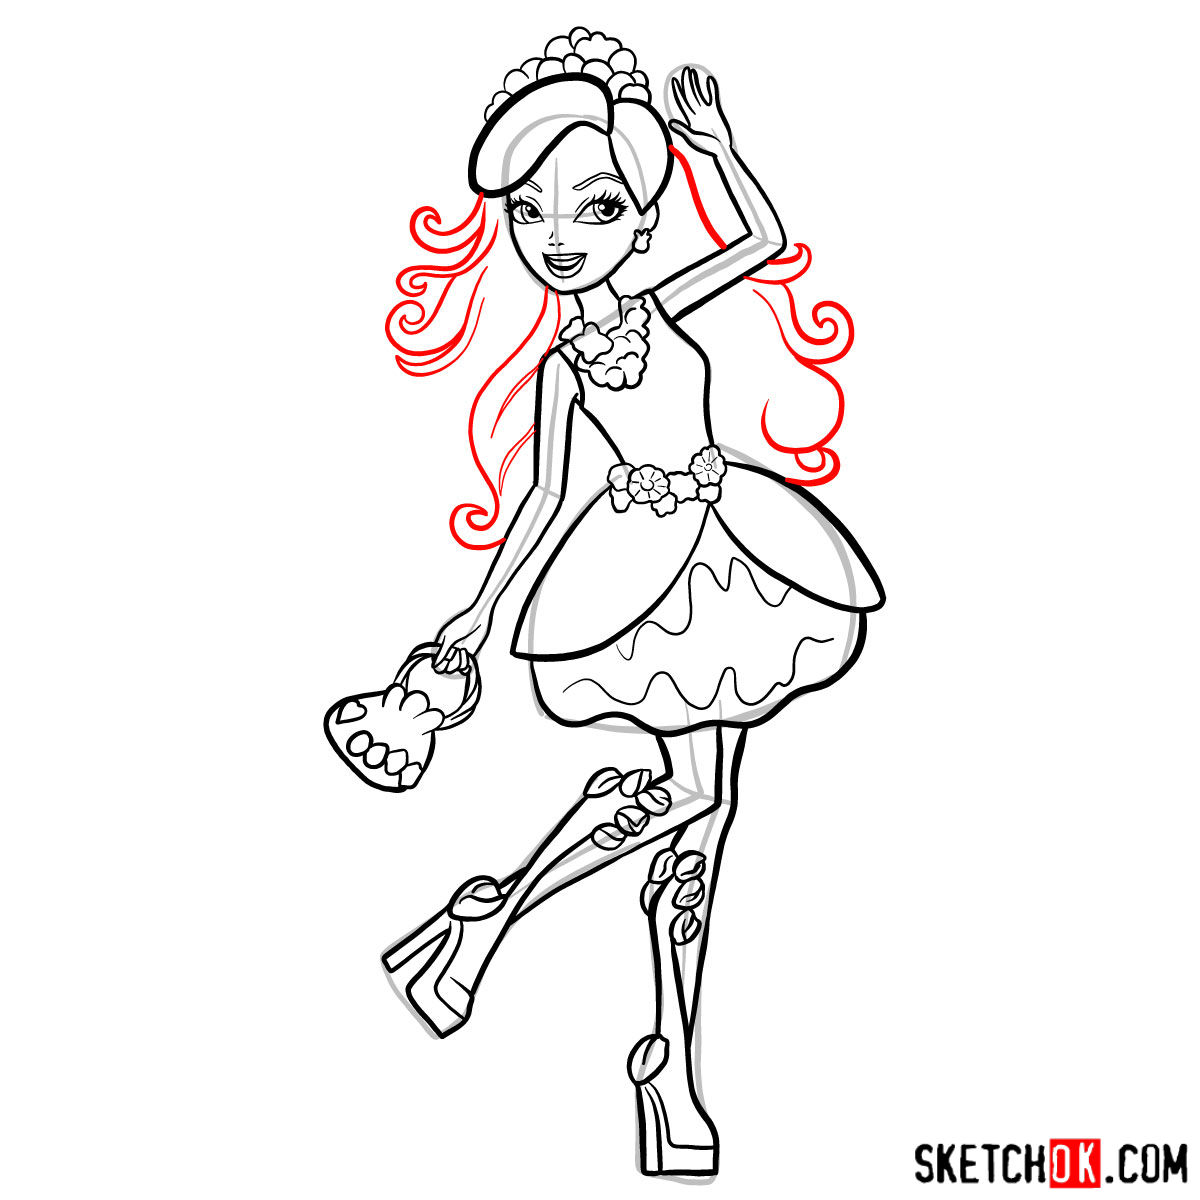
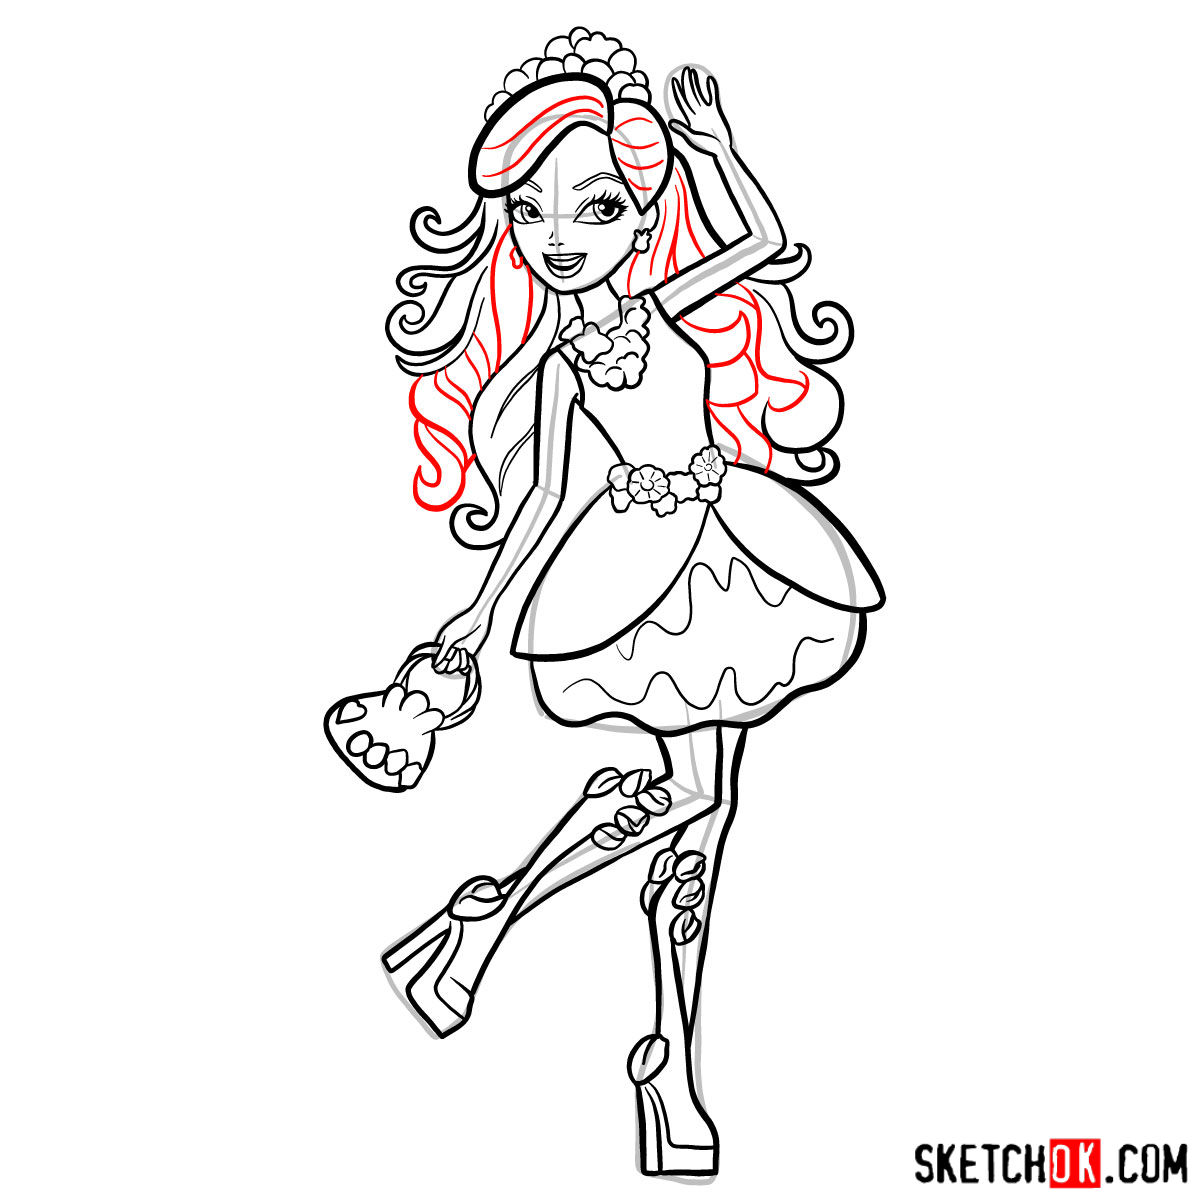
- Hair: Draped in pale flaxen-colored waves that border on white, her hair is a defining characteristic.
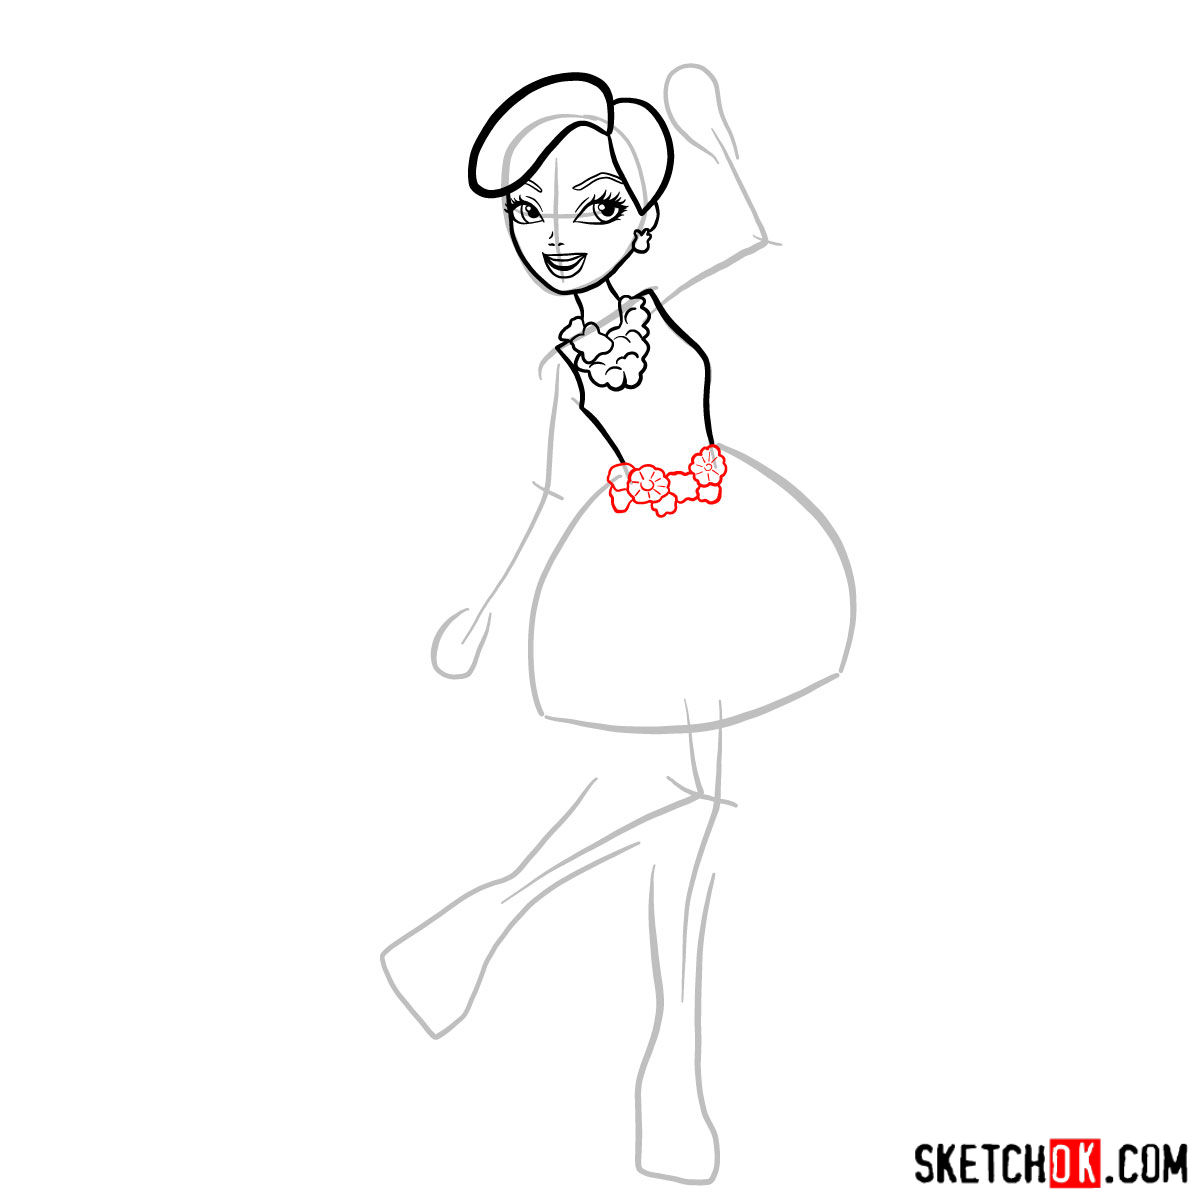
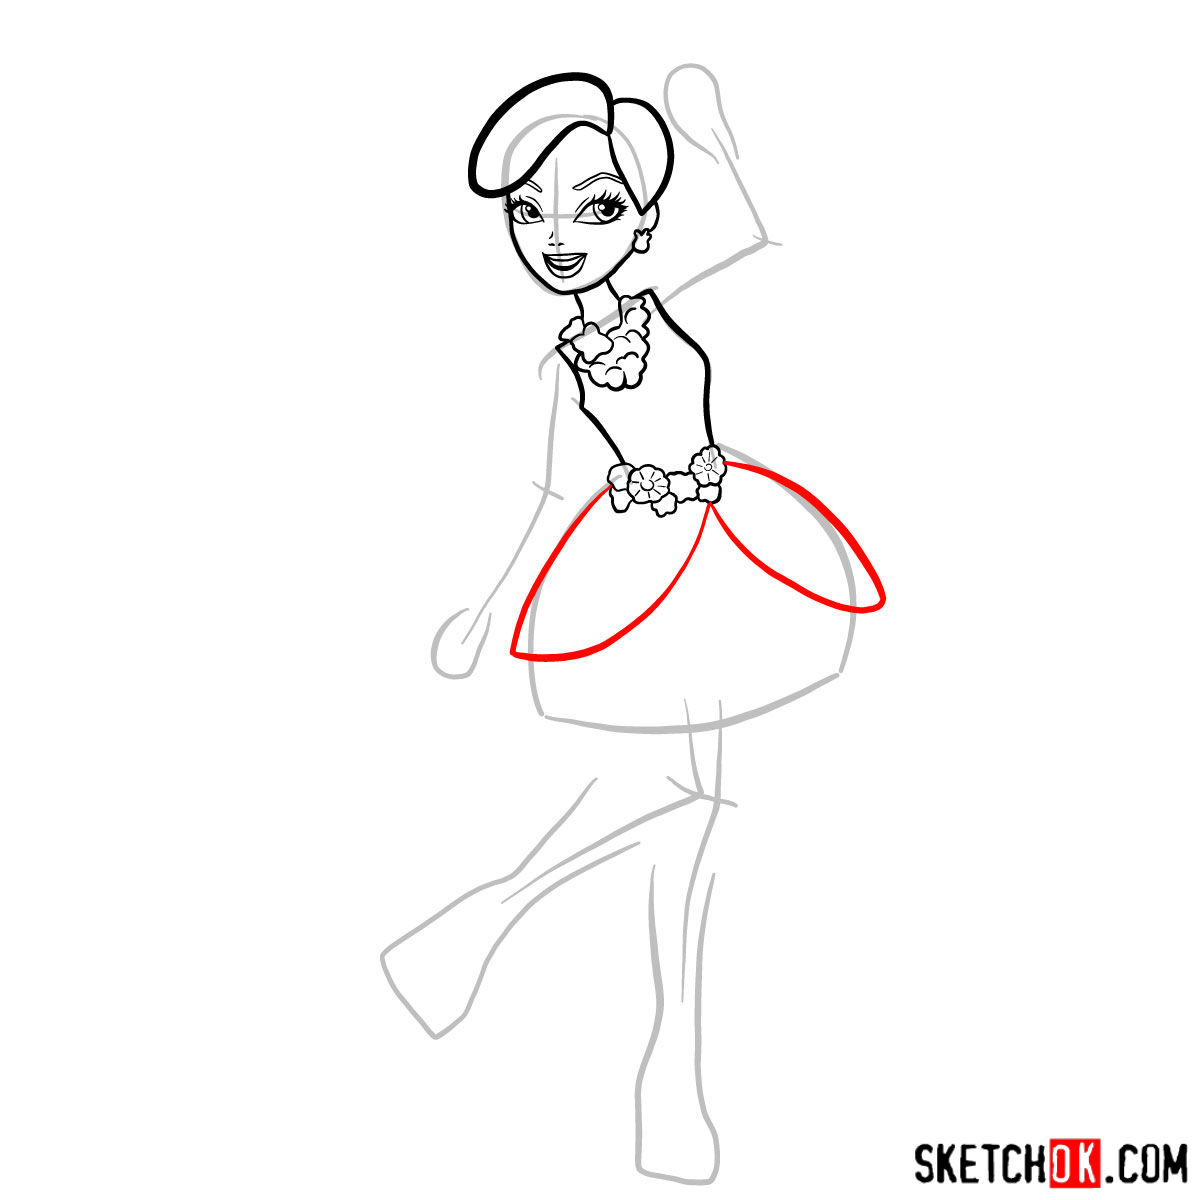
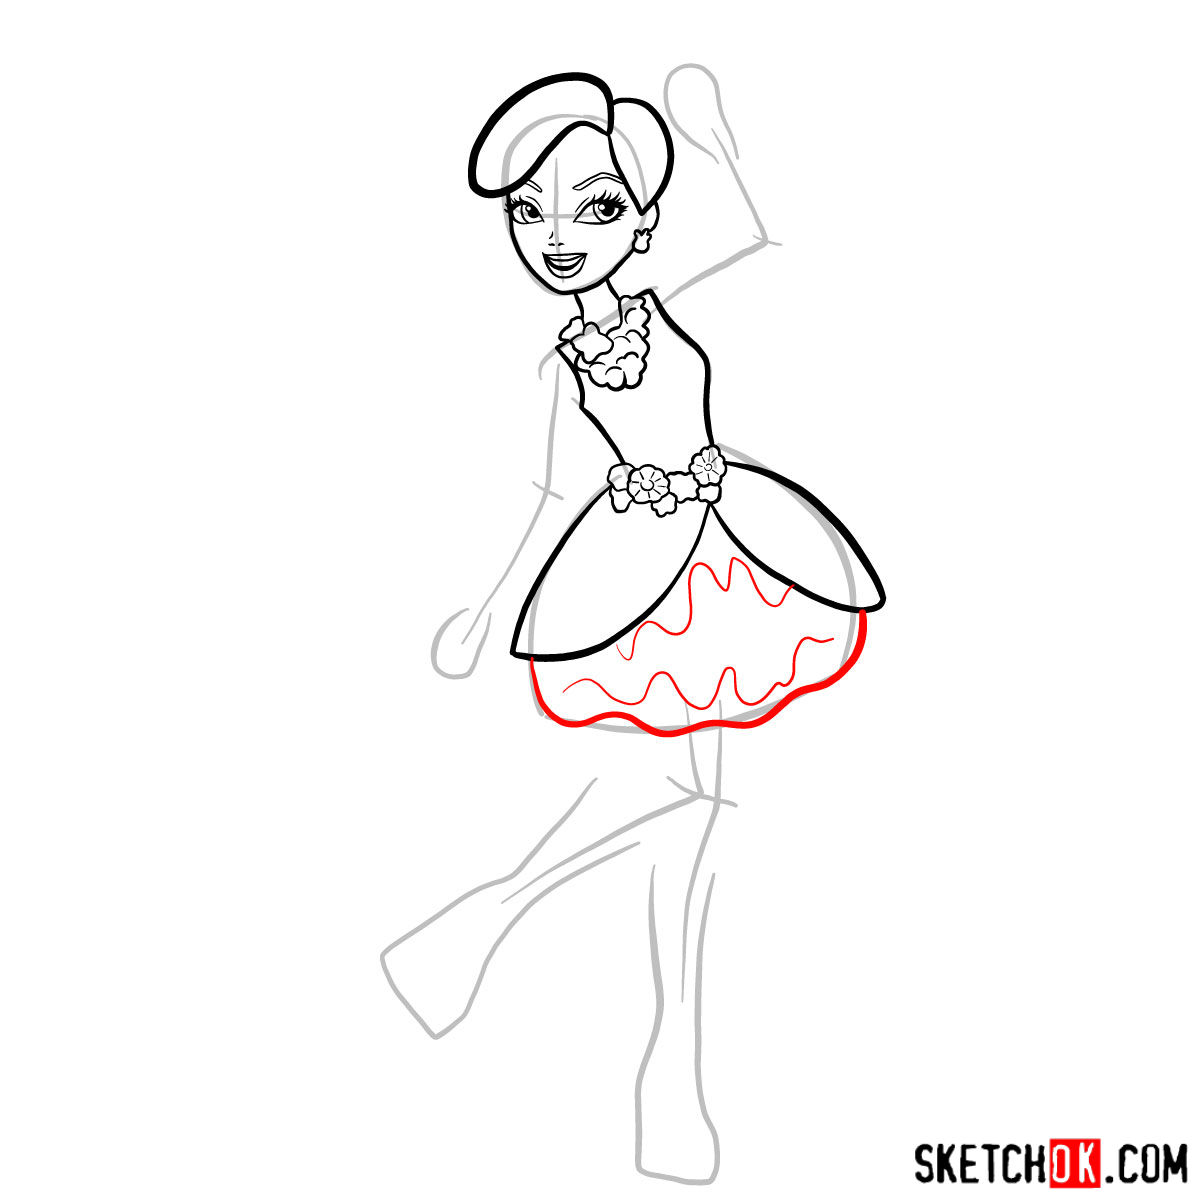
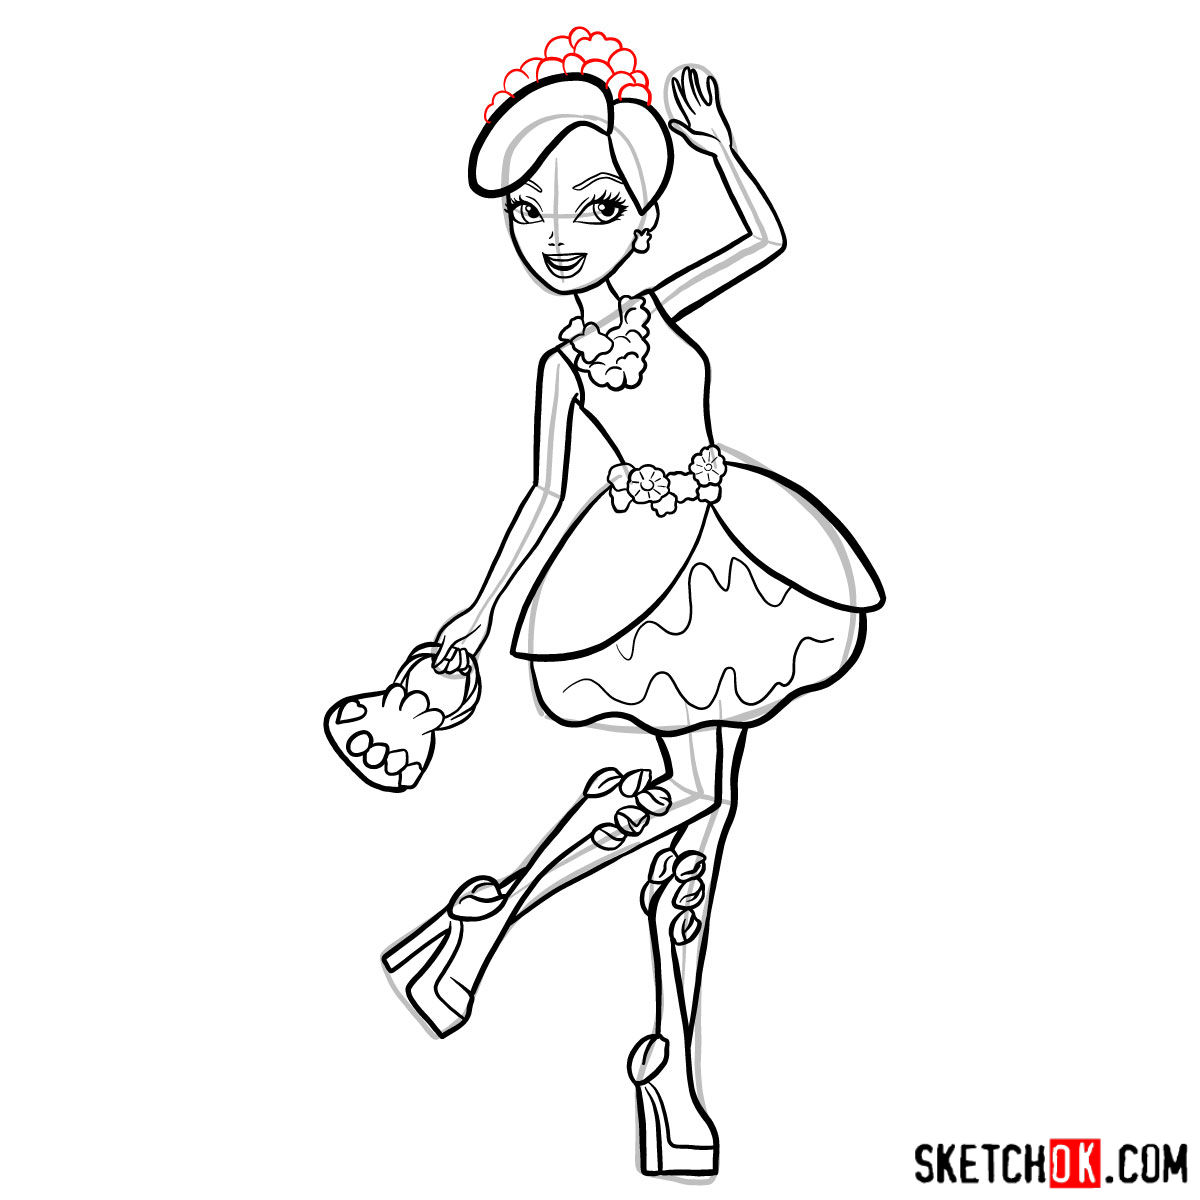
- Attire: Decked in clothes inspired by colorful flora, she’s a treat for artists who love to dabble in intricate designs.
If you find yourself engrossed in the world of Ever After High, consider adding characters like Ashlynn Ella, who shares Nina’s eco-friendly sentiments, to your drawing repertoire for a wholesome collection.
Breaking Down the Guide’s Color Code
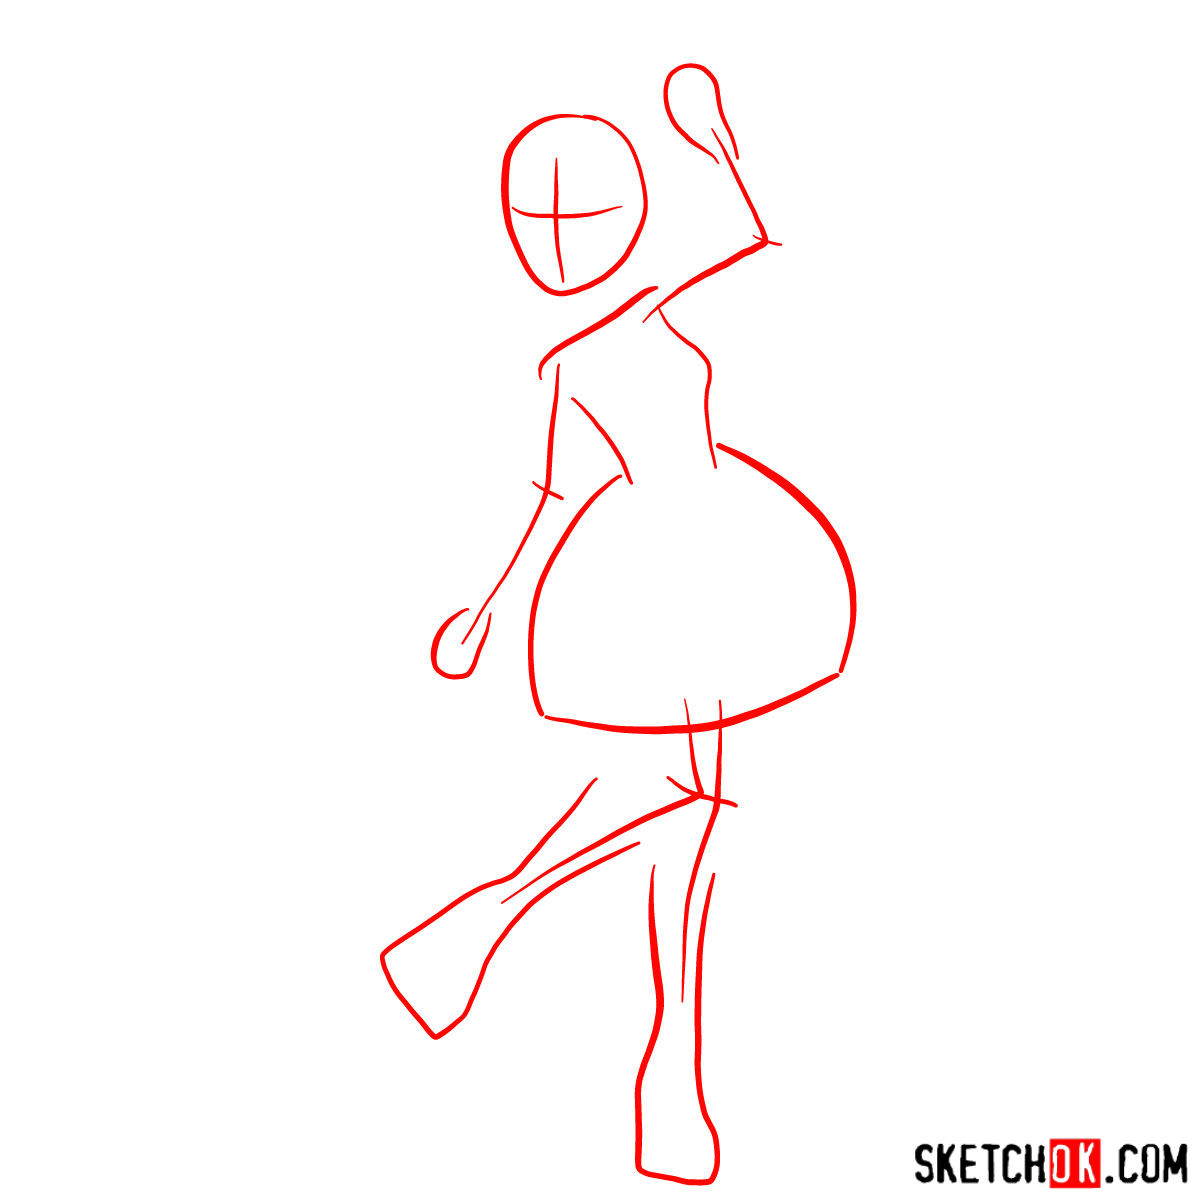
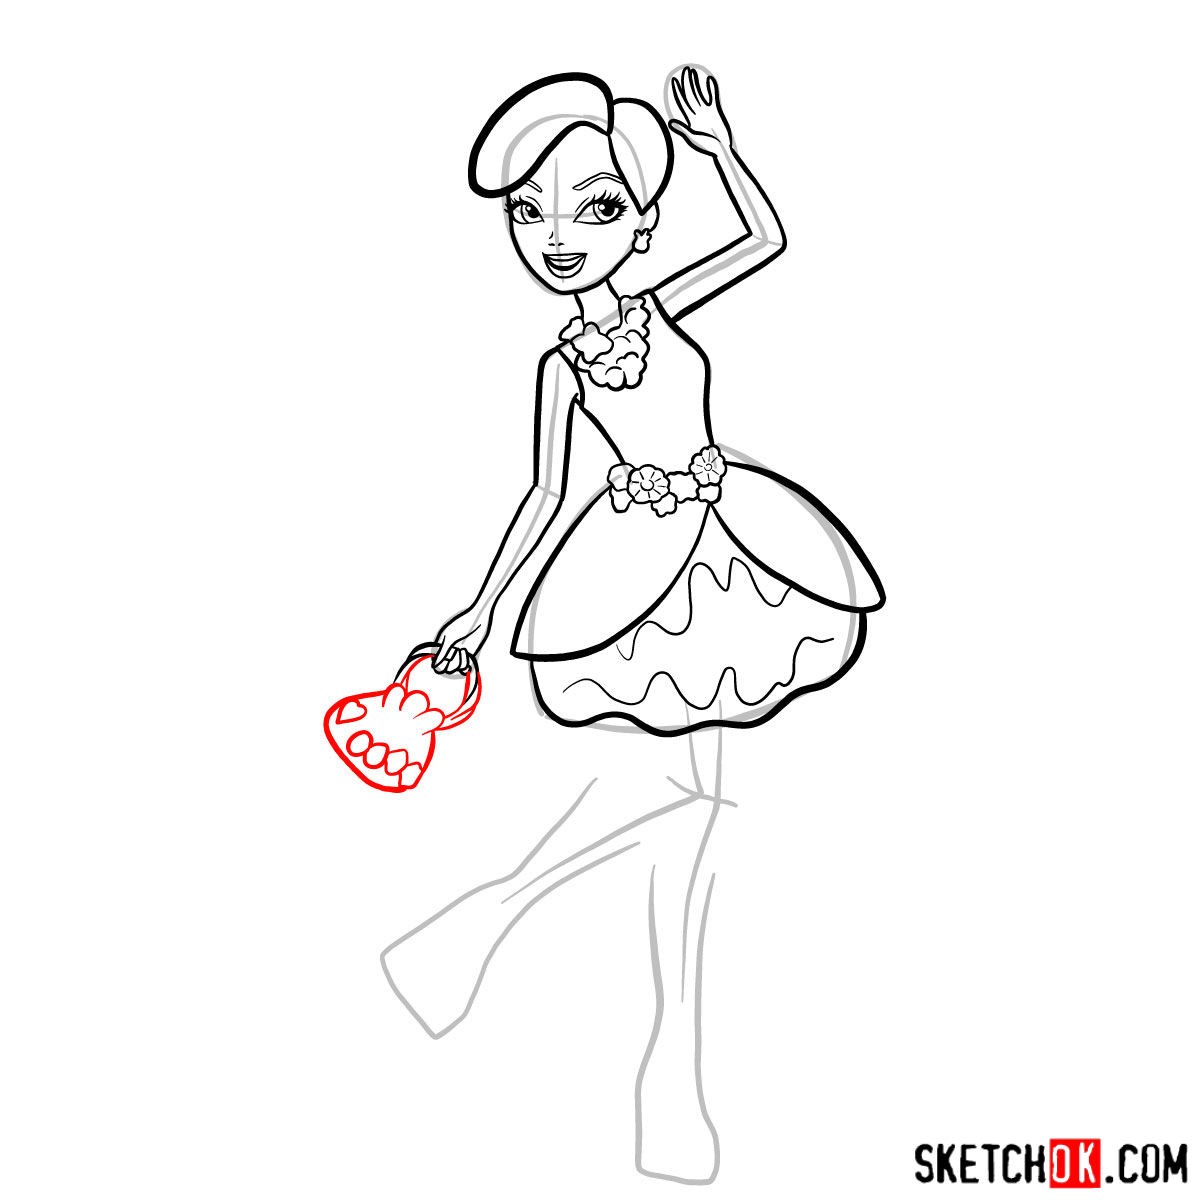
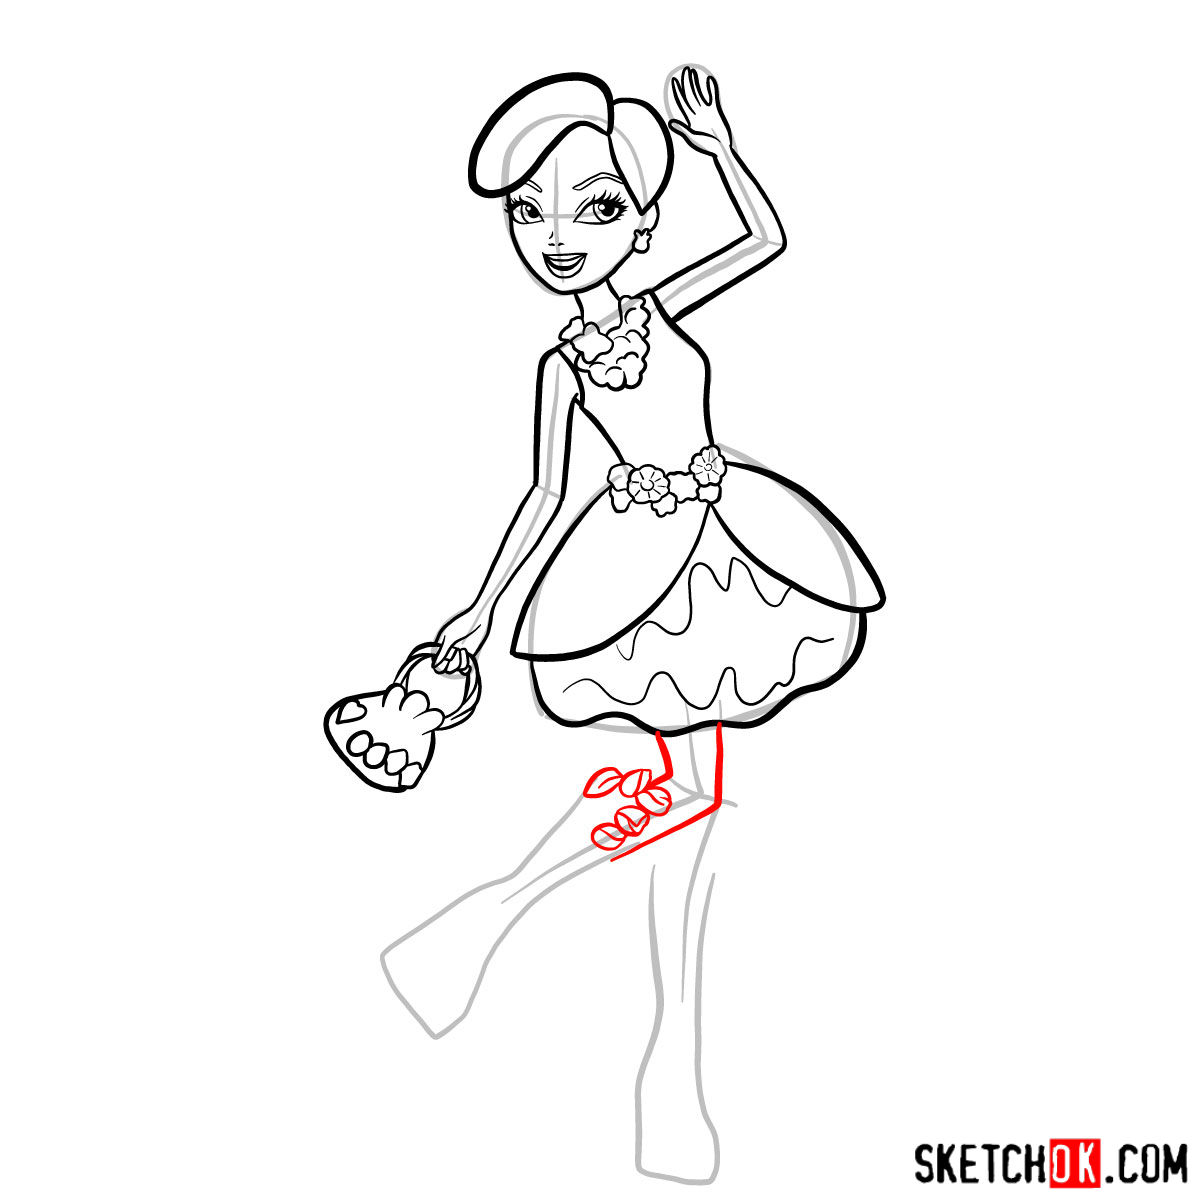
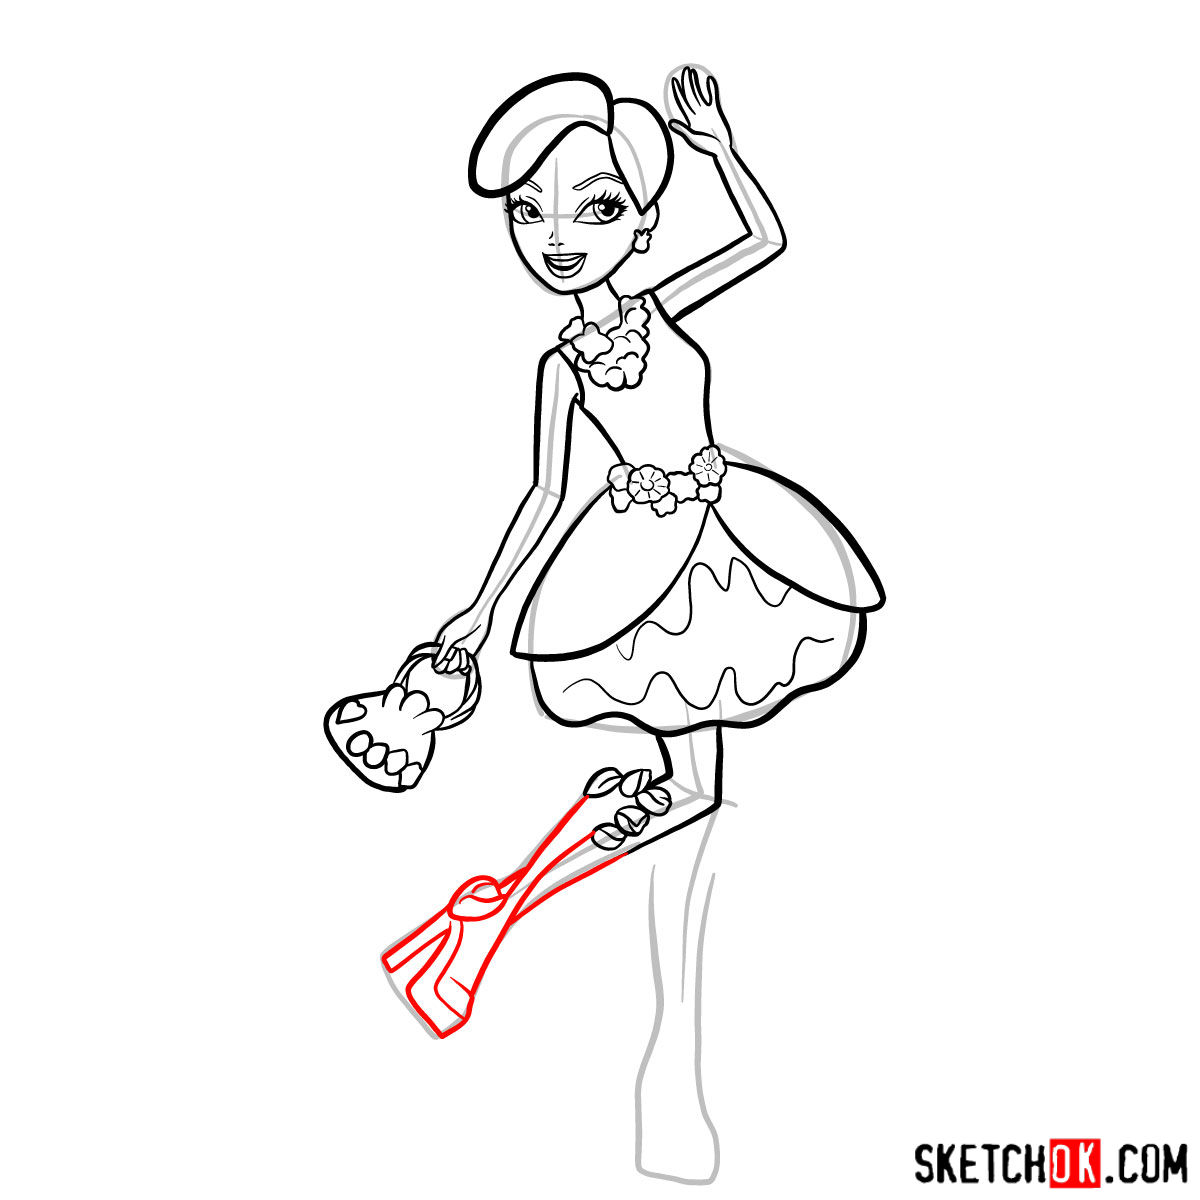
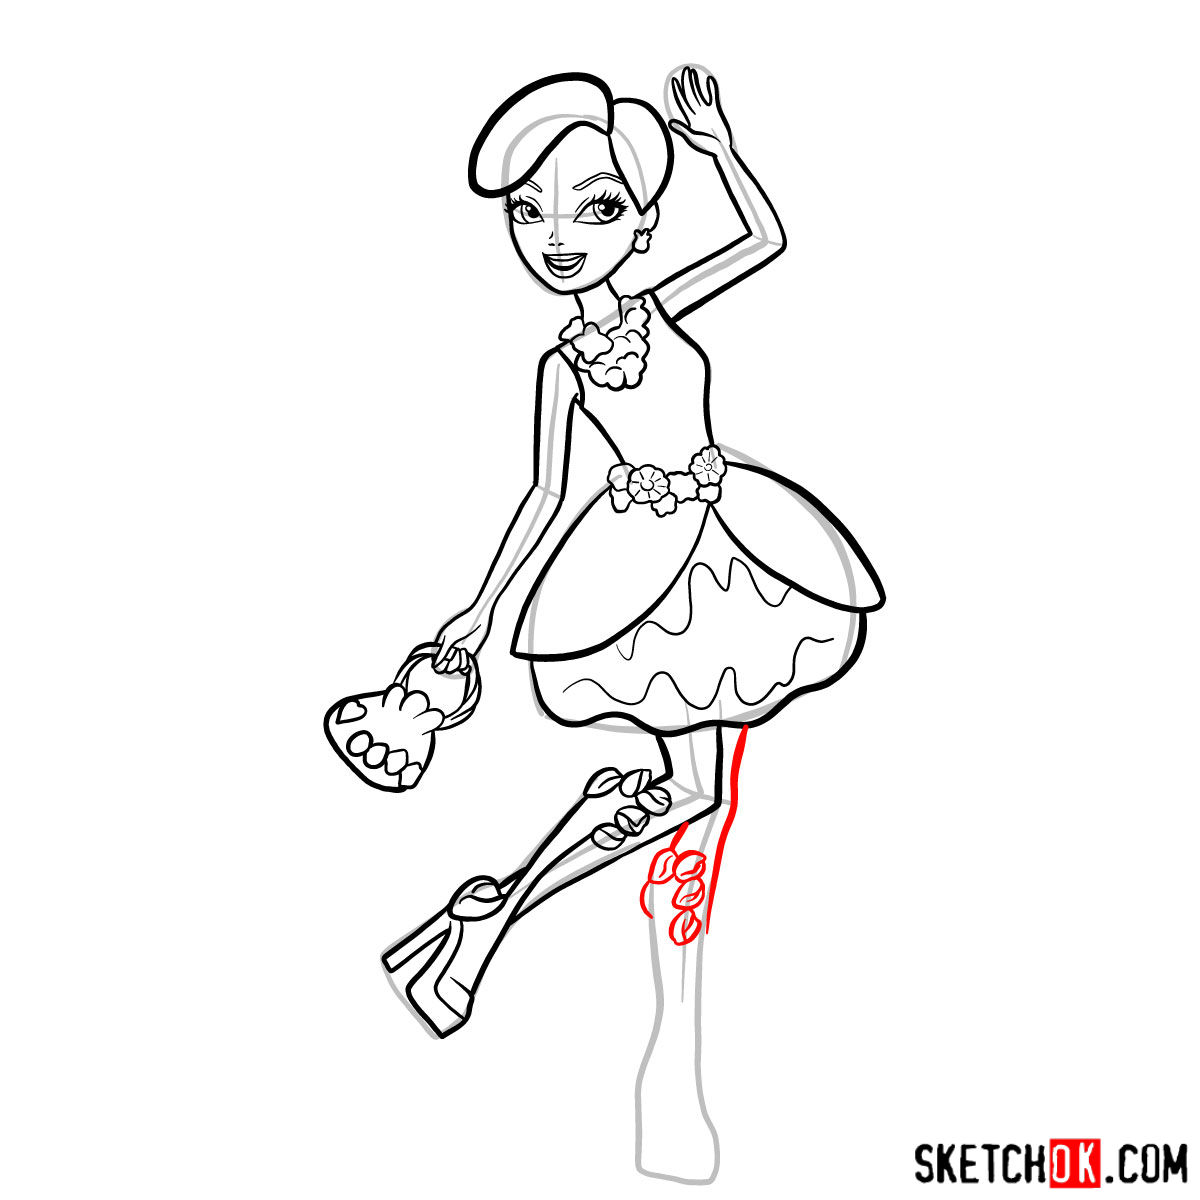
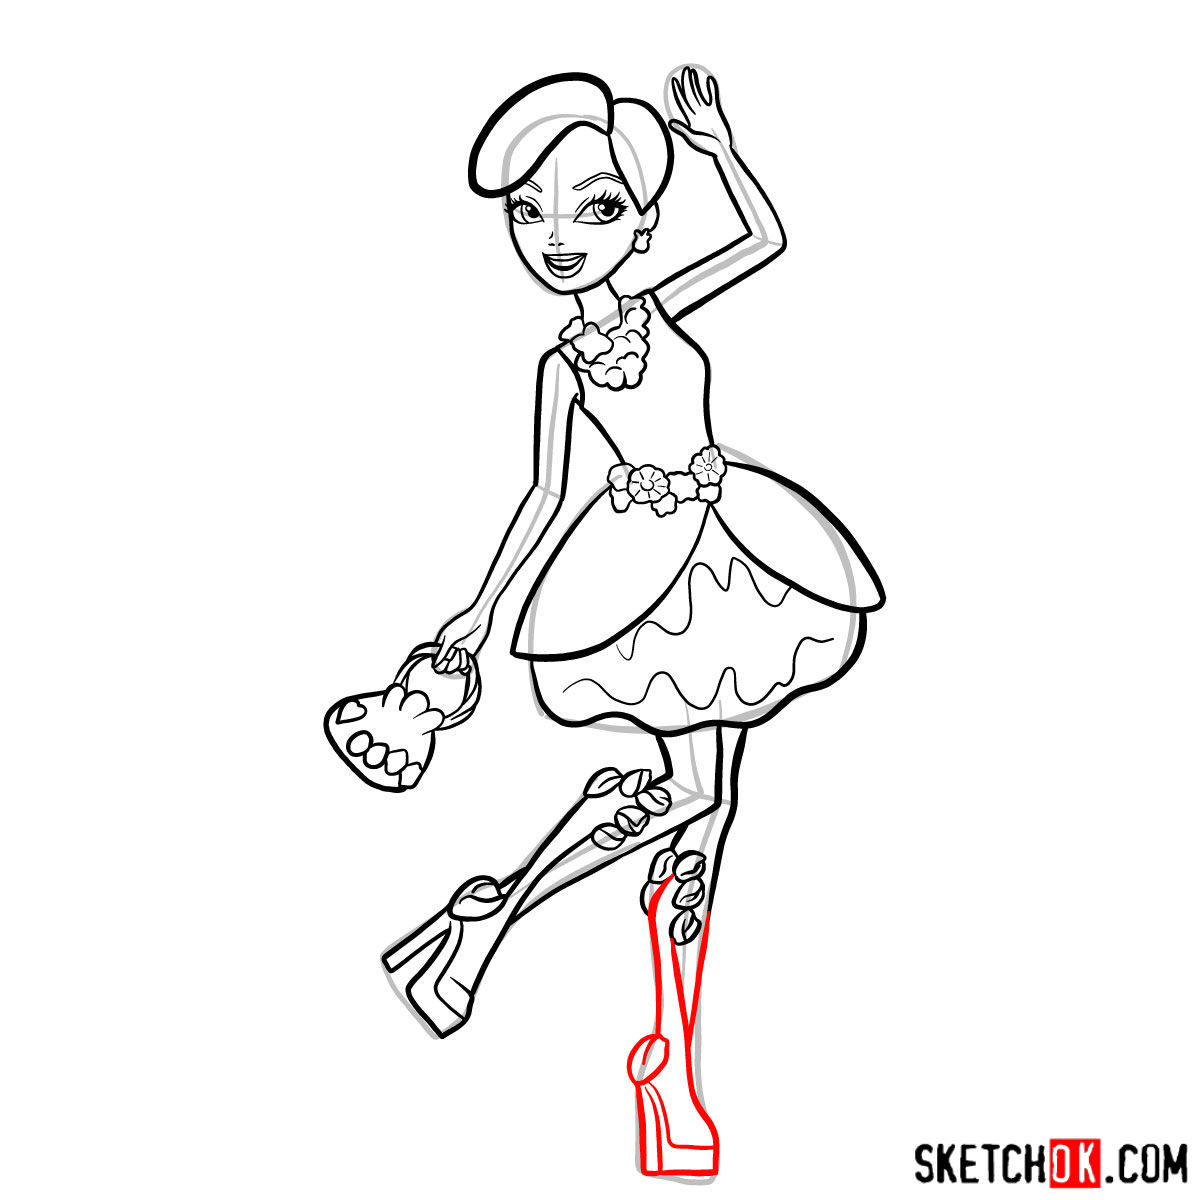
Our illustrative guide spans 20 steps, each defined with distinct color codes to simplify your drawing process:
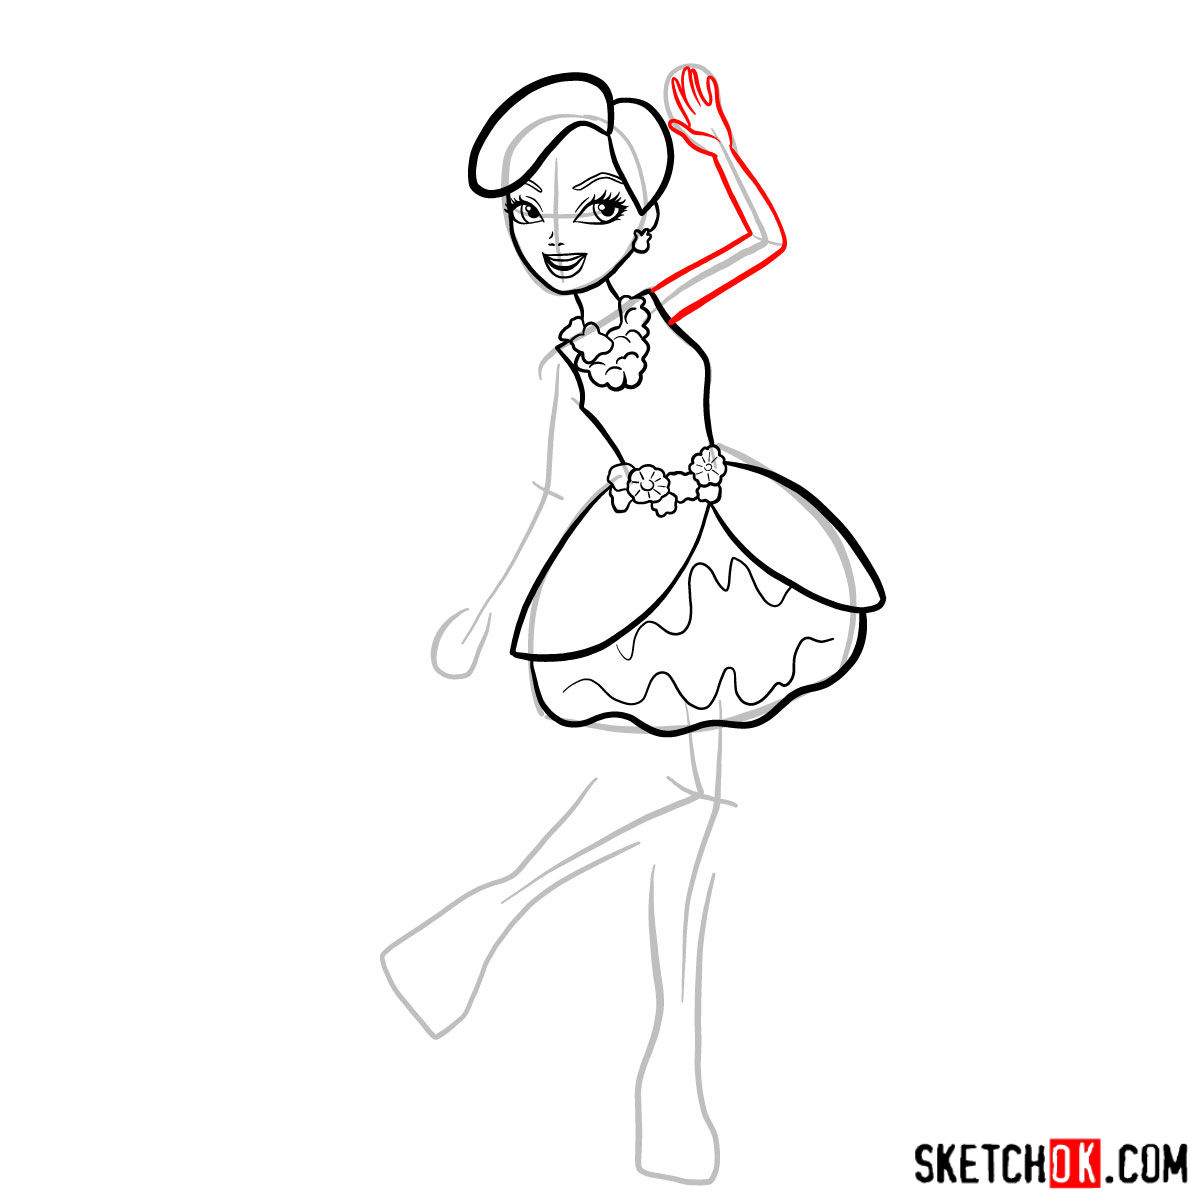
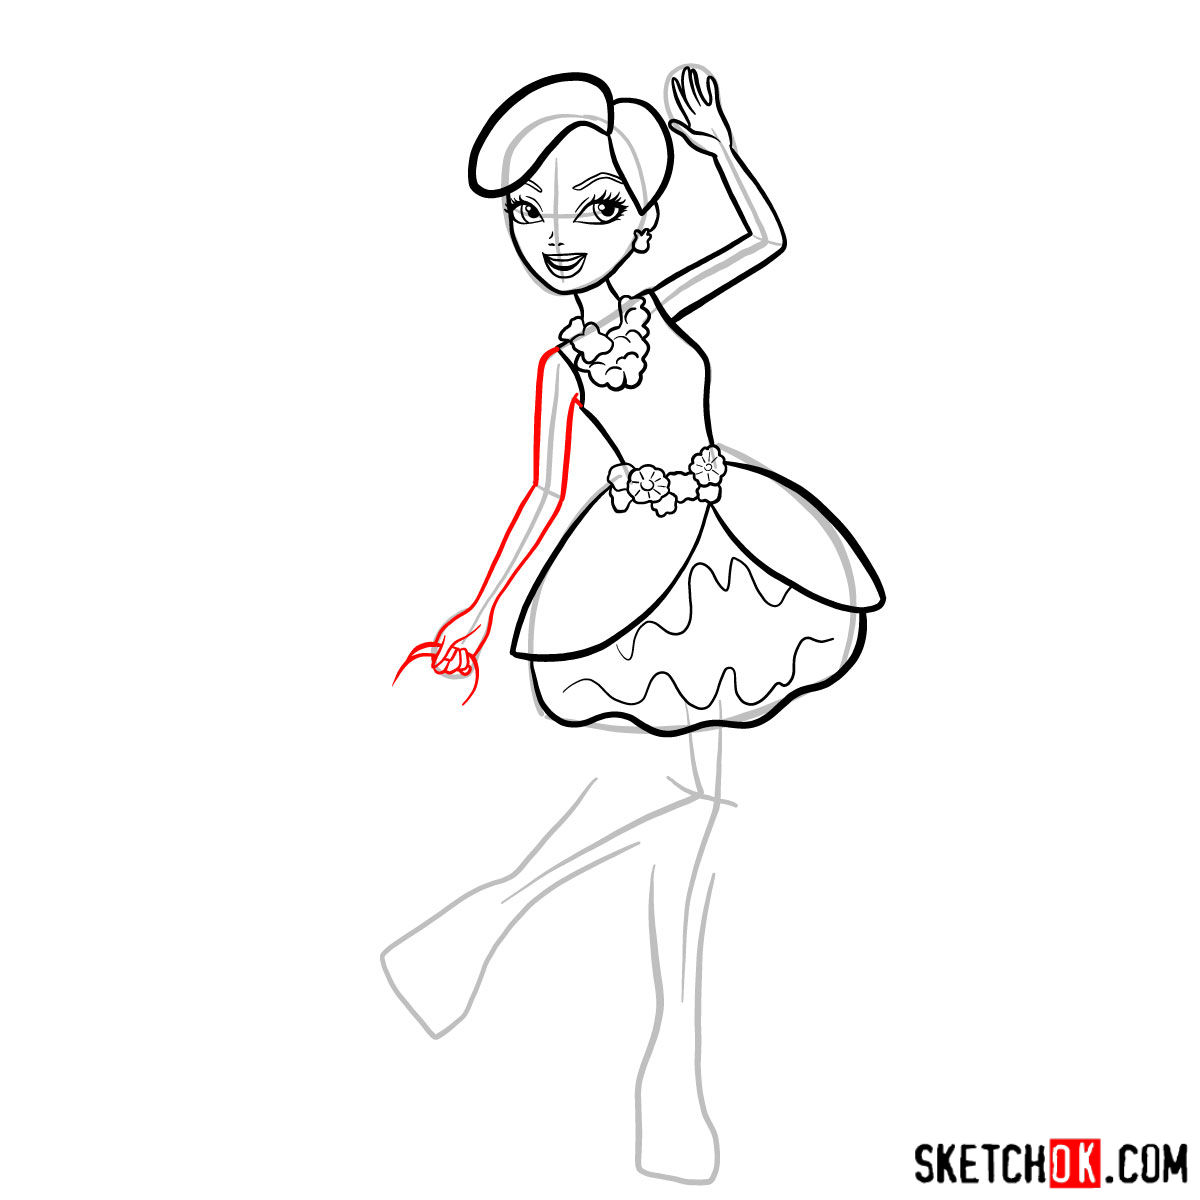
- Red Color: Highlights the focal point of the current step, guiding your pencil’s movement.
- Black Color: Depicts the lines sketched in previous stages, offering a foundation to build upon.
- Grey Color: Presents the basic proportions sketch, which should be initiated with light pencil strokes.
Once you’ve traversed through the steps, artists can opt to ink their masterpiece. Here’s a pro-tip: allow the ink to dry completely before erasing the preliminary pencil sketch. This not only ensures a clean finish but also prevents any smudging. While our guide emphasizes the sketching process, the final image, painted in vibrant hues, serves as a perfect color reference for those wanting to add that finishing touch.


As an artist behind the SketchOk project, I cannot emphasize enough the significance of community support. By donating, you not only fuel our passion but also influence the tutorials I create, enabling me to cater to your drawing desires.
If you found this guide on how to draw Nina Thumbell beneficial, I urge you to share it with fellow artists, be it on social platforms or any corner of the web. The more the word spreads, the more budding artists we can assist in their journey.
Stay updated and engage with our community on:
Remember, every sketch starts with a simple line. By learning how to draw Nina Thumbell today, you’ve added a new character to your artistic arsenal. Until next time, keep sketching and expanding your horizons!