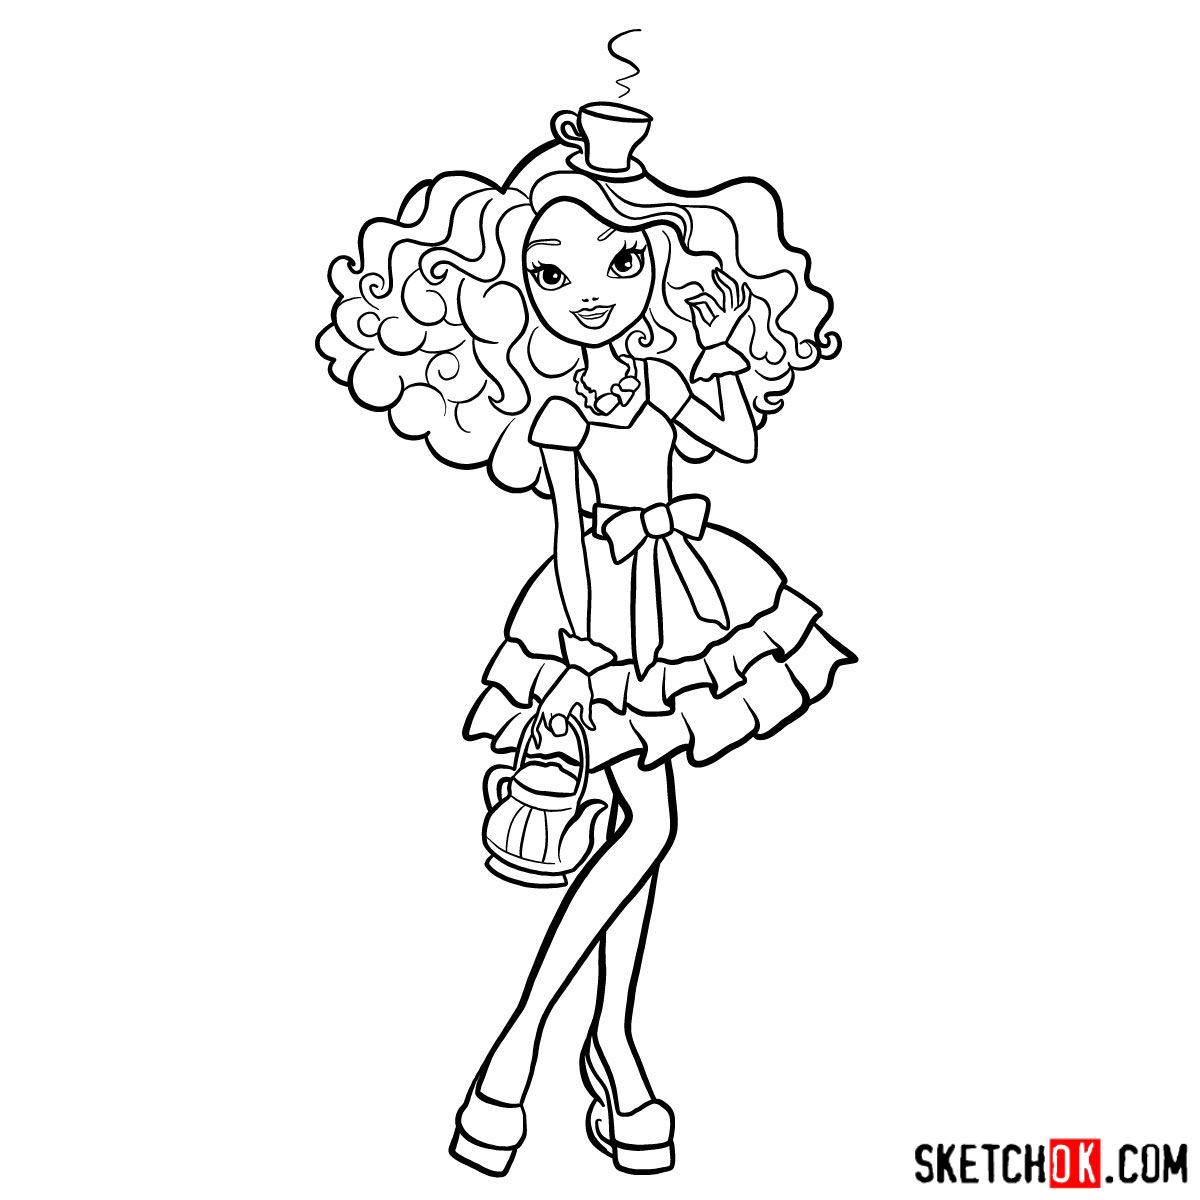
Madeline Hatter, often lovingly referred to as Maddie, is a striking character inspired by the renowned story of Alice’s Adventures in Wonderland. As the next in line to become the Mad Hatter, Maddie is a proud student at Ever After High. But what truly sets her apart is not just her colorful and quirky style, but her unique abilities that intertwine with her vibrant personality.
Madeline Hatter: A Canvas of Colors and Patterns
- Signature Hair: Maddie’s hair is an enchanting blend of dark turquoise, mint green, and dark purple waves. This multicolored palette sets her apart and acts as a primary focus in her drawing.
- Eyes: Her bright blue-teal eyes sparkle with energy, capturing the essence of her free spirit.
- Stature: Maddie’s petite stature and signature baby face bring a unique charm. Being one of the shortest students at Ever After High, she is distinctly Wonderlandian in appearance.
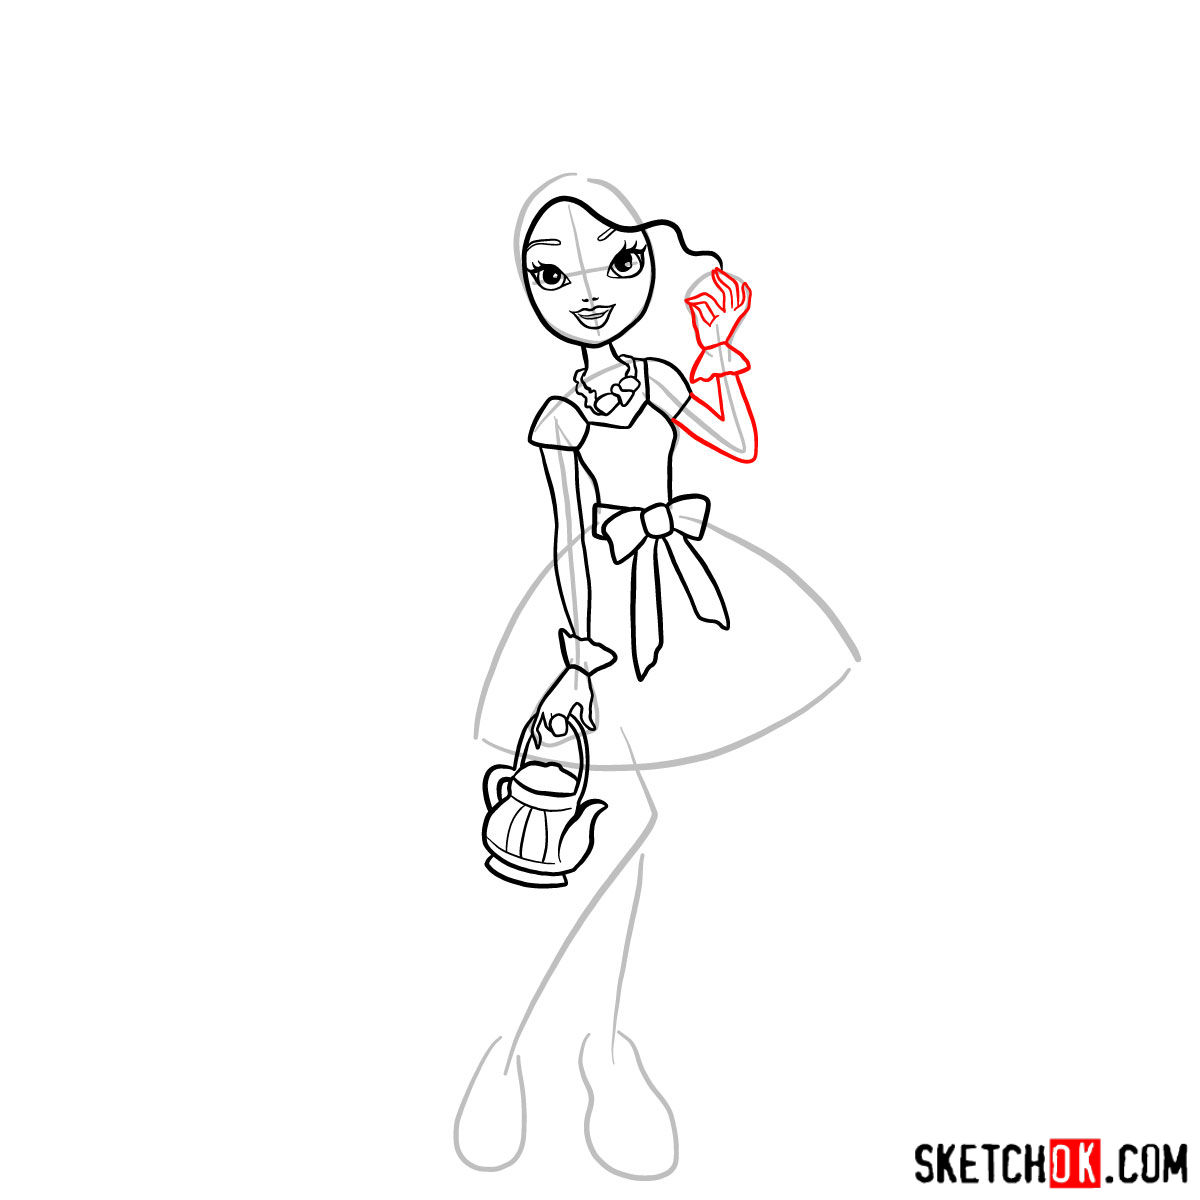
- Fashion Motif: Tea! From her iconic teacup hat to tea set-inspired outfit details, this theme runs deep in Maddie’s style.
- Mad-tastic Style: The combination of yellow, black, and blue, along with a plethora of nonsynchronized patterns, makes her attire a lively showcase of her bubbly personality.
If you’re a fan of characters with vibrant designs, you might also enjoy sketching Kitty Cheshire or diving deep into the world of Ever After High with other engaging characters that complement Maddie’s delightful aura.
About This Drawing Guide
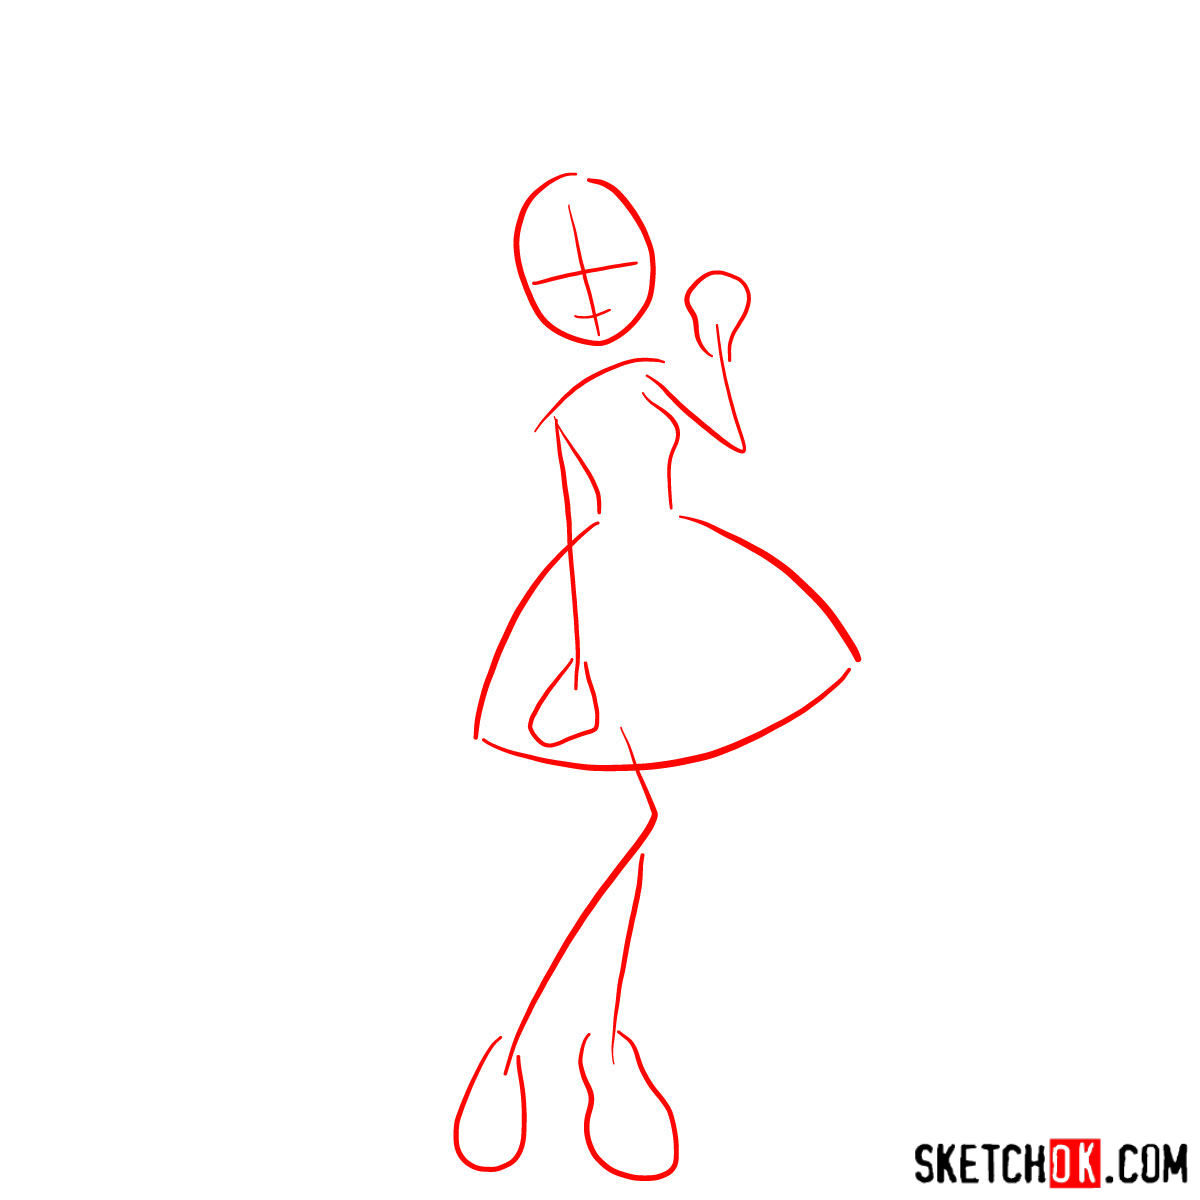
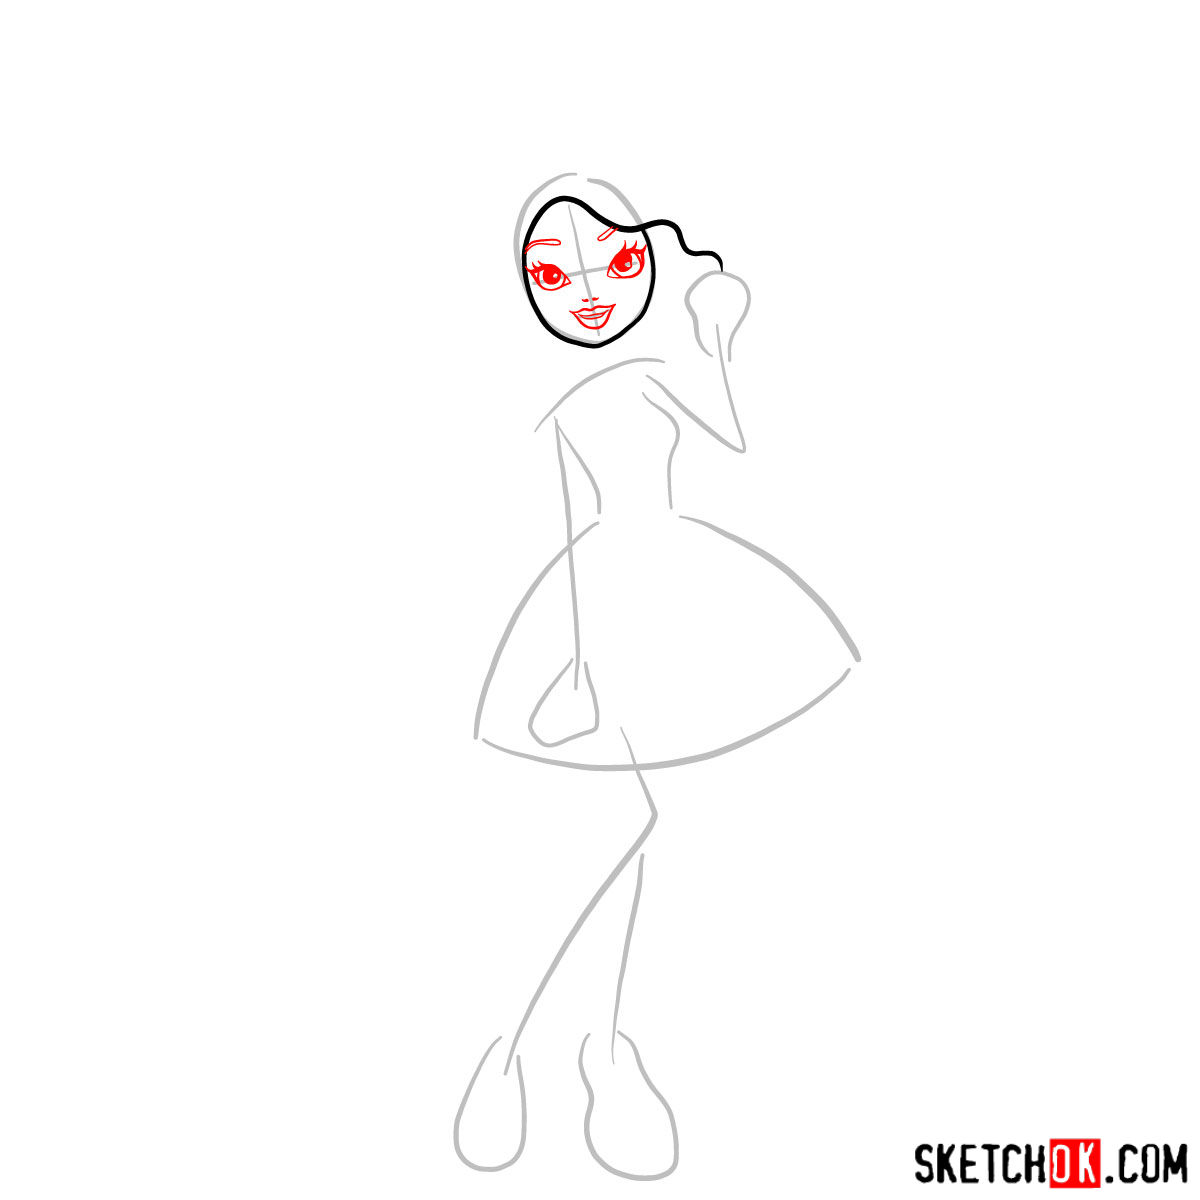
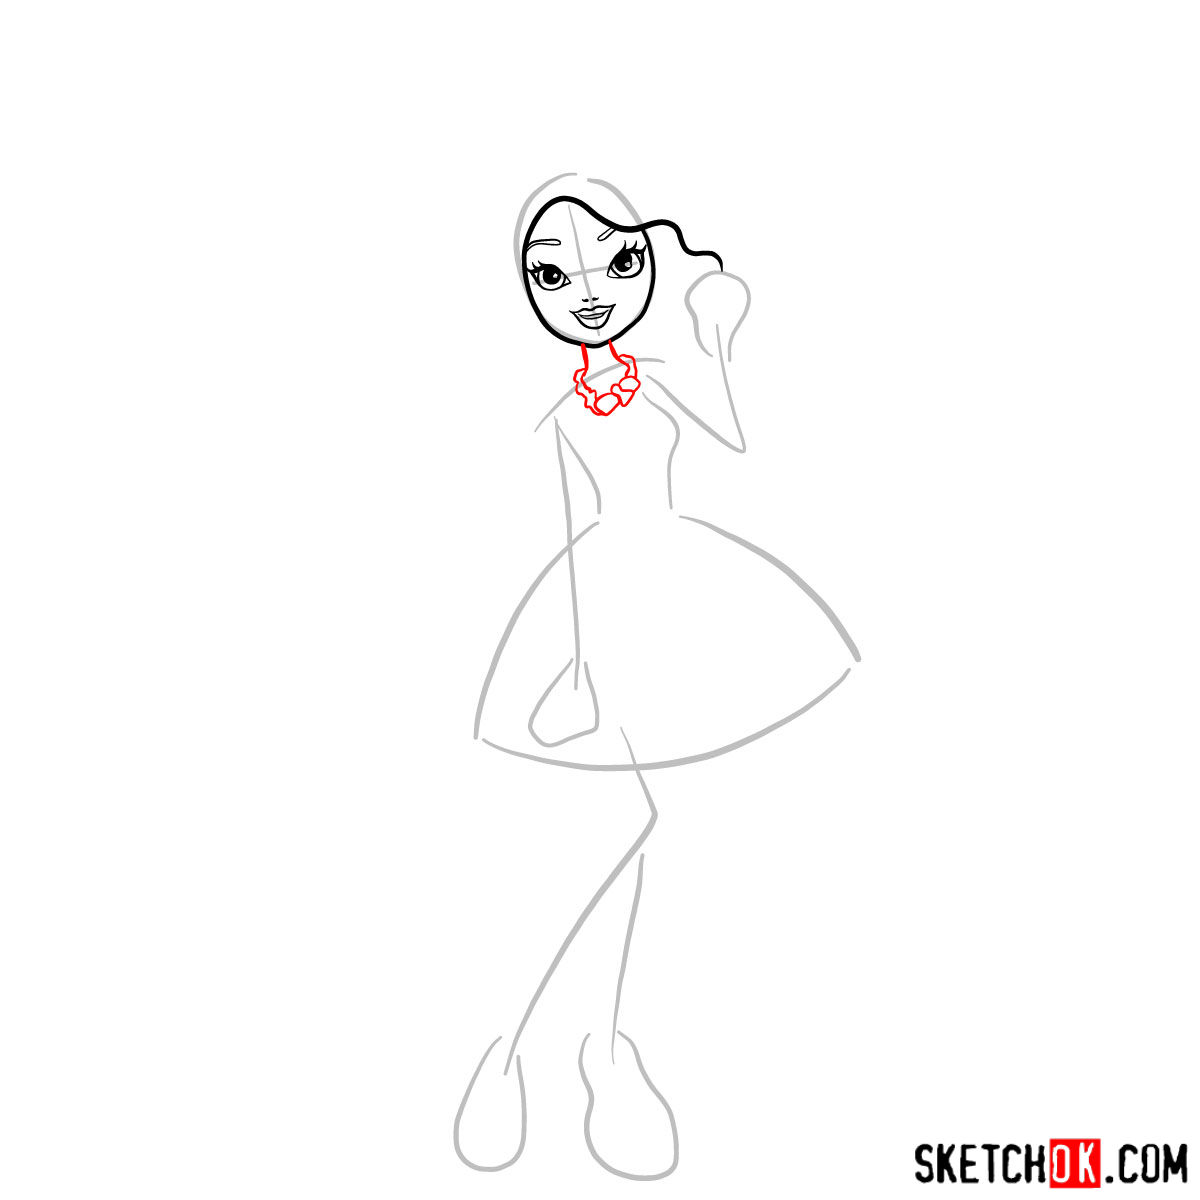
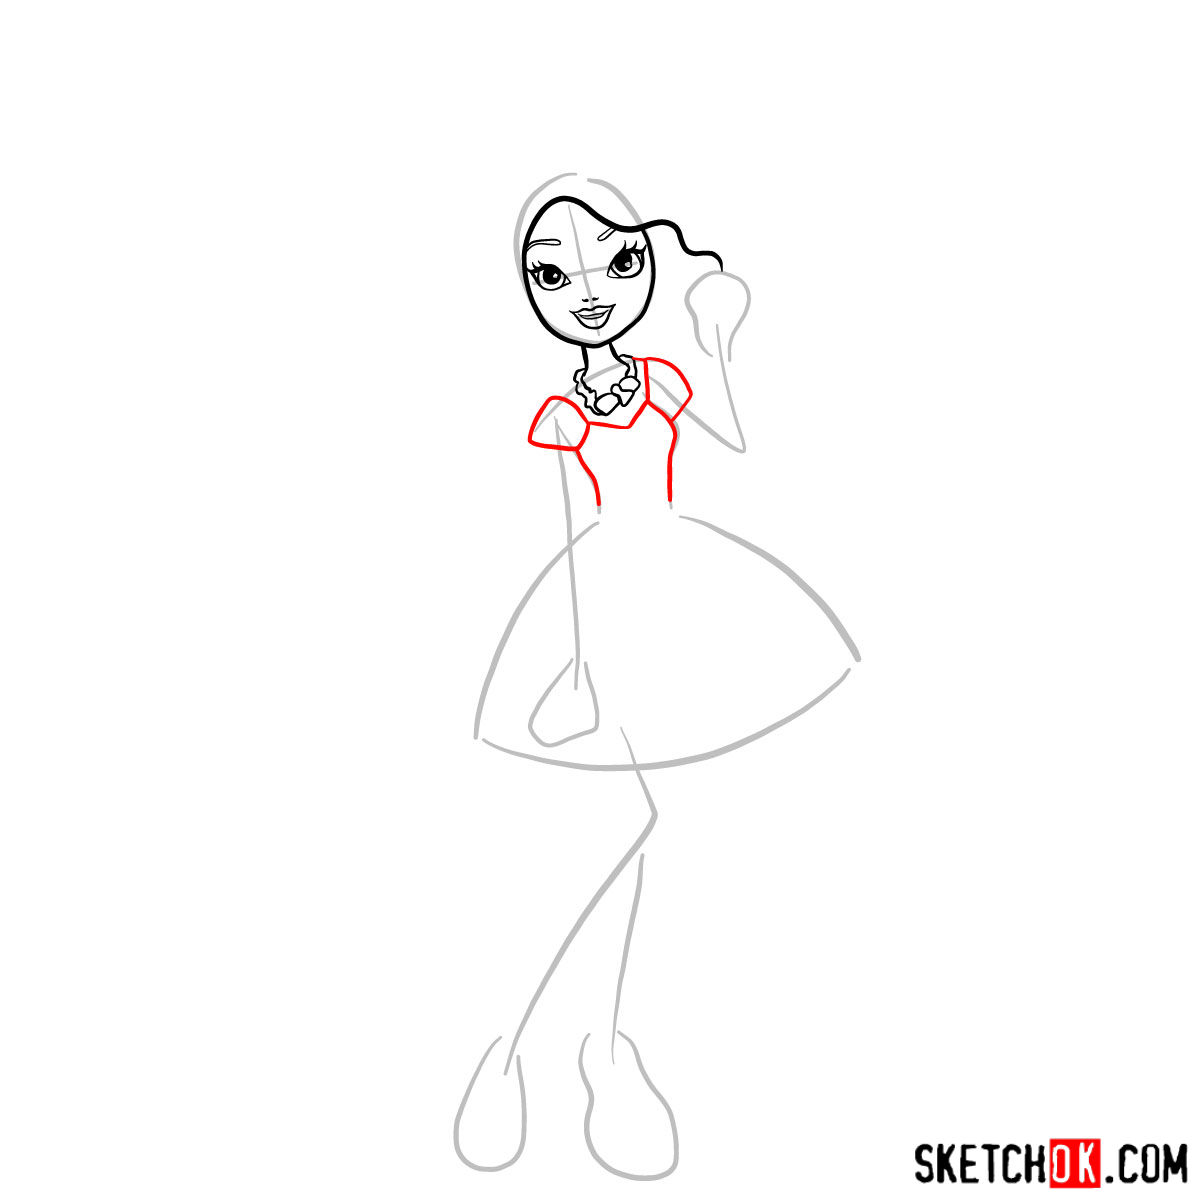
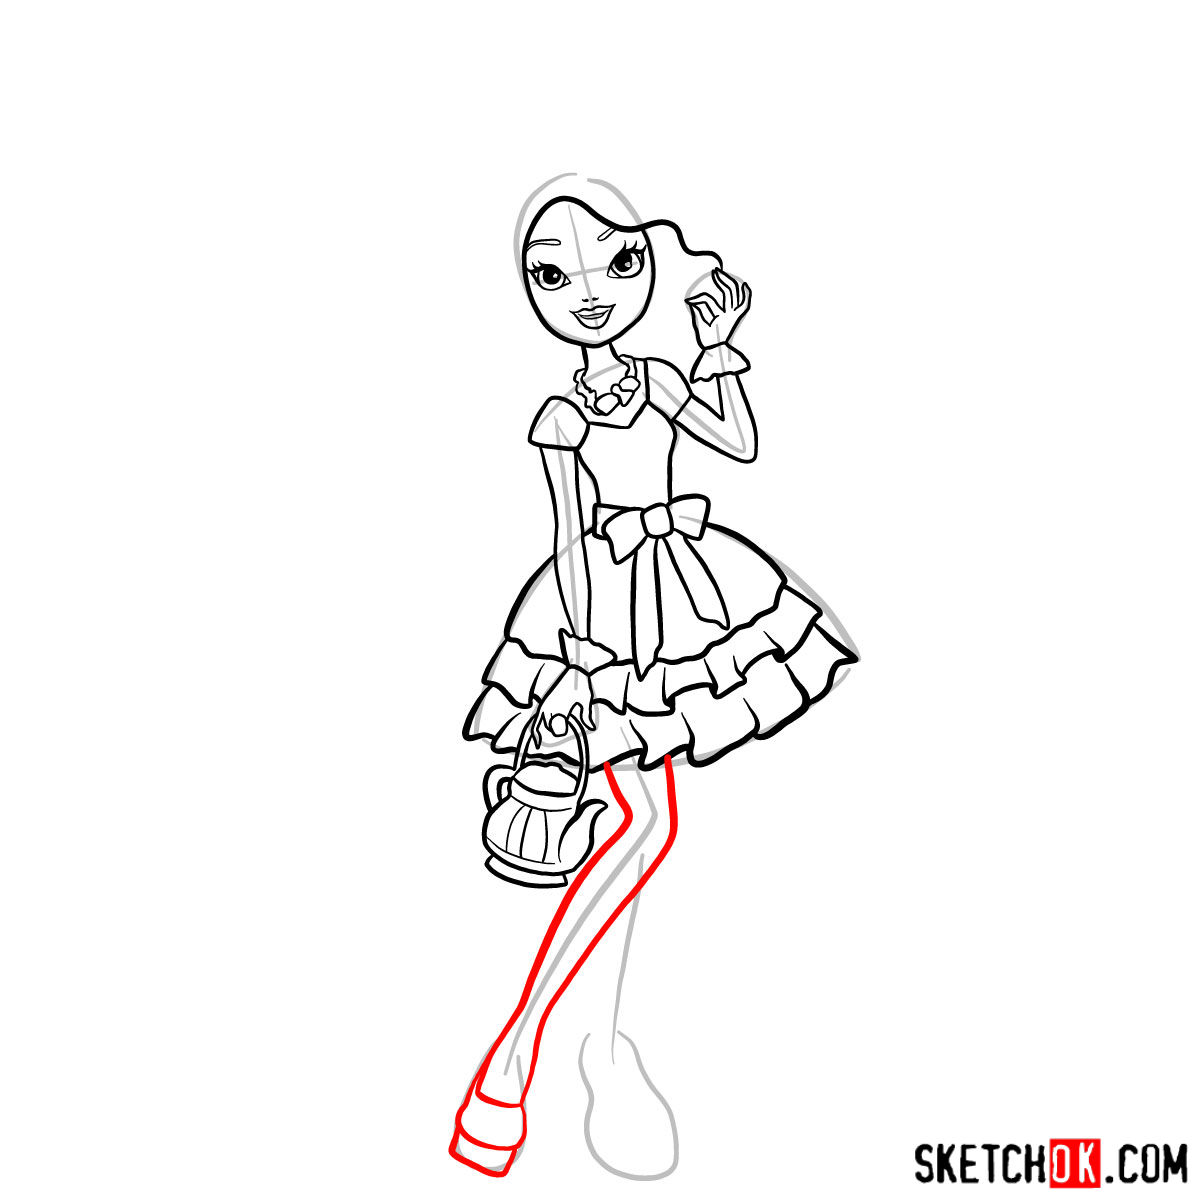
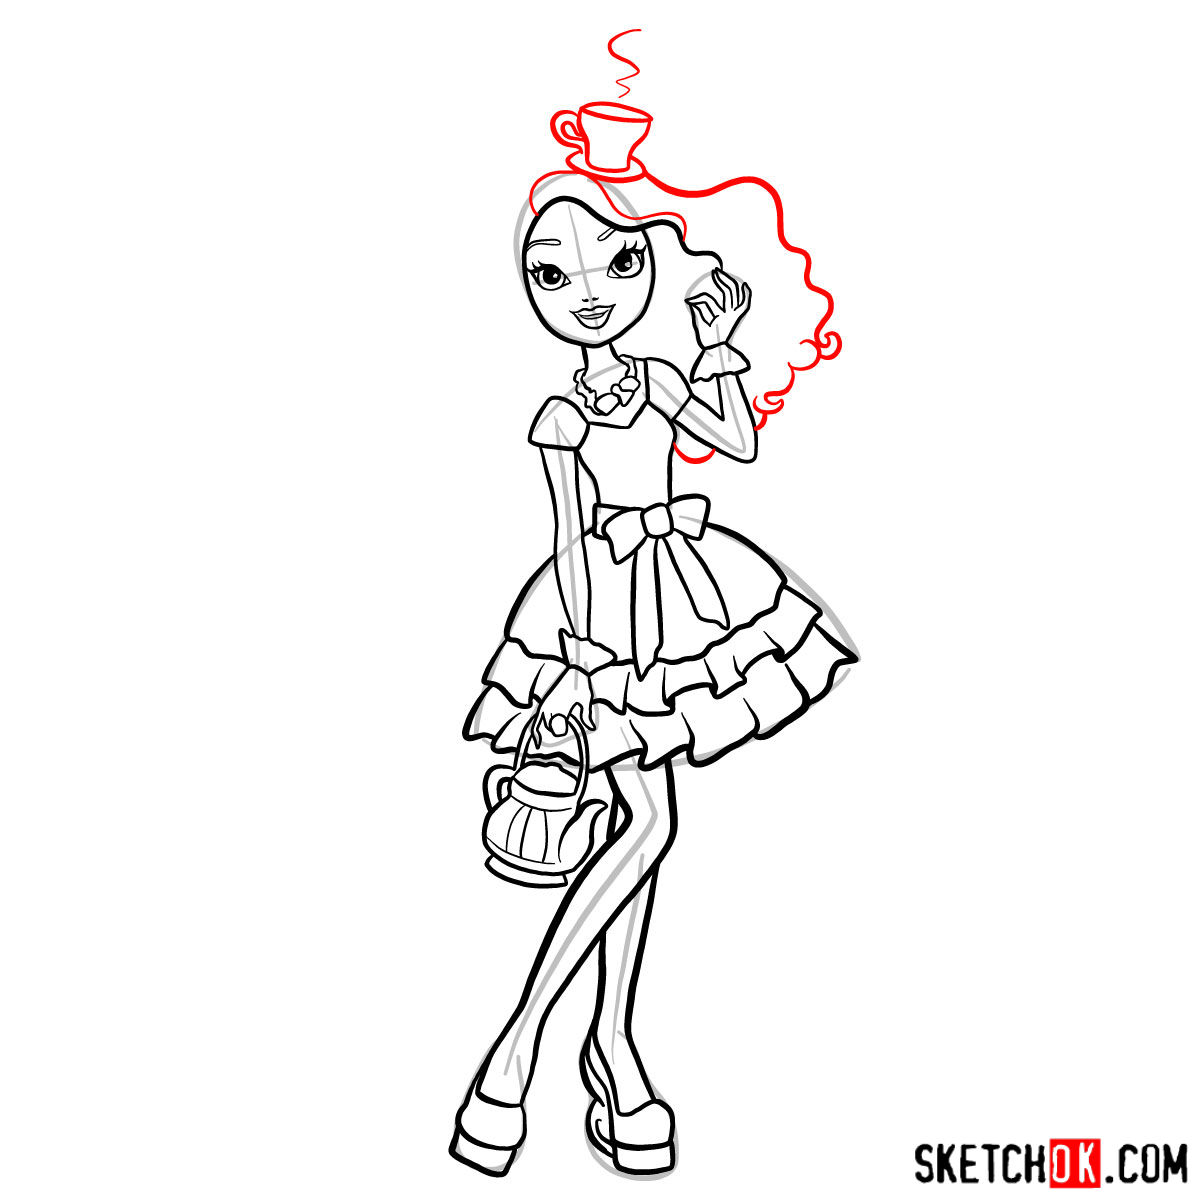
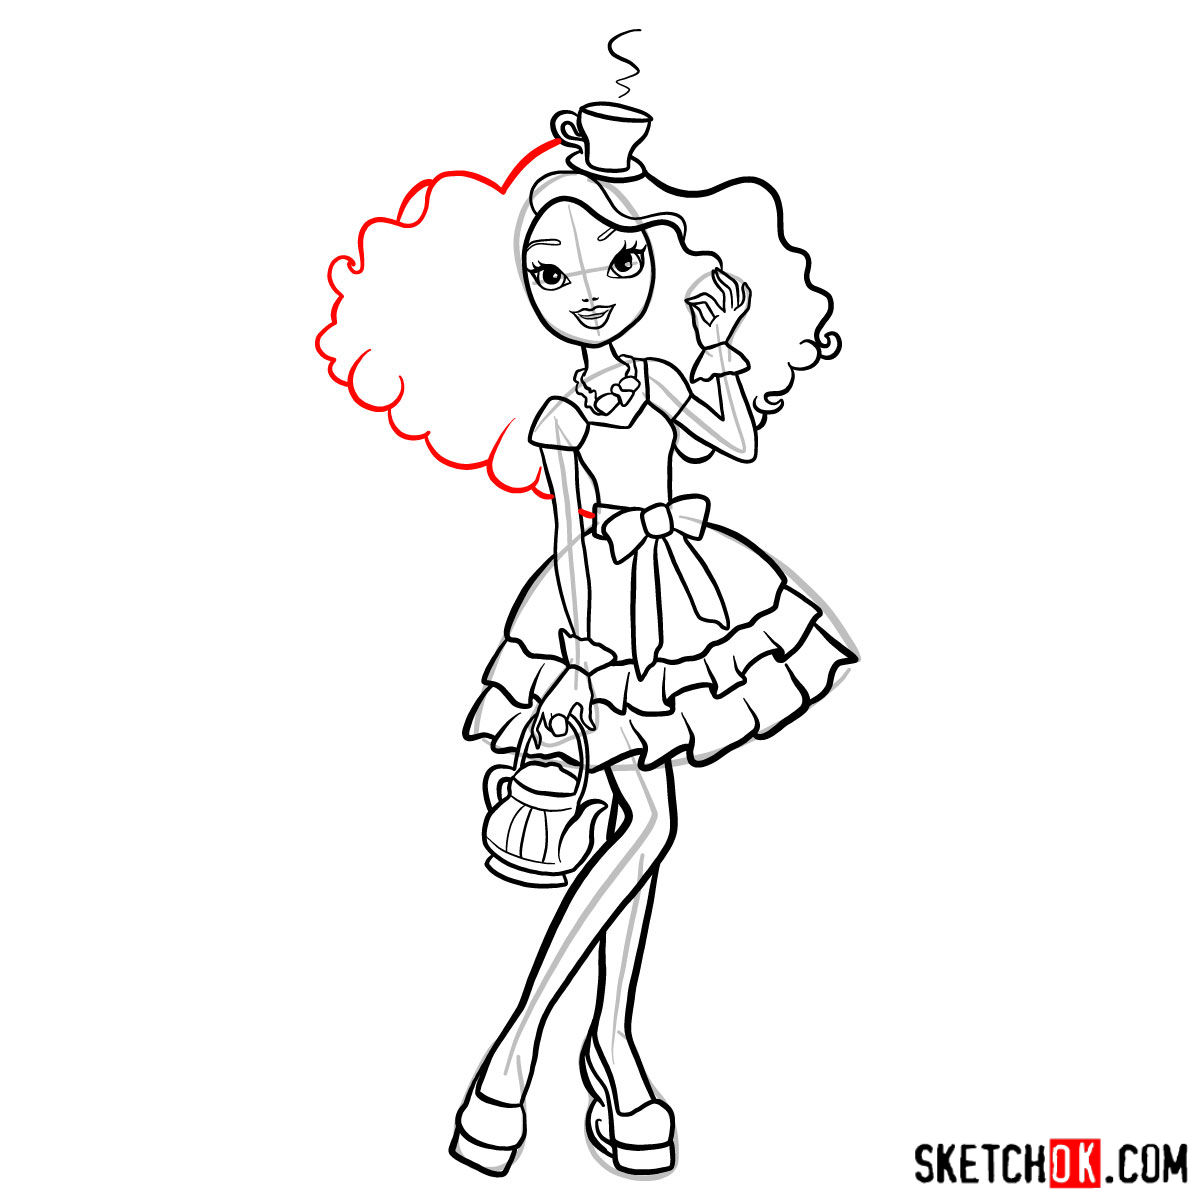
Before diving into the drawing process, it’s crucial to understand the guide’s structure:
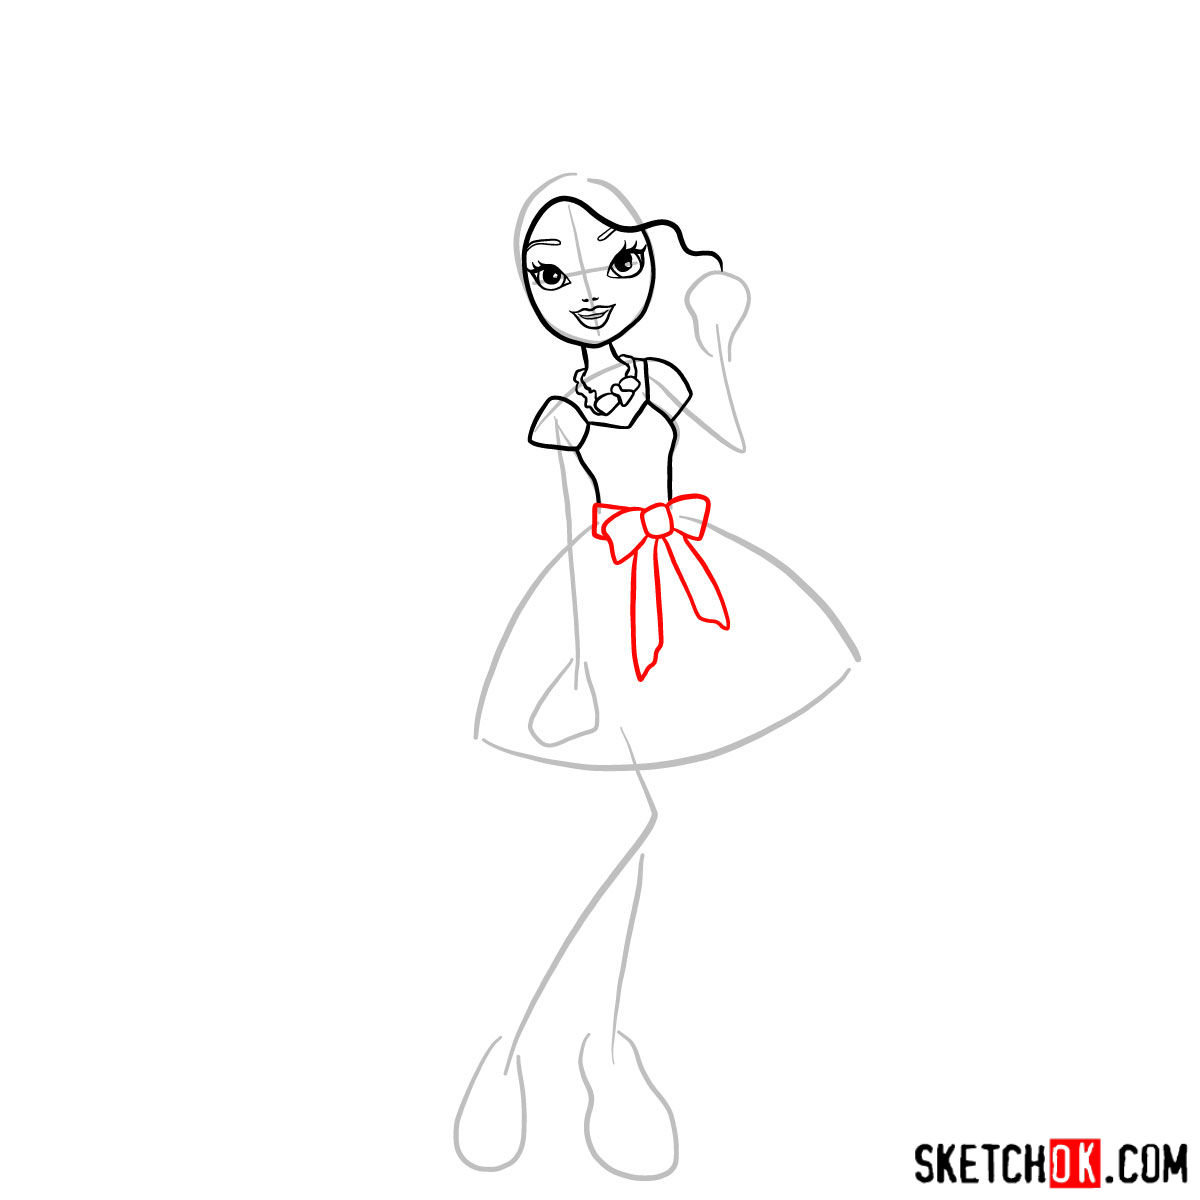
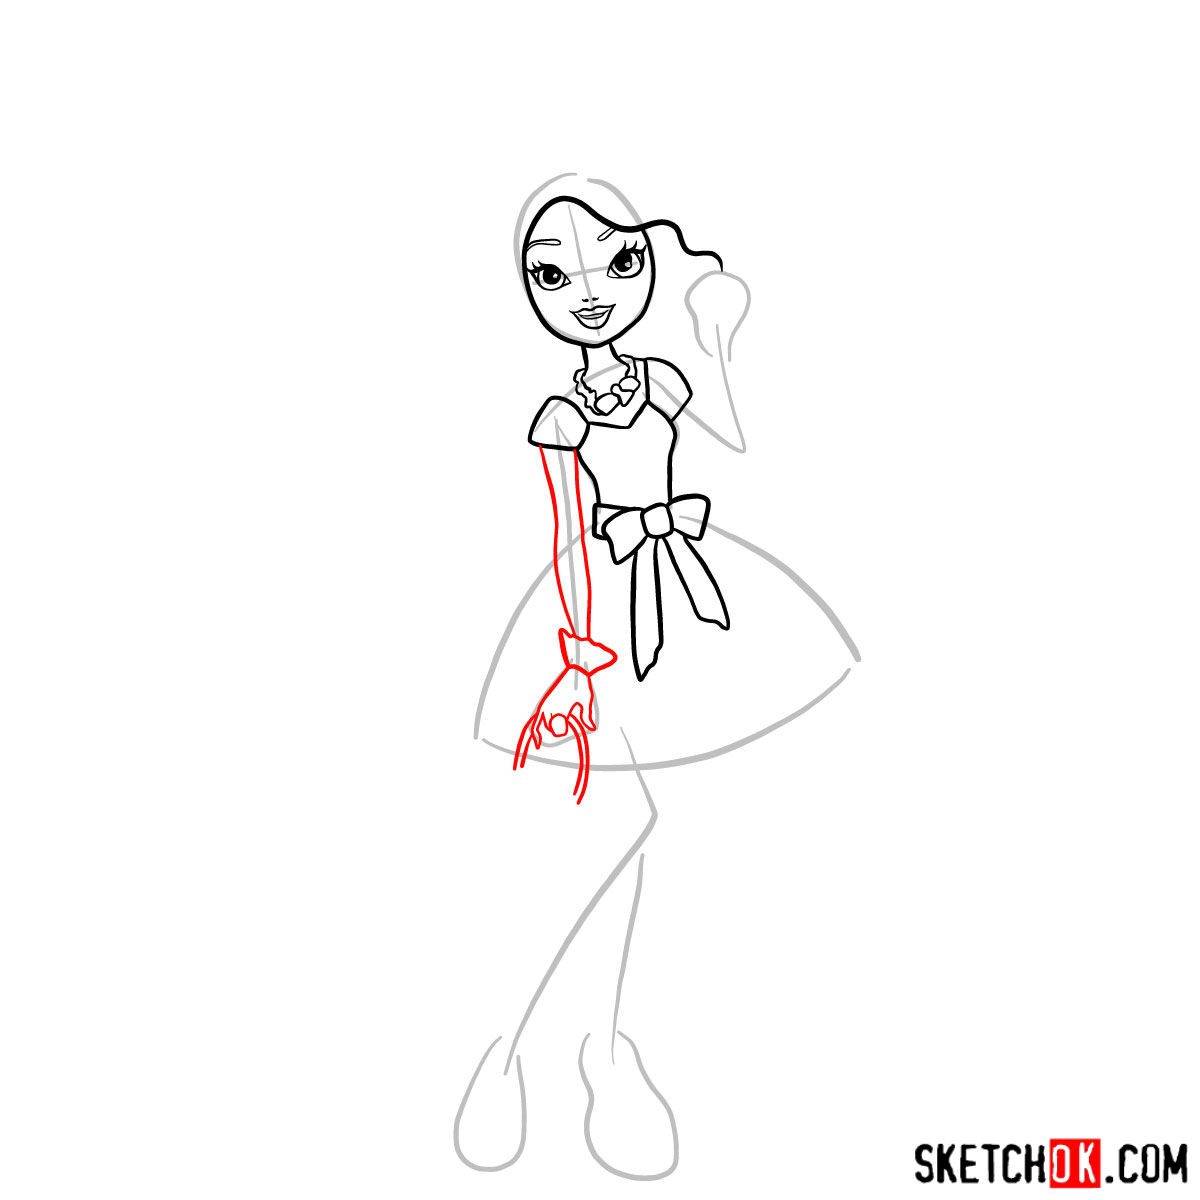
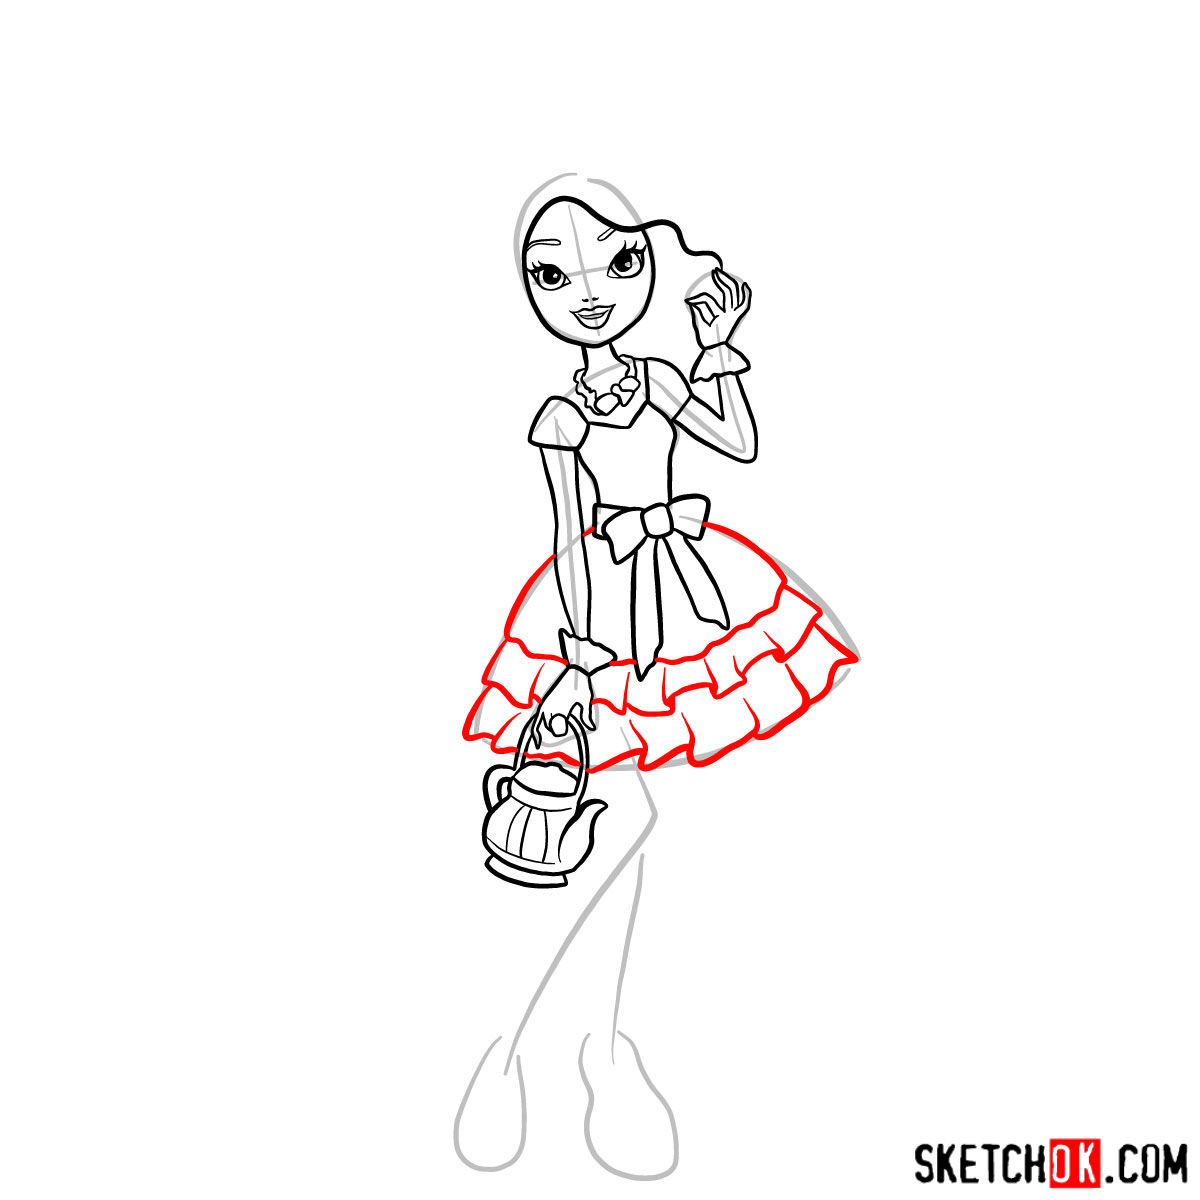
- Red Color: This indicates the current step. Focus here as you advance in your drawing.
- Black Color: Showcases lines from previous steps, serving as a cumulative reference.
- Grey Color: Demonstrates the basic proportionate sketch. It’s vital to use light pencil strokes at this stage.
The guide comprises 17 detailed steps. The first step emphasizes crafting a proportionate basic sketch, laying a solid foundation. By the end, you’ll have the choice to ink your sketch. If you decide to do so, wait patiently for the ink to dry to avoid smudging. Subsequently, gently erase the initial pencil marks. While this tutorial emphasizes sketching, the final image displaying a colored drawing serves as a reference for those who wish to paint or color Madeline Hatter in her full vibrancy.


How did your Madeline Hatter turn out? If you worked through this guide on how to draw Madeline Hatter and you’re happy with the result, feel free to drop your finished sketch in the comments under the pinned Pinterest post for this tutorial. And if you want a steady stream of new guides each week, the signup form at the top of the page has you covered.