Last Updated on May 14, 2026
In the bustling universe of “Clarence“, Nathan stands out not just for his distinct physical features, but also his complex and endearing character. Being one of the taller students in Ms. Baker’s class, he shares a similarity with peers like Try, Memo, Amy Shtuzger, and Chelsea. But the spotlight is often on him due to his cylinder-shaped head, nearly bald pate, freckles, and those unforgettable buckteeth. Interestingly, while Nathan’s appearance might suggest a brutish nature, his personality reveals a soft, sensitive heart, making him a delightful subject for our drawing tutorial.
Character Highlights: Capturing Nathan’s Essence
- Height: Often tall, comparable to classmates like Try and Chelsea.
- Face: Cylinder-shaped head with a few strands of hair.
- Features: Freckles near the ears and distinctive buckteeth.
- Attire: A blue ensemble, with a shirt matching his shoes and darker blue pants.
- Personality: Buff appearance yet sensitive at heart. A mix of naivety and kindness, displaying unexpected bouts of intellect and creativity.
- Associations: Frequently spotted with Belson and Dustin, navigating the complex dynamics of school friendships.
For those looking to expand their sketch collection, characters such as Belson, Percy, or even Clarence himself would beautifully complement Nathan. Their shared adventures and varying personalities can create a vivid tableau of school life.
Navigating the Drawing Guide
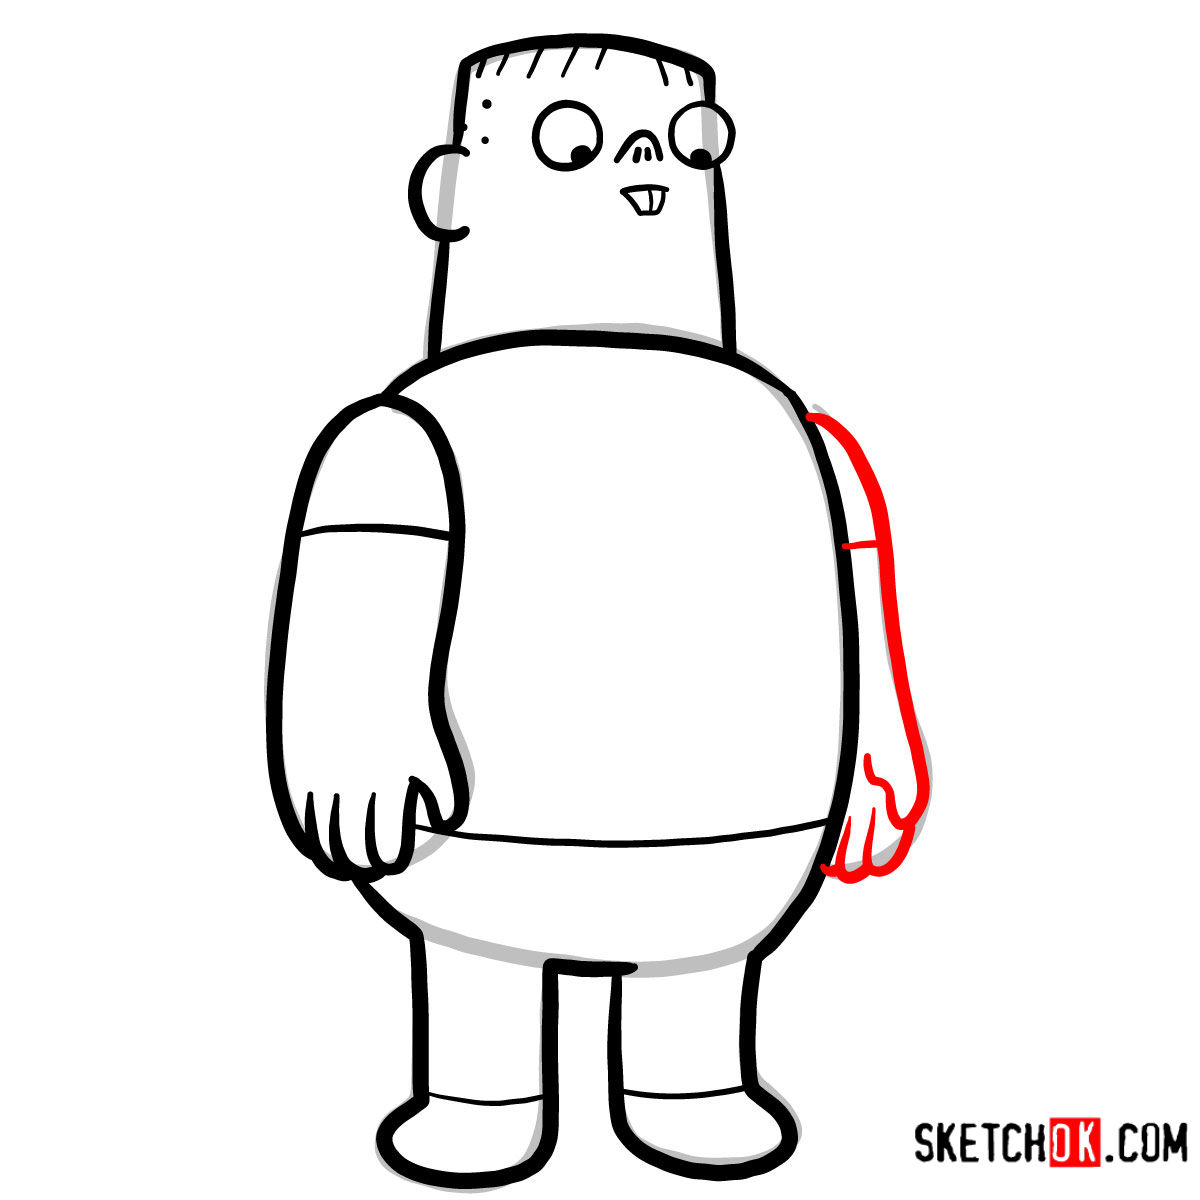
Ready to learn how to draw Nathan? Our guide comprises 8 clear steps, ensuring you capture every detail of this beloved character. Let’s decode our tutorial’s color system:
- Red Color: Indicates the current drawing step.
- Grey Color: Showcases the basic proportion sketch. Start with light pencil strokes to easily adjust or erase.
- Black Color: Highlights the lines you’ve drawn in previous steps.
As you embark on this journey, the initial stage will involve crafting a basic sketch to get the proportions right. Once satisfied, feel free to ink the sketch. But remember, patience is key! Let the ink dry thoroughly to prevent smudging, and then erase the underlying pencil lines for a clean, polished look.


Now that you have a handle on how to draw Nathan from Clarence, try setting the drawing aside and coming back to it in a few days. You might be surprised how much more naturally the proportions and shapes come together on the second attempt. New guides get added regularly, and you can keep up with them through SketchOk’s Pinterest page or the YouTube channel, where video versions of some guides appear over time.