Most of us know ‘wasabi’ as that fiery green paste accompanying our sushi, but in the animated world of Big Hero 6, Wasabi stands out as a character with depth and methodical precision. The team at Big Hero 6 wouldn’t be complete without him. Intrigued? Let’s dive into understanding Wasabi better before we explore how to draw Wasabi.
Distinctive Features of Wasabi
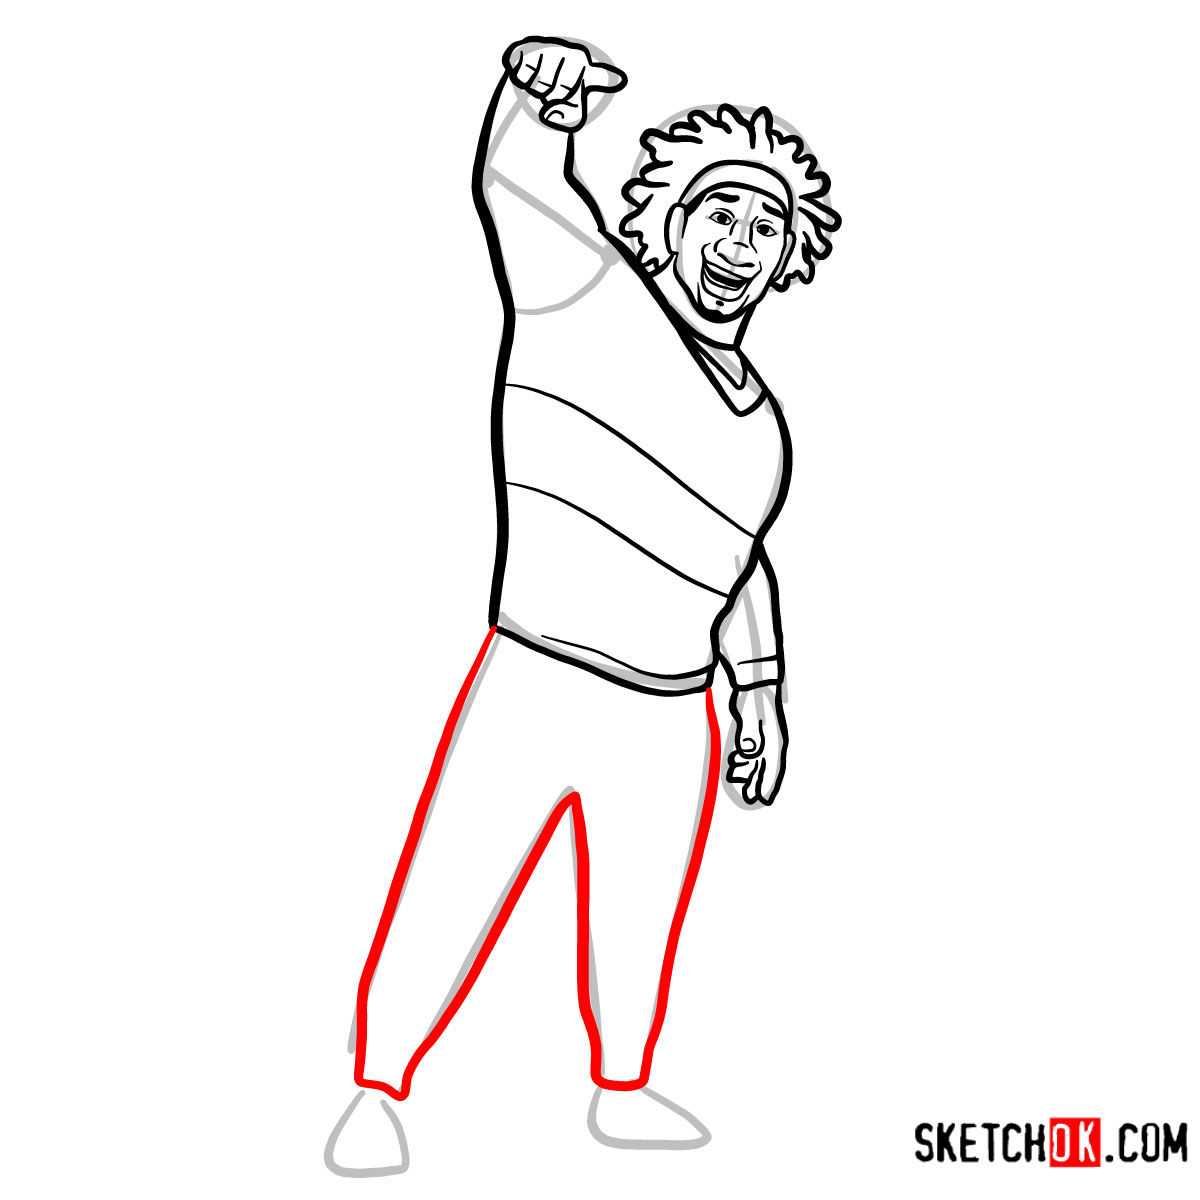
- Height and Build: A tall, muscular frame that contrasts humorously with his gentle nature.
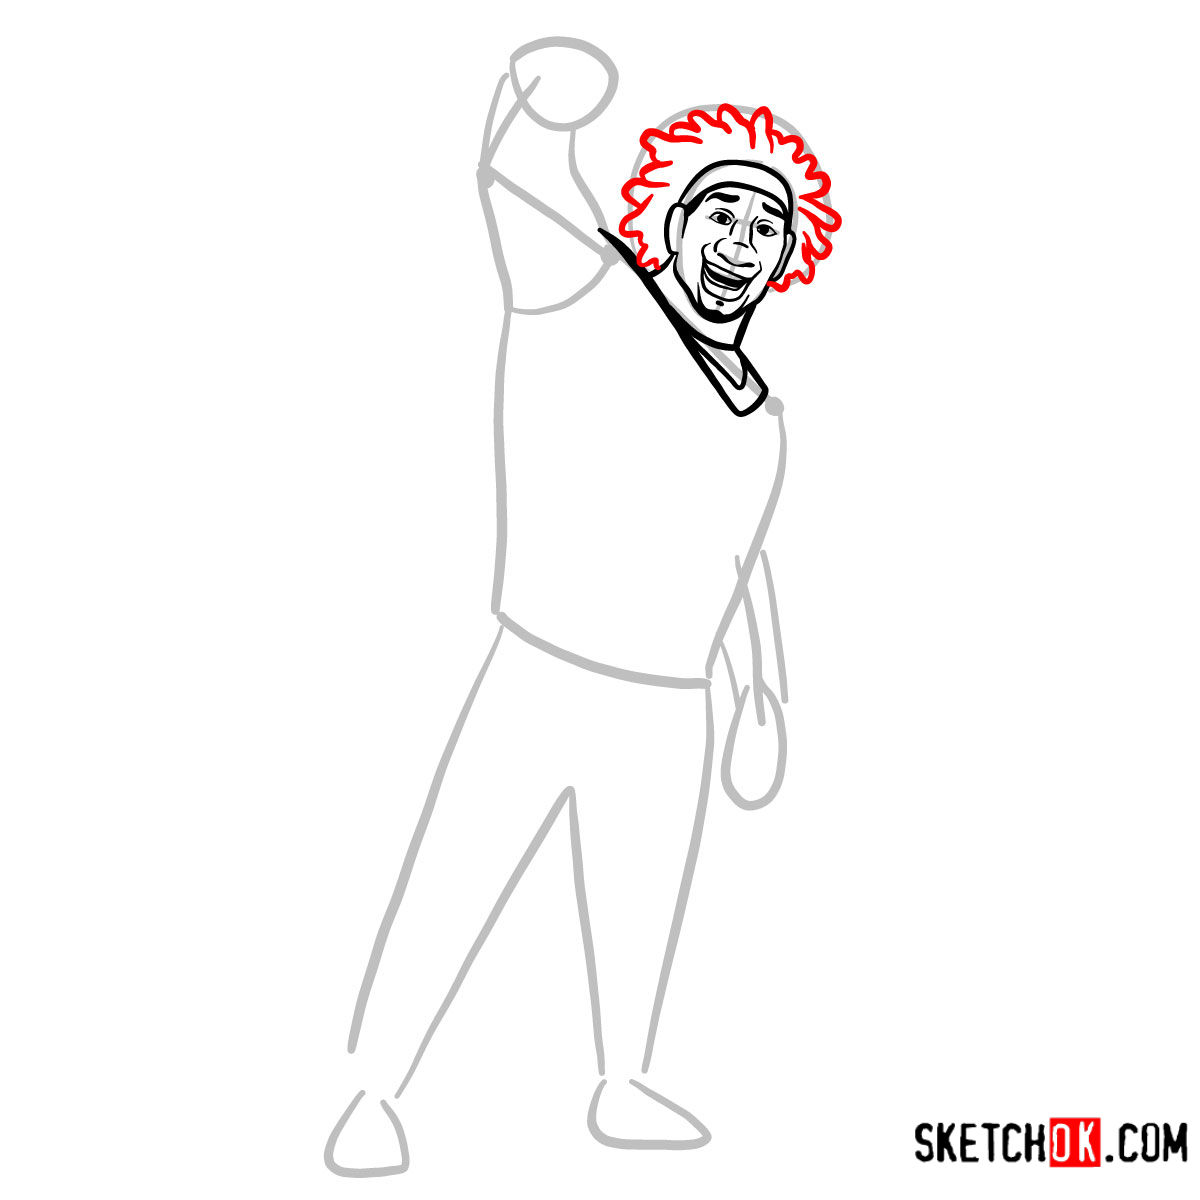
- Hair: Smooth brown locs adorned with a yellow headband.
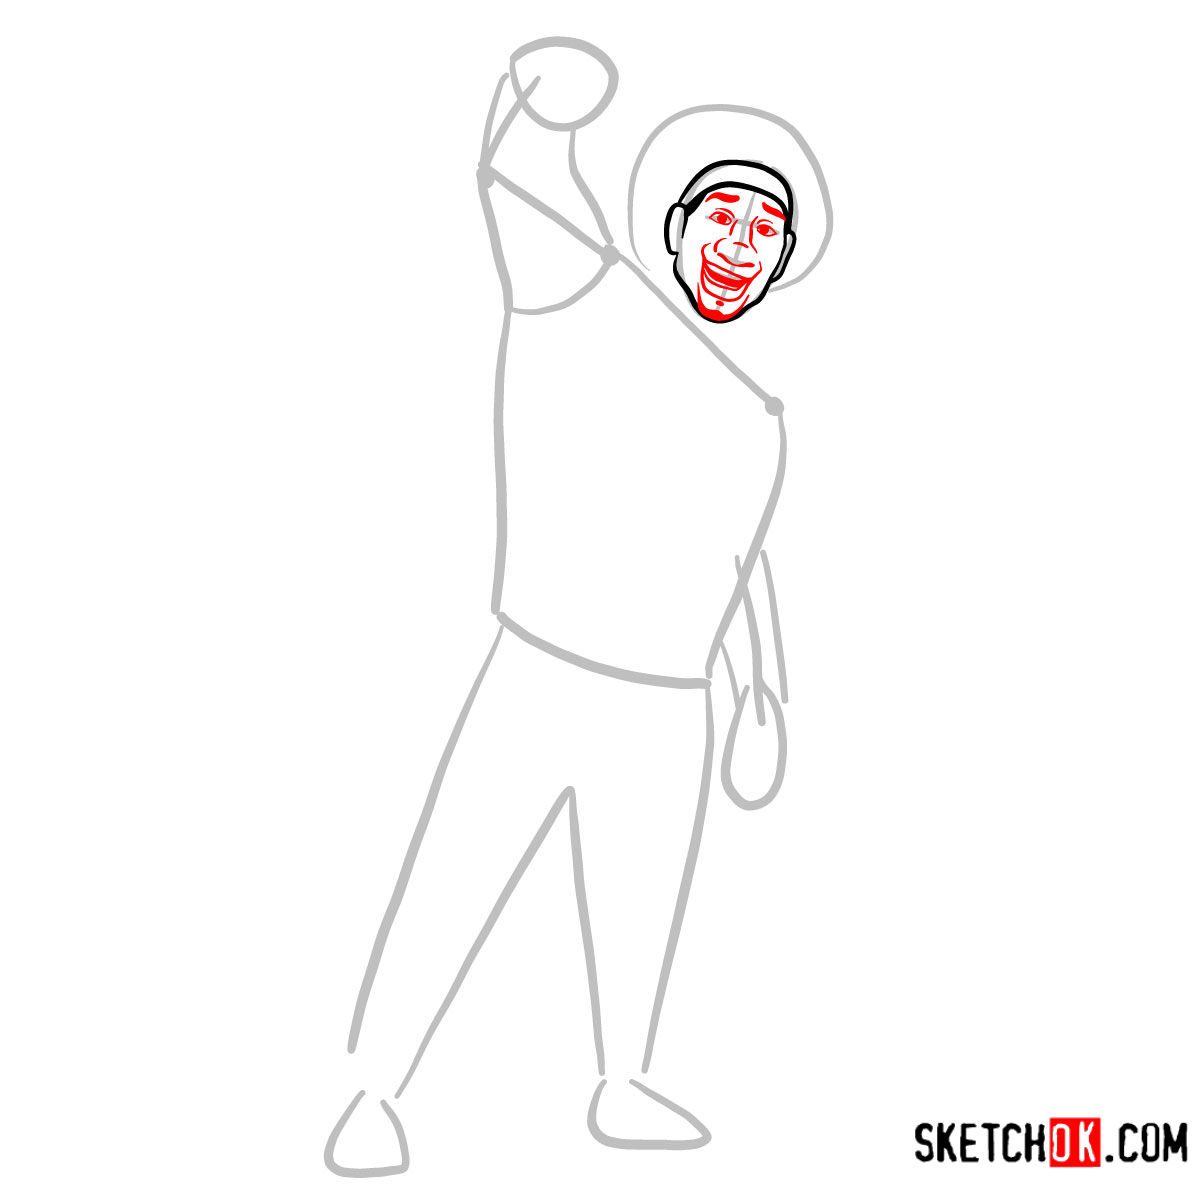
- Facial Features: A distinct beard, sharp brown eyes, and a deep complexion.
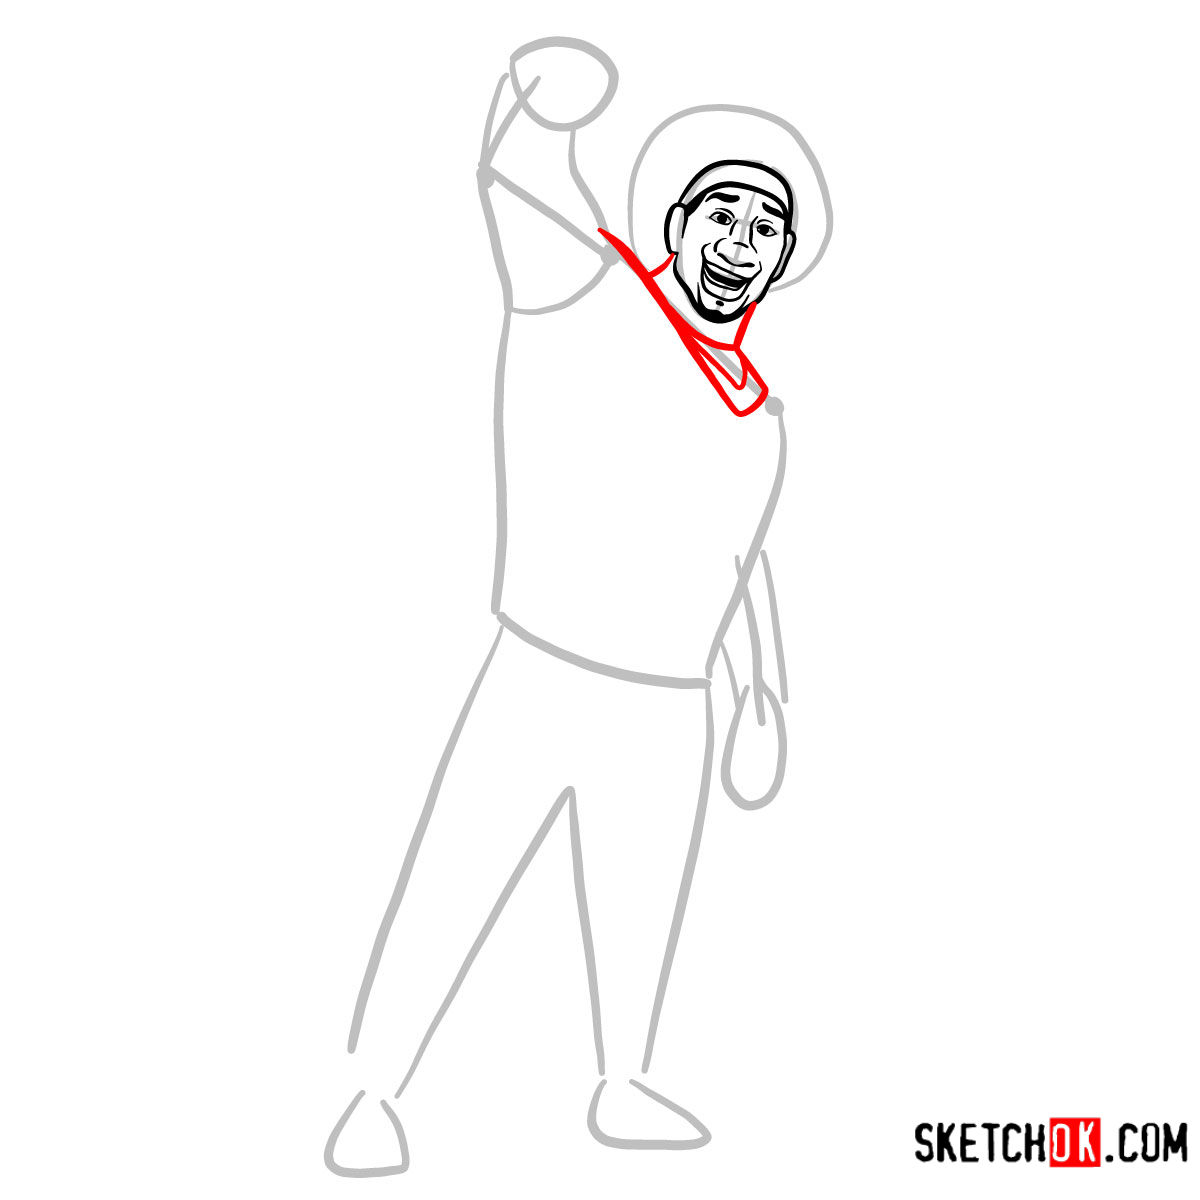
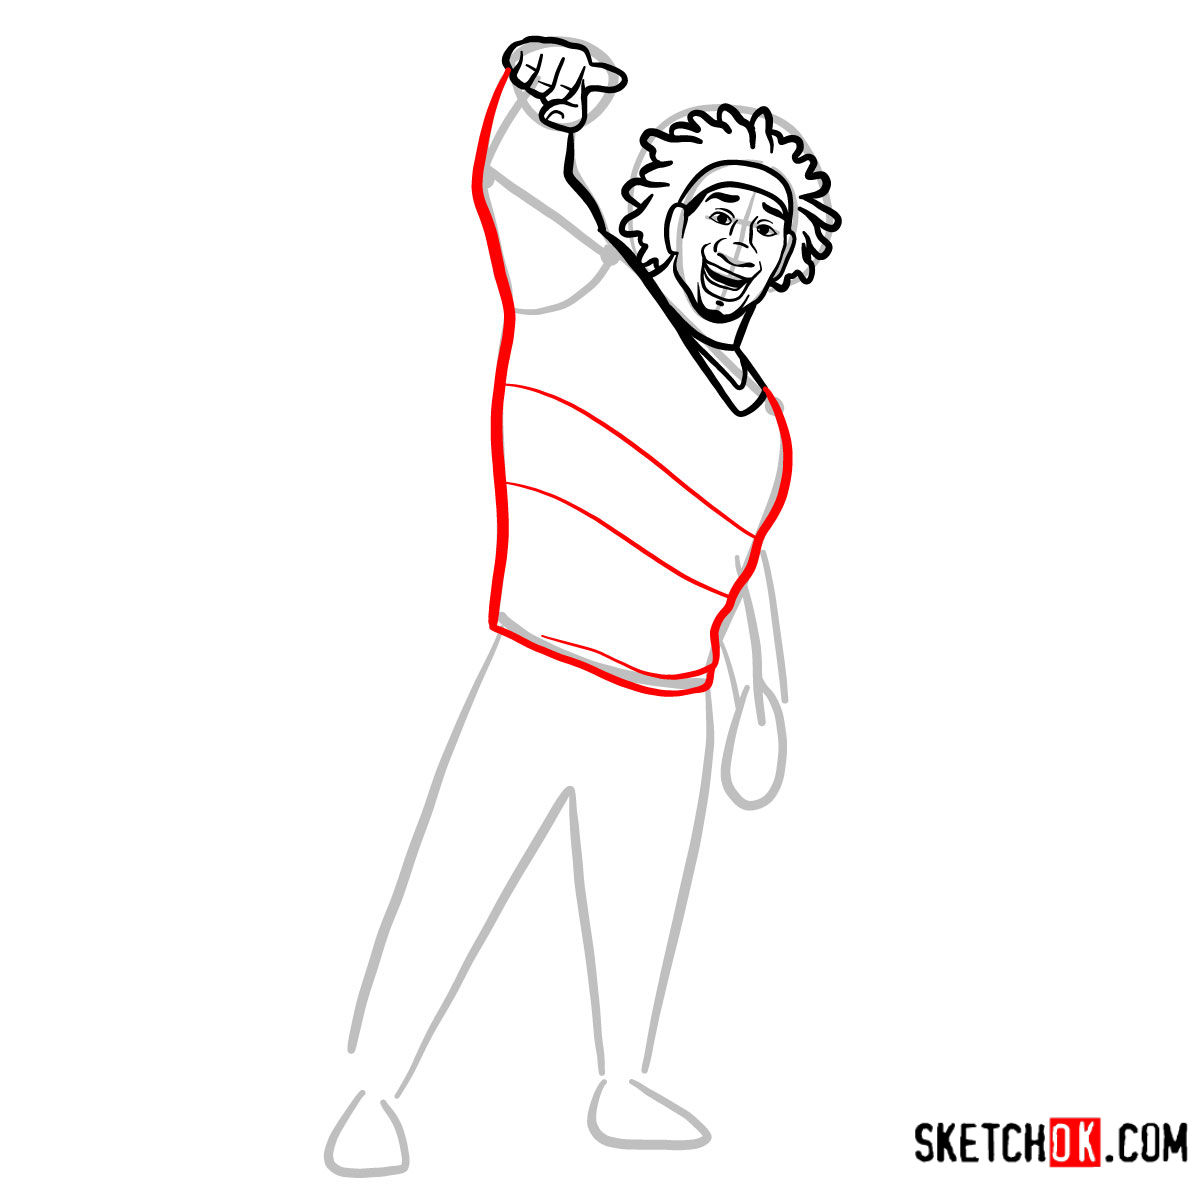
- Attire: A fondness for green and yellow in his clothing, with the addition of all-black jikatabi shoes, a nod to Japanese fashion.
For those looking to expand the scene, consider adding other characters like Honey Lemon or Go Go Tomago to complement Wasabi and bring the full Big Hero 6 team to life!
About This Drawing Guide
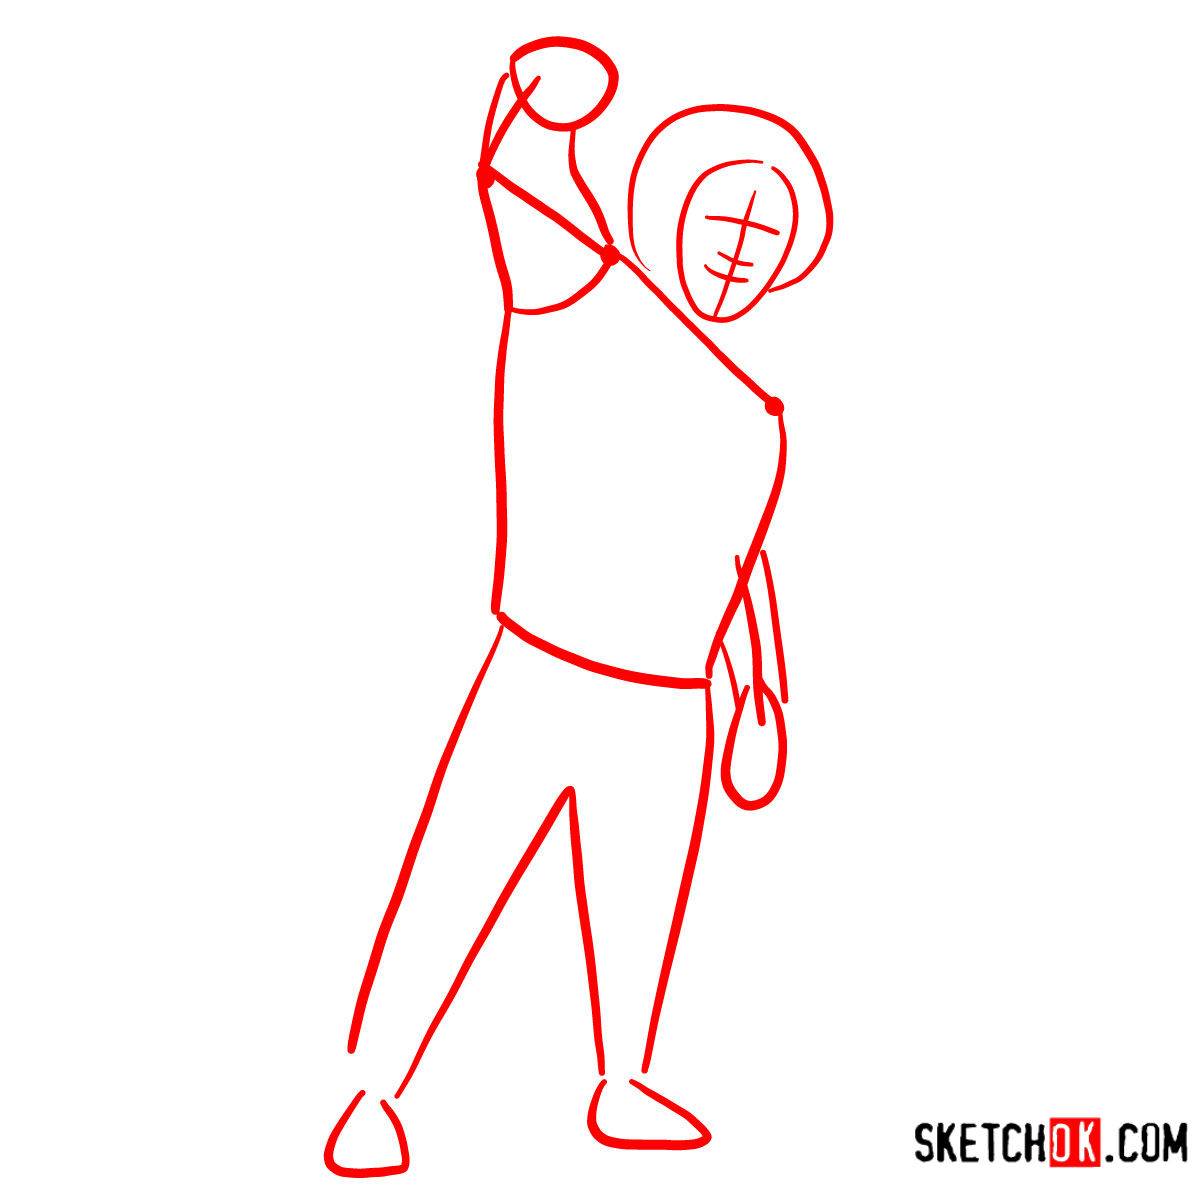
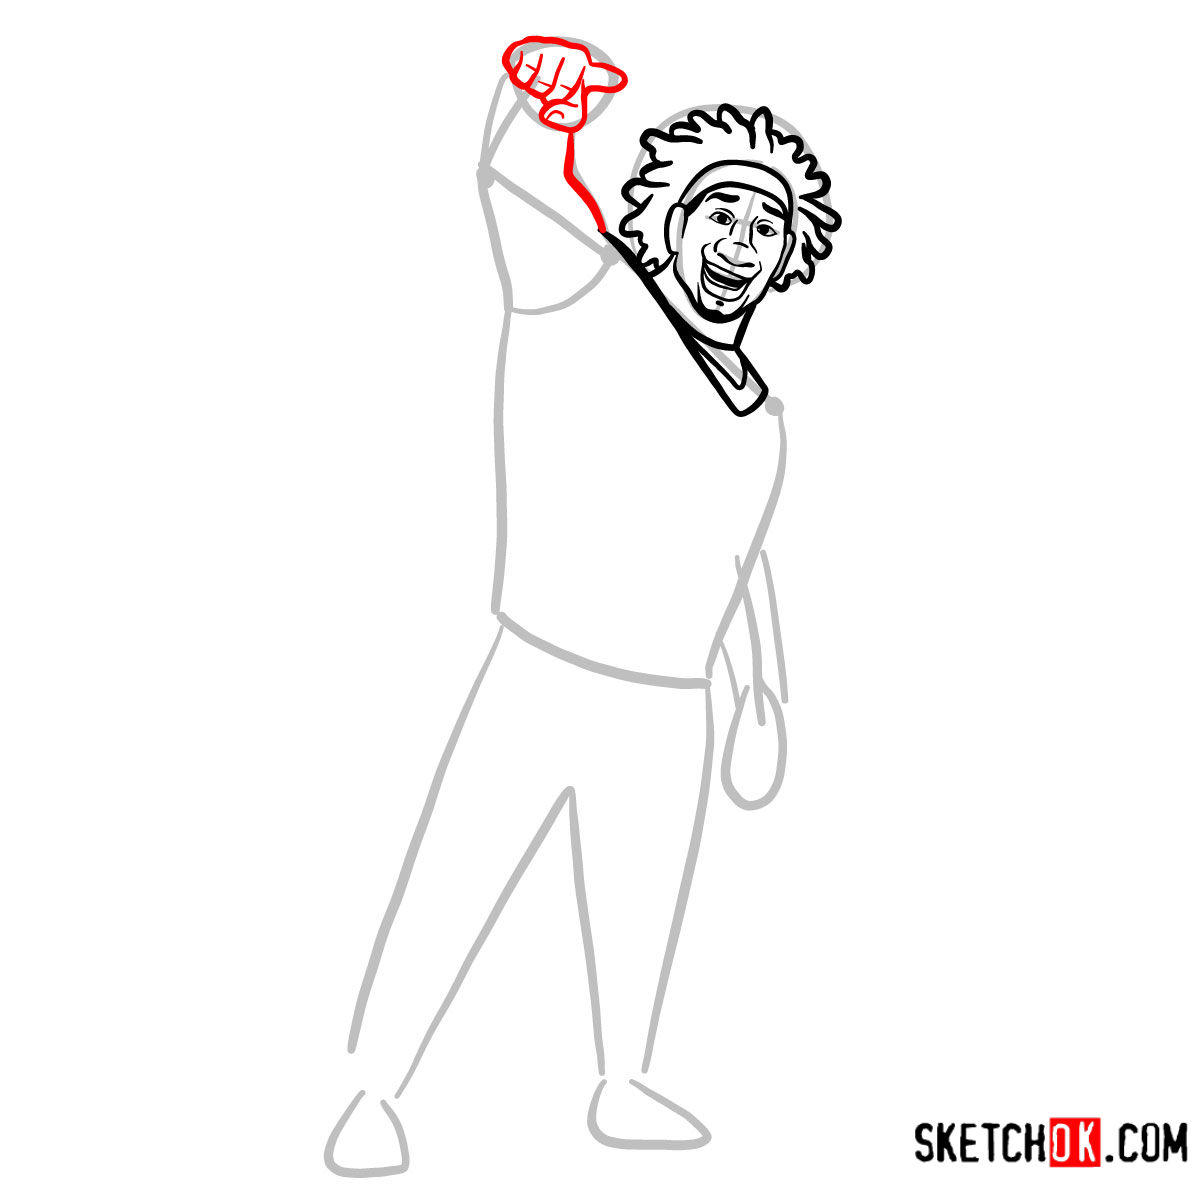
This guide simplifies the drawing process into 11 distinct steps. Designed for clarity, each image highlights:
- Red Color: The focus for the current step.
- Black Color: Lines drawn in previous steps.
- Grey Color: The basic sketch, ensuring proportions are correct.
Begin with light pencil strokes for the basic structure. This foundation aids in getting the proportions right. Upon completing the sketch, you may choose to ink it. If so, ensure the ink dries fully before erasing the pencil marks to avoid smudging.


How did your Wasabi turn out? Whether you nailed his signature laser grid gloves or are still working out the details, knowing how to draw Wasabi is a fun skill to have in your Big Hero 6 collection. Drop your finished sketch in the comments under the pinned post on Pinterest. And if you want a fresh batch of guides hitting your inbox each week, the signup form is right at the top of the page.