Hello, dear SketchOk visitor! If you love Anya Forger from SPY x FAMILY as much as we do, you’re probably eager to learn how to draw Anya’s face. Let’s dive into the drawing process together!
Anya’s Distinctive Features
Her big green eyes and long eyelashes are expressive and key to her character.
Her light pink hair is shoulder-length and curls in, with an ahoge that adds to her charm.
Remember the small horns-like hair ornaments; they’re rarely absent from her look.
To bring her world to life, consider drawing characters like Loid or Yor Forger next to her.
Step-by-Step Guide to Drawing Anya Forger
This anime drawing guide is a visual journey that will help you piece together a complete drawing of Anya’s face.
Red Color: directs you to the current step to focus on.
Black Color: shows the parts you have already drawn.
Grey Color: indicates the initial sketch lines.
In total, there are 12 steps. You’ll start with a basic outline and end with inking (inking is optional, so don’t worry). Once the ink dries, gently erase the pencil lines for a neat Anya’s face drawing.
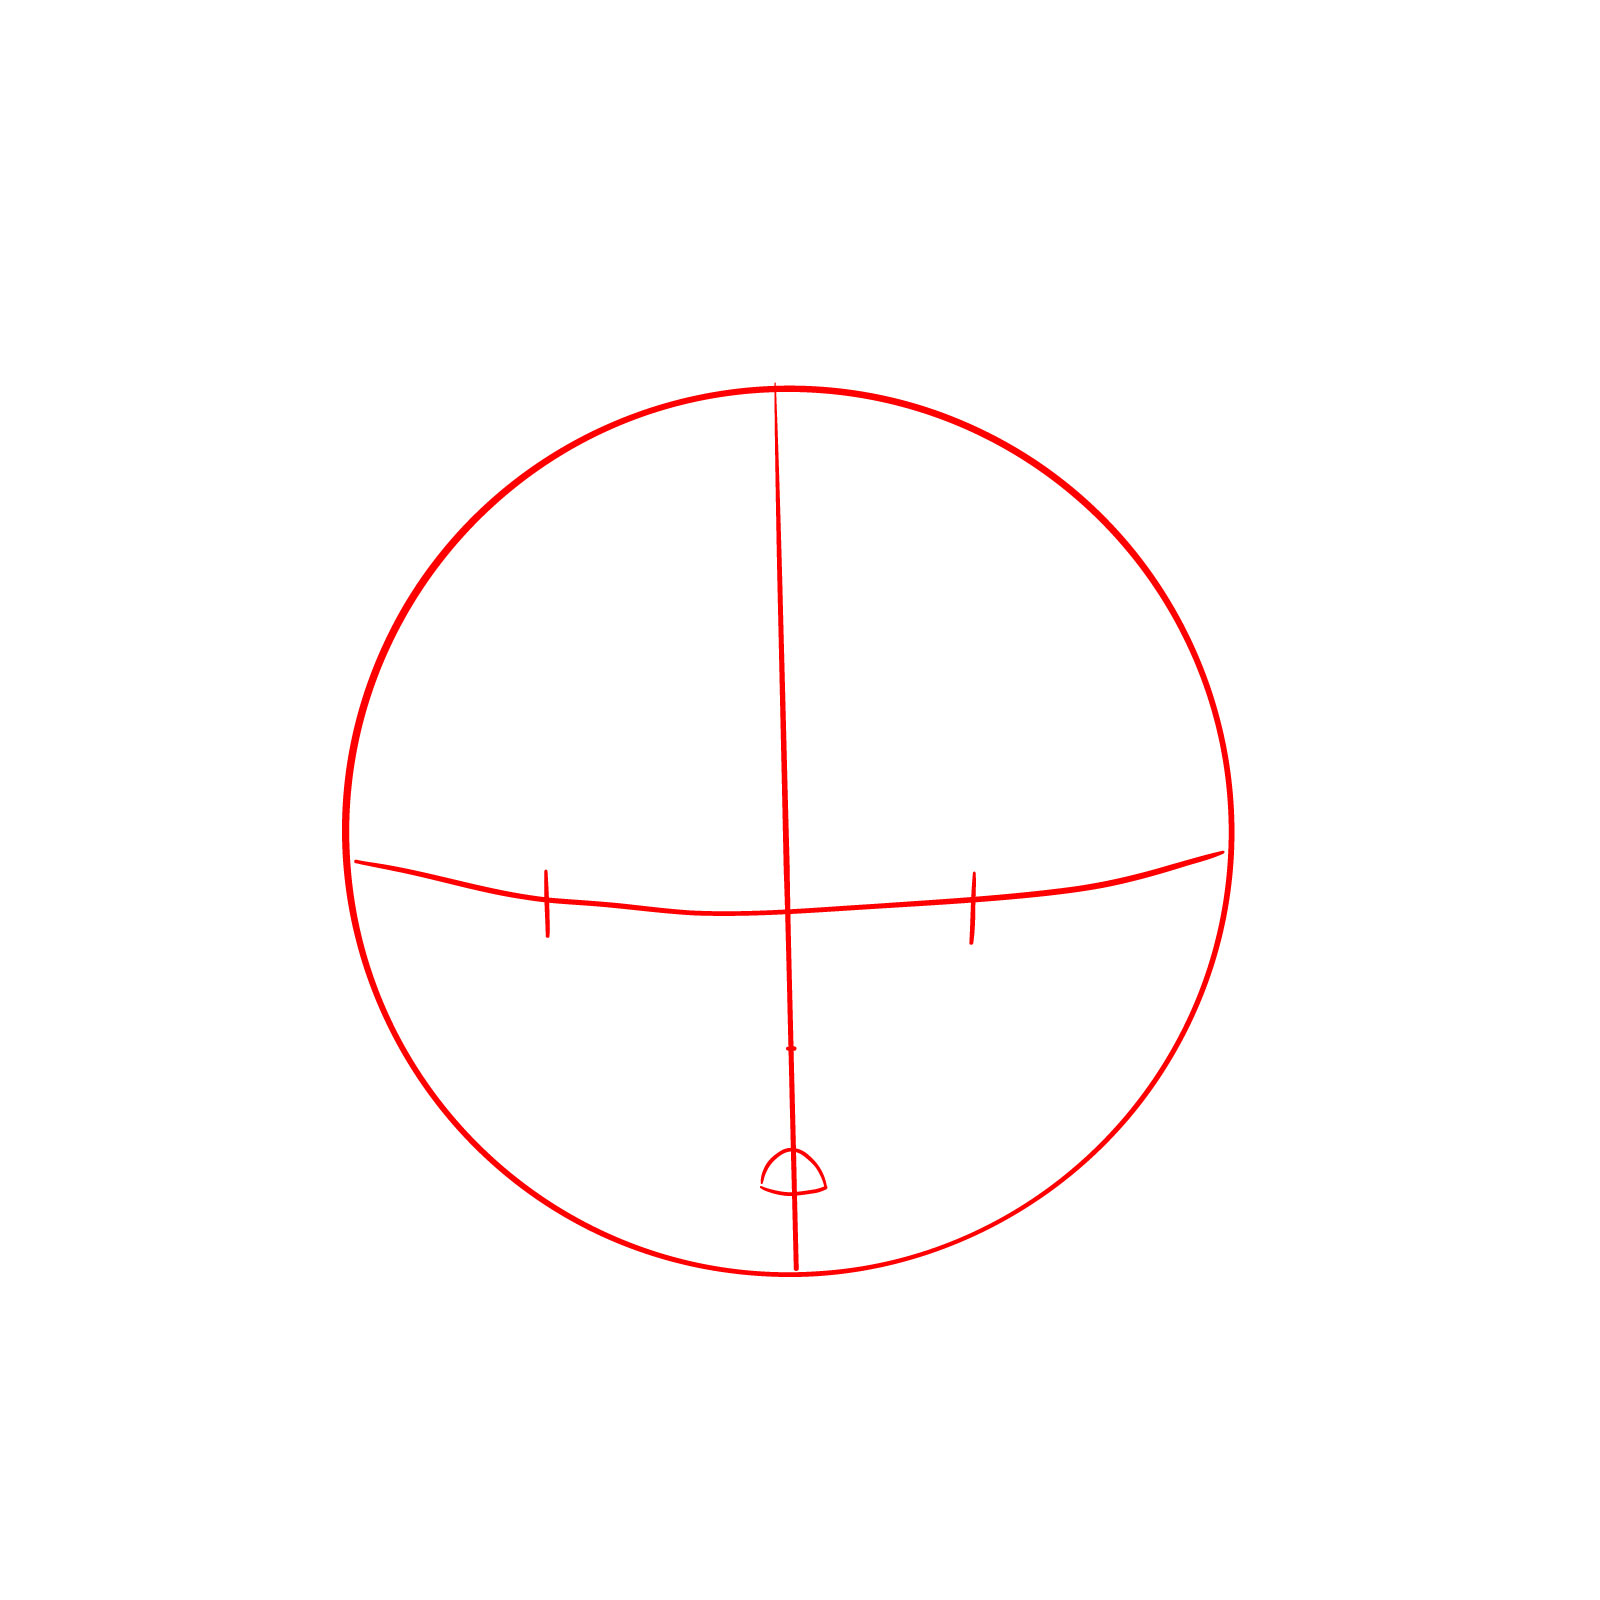
Step 01 – Begin with a circle to form the base of the head. Draw a vertical line down the center to establish symmetry and a slightly curved horizontal line to indicate where the eyes will be placed. Next, add short lines where her nose and eyes will be drawn, add a simple as shown in the image for the mouth placement
The foundation for Anya’s face with a guide for symmetry and feature placement
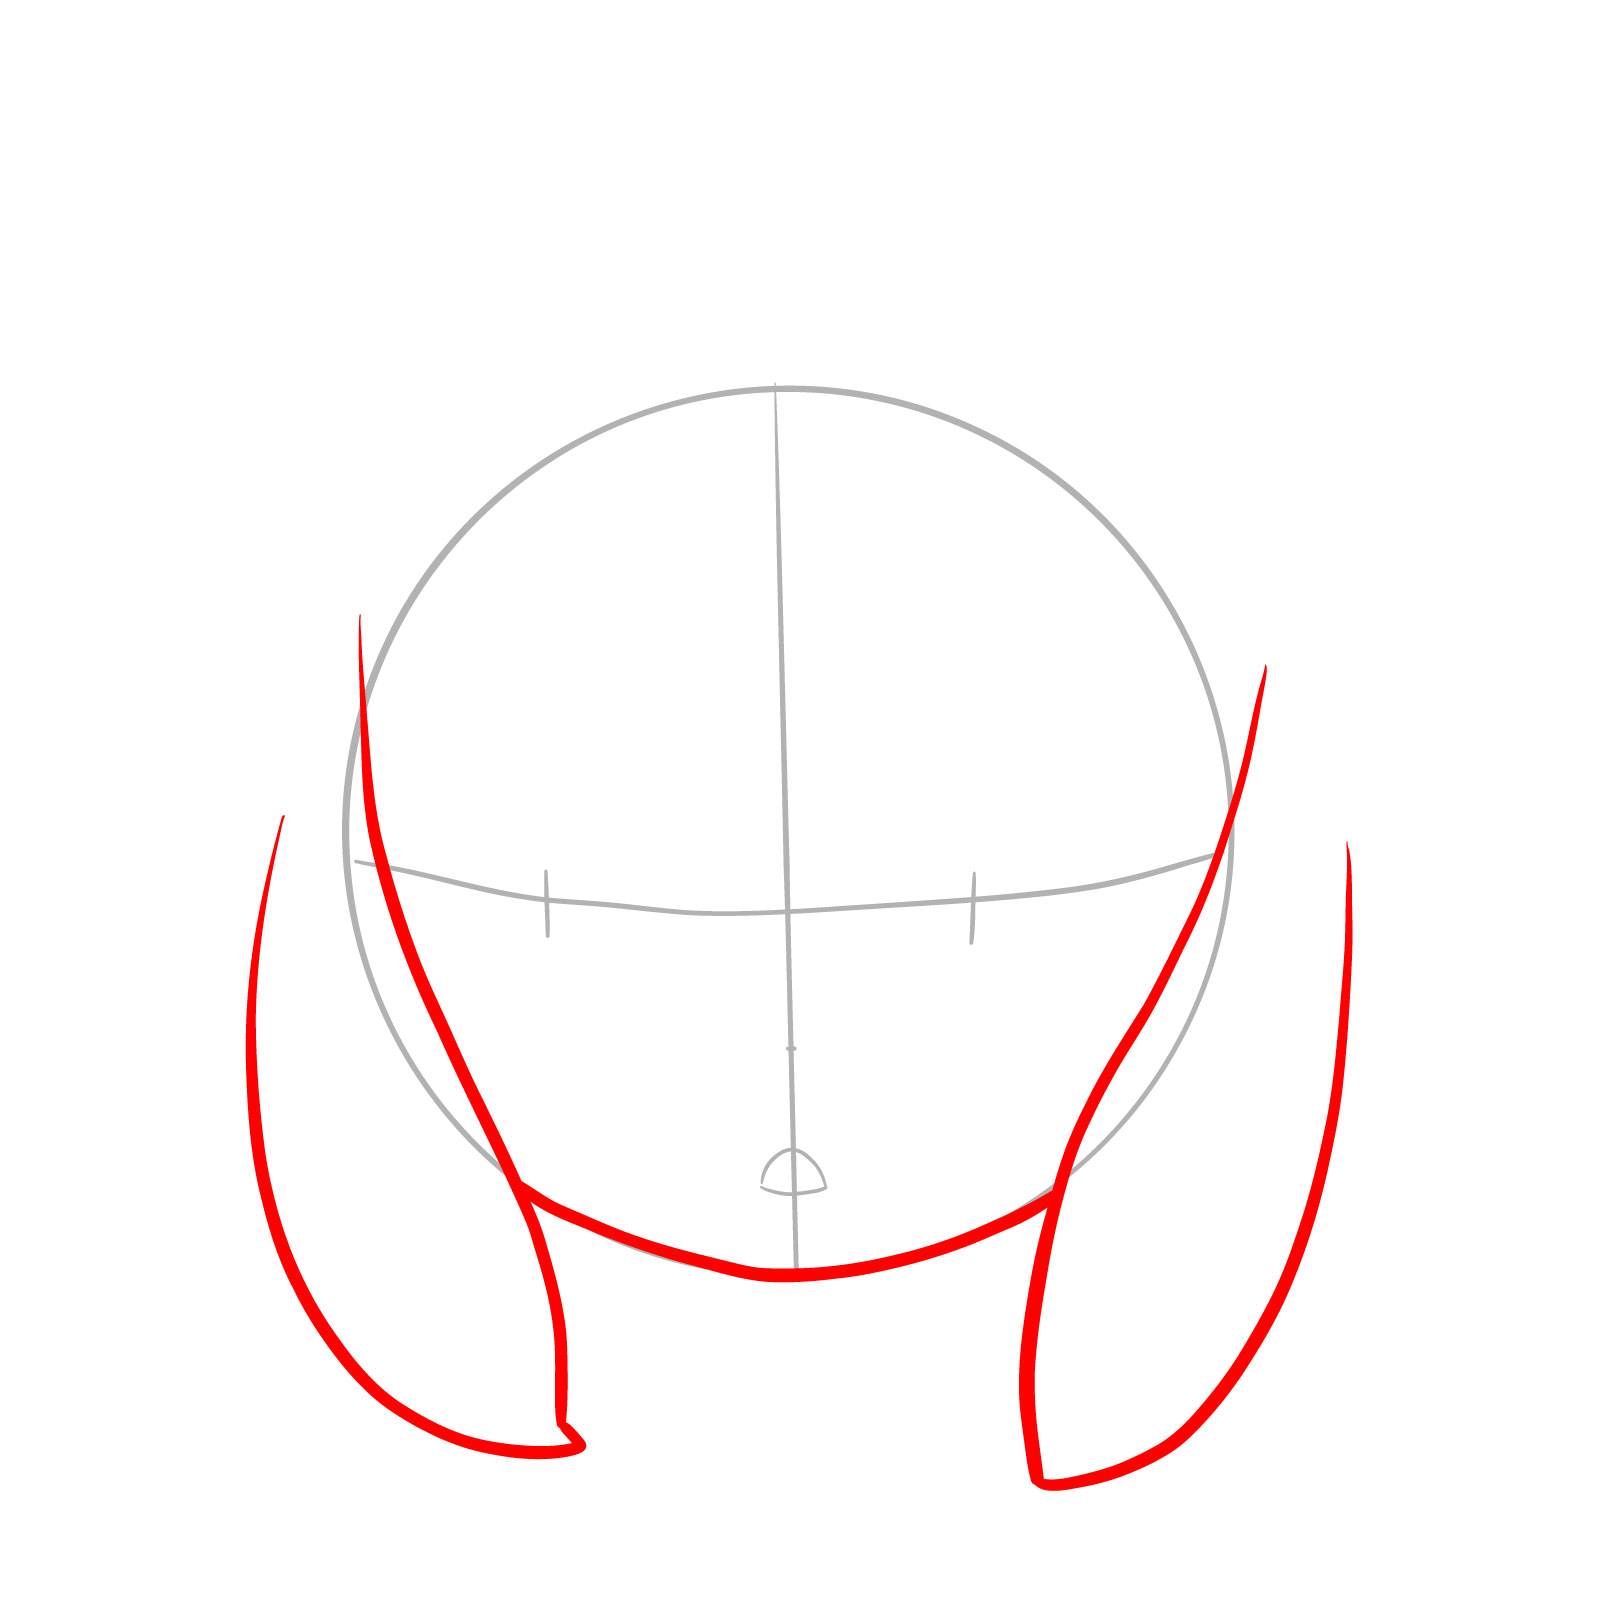
Step 02 – Sketch two front locks of hair that gently cover the sides of the face, ensuring they mirror each other. Additionally, outline the chin or jawline to start giving shape to Anya’s face
Sketching the initial details of Anya’s hairstyle and chin outline
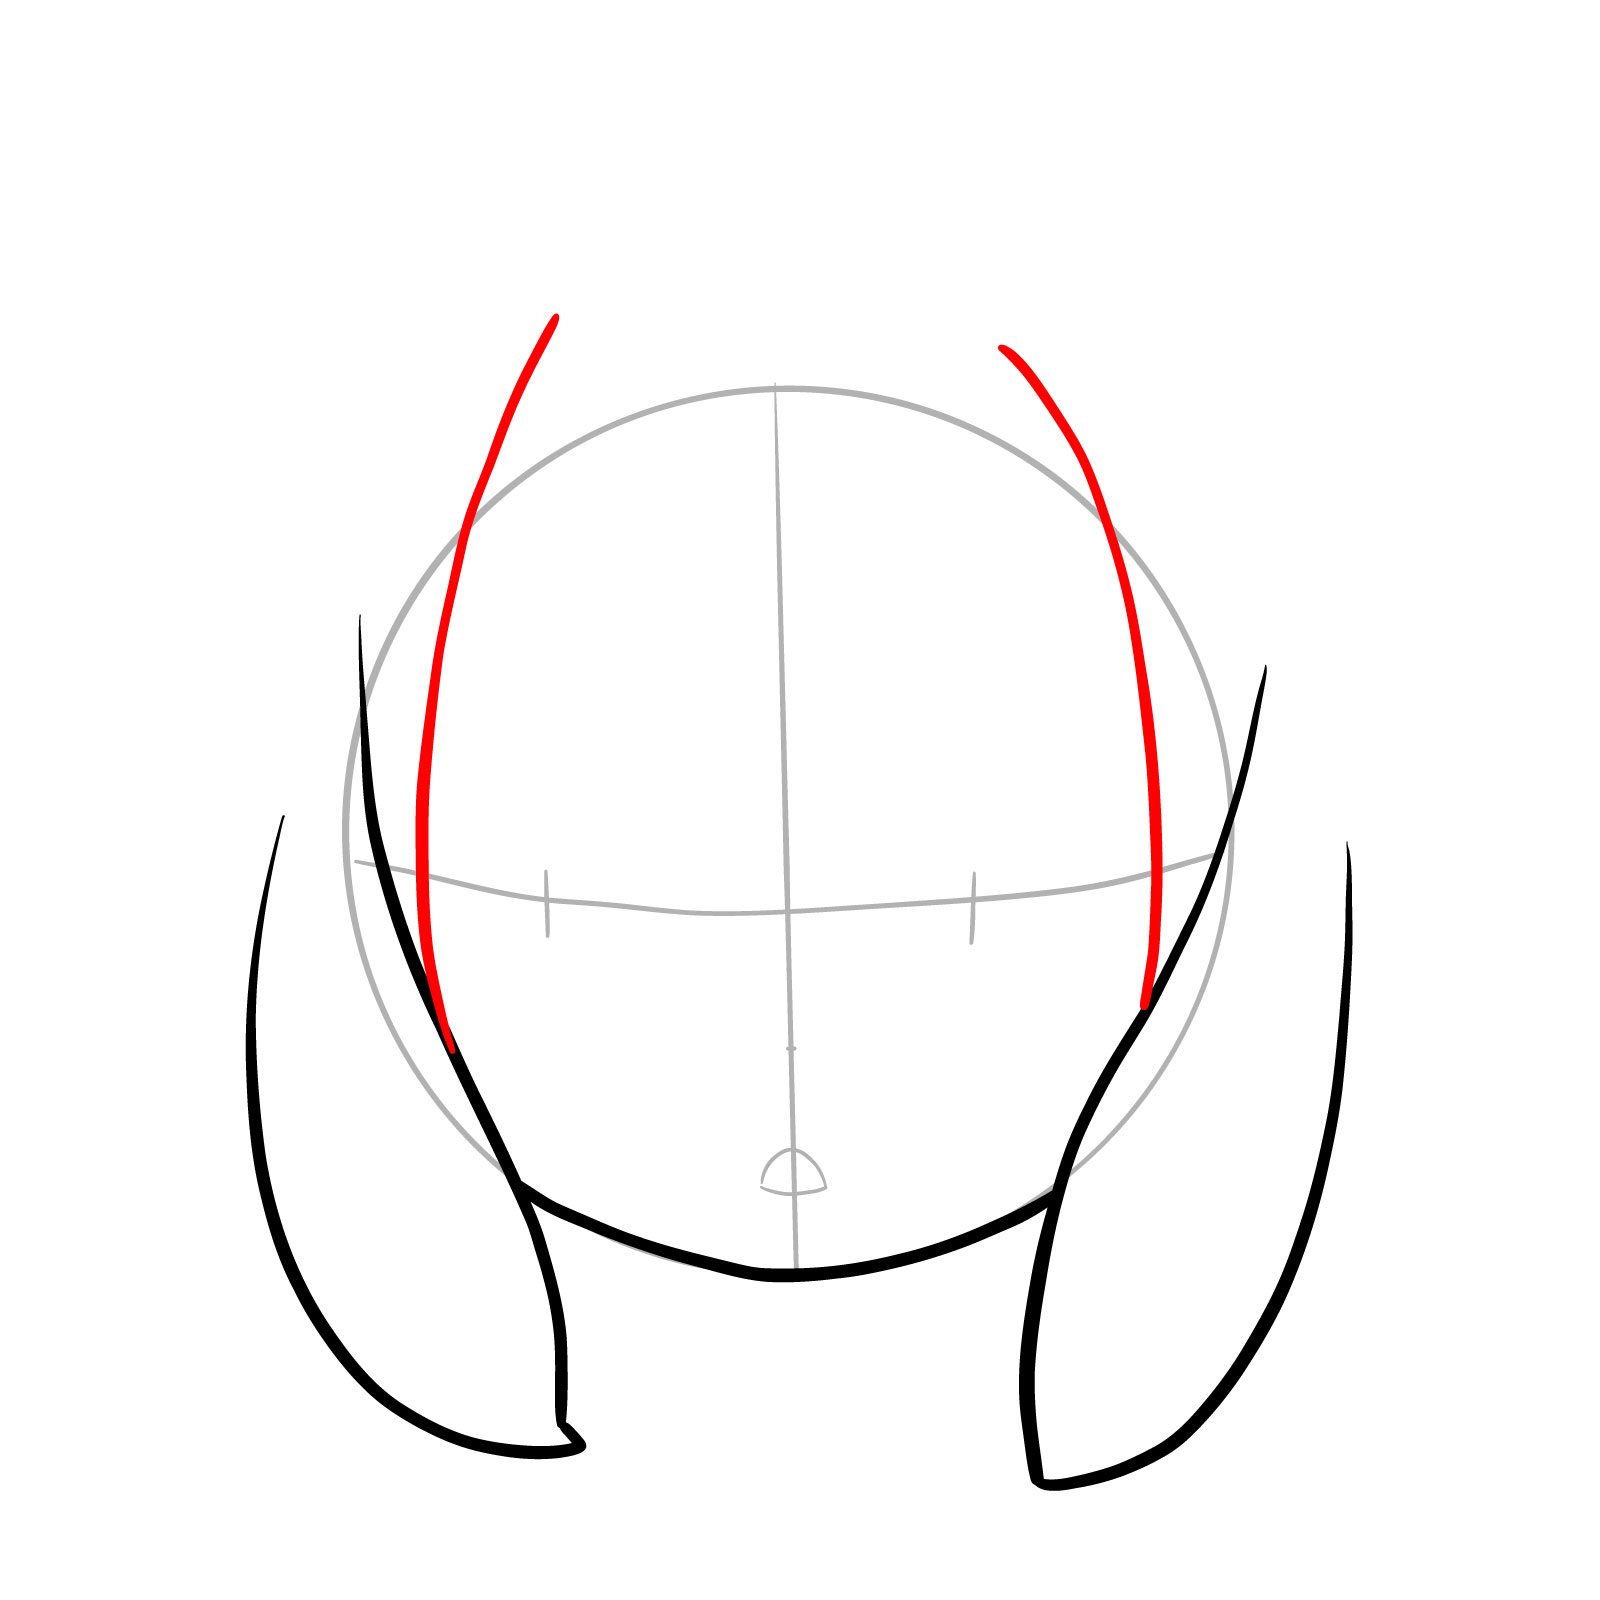
Step 03 – Add two gently curved lines starting from around the height of the eyes and up to frame the face. These lines represent the sides of Anya’s hair, contributing to the overall shape of the hairstyle
Outlining the hair that frames Anya’s face on each side
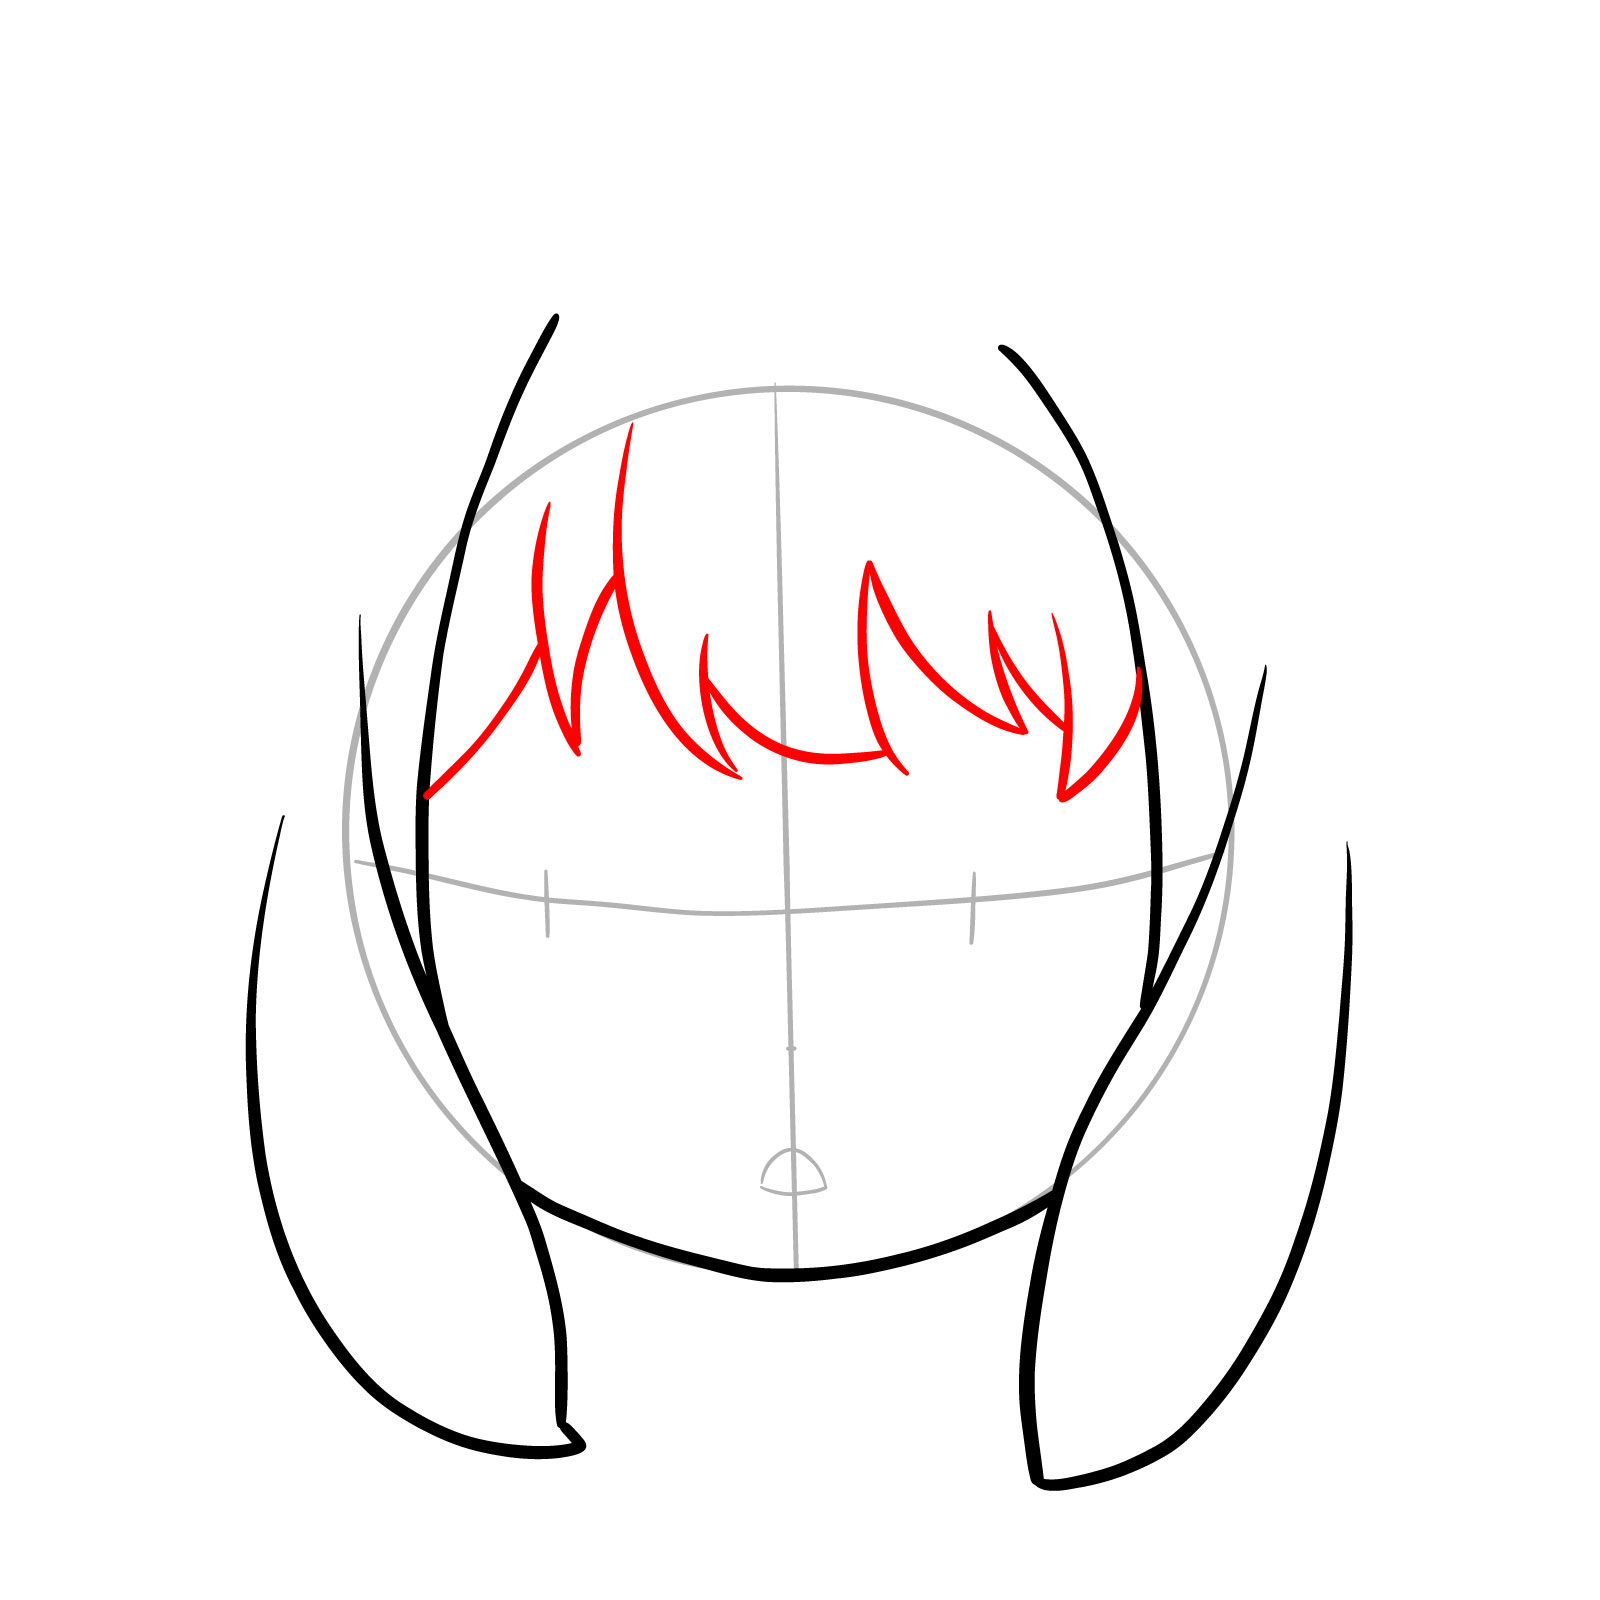
Step 04 – Begin sketching Anya’s fringe with sharp, jagged lines to mimic the style of anime hair. The fringe should be aligned with the horizontal eye guide
Sketching Anya Forger’s distinctive fringe
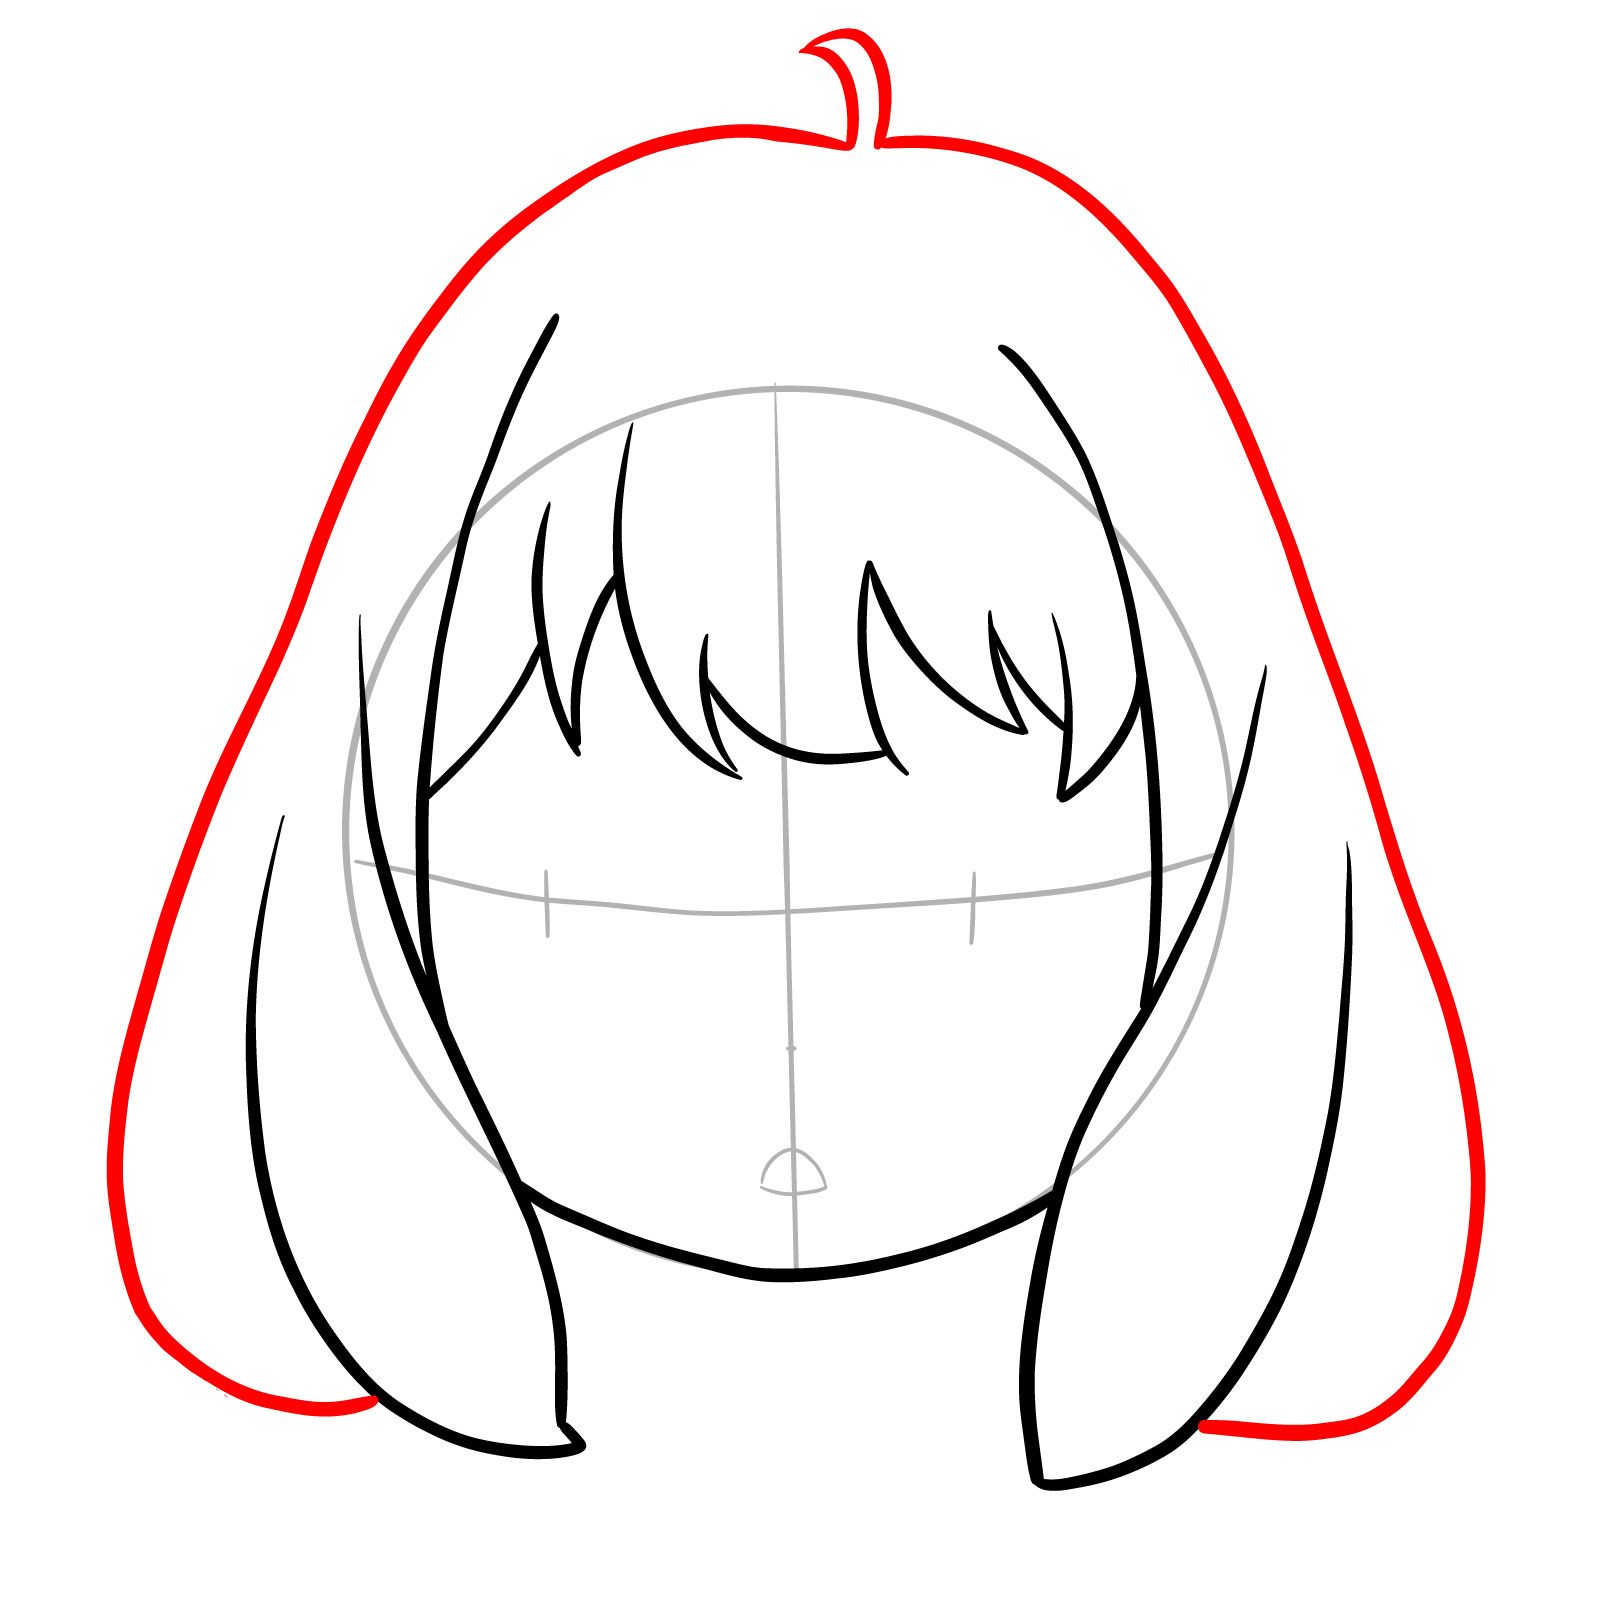
Step 05 – Outline the overall shape of Anya’s hair, which should be full and rounded, cascading down from the top of the head and beyond the initial circle base
Outlining the overall shape of Anya’s hairstyle
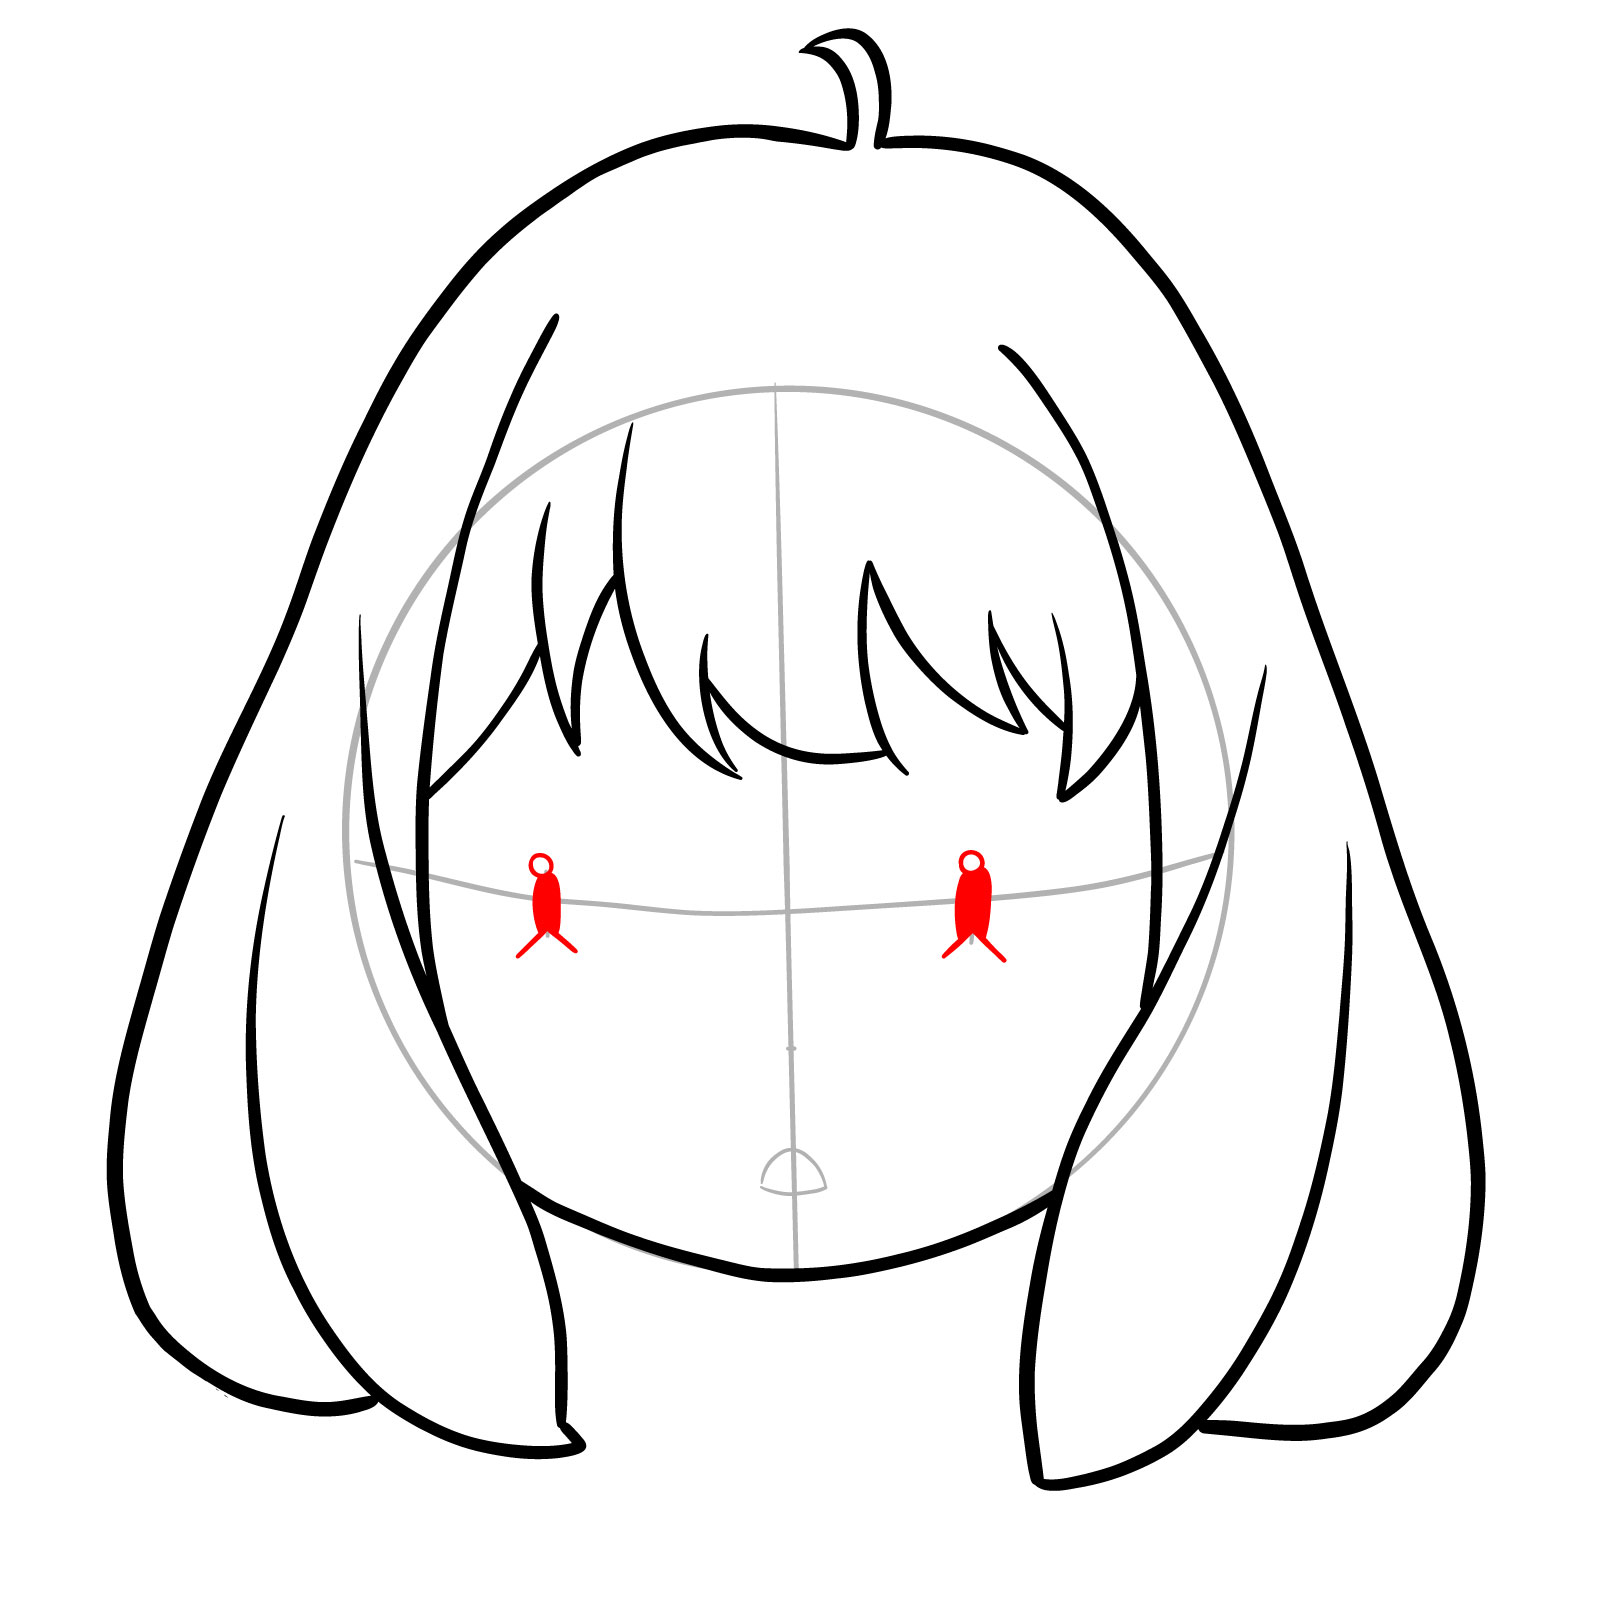
Step 06 – Draw two ovals for the eyes, ensuring they are even and aligned with the eye guide line. At the top of each oval, leave blank circles with an outline for highlights. Then, add an upside-down V-shape at the bottom of each oval for the initial anime eye shape
Starting the eye drawing in Anya’s face sketch
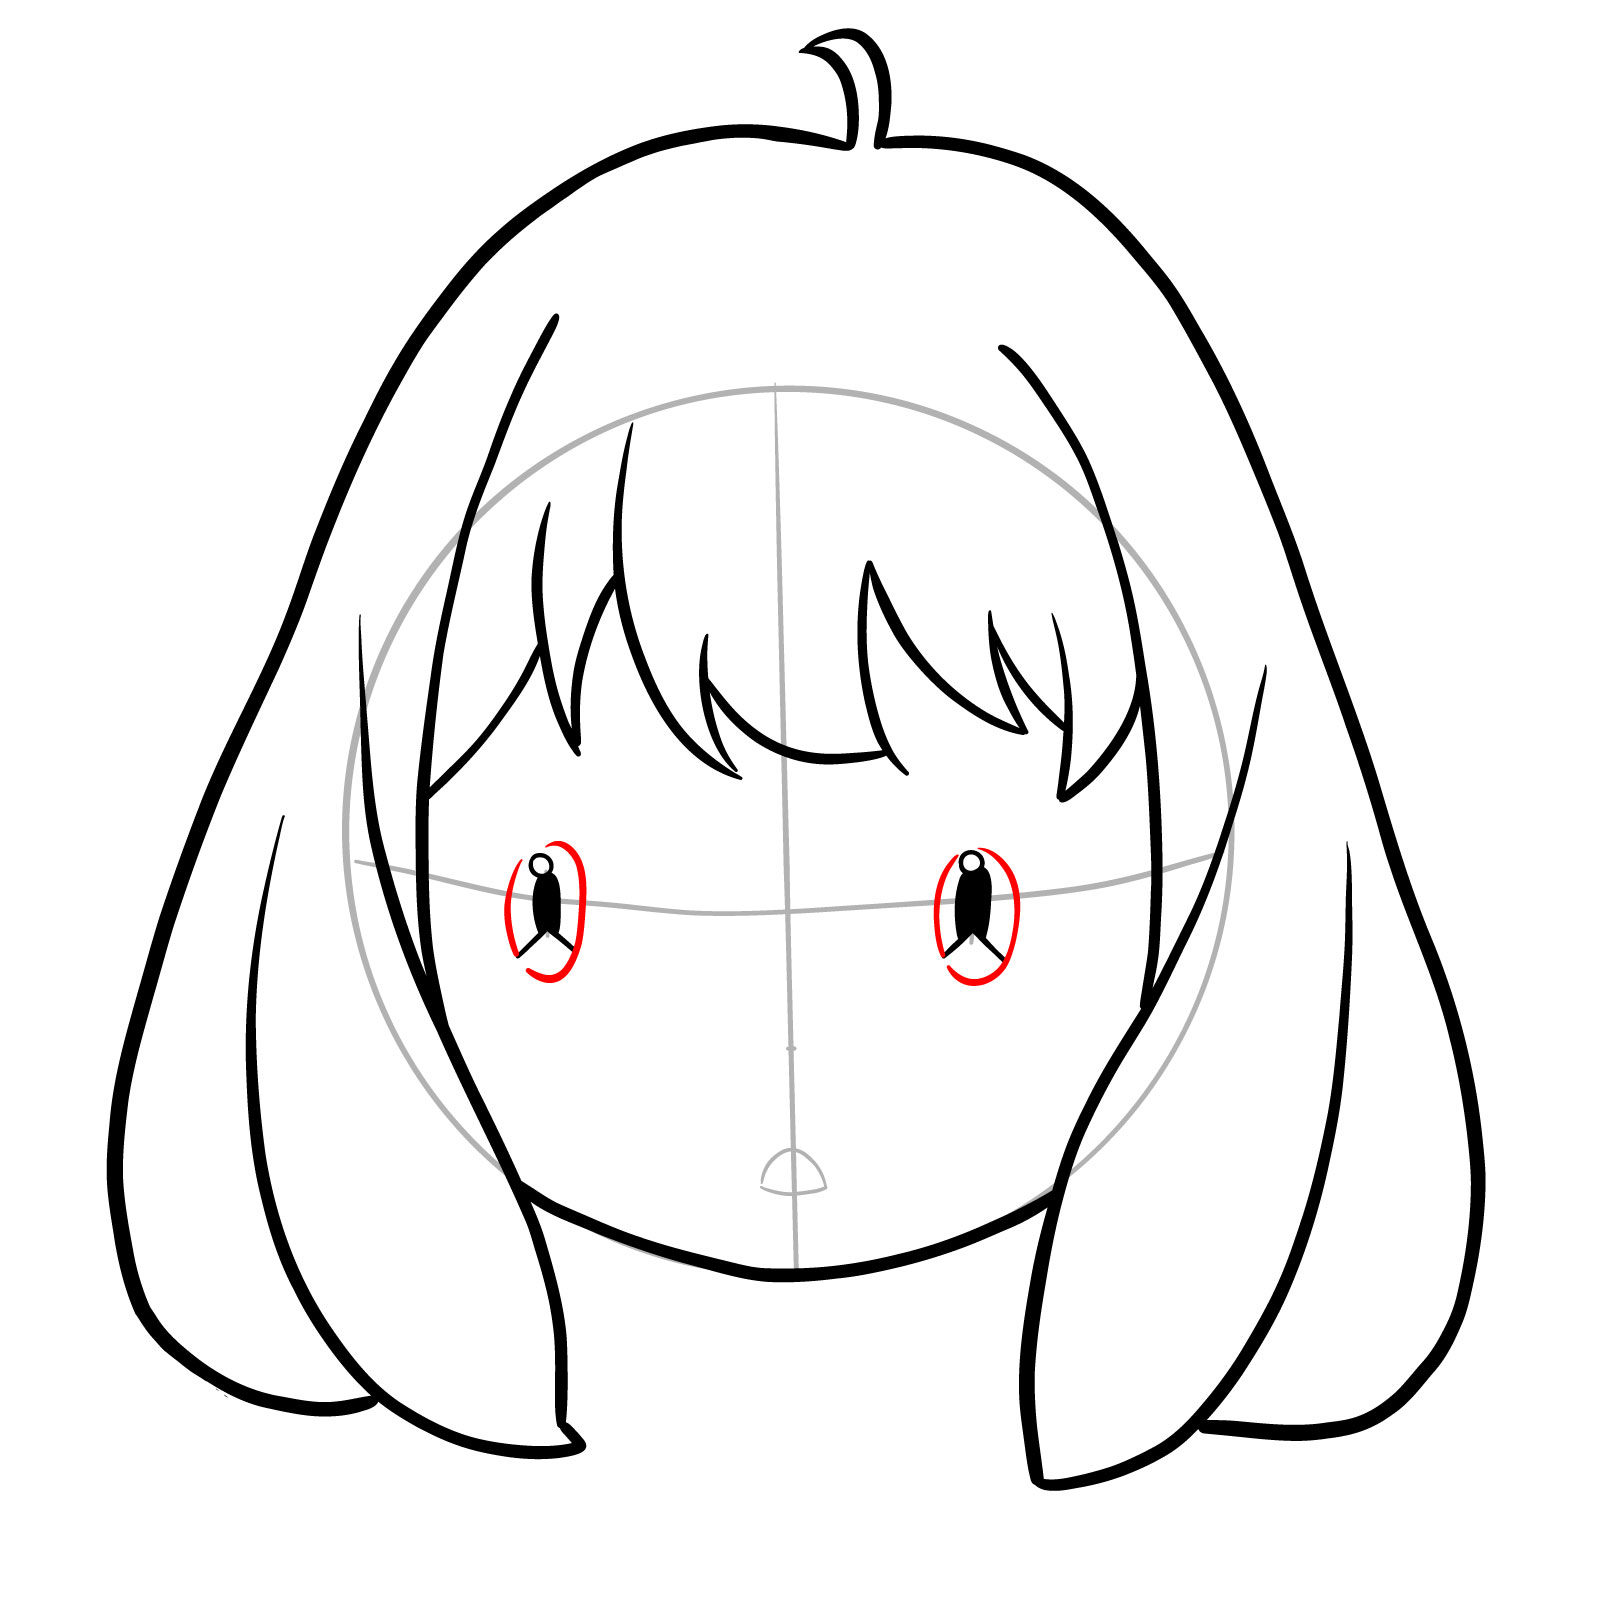
Step 07 – Draw two ovals for the pupils. These should frame the shapes from the previous step
Drawing the pupils in Anya’s anime eyes
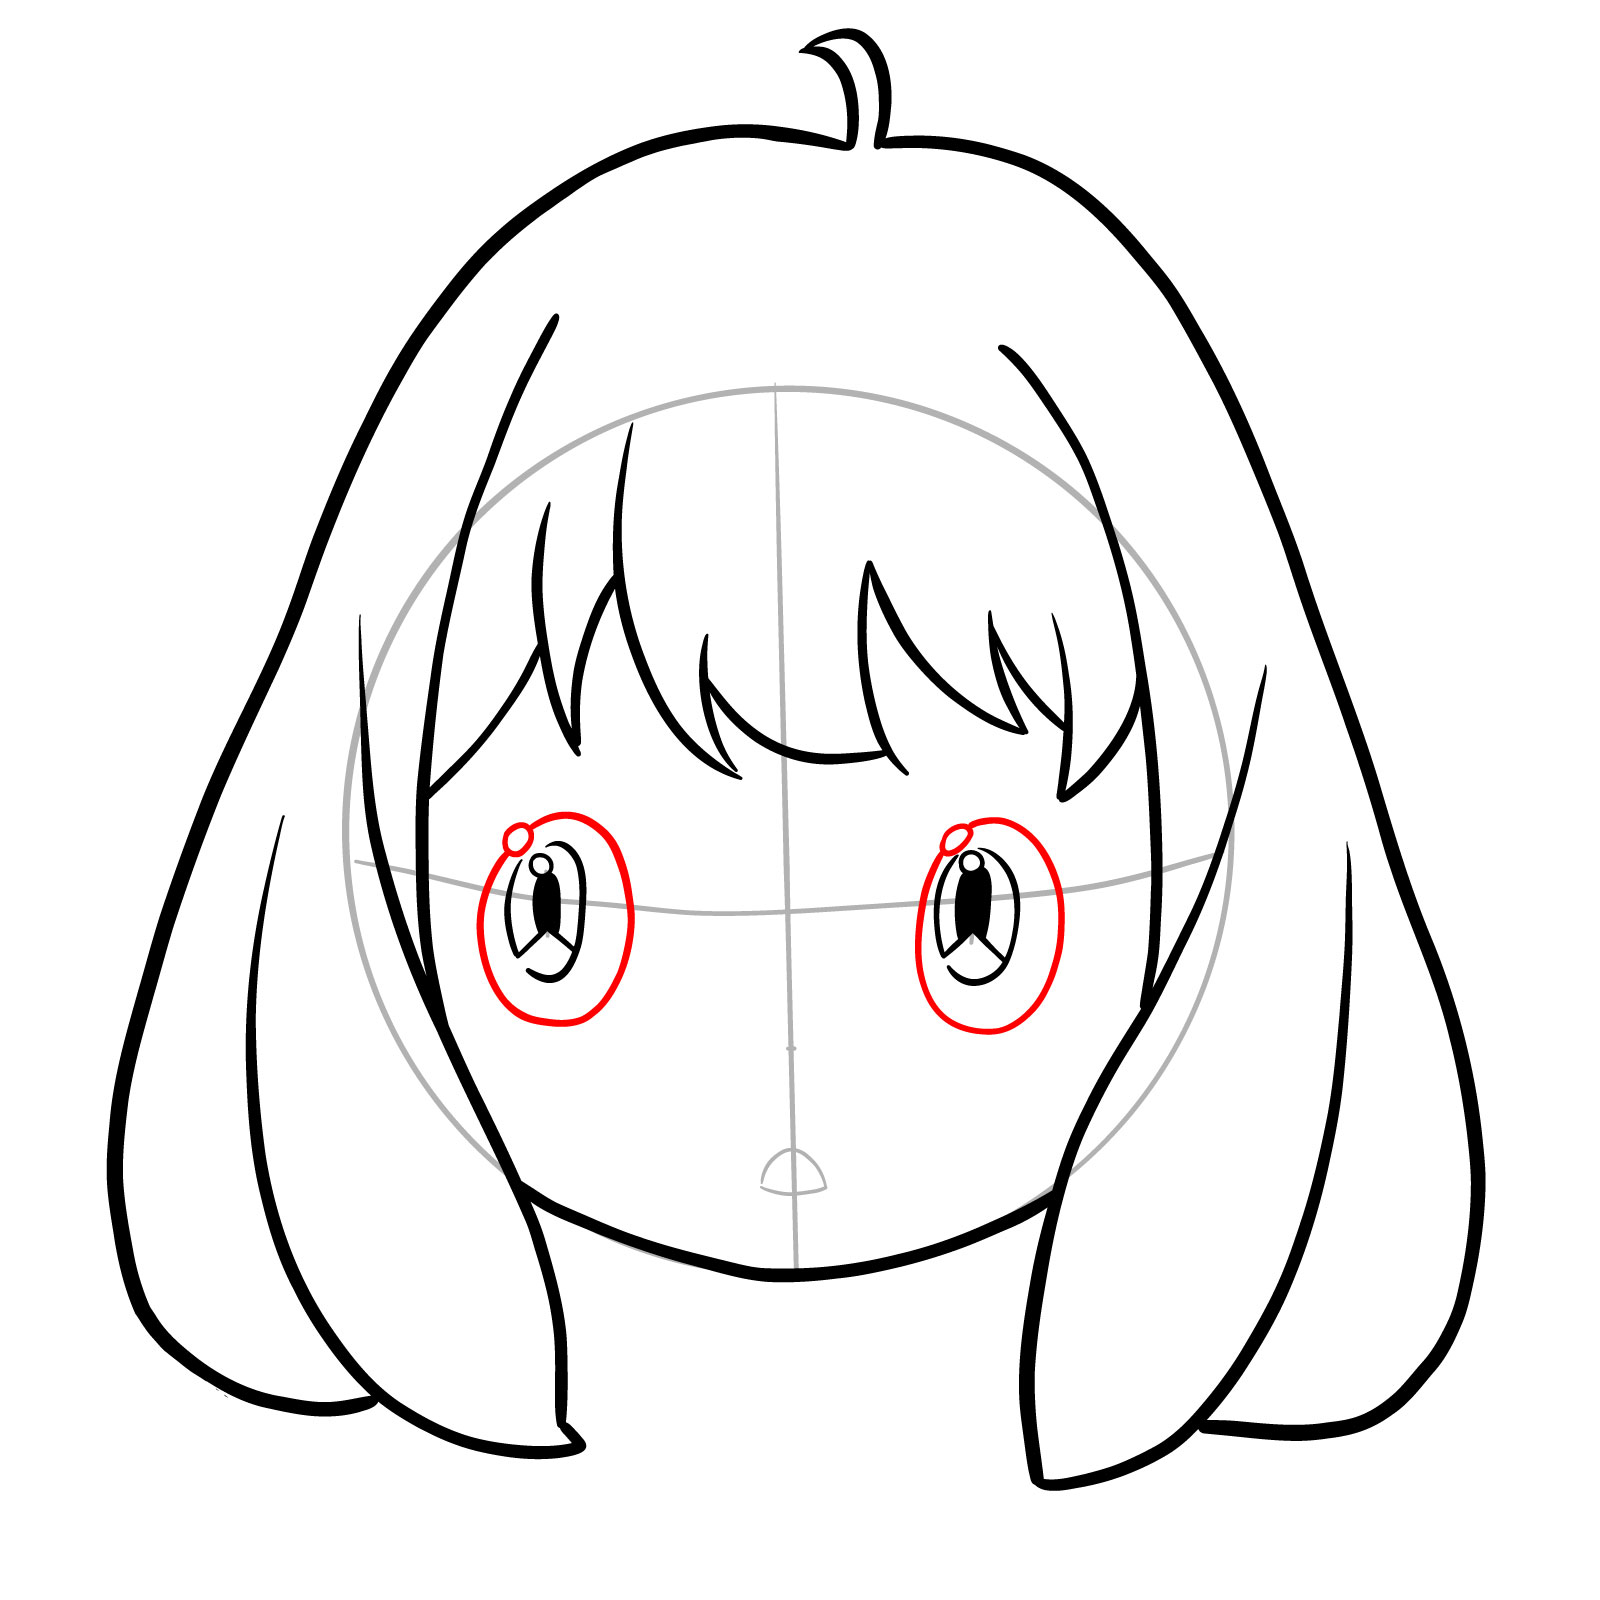
Step 08 – Outline the shape of Anya’s eyeballs by drawing another set of ovals around the previous ones. These should encase the pupils and include additional small blank ovals at the top for the reflection highlights, giving the eyes a glossy appearance
Outlining the eyeballs with detailed highlights in Anya’s face drawing
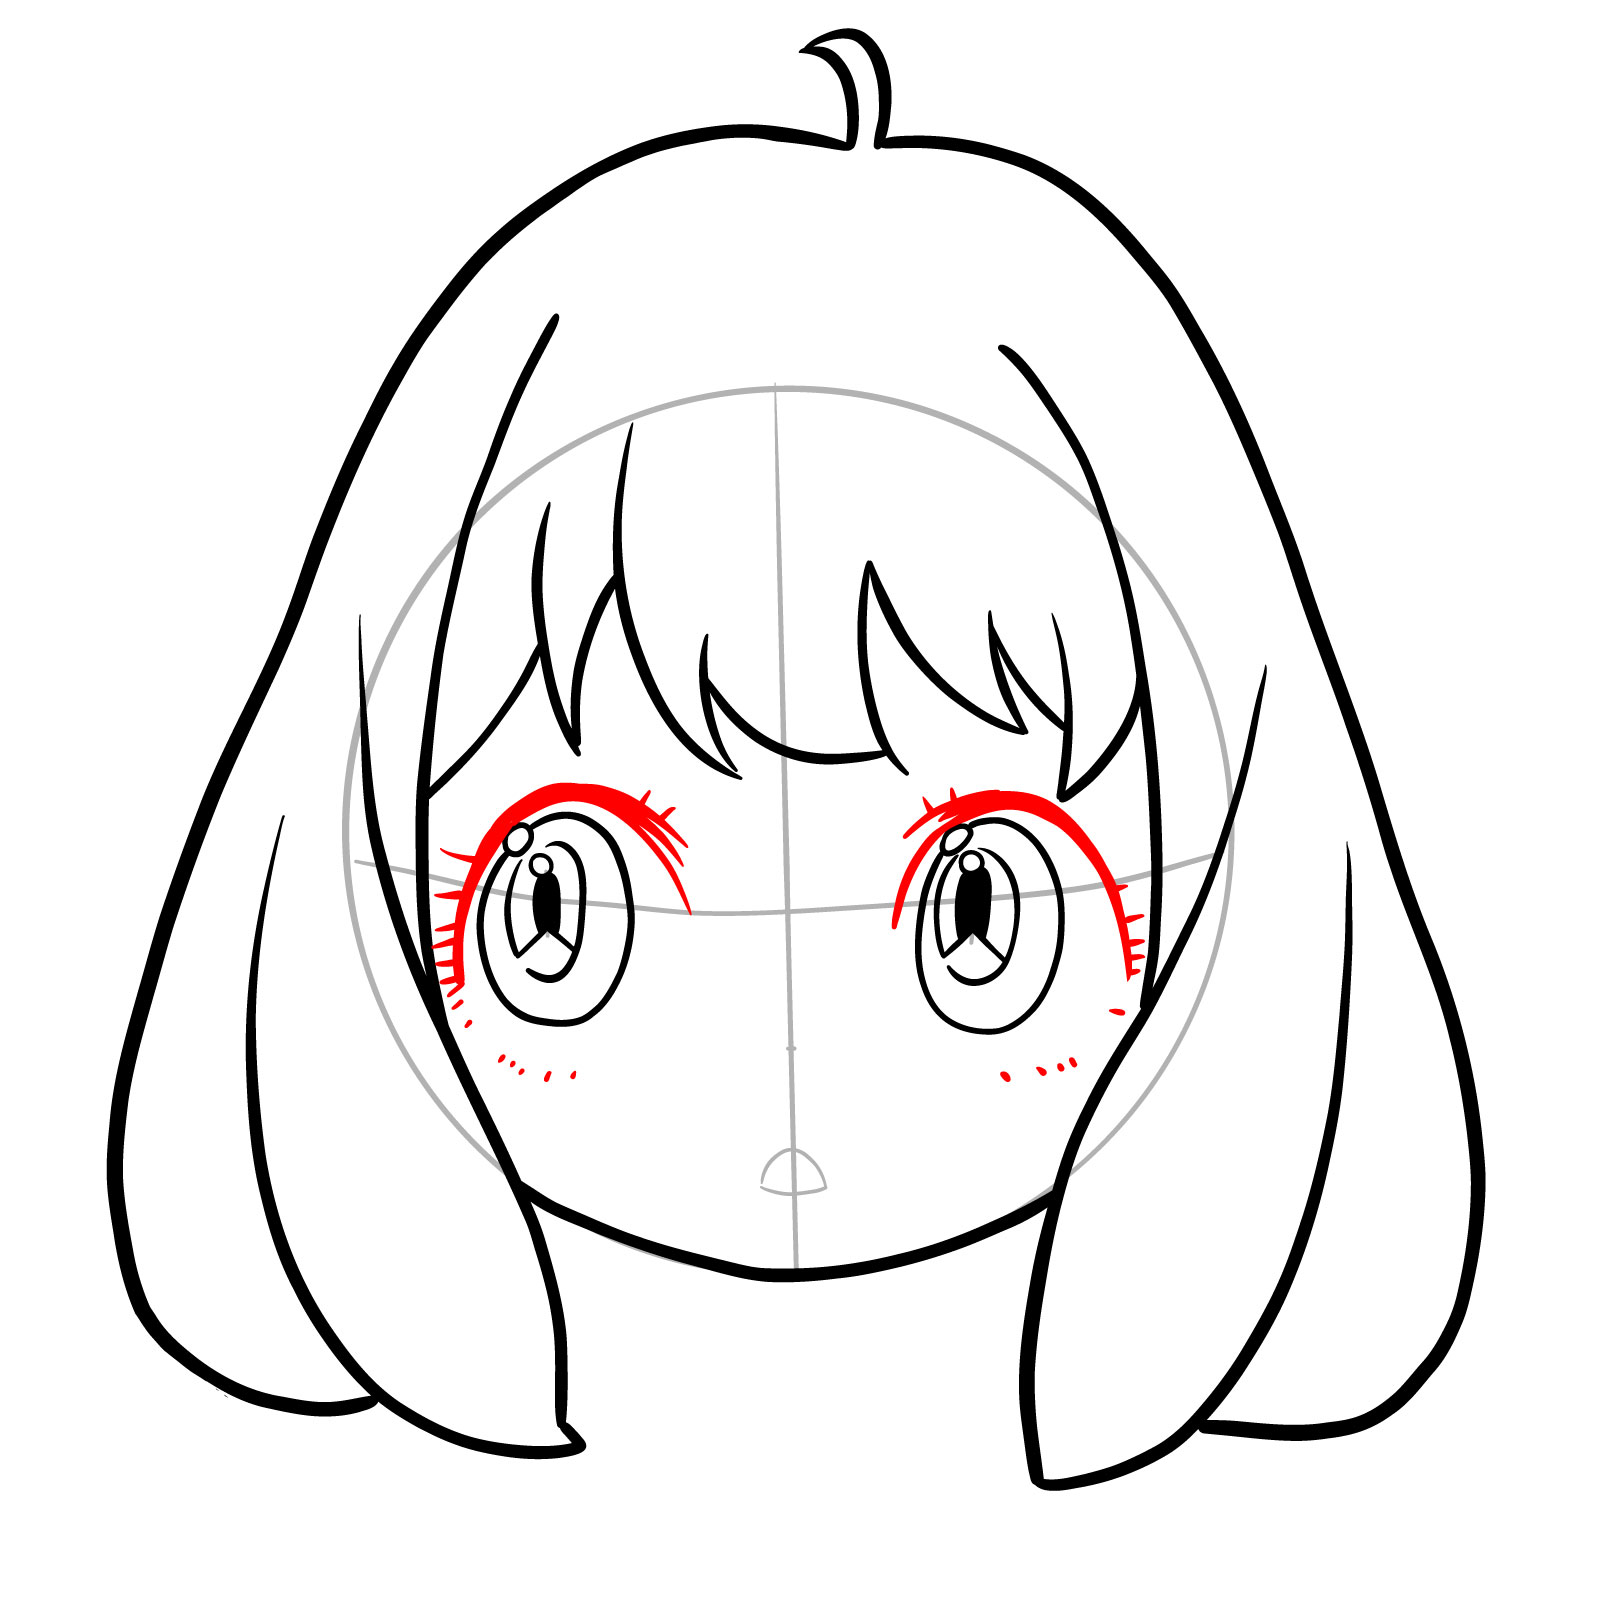
Step 09 – Next, draw her expressive eyelashes to frame the eyes as it is shown in the image below
Sketching the eyelashes
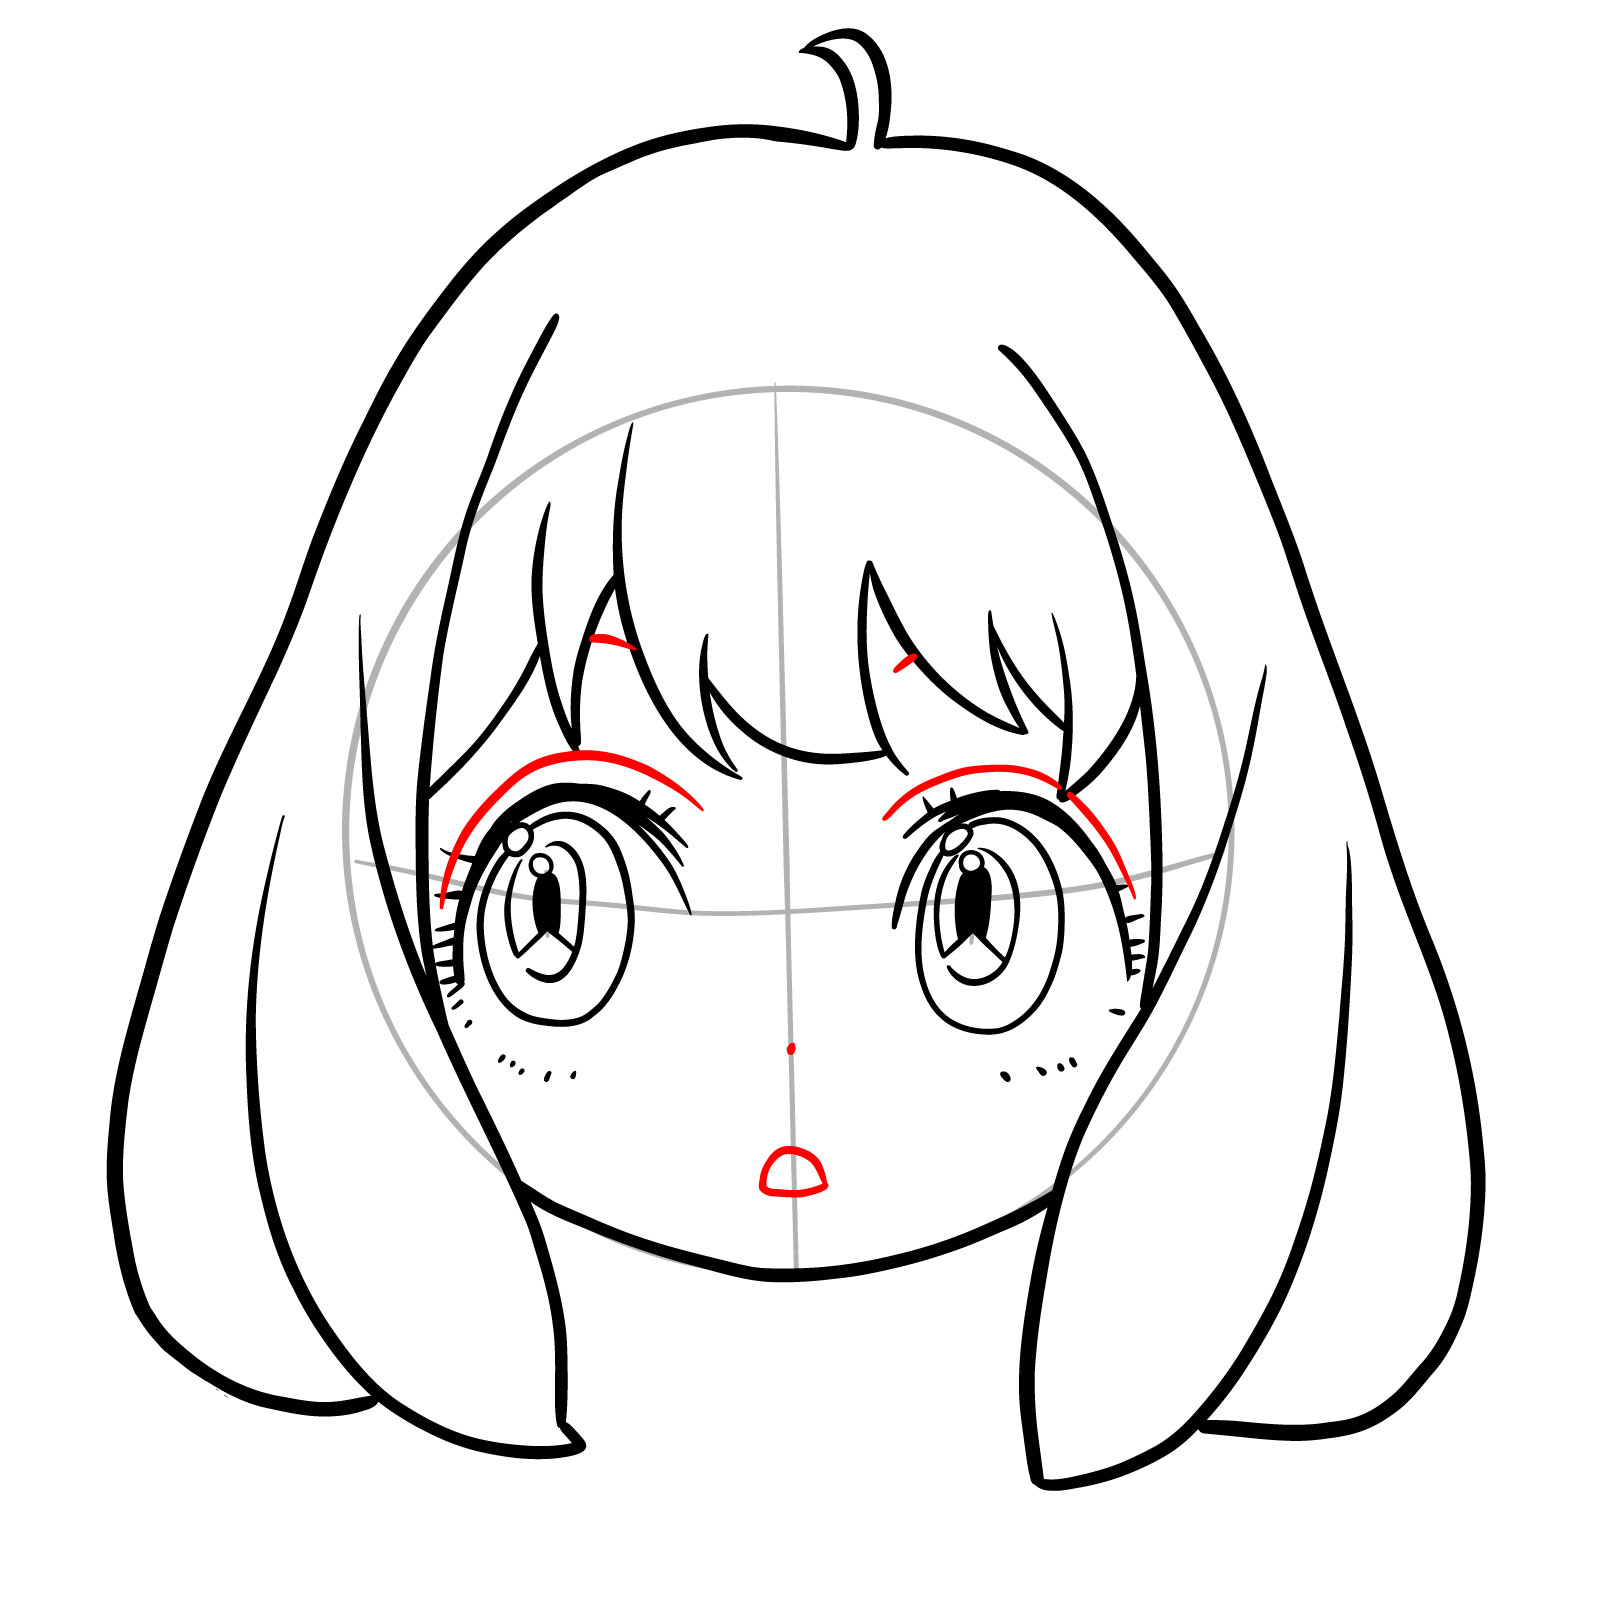
Step 10 – Sketch in the eyelids just above the eyelashes we drew earlier, followed by the eyebrows, ensuring they reflect Anya’s expression. Then, draw a simple nose as a dot, and a small mouth to bring together her facial features
Adding facial details to Anya’s face outline
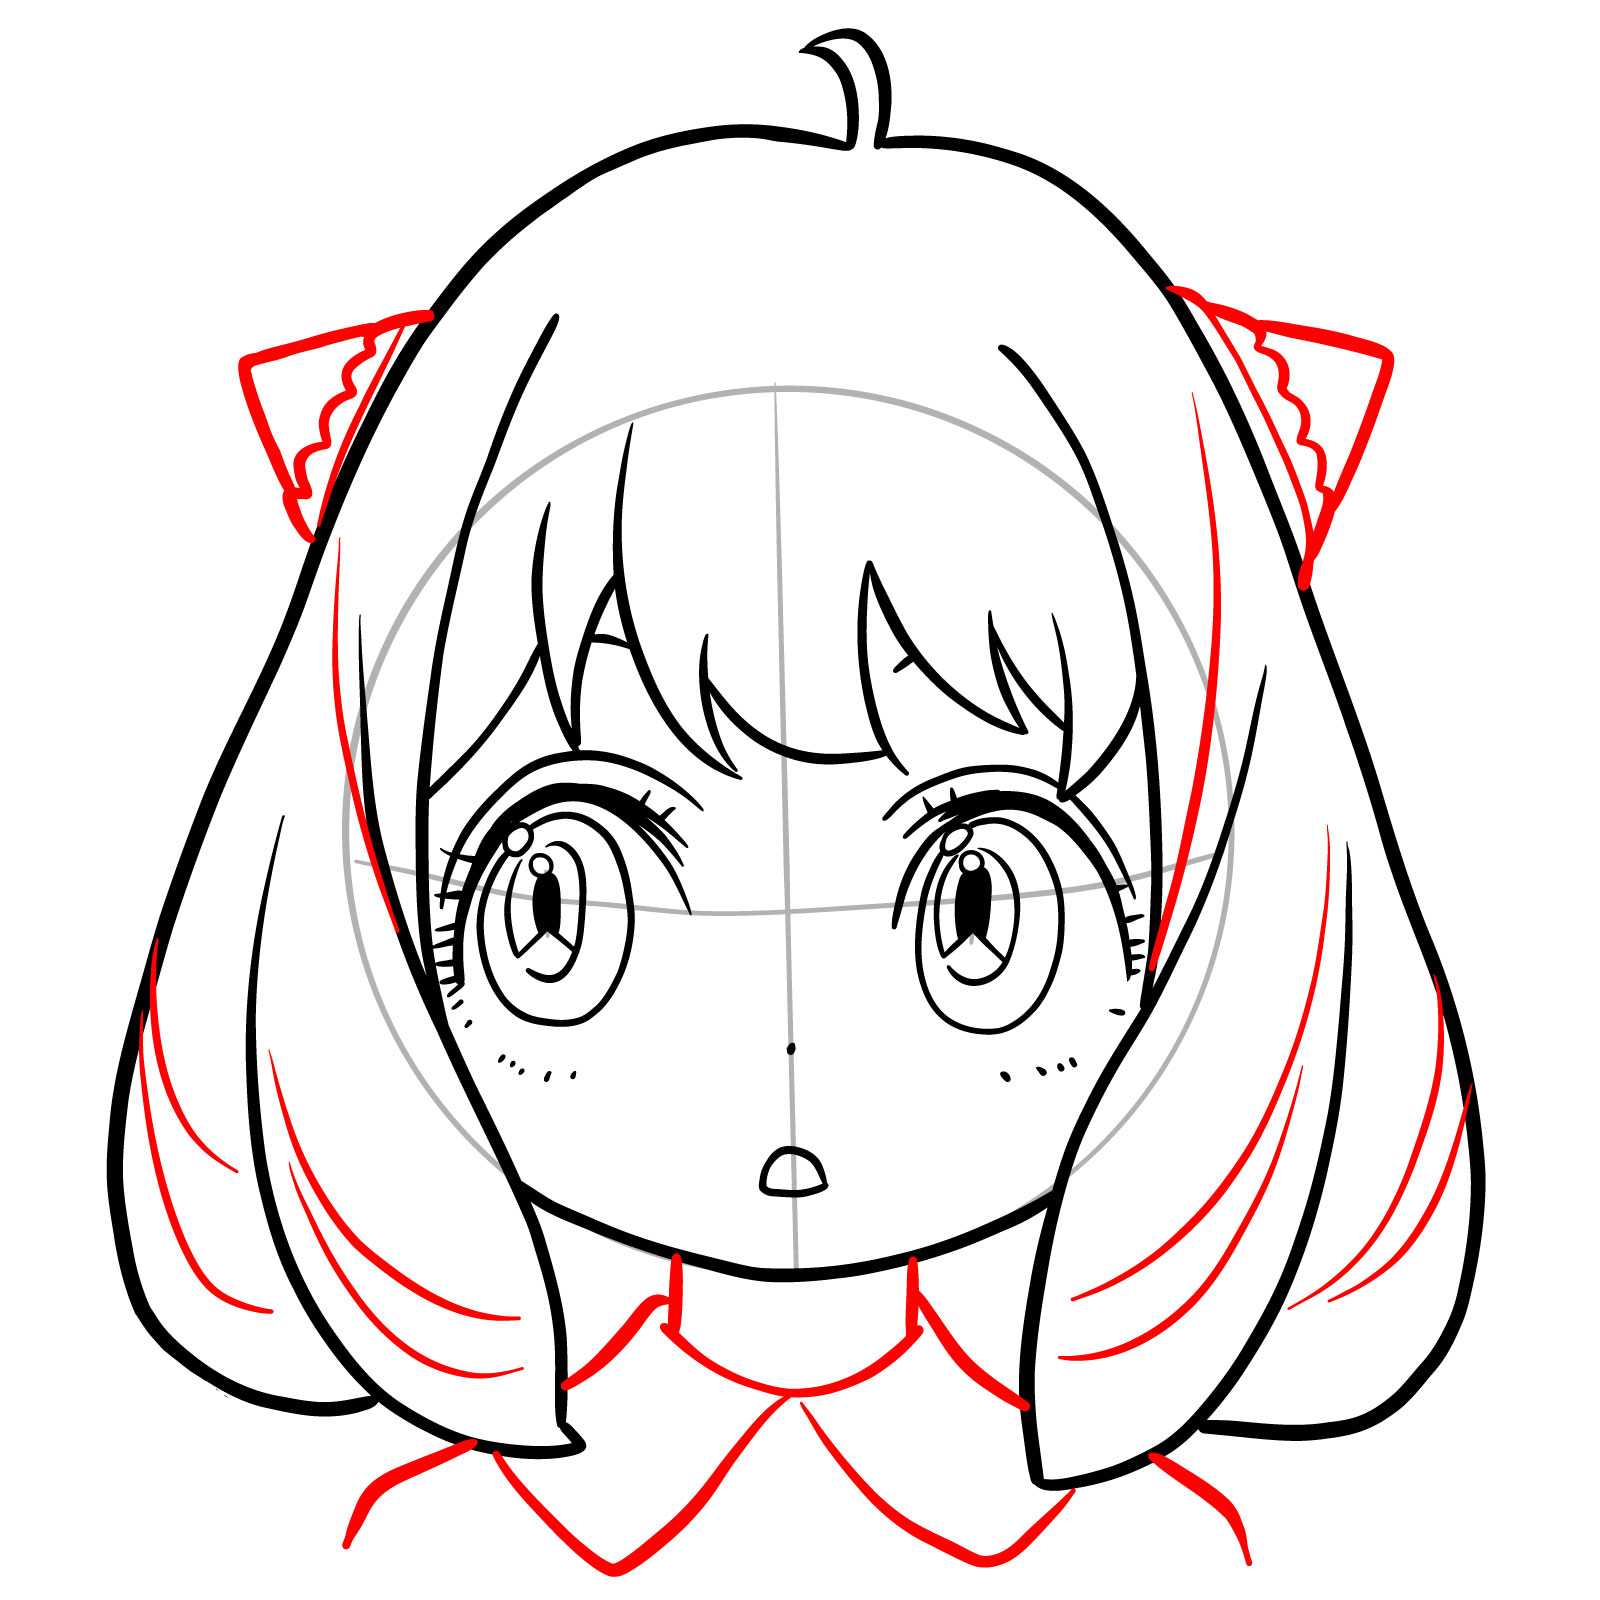
Step 11 – Draw gently curved lines within the hair to add simple texture. Illustrate Anya’s iconic hair accessories on the sides of her head. Finally, sketch the outline of her neck and the upper part of her dress, including the collar and shoulders. This step adds the finishing touches to Anya’s appearance
Completing the hair details, accessories, and outfit in Anya’s face sketch
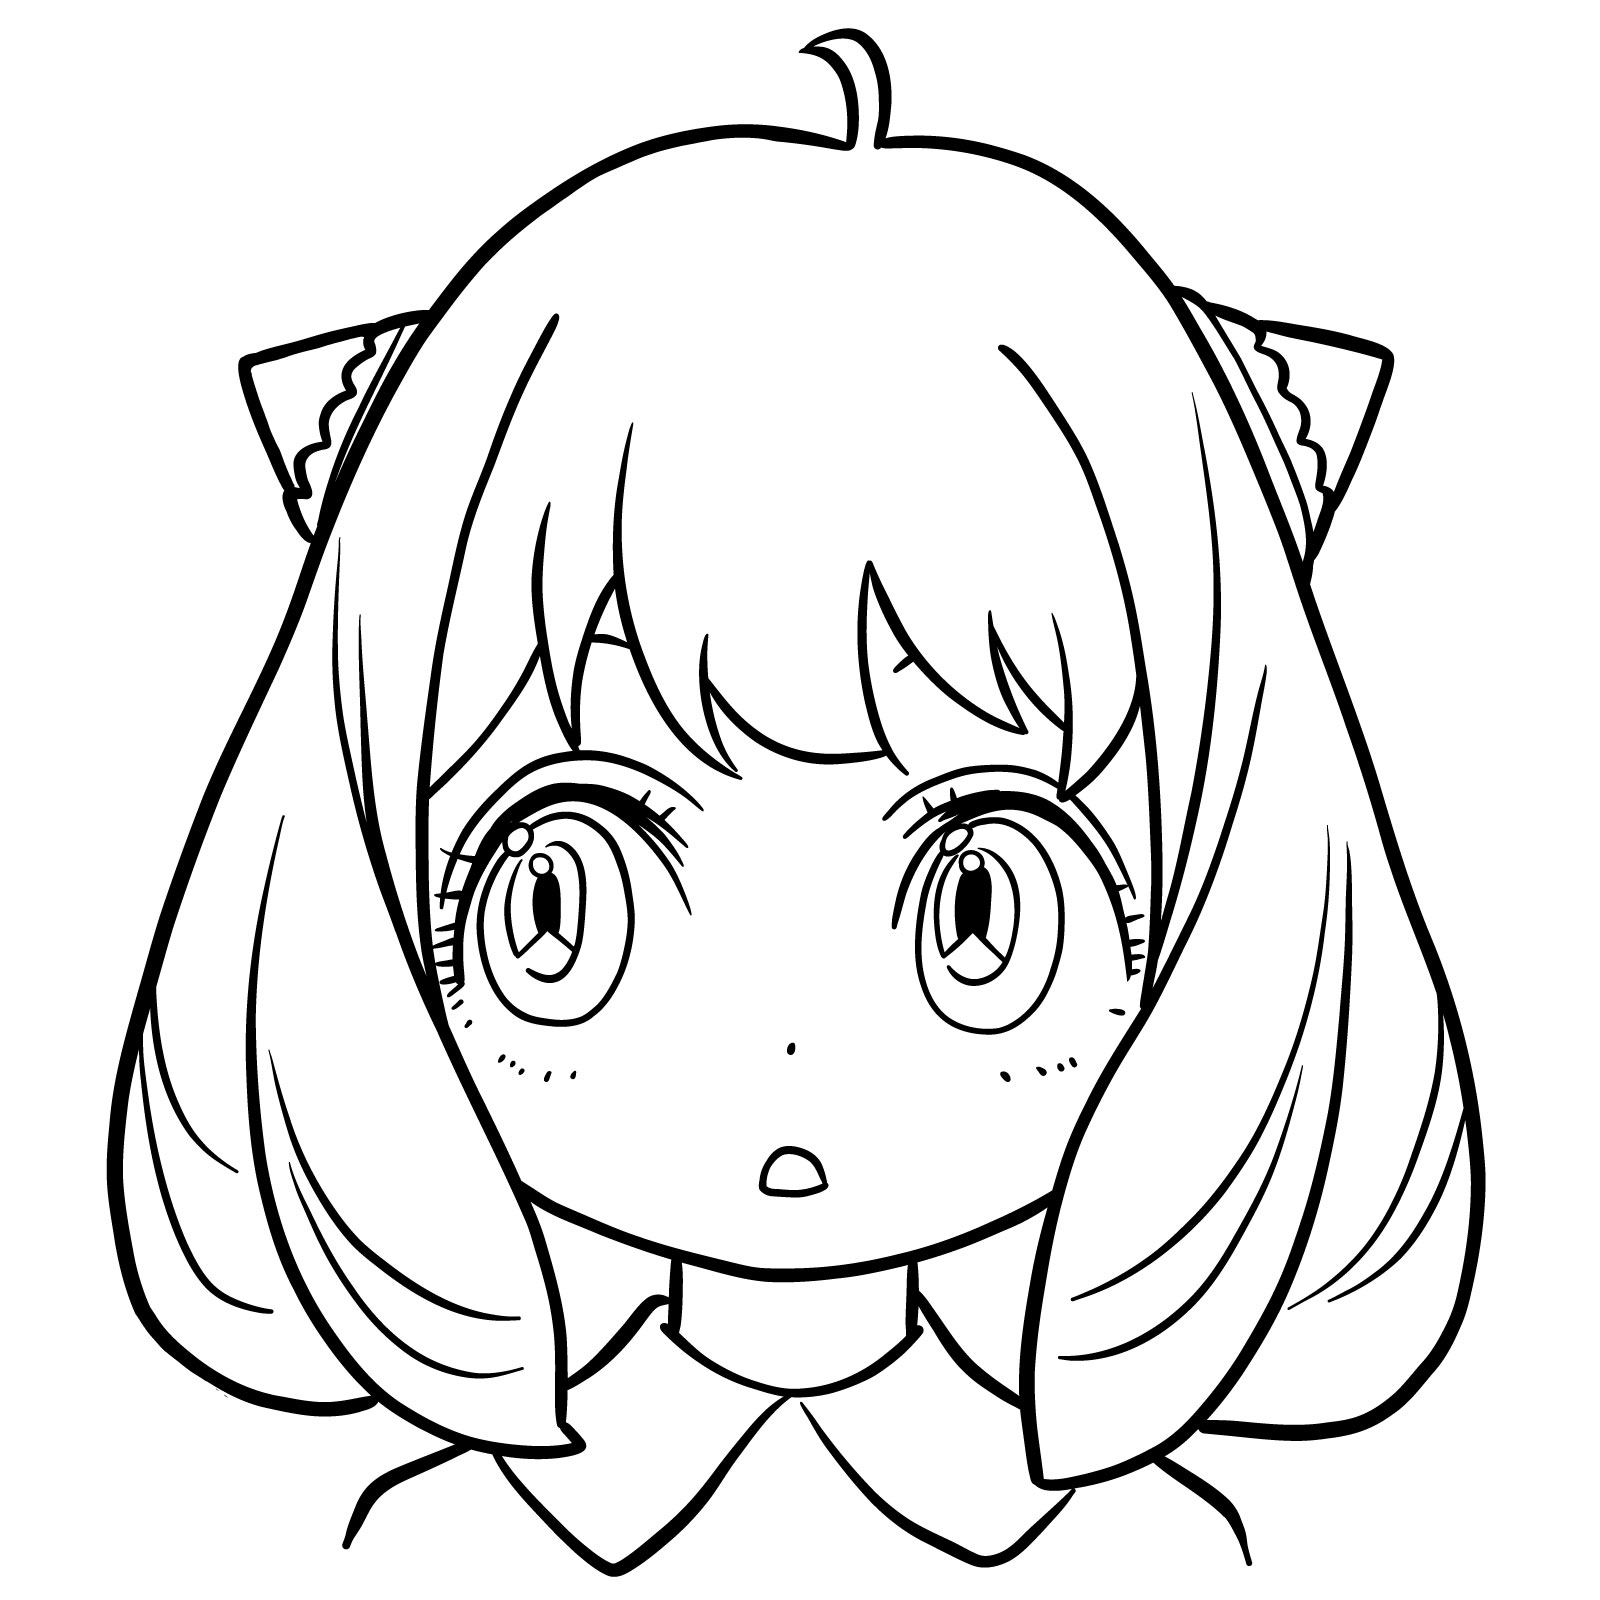
Step 12 – The drawing is now complete, capturing Anya Forger’s likeness. At this stage, you can choose to ink your sketch for a crisp finish and then gently erase the underlying pencil marks, or you may directly color the pencil sketch if you want
The final stage of Anya’s face drawing ready for inking or coloring
We’ve completed our guide on how to draw Anya’s face. I hope you found this tutorial helpful and it inspired you to keep drawing. Share your sketches with me and other artists by joining SketchOk’s social media!
Disclaimer: All original artworks and photos used as references for the creation of these drawing tutorials are the property of their respective owners. If your work has been featured without proper credit, please kindly leave a comment below, and the issue will be promptly addressed. We greatly appreciate your exceptional art. Thank you.
Did you like the tutorial?
You can support the author of this website and also suggest your own ideas for new drawings by making a small donation here:
3 thoughts on “How to Draw Anya’s Face: A Simple Guide for SPY x FAMILY Fans”

This was the best thing I ever drew
Glad to hear you enjoyed it!
Draw an inchi tape