Home » Anime » Pokemon » How to draw Palkia Pokemon

How to draw Palkia Pokemon

Creating art is a journey of discovery and expression, and when it involves characters as iconic as the Pokémon, it becomes an adventure. Our guide today centers on one of the grand titans of the Pokémon universe, Palkia. As the mascot for Pokémon Pearl and Shining Pearl, and a key member of the Creation Trio alongside Dialga and Giratina, Palkia’s majestic appearance poses a fun and challenging task for artists of all levels.

Understanding Palkia’s Form and Related Characters

Before you embark on drawing Palkia, it’s essential to understand its unique appearance. Palkia is a large, bipedal Water/Dragon Pokémon with a color palette that predominantly features light pink-gray-white hues contrasted with purple linear sections. Distinctive features include the large armored plates that cover its arms and shoulders, each adorned with a large pearl, and the wings that embellish its back, symbolizing its power and majestic nature.

Once you’ve mastered Palkia, consider expanding your Pokémon drawing skills by tackling other related characters. Dialga and Giratina, who join Palkia in the Creation Trio, present an excellent challenge. Alternatively, try your hand at Arceus, who is said to have created Palkia, Dialga, and Giratina upon hatching from its egg. Other possibilities include Dragonite, a classic Dragon Pokémon, and the legendary Gyarados, both of which share a type with Palkia.

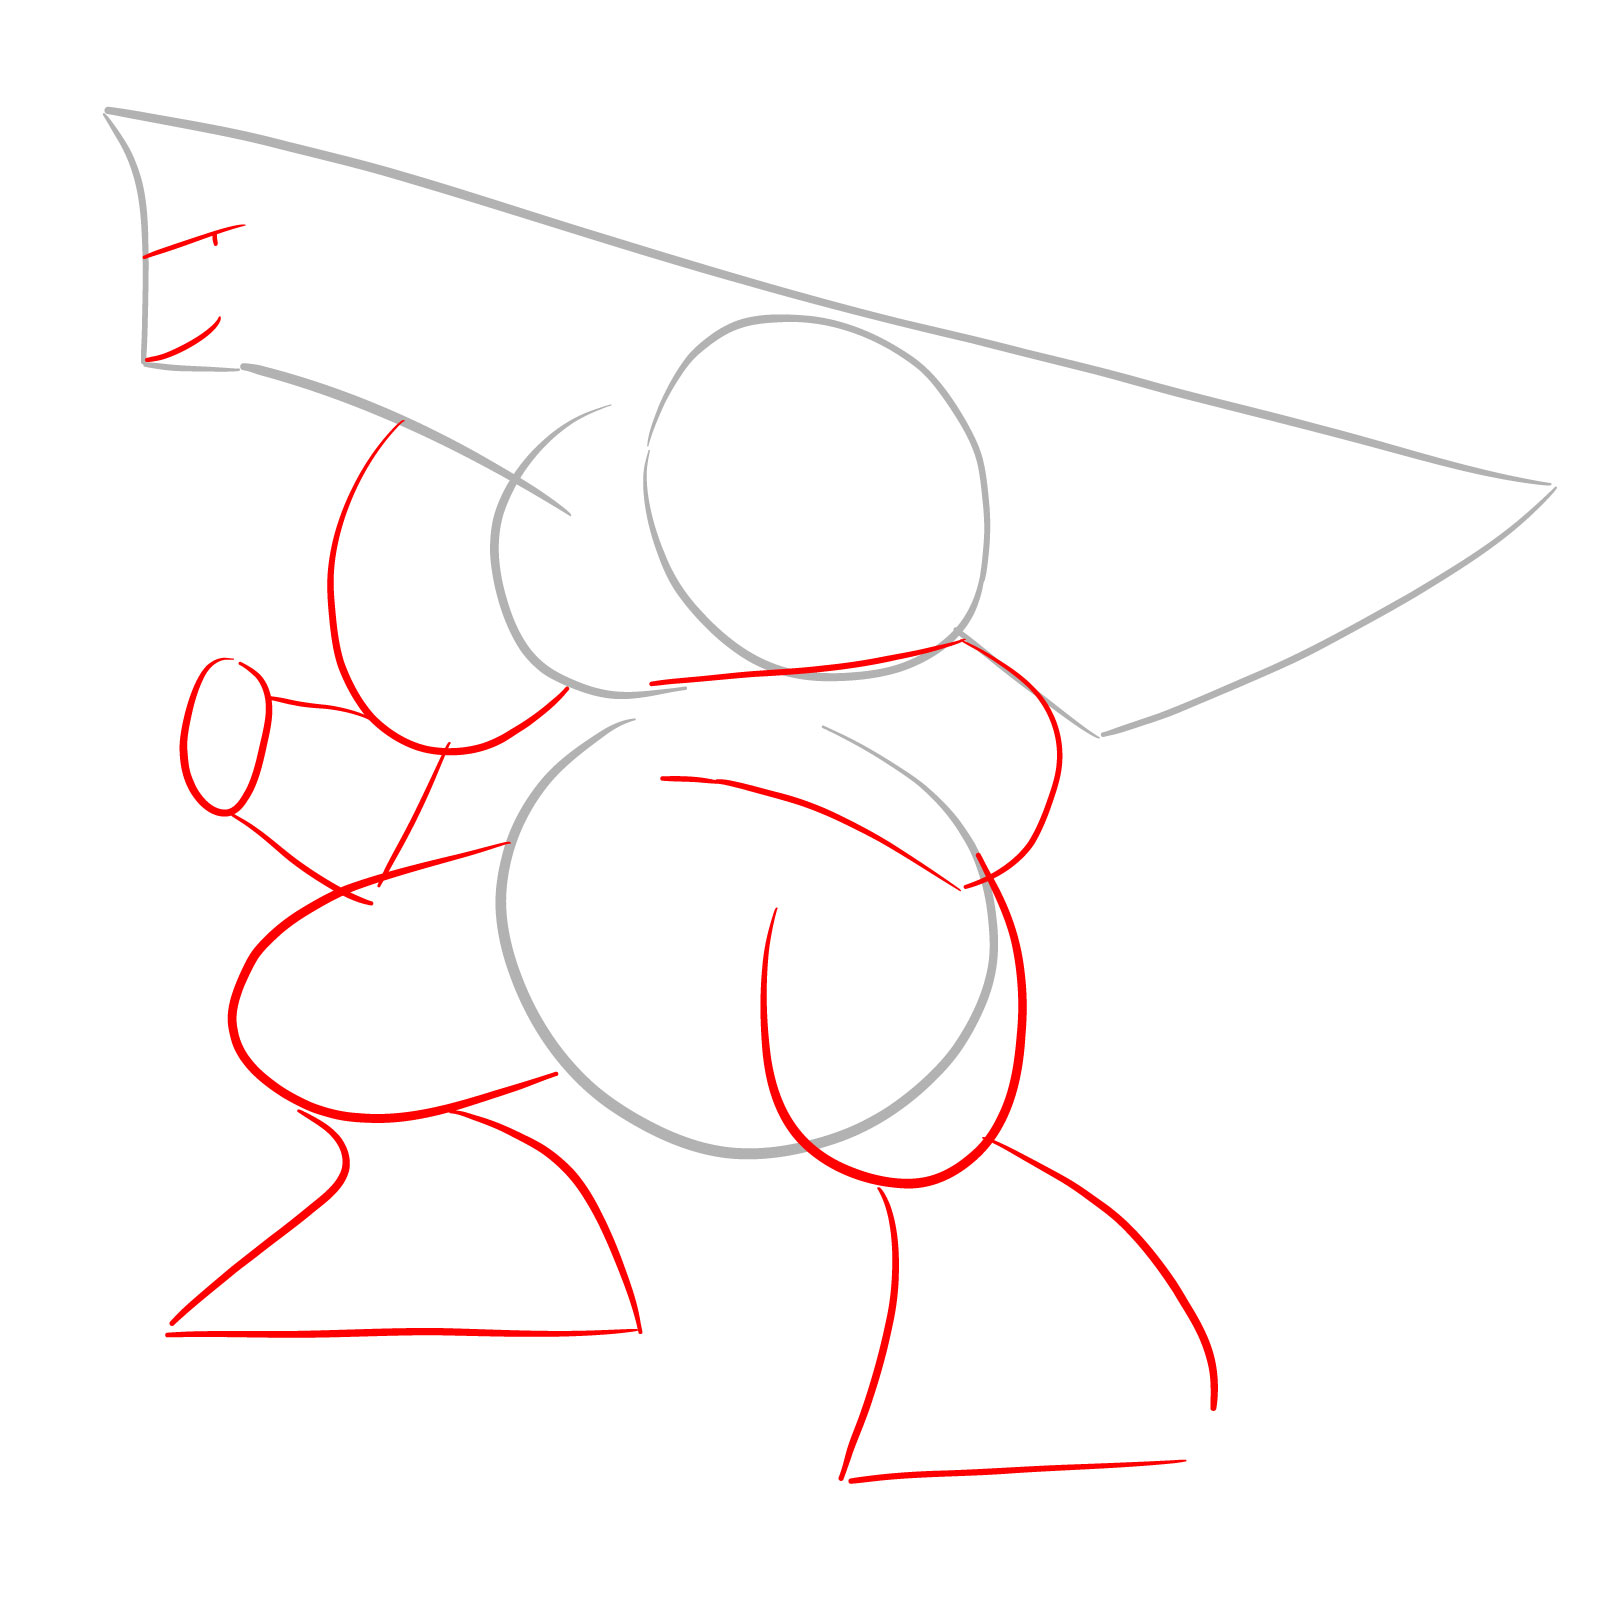
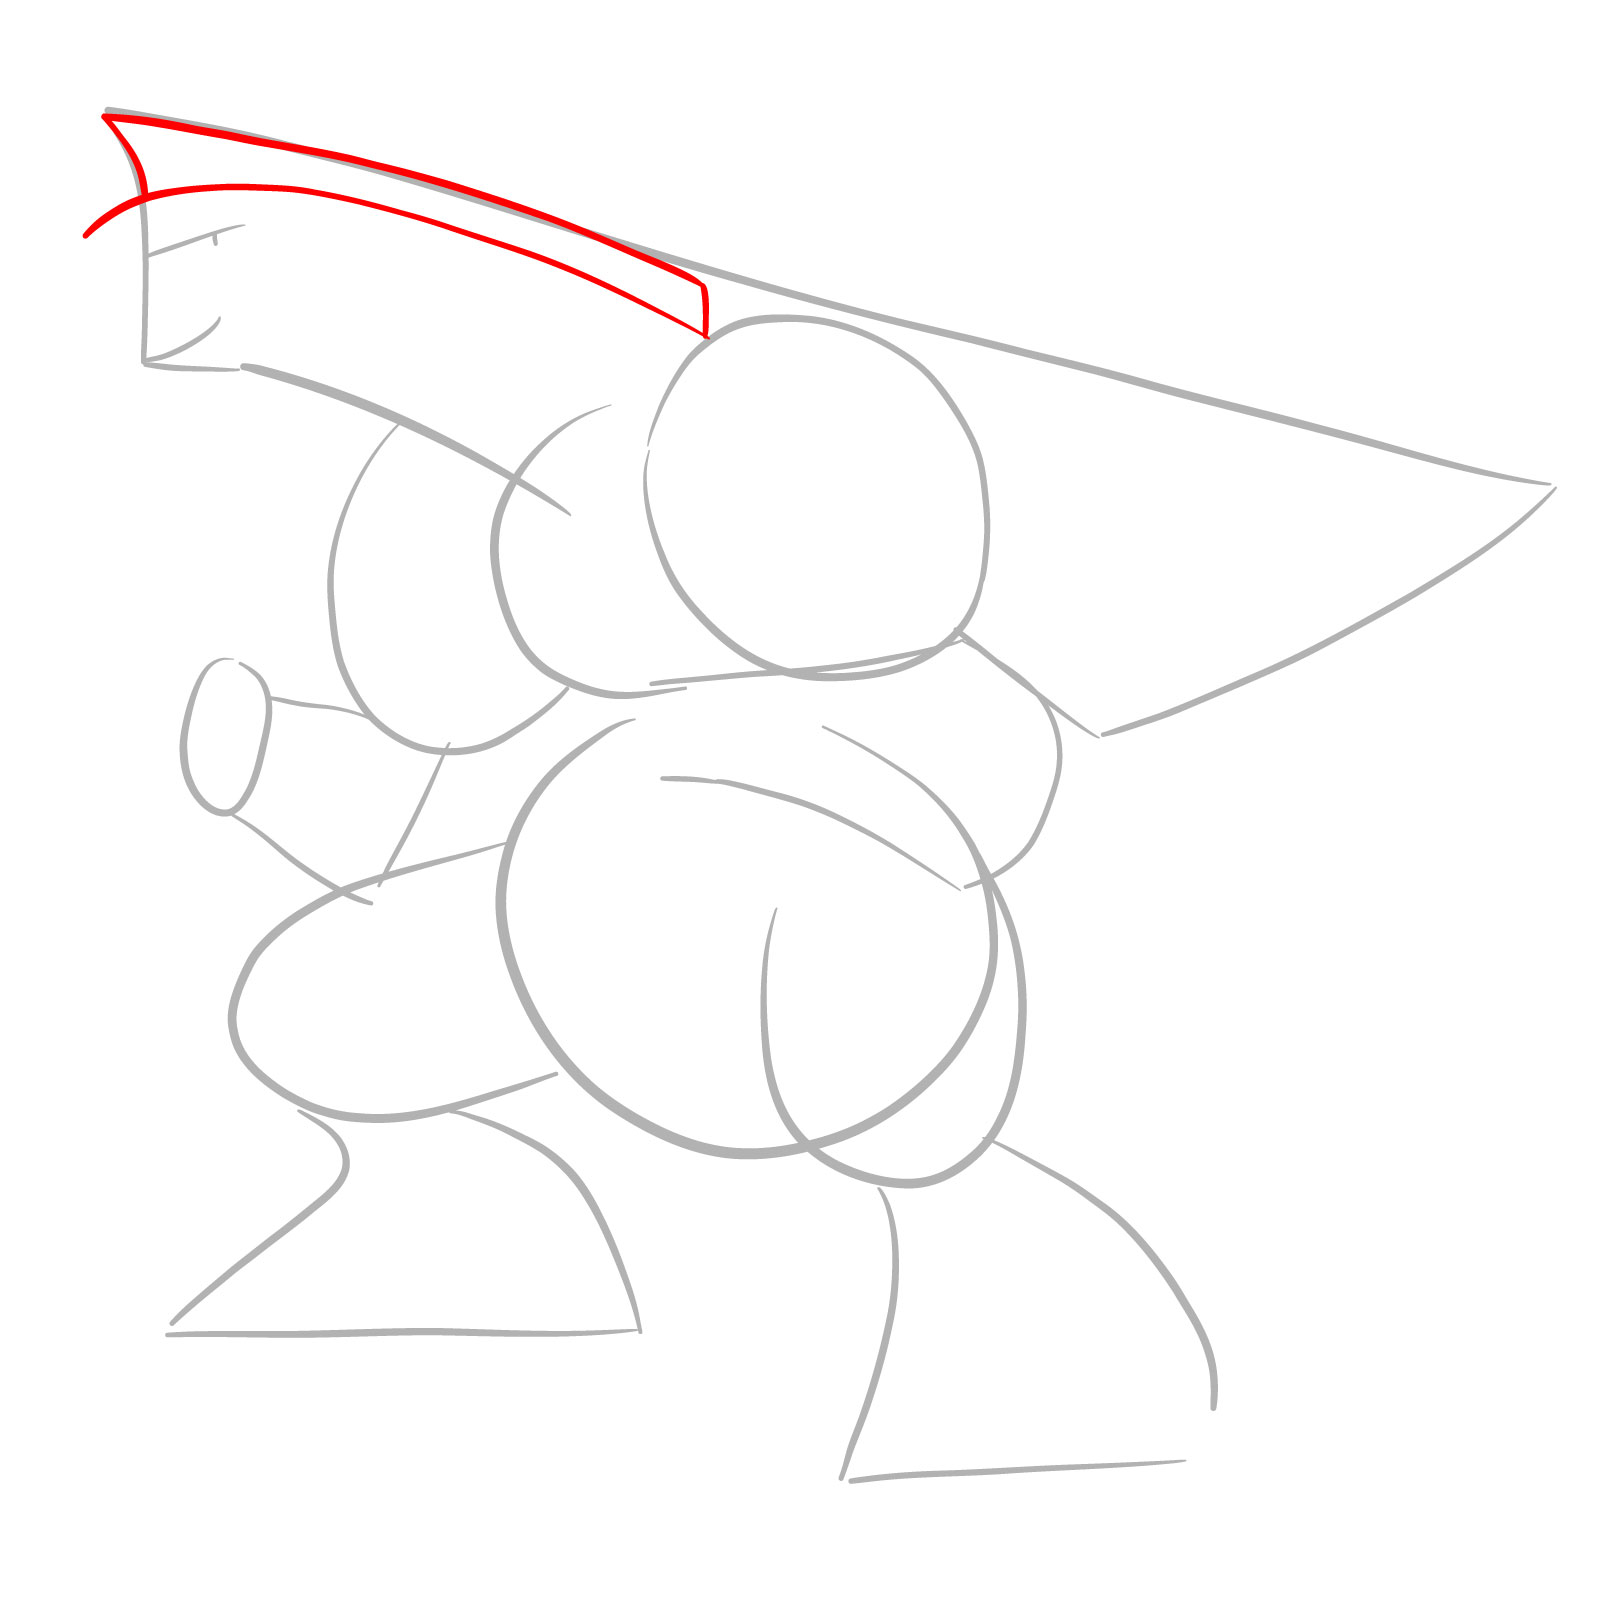
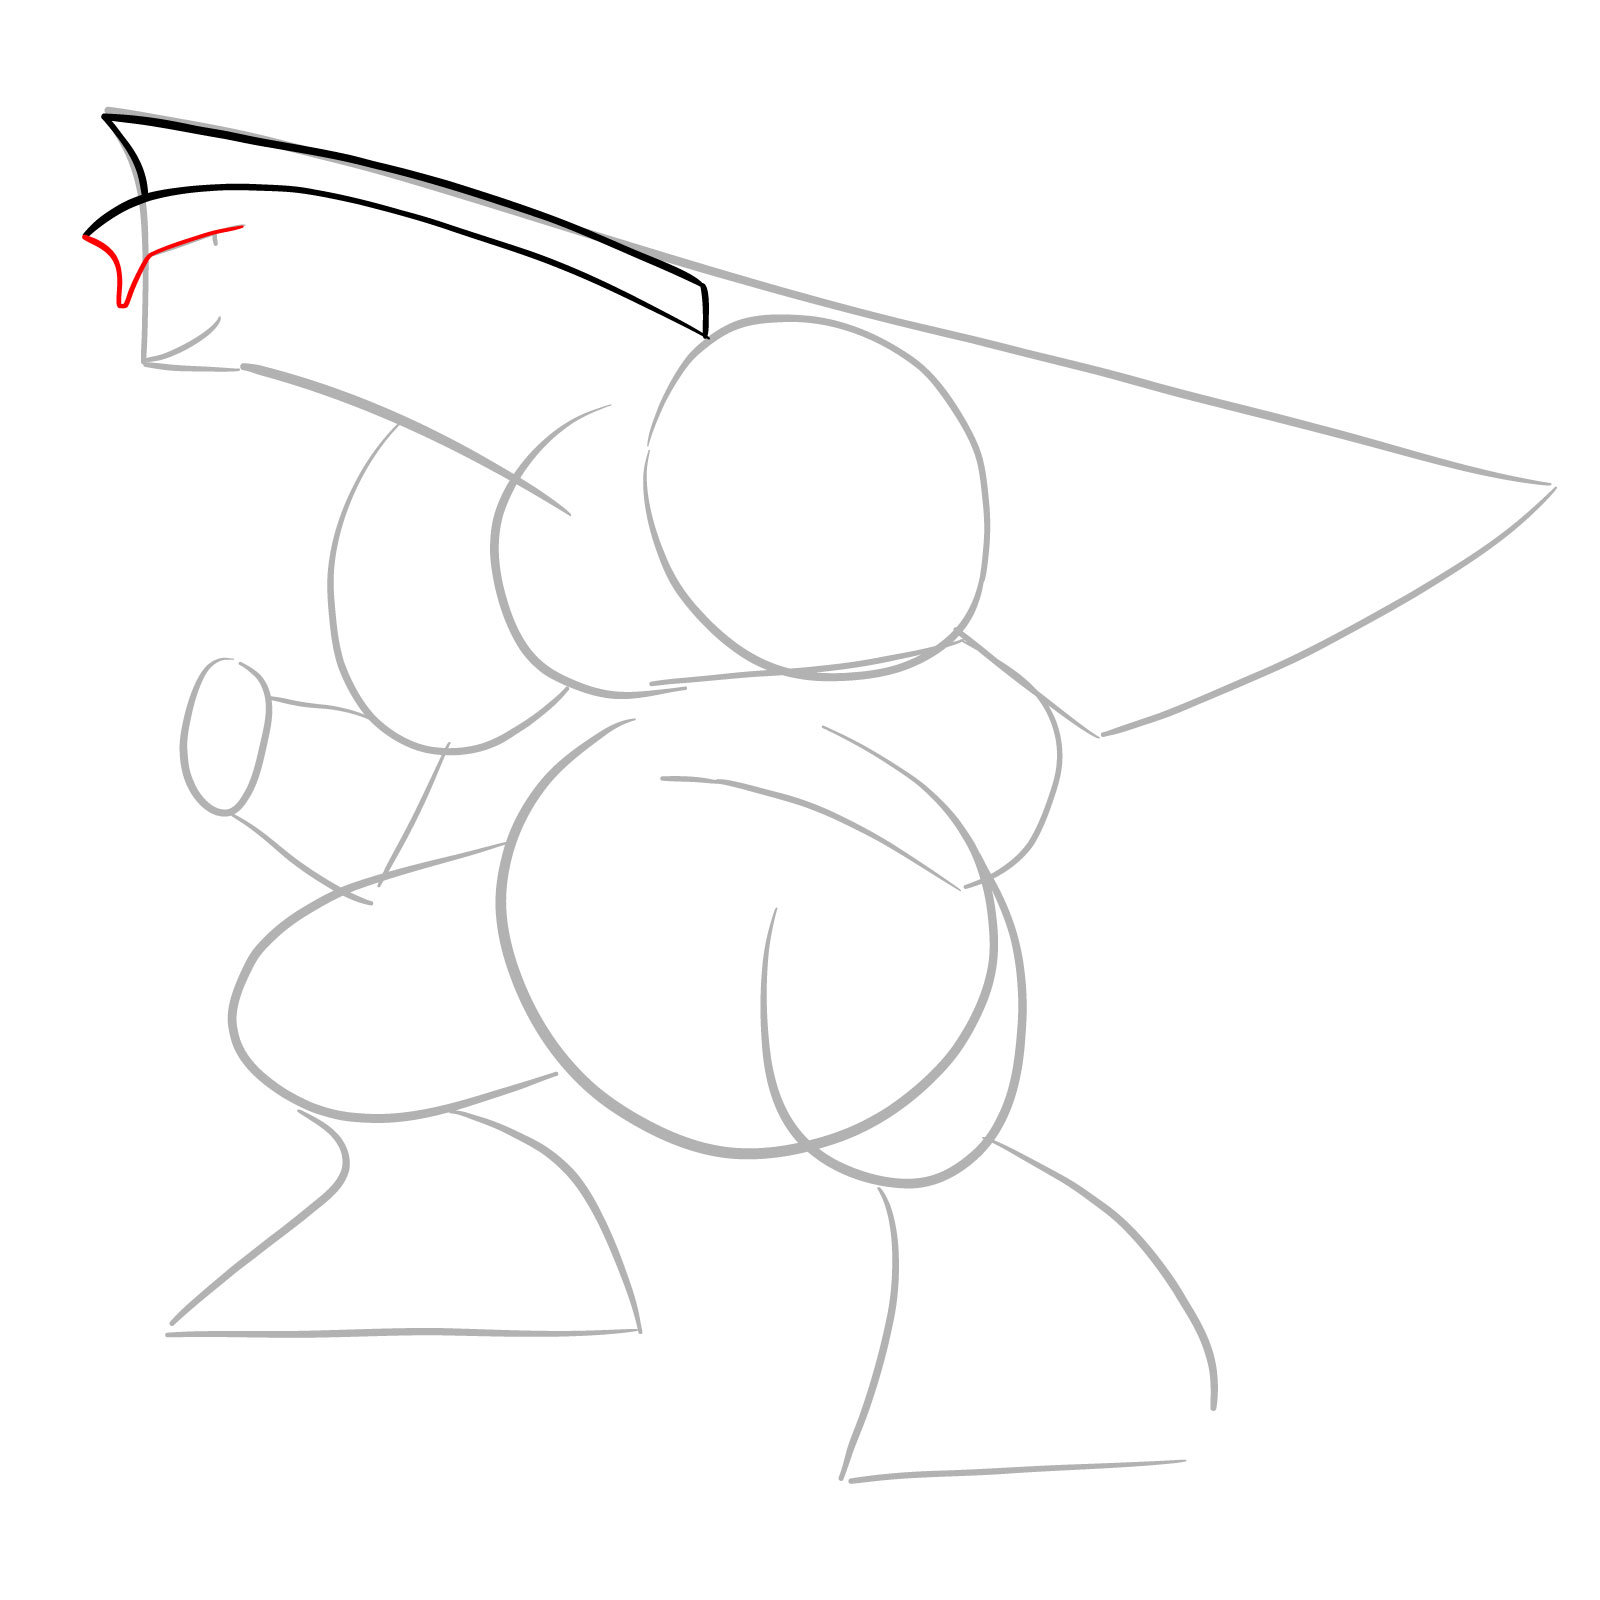
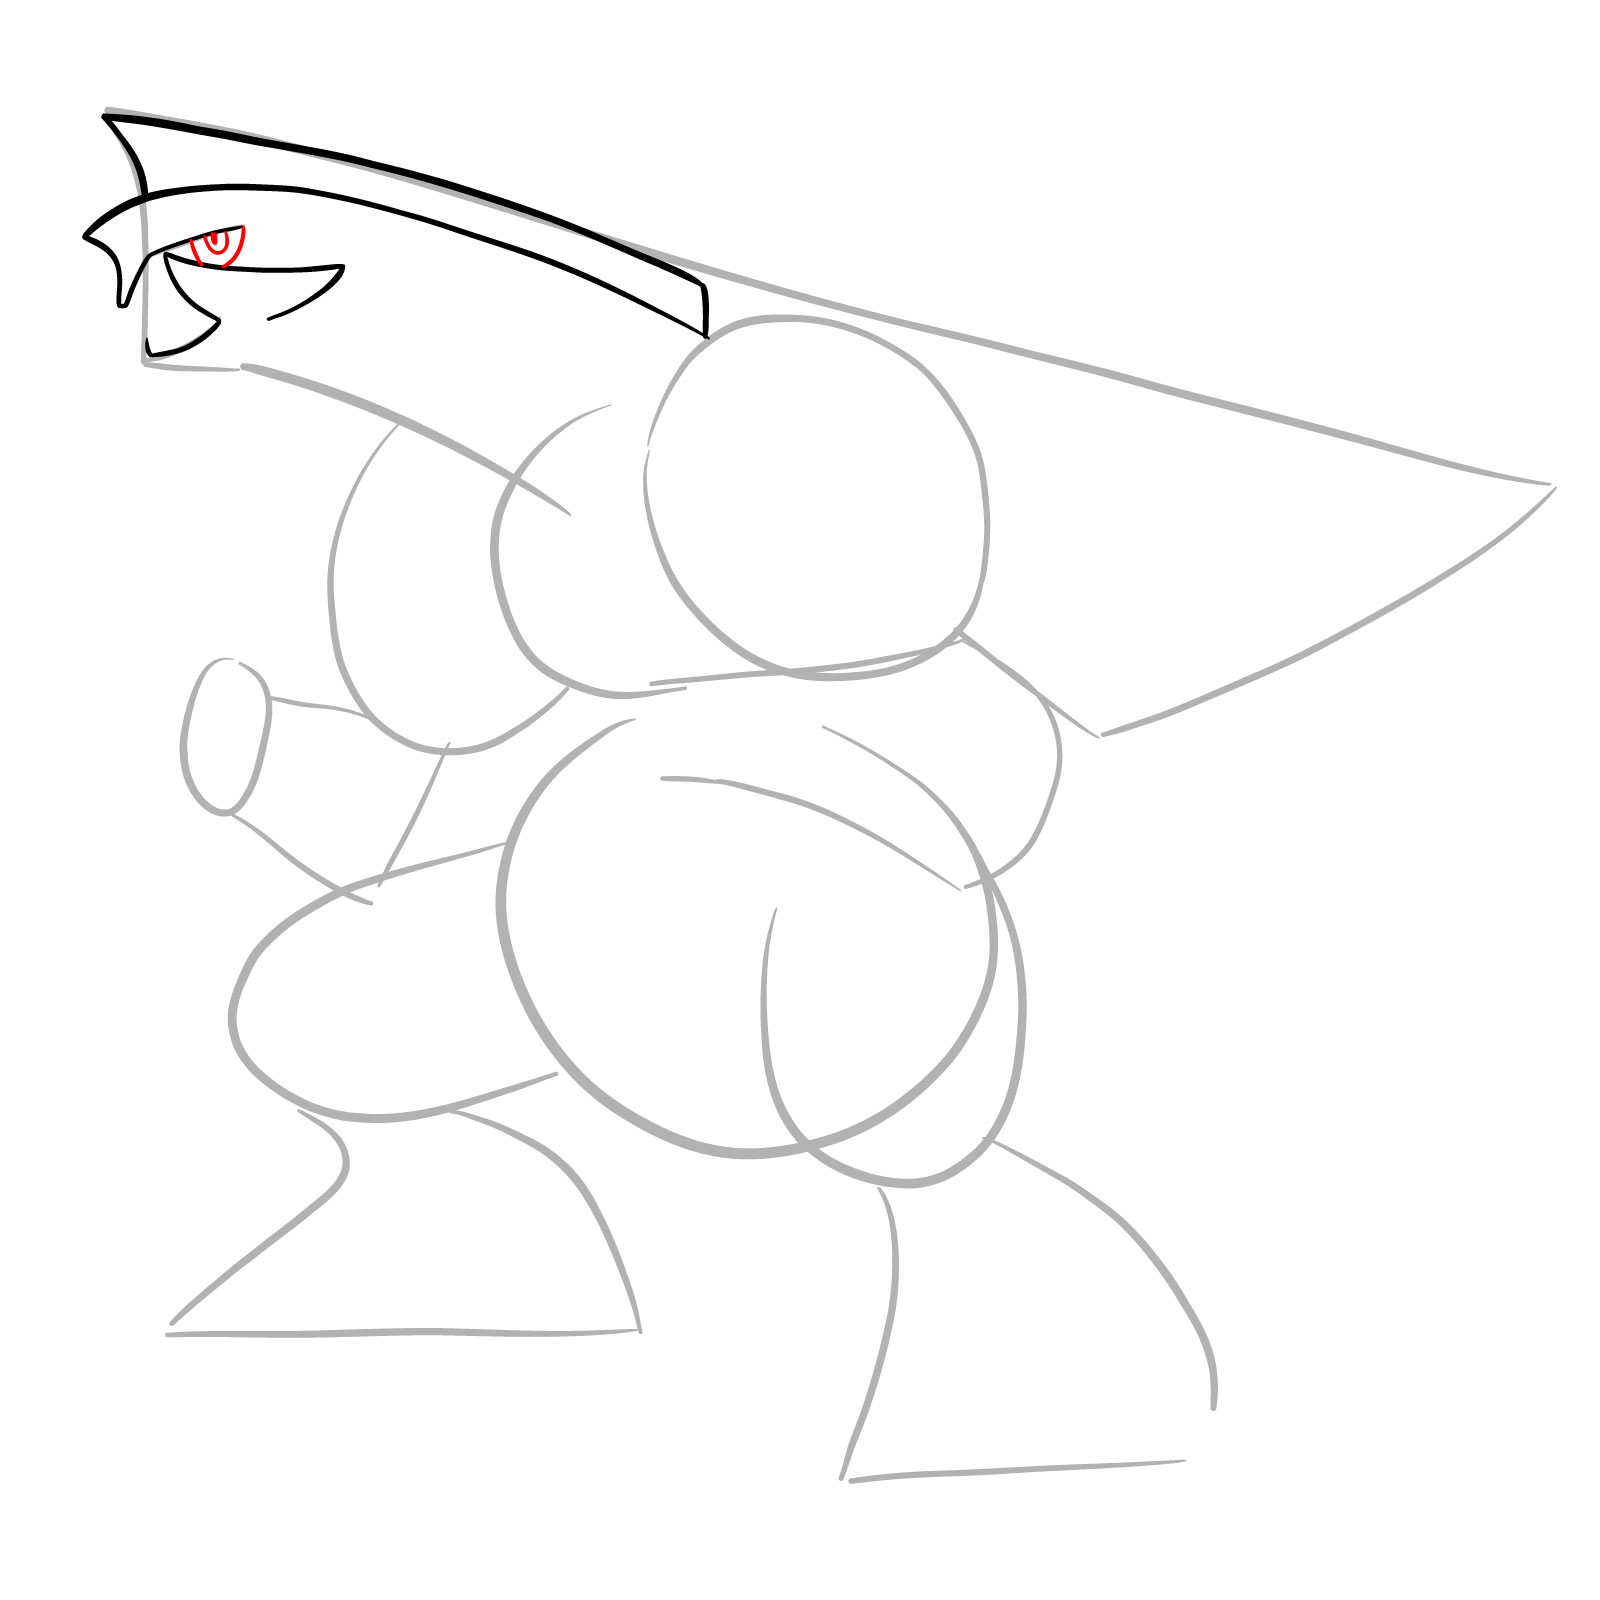
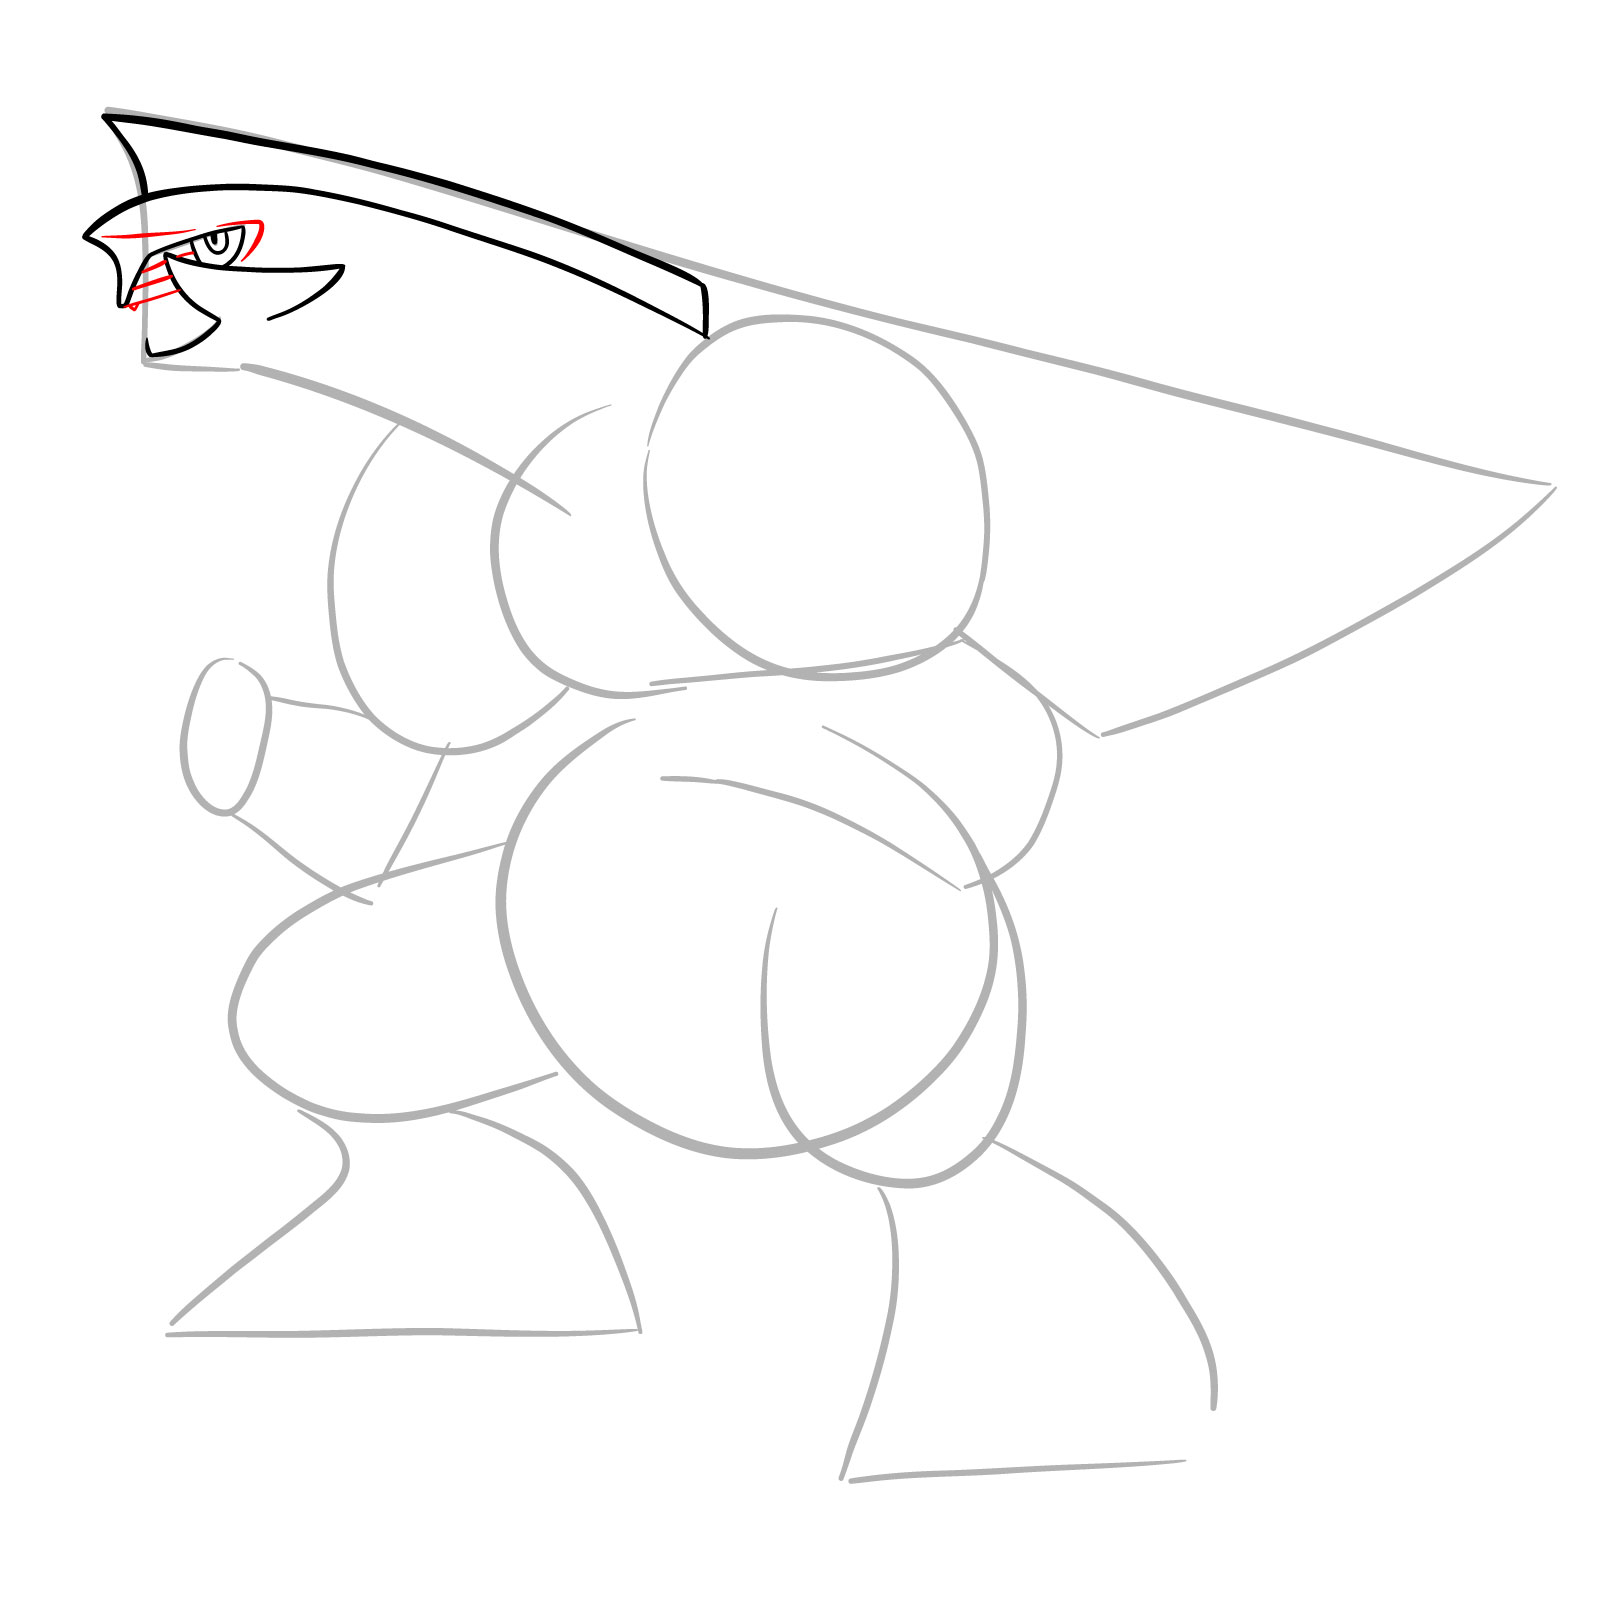
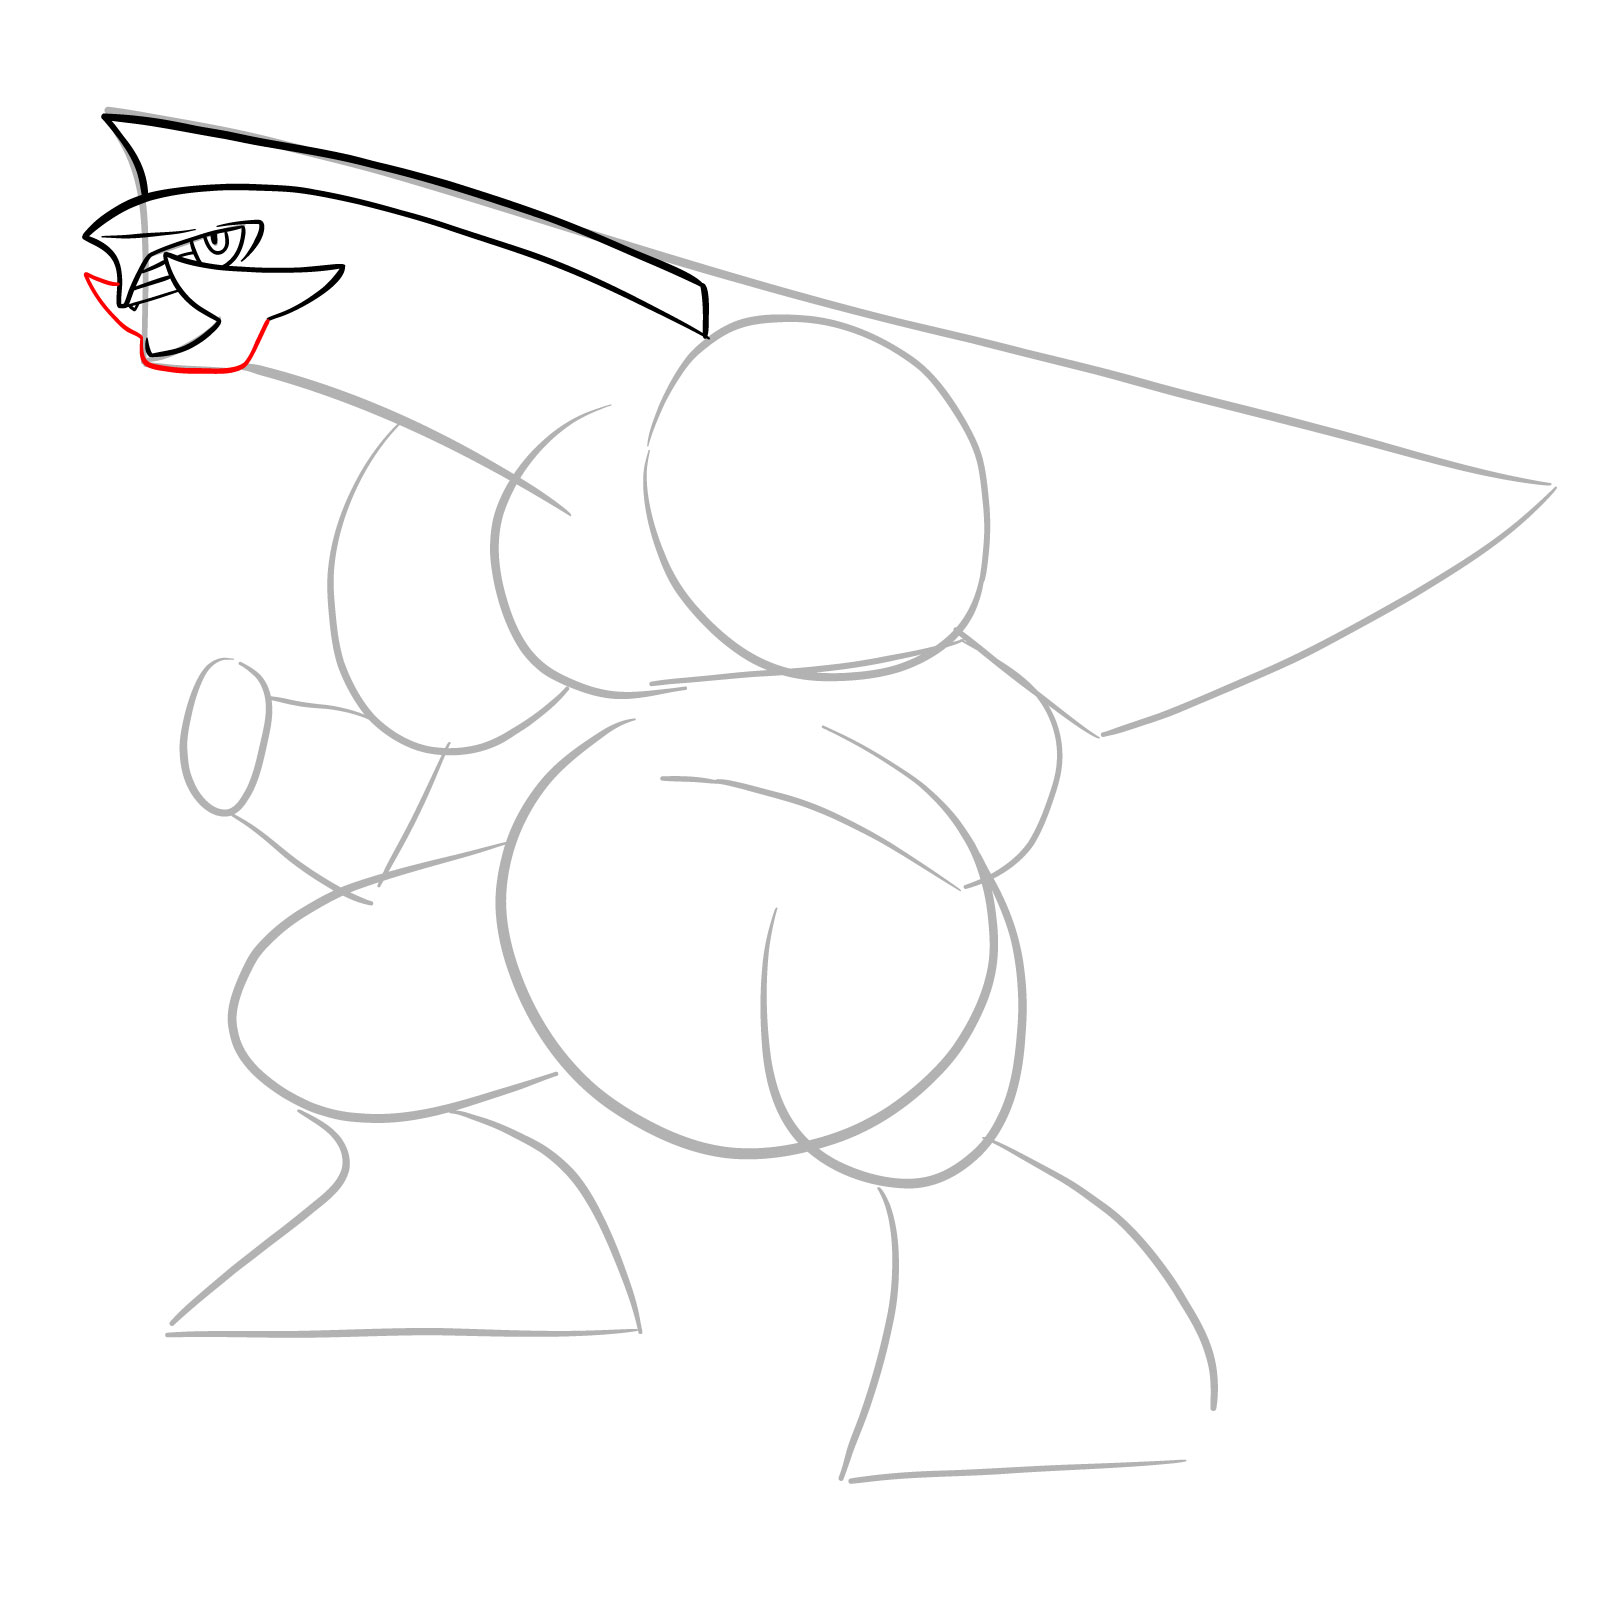
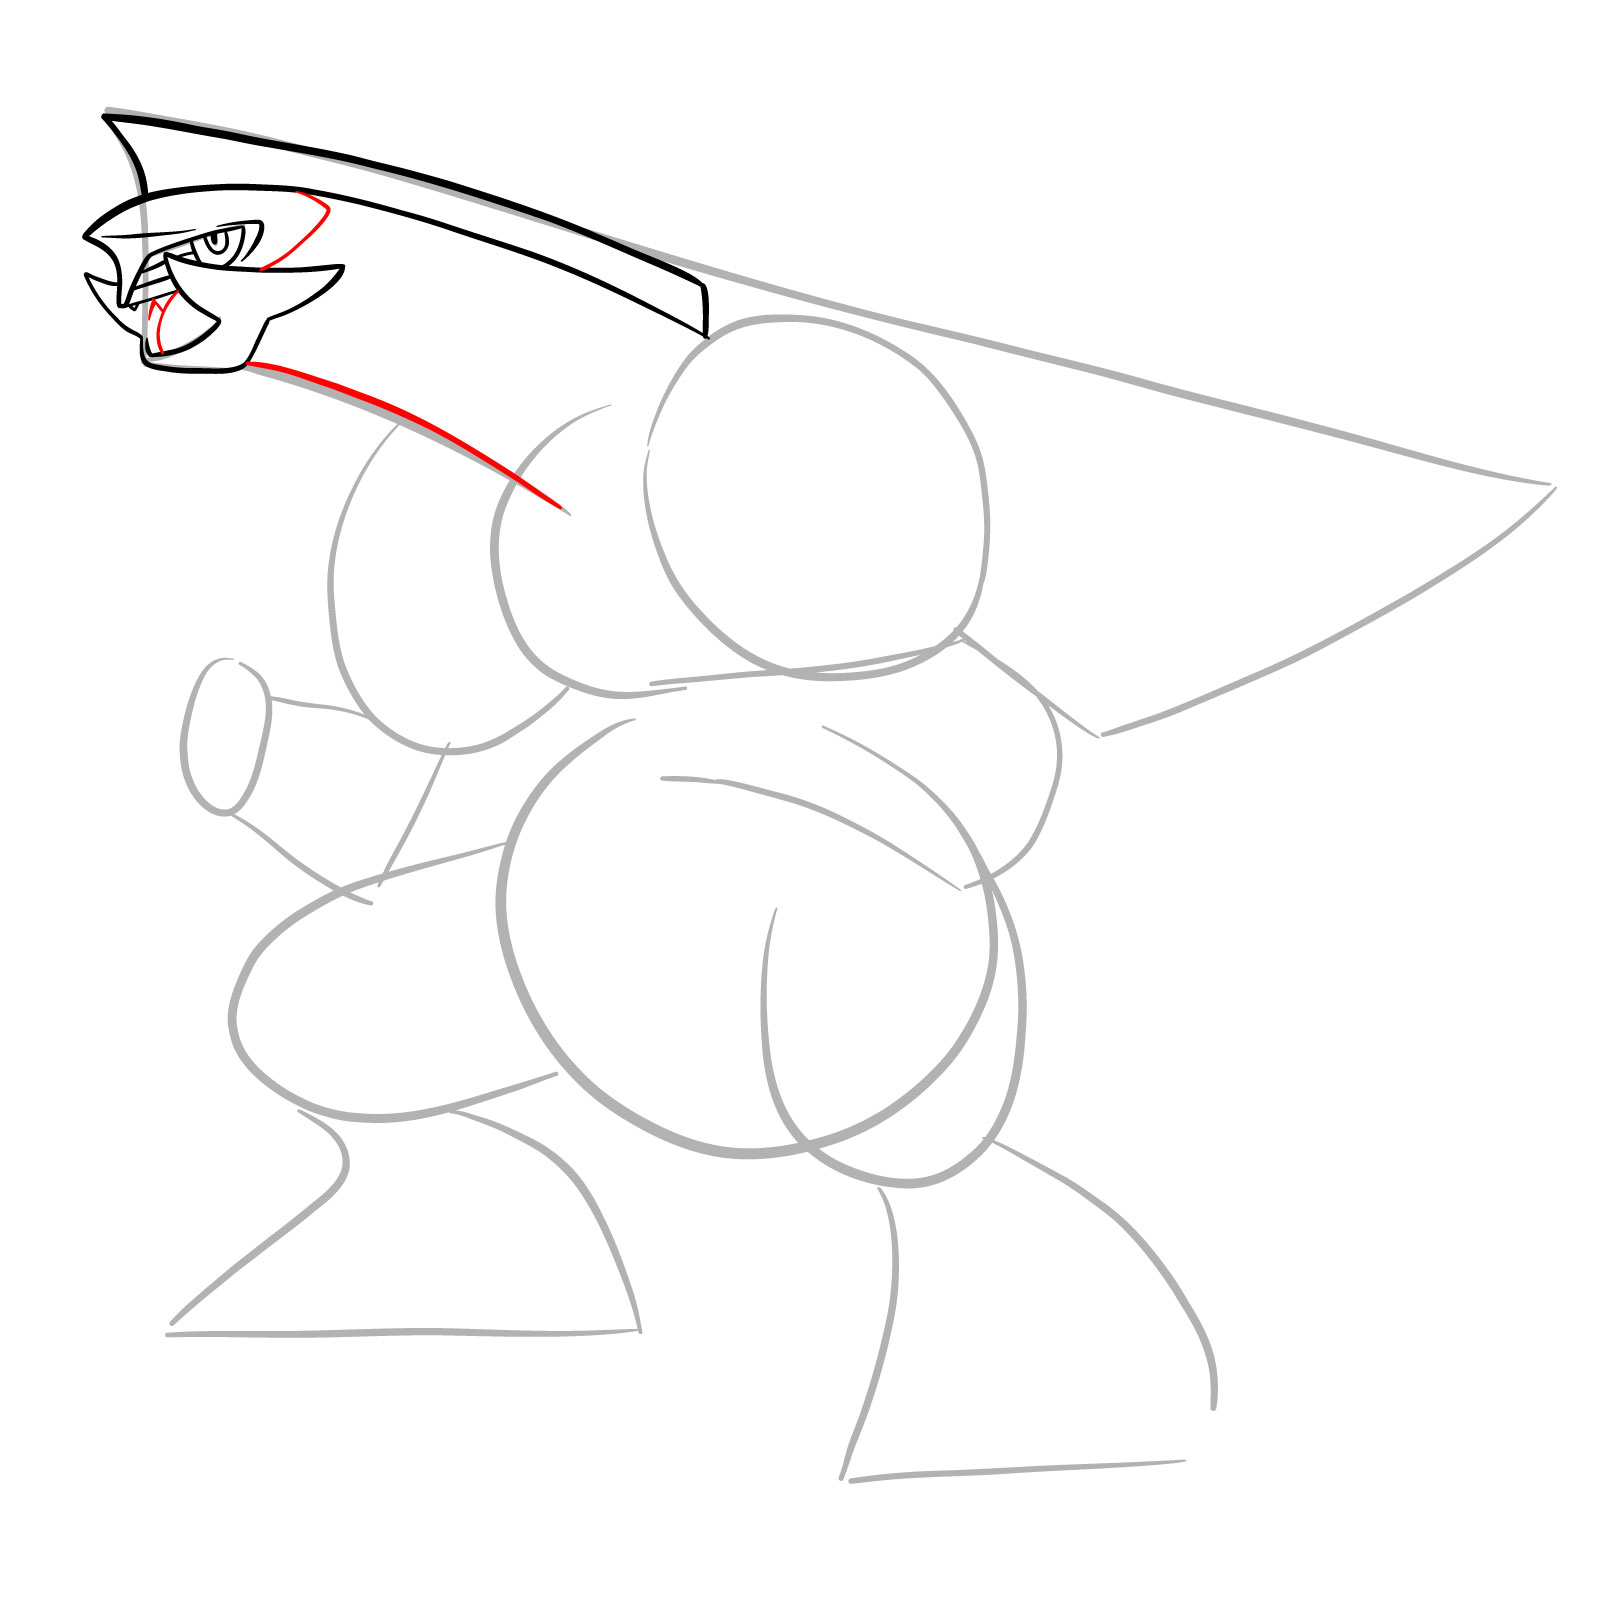
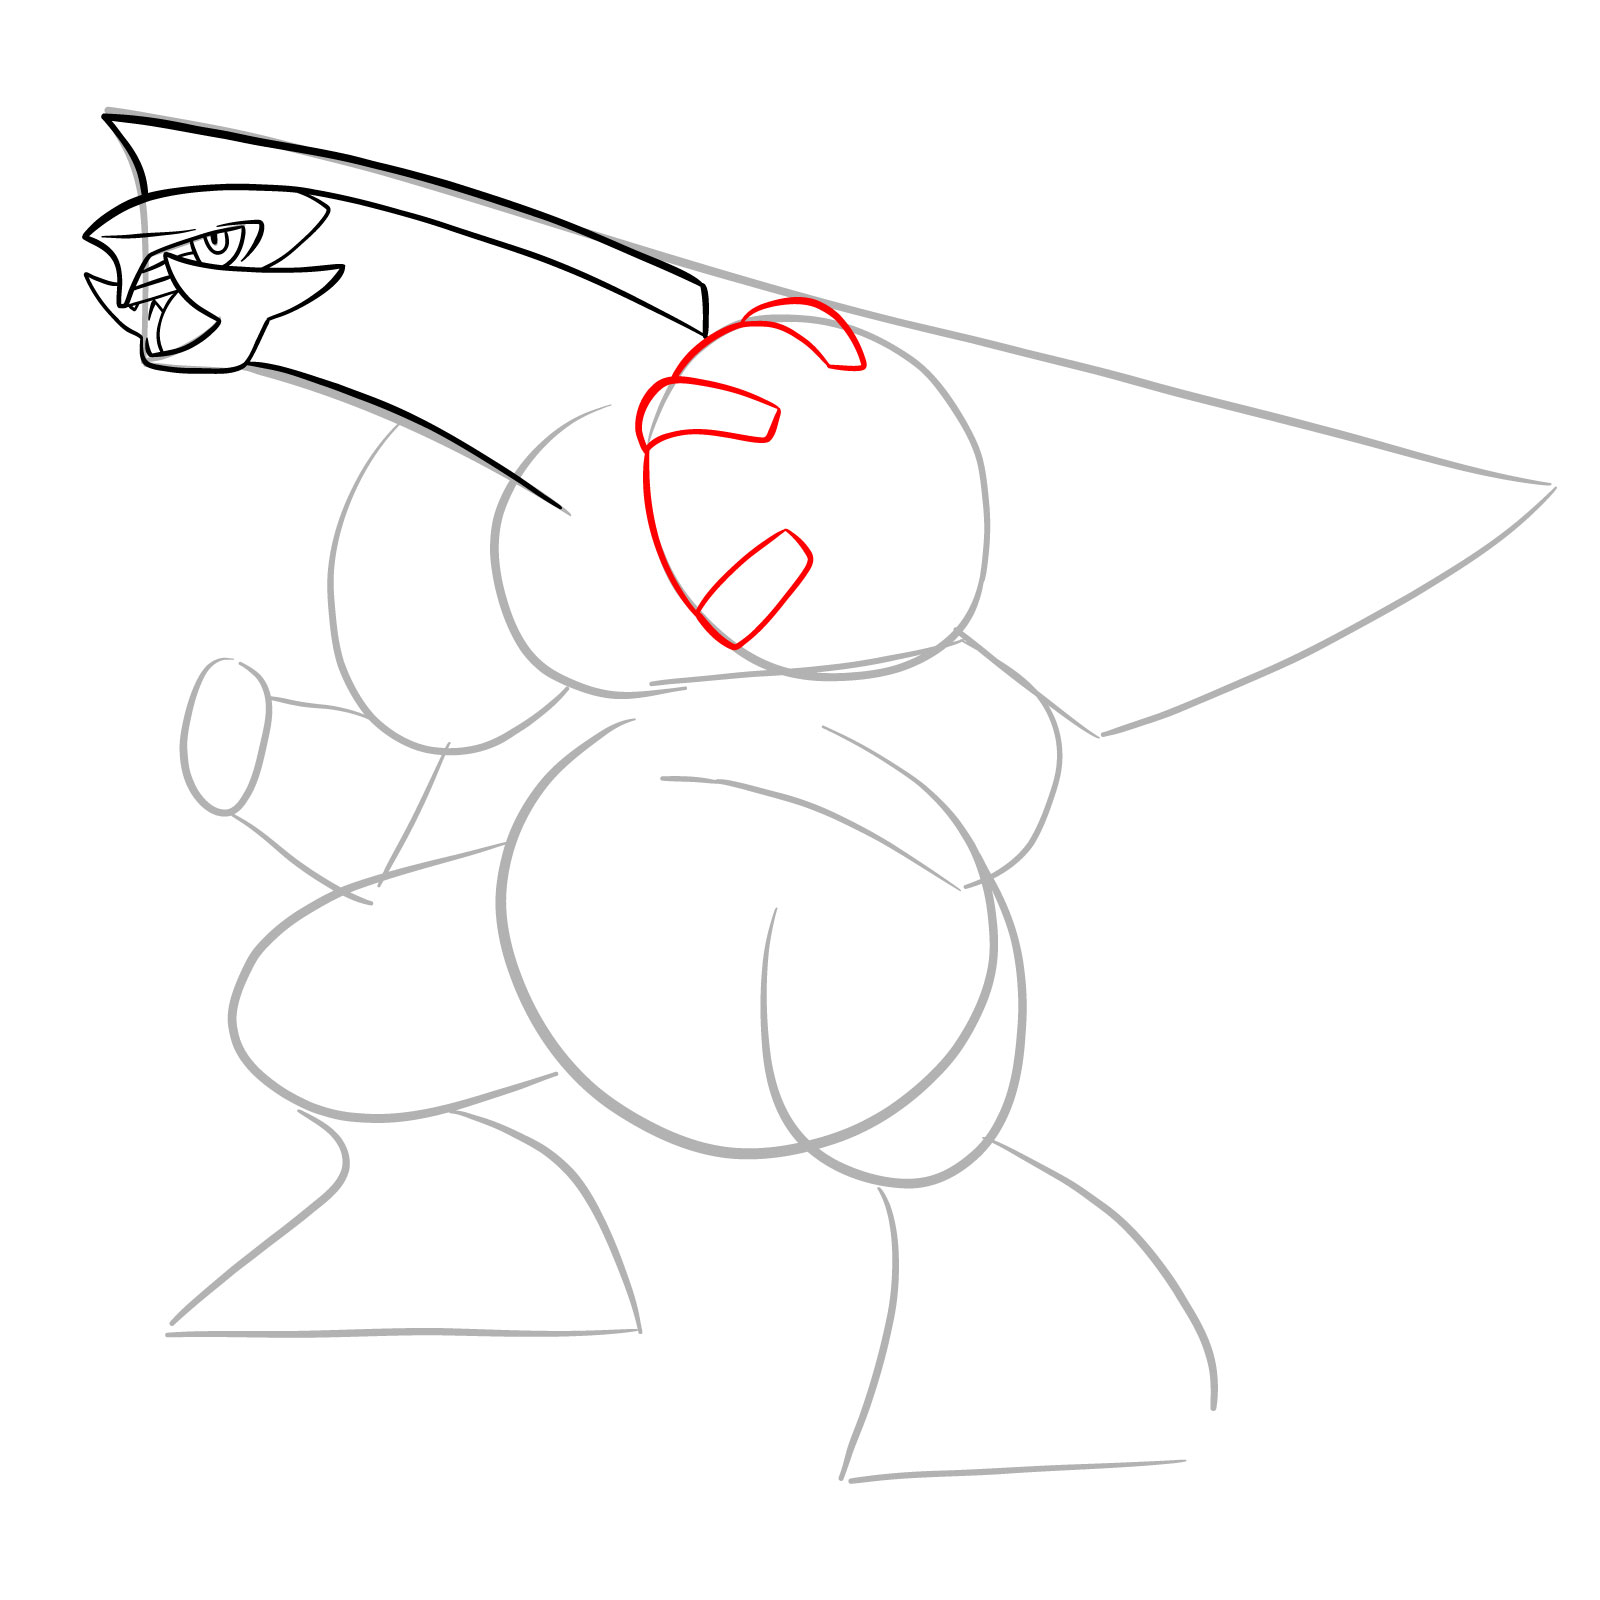
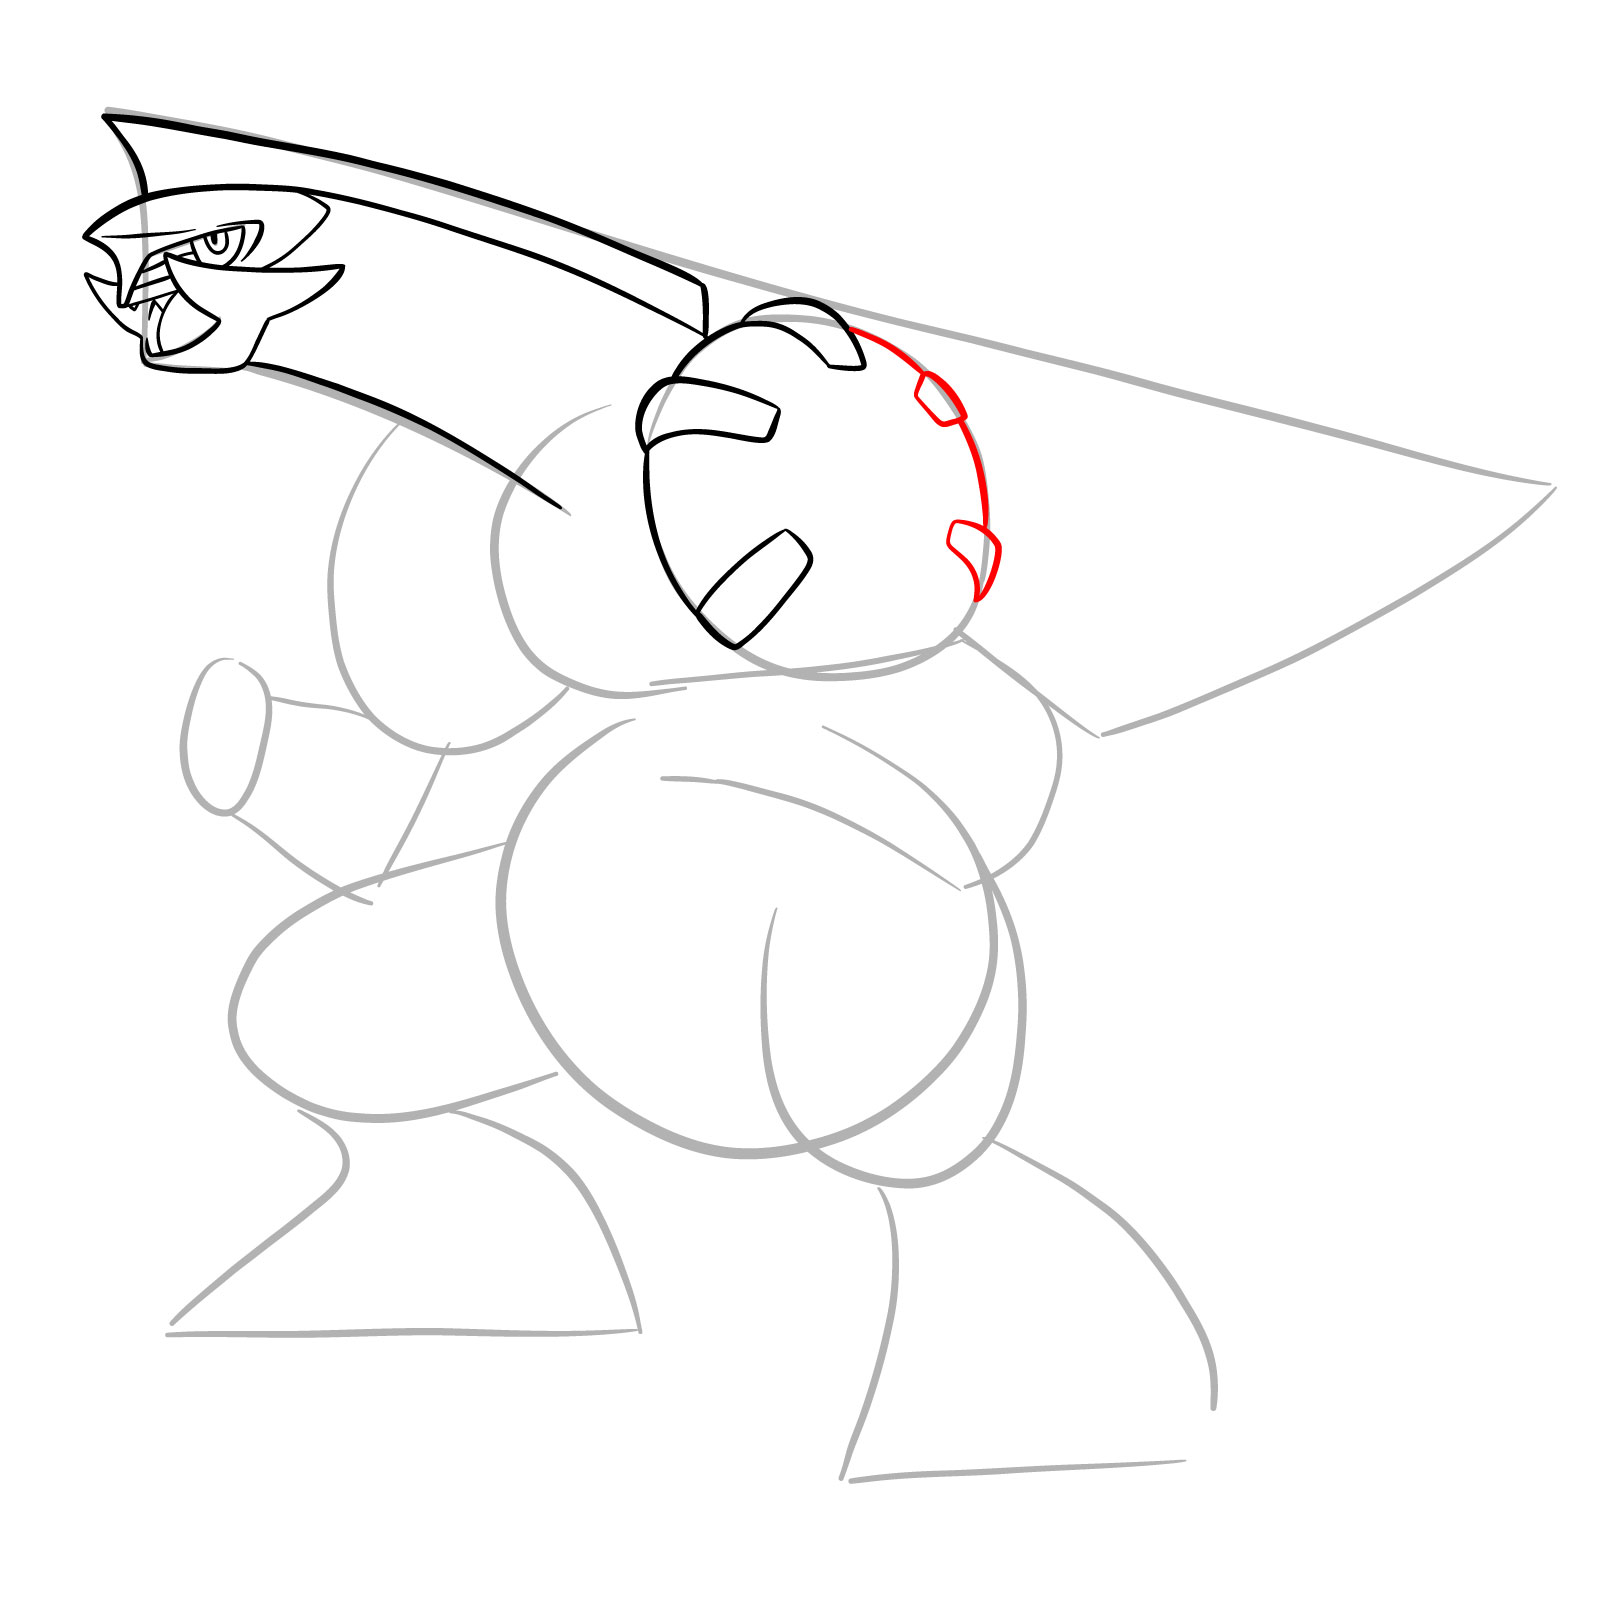
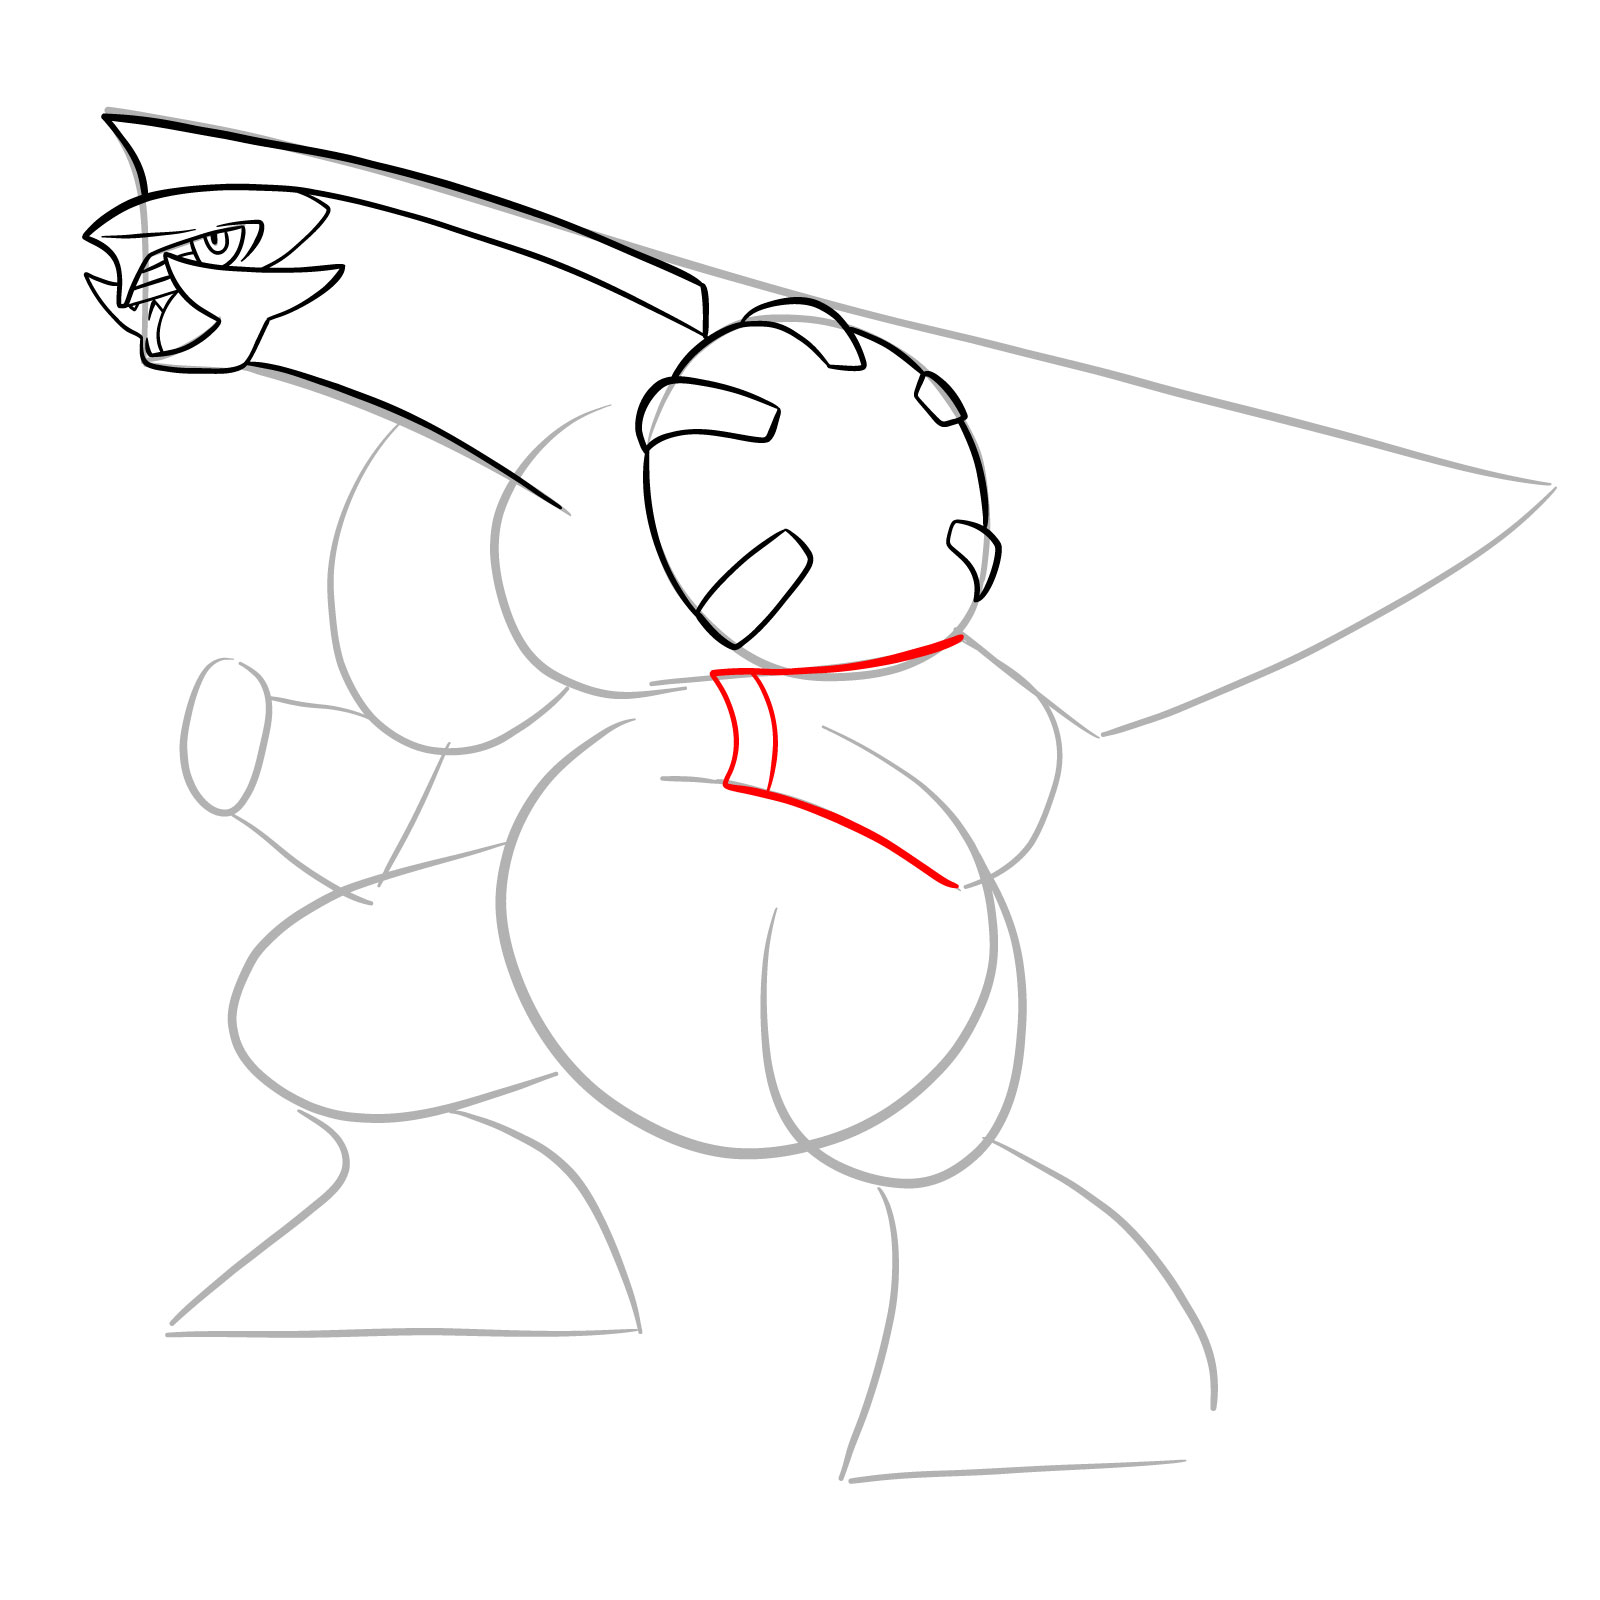
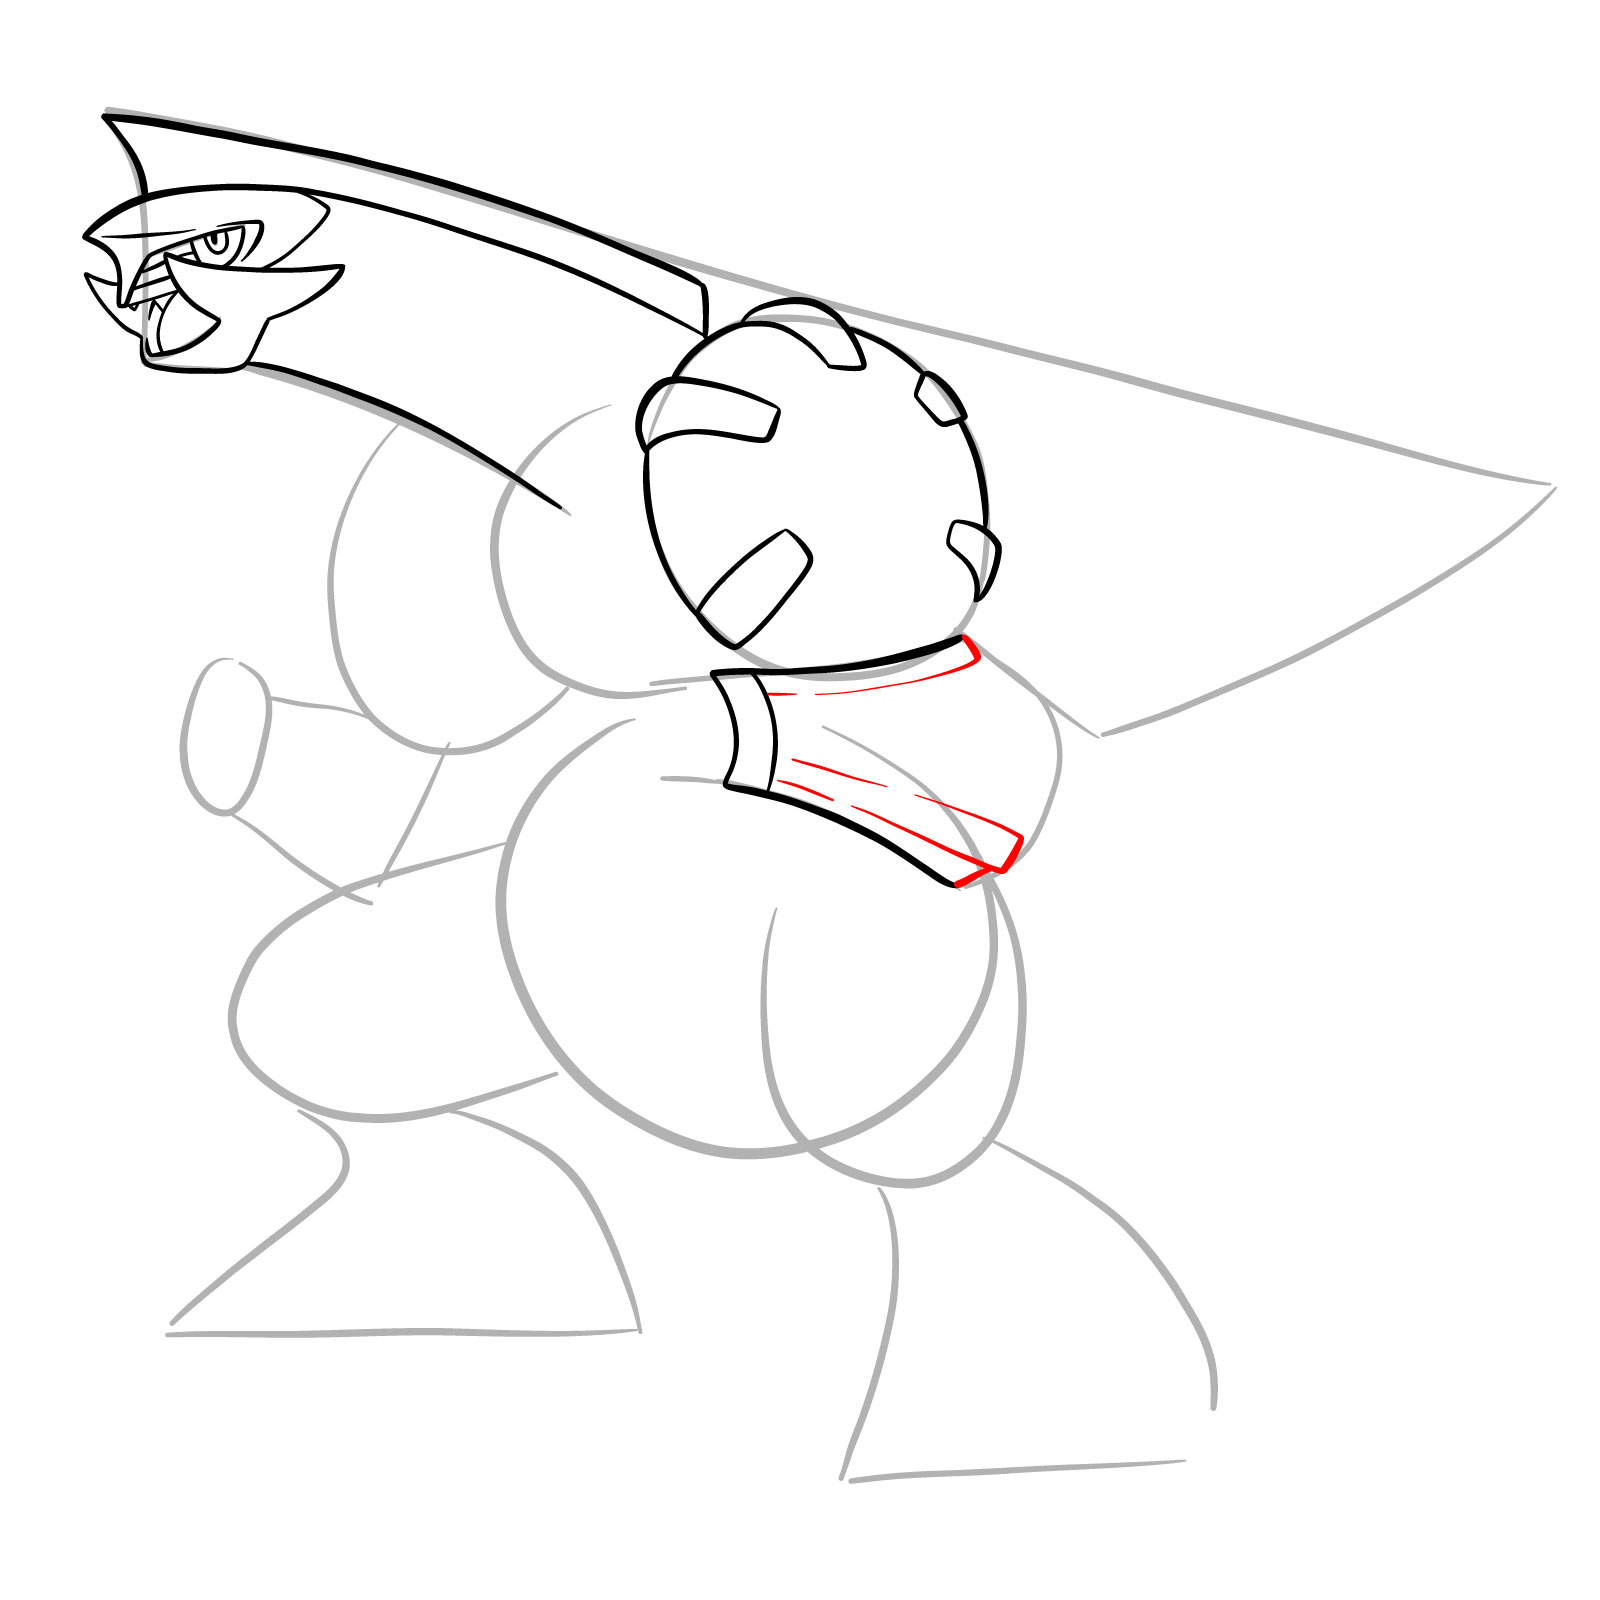
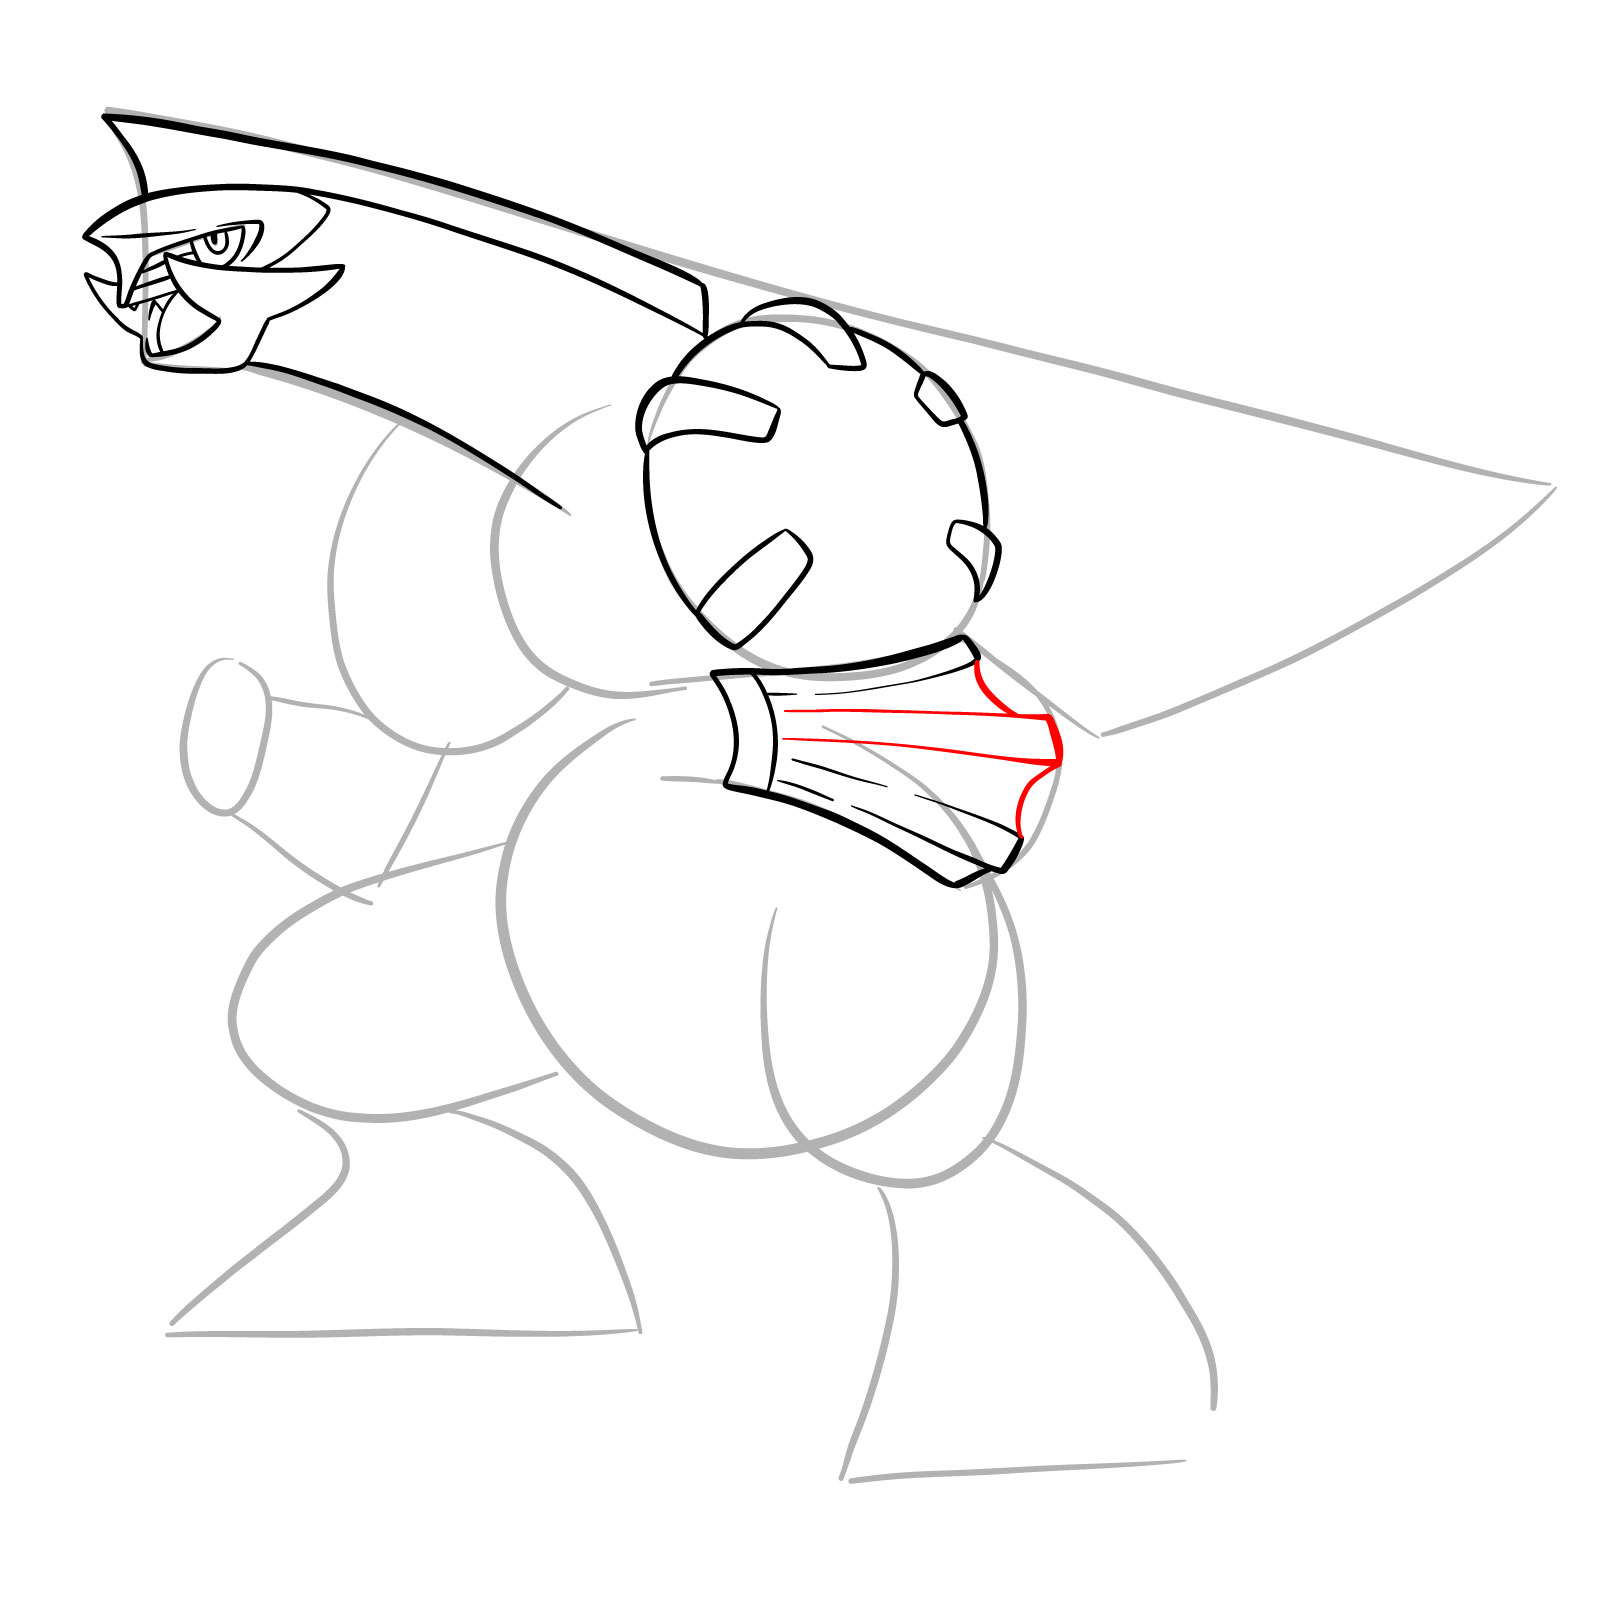
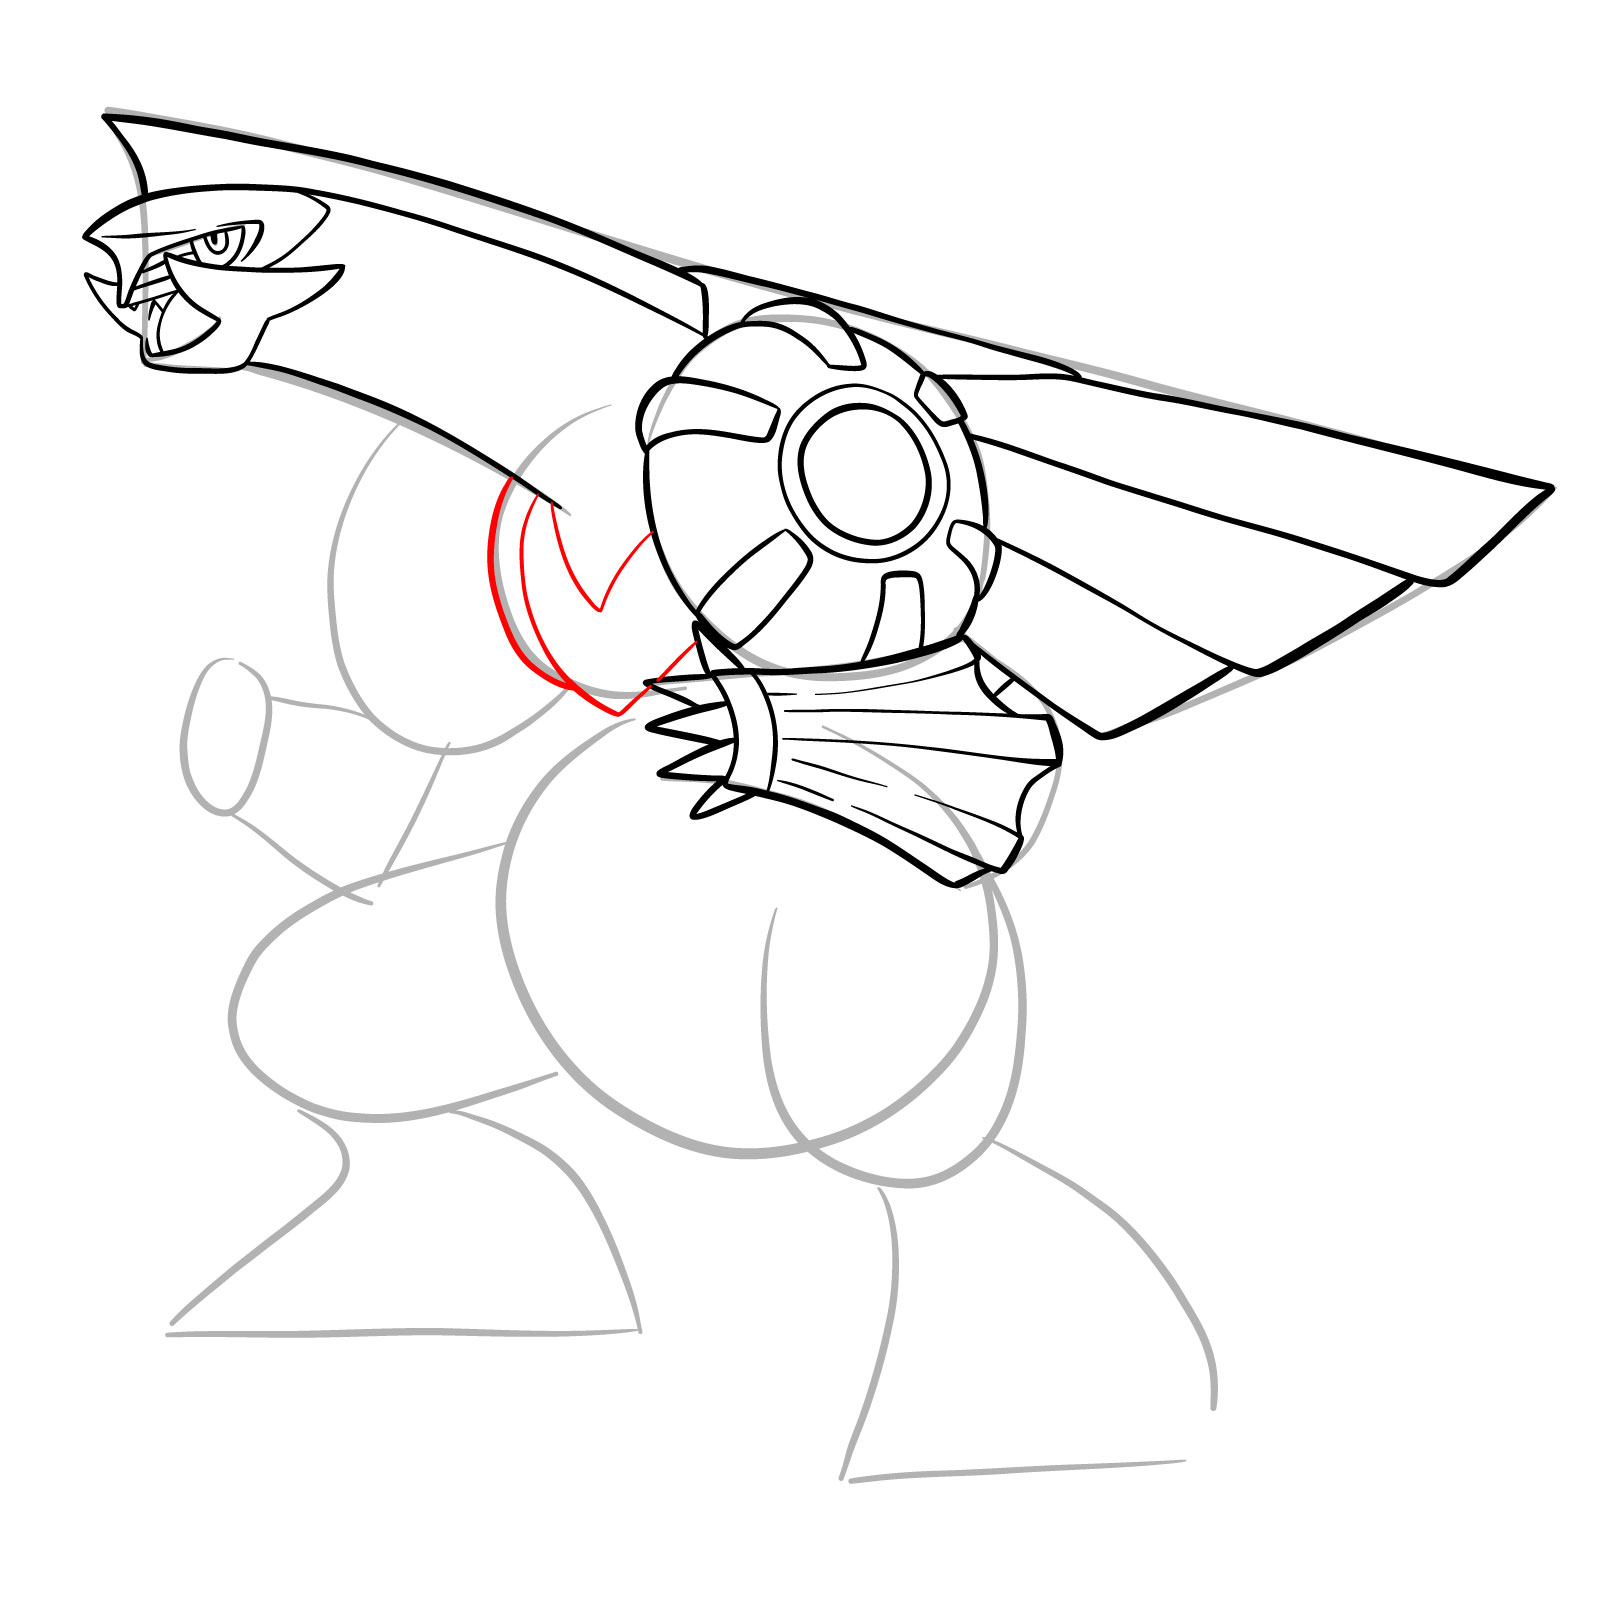
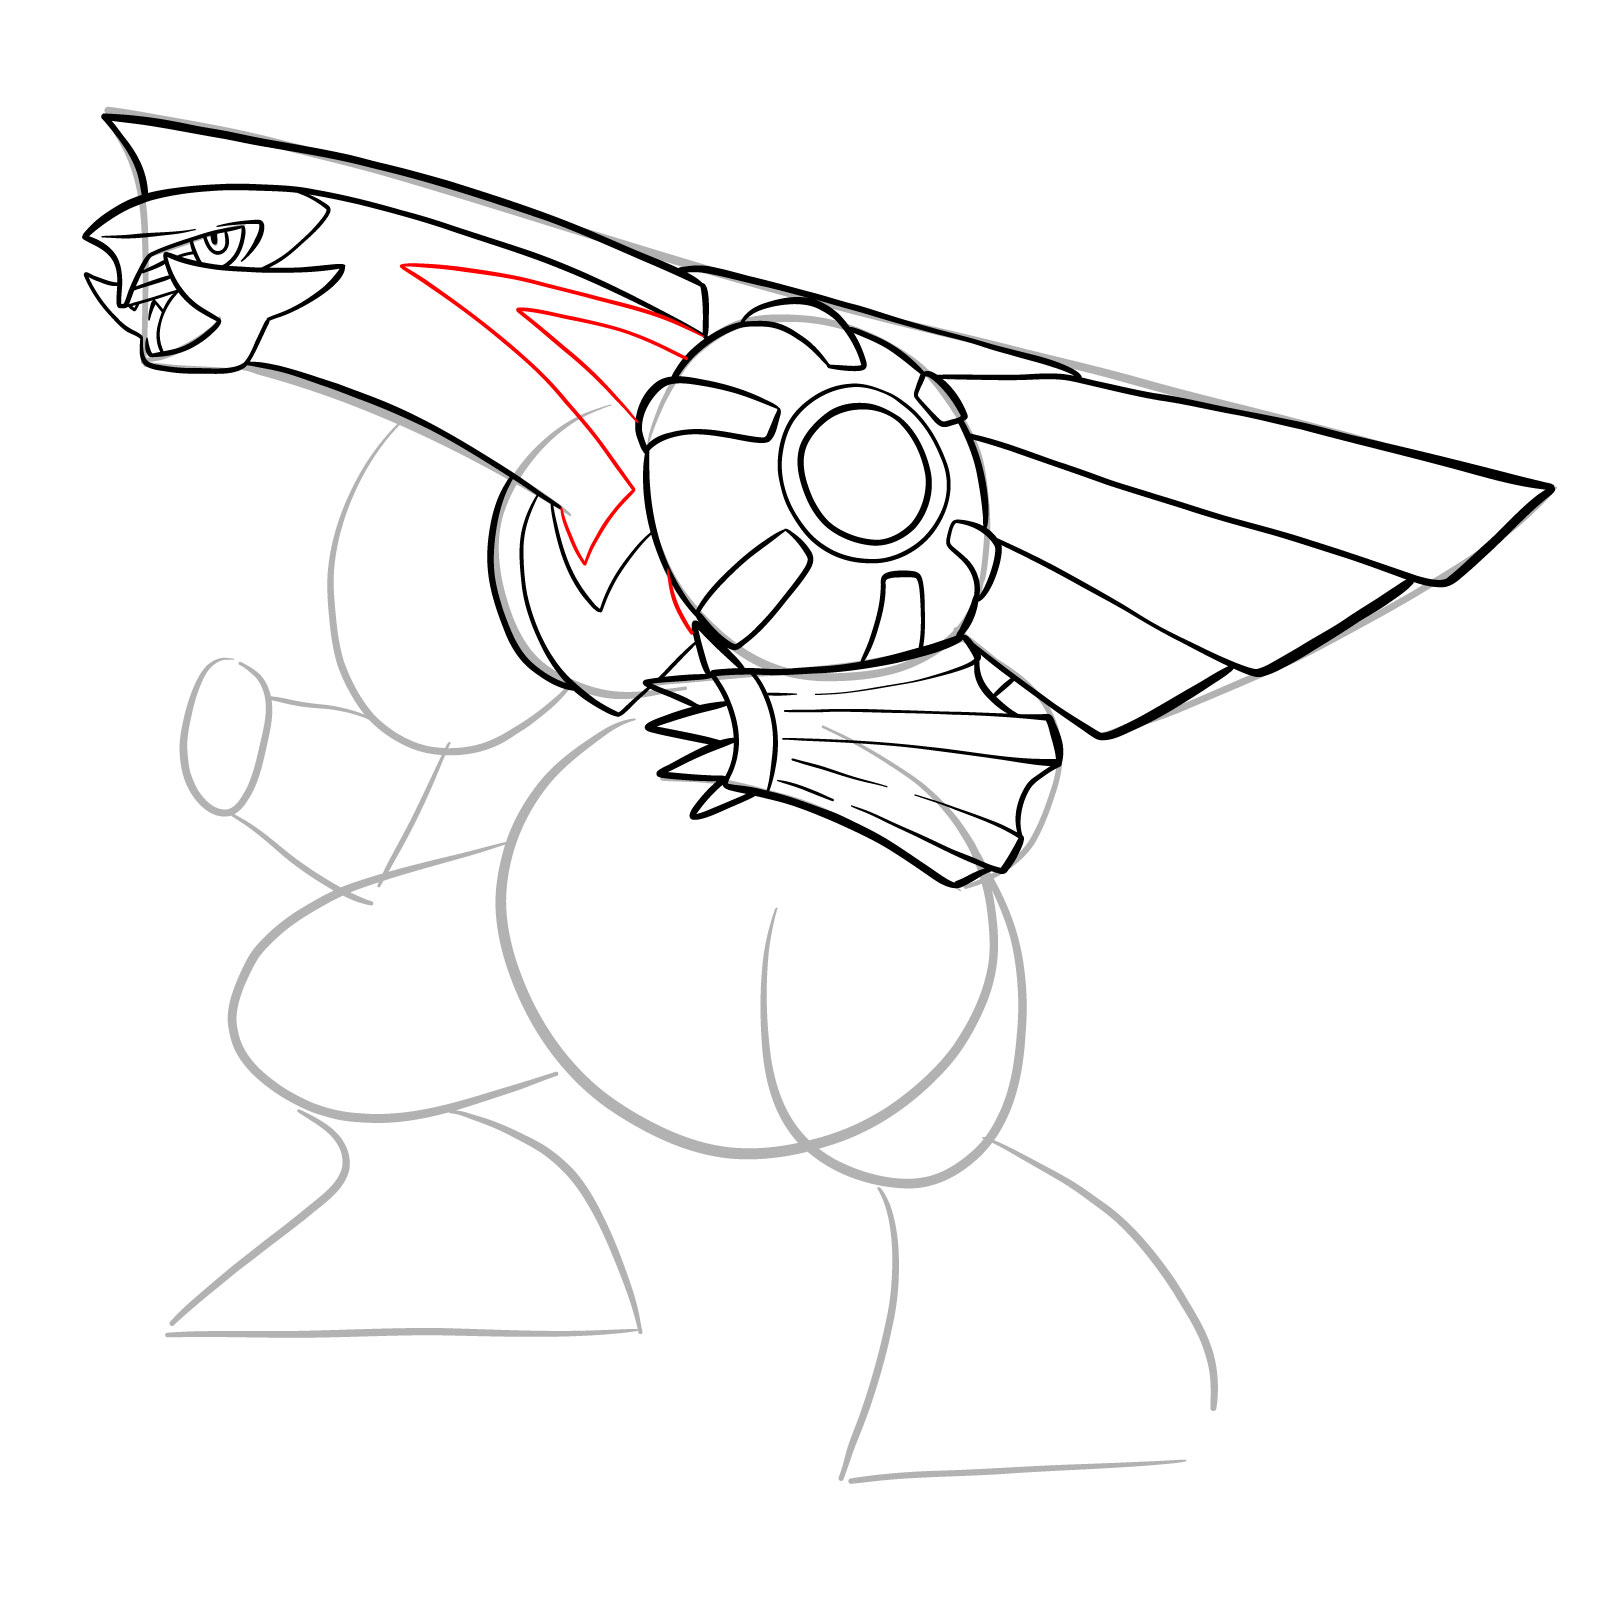
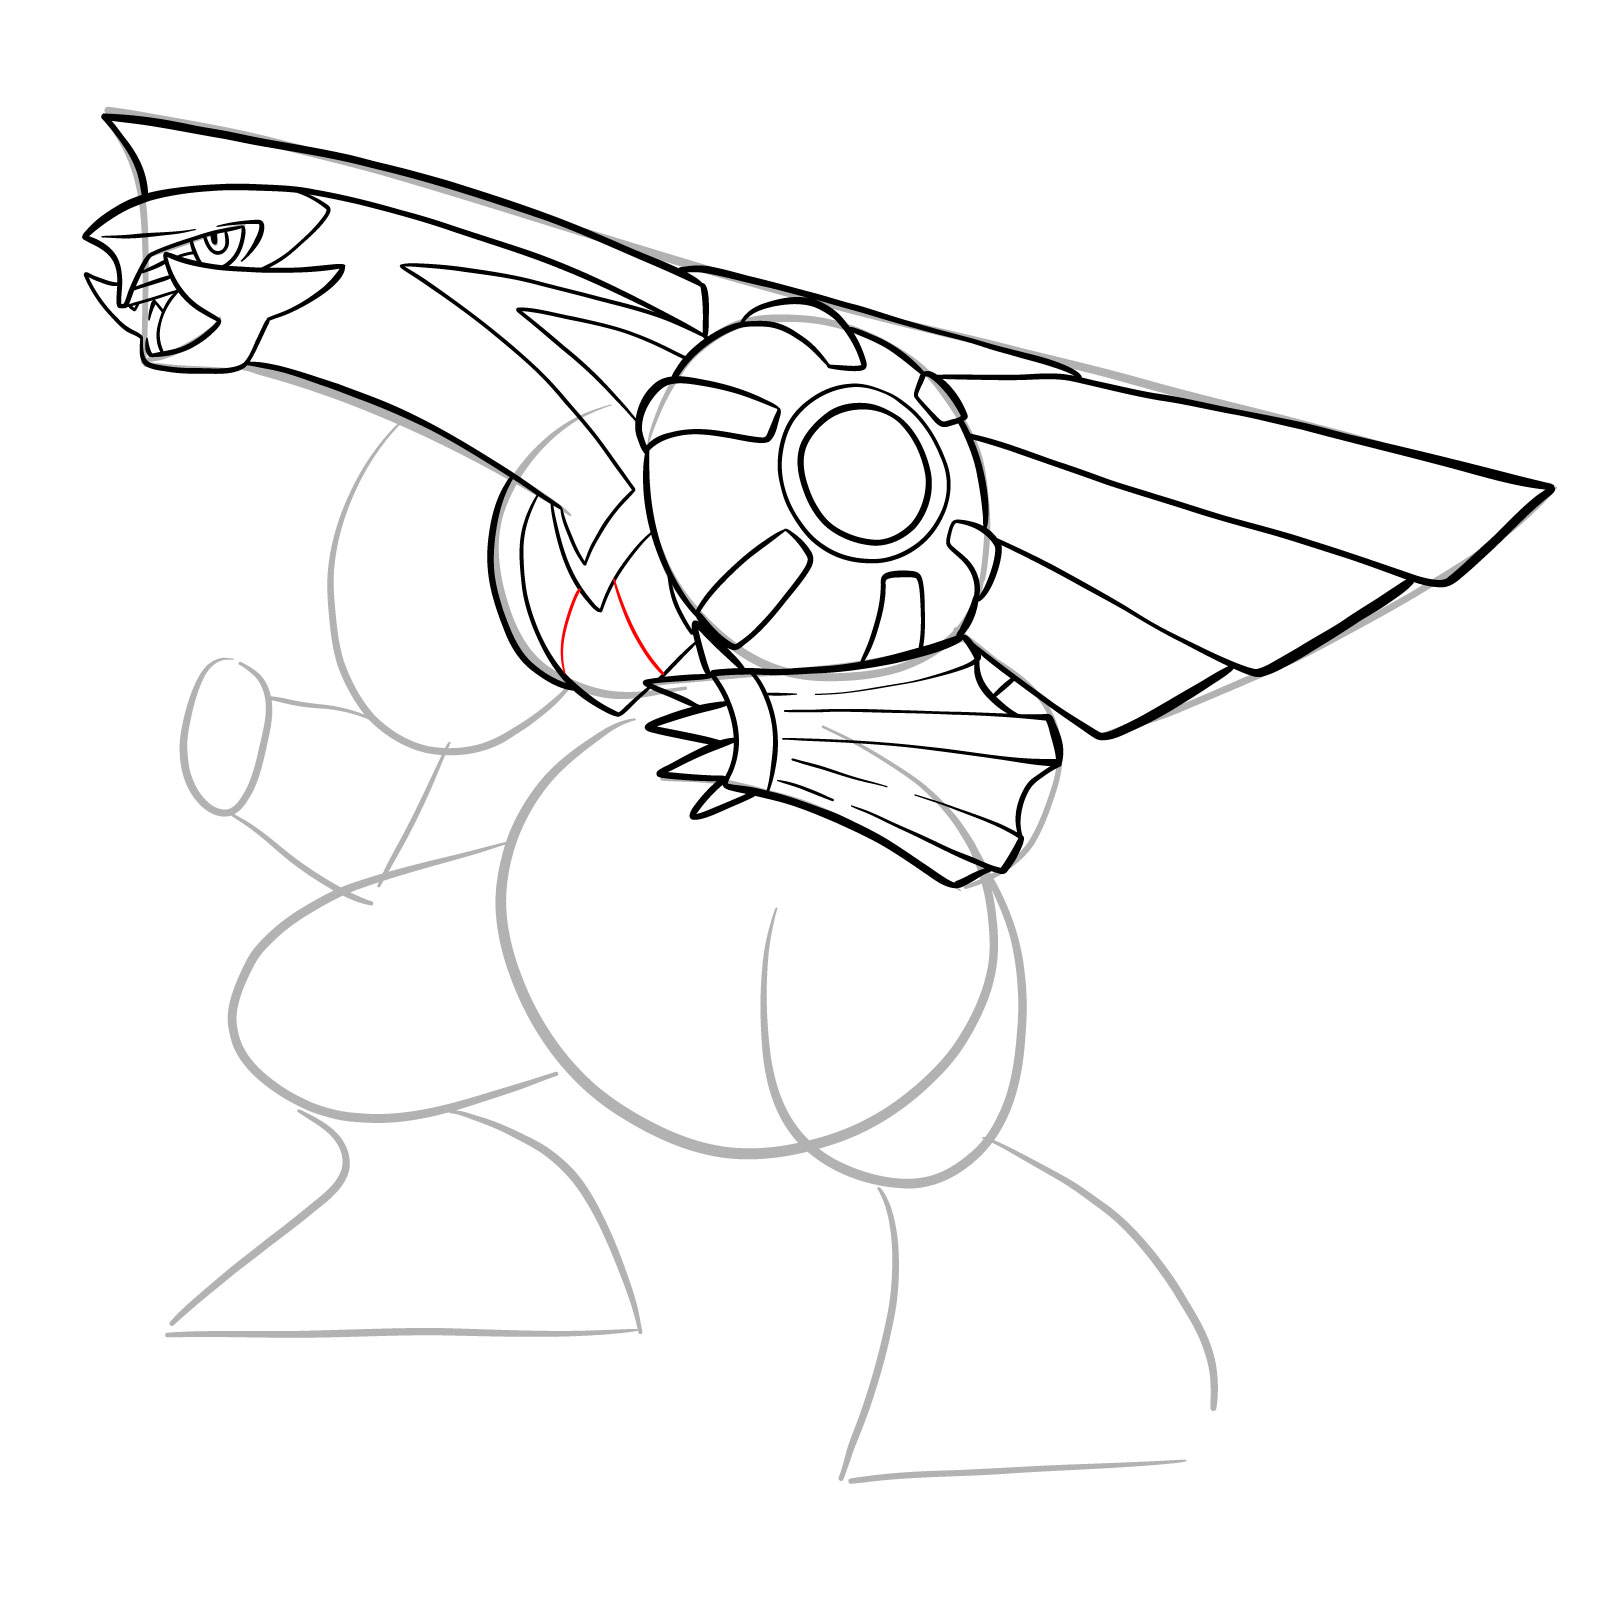
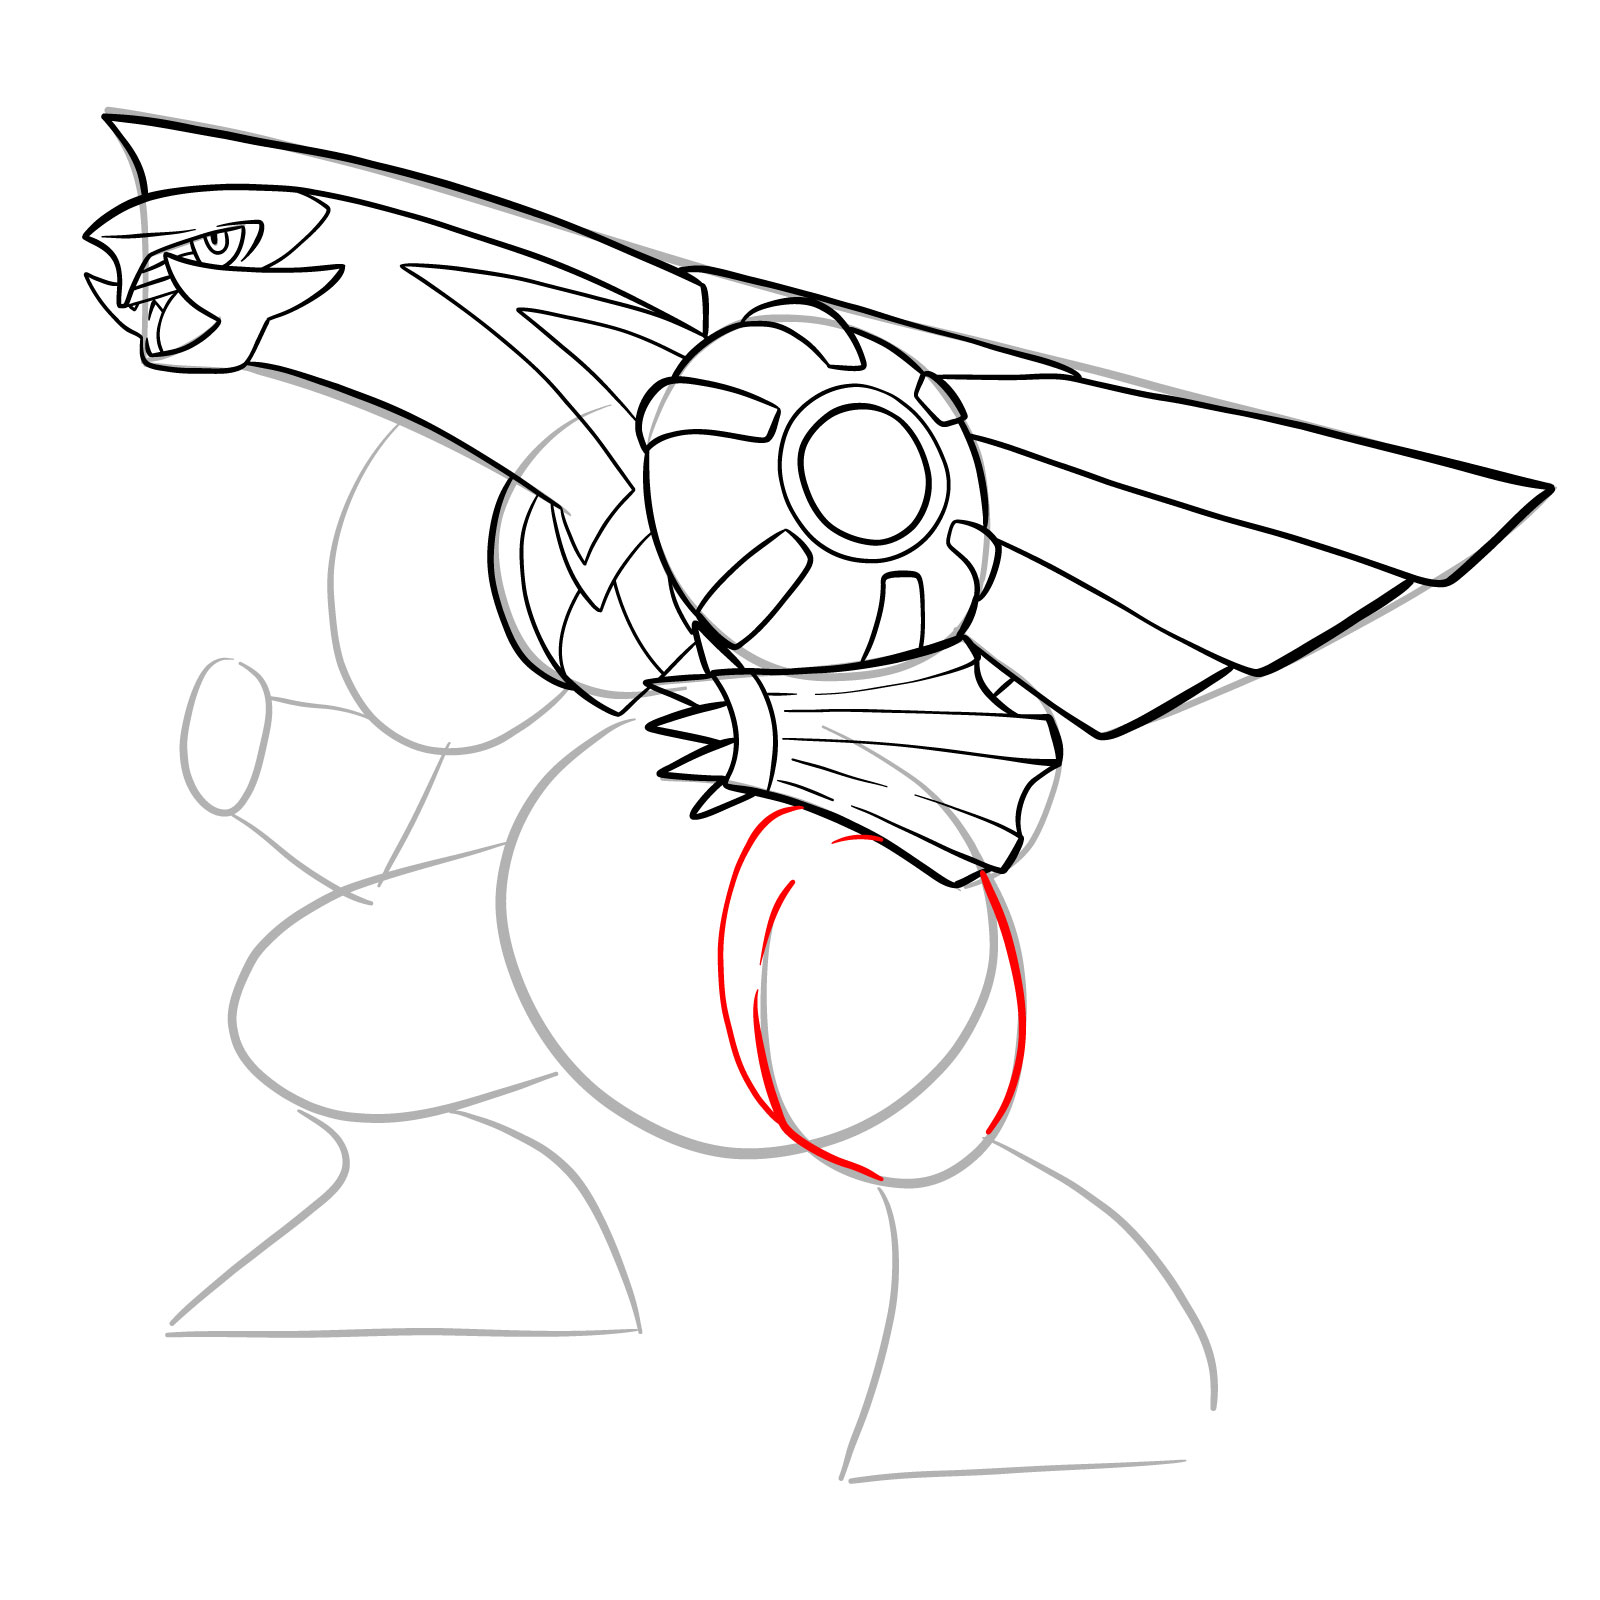
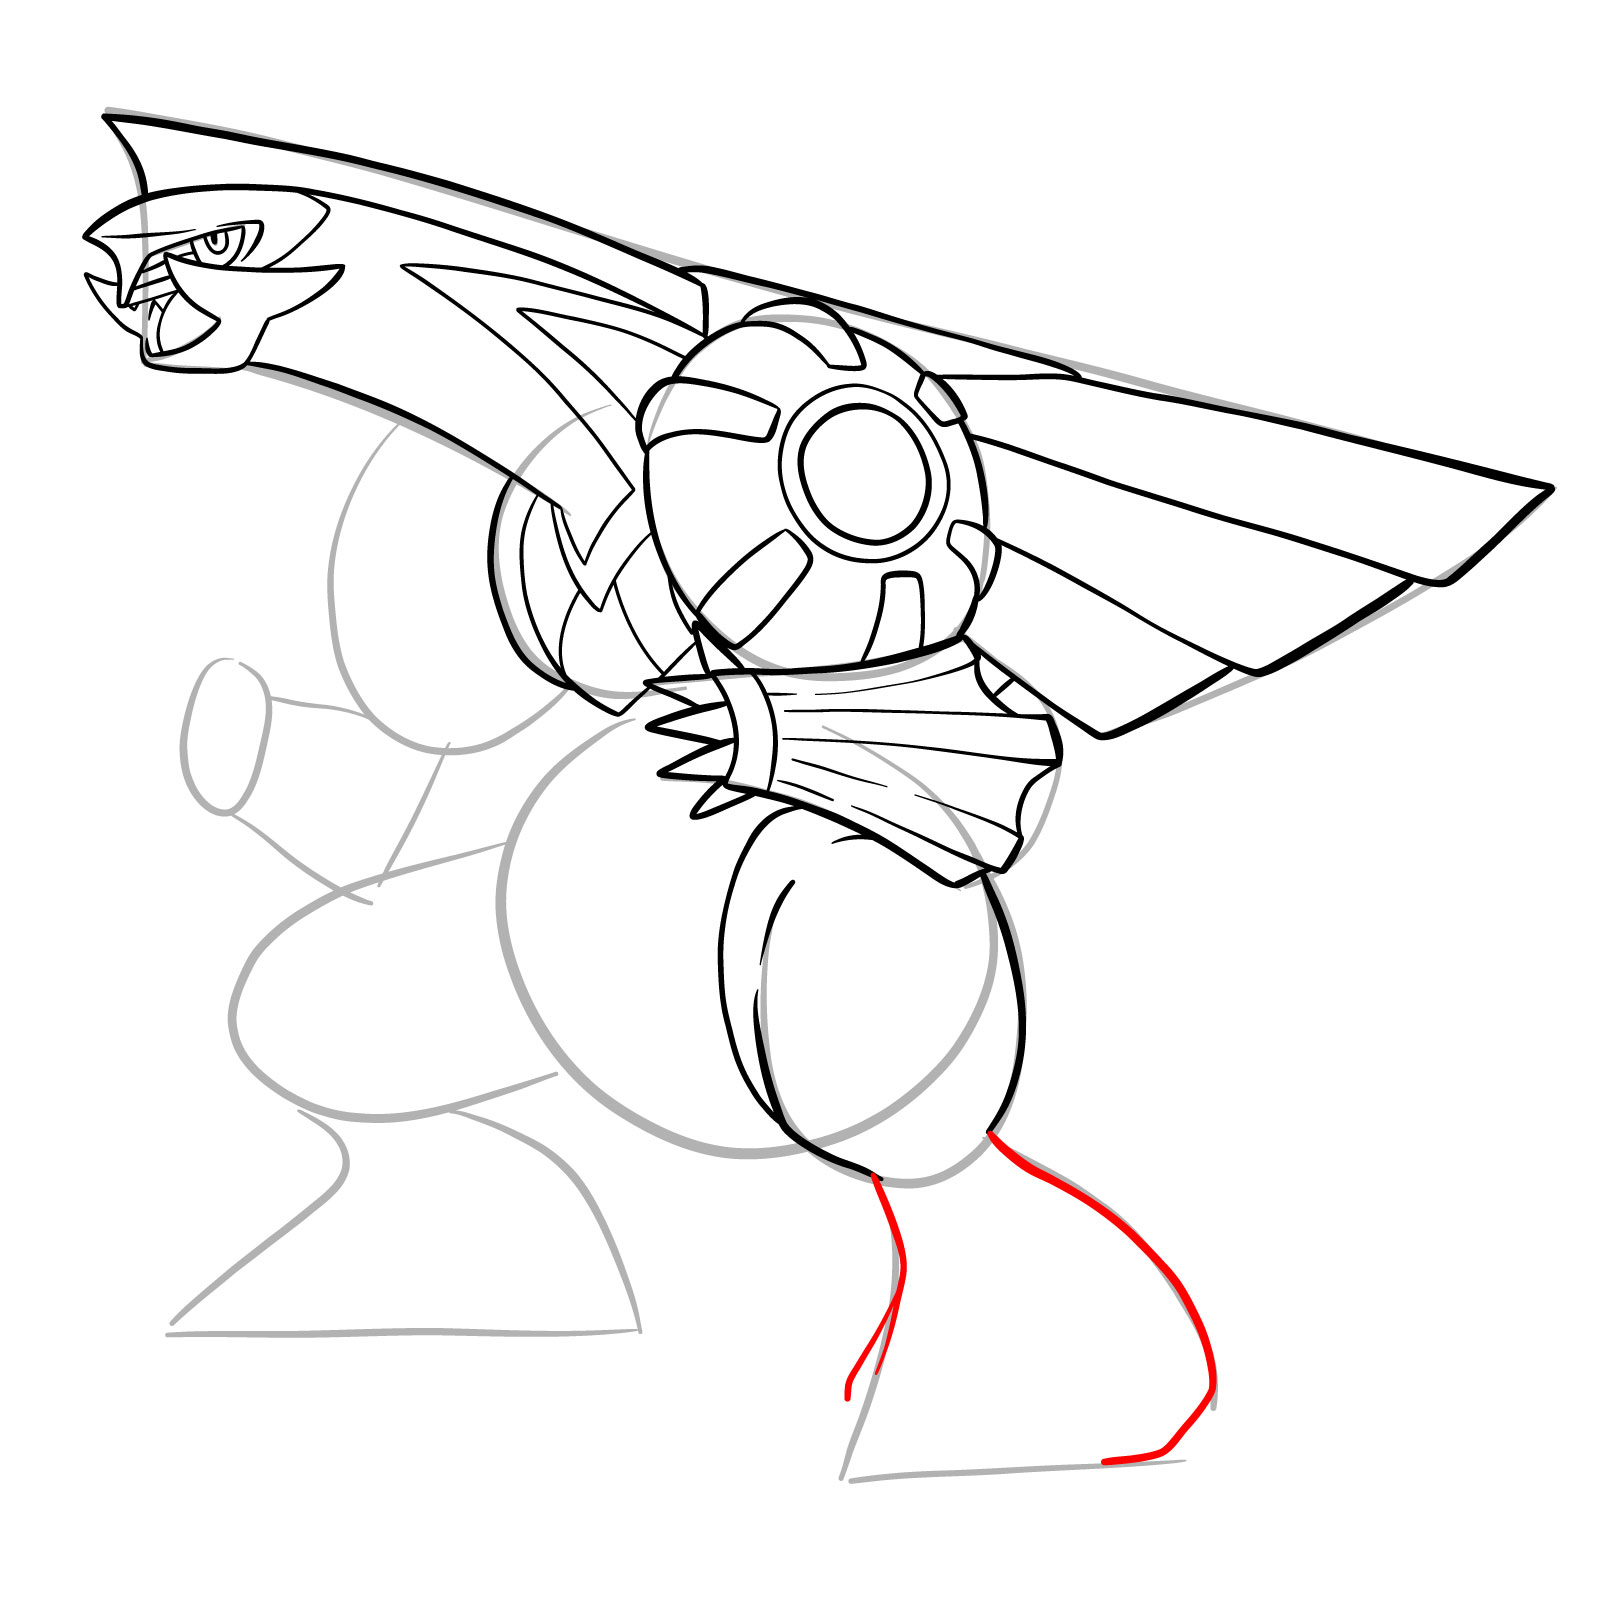
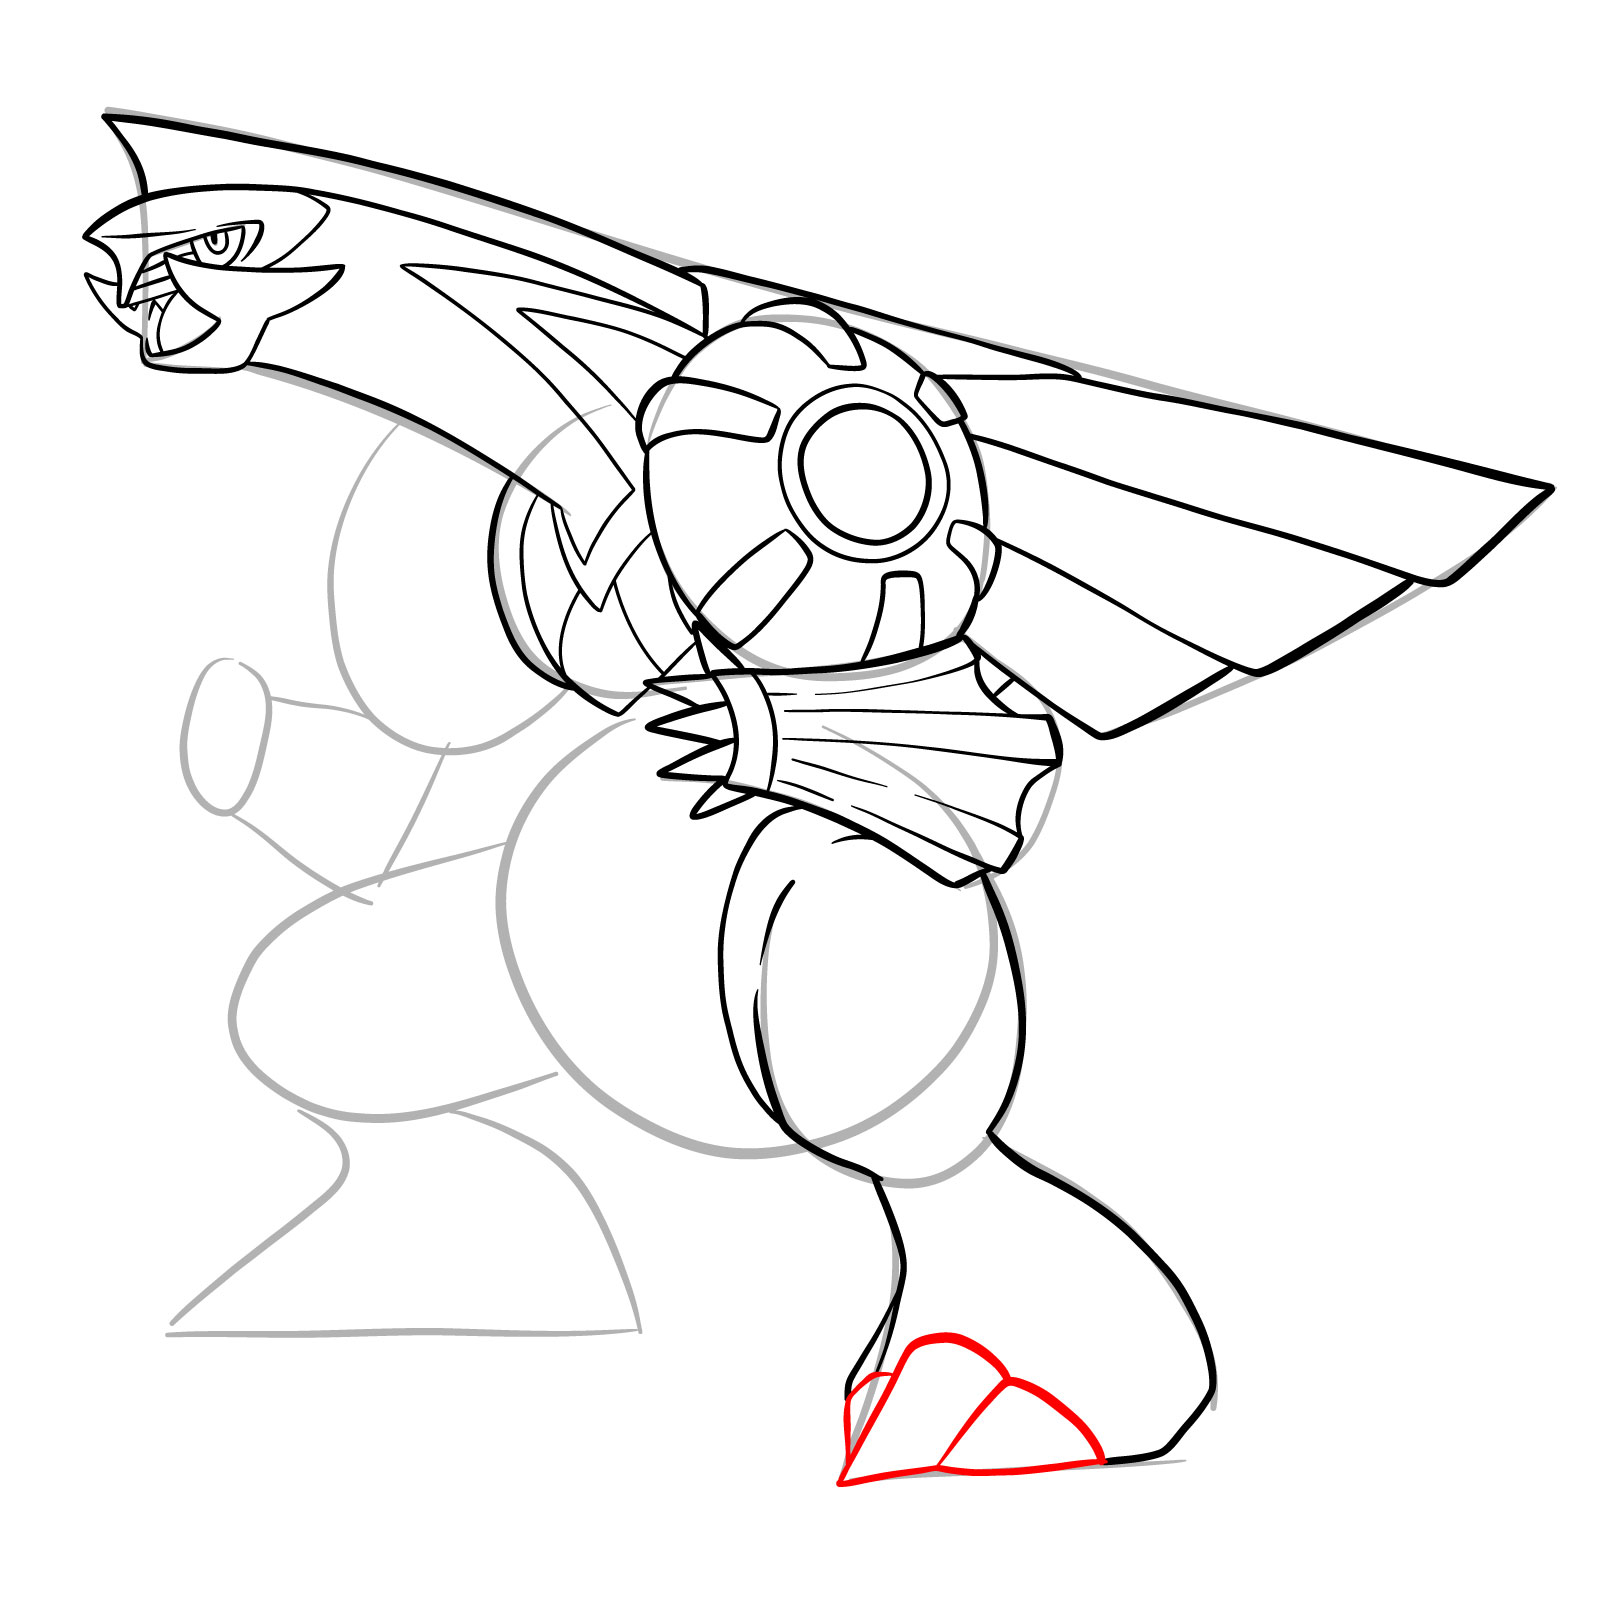
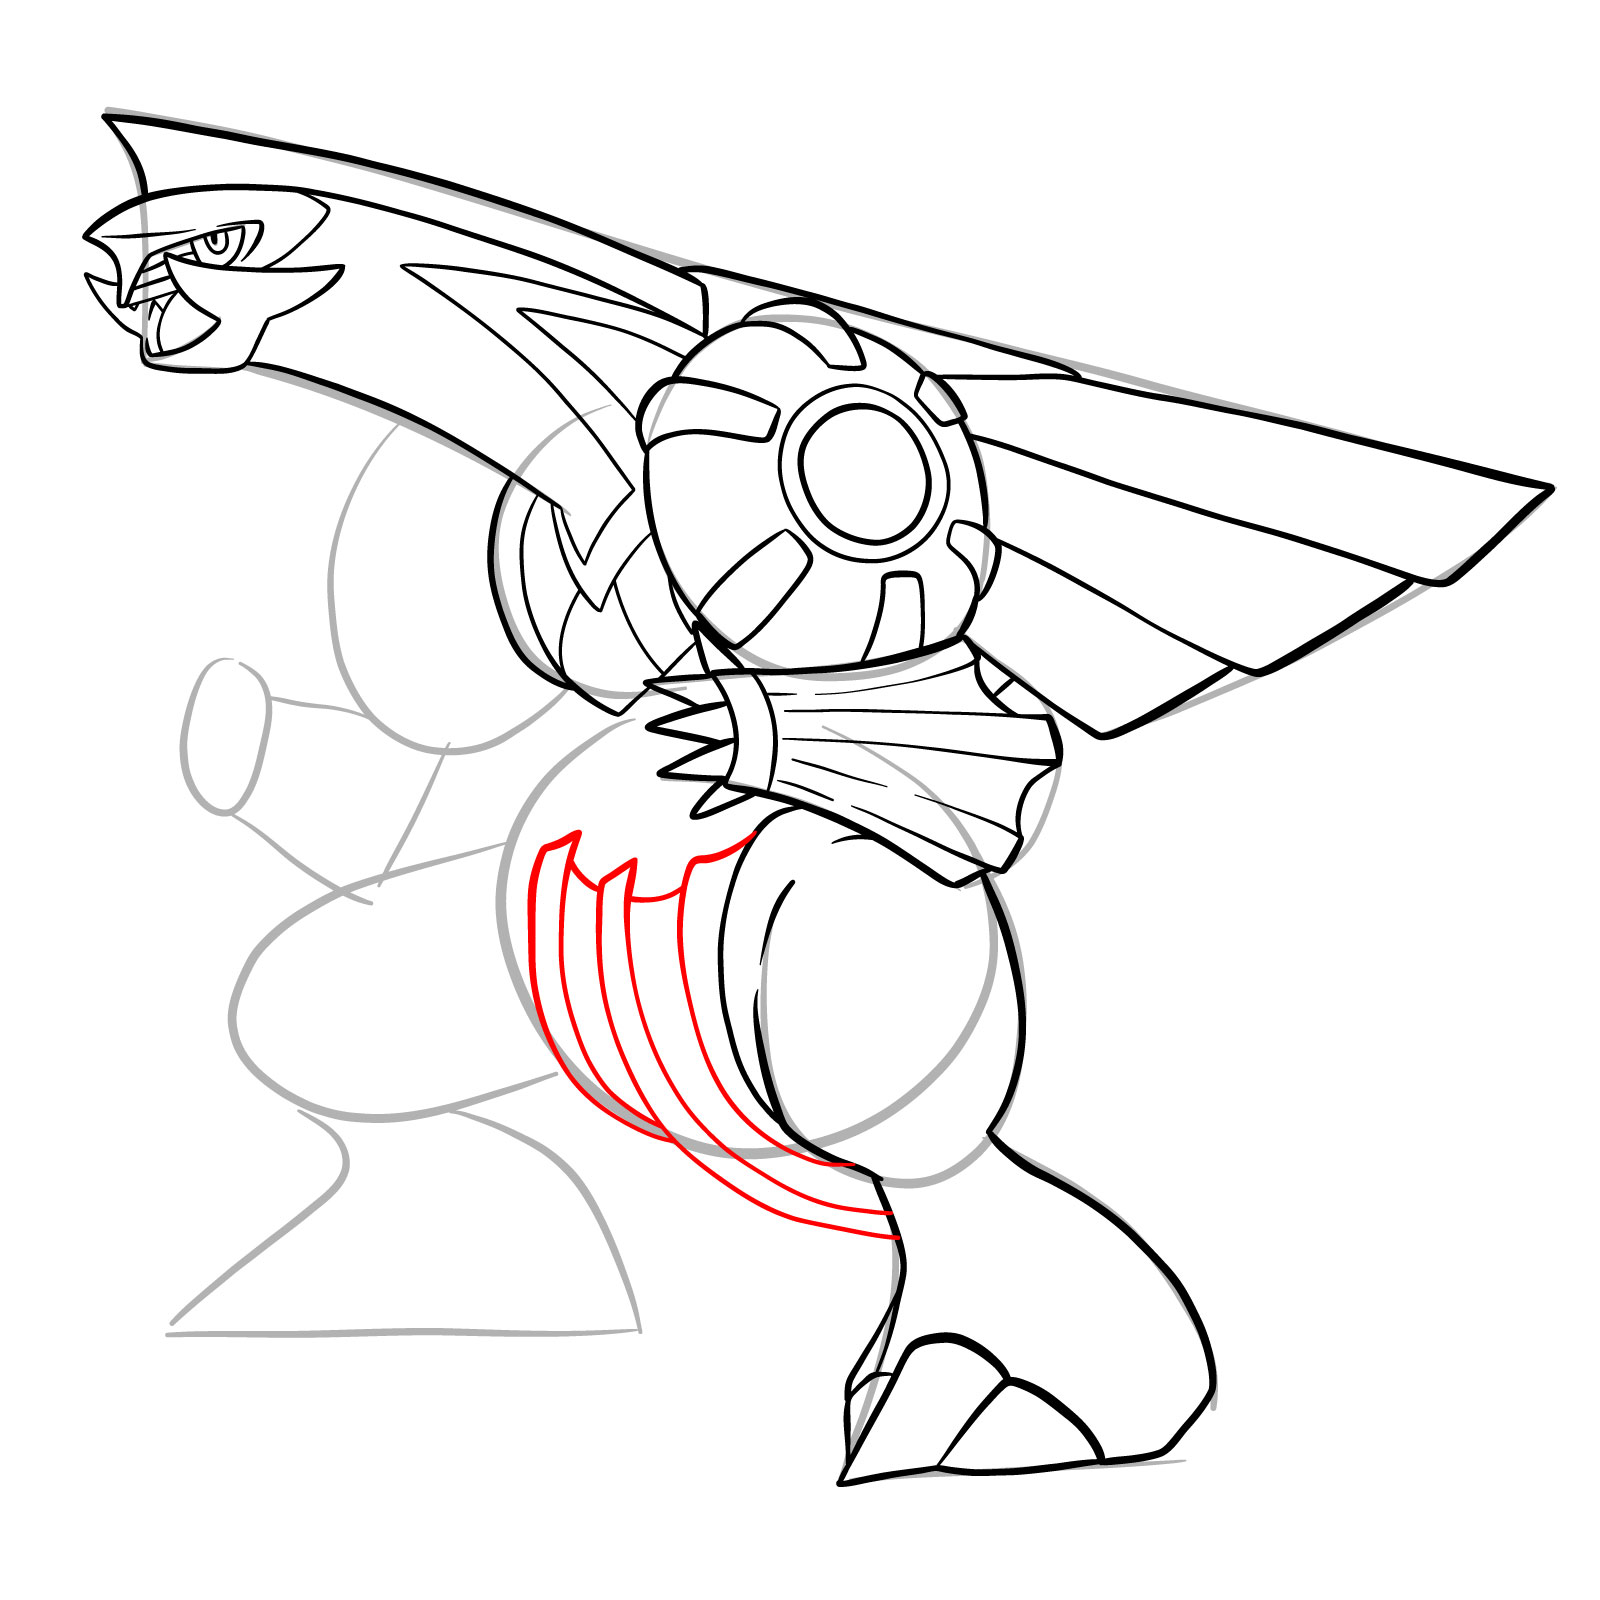
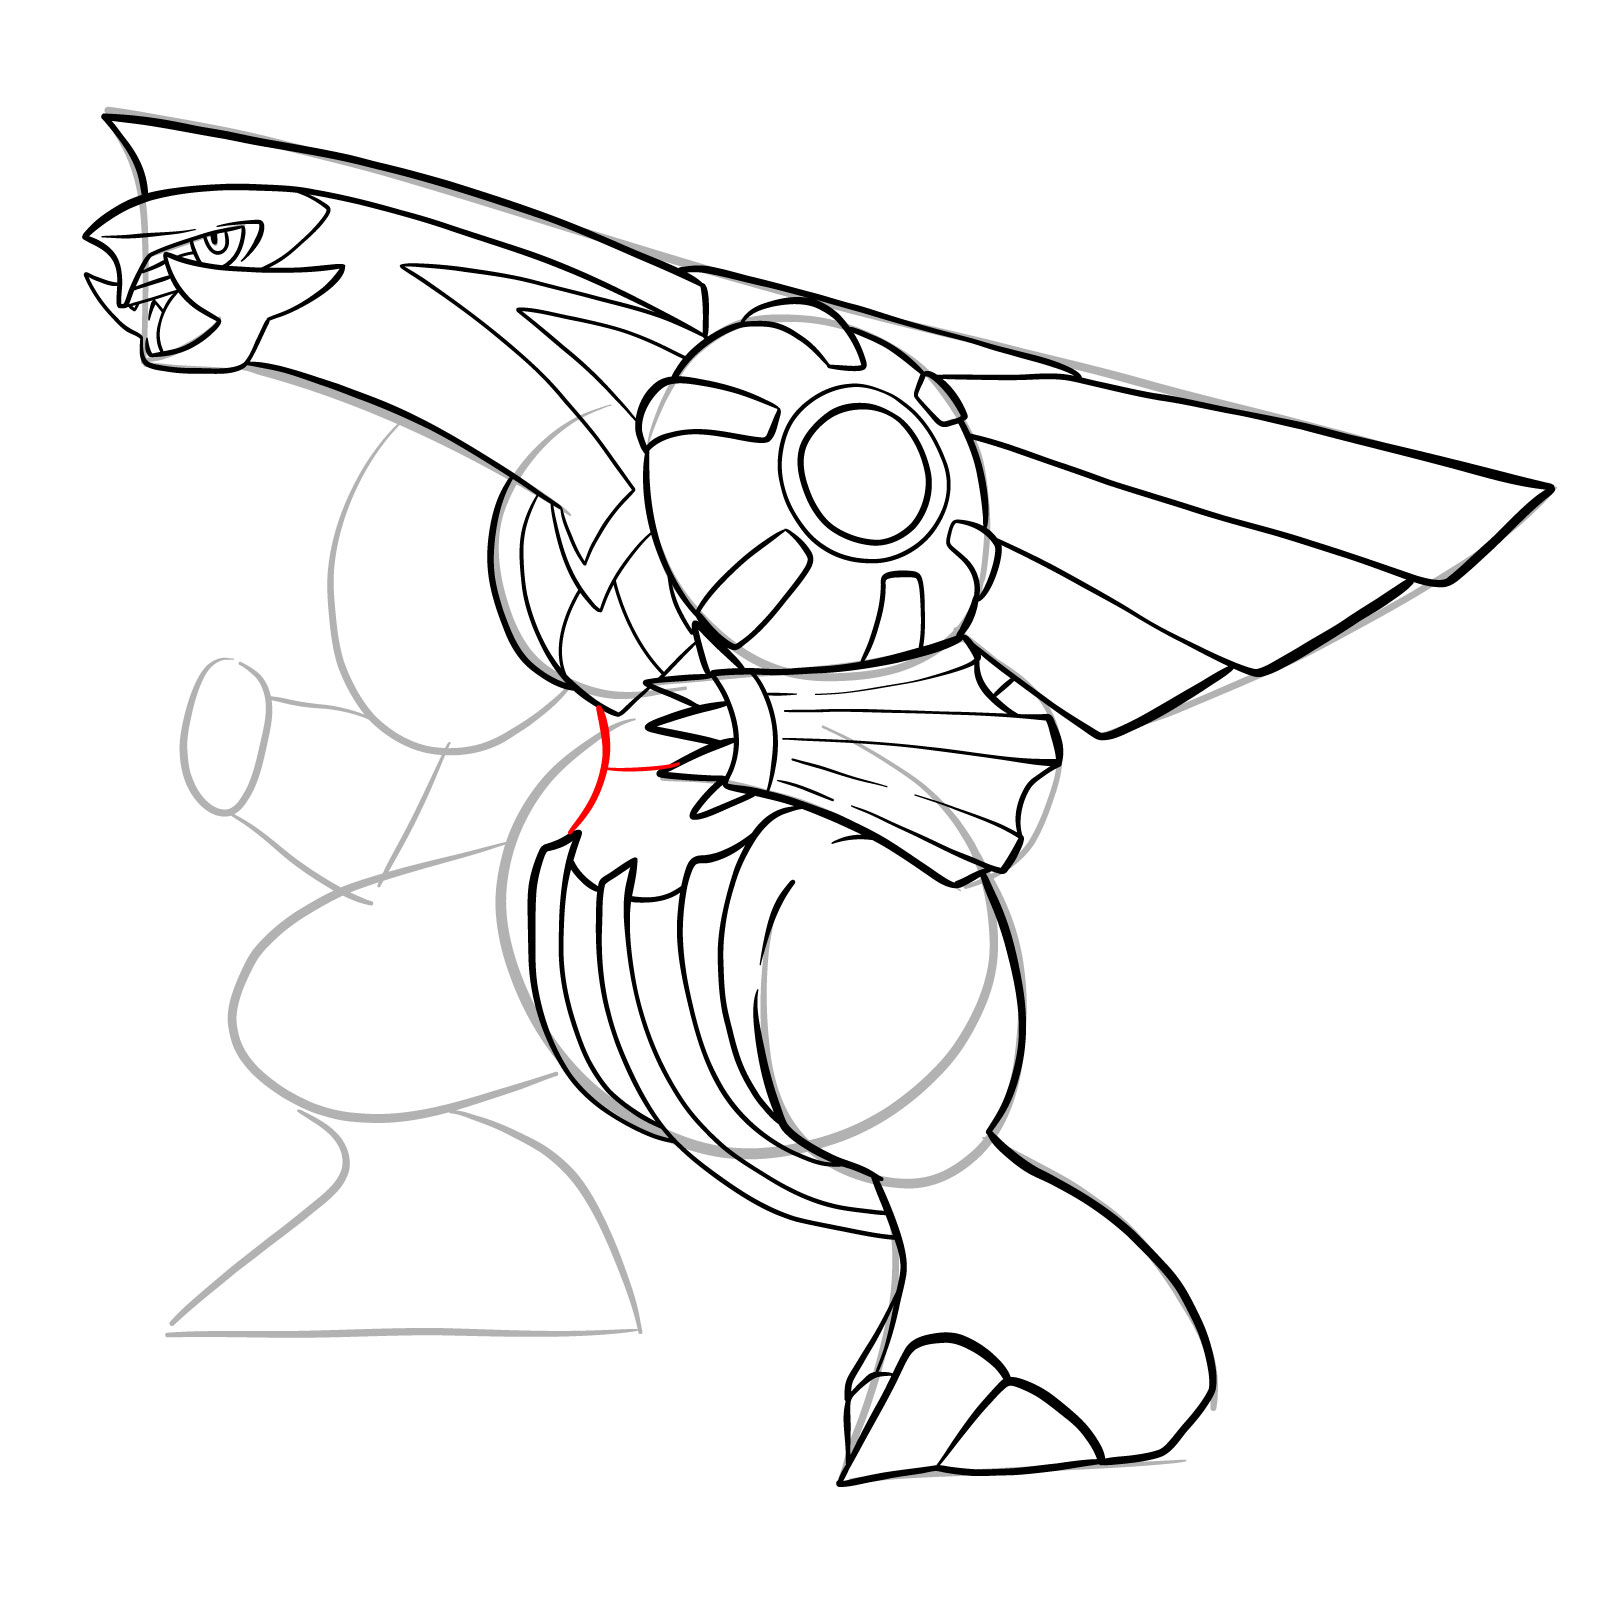
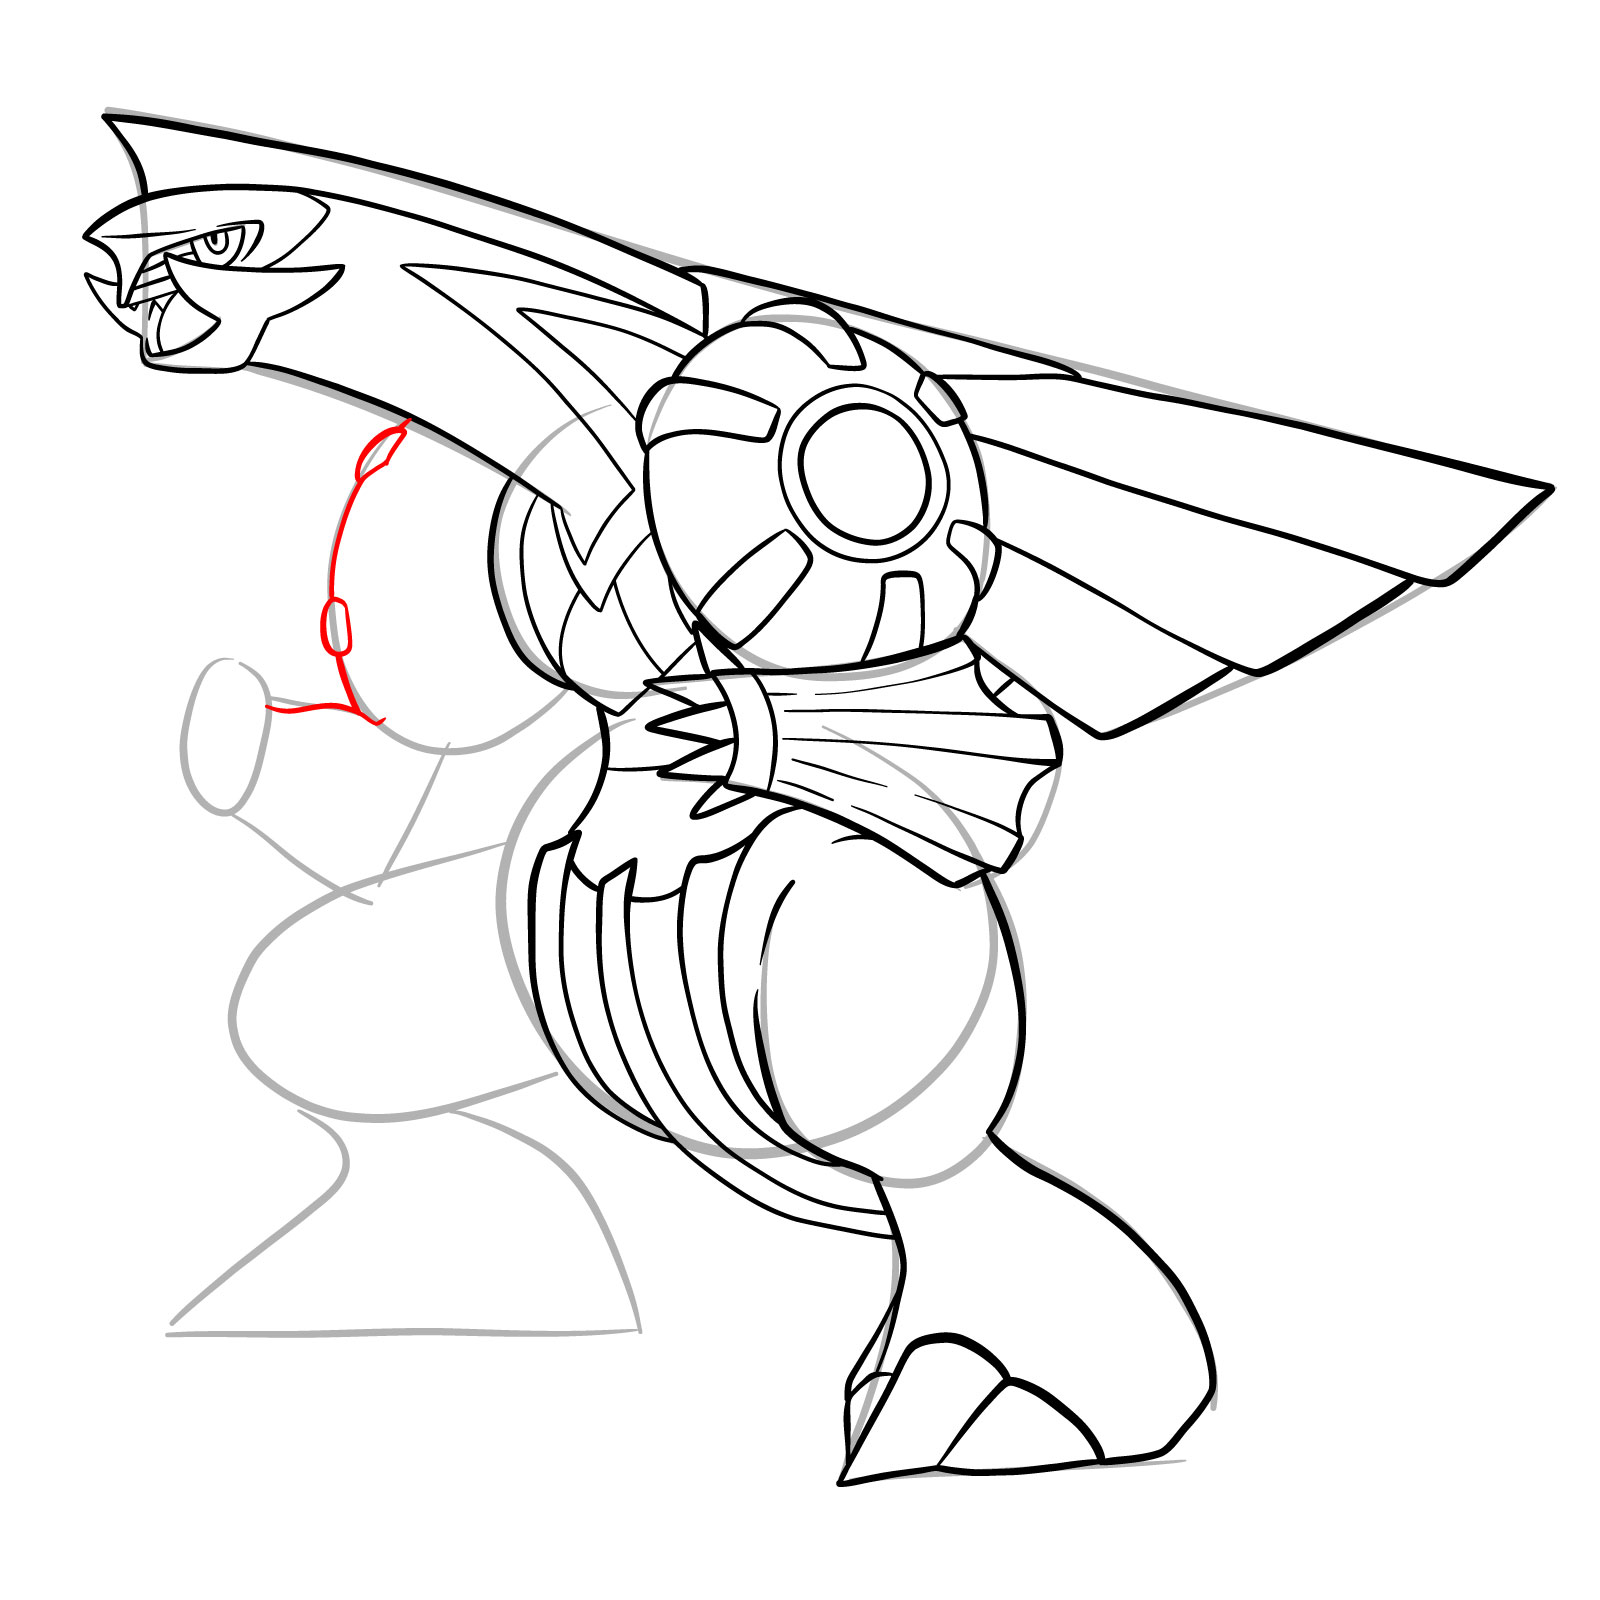
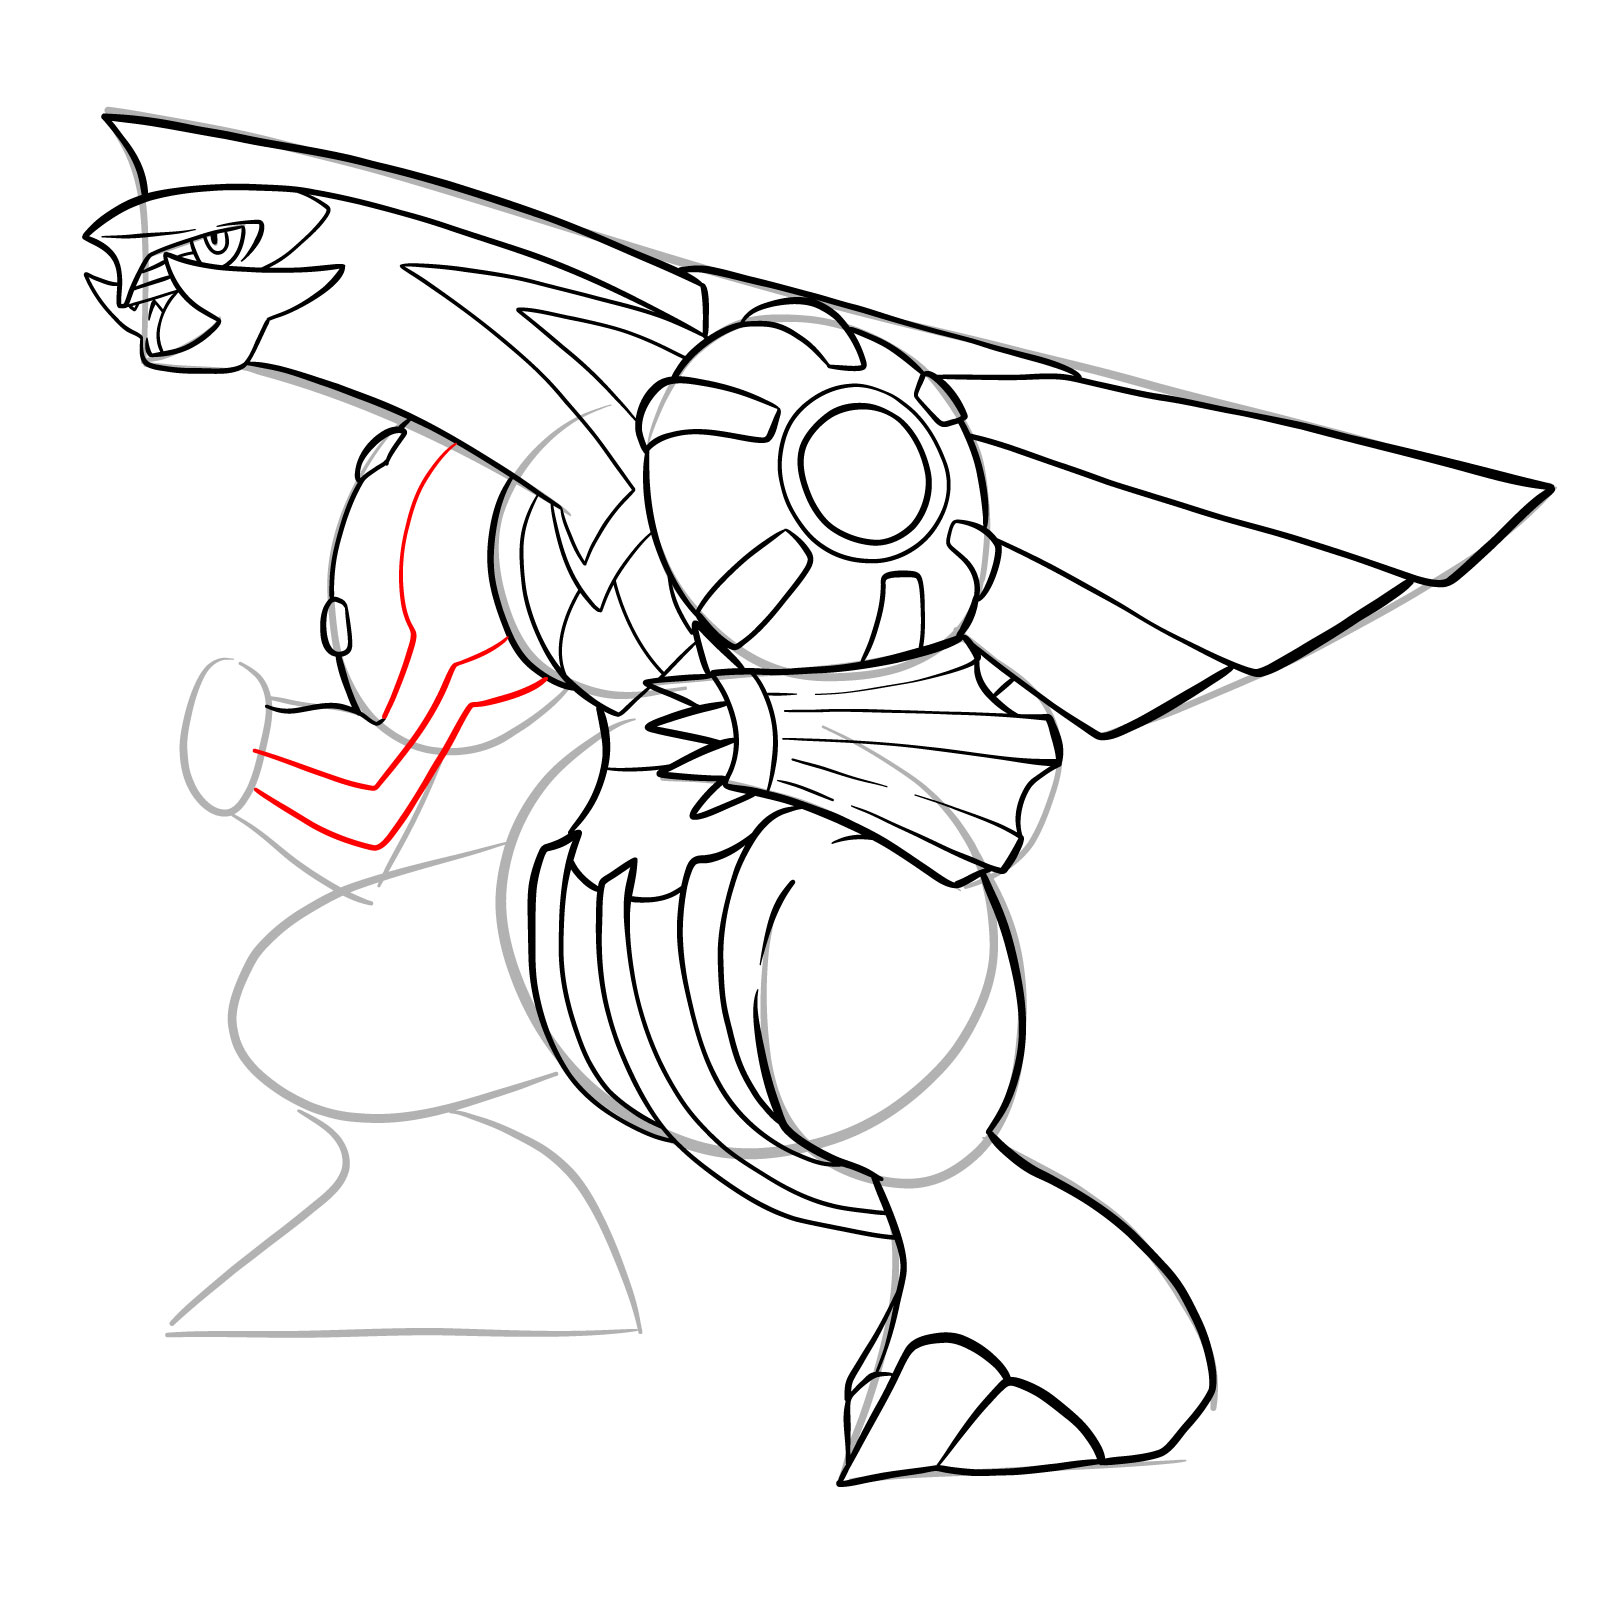
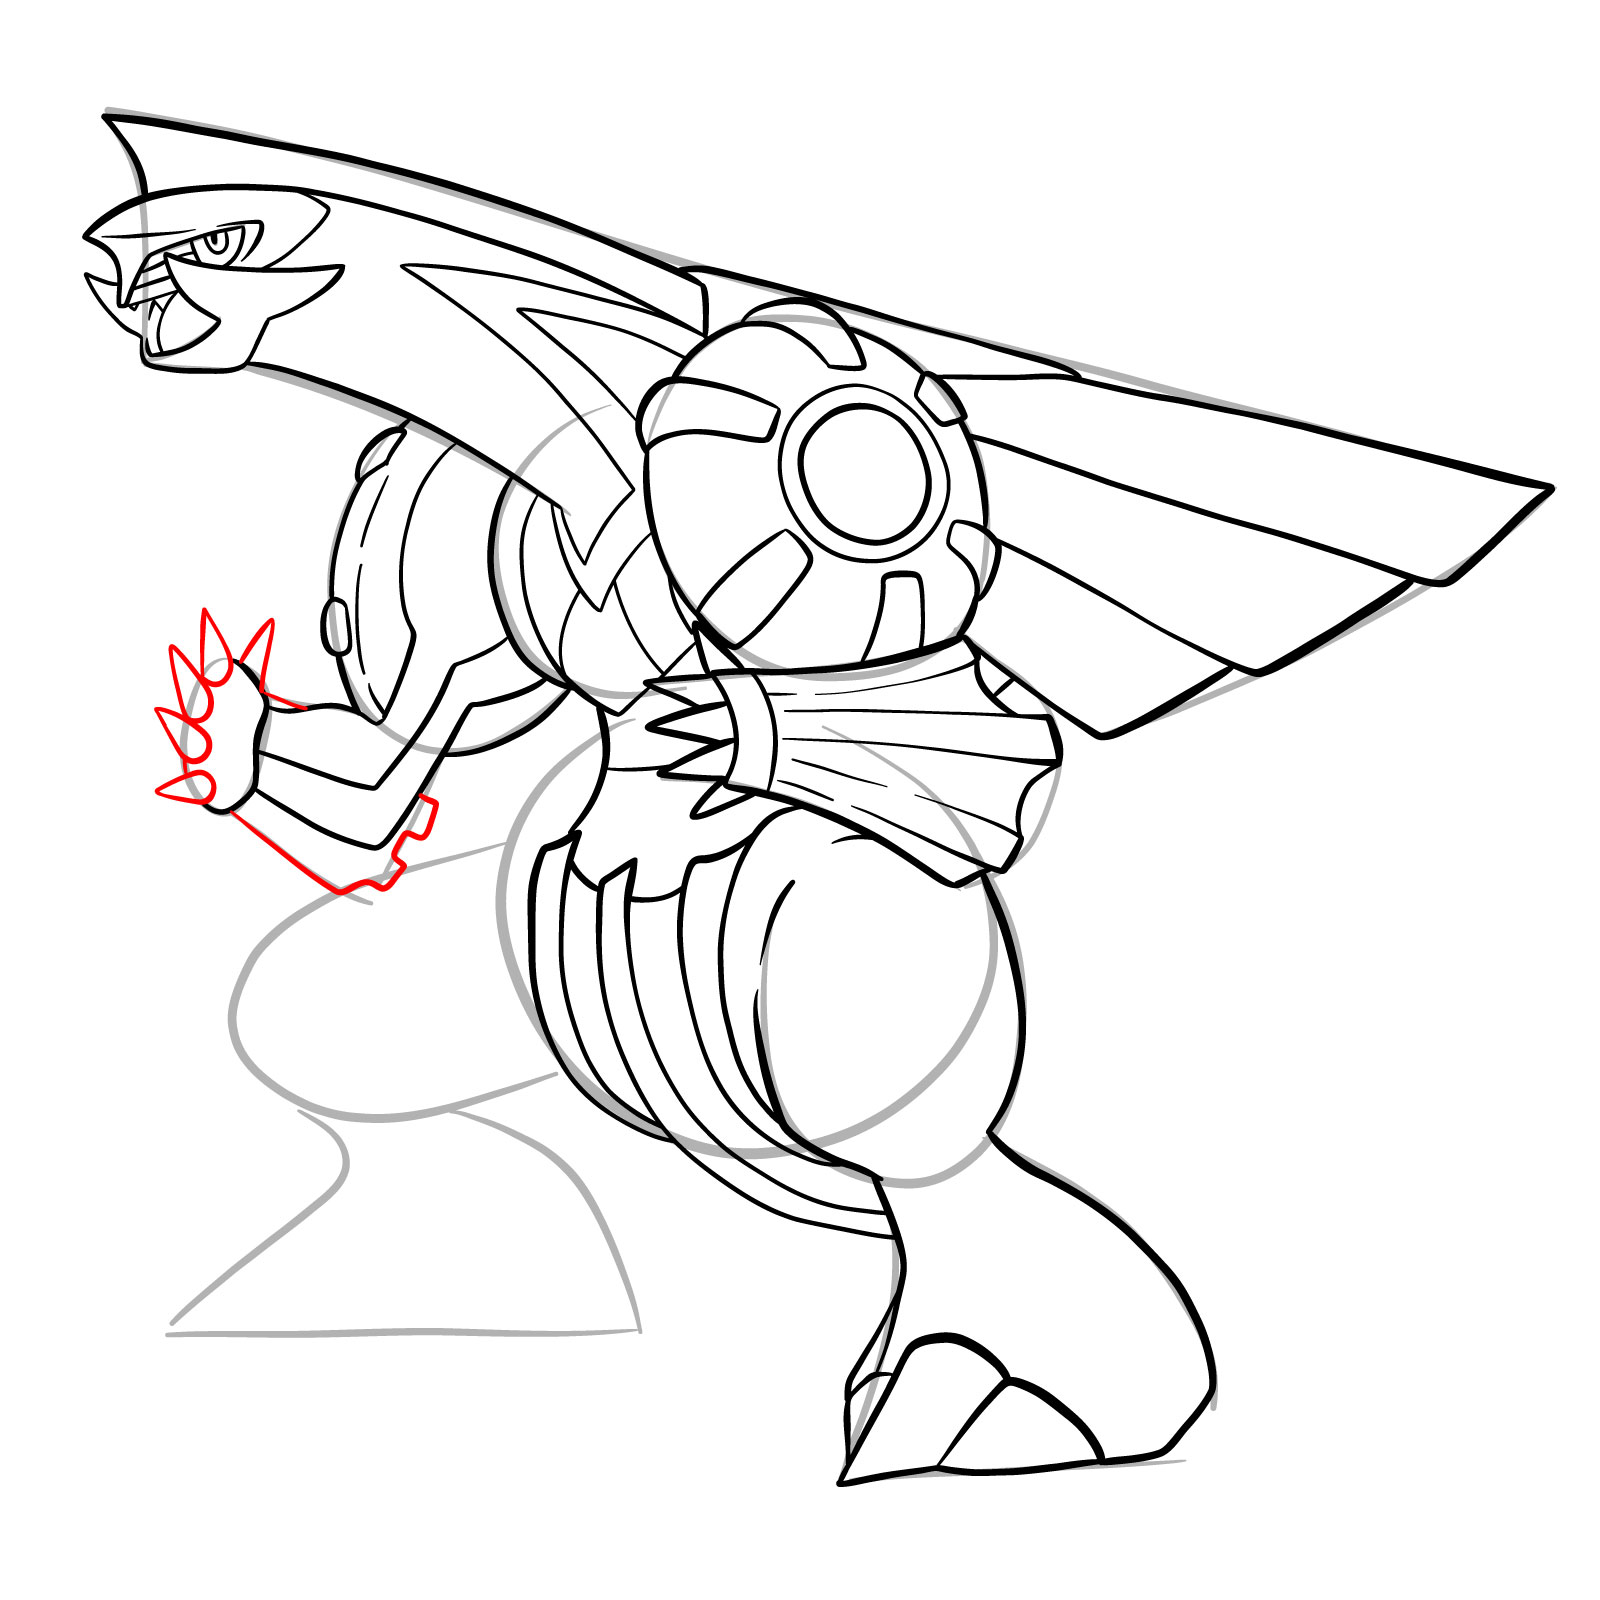
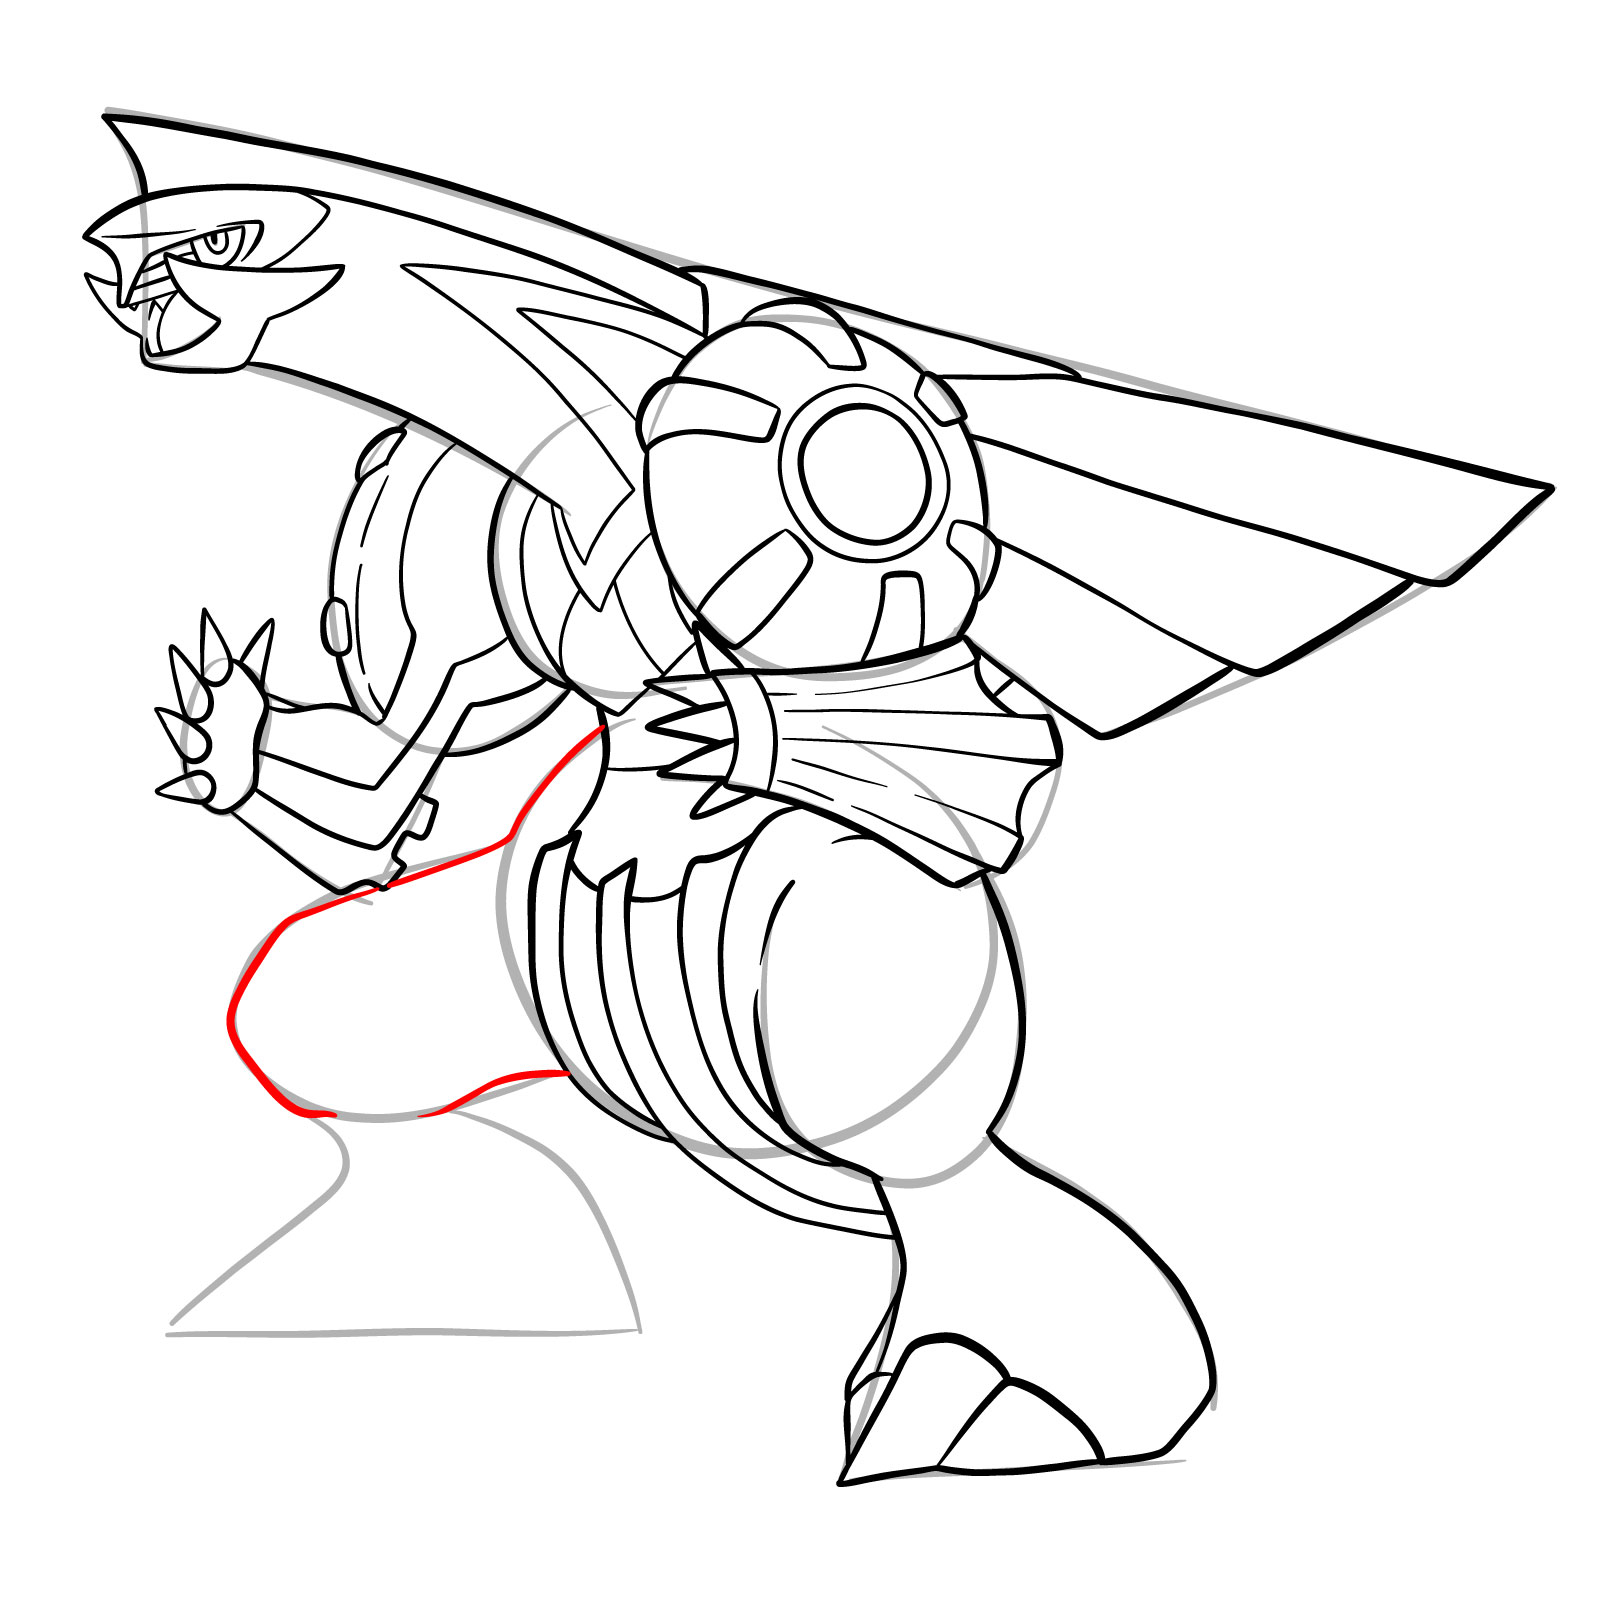
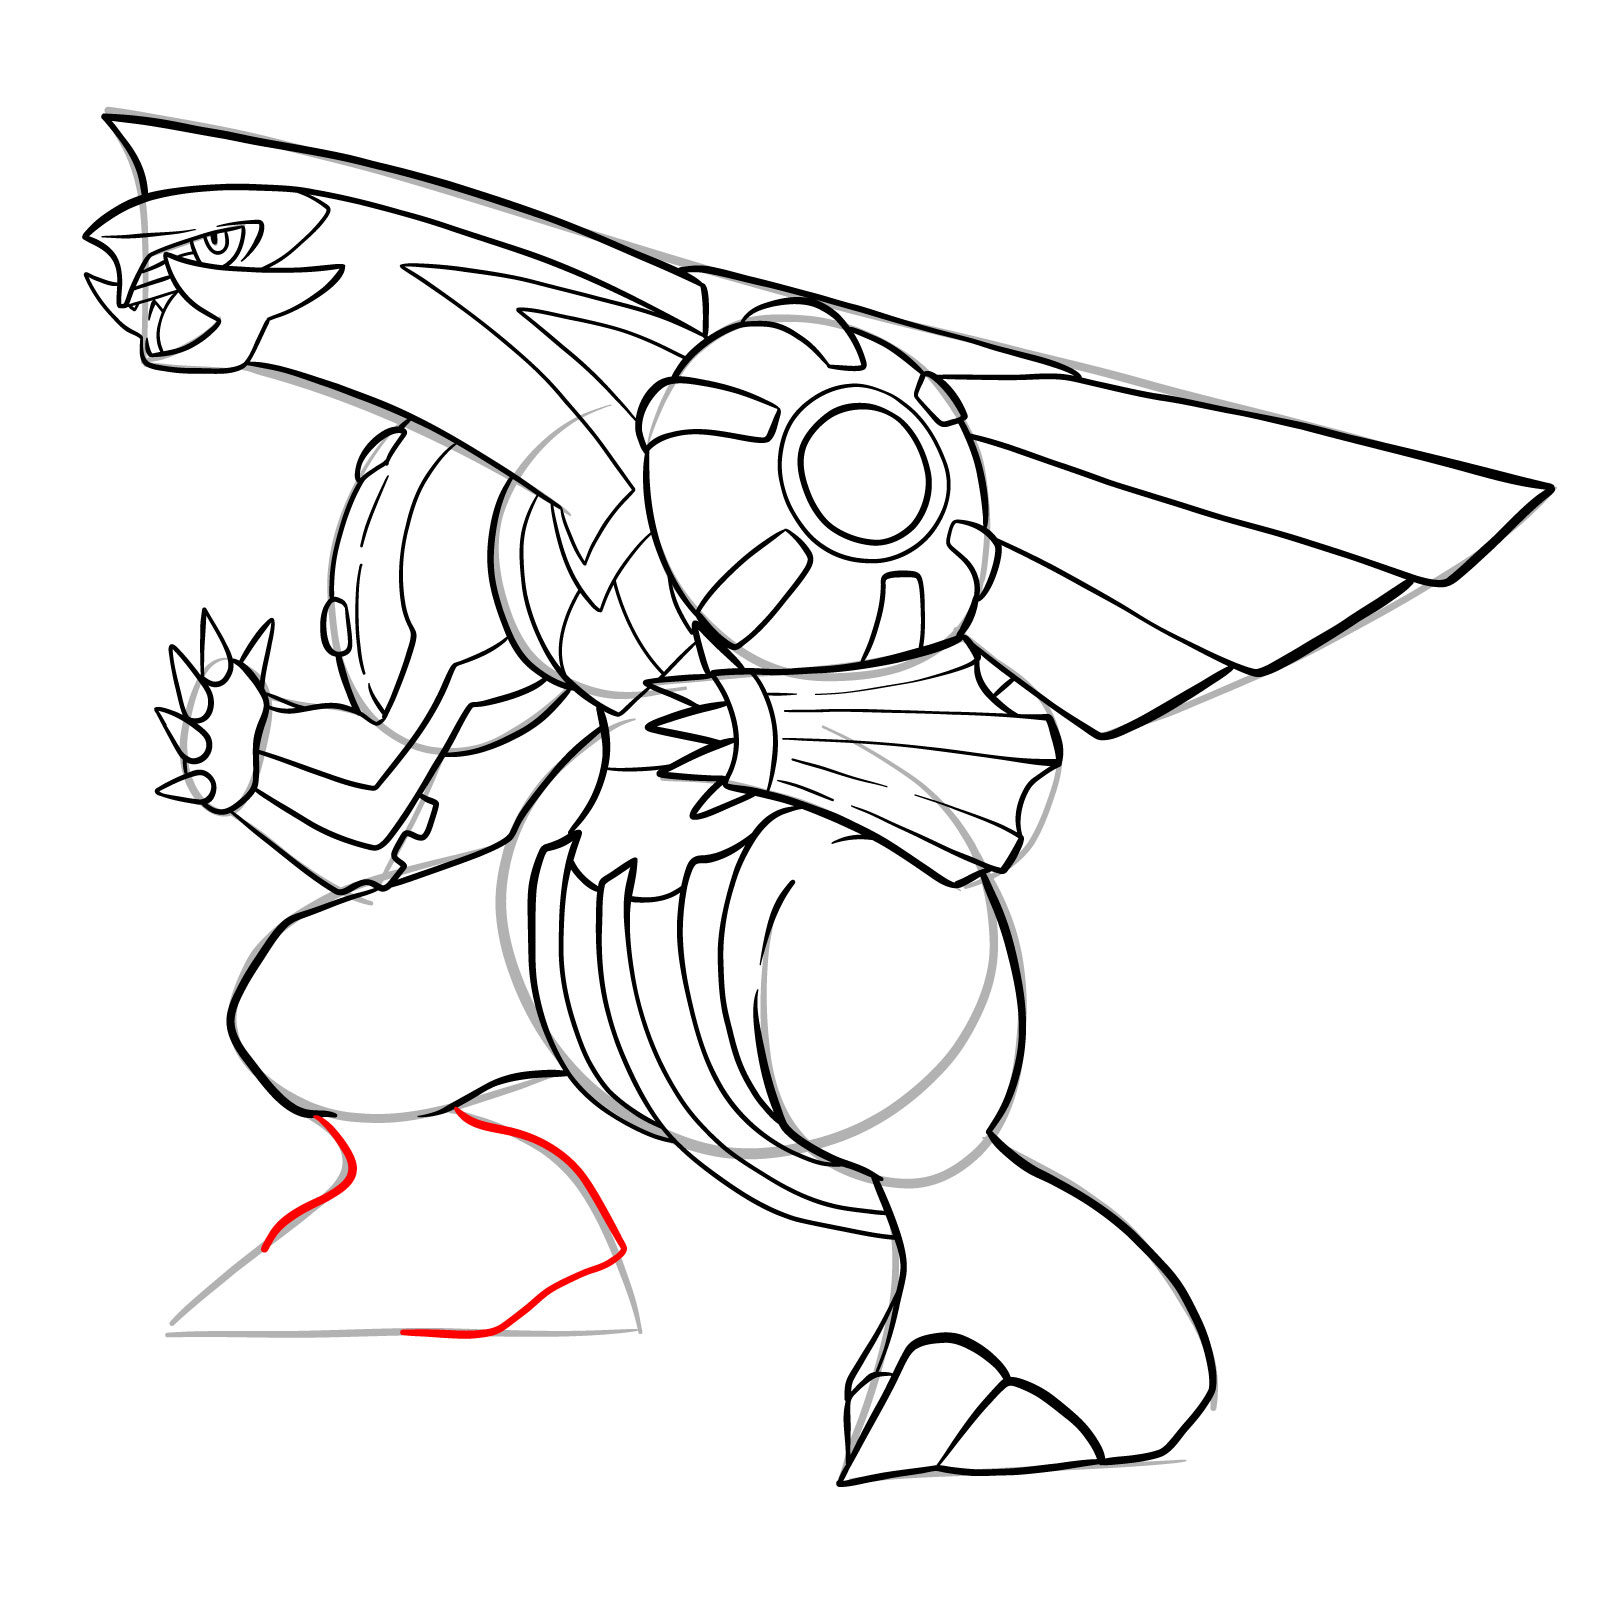
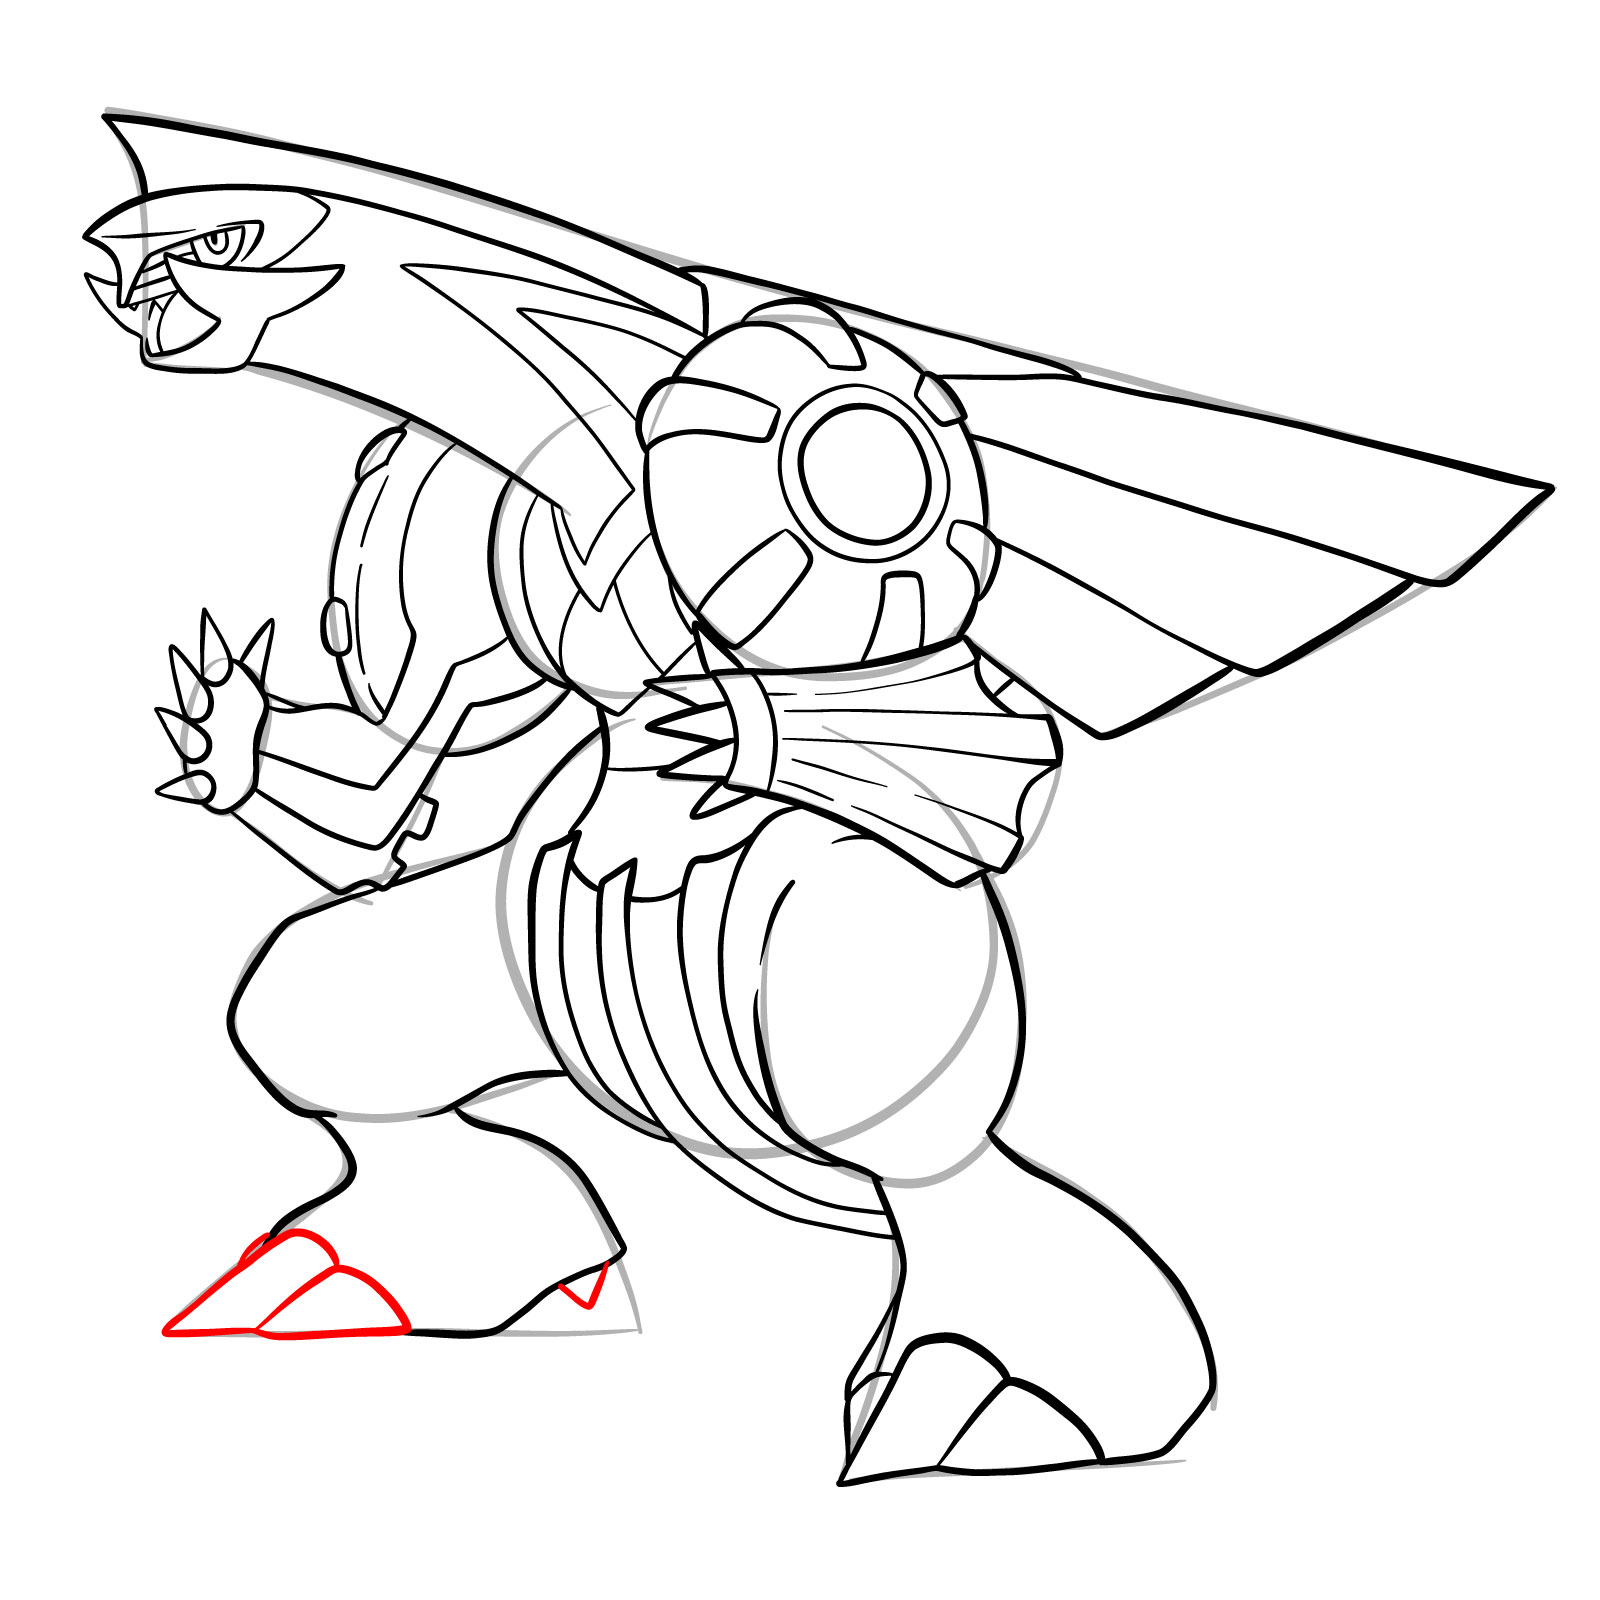
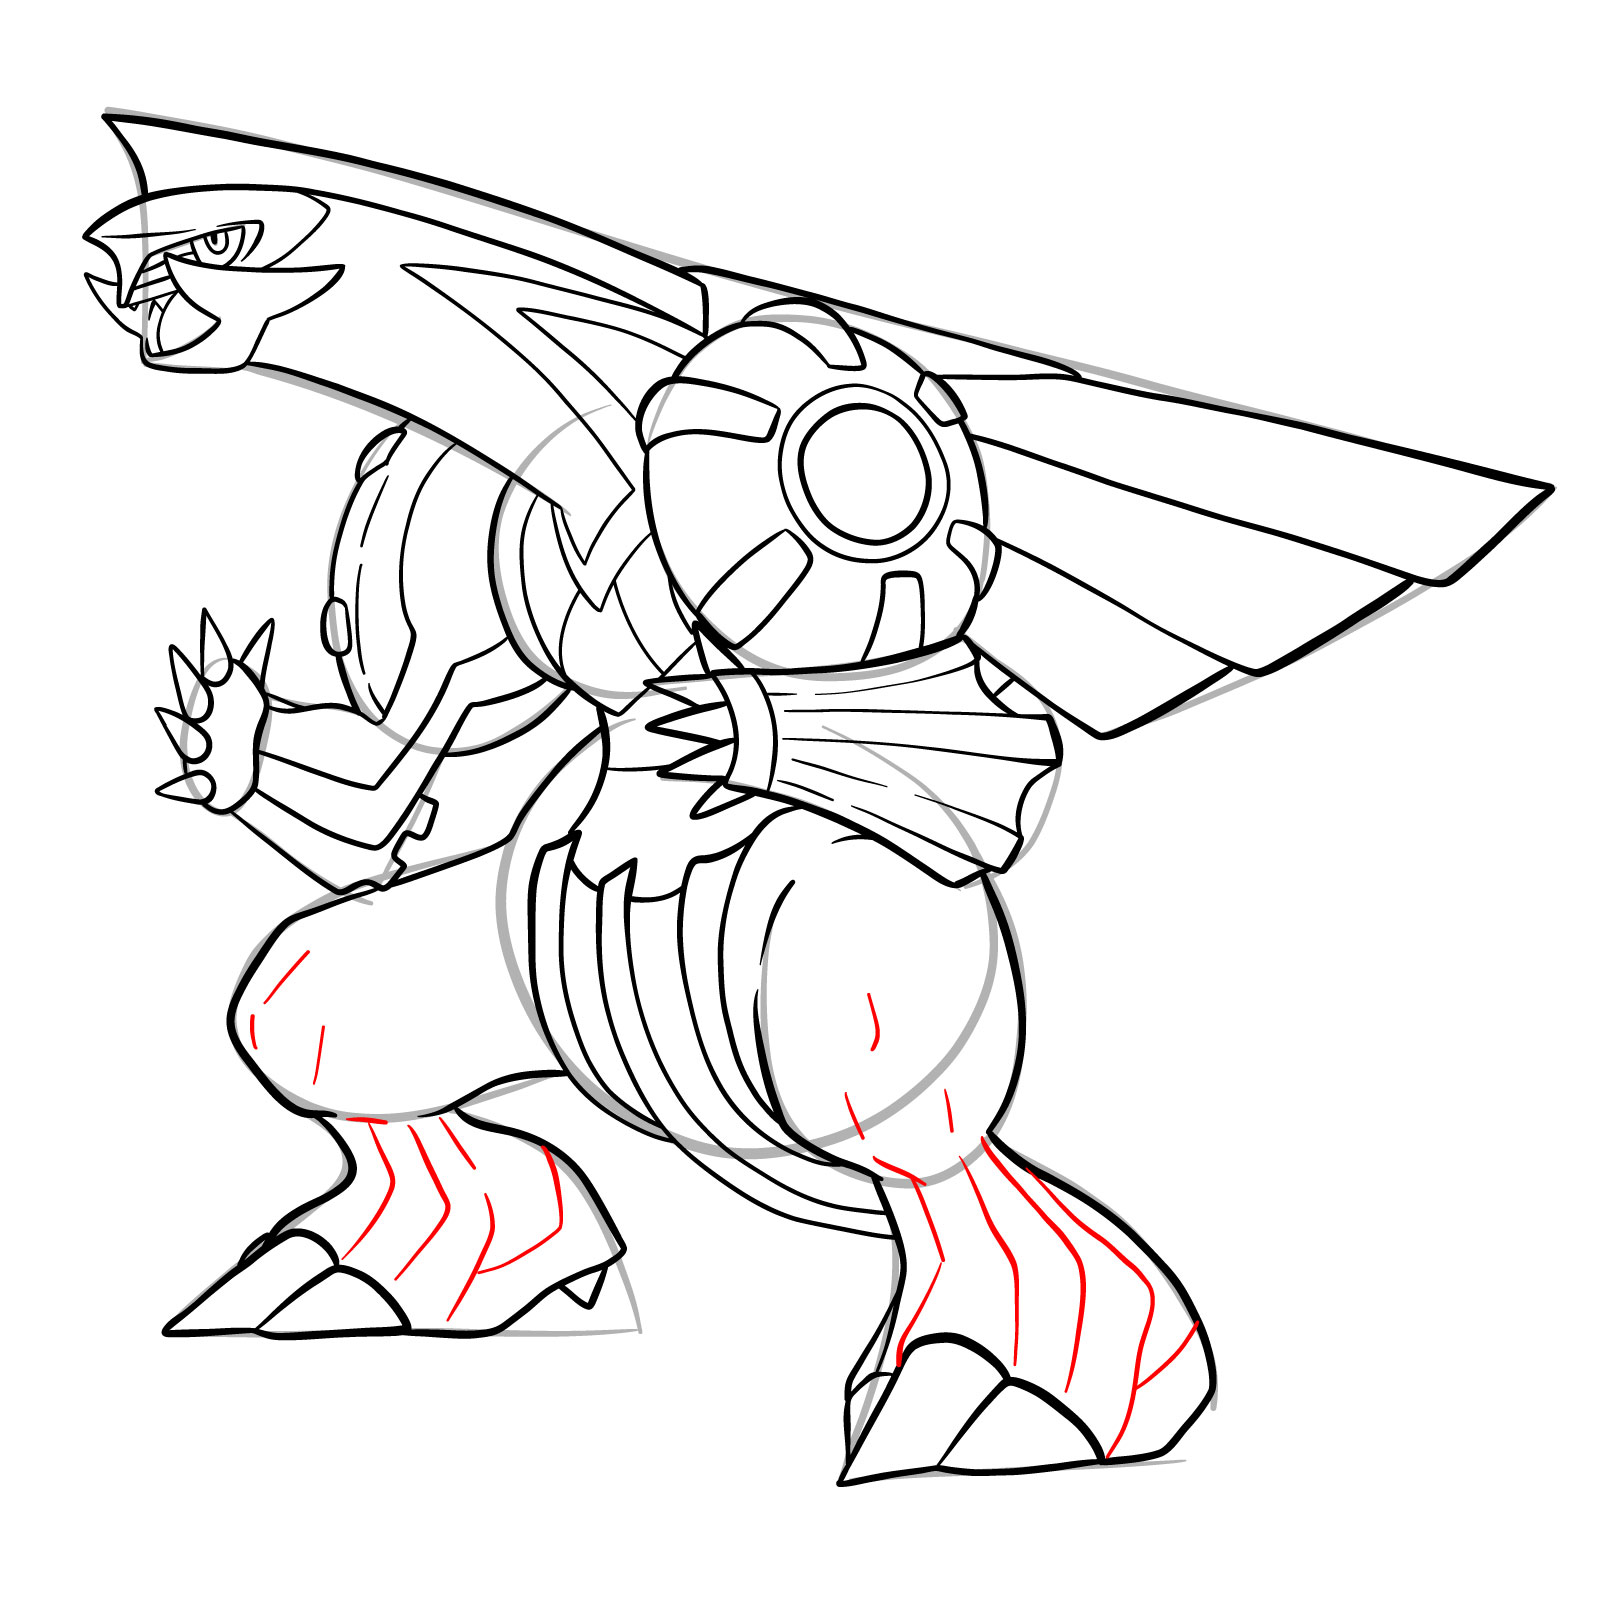
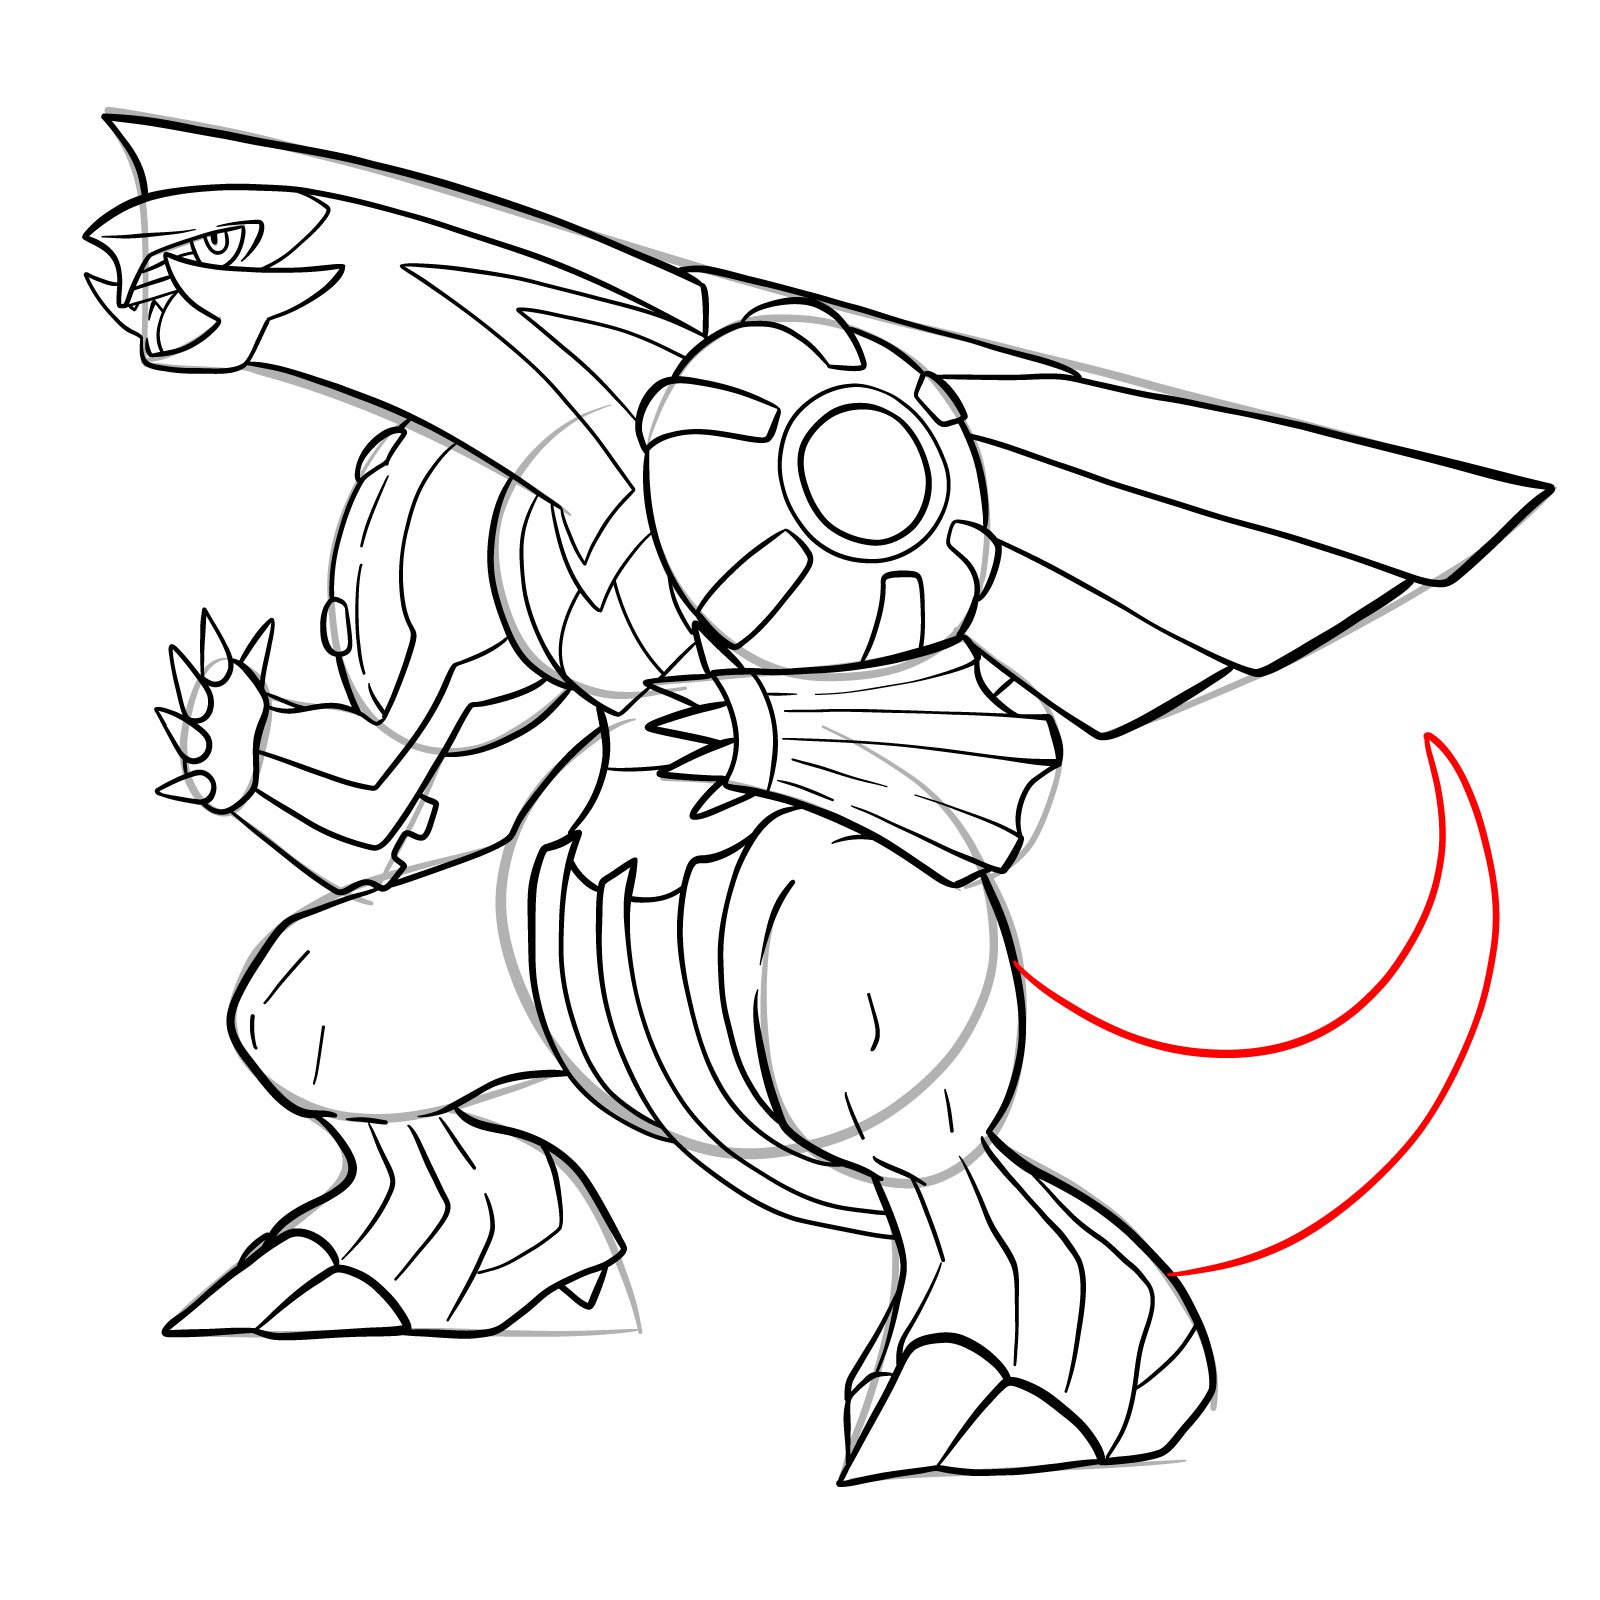
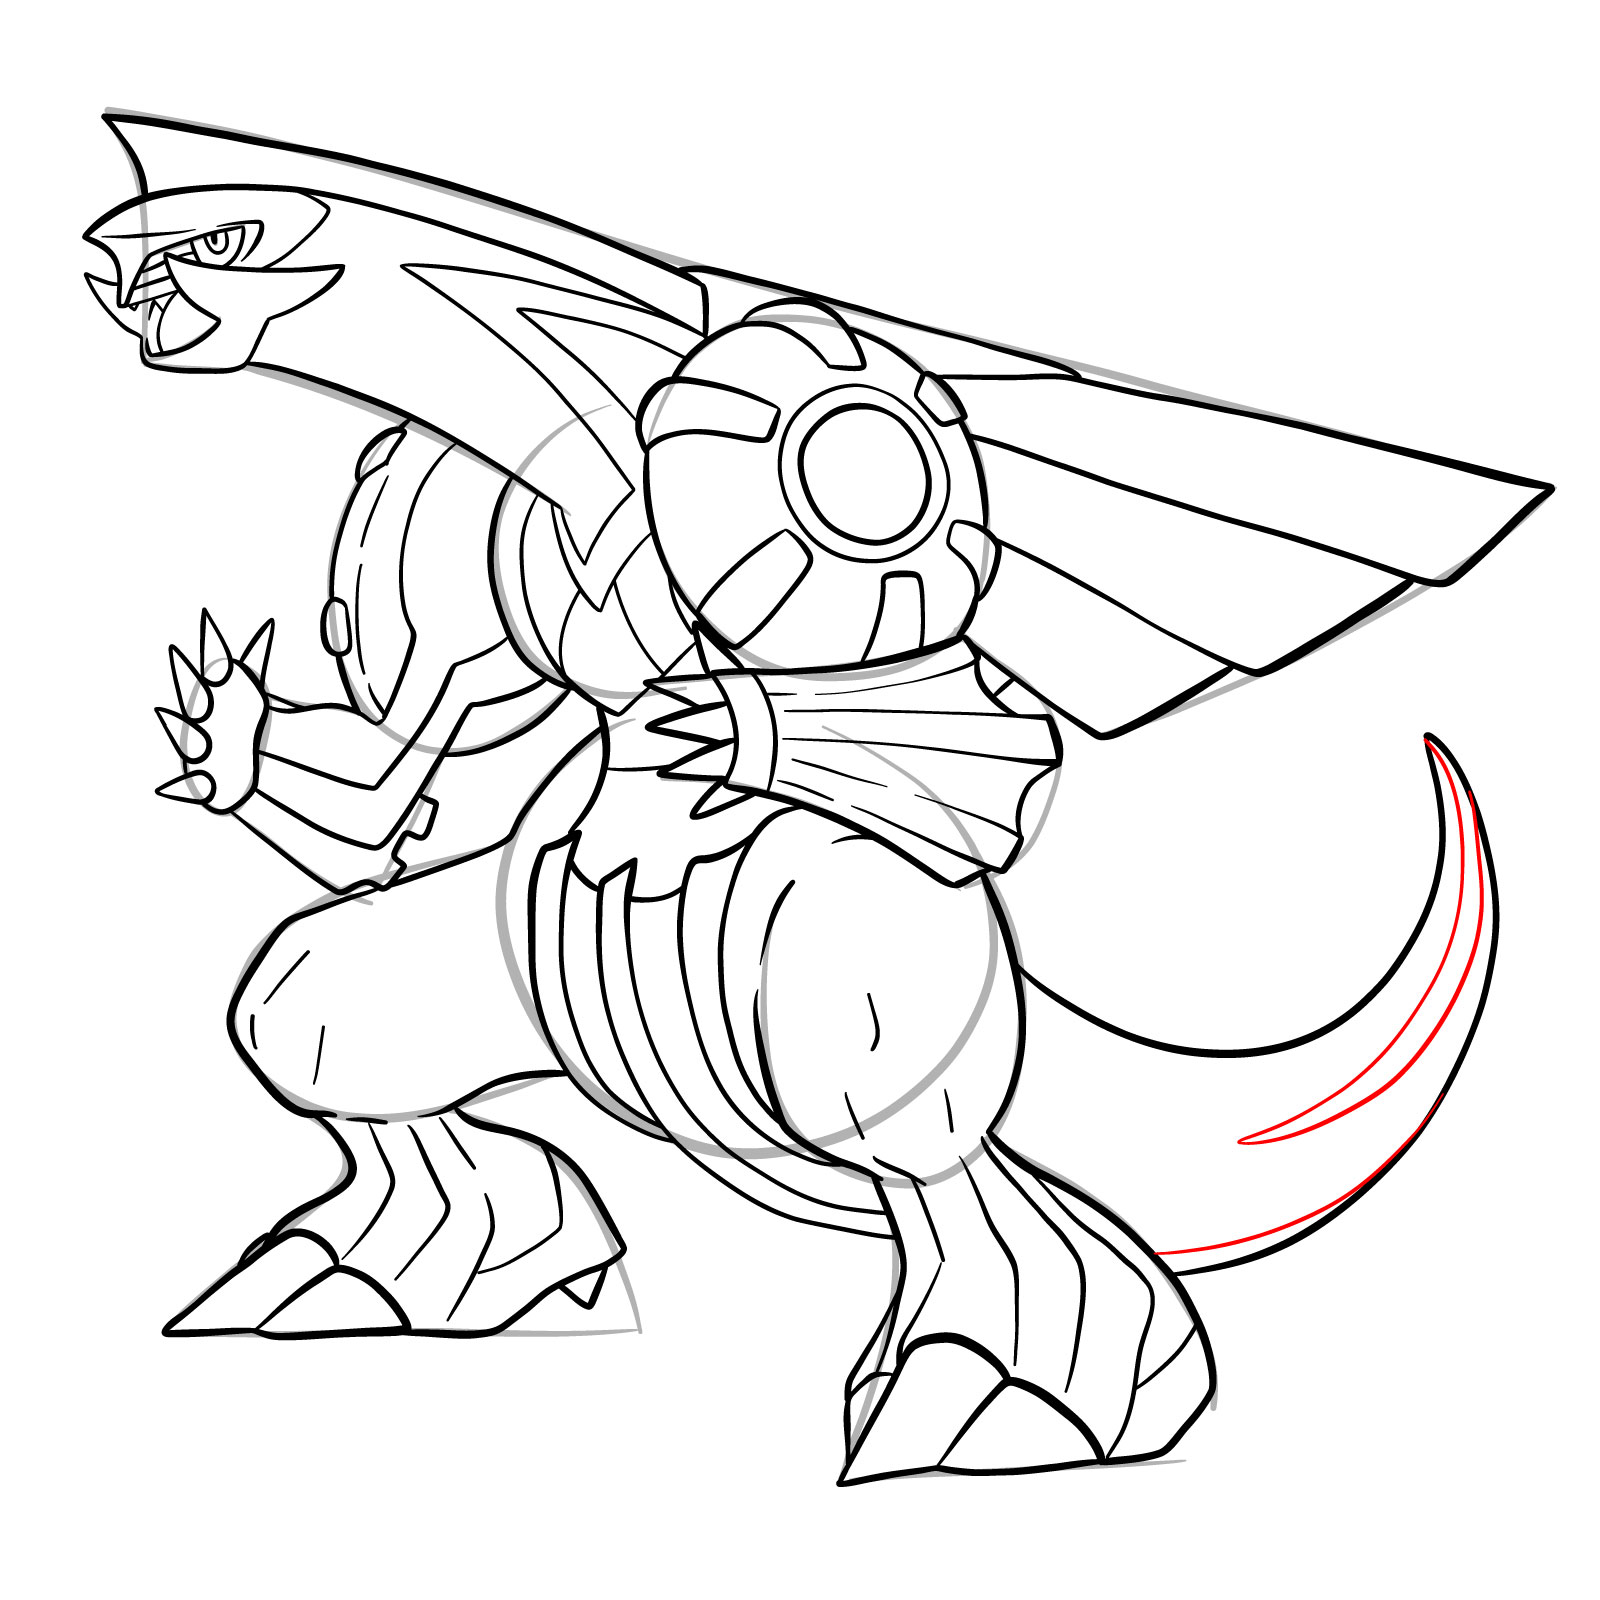
About the Drawing Guide

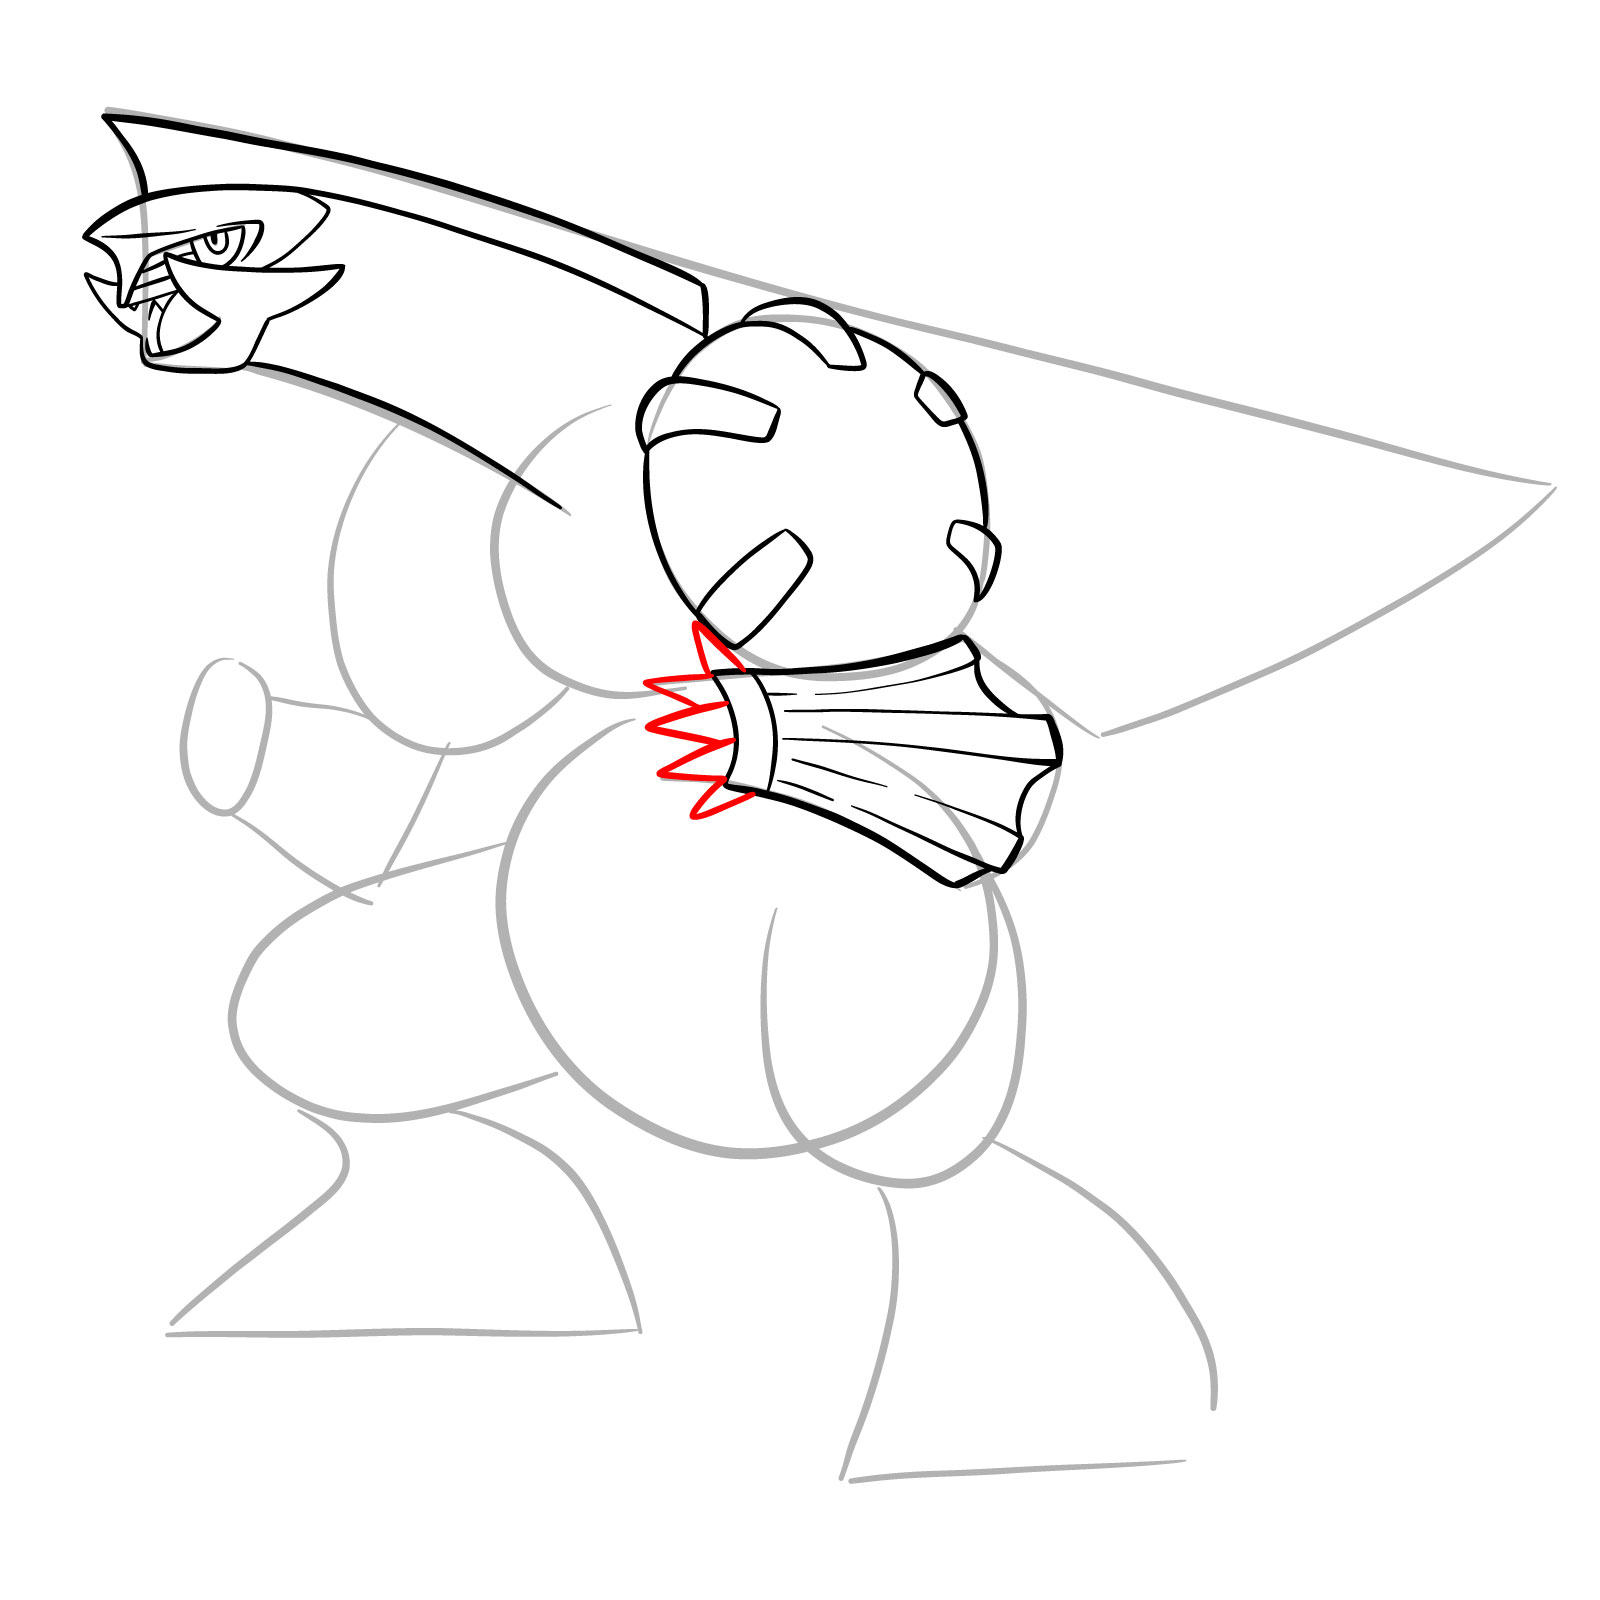
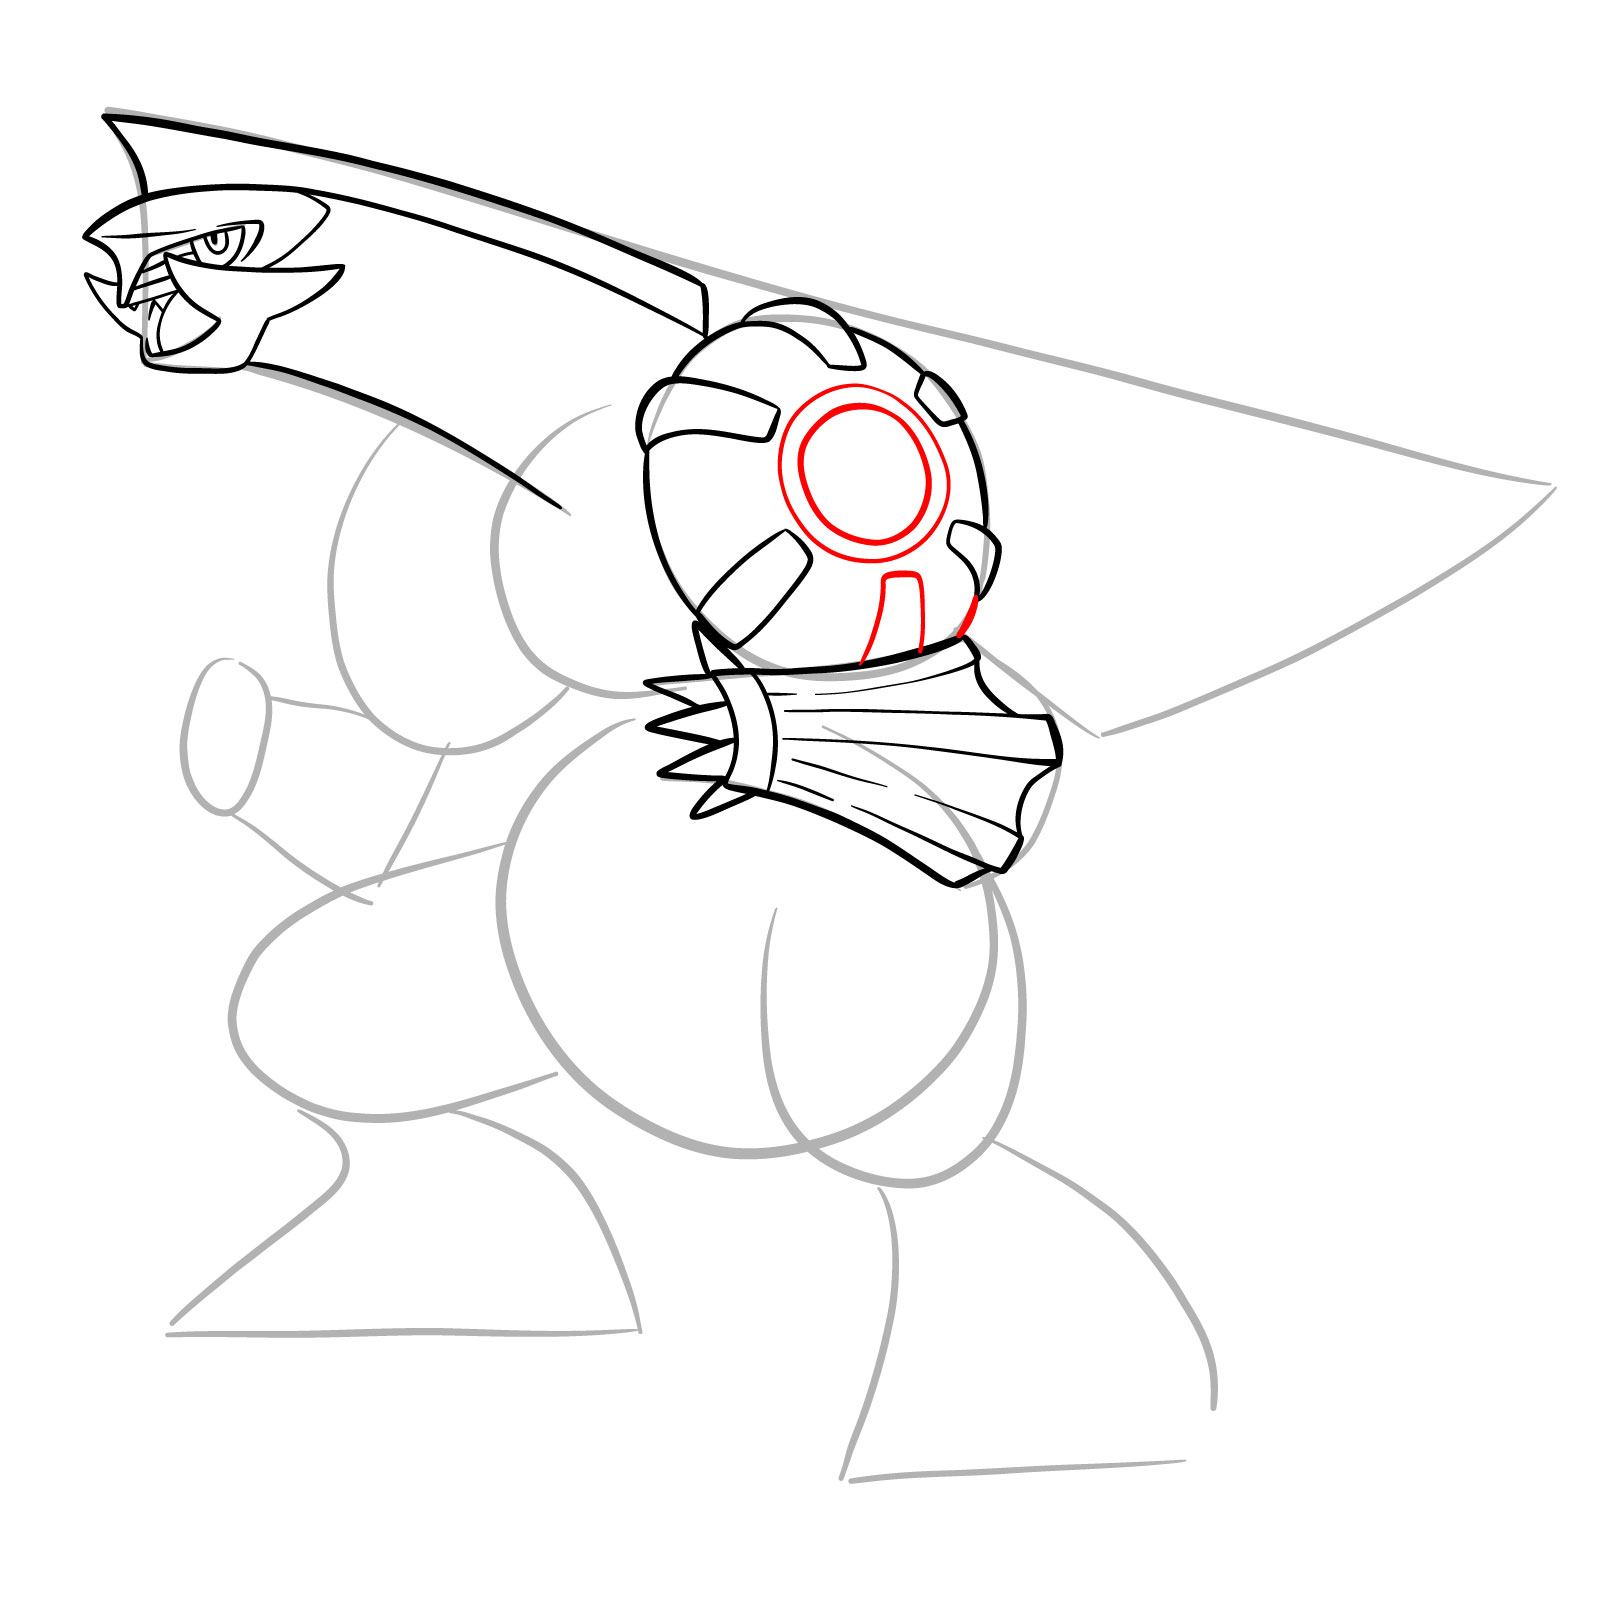
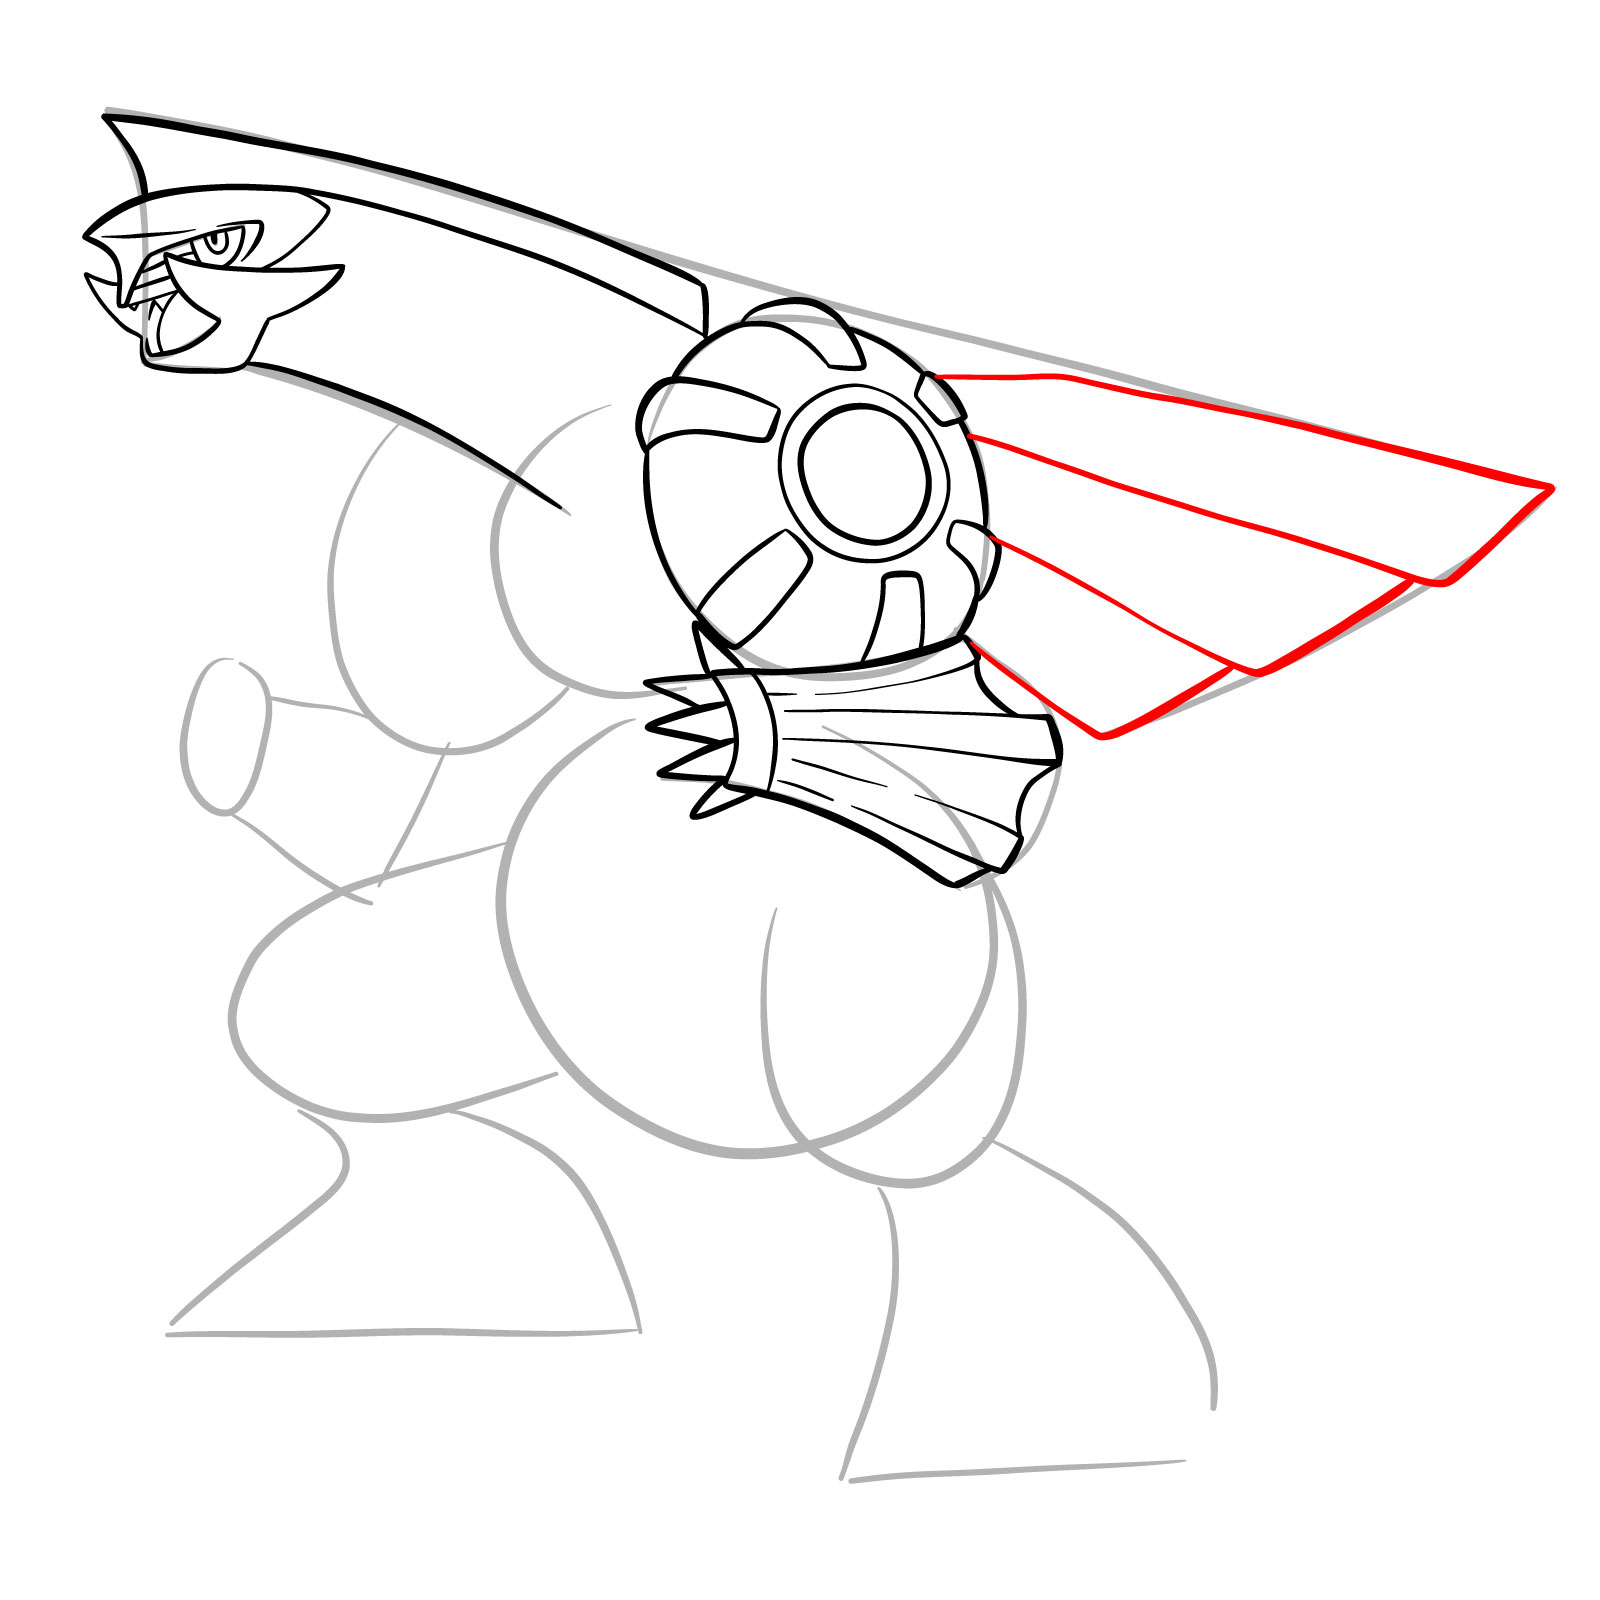
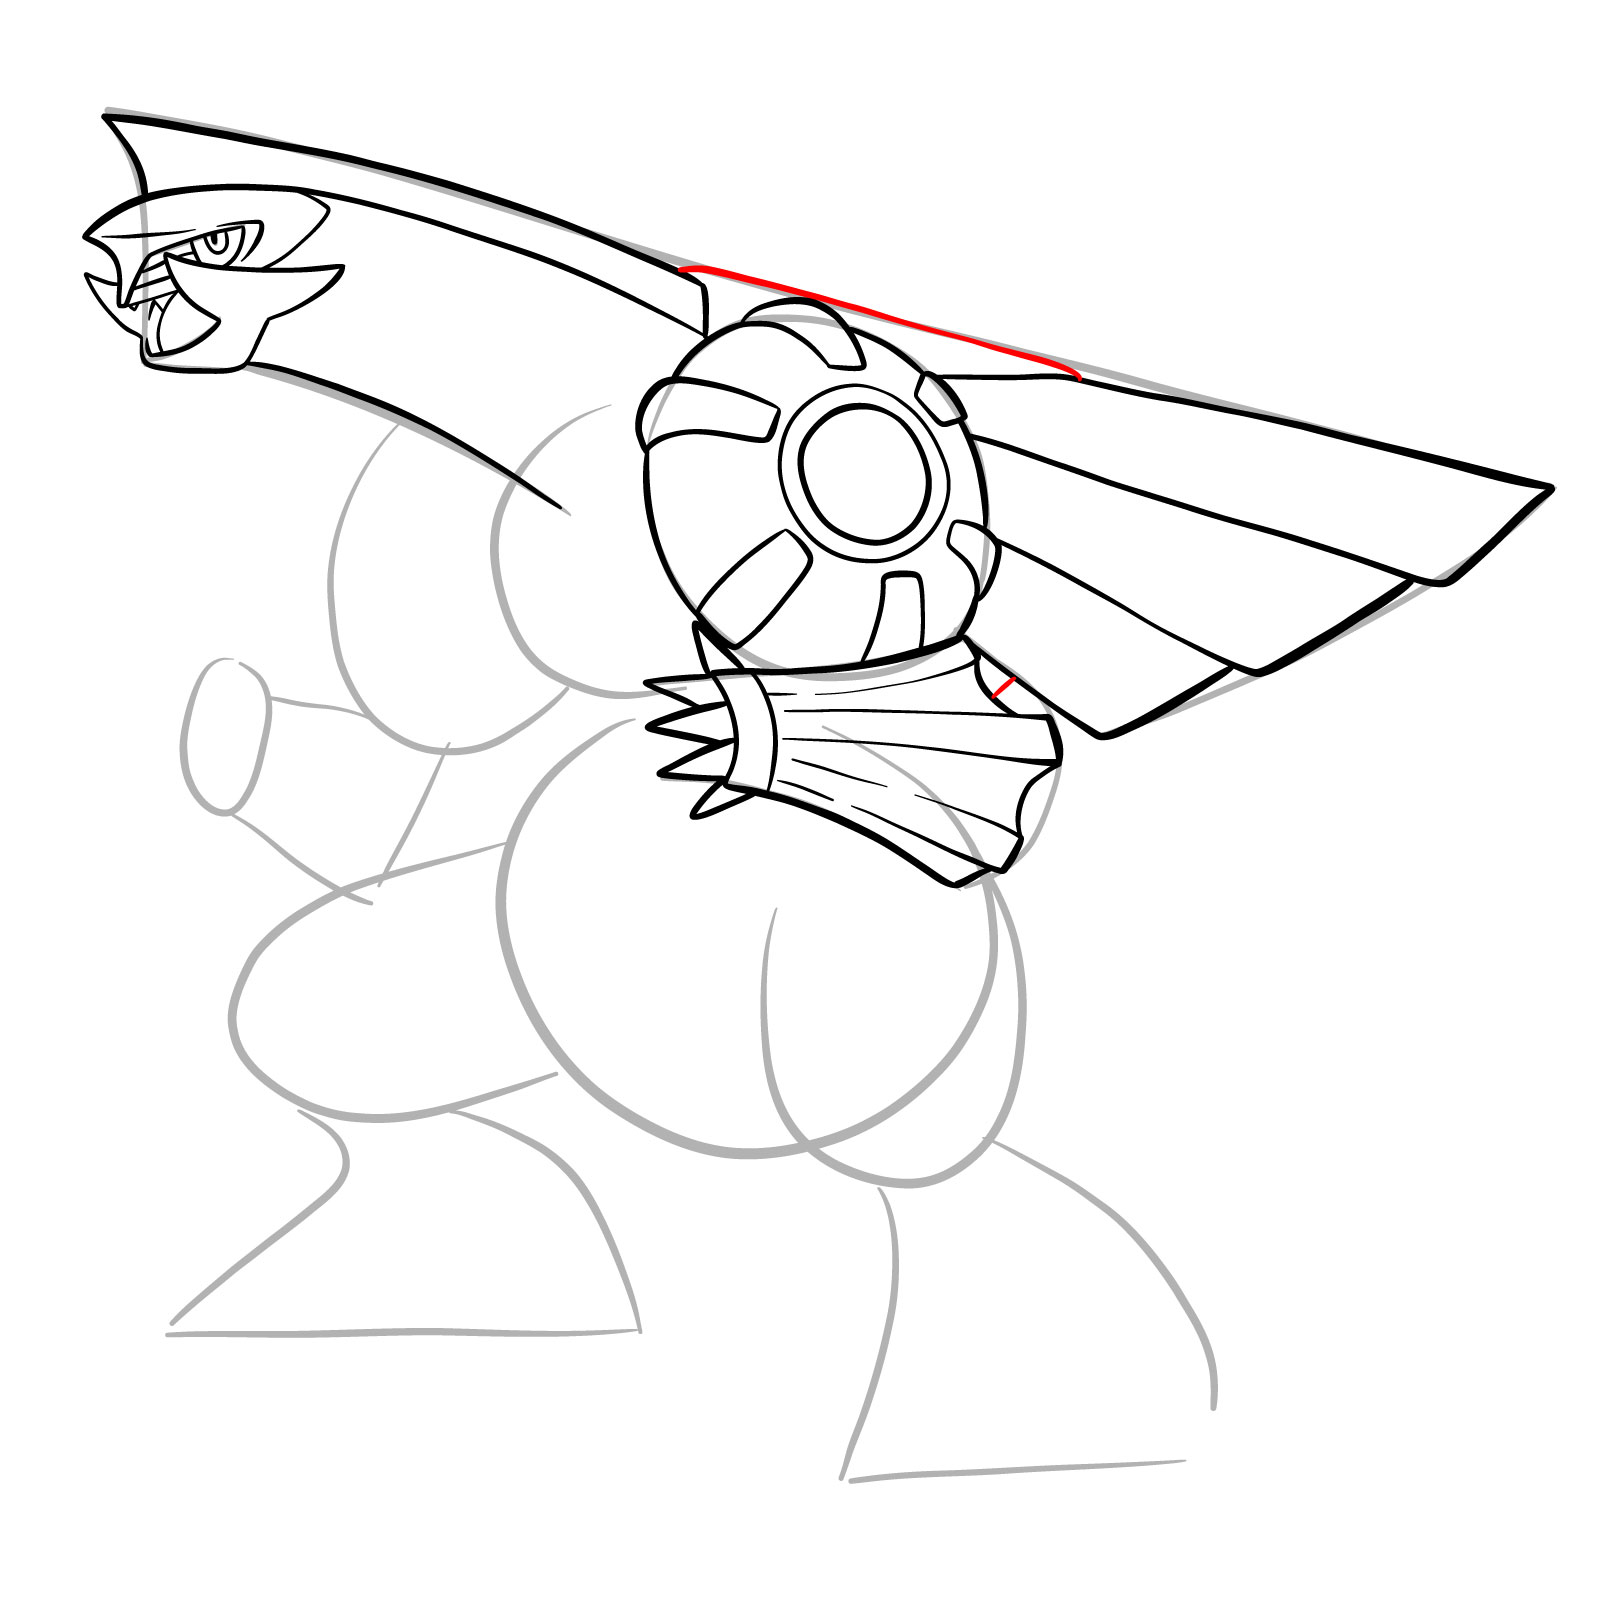
In our guide, you’ll find a color-coding system designed to assist you throughout your artistic journey:

  • Red: Highlights the current step you should be working on.
  • Black: Indicates the lines you’ve previously drawn.
  • Grey: Represents the basic sketch to maintain proportions.

This drawing guide consists of 39 steps. The first three steps lay down the foundational sketch, with light pencil strokes recommended. The laststep involves inking your sketch, giving it a clean and professional look. Remember to let the ink dry before erasing any pencil lines to prevent smudging.
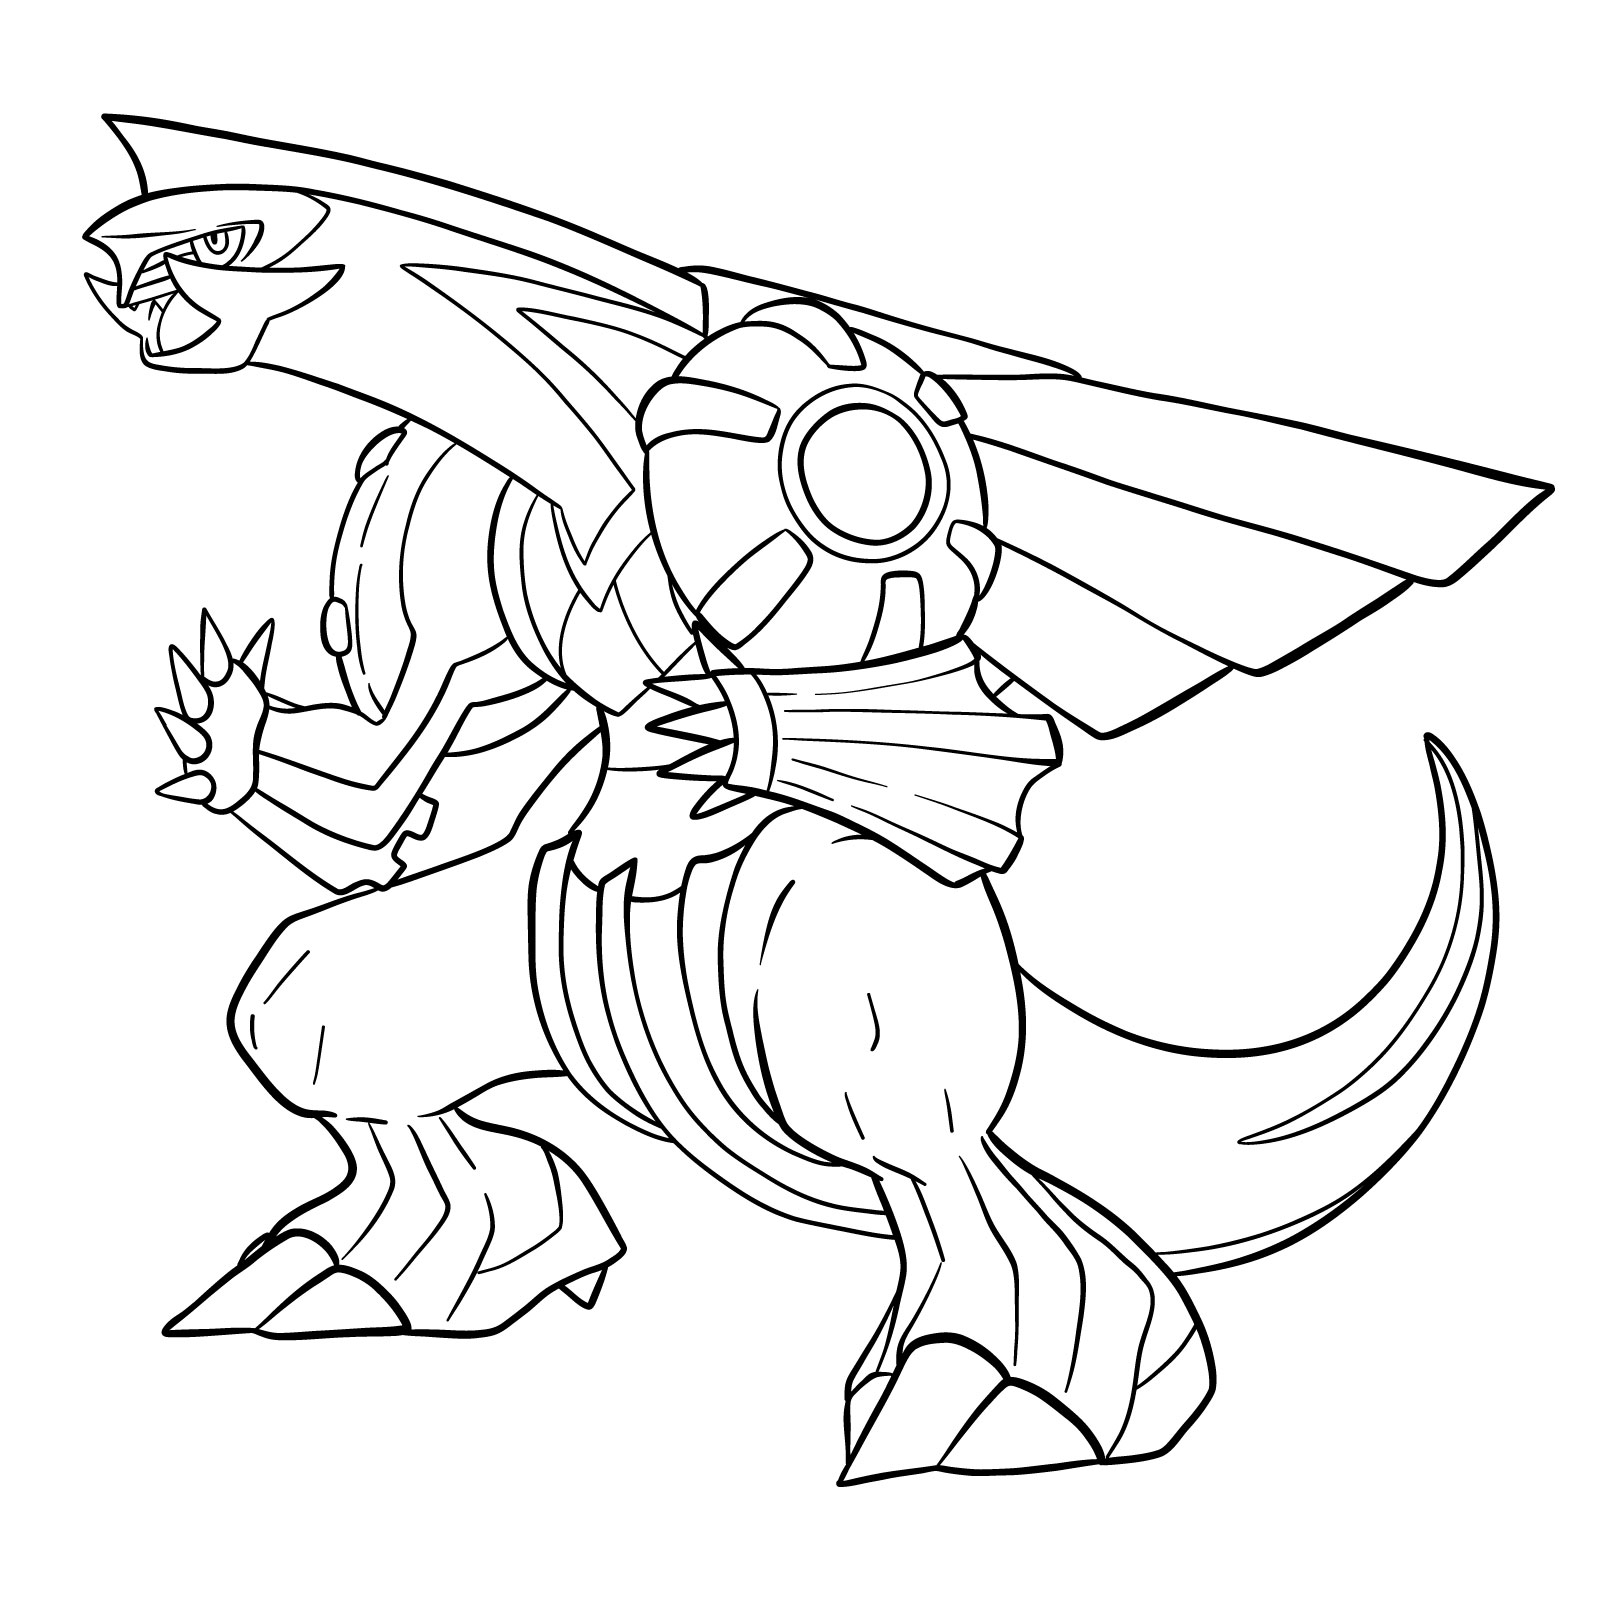
Step 01

How to draw Palkia Pokemon - step 01Pin

Step 02

How to draw Palkia Pokemon - step 02Pin

Step 03

How to draw Palkia Pokemon - step 03Pin

Step 04

How to draw Palkia Pokemon - step 04Pin

Step 05

How to draw Palkia Pokemon - step 05Pin

Step 06

How to draw Palkia Pokemon - step 06Pin

Step 07

How to draw Palkia Pokemon - step 07Pin

Step 08

How to draw Palkia Pokemon - step 08Pin

Step 09

How to draw Palkia Pokemon - step 09Pin

Step 10

How to draw Palkia Pokemon - step 10Pin

Step 11

How to draw Palkia Pokemon - step 11Pin

Step 12

How to draw Palkia Pokemon - step 12Pin

Step 13

How to draw Palkia Pokemon - step 13Pin

Step 14

How to draw Palkia Pokemon - step 14Pin

Step 15

How to draw Palkia Pokemon - step 15Pin

Step 16

How to draw Palkia Pokemon - step 16Pin

Step 17

How to draw Palkia Pokemon - step 17Pin

Step 18

How to draw Palkia Pokemon - step 18Pin

Step 19

How to draw Palkia Pokemon - step 19Pin

Step 20

How to draw Palkia Pokemon - step 20Pin

Step 21

How to draw Palkia Pokemon - step 21Pin

Step 22

How to draw Palkia Pokemon - step 22Pin

Step 23

How to draw Palkia Pokemon - step 23Pin

Step 24

How to draw Palkia Pokemon - step 24Pin

Step 25

How to draw Palkia Pokemon - step 25Pin

Step 26

How to draw Palkia Pokemon - step 26Pin

Step 27

How to draw Palkia Pokemon - step 27Pin

Step 28

How to draw Palkia Pokemon - step 28Pin

Step 29

How to draw Palkia Pokemon - step 29Pin

Step 30

How to draw Palkia Pokemon - step 30Pin

Step 31

How to draw Palkia Pokemon - step 31Pin

Step 32

How to draw Palkia Pokemon - step 32Pin

Step 33

How to draw Palkia Pokemon - step 33Pin

Step 34

How to draw Palkia Pokemon - step 34Pin

Step 35

How to draw Palkia Pokemon - step 35Pin

Step 36

How to draw Palkia Pokemon - step 36Pin

Step 37

How to draw Palkia Pokemon - step 37Pin

Step 38

How to draw Palkia Pokemon - step 38Pin

Step 39

How to draw Palkia Pokemon - final stepPin

FAQs

What type of pen should I use for inking?
For best results, consider using fine-liner pens as they offer precision, are easy to control, and come in various sizes. Remember to let the ink dry before proceeding to color or erase any pencil lines to prevent smudging.
How can I make my drawing more accurate?
Observation and practice are key. Pay attention to the proportions, shapes, and unique features of the character. Start with a light sketch to fix any errors, and gradually add details. Patience and practice will yield better results over time.
How can I add depth to my drawing?
Shading and highlighting techniques can add depth to your drawing. Understanding light source and reflection is crucial. A well-shaded drawing creates a three-dimensional look, making the character appear more realistic.

Conclusion: Sharing Your Artistic Journey

As an artist sharing my journey with SketchOk, I invite you to join our vibrant community of art enthusiasts. Sharing your work, your struggles, and your triumphs can inspire other budding artists and create a ripple of creativity. To keep the SketchOk project live and help us create more free drawing guides, consider making a small donation here.

Follow us on Facebook, Instagram, and Pinterest to stay updated with our latest guides. Remember, every line you draw brings you one step closer to your masterpiece. So grab your pencils, and let’s create some art!

Did you like the tutorial?

You can support the author of this website and also suggest your own ideas for new drawings by making a small donation here:

2 thoughts on “How to draw Palkia Pokemon”

Leave a Comment

54