Art lovers and Pokémon fans, gather round! Our new step-by-step tutorial will guide you in drawing the majestic water Pokémon, Milotic, celebrated as one of the most beautiful creatures in the Pokémon universe. With each pencil stroke, you’ll bring this serene beauty to life on your sketchpad. Let’s dive right in!
Understanding Milotic: Key Features to Consider
Introduced in Generation III, Milotic possesses a unique elegance that sets it apart from other Pokémon. As you embark on this creative endeavor, pay special attention to the following characteristic traits:
- Ethereal Physiology: Milotic, akin to a sea serpent or an oarfish, boasts a sinuous, elegant body predominantly cream in color.
- Vibrant Tail: Milotic’s fan-like tail exhibits captivating shades of blue and magenta that change depending on the viewing angle. This element adds a vibrant splash to your drawing.
- Distinctive Facial Features: Long, flowing red “hair,” curling eyebrows, and enchanting crimson eyes further contribute to Milotic’s overall allure.
Consider adding other water-type Pokémon like Gyarados or Sharpedo to your drawing to create a dynamic underwater scene.
Mastering the Art: Your Guide Explained
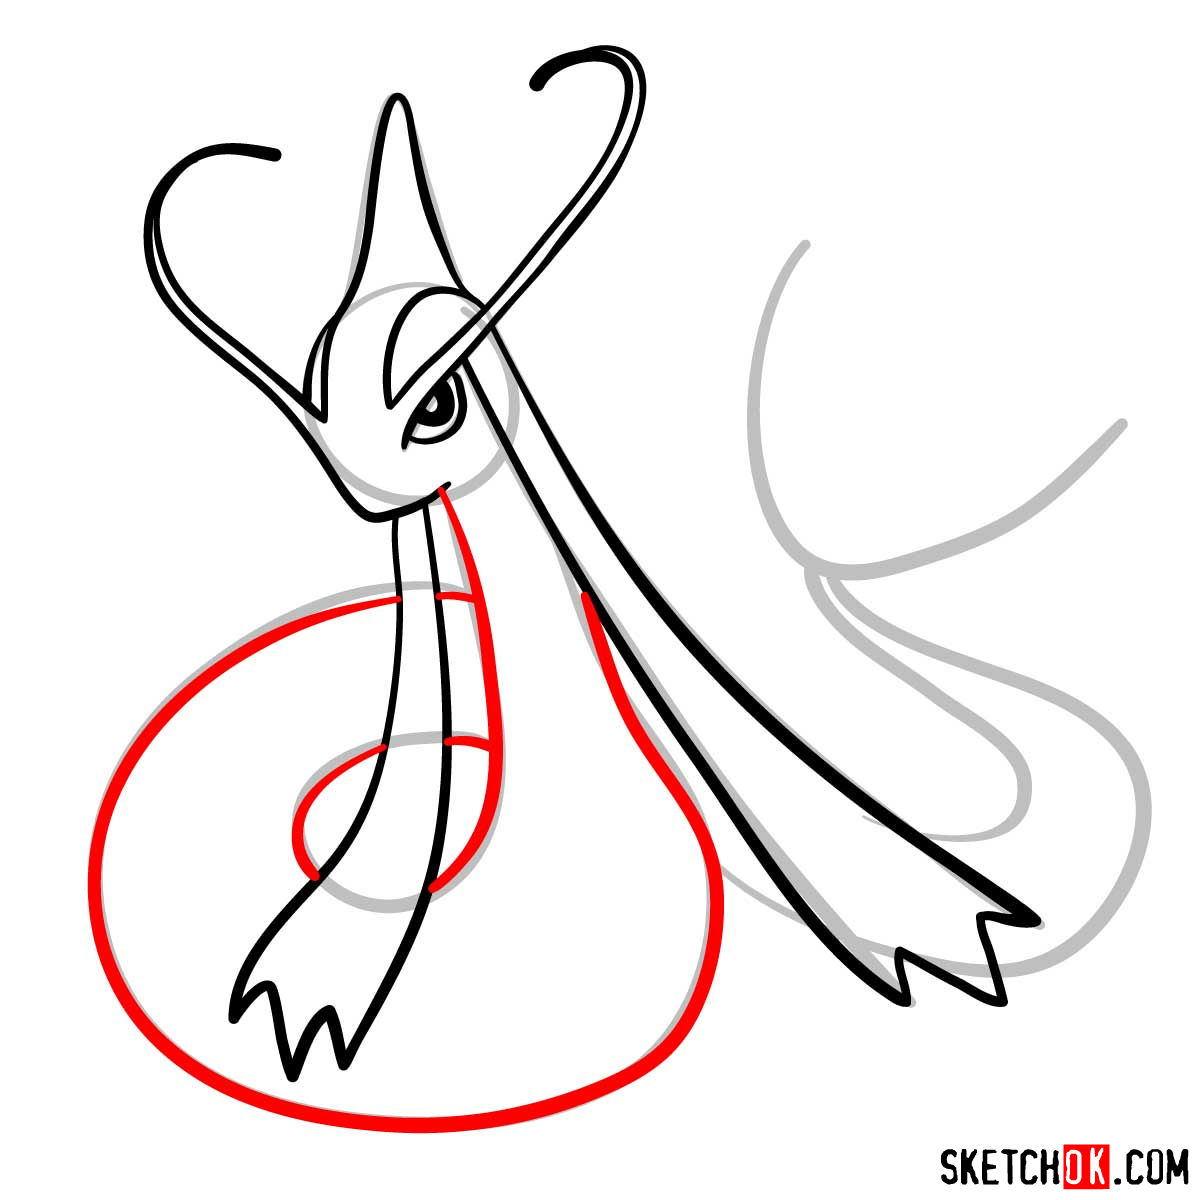
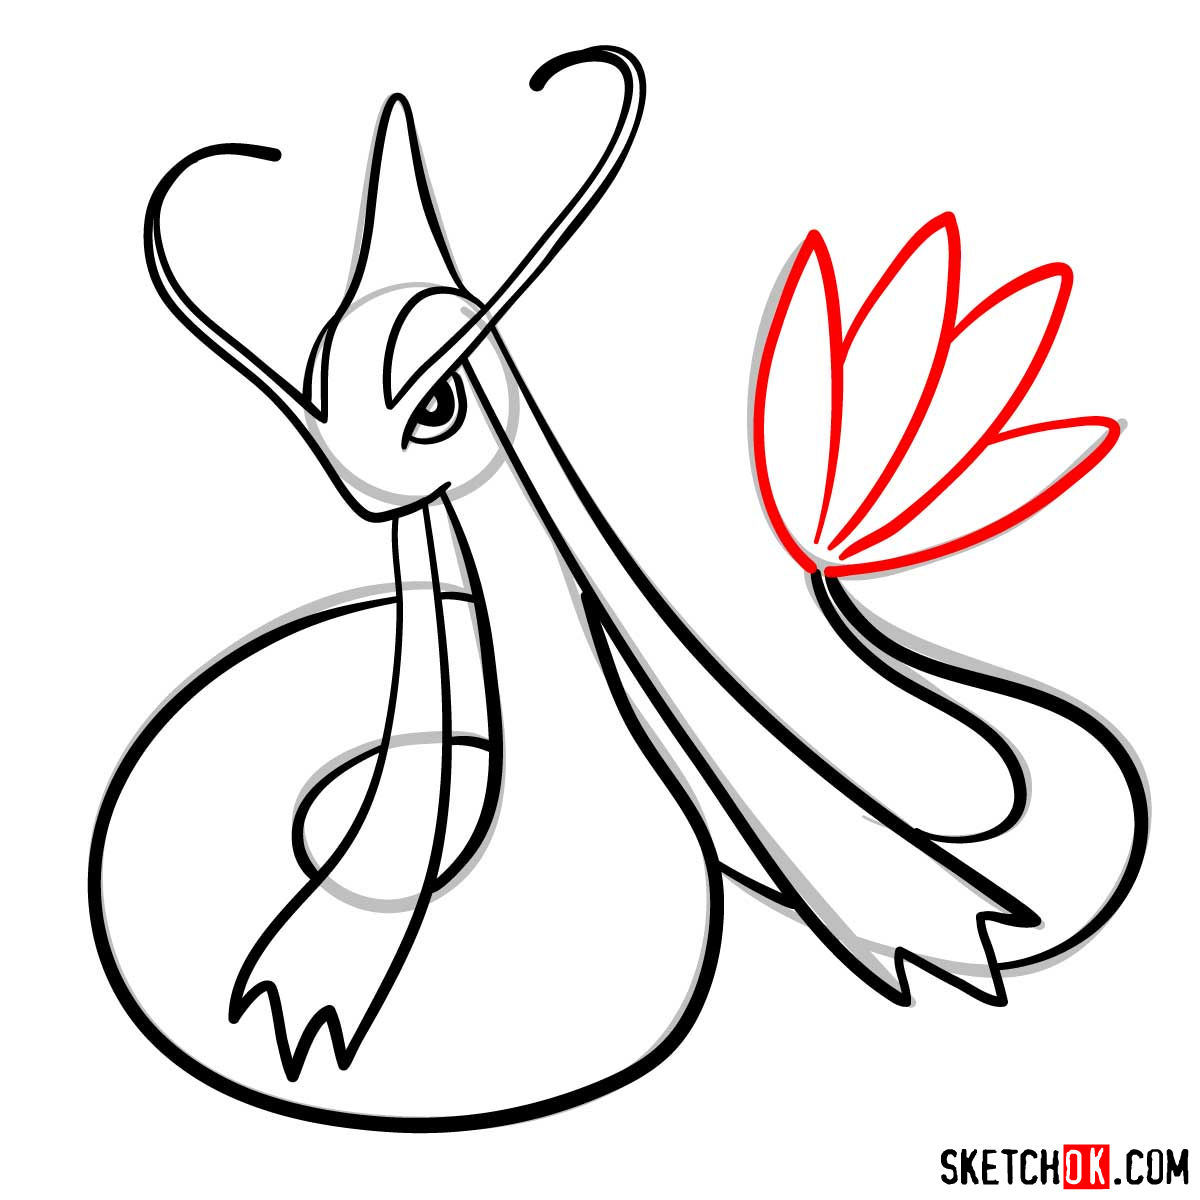
Our step-by-step guide on how to draw Milotic employs a color-coded system to simplify the drawing process. It comprises 11 steps, with the first 2 devoted to sketching the basic structure using light pencil strokes. The color coding is as follows:
- Red Color: Highlights the current drawing step.
- Black Color: Represents the lines you’ve already drawn.
- Grey Color: Depicts the basic proportion sketch.
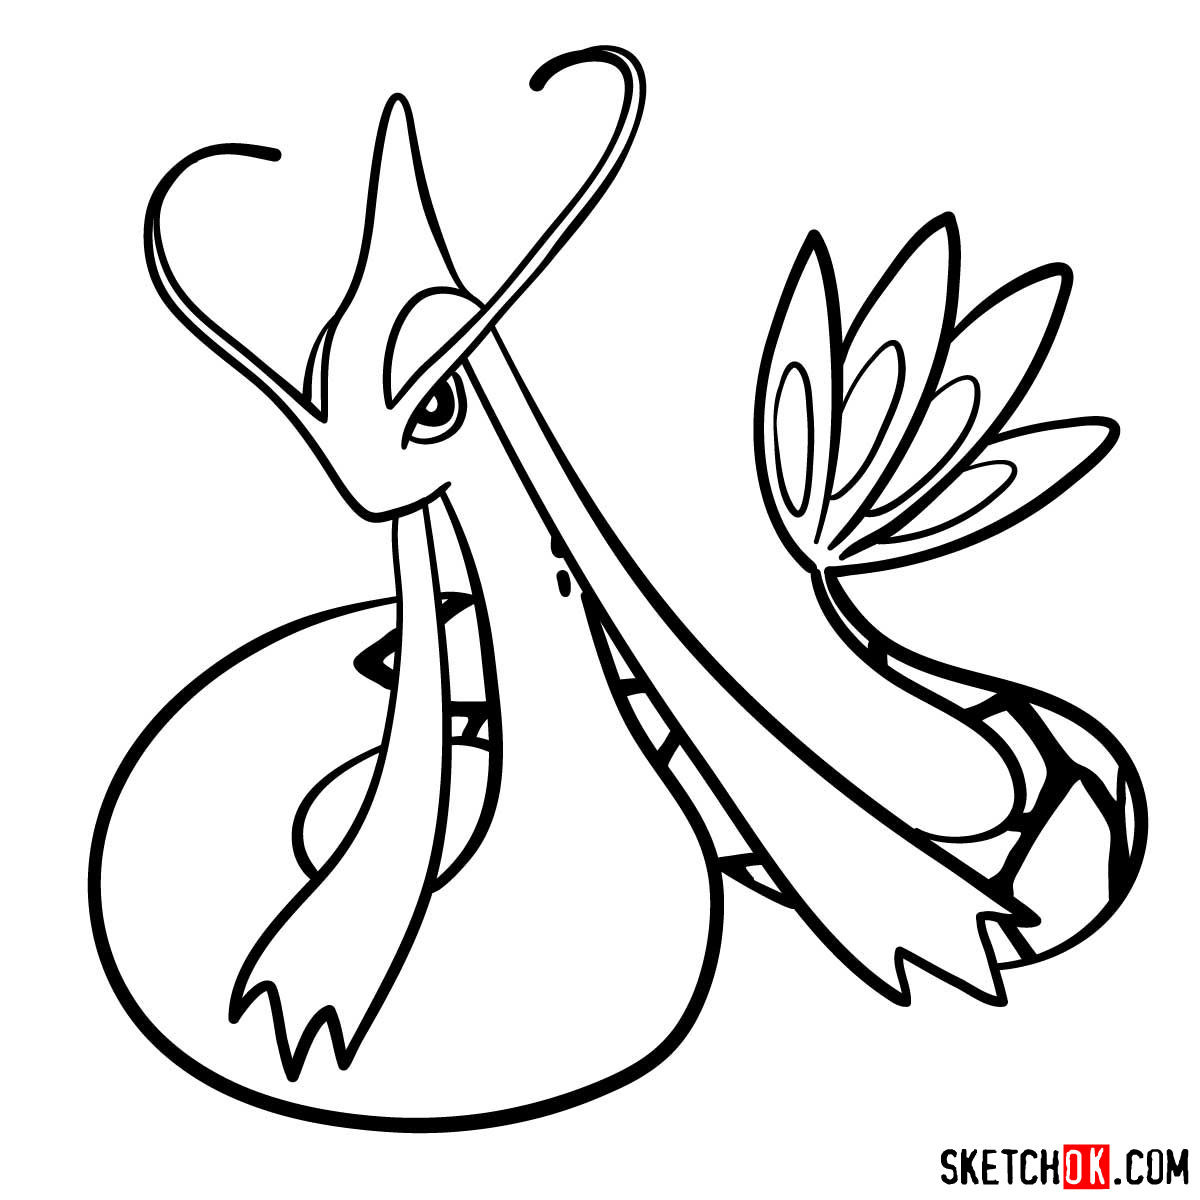
Once you’re satisfied with your pencil sketch, you may decide to ink it in the penultimate step. Remember to erase gently the pencil lines once the ink has dried. The last step serves as a guide for coloring your sketch, thereby bringing Milotic to life.


Frequently Asked Questions
- How can I effectively depict Milotic’s changing tail colors?
- To replicate the color-changing effect of Milotic’s tail, try employing various shades of blue and magenta. Layering these colors lightly and gradually blending them together can help achieve a stunning result.
- What should I focus on to ensure Milotic’s elegance is captured in my sketch?
- Focus on the smooth, flowing lines that define Milotic’s form. The elongated body, graceful tail, and distinctive facial features all contribute to its elegance. Don’t rush, take your time to get these elements right.
- How can I make my Pokémon sketch look more realistic?
- Shading and highlighting are key to adding depth and realism. Pay attention to where the light would naturally hit and cast shadows in your drawing. This can make your sketch of Milotic look more three-dimensional.
Conclusion: Fueling the Fire of Artistry
And that’s it! Now you know how to draw the beautiful and majestic Milotic. But remember, every great artist started as a beginner, so don’t worry if you don’t get it right the first time. Keep practicing, keep refining, and you’ll see progress.
We at SketchOk are dedicated to fostering the artist in everyone. These guides are offered for free to make art accessible to all. Your generous donations help keep the project alive and allow us to create more guides to inspire more artists. Your contribution makes a difference.
We encourage you to share your work and our guides with others. Join our community on Facebook, Instagram, and Pinterest. We can’t wait to see your masterpieces!
Thank you for being a part of our artistic journey. Keep sketching, keep growing, and above all, enjoy the process!