Welcome to our step-by-step drawing guide dedicated to one of the most electrifying creatures from the world of Pokemon, Jolteon. As an Electric-type Pokemon from Generation I, Jolteon captivates with its vibrant yellow fur, piercing purple eyes, and spiky demeanor. Whether you’re a budding artist or a seasoned illustrator, we’re thrilled to help you bring this dynamic creature to life on your sketchpad.
A Quick Peek at Jolteon’s Anatomy
Before we delve into the guide, let’s familiarize ourselves with the anatomy and key features of Jolteon. Understanding these elements will not only make your drawing process smoother but also result in a more accurate representation of this electric beast.
- Shape: Jolteon has a quadruped, mammalian form.
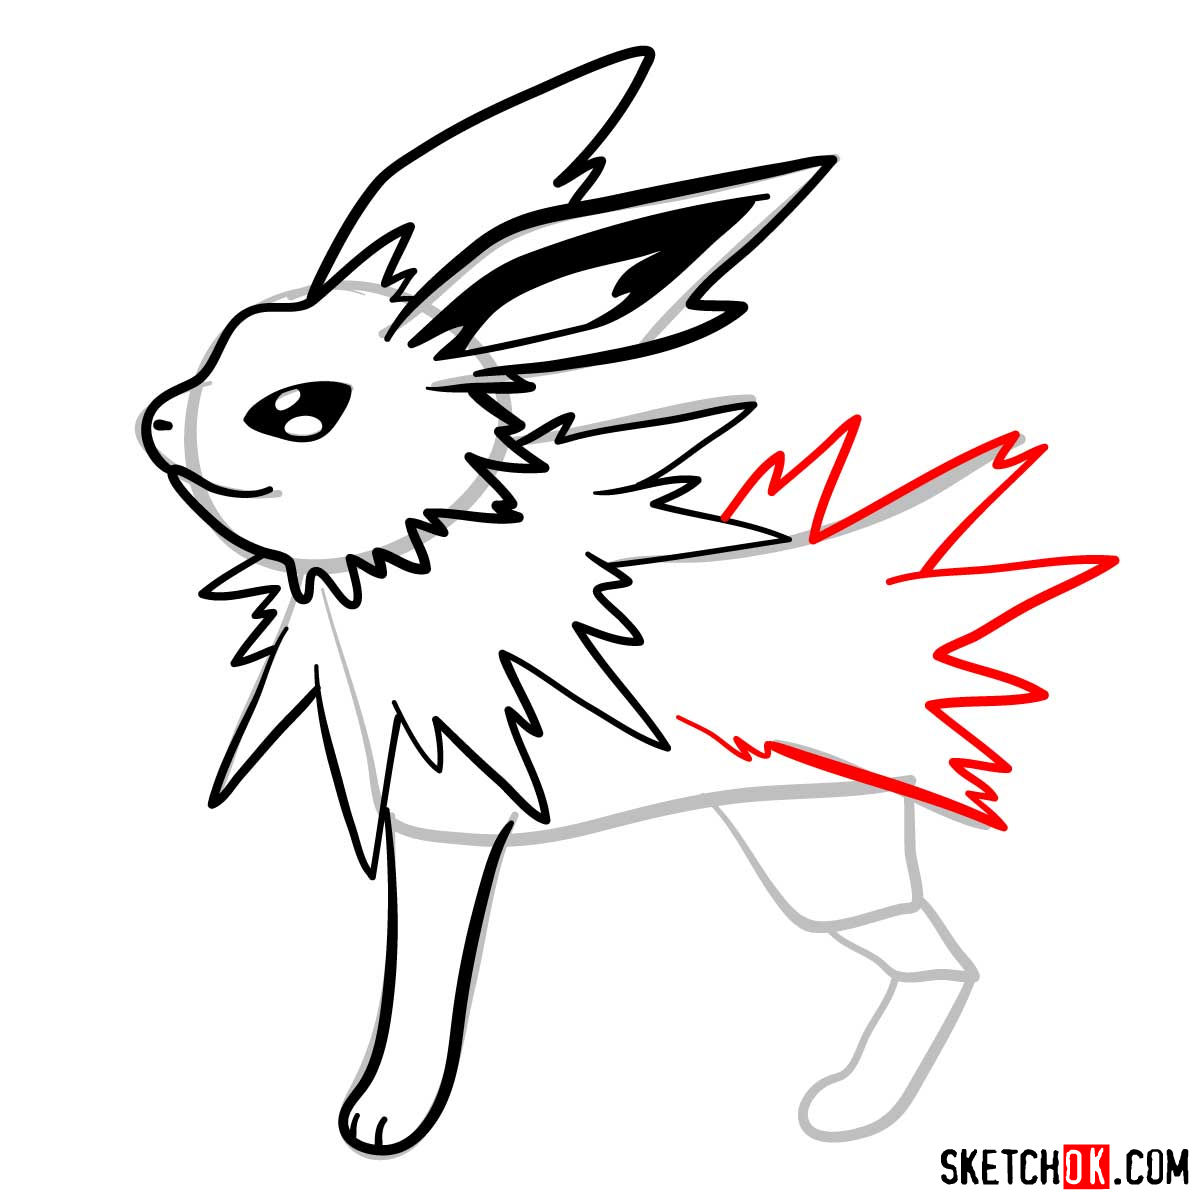
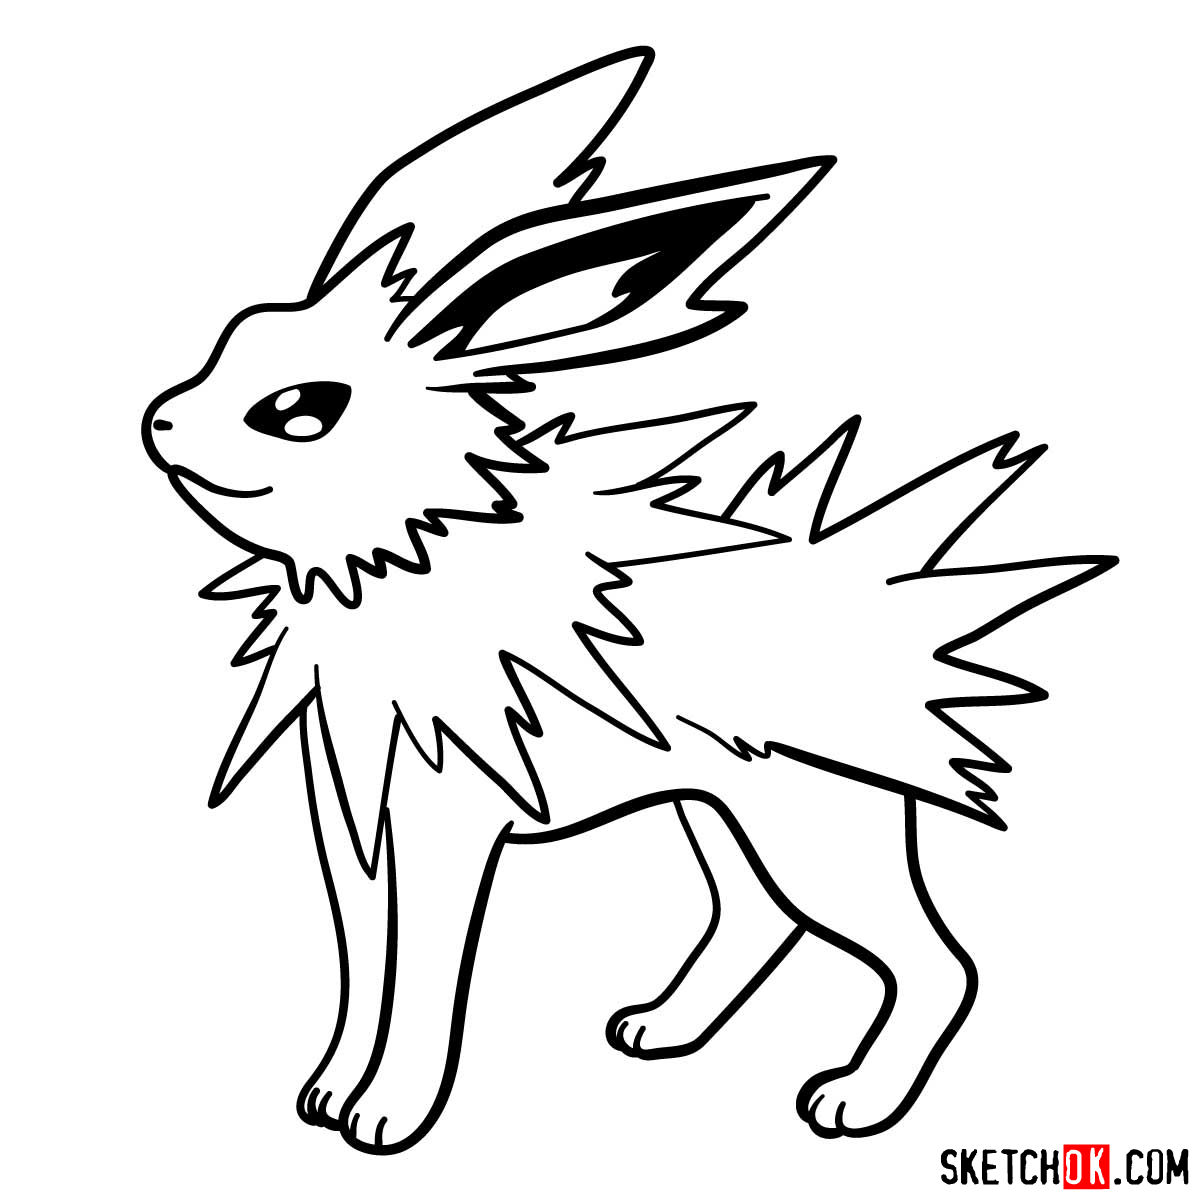
- Fur: The Pokemon is covered in spiny, bright yellow fur, giving it a vibrant, electrifying appearance.
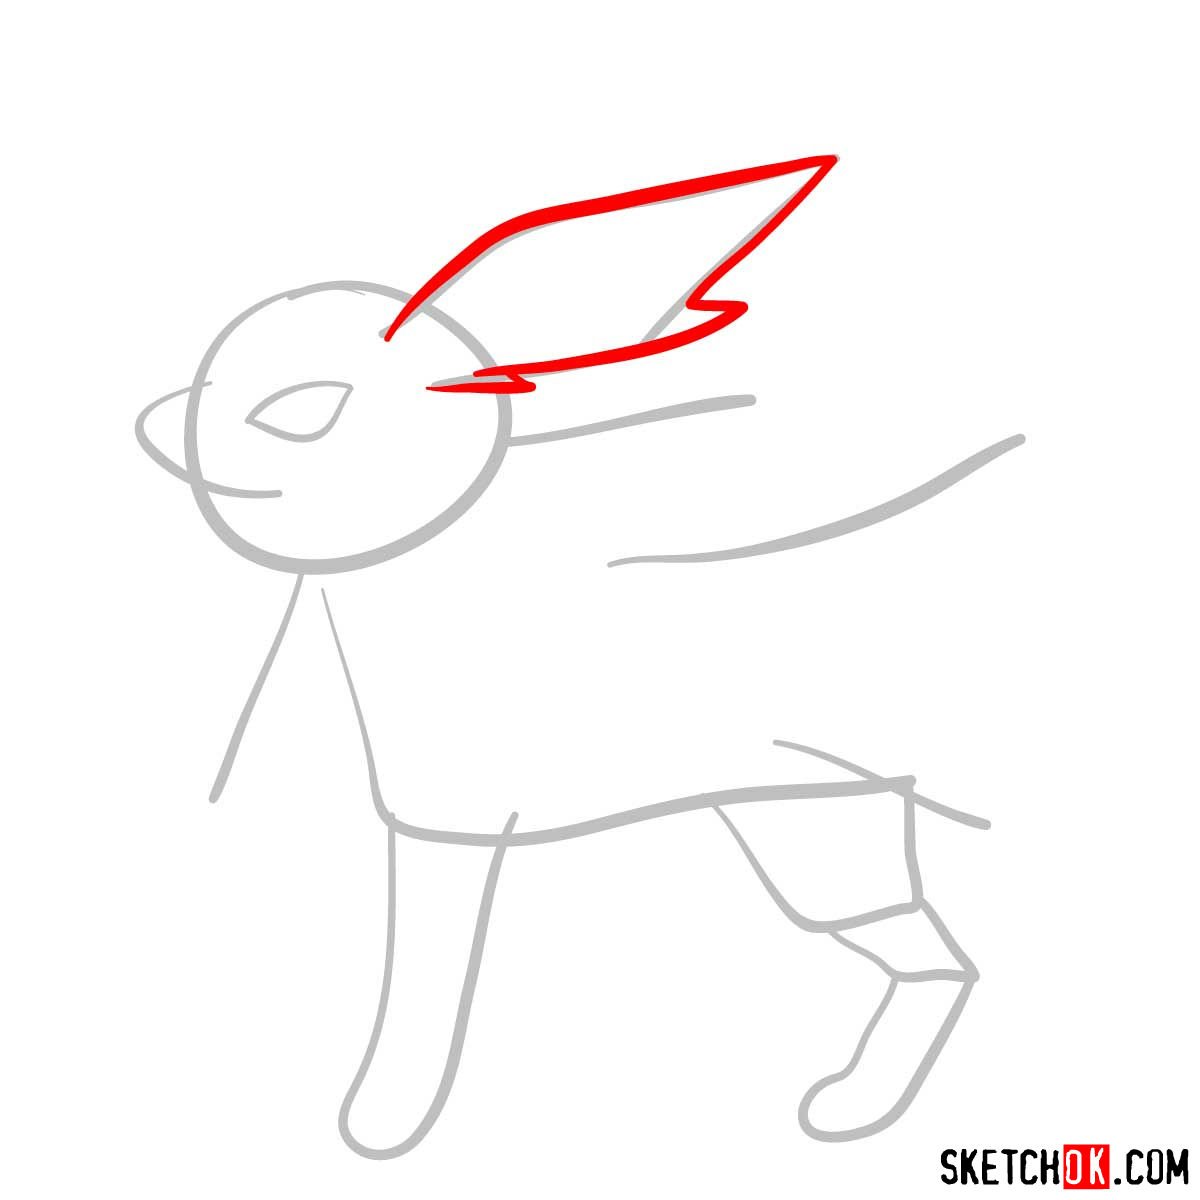
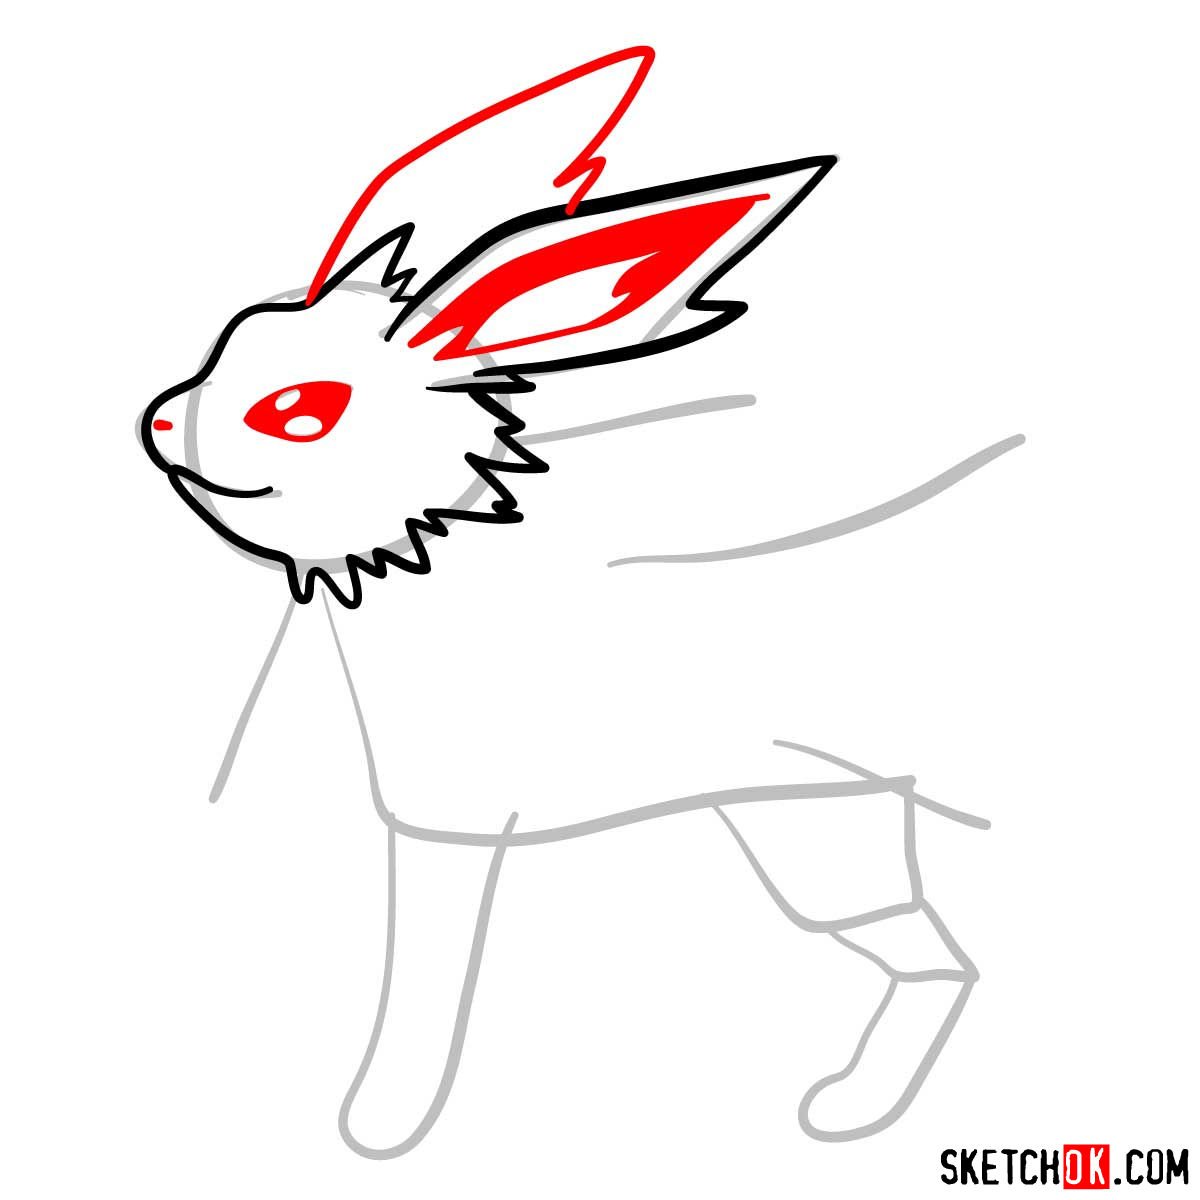
- Eyes and Ears: Jolteon possesses deep, purple almond-shaped eyes, with long, rabbit-like ears.
- Muzzle and Nose: It features a cat-like muzzle with a small, black triangular nose.
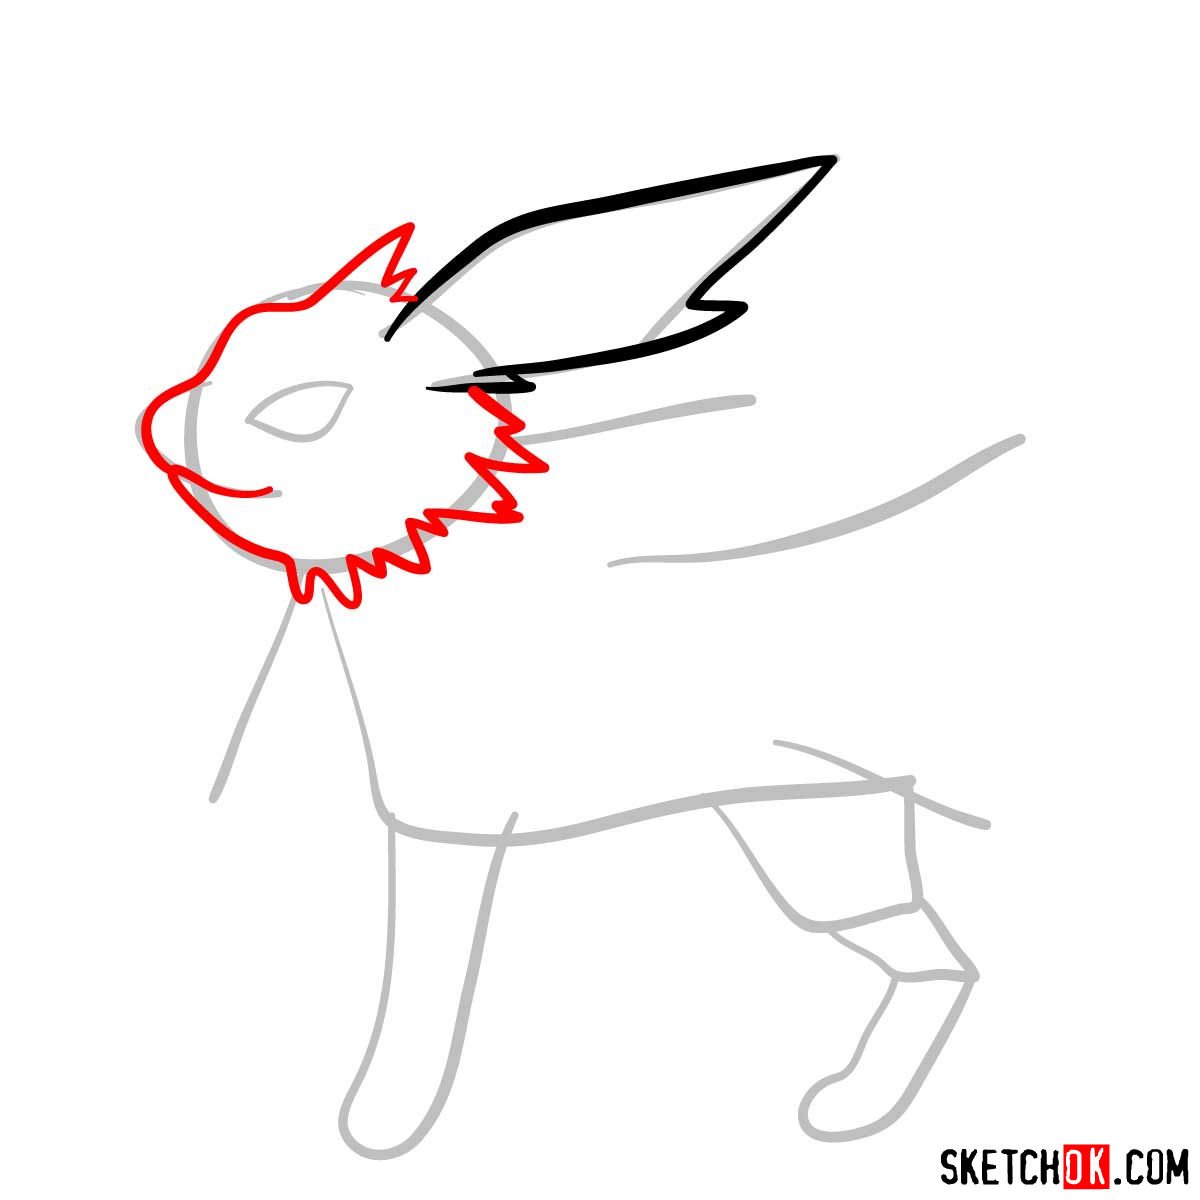
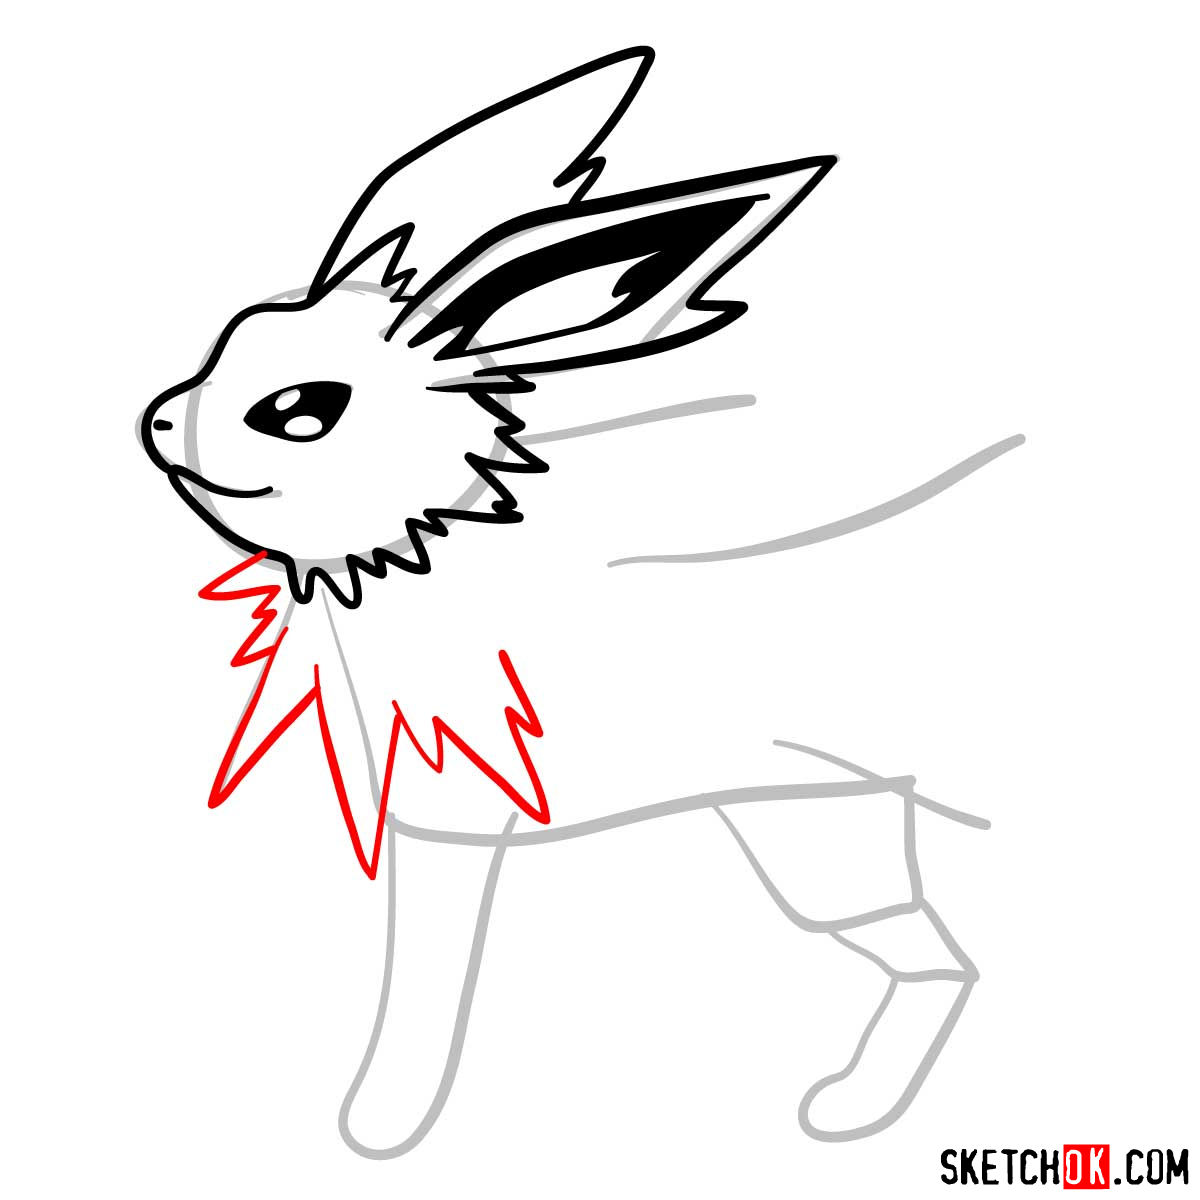
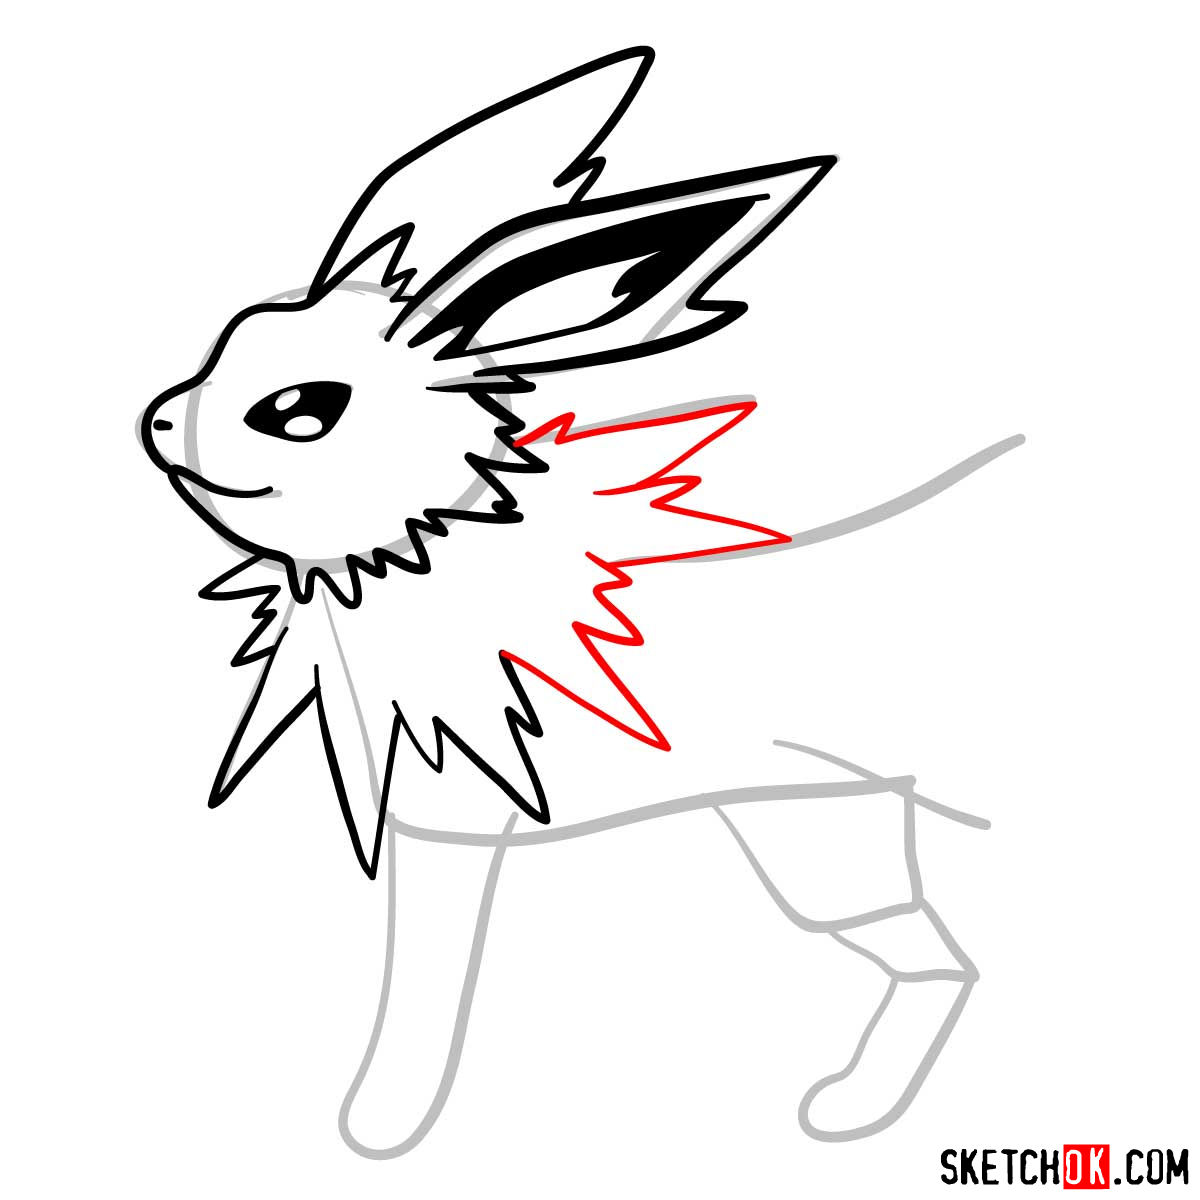
- Mane and Tail: Jolteon sports a white, spiky mane around its neck, with a small, short spike-like tail that’s often hidden.
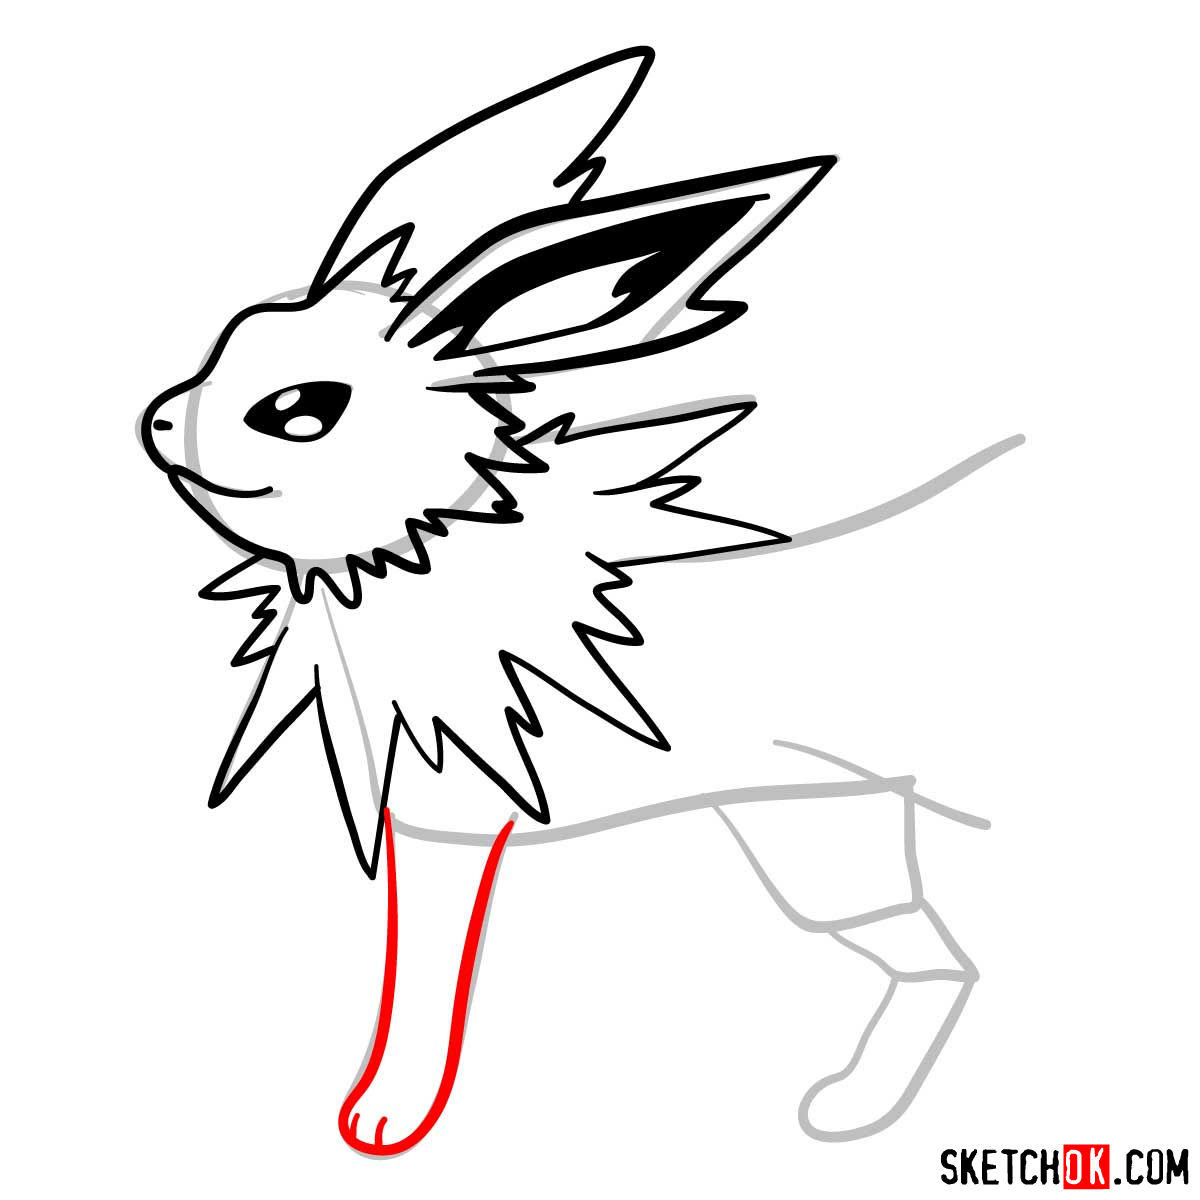
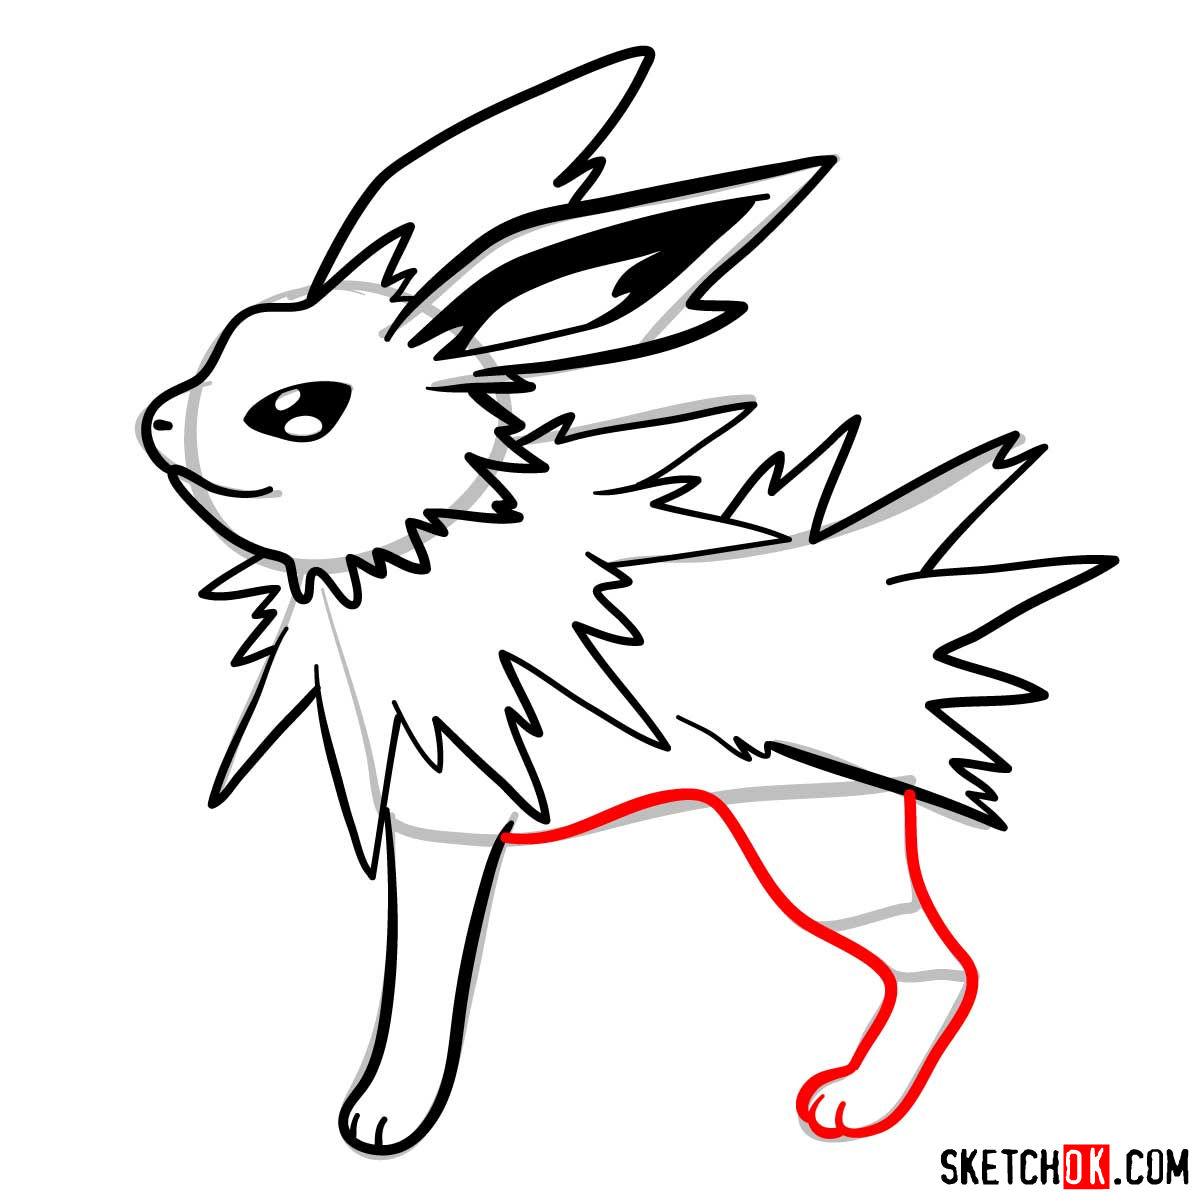
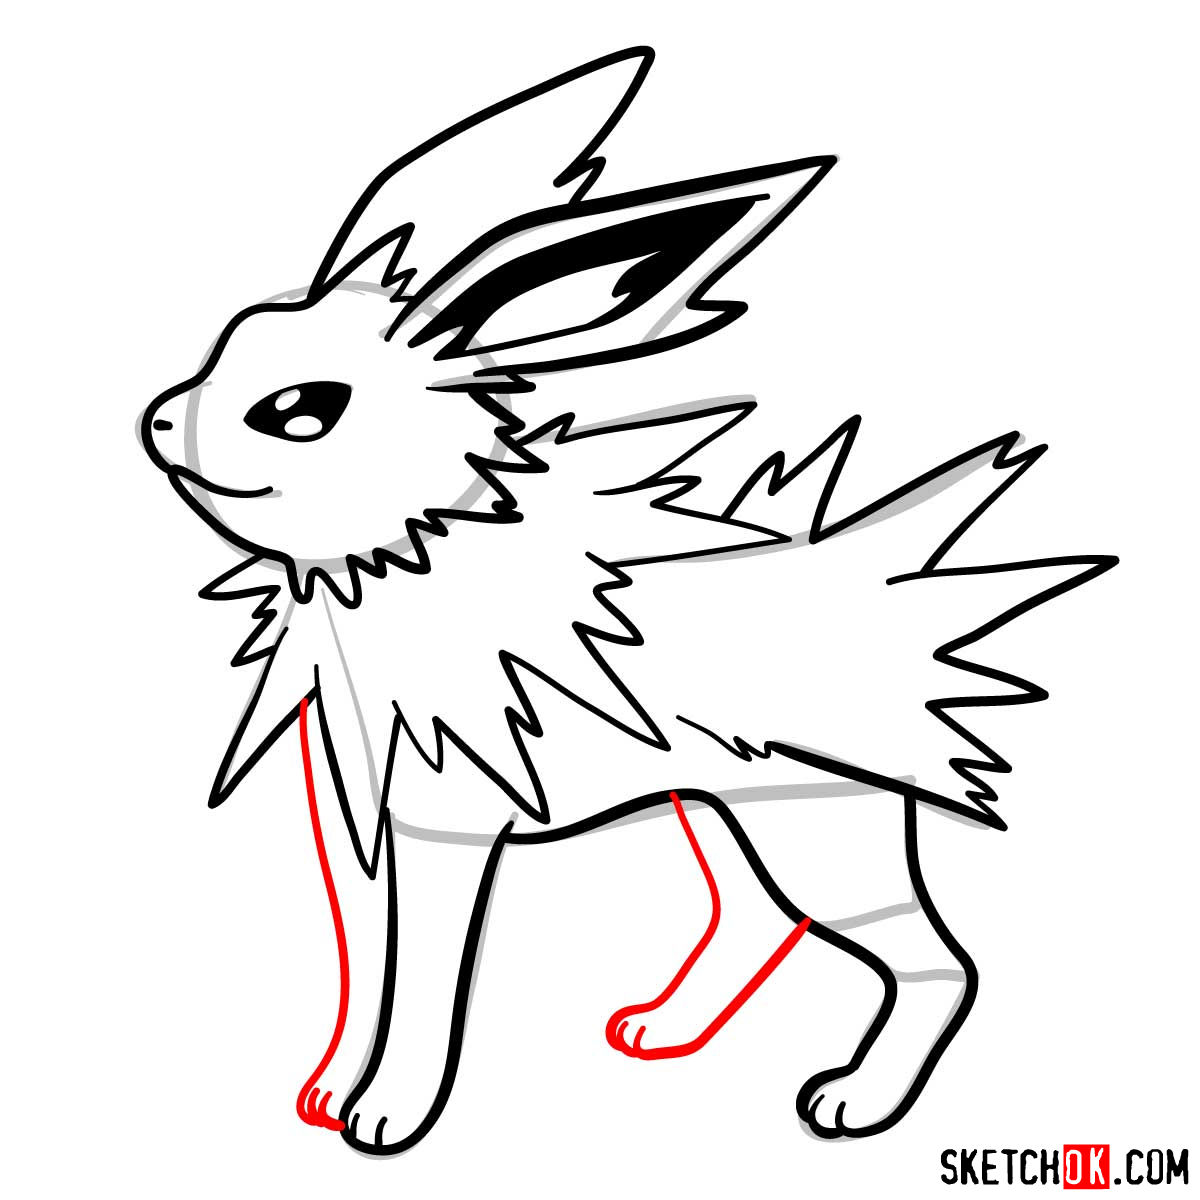
- Legs and Paws: The creature has slender legs and paws, each with three toes and no visible claws. The powerful build of its back legs enables it to run at cheetah-like speeds.
If you’re interested in expanding your Pokemon portfolio, you might consider drawing related characters like Pikachu, Eevee (Jolteon’s pre-evolution), all of whom share the electric-type trait.
Unraveling the Sketchok Guide
This guide employs a color coding system to facilitate your understanding of the drawing process. Here’s what each color means:
- Red: Represents the current drawing step you should focus on.
- Black: Showcases the lines you’ve previously drawn.
- Grey: Illustrates the basic sketch for proportions and structure.
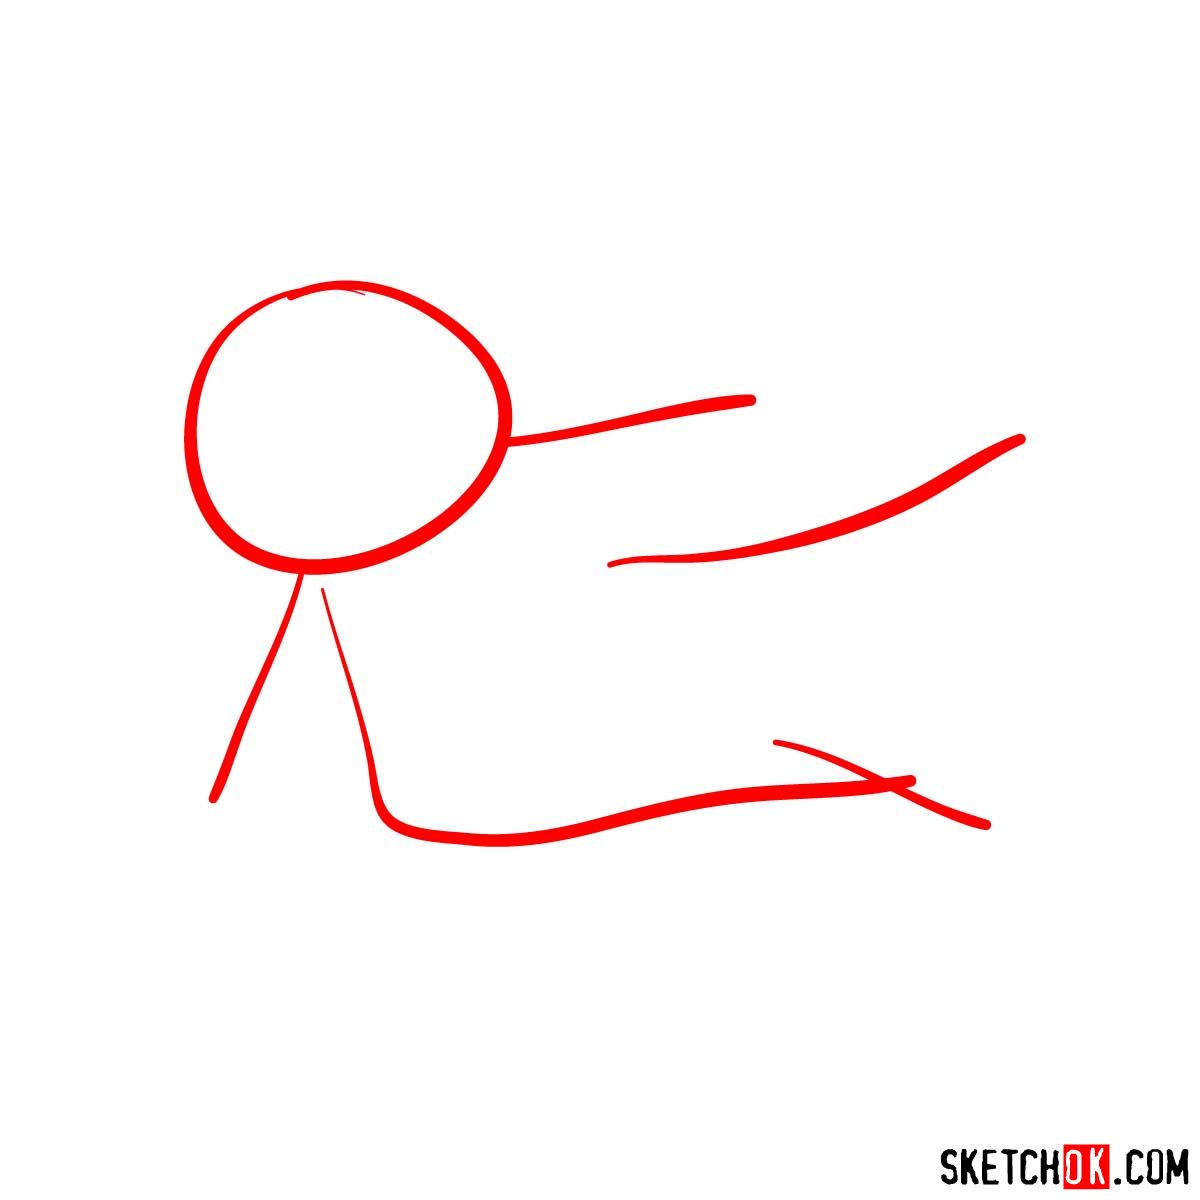
The tutorial comprises 13 steps in total. The first 2 steps are dedicated to crafting the basic sketch, for which we recommend using light pencil strokes. In the penultimate step, you may optionally ink the sketch, gently erasing the pencil lines once the ink dries. The final step serves as a reference for coloring your masterpiece.


FAQs
What kind of pencil should I use for the initial sketch?
For the initial sketch, a lighter graphite pencil like a 2H or an HB would be ideal. These pencils allow for easy erasing and adjustments as you refine your drawing.
Should I ink my drawing?
Inking is optional and depends on your personal style. Some artists prefer the crisp lines and contrast that inking provides, while others prefer the softer look of pencil.
How can I avoid smudging my drawing?
To prevent smudging, try placing a clean sheet of paper under your hand as you draw. This protects your drawing and keeps it clean.
Wrapping It Up
And there you have it – the ultimate guide on how to draw Jolteon. This journey of creating your personal rendition of Jolteon might have been electrifying, but remember, practice makes perfect. Don’t be afraid to revisit the guide and refine your work.
If you found this guide useful, why not buy me a coffee to show your support? Your donations play a vital role in keeping the SketchOk project alive and allowing us to create more of these step-by-step guides. Additionally, consider sharing the link to this guide with others or on your social media platforms to spread the love for drawing.
For the updates on the tutorials, don’t forget to subscribe to our social media channels: Facebook, Instagram, and Pinterest.
Keep drawing, keep improving, and most importantly, have fun. Until next time, happy sketching!