Welcome to an artistic journey that merges fantasy with reality! This guide aims to help you explore your creative potential by teaching you how to draw Escavalier, an impressive Bug/Steel-type Pokémon introduced in Generation V. Rest assured, our step-by-step tutorial is meticulously designed to make your drawing process engaging and enjoyable.
Escavalier: A Knight in Shiny Armor
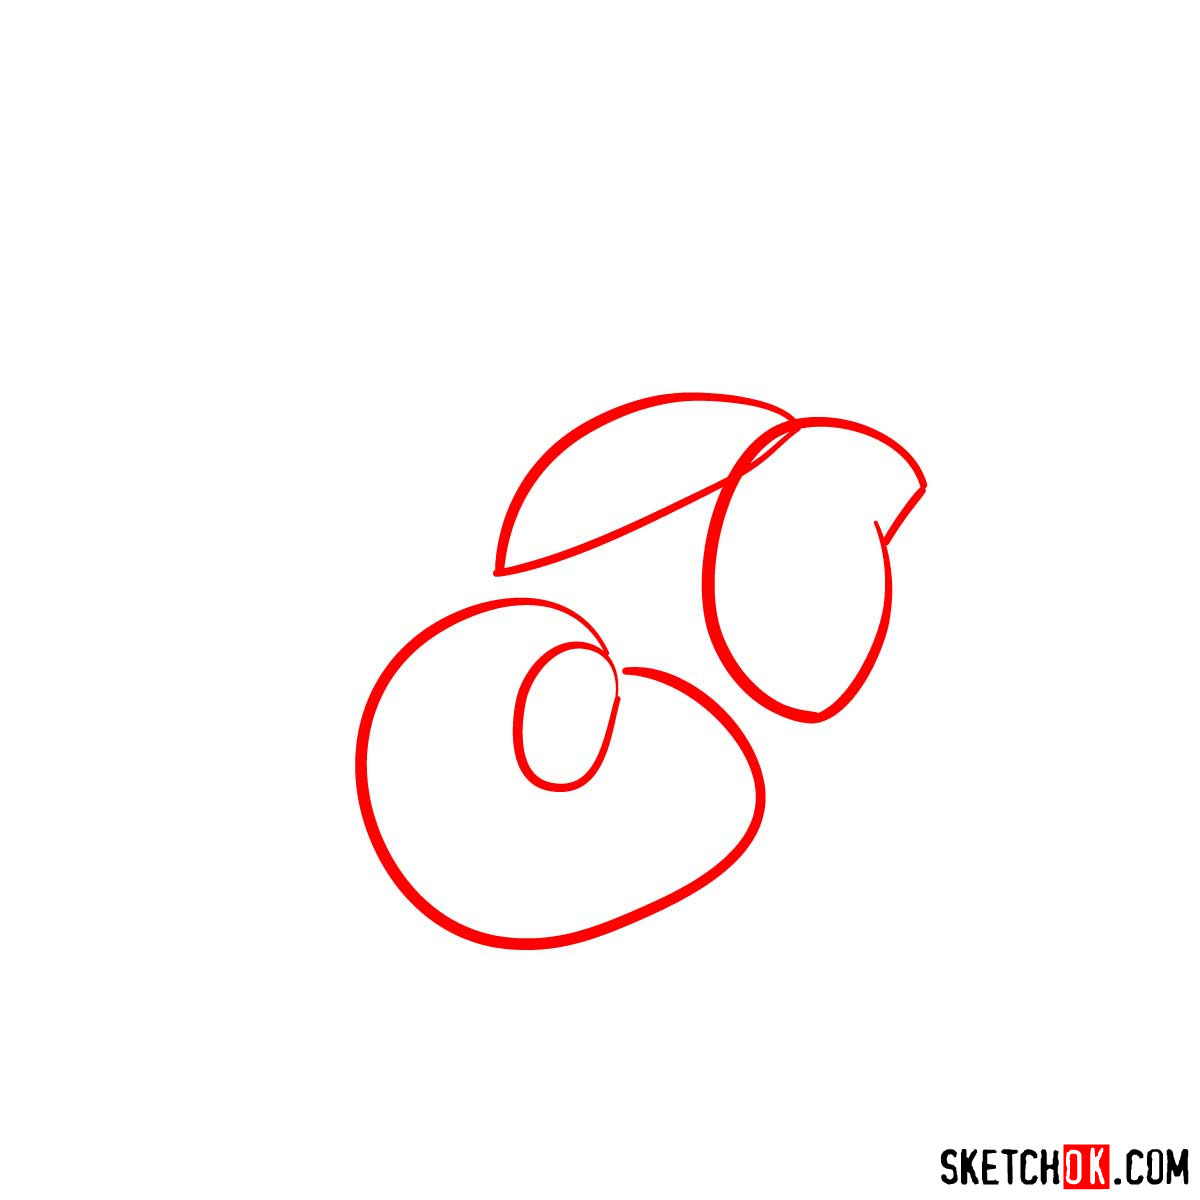
As you sketch Escavalier, the armored beetle Pokémon, focus on the following key points that make it distinct:
- Armor: Escavalier wears shell armor taken from Shelmet, which has been upgraded for combat. This feature gives it a knight-like appearance.
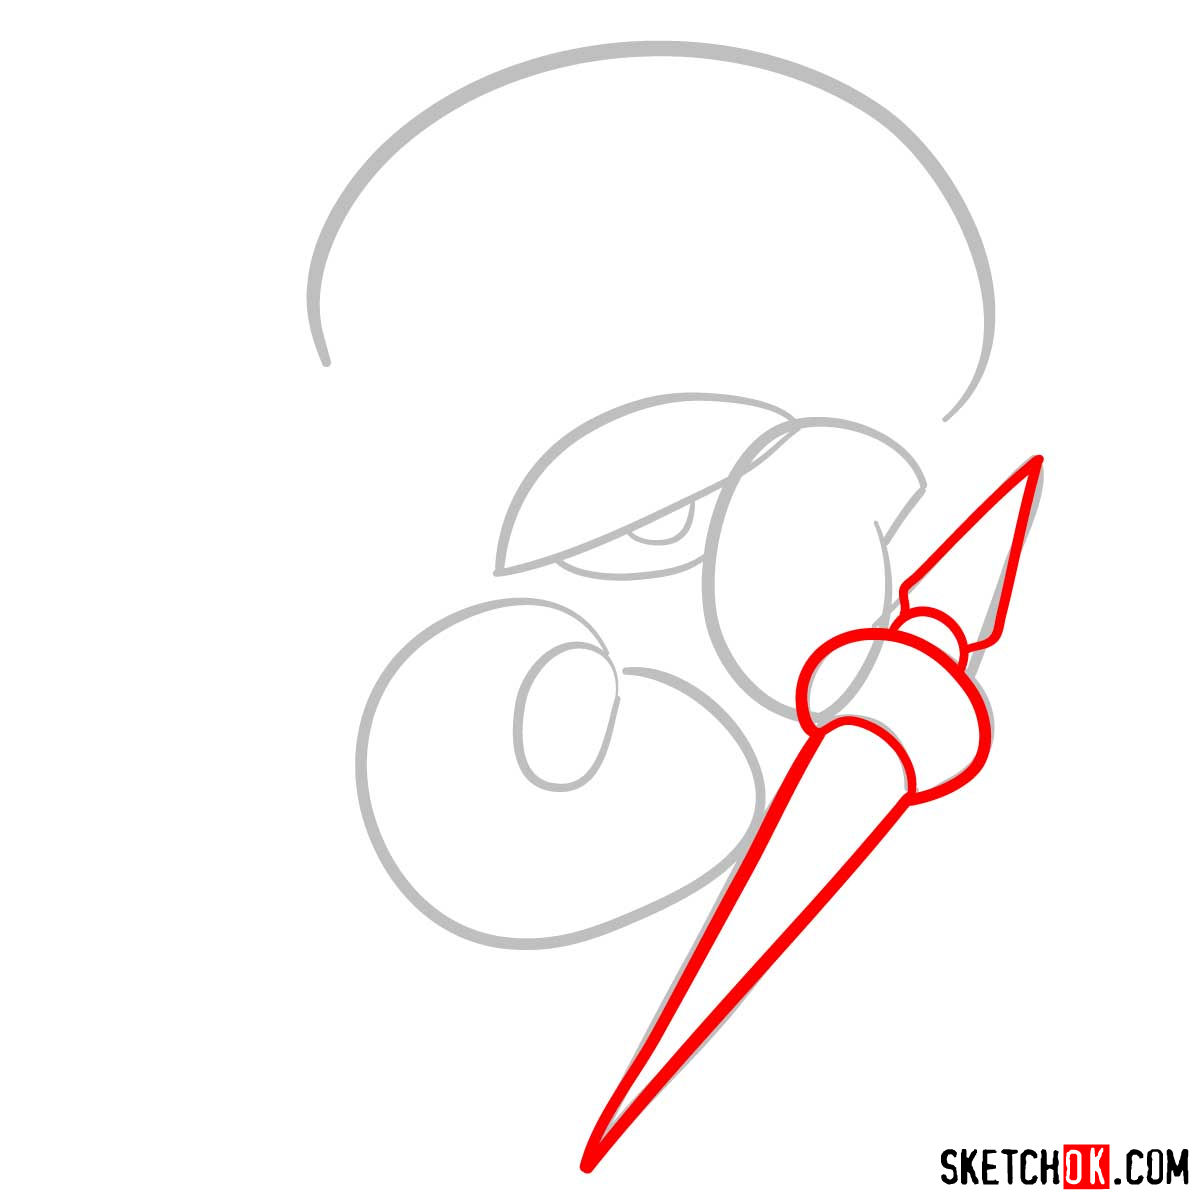
- Lances: Pay attention to the lances in each of Escavalier’s hands, a crucial component of its offensive stance.
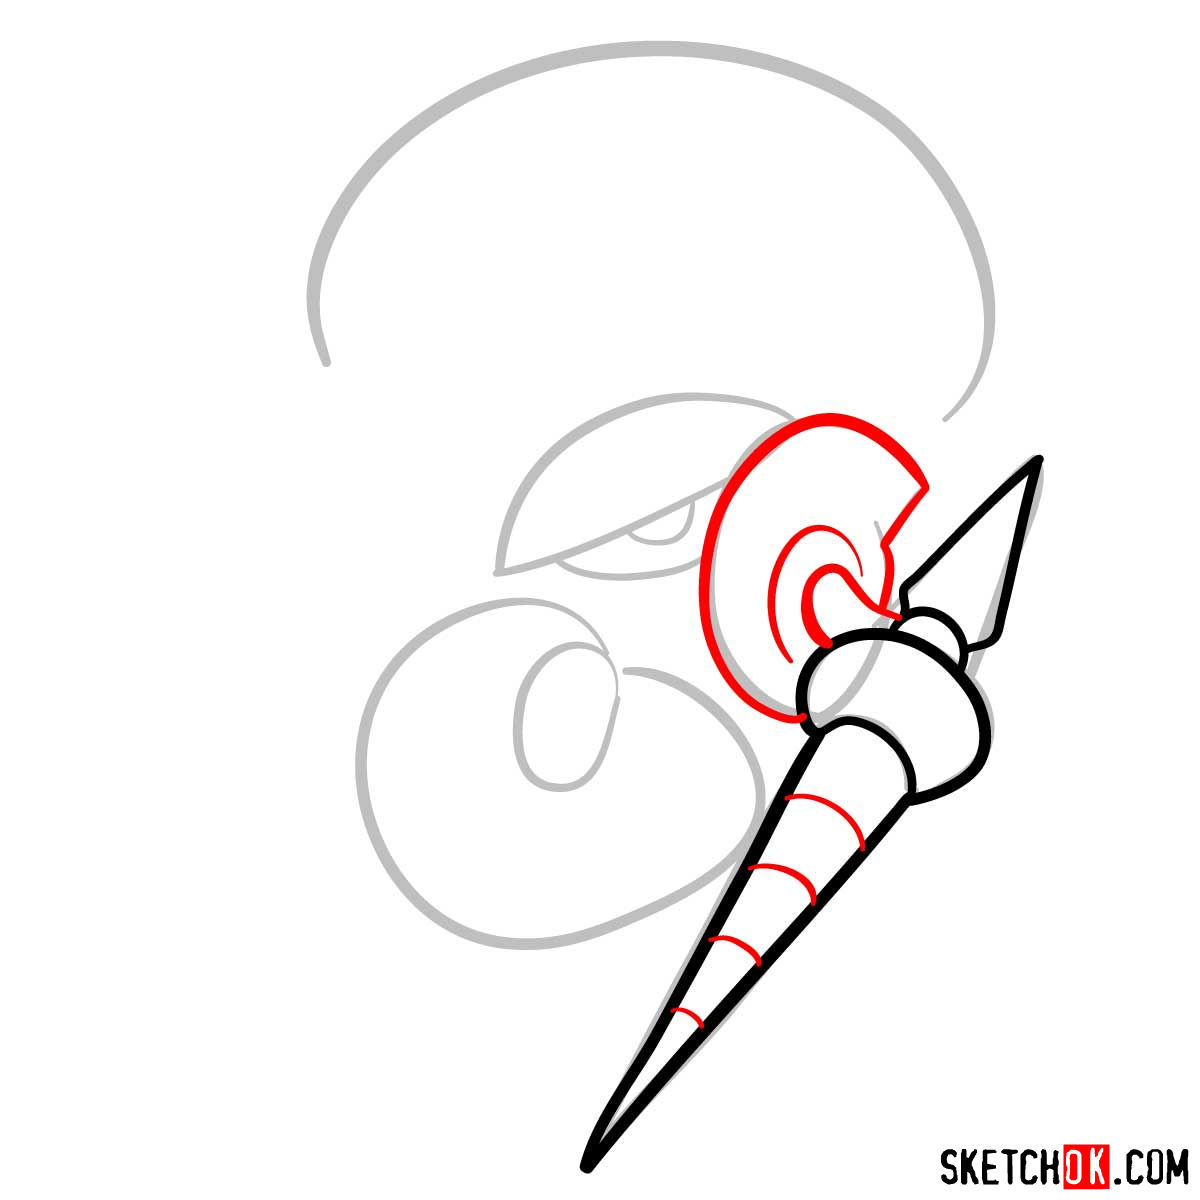
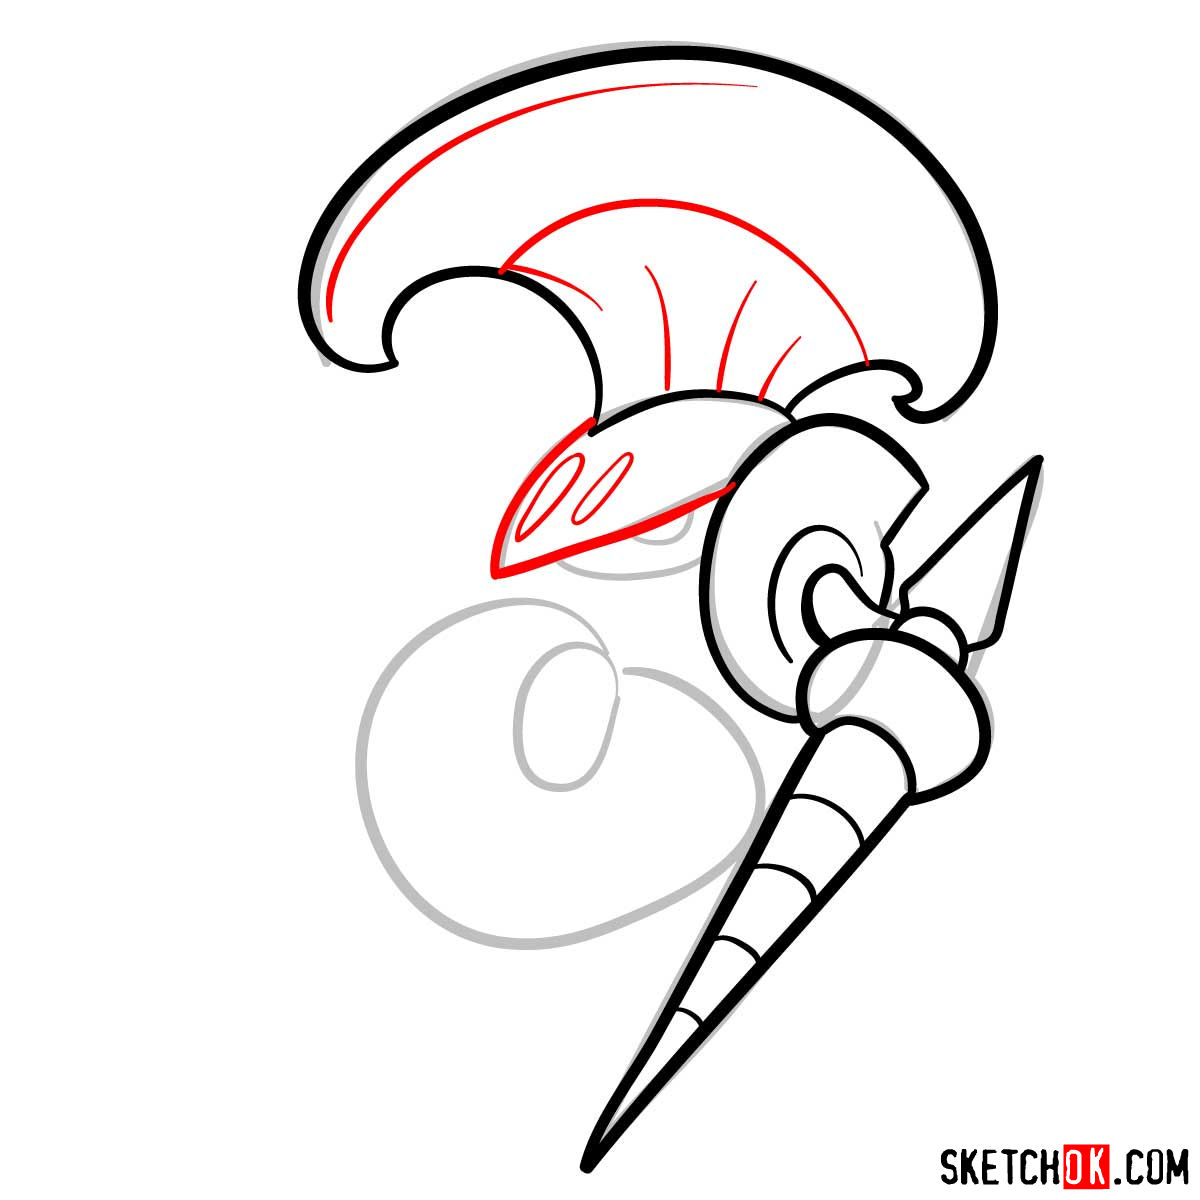
- Helmet: Escavalier’s helmet is bifurcated into two parts, one for head protection and the other for leg armor.
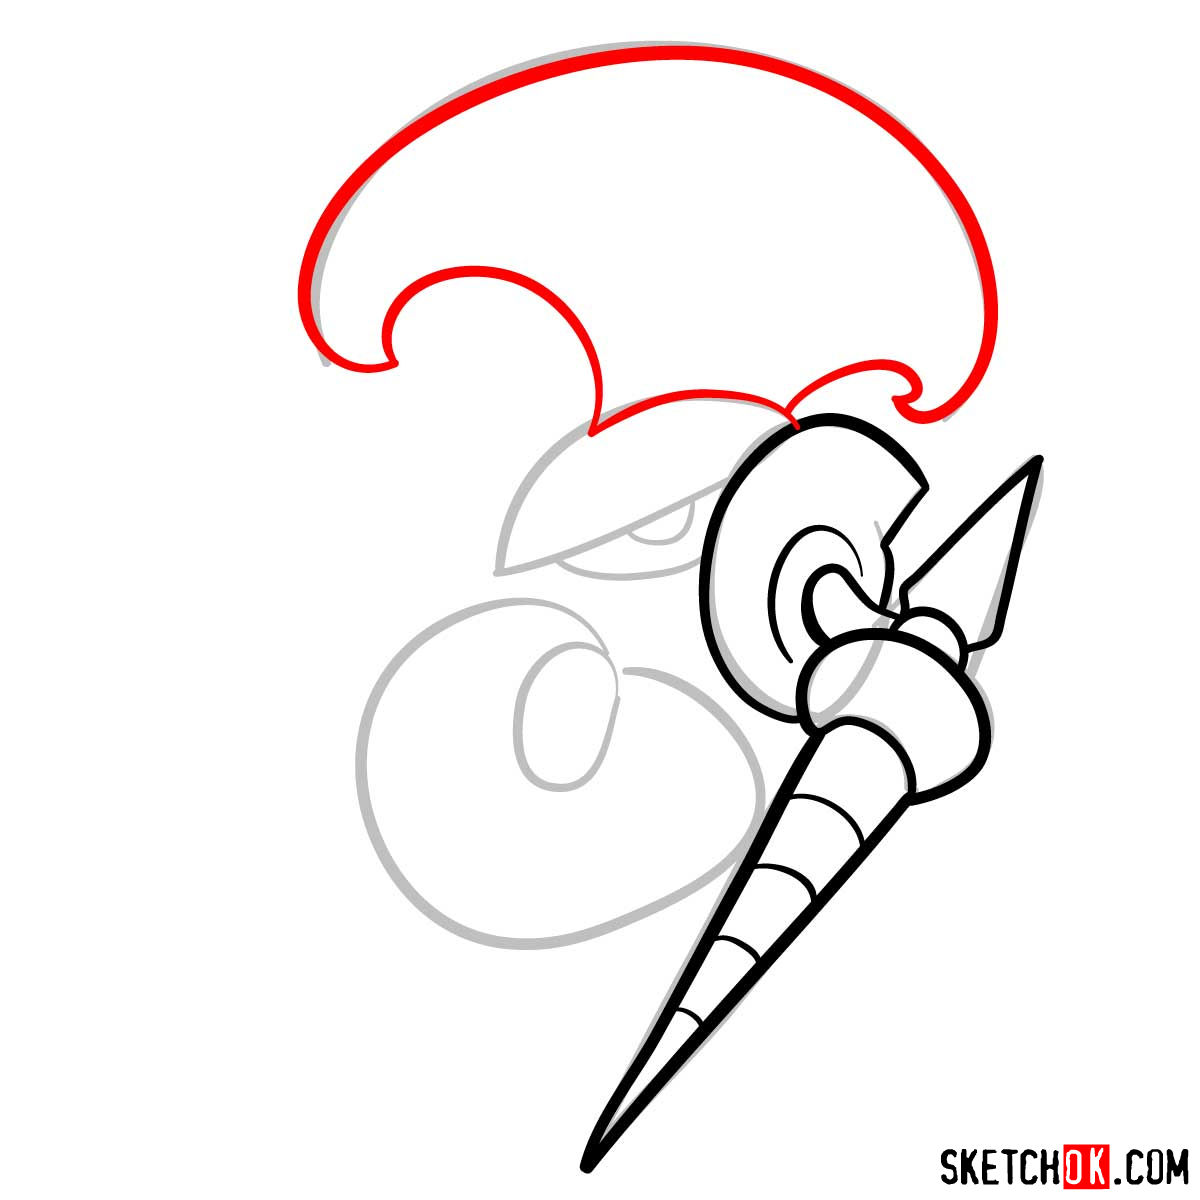
- Metallic Plume: Don’t forget to add the metallic plume that sits atop its helmet, contributing to Escavalier’s royal bearing.
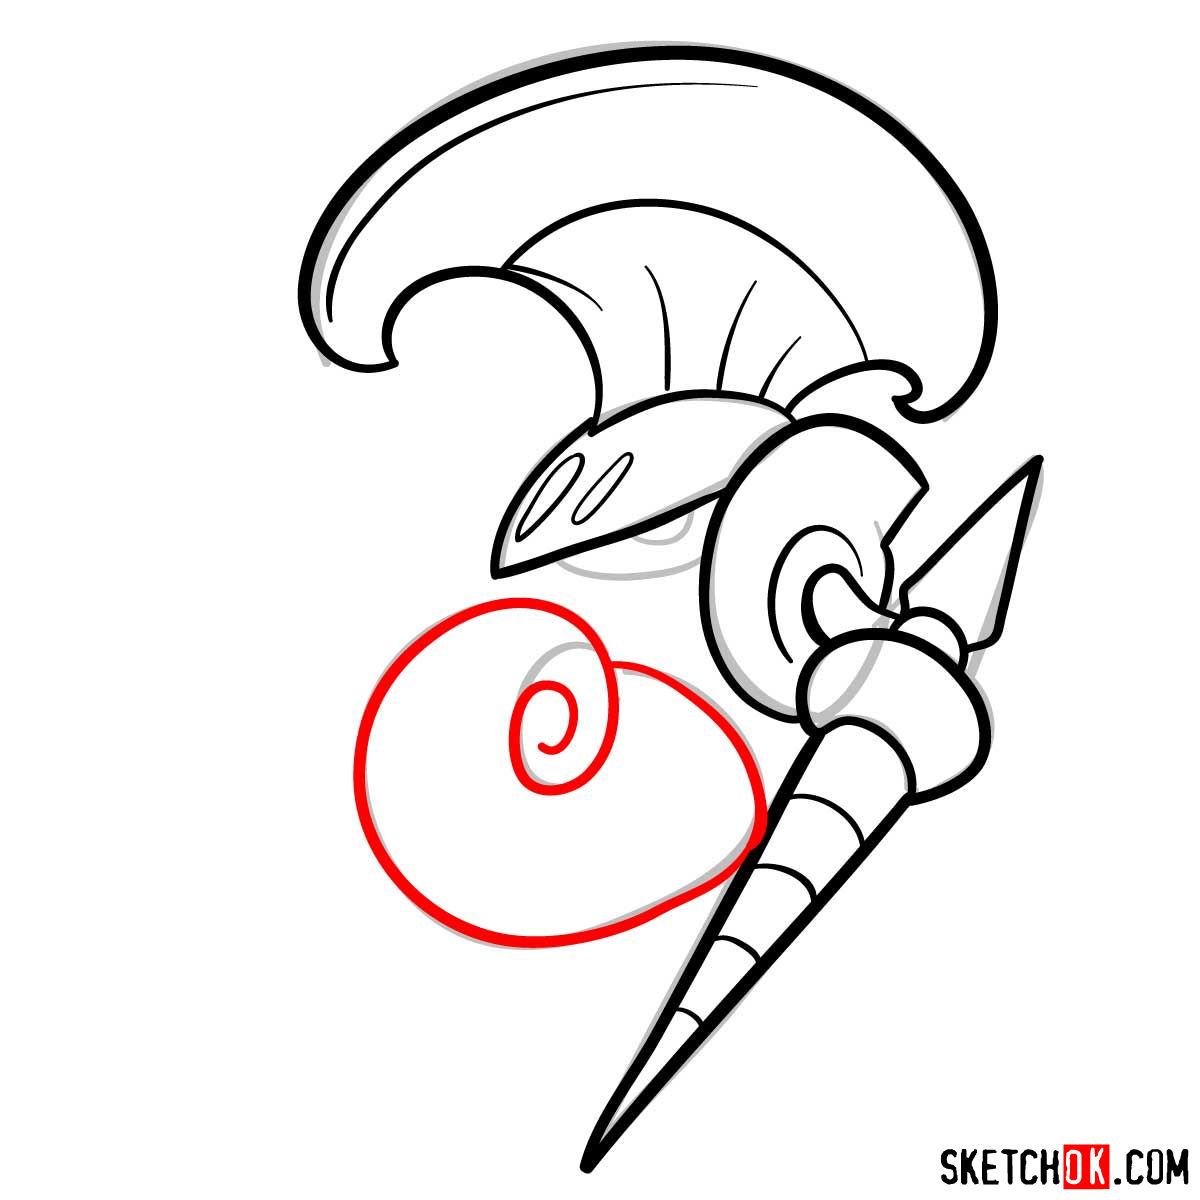
- Body: Although covered in armor, the main body of Escavalier is relatively small. Depicting this contrast can add authenticity to your sketch.
For a dynamic scene, consider sketching additional Pokémon characters alongside Escavalier. Perhaps Palkia, or Shedinja would make interesting additions.
The Guide: Color Coding and Guidelines
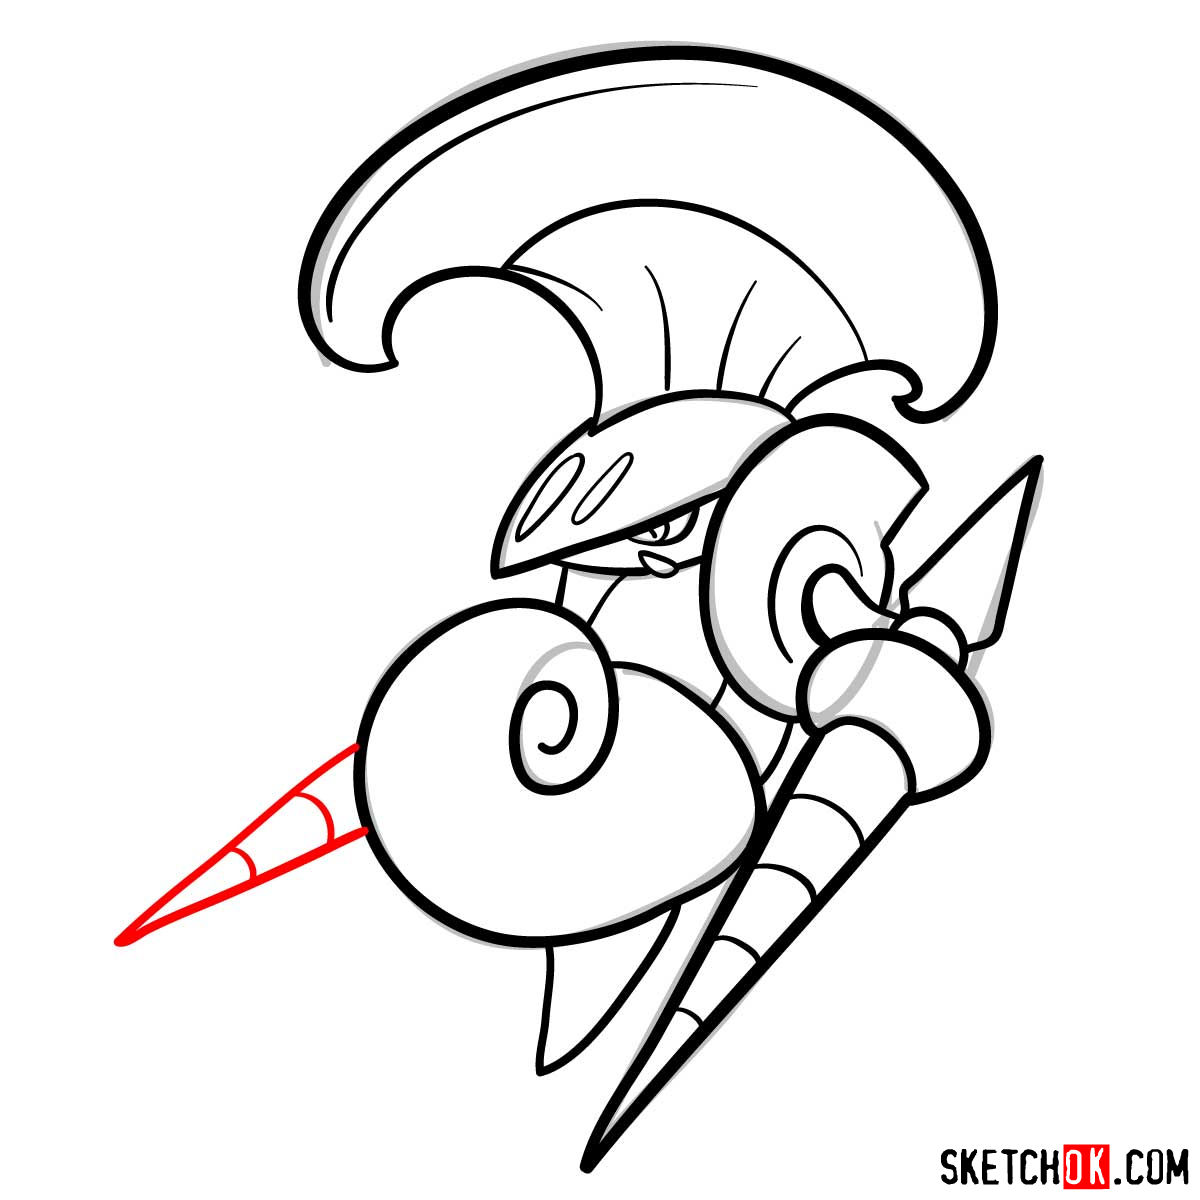
Our guide uses a color-coding system across 12 steps to facilitate your drawing process. Here’s how to interpret it:
- Red Color: Highlights the current step, guiding your immediate focus.
- Black Color: Shows the lines drawn in the previous steps.
- Grey Color: Illustrates the basic proportionate sketch, the foundation of your drawing.
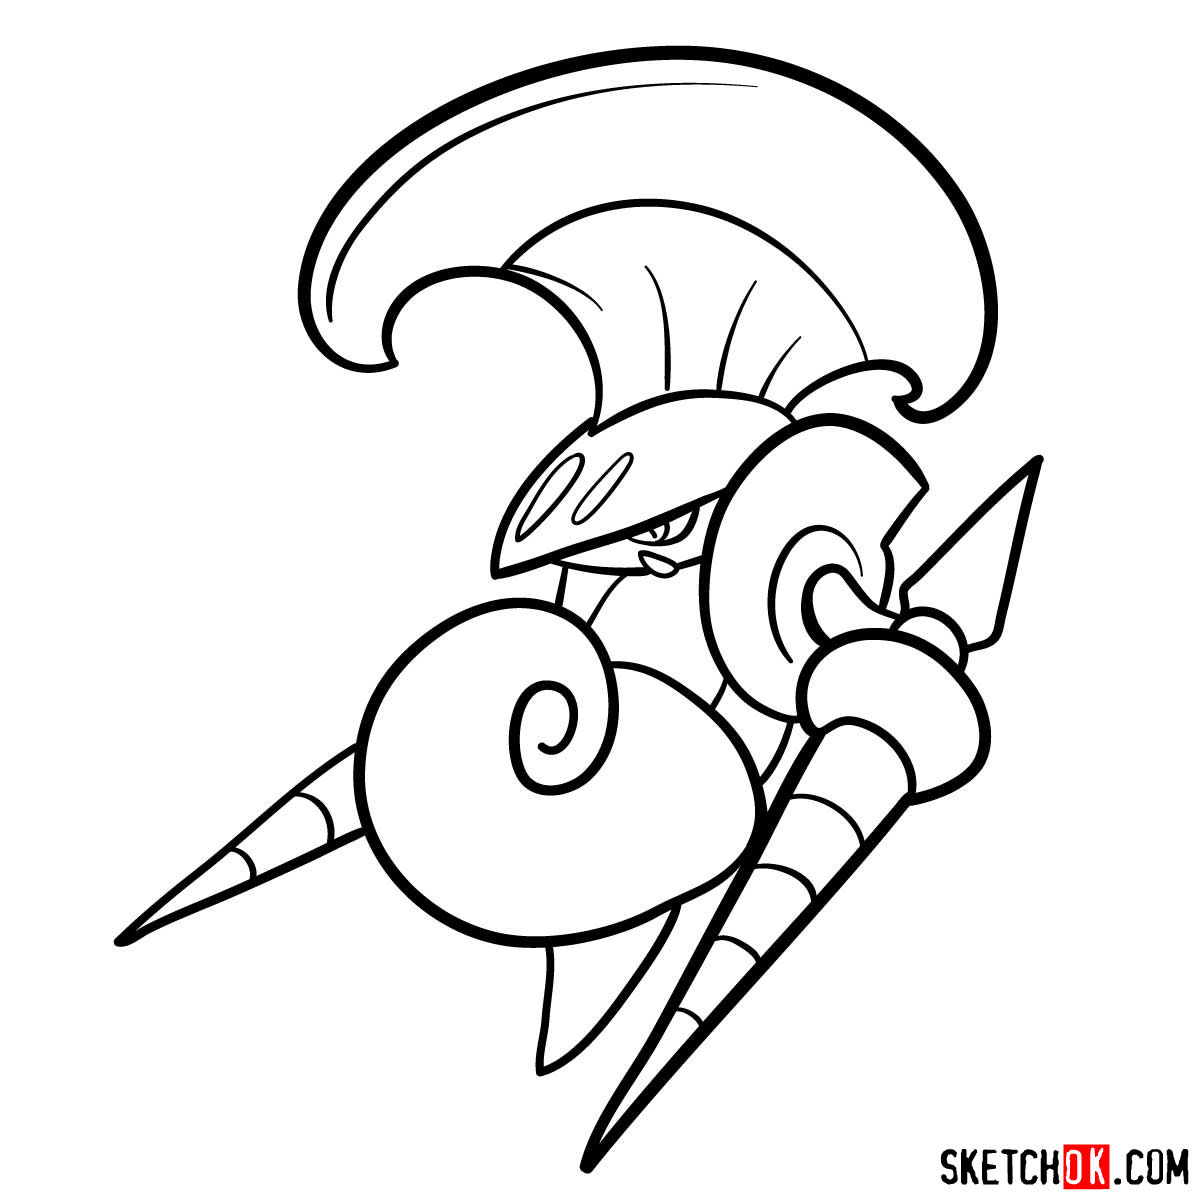
In the second-to-last step, you’re encouraged to ink your sketch. Once the ink has dried, gently erase the underlying pencil sketch. The final step serves as a color reference, breathing life into your Escavalier sketch.


Frequently Asked Questions
- How can I correctly depict Escavalier’s armor?
- Begin by focusing on the basic shapes and forms that make up the armor. Pay attention to its characteristic spirals and protruding spikes. Consider using a harder pencil for sharp, defined lines and a softer one for shading and texture.
- What is the key to drawing Escavalier’s lances?
- Remember, the lances are extensions of Escavalier’s arms, so ensure their positioning is consistent with the body’s pose. The lances are also symmetrical, so aim for consistency in their size and shape.
- How can I add depth to my Escavalier sketch?
- Adding depth to your sketch involves mastering light and shadow. Areas of the body that are further away or obscured by other parts should be shaded darker, while areas exposed to the light source should be lighter.
Concluding Your Artistic Journey: Sketching Escavalier
Congratulations on reaching the end of this tutorial! You’ve just learned how to draw Escavalier, a unique Bug/Steel-type Pokémon. I hope this journey has been as rewarding for you as it has been for me.
If you find these tutorials helpful, please consider supporting our endeavor. Your donations on buymeacoffee.com/sketchok help keep this project alive, allowing us to continue providing free drawing guides to enthusiasts like yourself.
Share your completed sketches and this guide with friends, family, and the world! Spread the word about our tutorials, share your creations on our Facebook page, tag us on Instagram, or pin your art on our Pinterest board. Remember, every share contributes to our mission of making art accessible to everyone.
Thank you for joining us on this artistic adventure. Your commitment to artistry fuels our mission. Keep sketching, exploring, and most importantly, keep enjoying every moment of your creative journey!