Last Updated on May 14, 2026
Welcome to your comprehensive guide on how to draw Eelektross, the Electric-type Pokémon from Generation V. Known for its eel-like appearance and fierce look, sketching Eelektross requires understanding its unique features and characteristics. Our guide is perfect for Pokémon enthusiasts and budding artists eager to explore their creativity.
Know Your Character: Eelektross
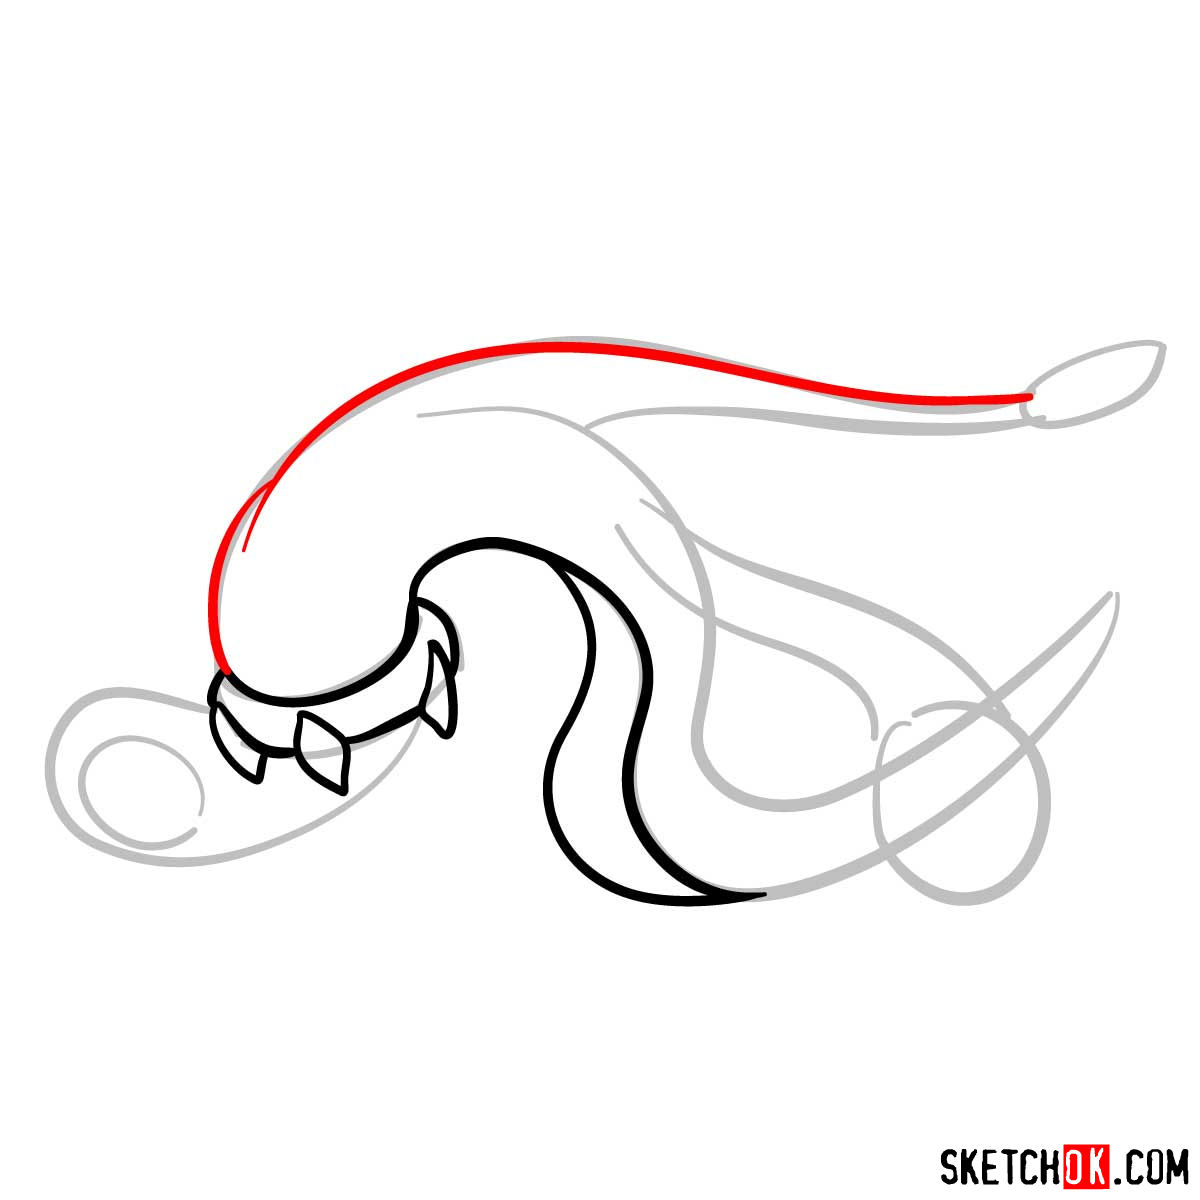
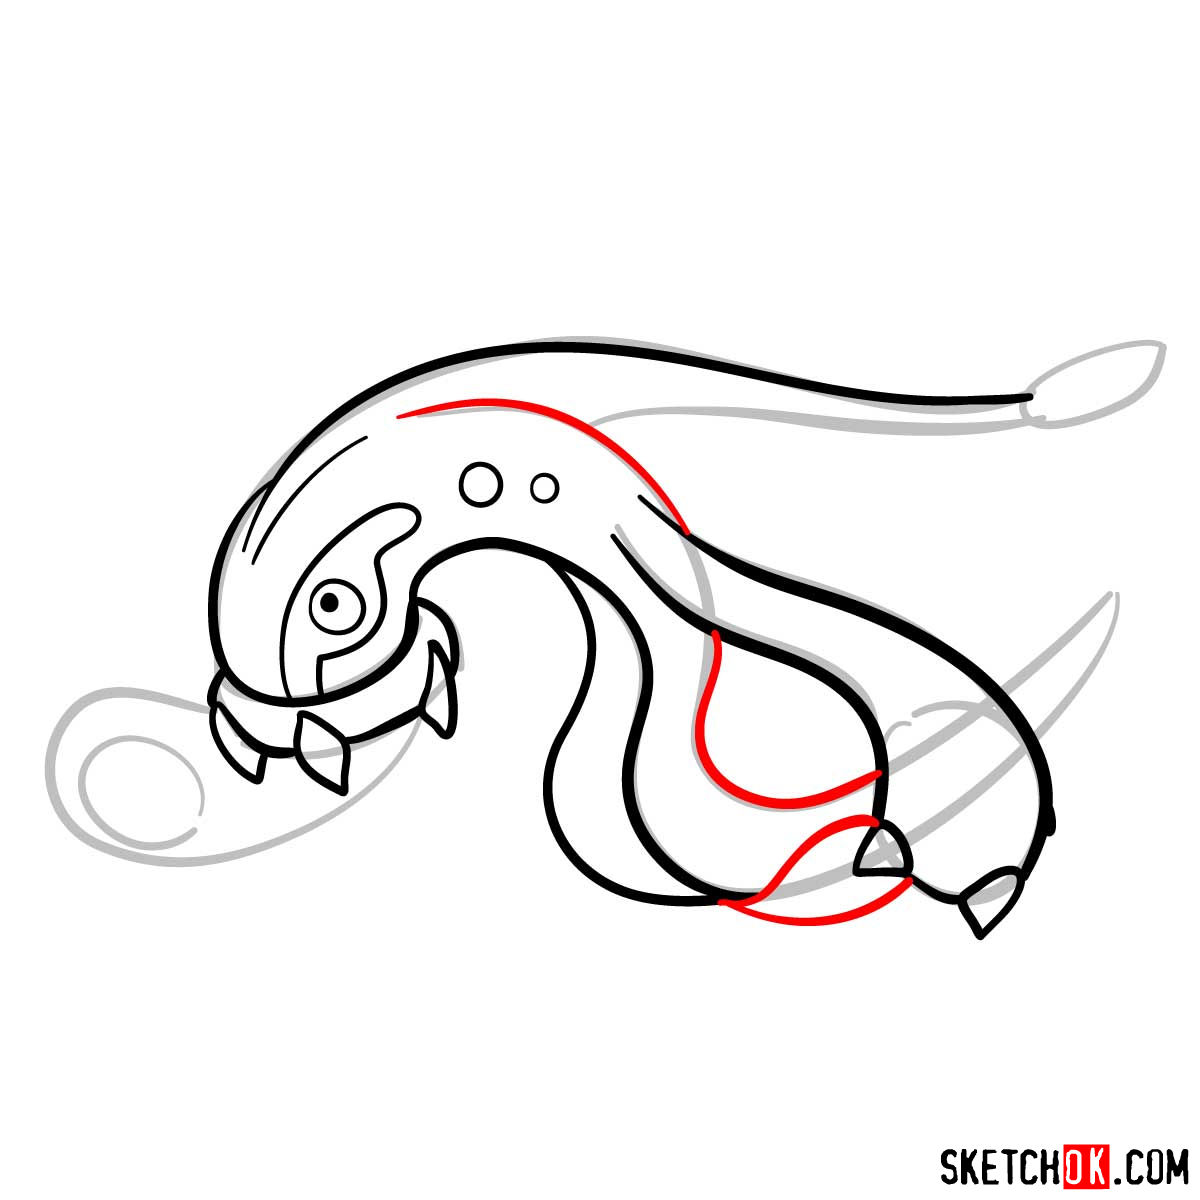
Before picking up your pencil, it’s crucial to familiarize yourself with Eelektross’s appearance. This Pokémon’s long, eel-like structure is predominantly navy blue, with a cream-colored underbelly. Its large, open, red-rimmed mouth is home to sharp, encircling fangs. Two red eyes with black pupils are flanked by distinctive yellow markings, tapering off to its sides. It has long, tentacle-like arms, each featuring three claws, and a striking red and yellow pattern on the underside. Eelektross also sports an extended navy-blue fin with a cream-colored frill running from its head down its back, complemented by another fin extending from its lower back. Walking on two small oval-shaped fins, this Pokémon is truly a unique specimen.
While you’re focusing on sketching Eelektross, consider adding other electric-type Pokémon to your drawing collection. Pokémon such as Jolteon, Pikachu (in various poses like dancing or with arms wide open), or Rotom make for great practice subjects, enriching your understanding of electric-type Pokémon’s attributes.
Guiding Your Journey: About This Drawing Guide
The essence of our guide lies in its color-coded system. It’s simple, intuitive, and designed to help you navigate the sketching process effortlessly. Here’s how it works:
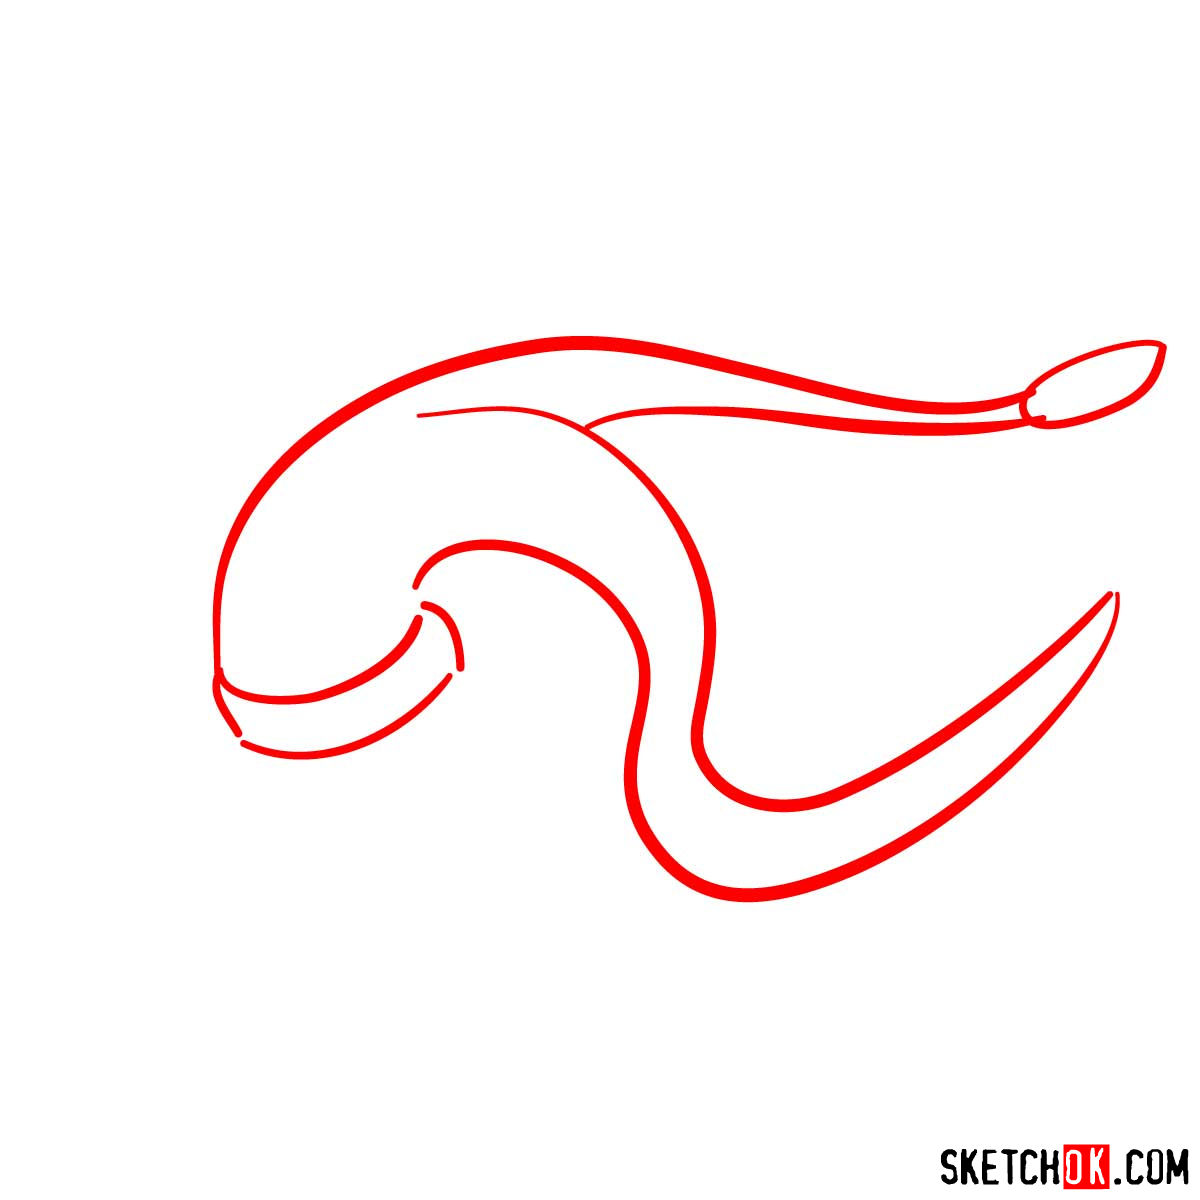
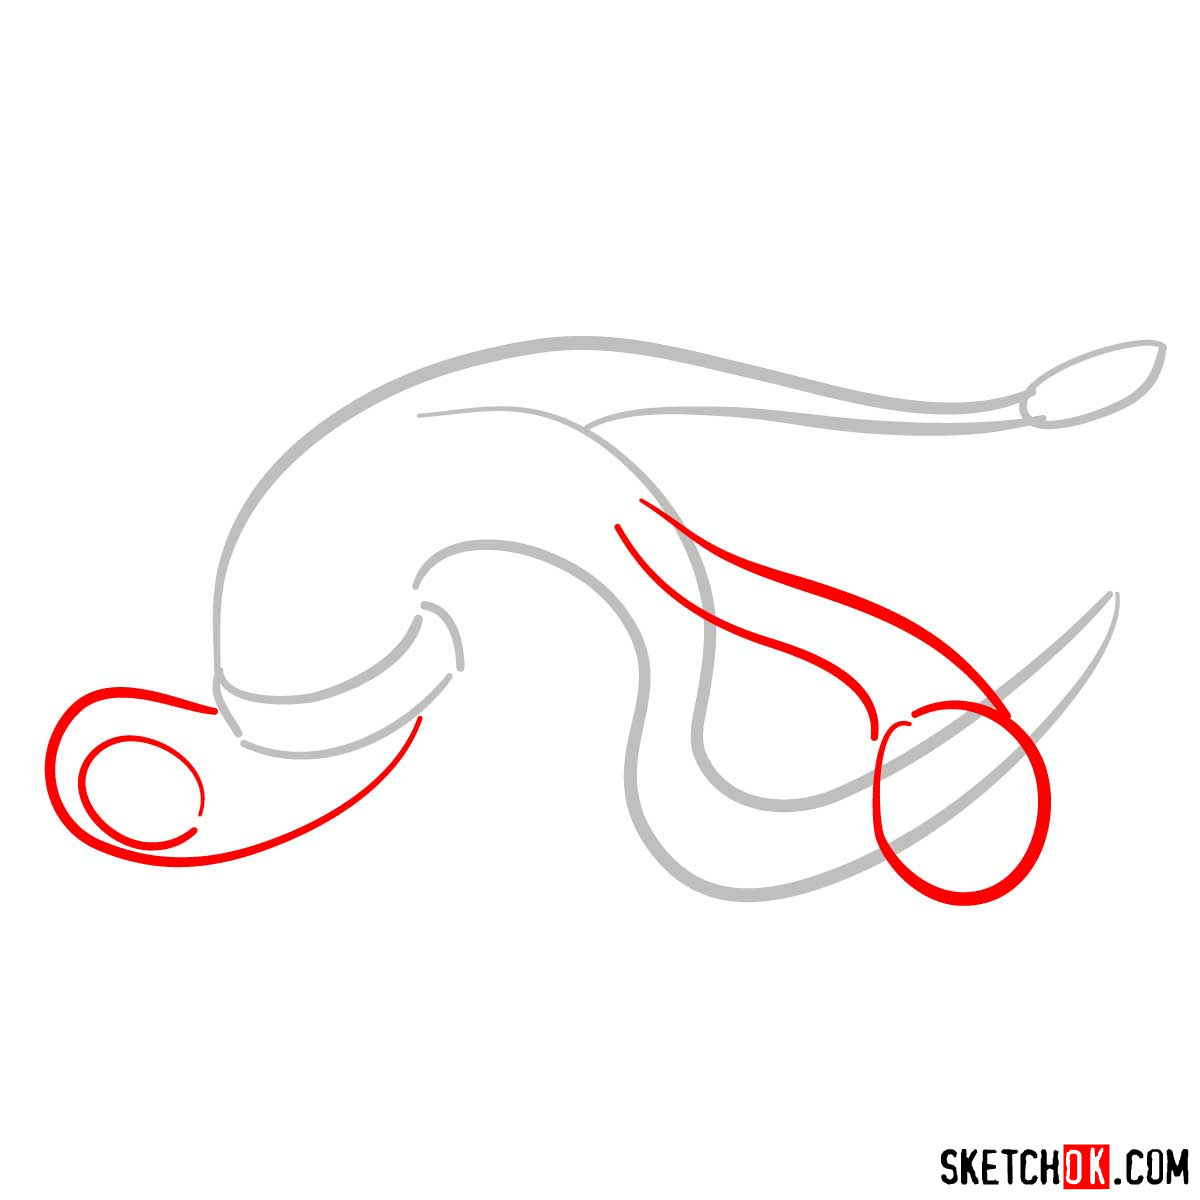
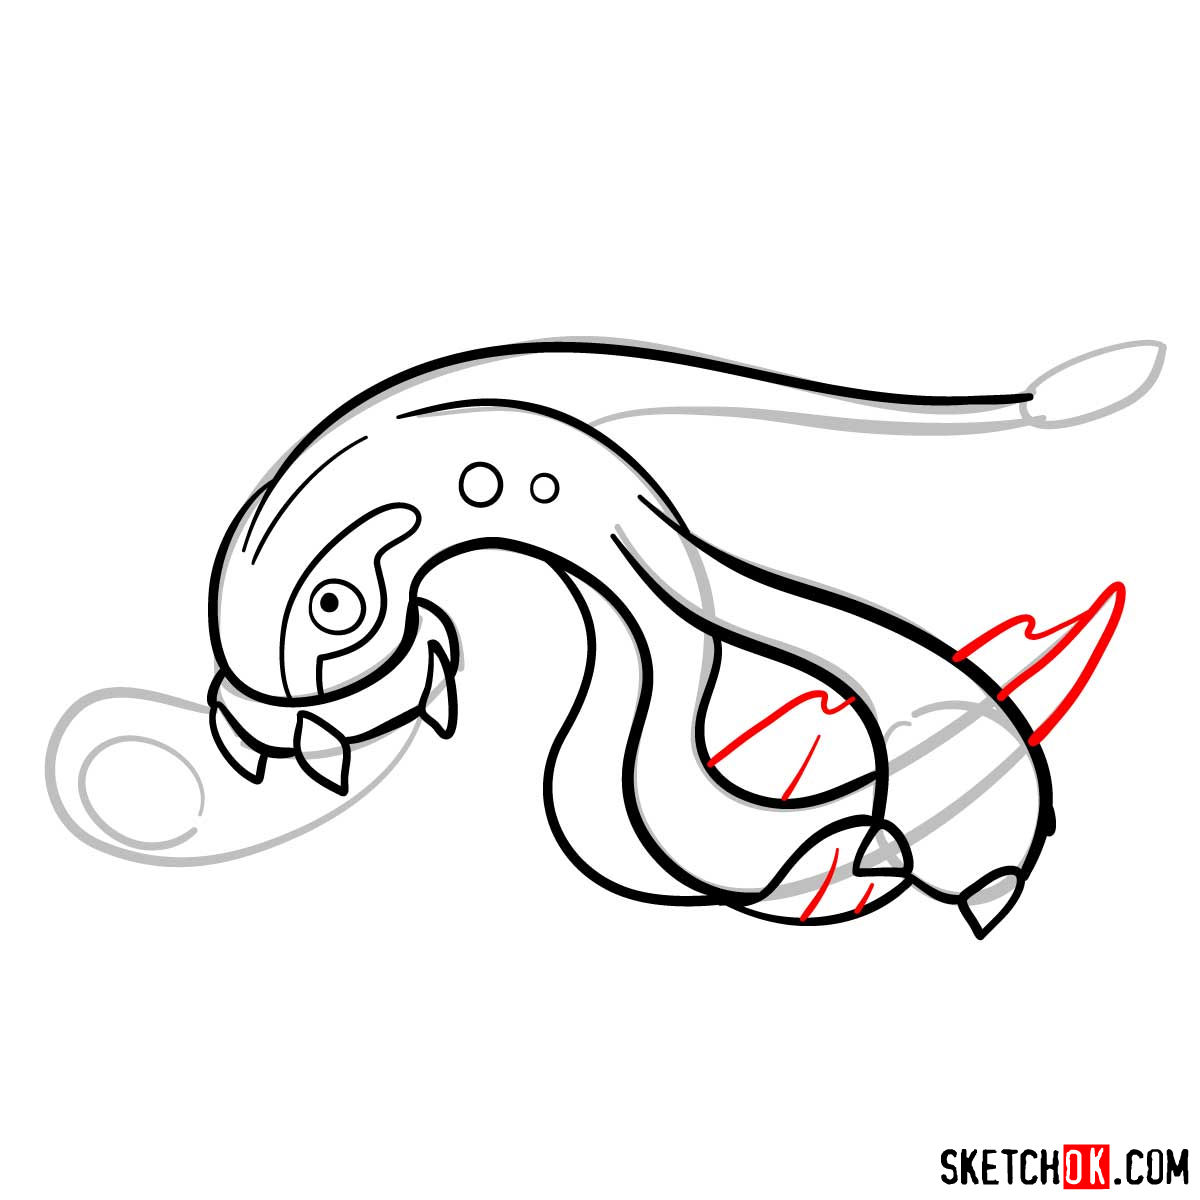
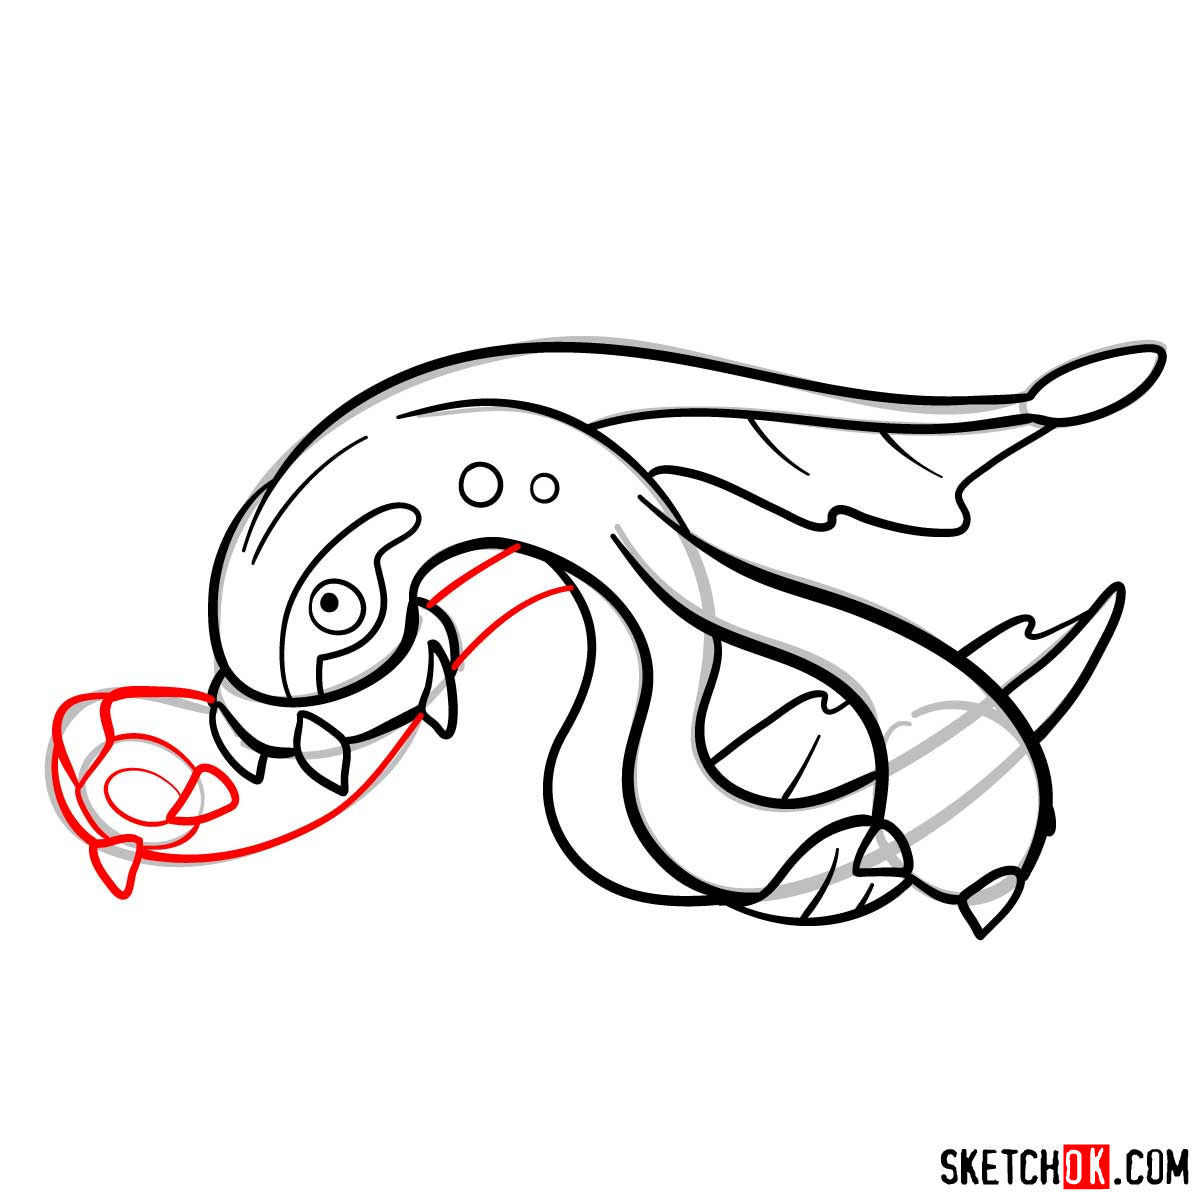
- Red Color: Represents the current step you should be focusing on.
- Black Color: Showcases the lines you have drawn in previous steps.
- Grey Color: Depicts the basic proportions sketch or the structural foundation of your drawing.
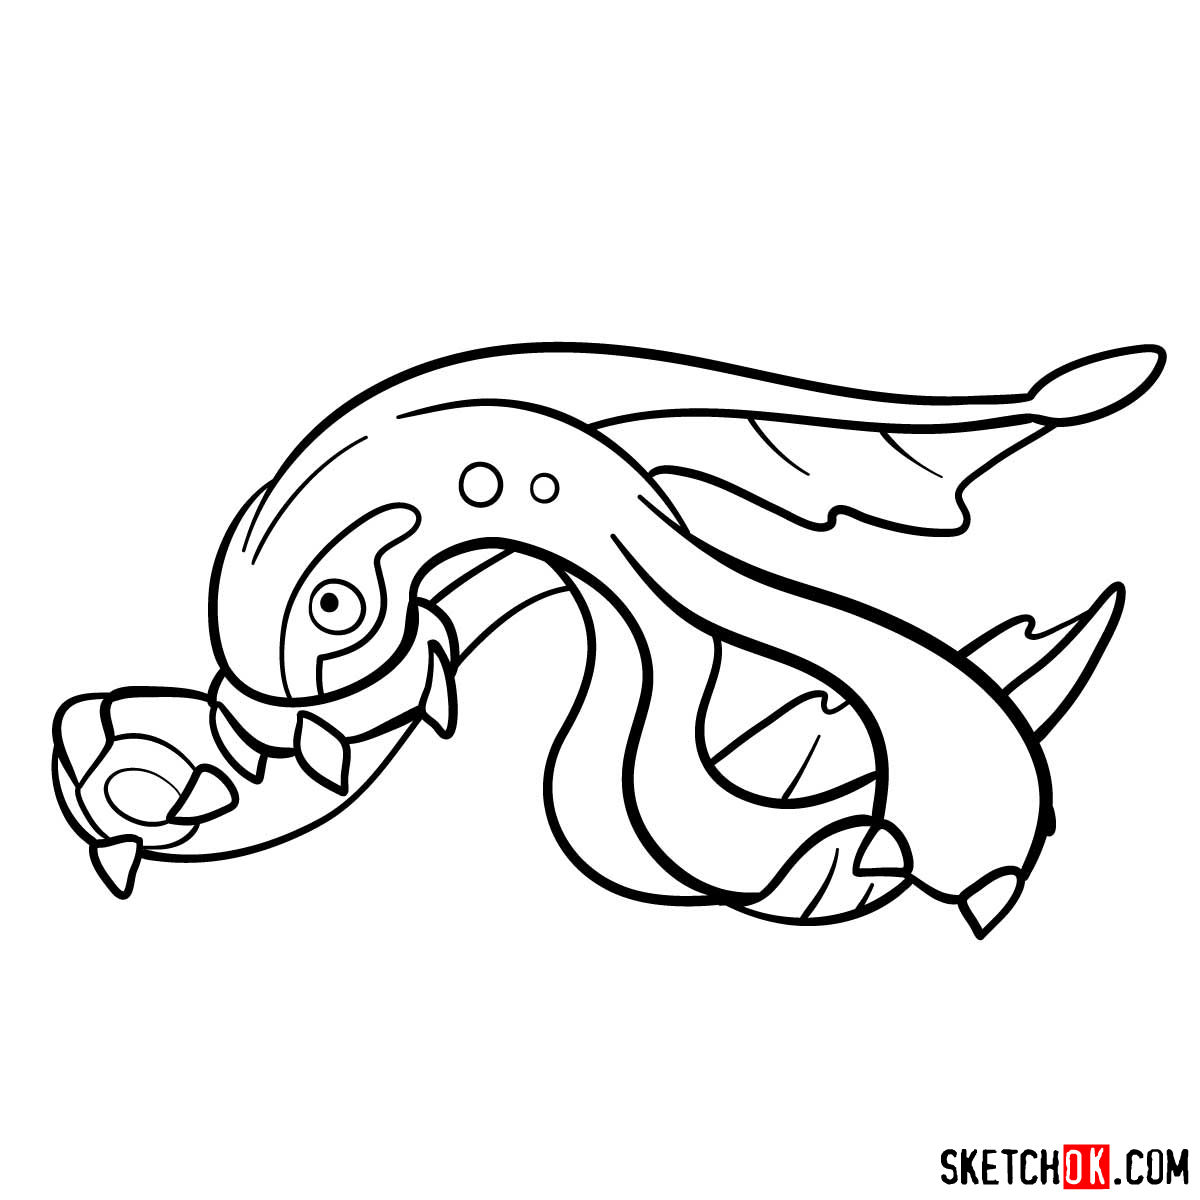
The guide is divided into 13 precise steps, the first 2 of which help you build a basic sketch for proportional purposes. On the penultimate step, you can ink your sketch, gently erasing the pencil lines once the ink dries. The final step can be utilized as a color reference to breathe life into your drawing.


One of the more interesting things about learning how to draw Eelektross Pokemon is seeing how differently people interpret its design, whether they lean into the creepy lamprey vibe or push it toward something more cartoonish and fun. No two versions end up looking quite the same, so drop yours in the comments on the pinned Pinterest post and see how it stacks up against what others have drawn. If you want a fresh tutorial in your inbox each week, the signup form is waiting at the top of the page.