When we speak of the Straw Hat Pirates, one can’t help but think of their renowned cook with the fiery kicks, Sanji. Known as “Black Leg” Sanji, he’s not just the culinary genius of the crew but also a fierce fighter, being part of the formidable “Monster Trio” alongside Luffy and Zoro. With a past that’s as rich as his cooking, Sanji’s tale from the Vinsmoke Family to chasing the dream of All Blue is nothing short of epic. Alongside his fighting prowess, his appearance, from his signature hairstyle to his unique spiraled eyebrows, makes him a fascinating character to sketch. So, let’s not further wait and find out how to draw Sanji.
Crucial Features of Sanji’s Appearance:
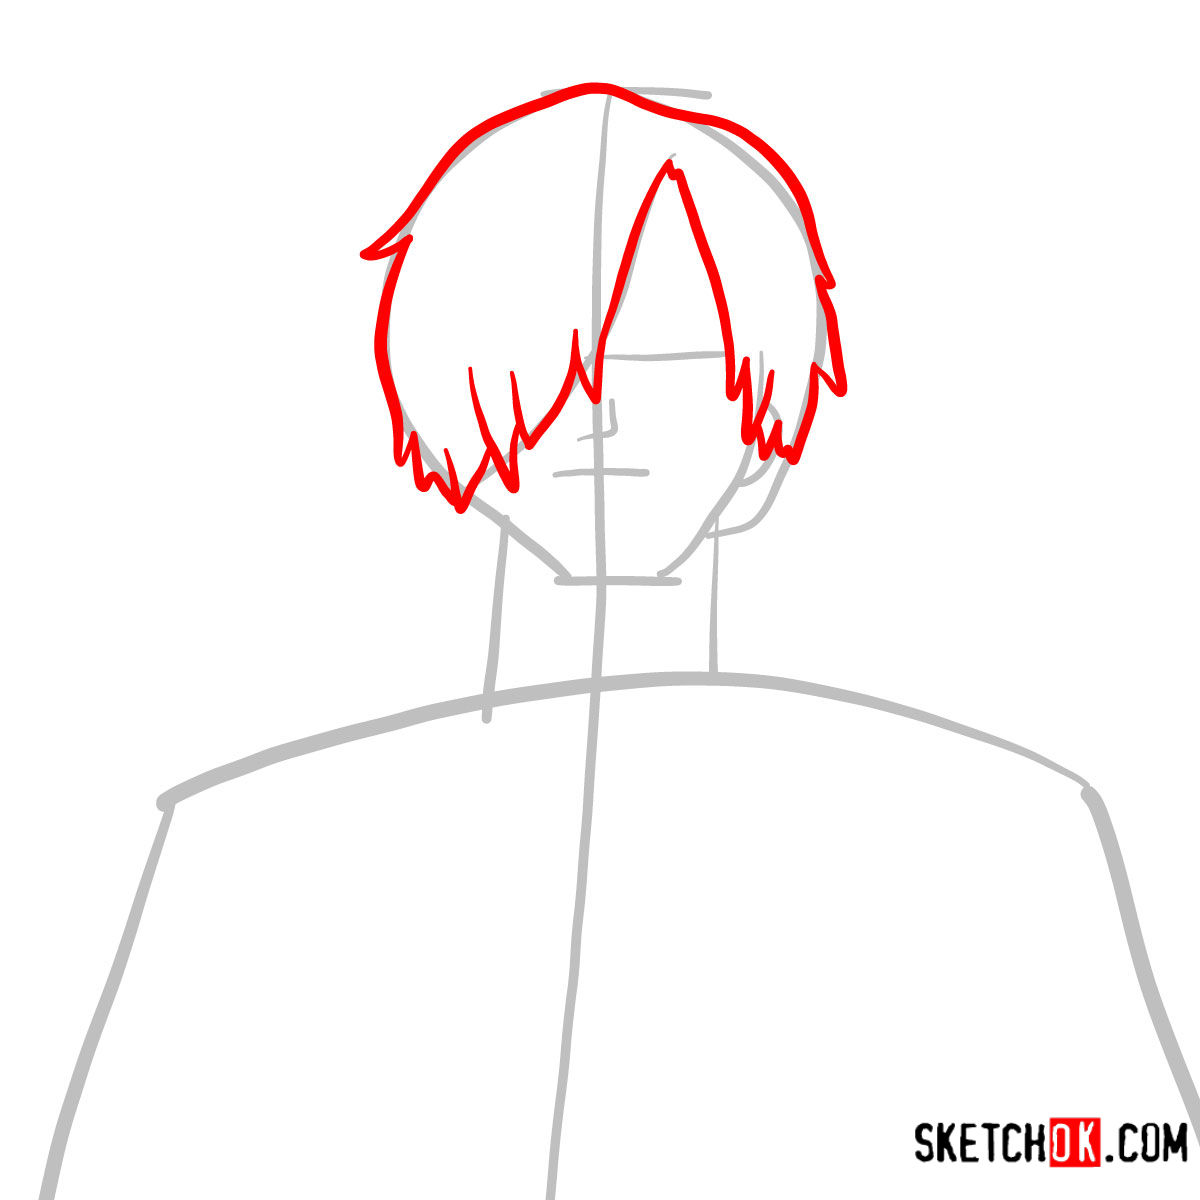
- Blond hair, sleekly brushed over one side of his face.
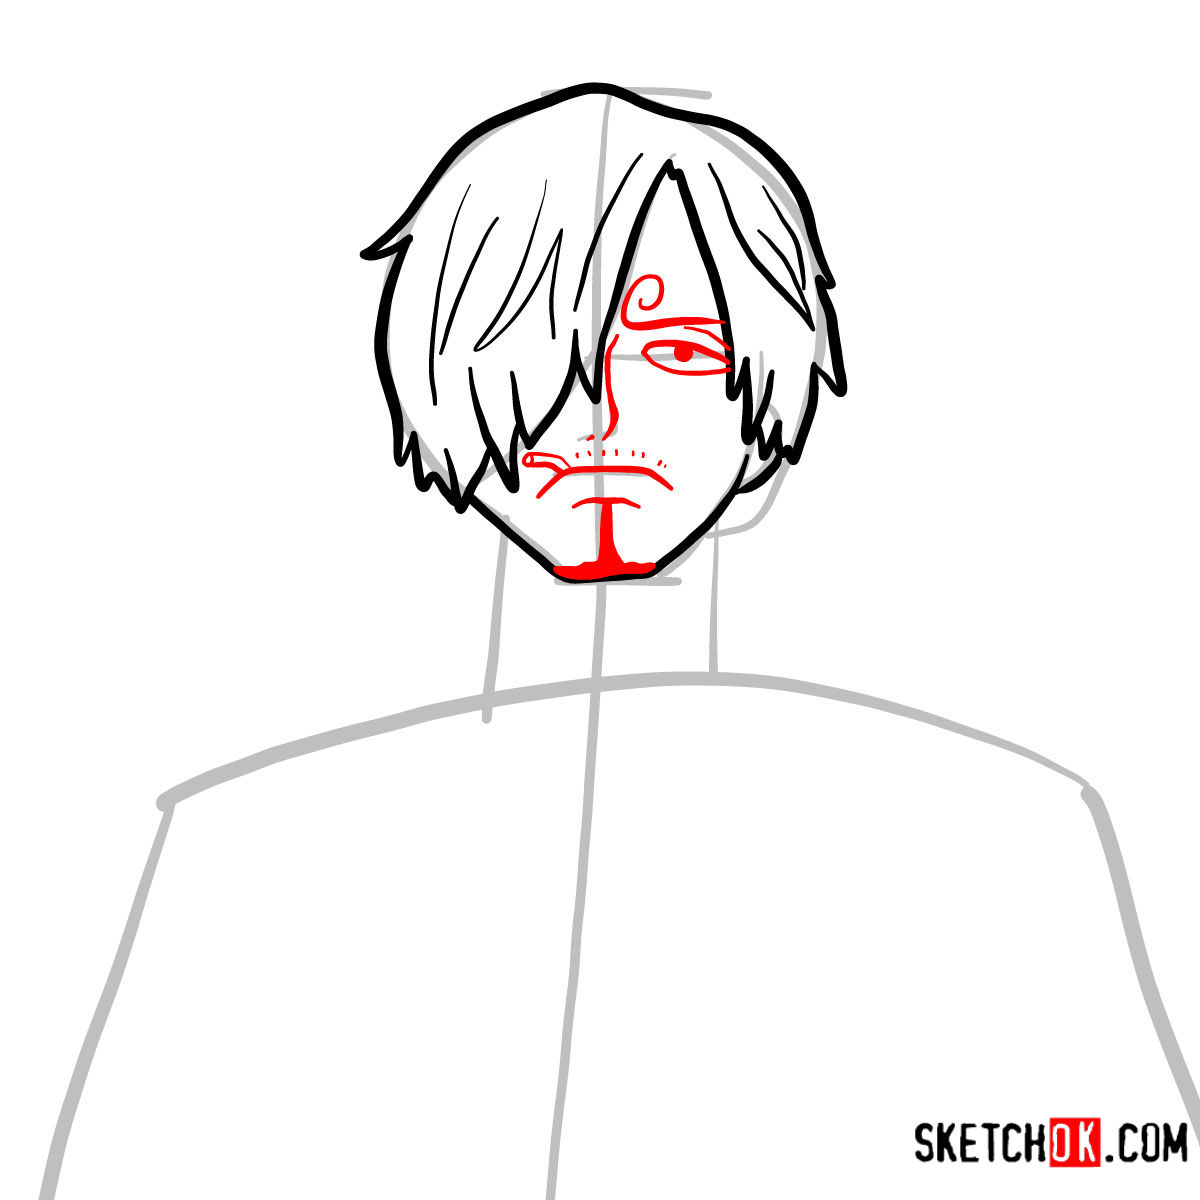
- Distinctive spiral eyebrows that switch directions under certain conditions.
- Sharp, often black eyes, occasionally depicted as grey-blue in special scenarios.
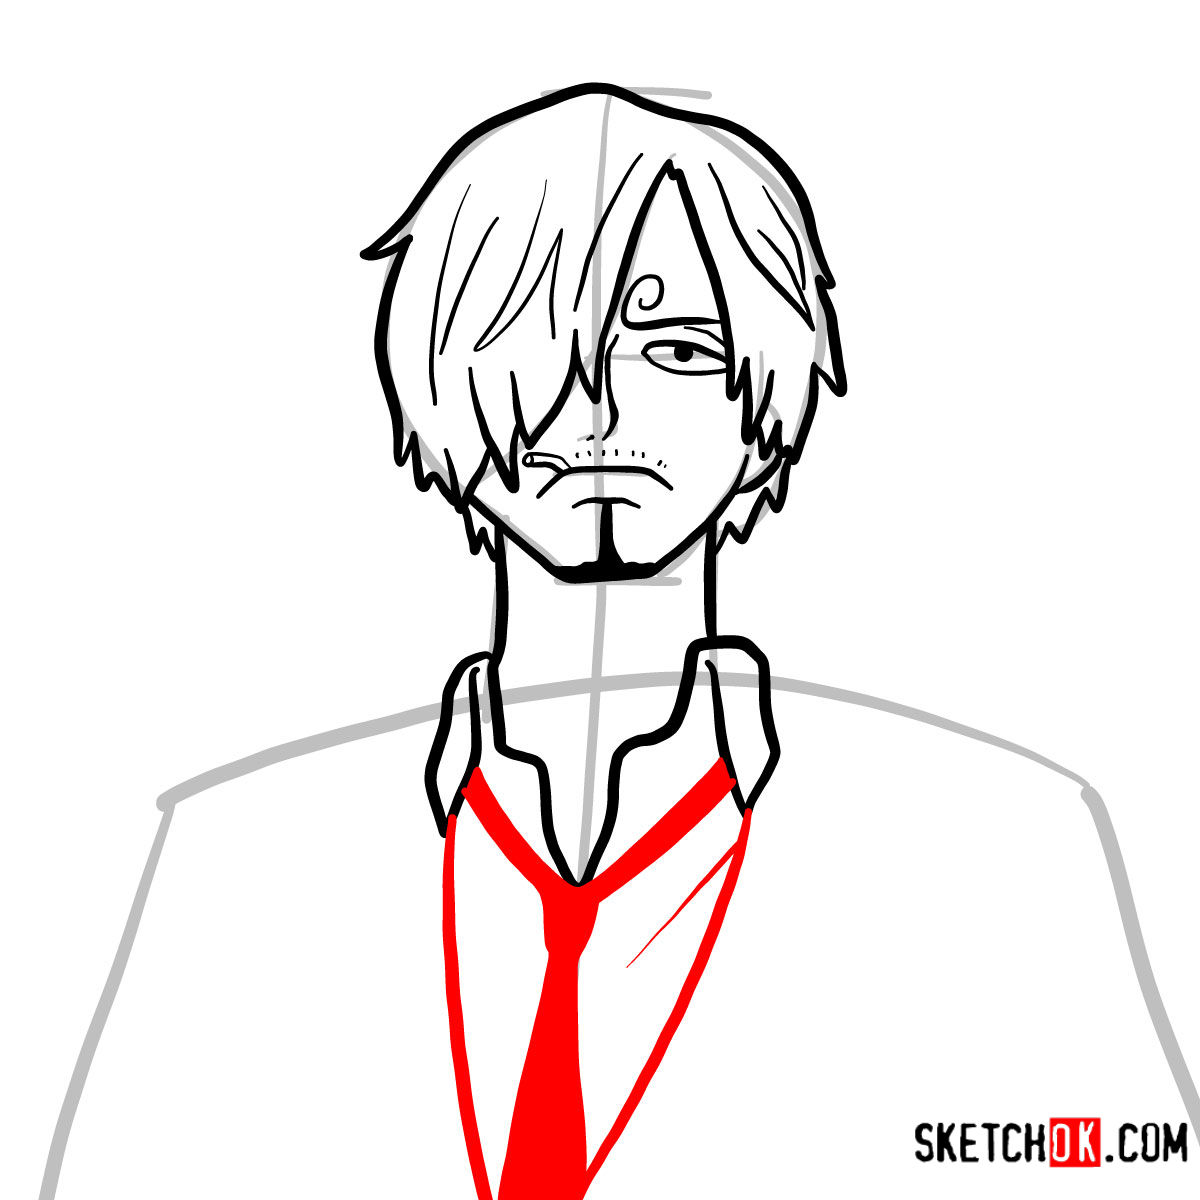
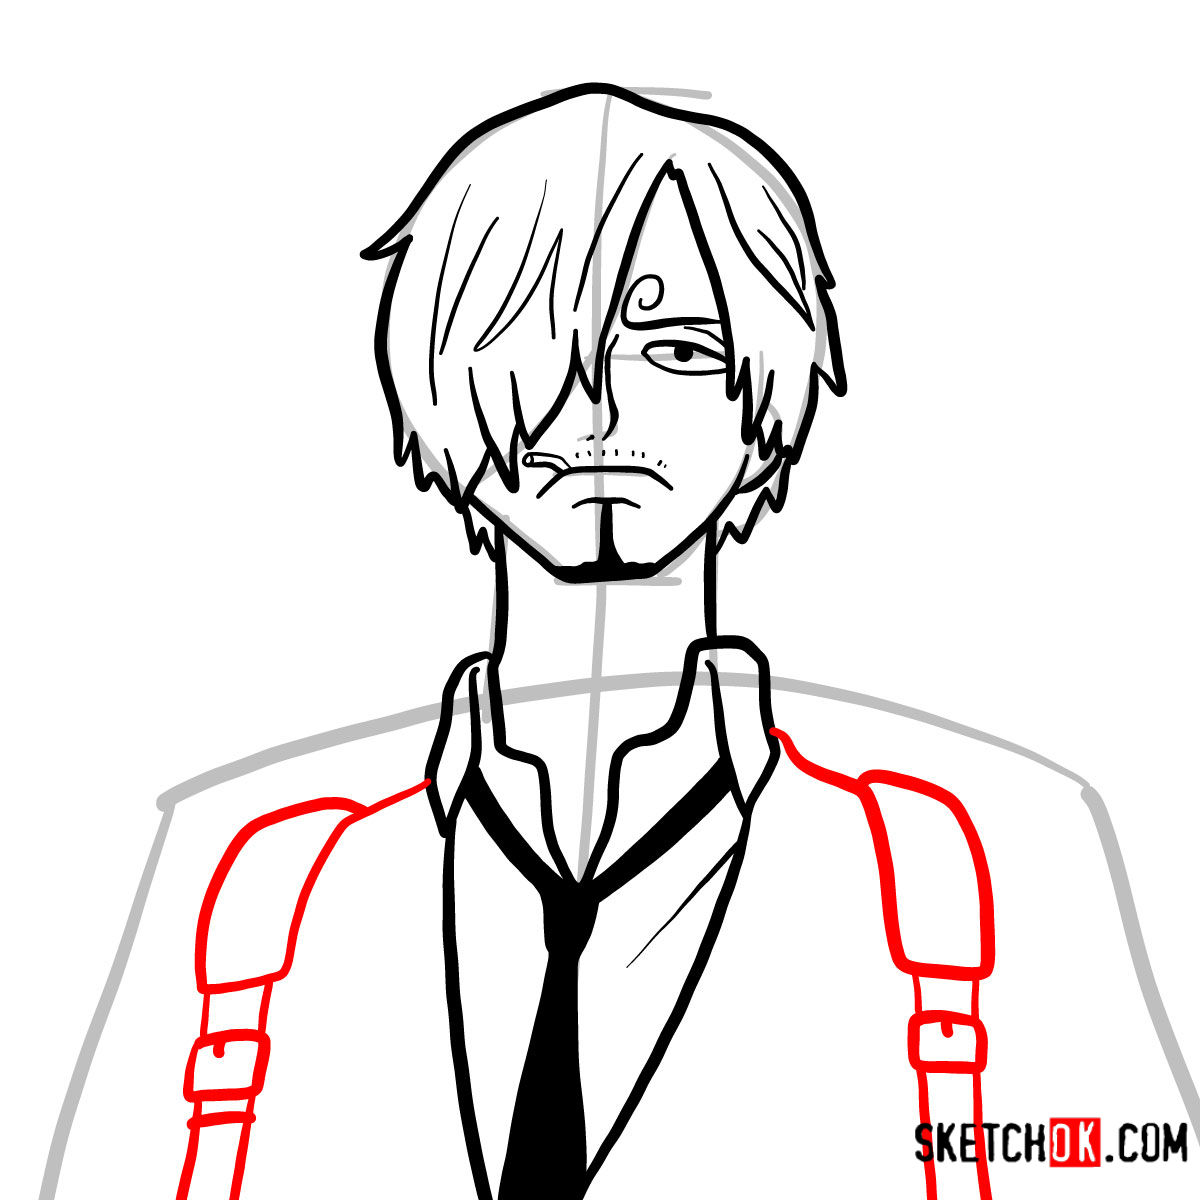
- Always dressed impeccably in a black double-breasted suit, accompanied by vibrantly colored shirts.
If you’re looking to expand your One Piece collection, considering adding characters like Monkey D. Luffy or Zoro to accompany your Sanji sketch. Their distinct appearances and dynamic poses would complement Sanji brilliantly.
Unraveling the Guide: What to Expect
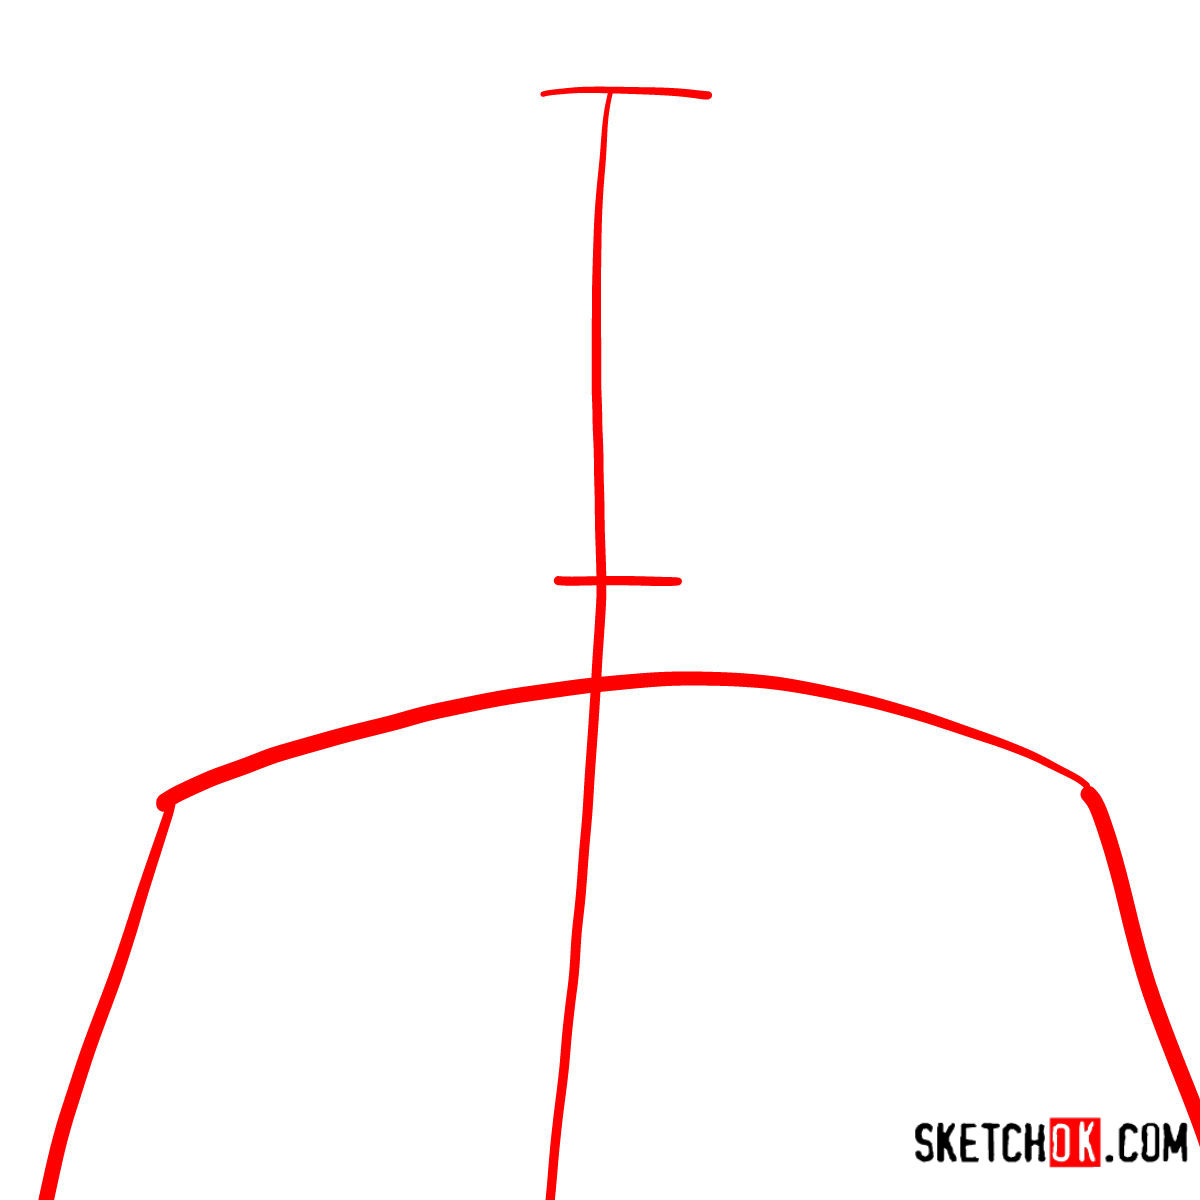
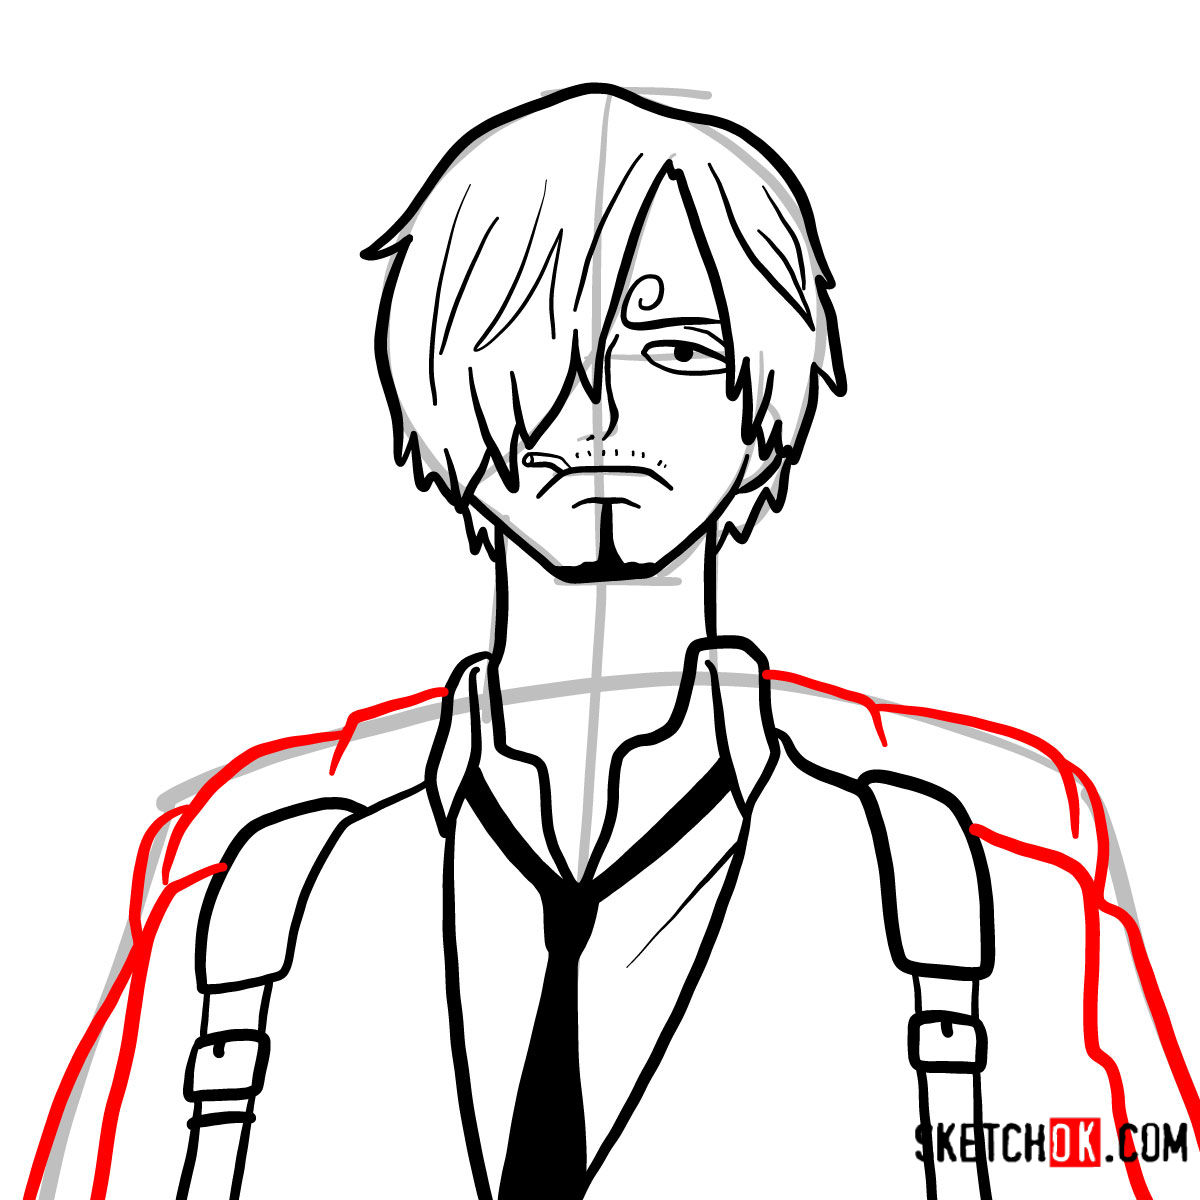
Our step-by-step guide on how to draw Sanji is meticulously designed to ensure clarity and ease. With a total of 10 detailed steps, we guide you from the foundational structure to the final touches.
- Grey Color: Represents the basic proportion sketch. Make sure to use light strokes during this phase.
- Black Color: Denotes lines drawn in previous steps.
- Red Color: Indicates the current drawing step, guiding your focus.
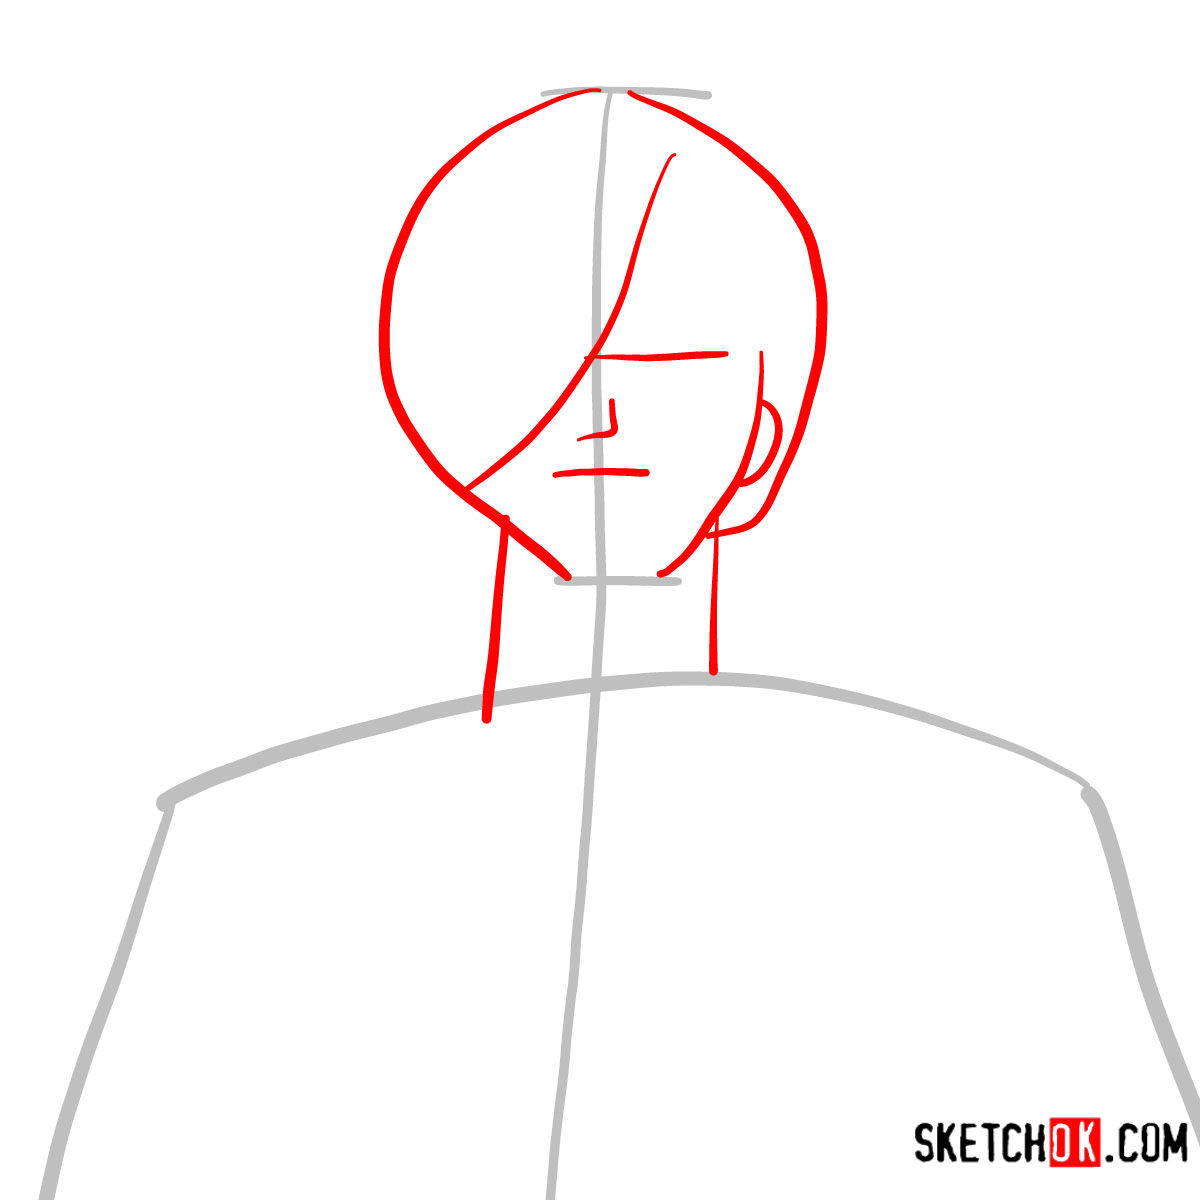
The initial stages are all about laying down the basic structure for Sanji’s proportions. Once you’ve reached the concluding stages, you have the option to ink your sketch. Remember, patience is crucial. Allow the ink to dry completely before gently erasing the pencil marks to reveal a crisp image of Sanji.

Drawing Sanji: Frequently Asked Questions
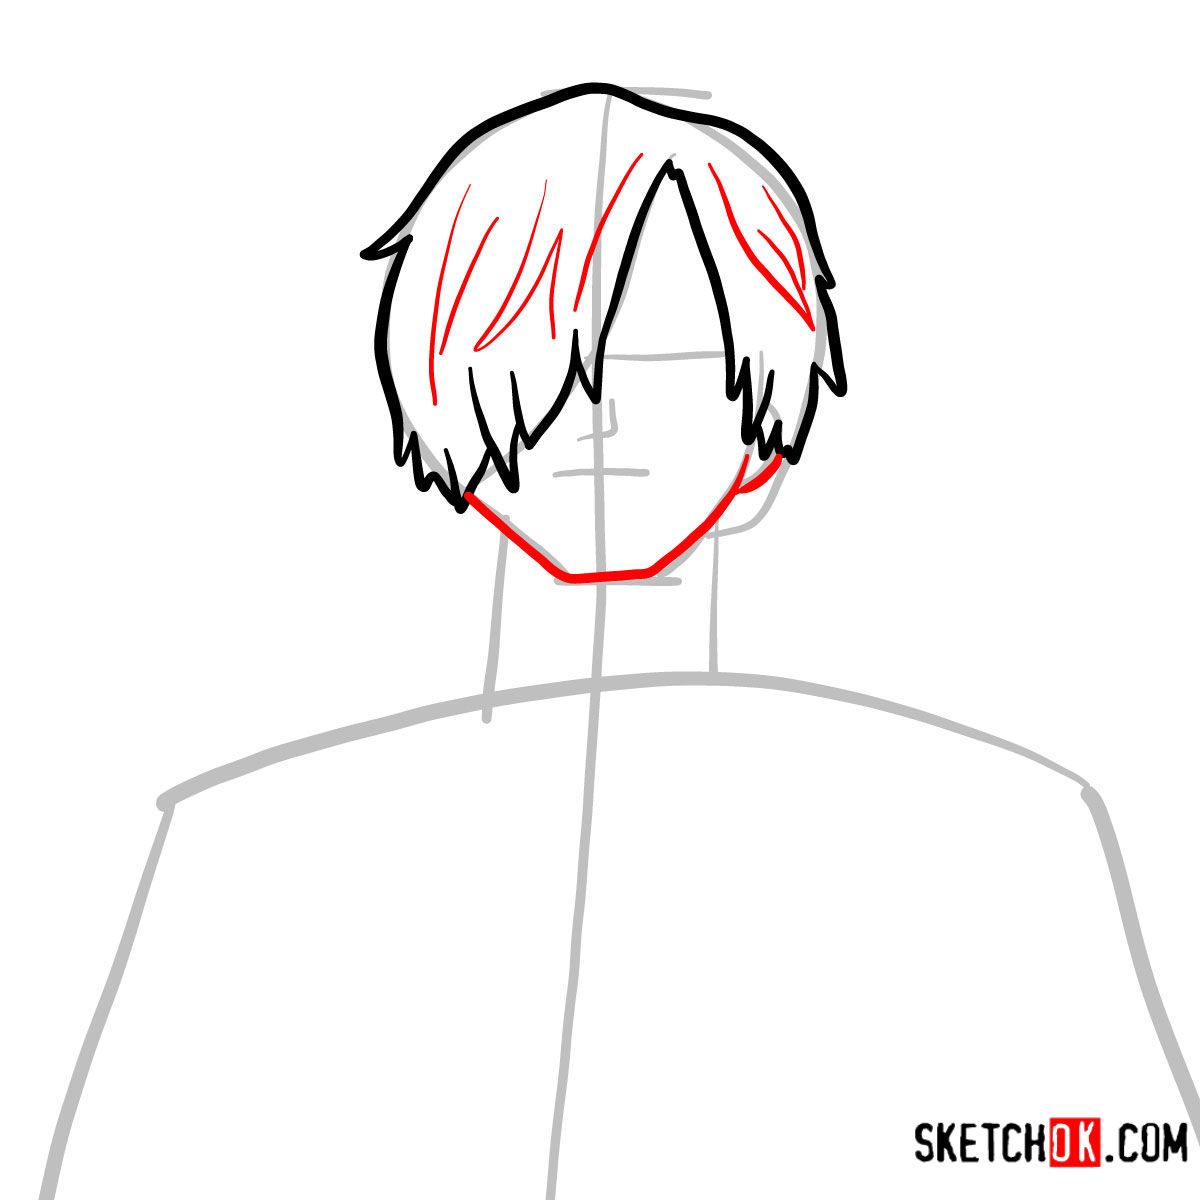
What’s the best approach to capture Sanji’s signature hair?
Sanji’s hair is one of his defining features. Start with light strokes, focusing on the volume and flow. Remember, post timeskip, his hair covers the right side, so pay attention to the era of Sanji you’re sketching. The sleekness of his hair can be emphasized during the inking phase.
How do I accurately depict his spiral eyebrows?
Sanji’s eyebrows are indeed unique. They form spirals at opposite ends. A helpful trick is to visualize them as simple springs or coils. Draw them with a steady hand, and don’t forget to reference which direction they’re curling in based on the event in Sanji’s life.
Any tips for portraying Sanji’s stylish attire?
Absolutely! Sanji’s attire, predominantly his suit, exudes elegance. Focus on the lapels of his jacket and the fit of his shirt. His clothes are typically well-fitted, so avoid making them too baggy. Add in the intricate details during the inking stage for that sharp look.
Wrapping Up & Joining the Journey
Thank you for choosing our guide on how to draw Sanji. Your passion for art and One Piece fuels our commitment to creating detailed tutorials. If you found this guide helpful and wish to support SketchOk further, please consider making a donation. Your contributions not only sustain us but also let you suggest topics for future tutorials. Your suggestions become our primary focus and expedite the creation process.
Feel the urge to share your masterpiece or the guide itself? Do share the link with fellow enthusiasts. For more insights, tutorials, and artistic camaraderie, don’t forget to follow us on our social media channels.
- Donate & Suggest Topics Here
- Join Us on Facebook
- Follow Our Instagram Journey
- Pin Along with Us on Pinterest