
Get ready to embark on an enchanting artistic journey as you learn how to draw Mavis Vermillion, the first Guild Master and co-founder of the Fairy Tail Guild. Follow this step-by-step drawing tutorial and watch your skills magically improve with every stroke of your pencil.
The Fairy Tactician: Mavis Vermillion’s Story and Appearance
Mavis Vermillion is a thought-provoking character who, despite being sealed in a Lacrima, continued to interact with her guild members as a Thought Projection. She is known for her long, wavy, pastel yellow-blonde hair, large green eyes, and child-like appearance due to a magical mishap. Her playful yet strategic nature earned her the epithet Fairy Tactician, and she is beloved by her guild members for her kindness and protective instincts.
Mavis’s appearance is marked by a frilly, pink layered robe and wing-like adornments around her ears. Interestingly, she prefers to go barefoot, which reflects her carefree and innocent nature. Among her many quirks, Mavis has an unwavering belief in fairies, which eventually inspired her to name her guild Fairy Tail.
Throughout her story, Mavis has faced numerous challenges, including dealing with the Ankhseram Black Magic curse. However, she managed to overcome these obstacles and regain her cheerful disposition while retaining a newfound sense of seriousness and determination to protect her guild and humanity.
Materials and Tools: Gather Your Magical Arsenal
Before you start drawing Mavis Vermillion, gather the following recommended materials and tools:
- Sketching pencils (HB, 2B, and 4B)
- Drawing paper or sketchpad
- Erasers (kneaded and vinyl)
- Pencil sharpener
- Fineliner pens or markers (for inking)
- Colored pencils, markers, or paints (for coloring)
Remember, these are merely recommendations, and you are free to use any tools you feel comfortable with.
Unlock the Art of Drawing: Step-by-Step Mavis Vermillion Tutorial
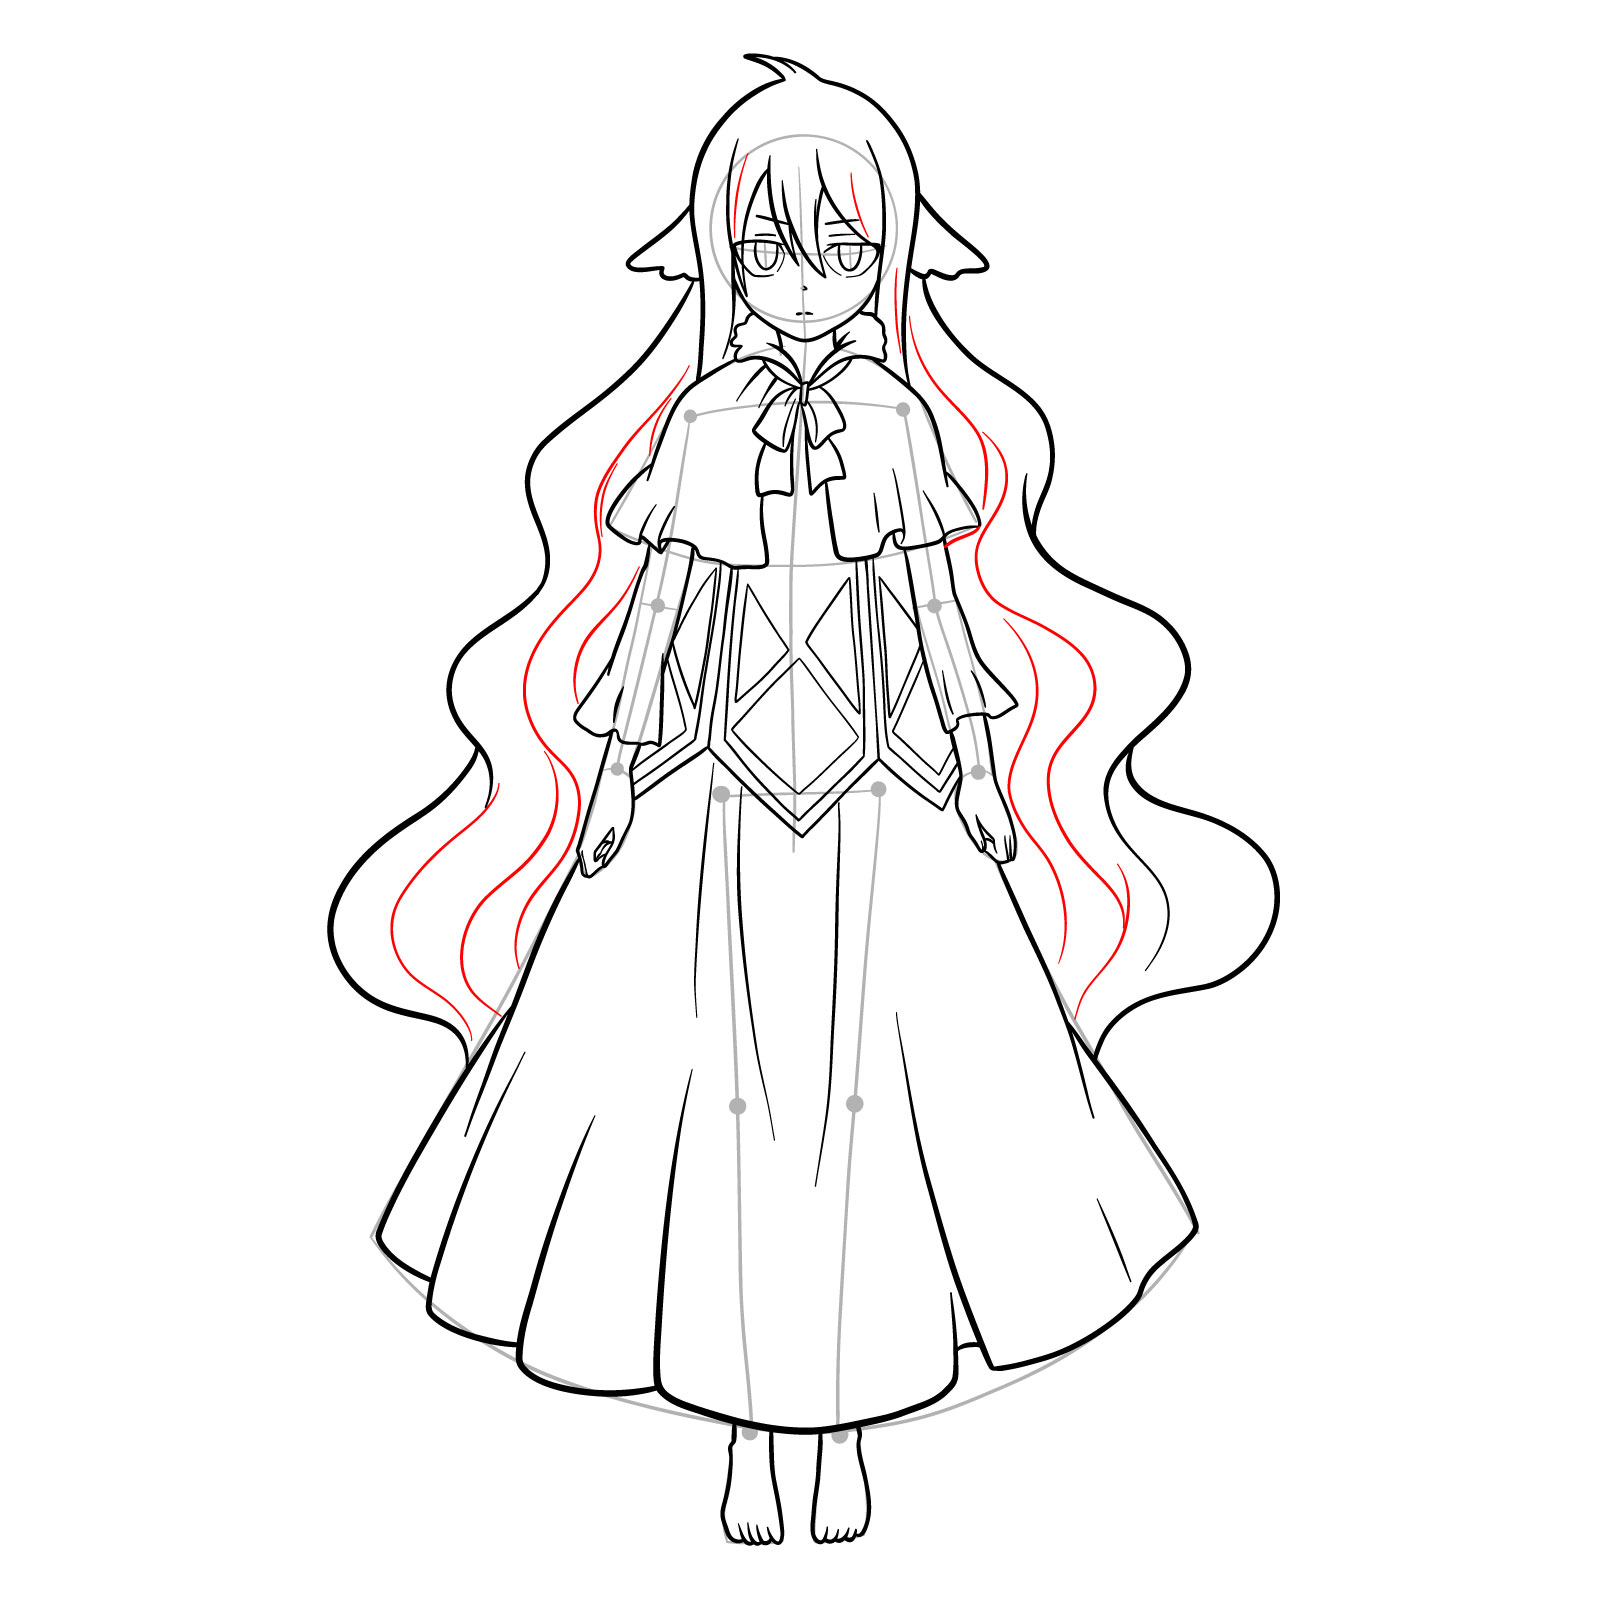
Follow our enchanting guide to draw Mavis Vermillion in four essential parts. As you progress through the tutorial, pay close attention to the red, grey, and black colors in the images as they indicate the current step, basic proportions sketch, and previously drawn lines, respectively.
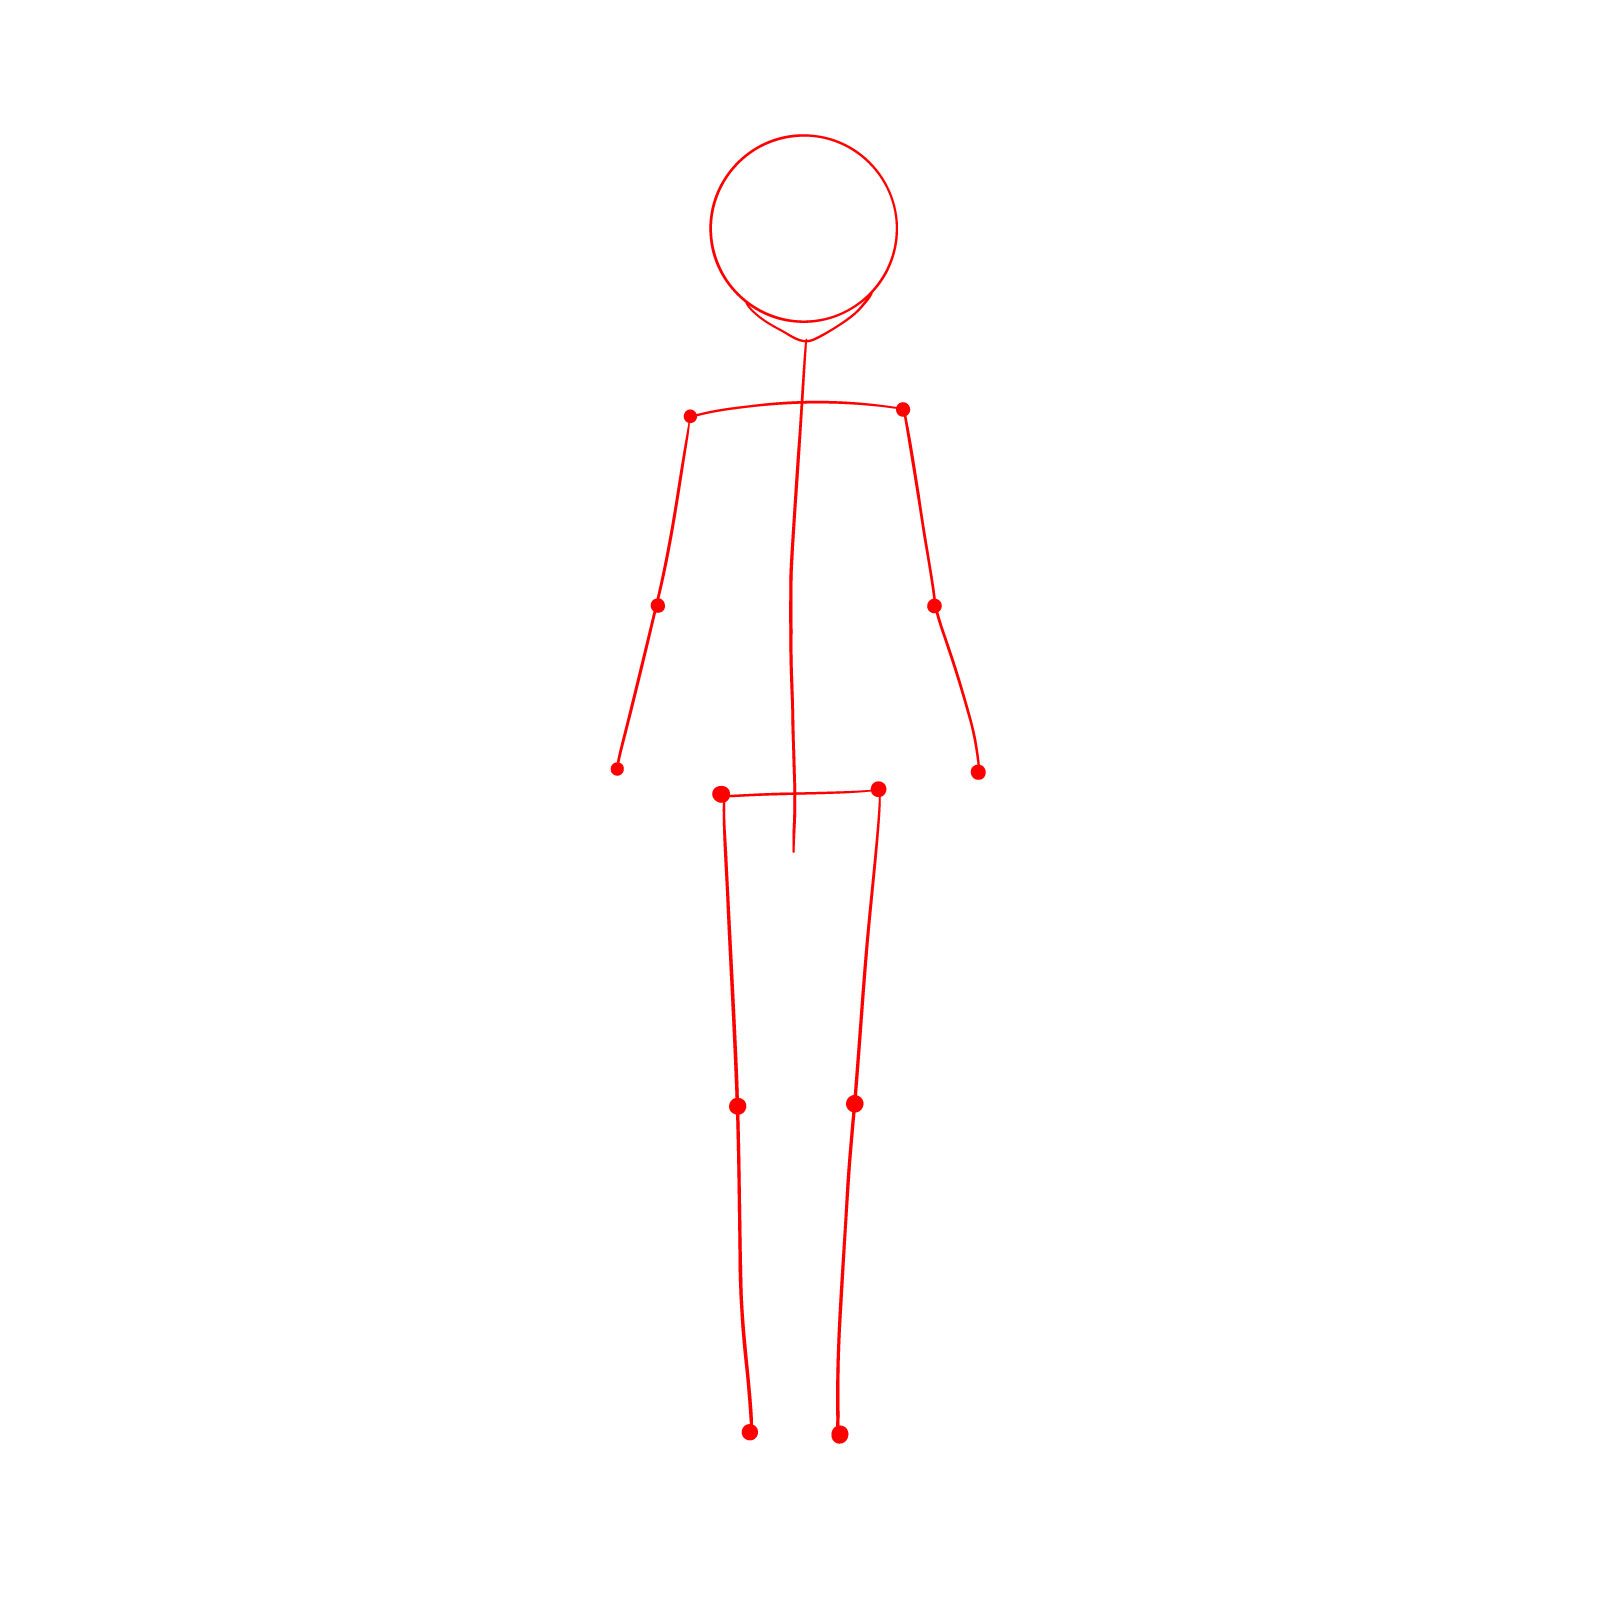
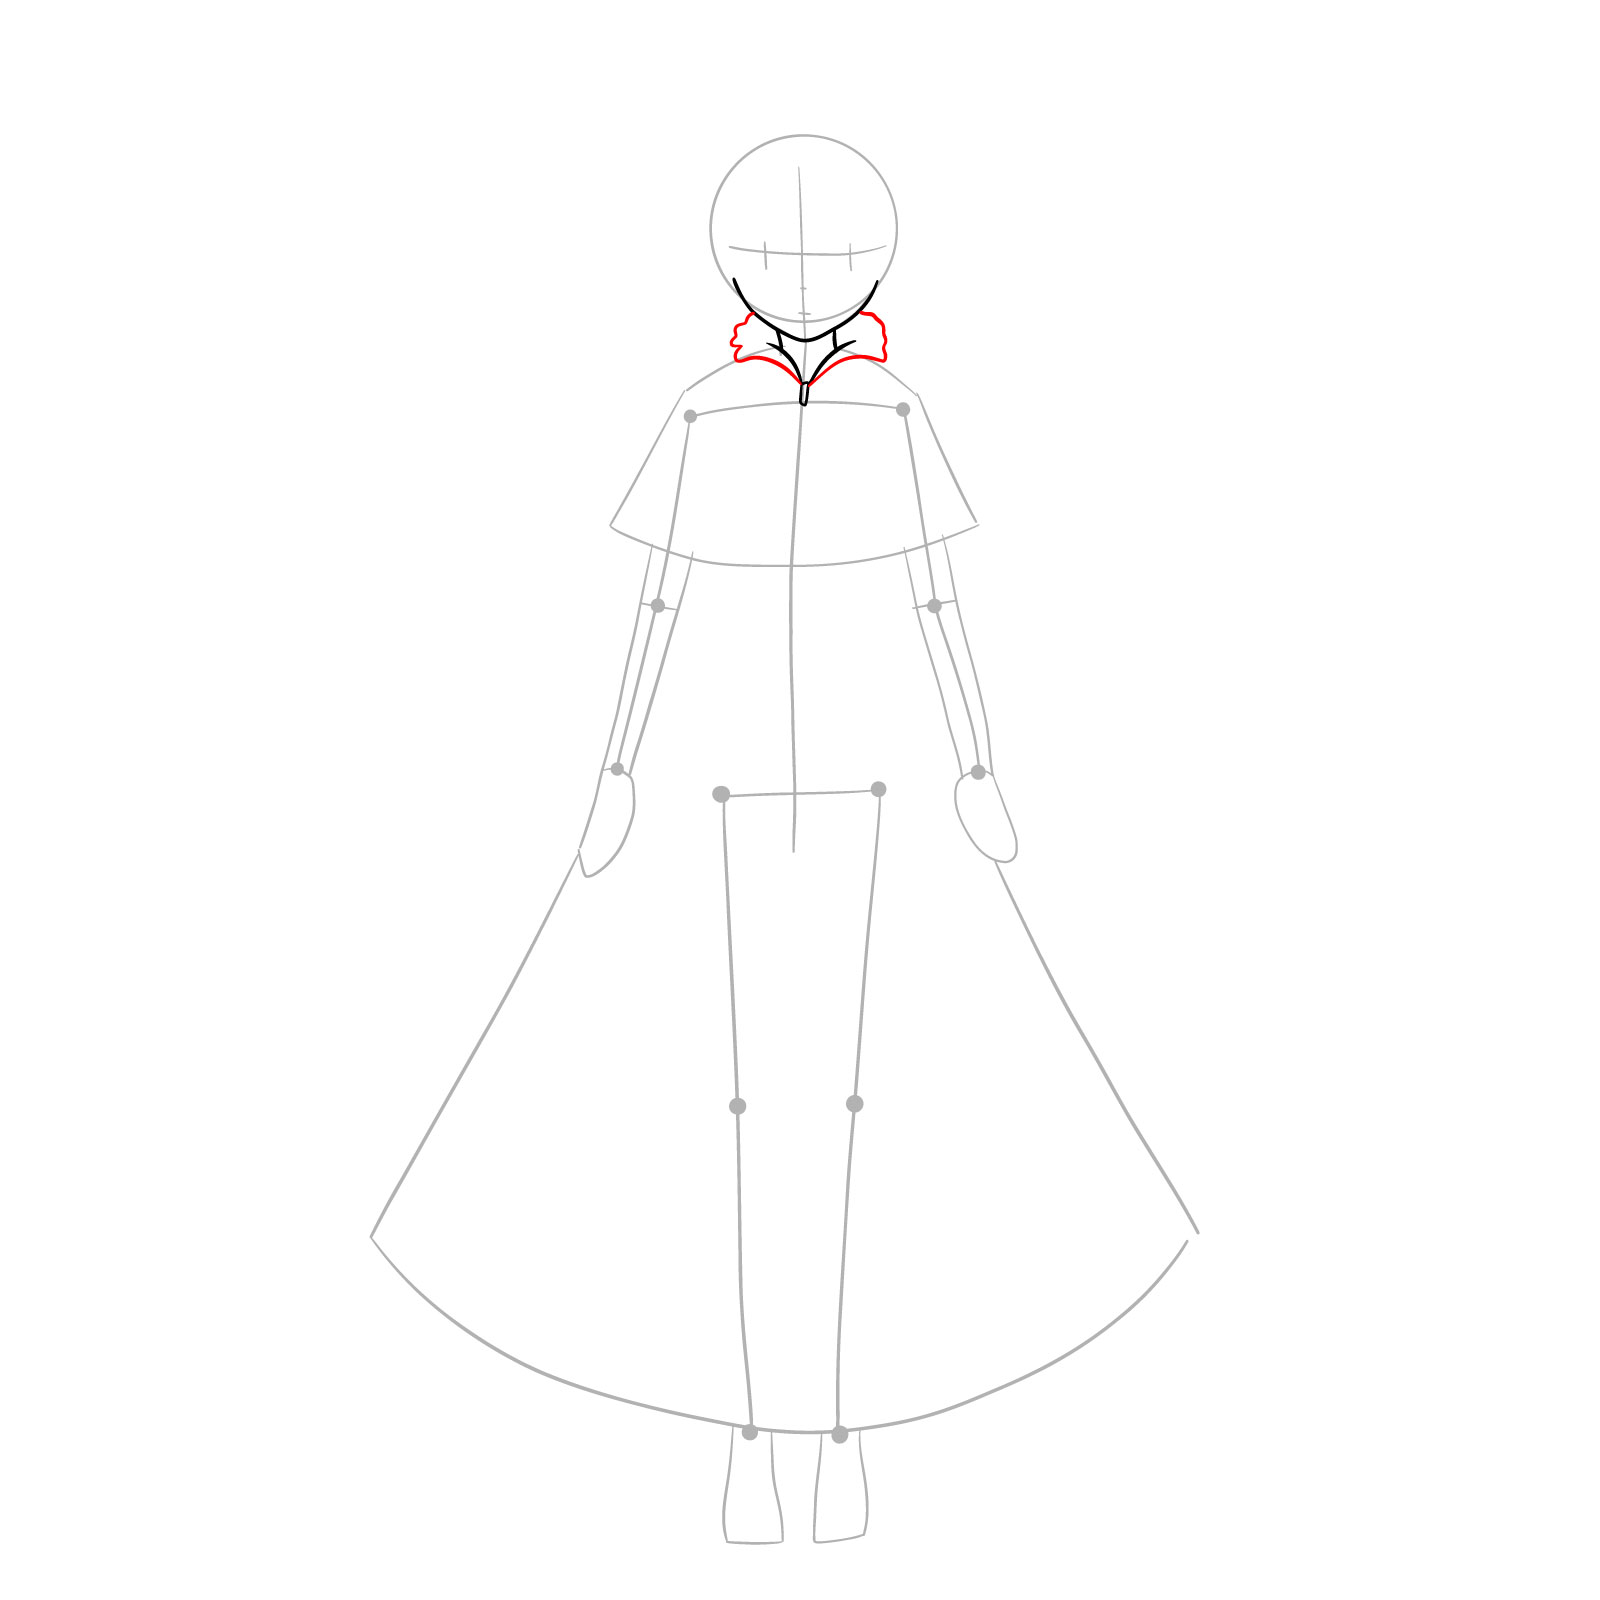
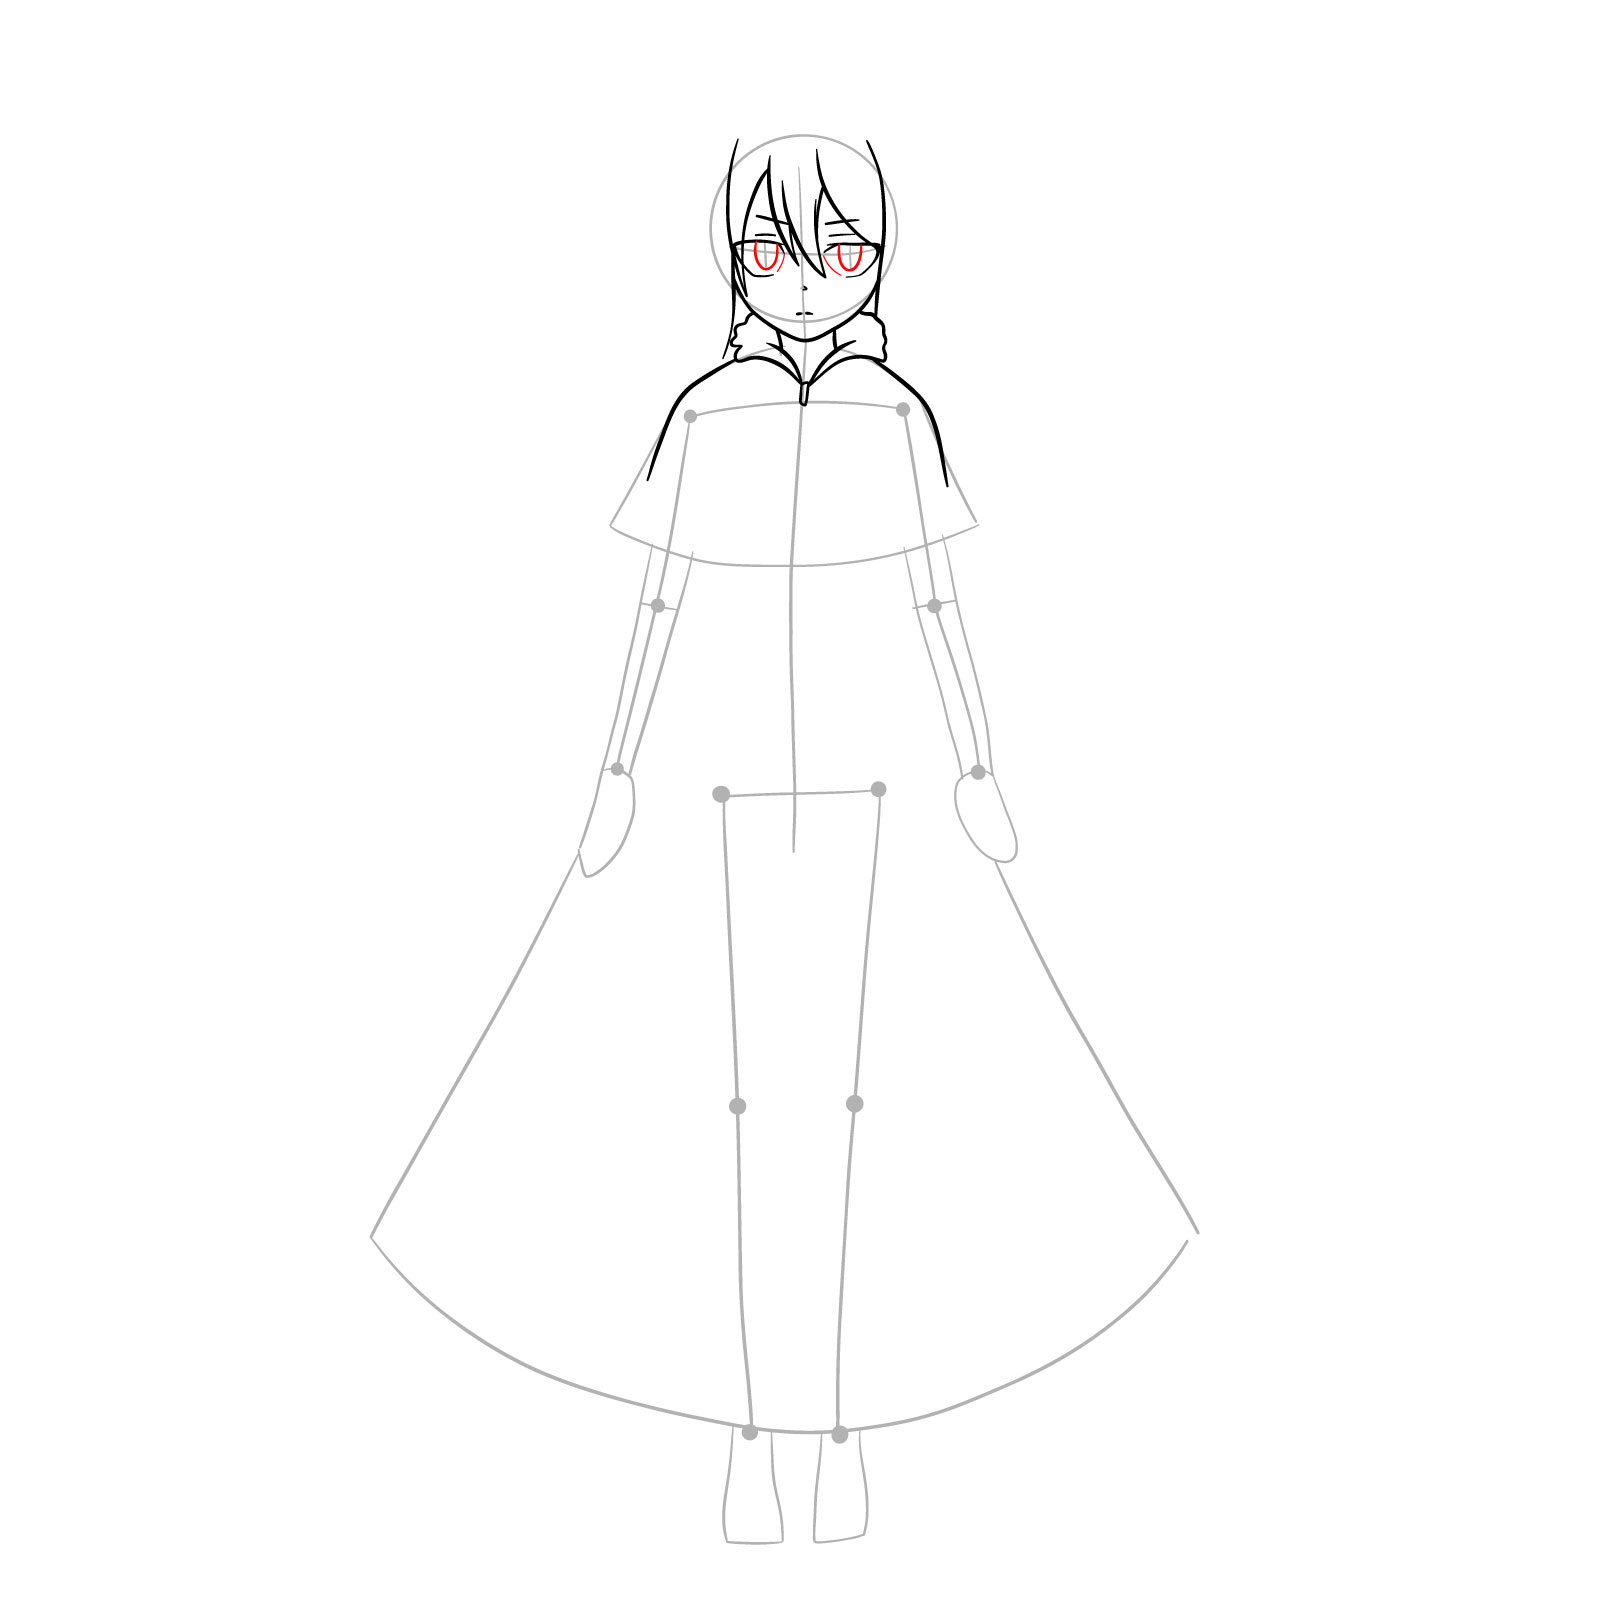
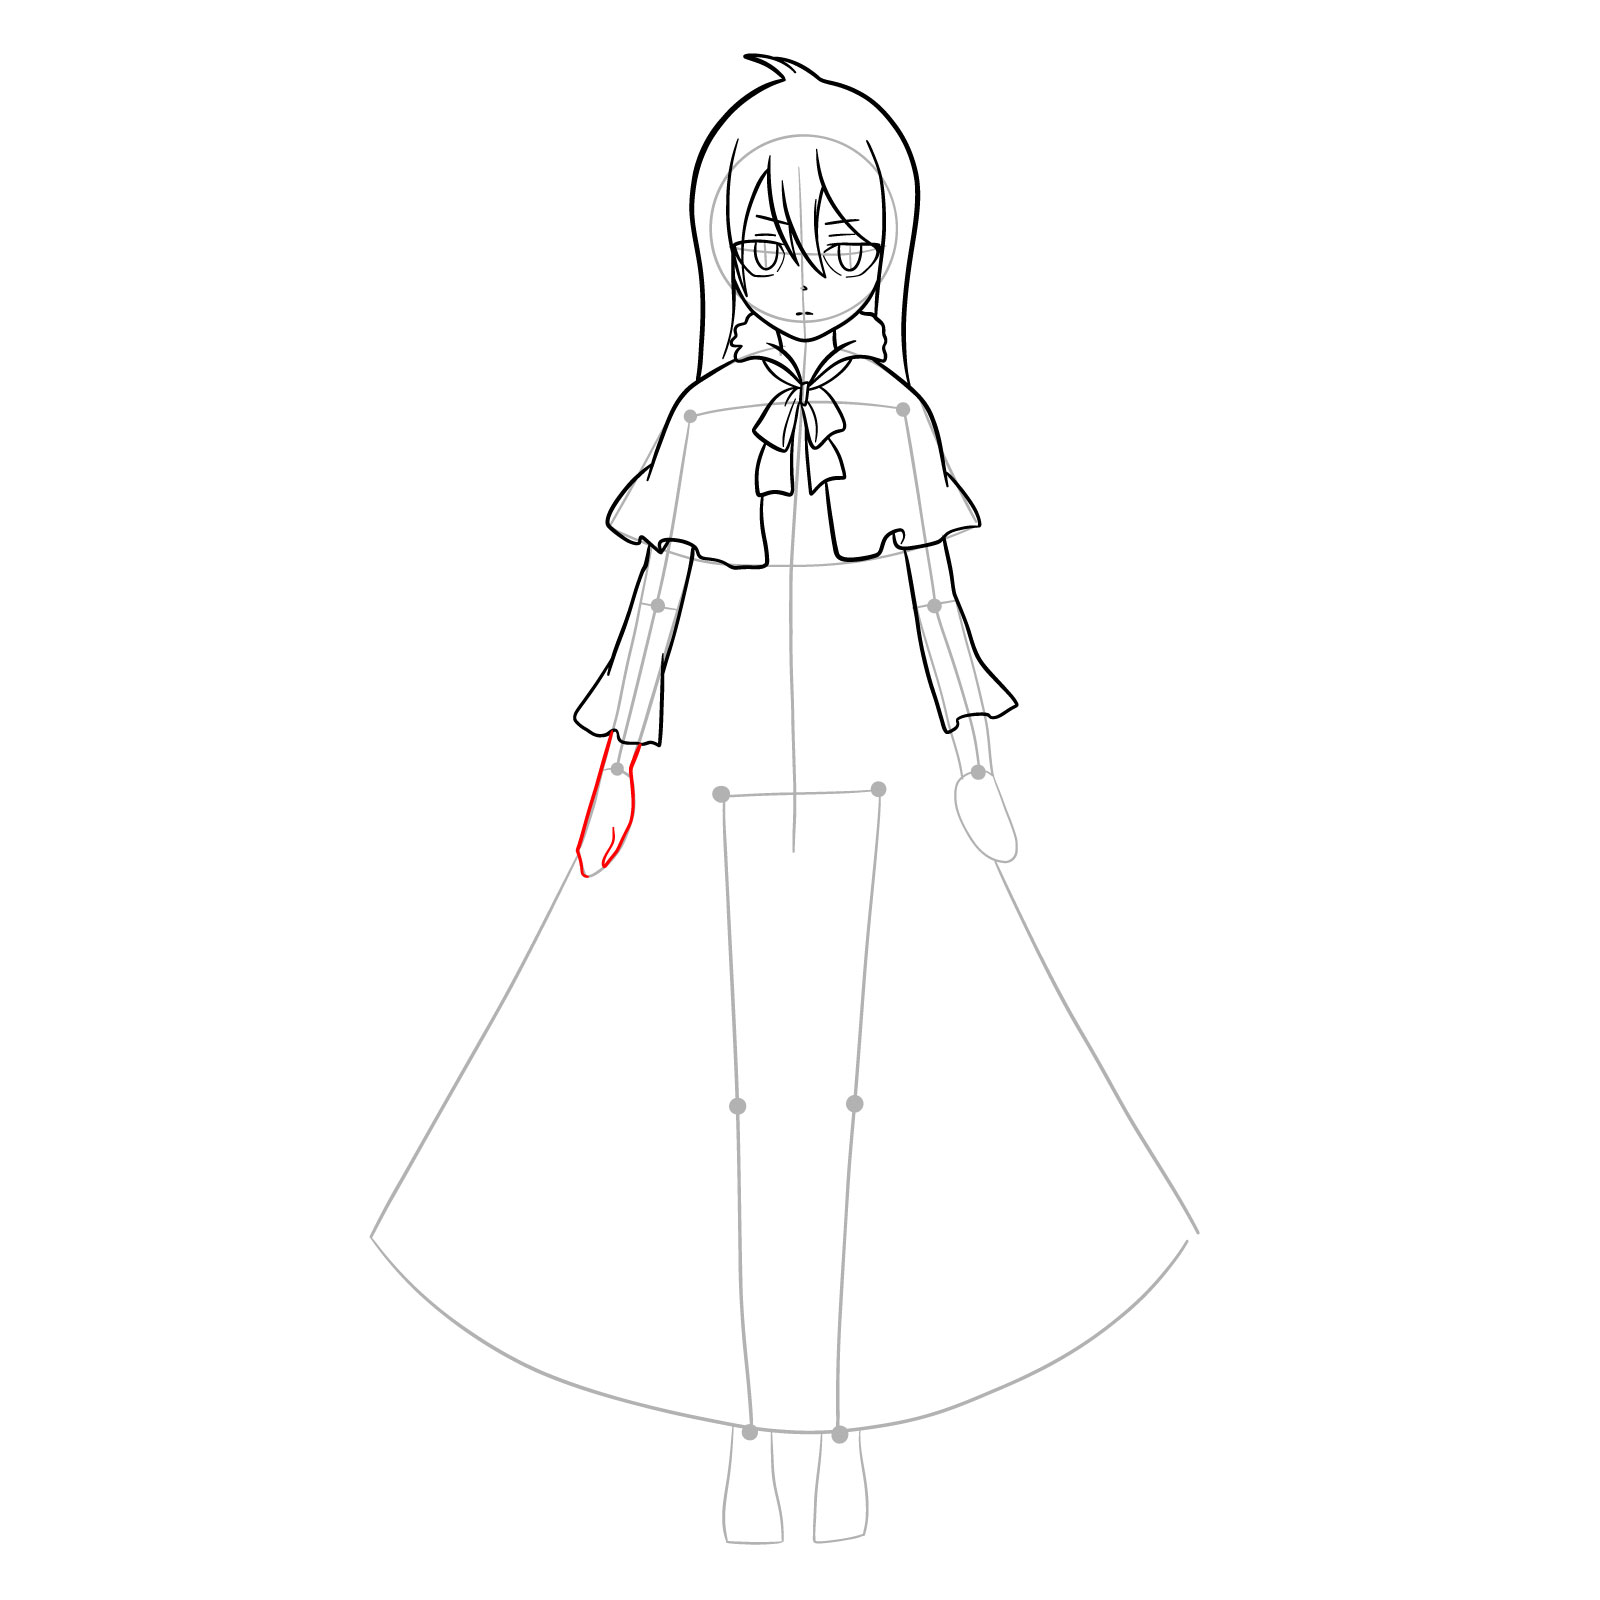
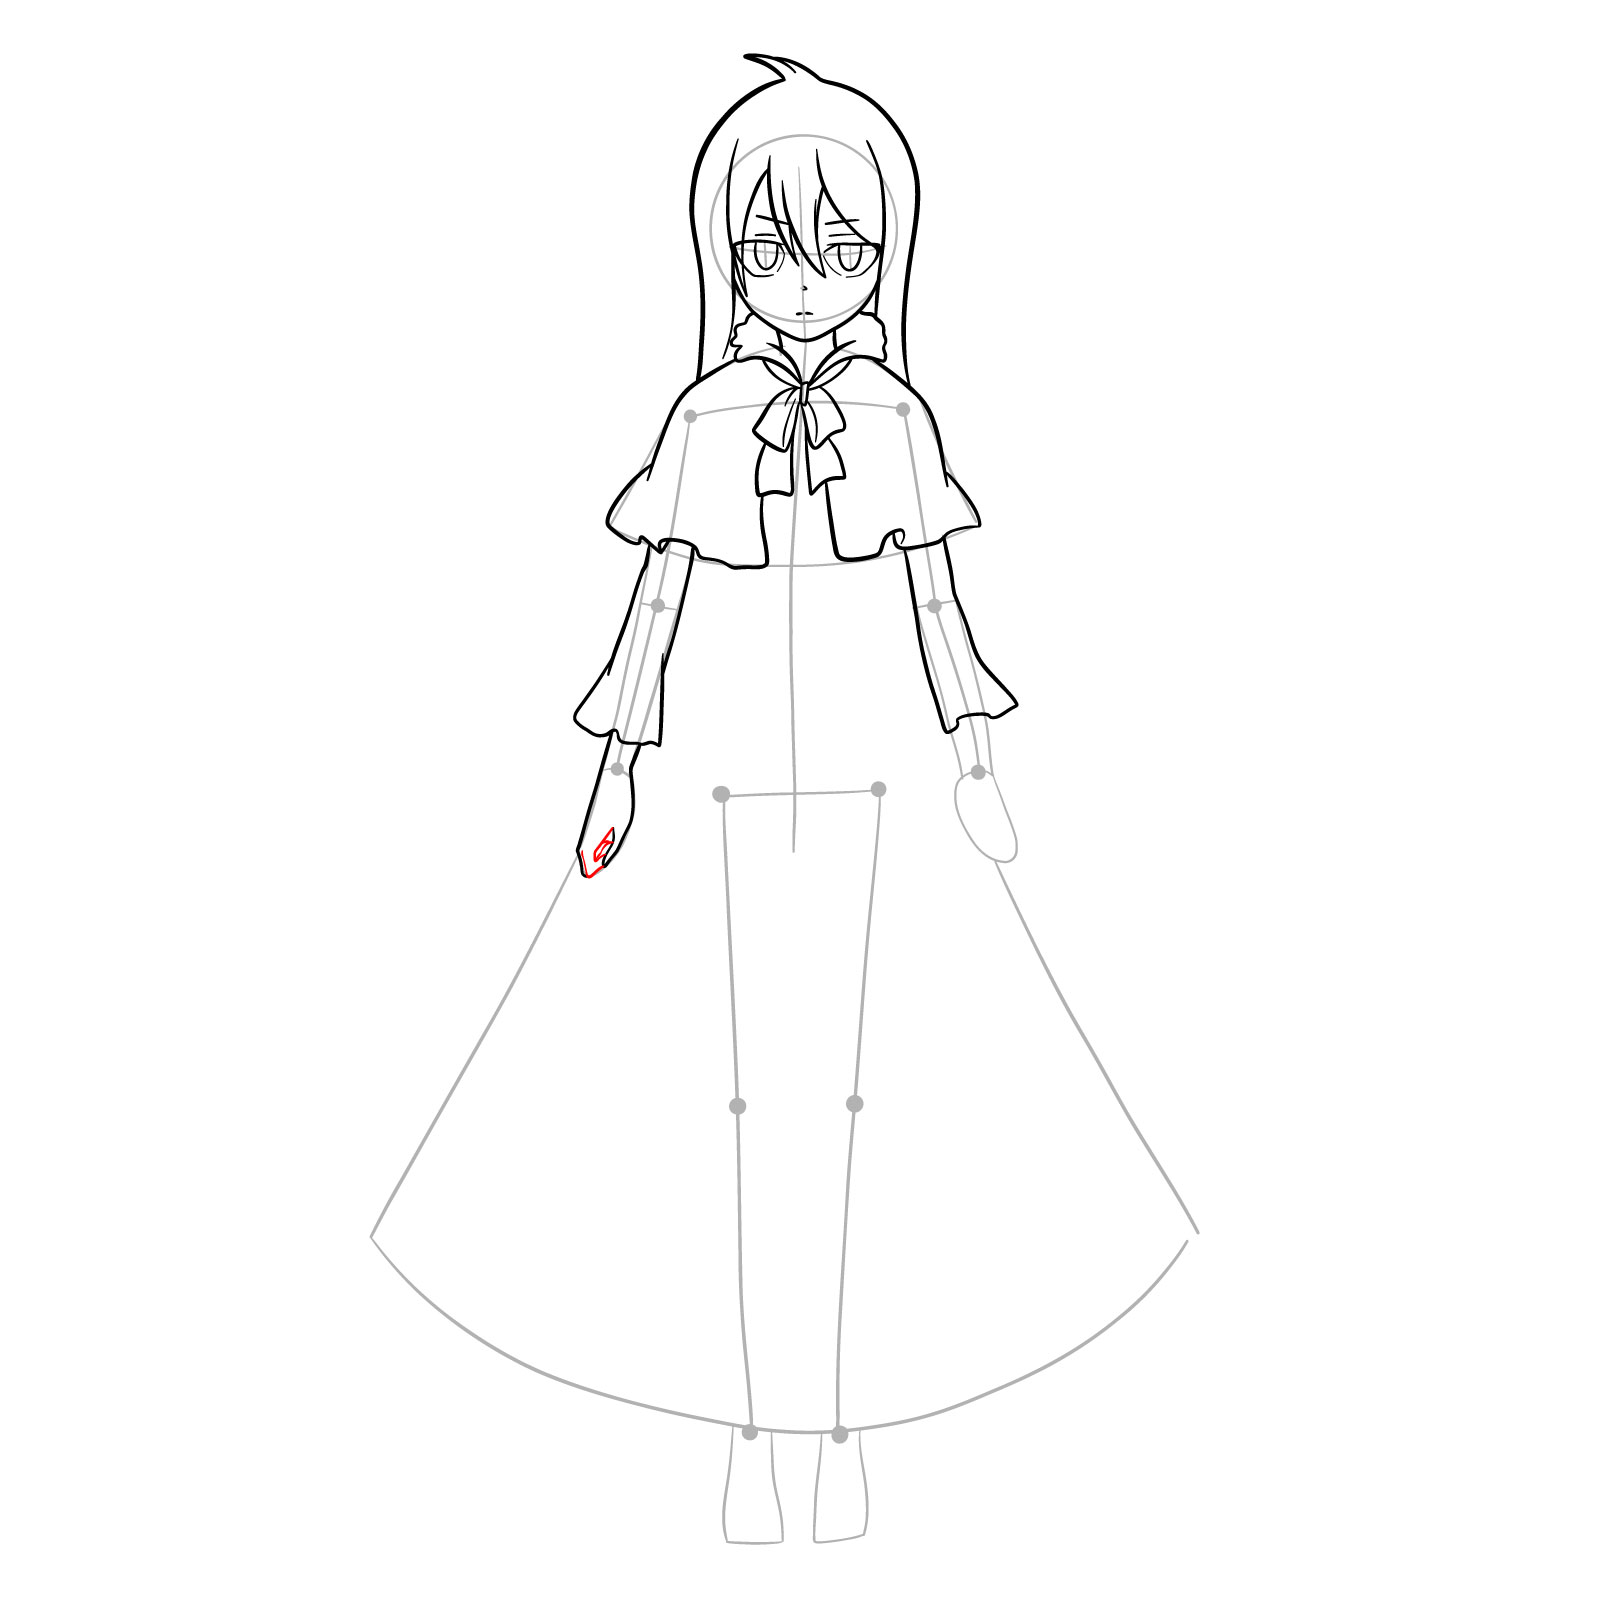
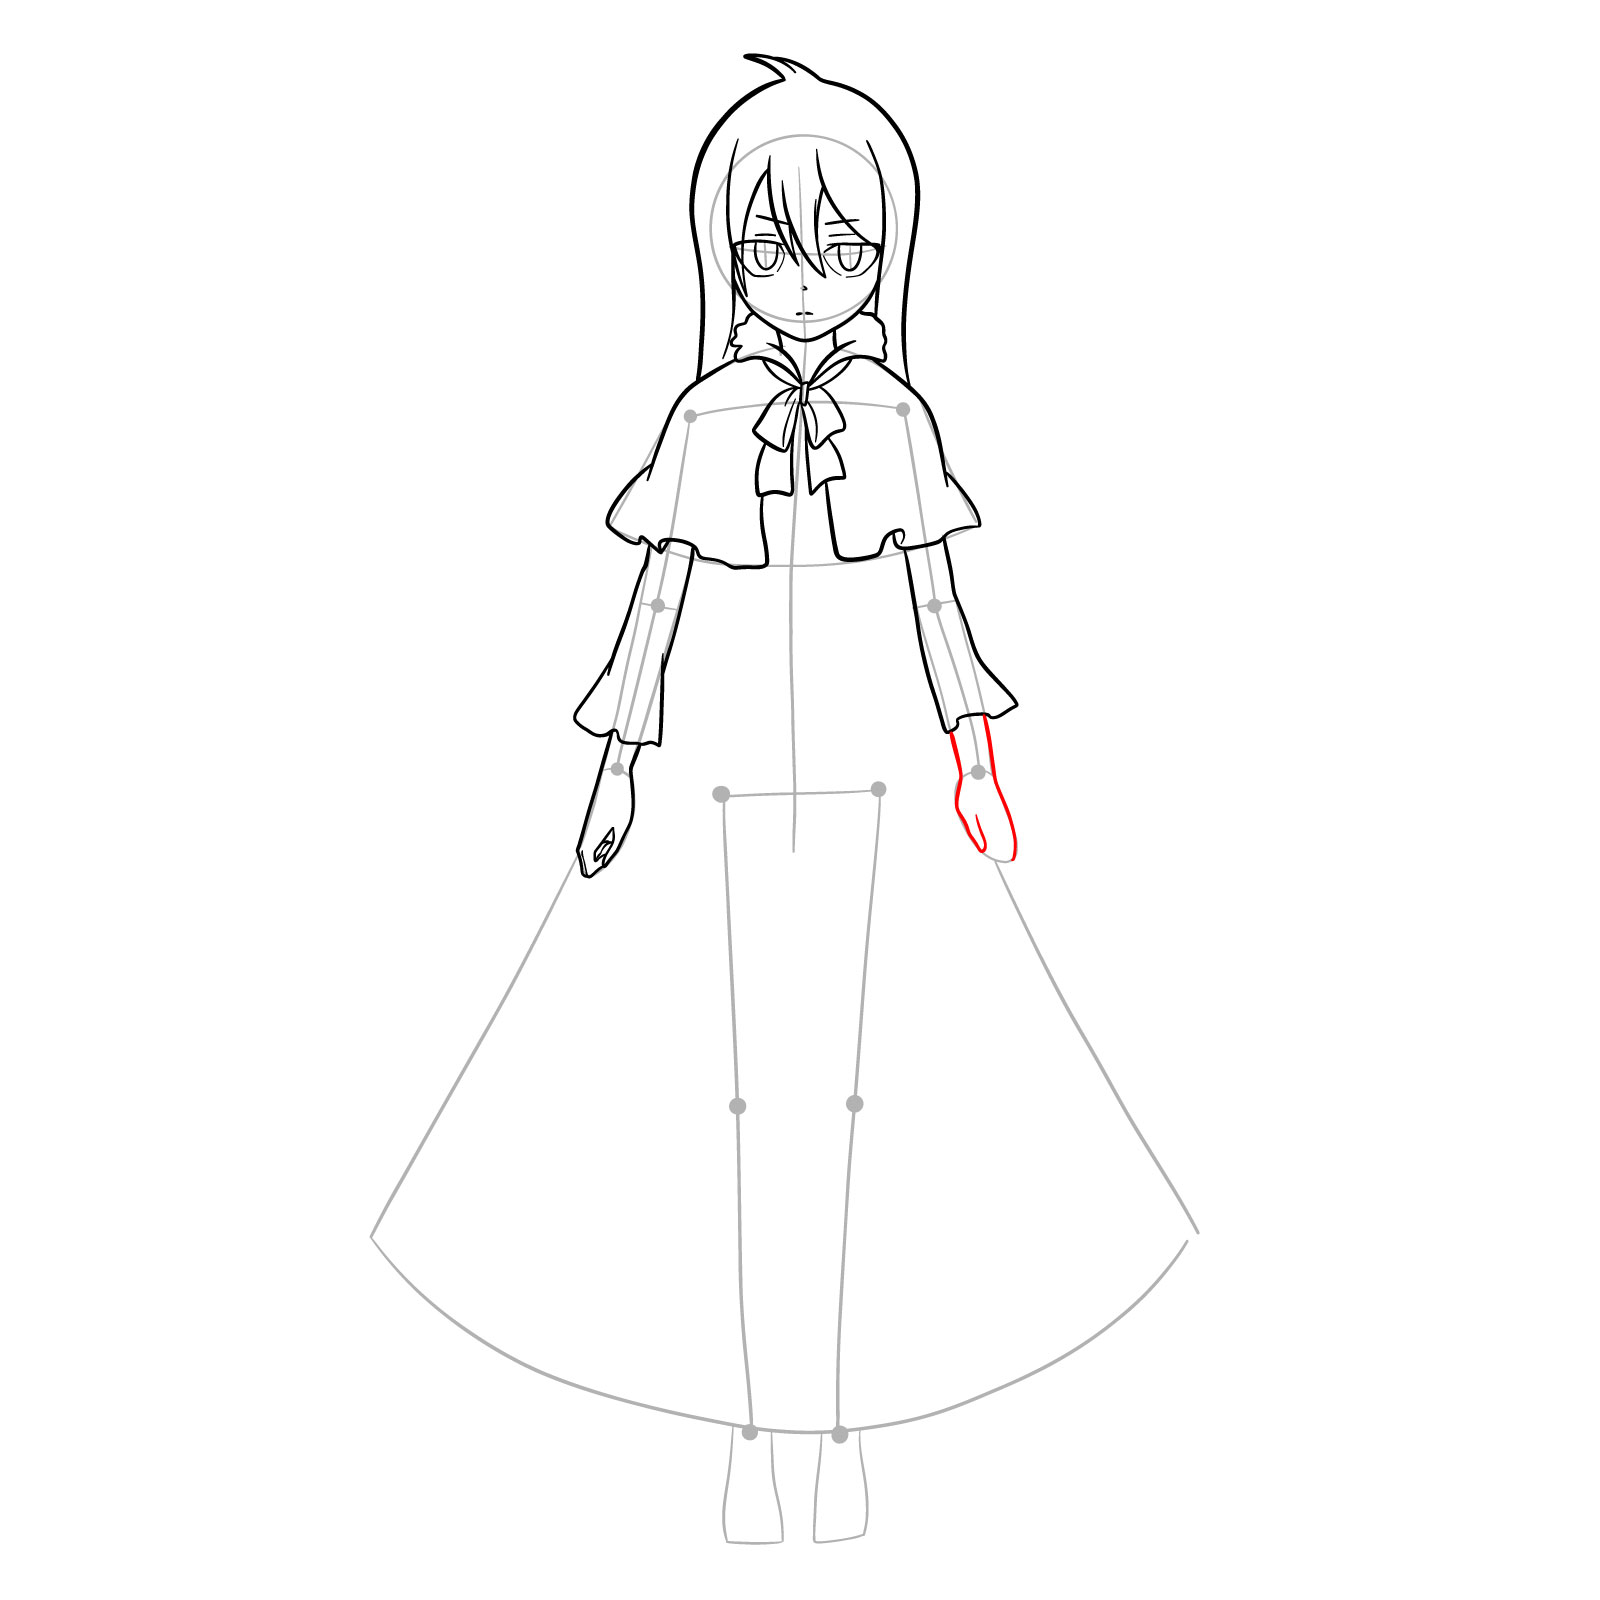
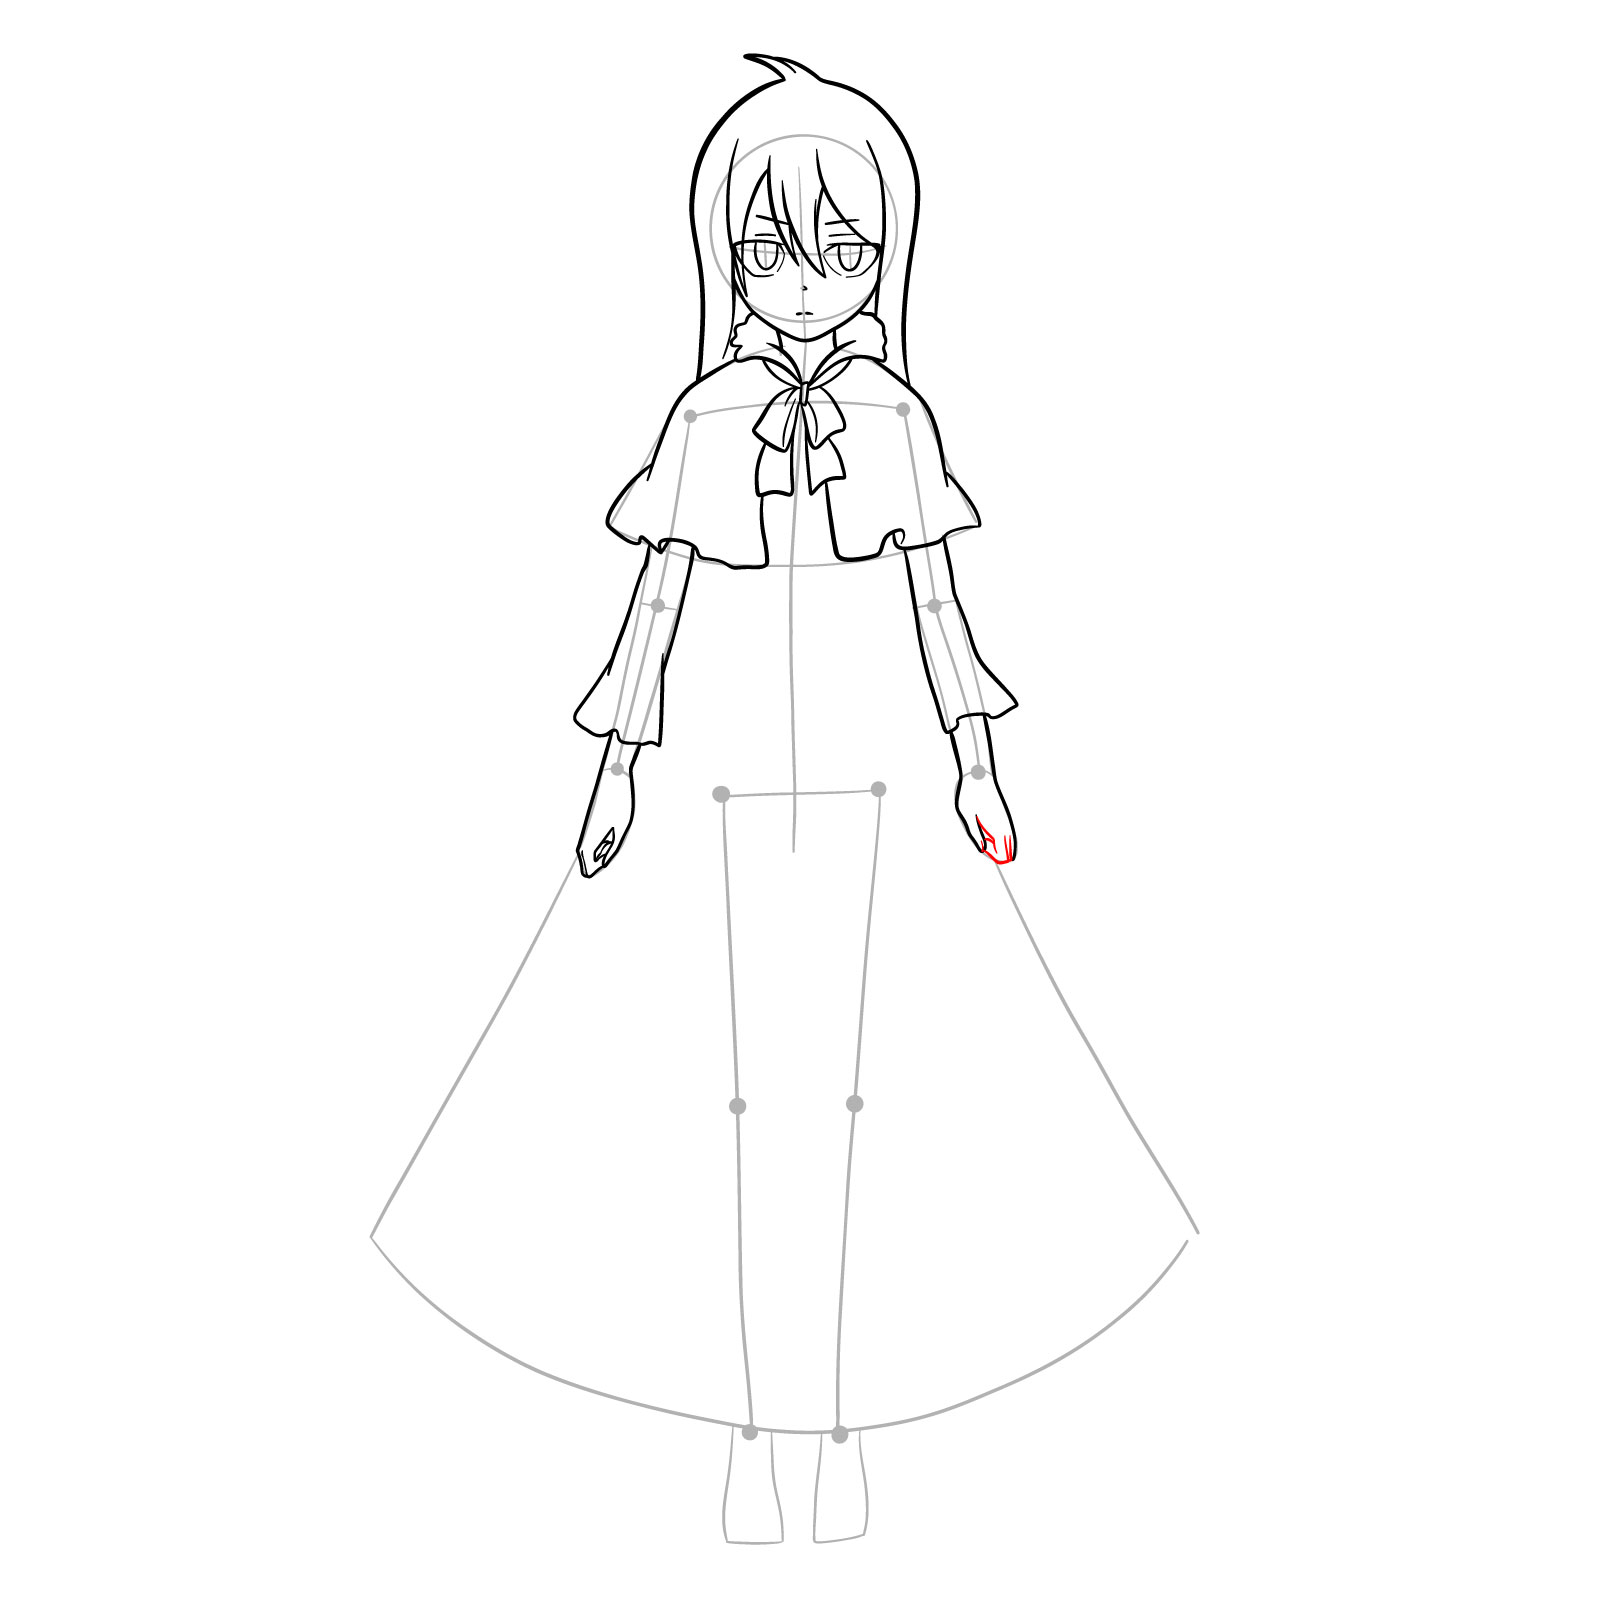
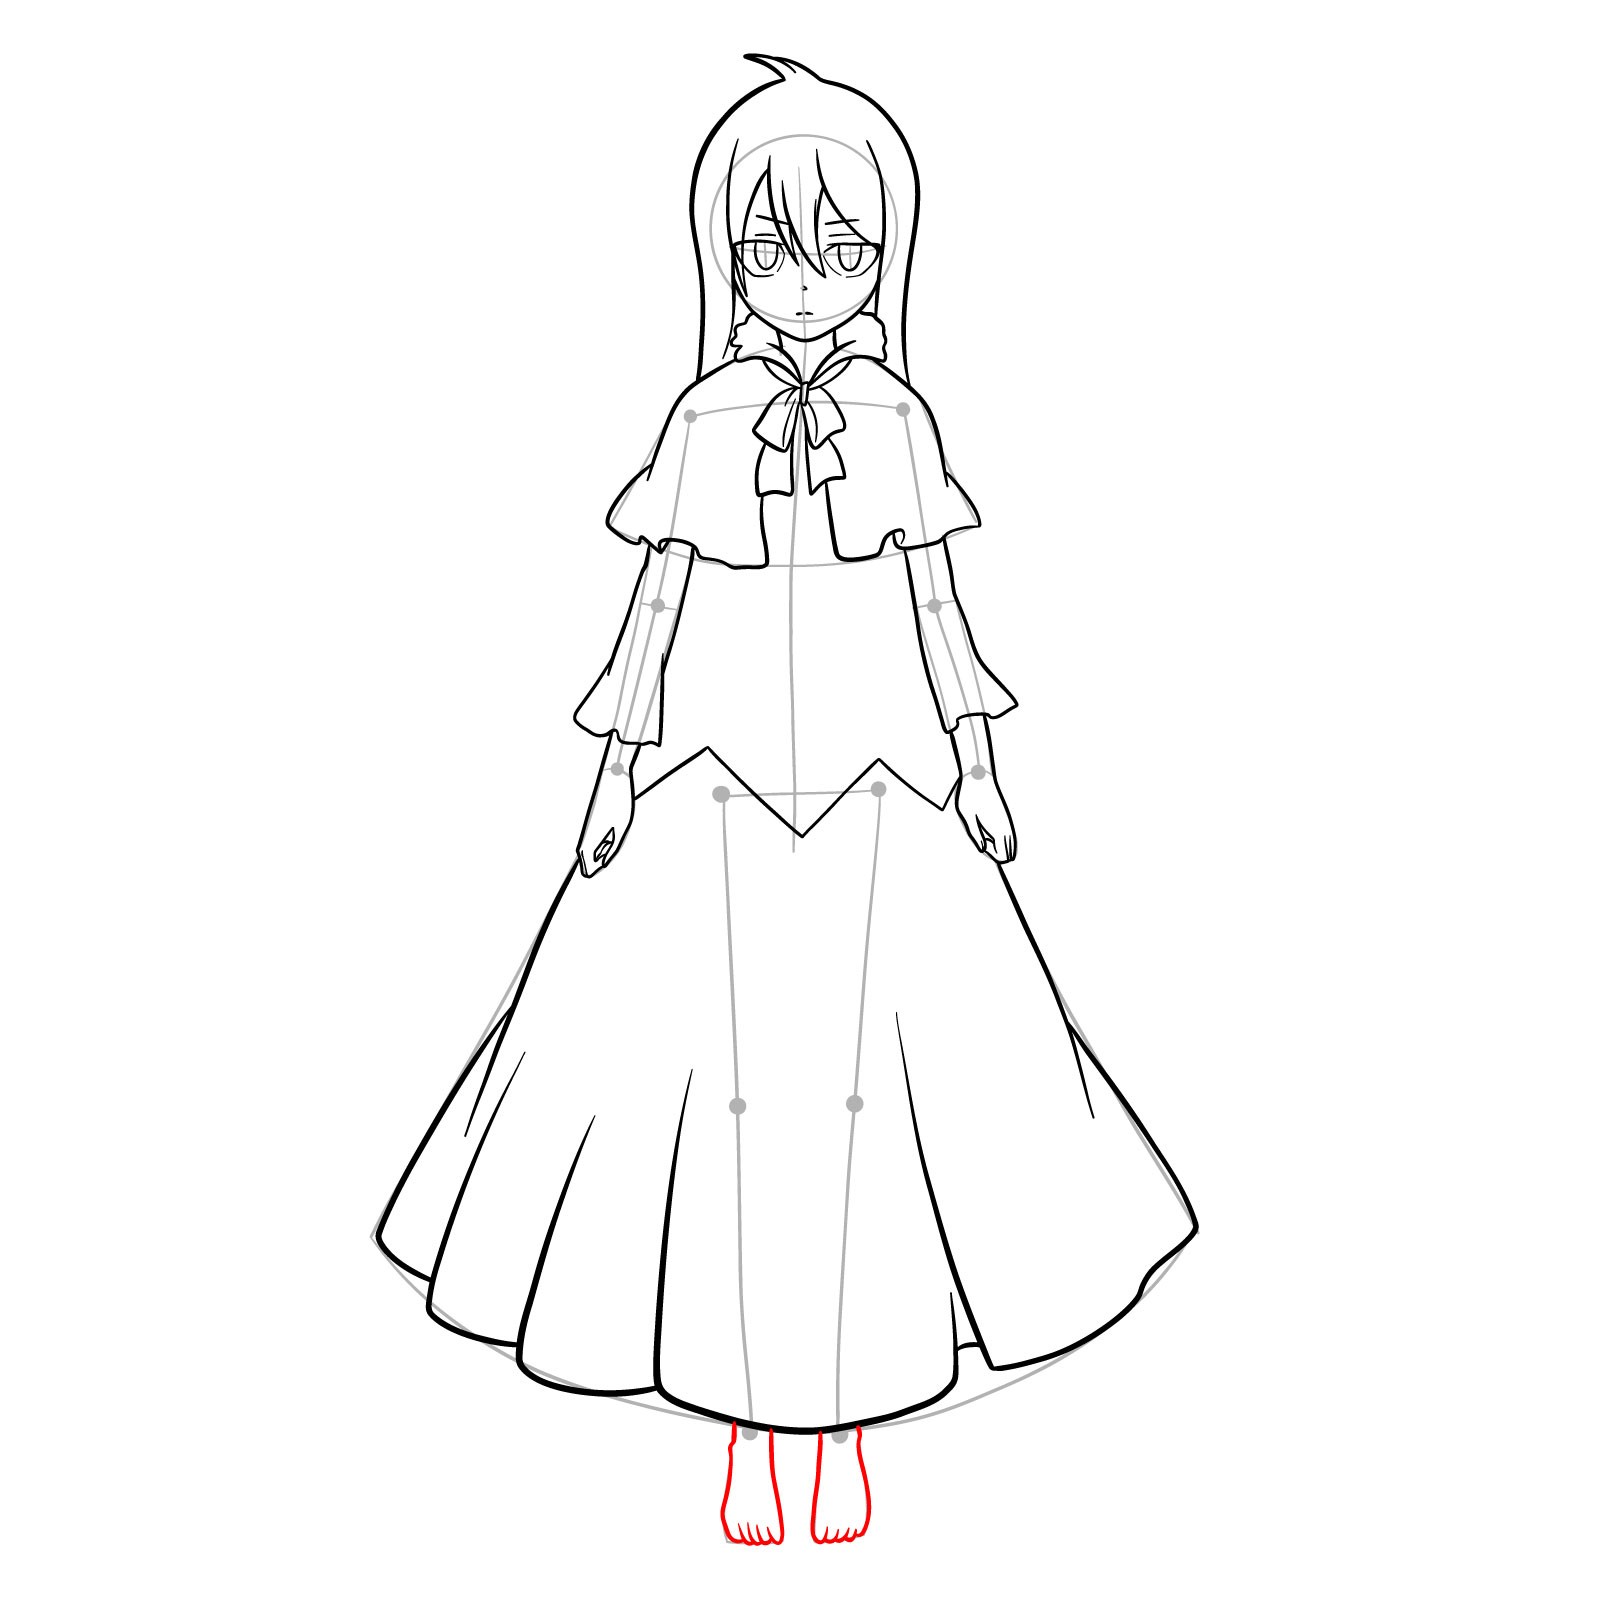
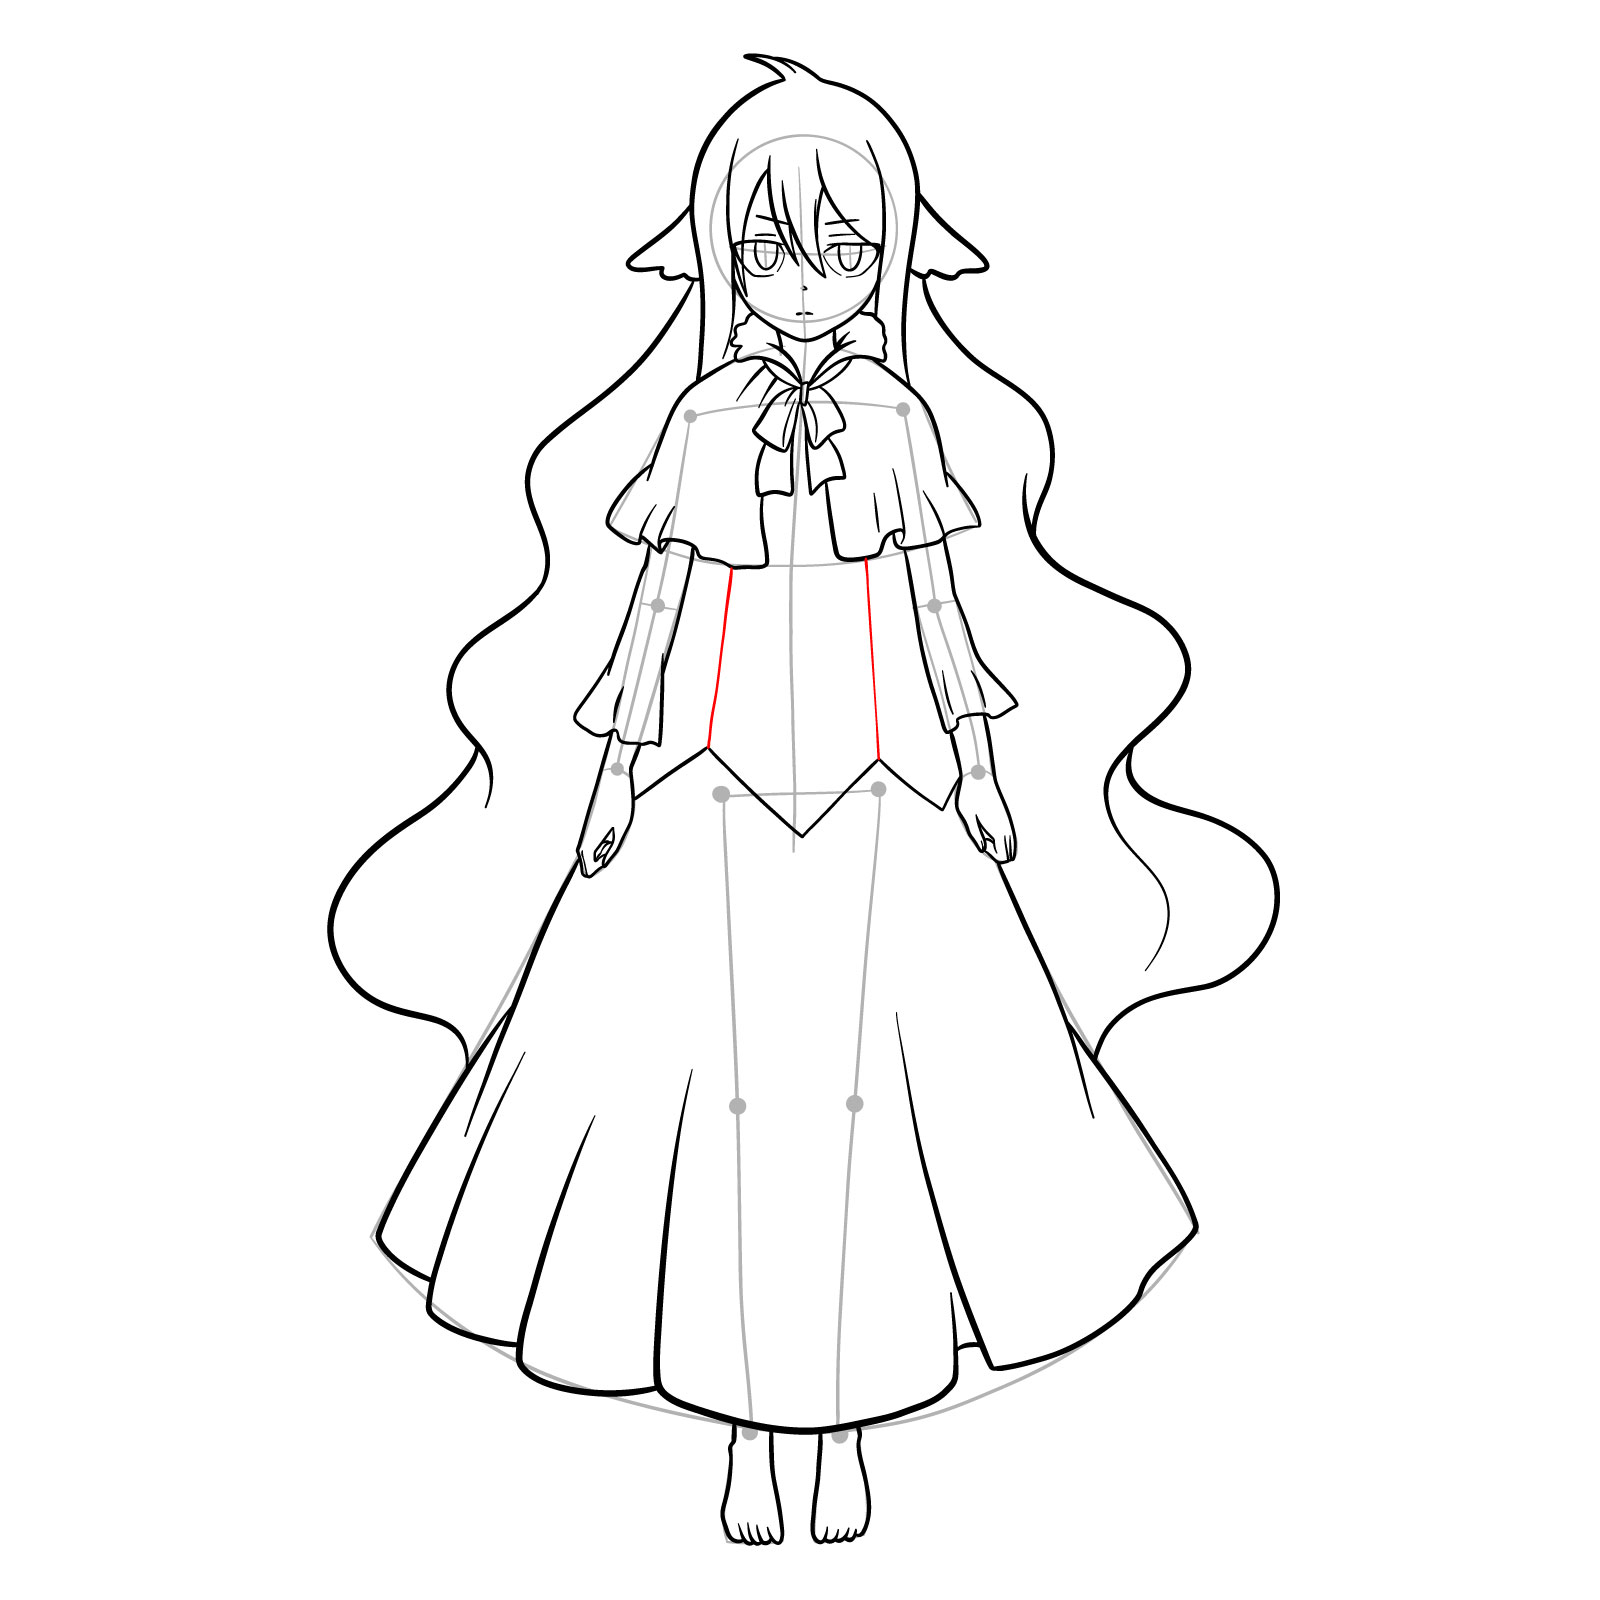
Part 1: Laying the Foundations with a Basic Sketch
Begin by creating a basic structure using light pencil strokes. This will help you establish the correct proportions and set the stage for Mavis Vermillion’s final appearance.

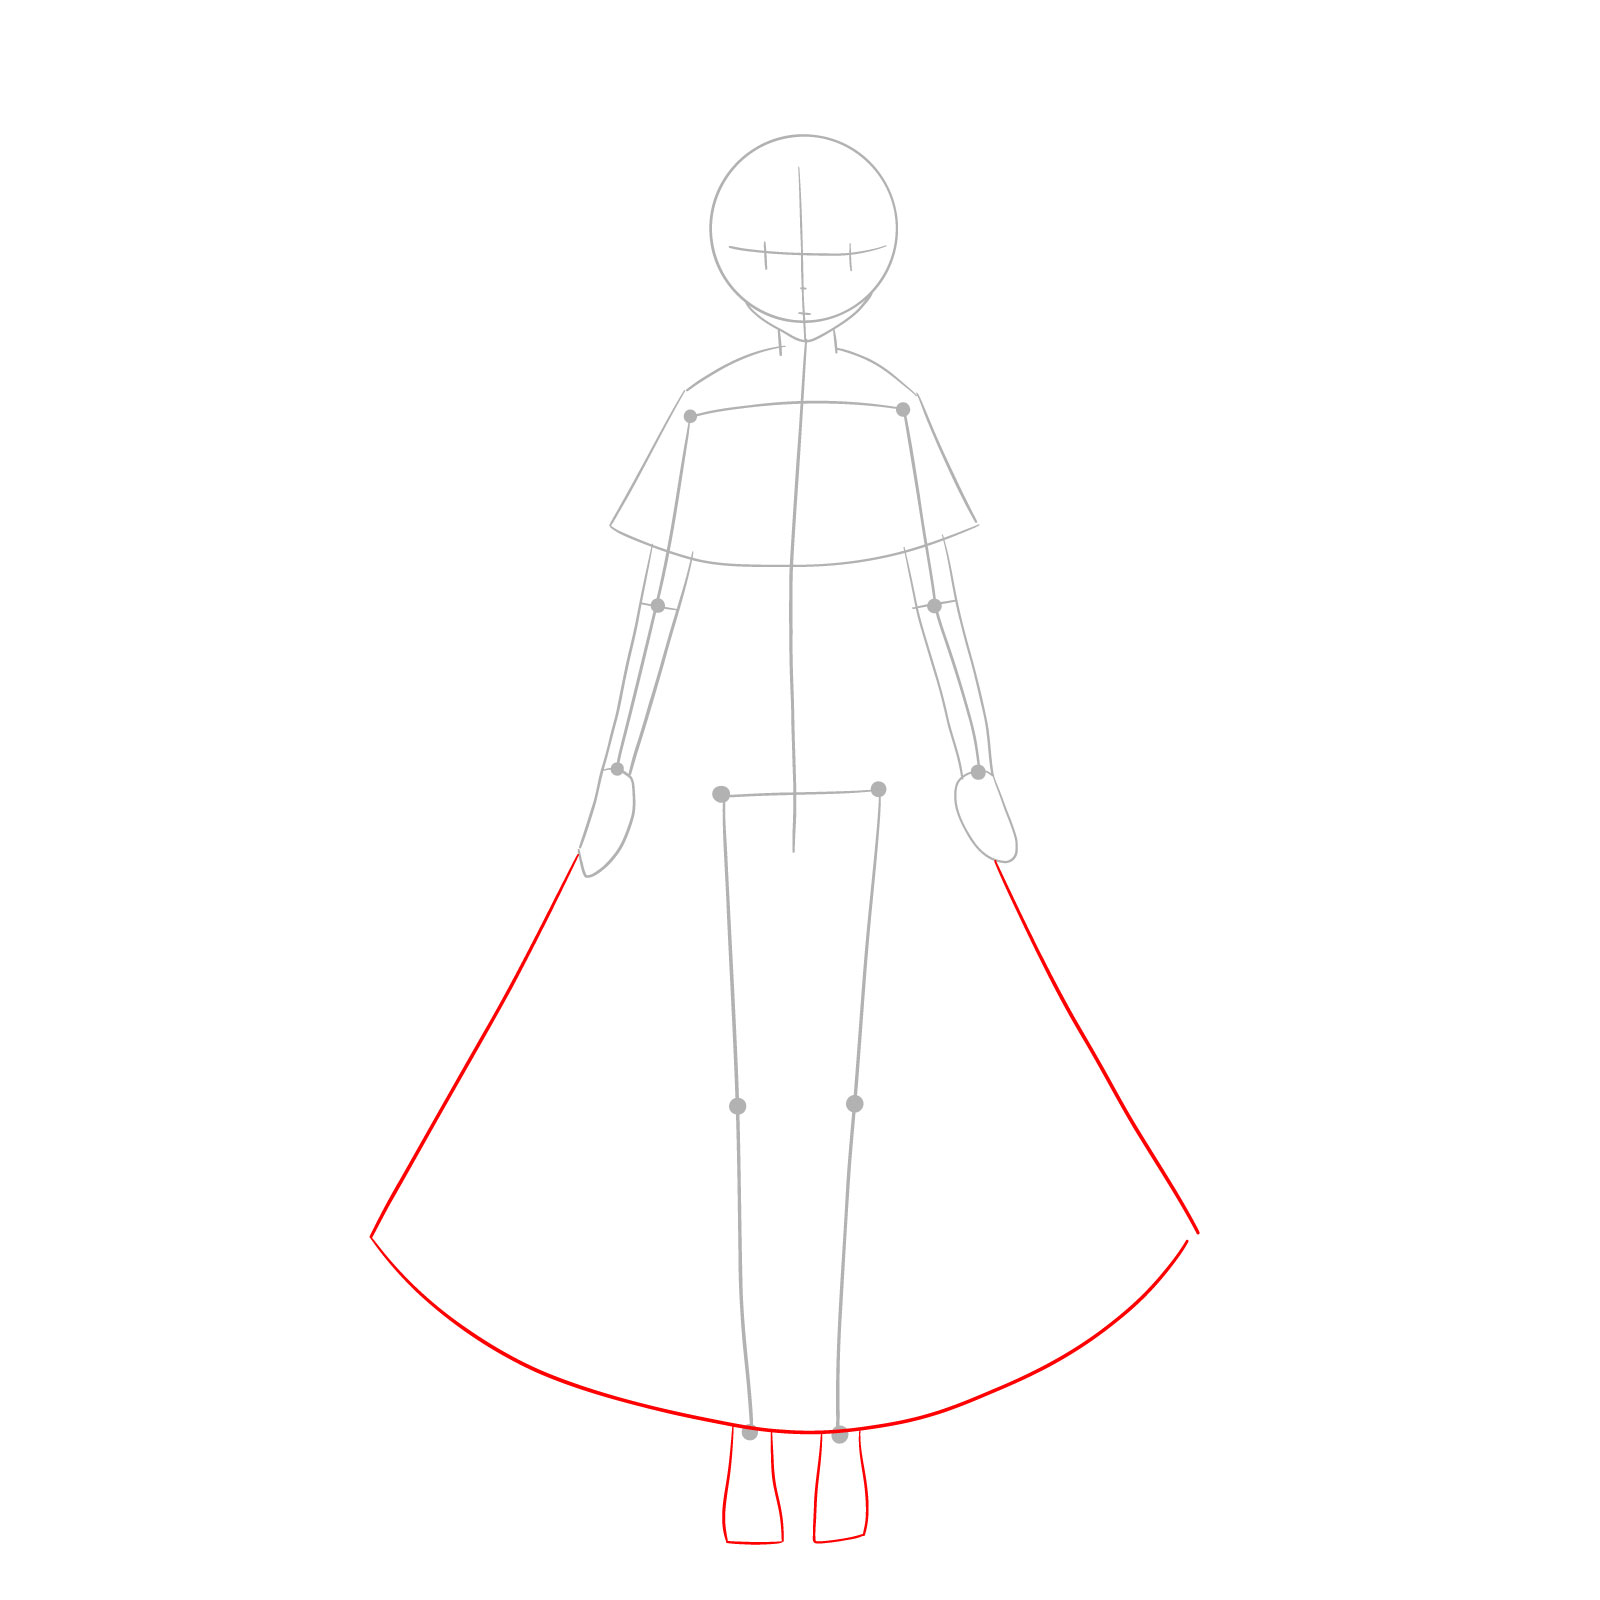
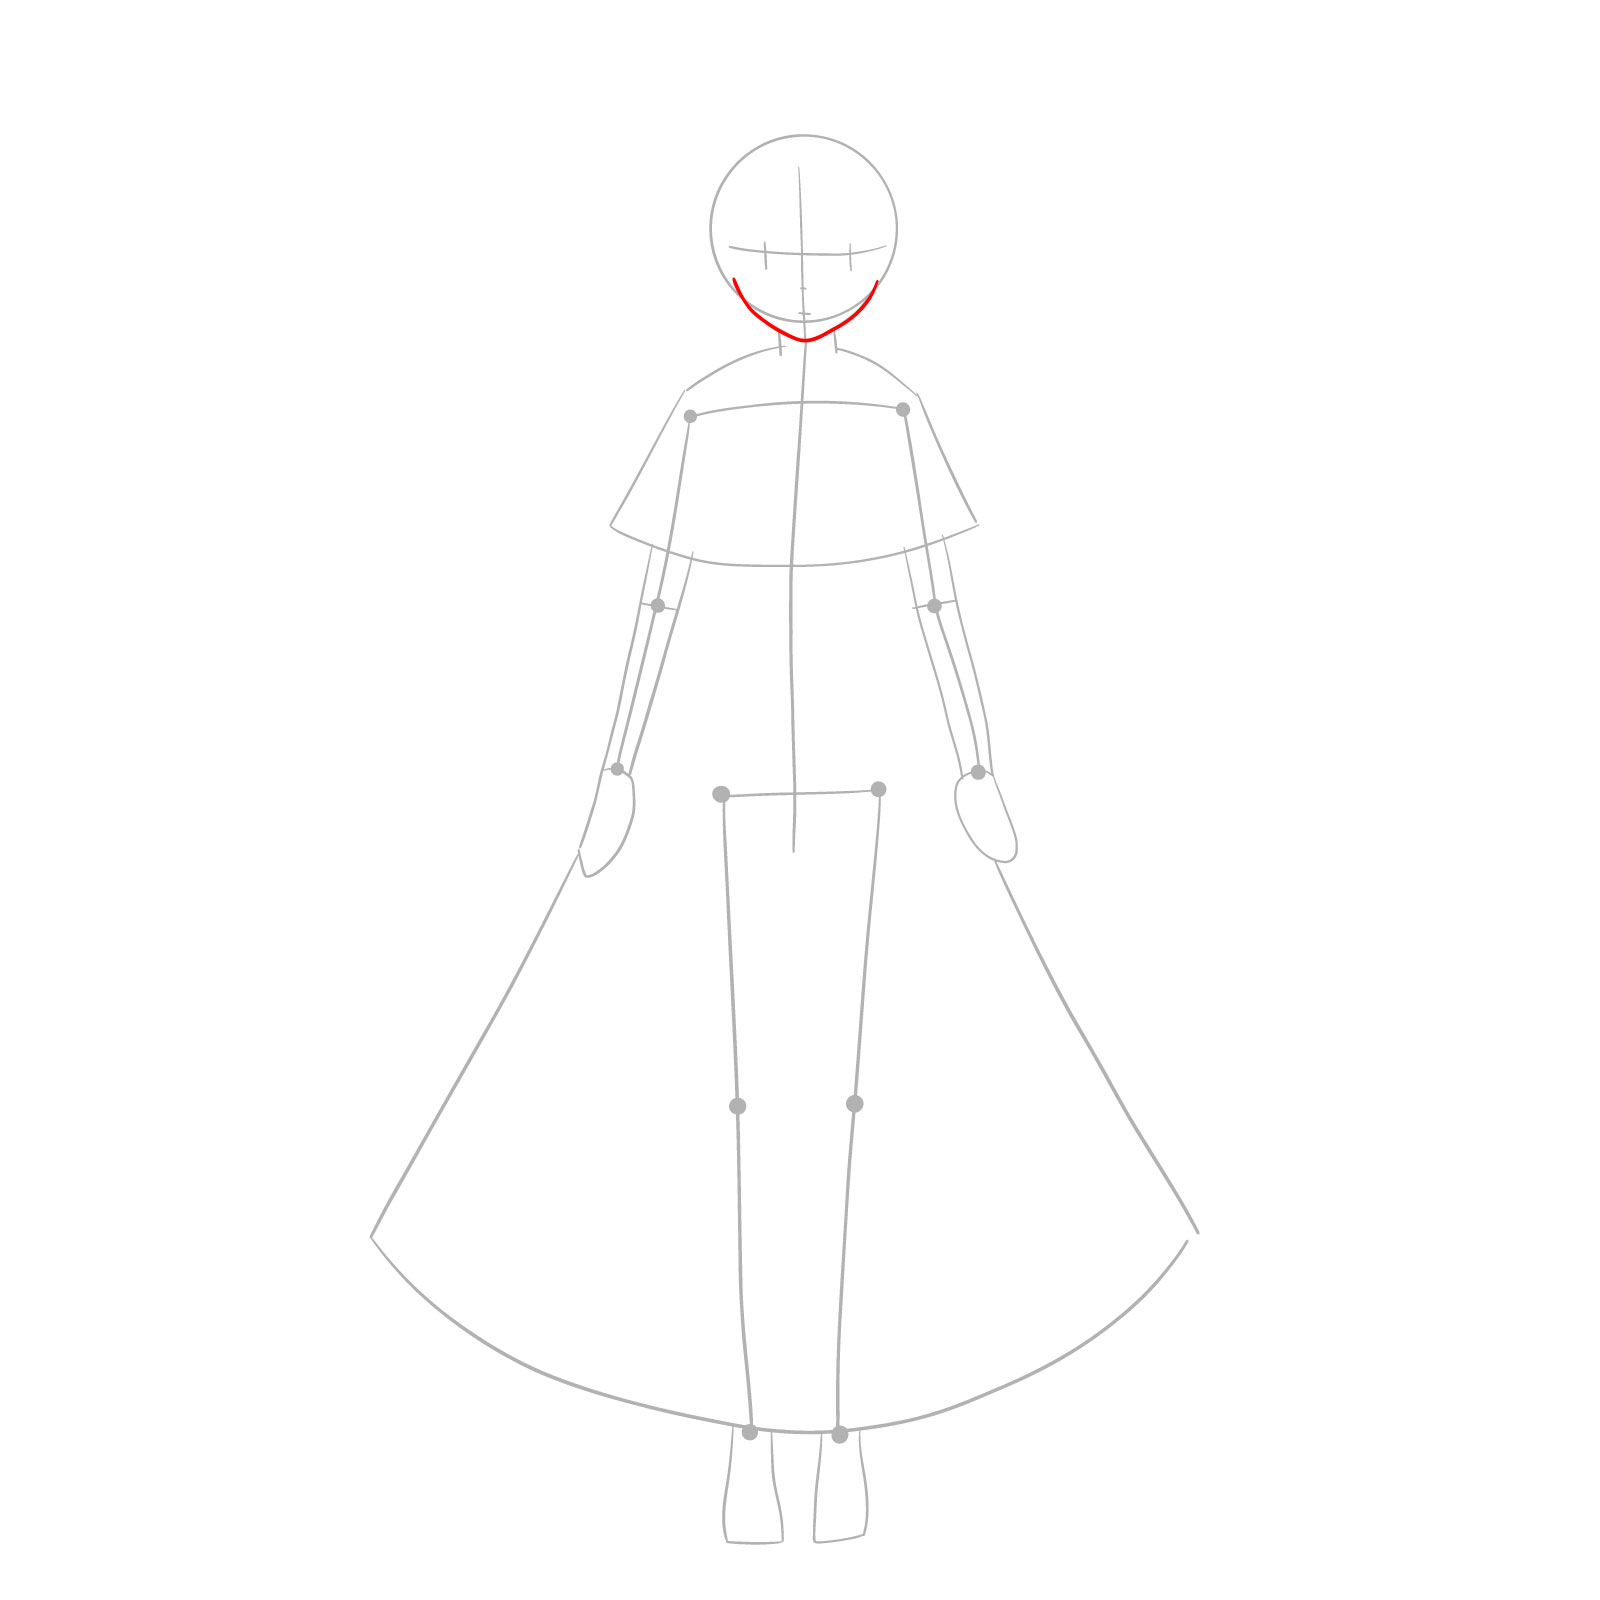
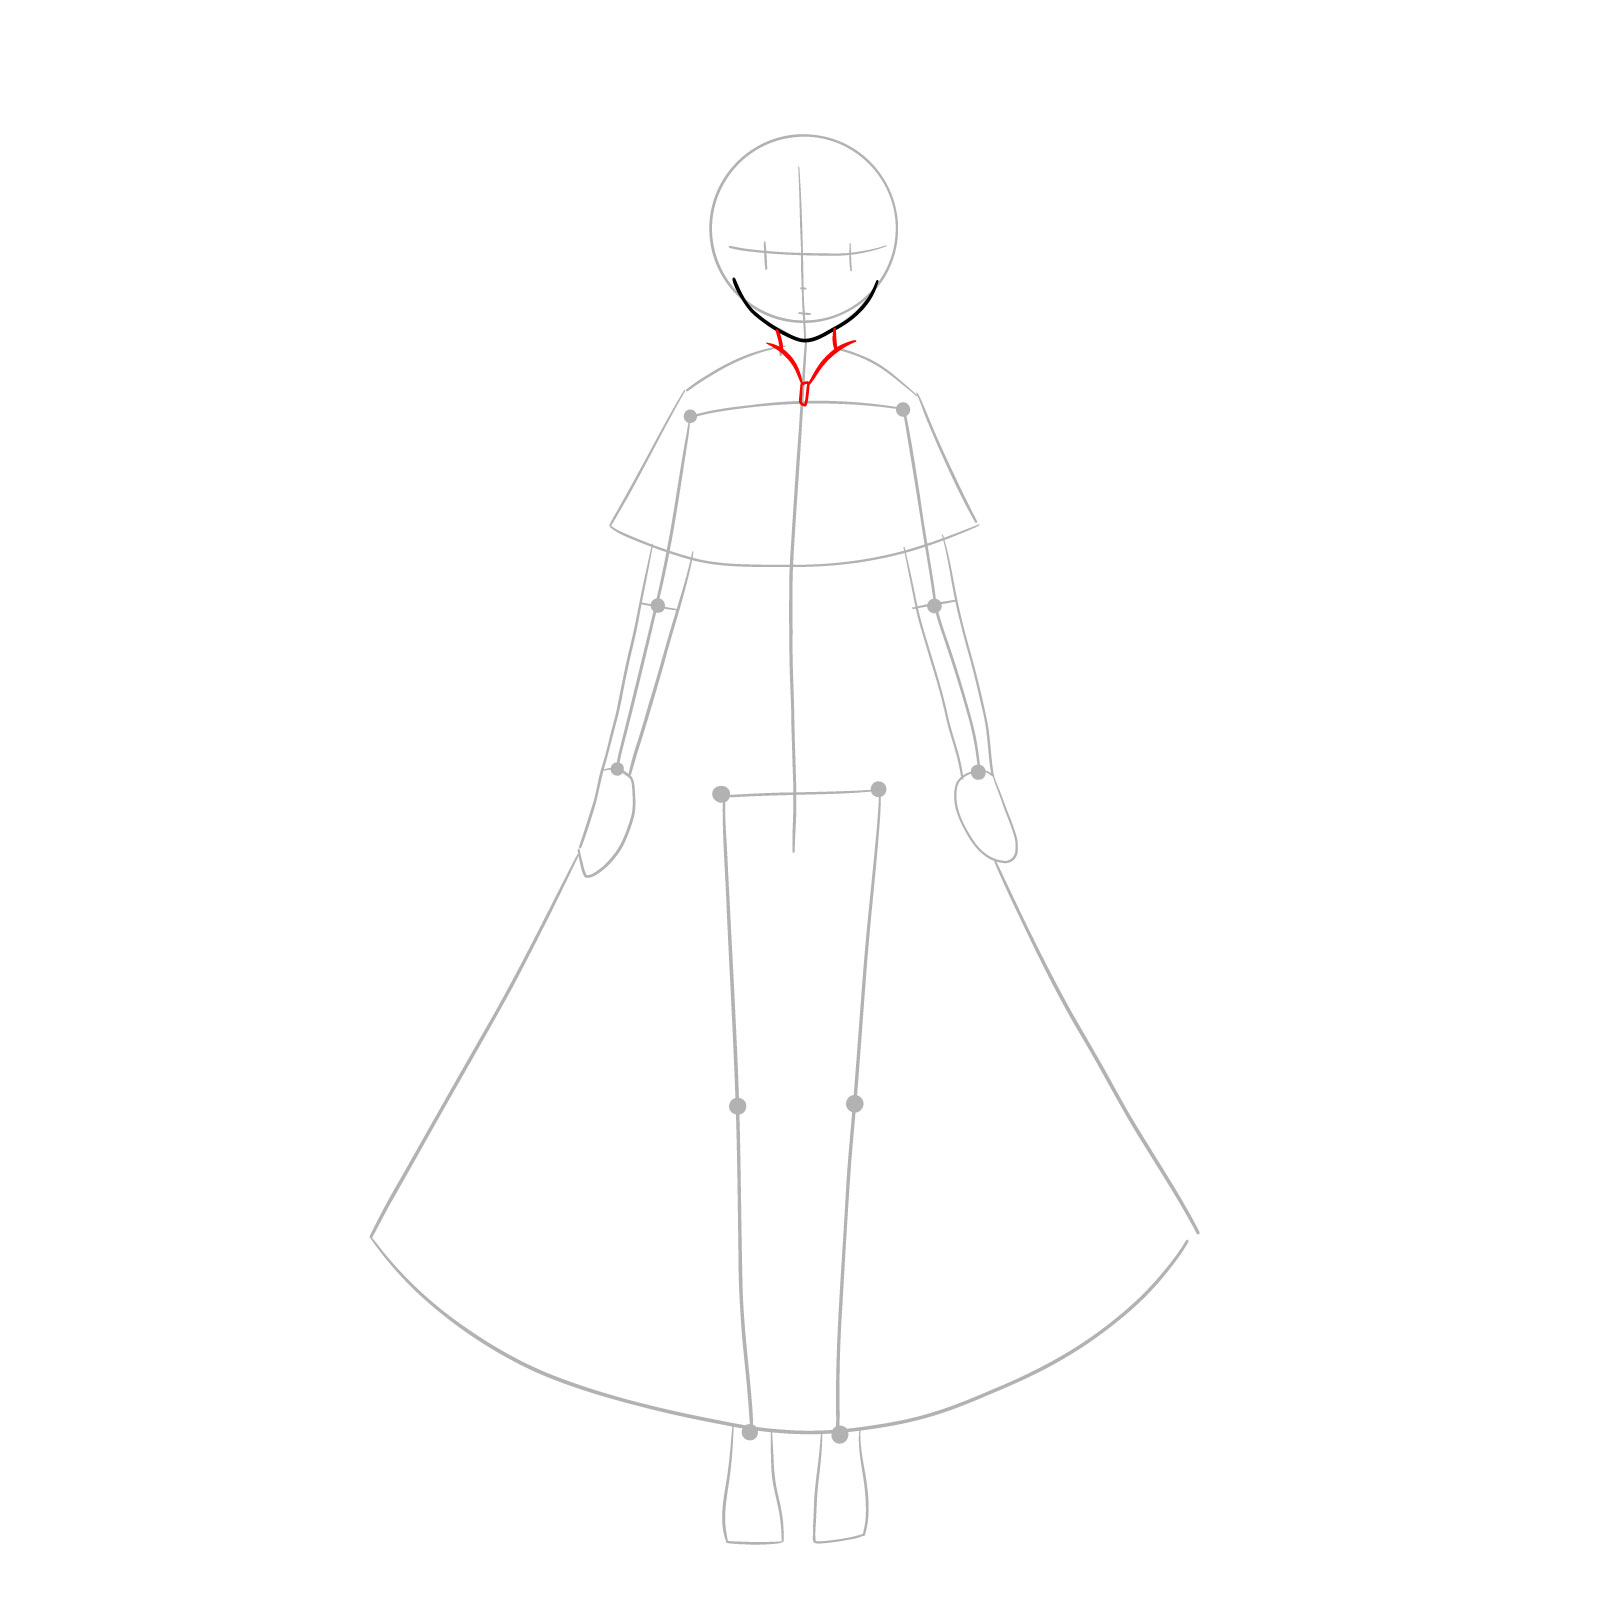
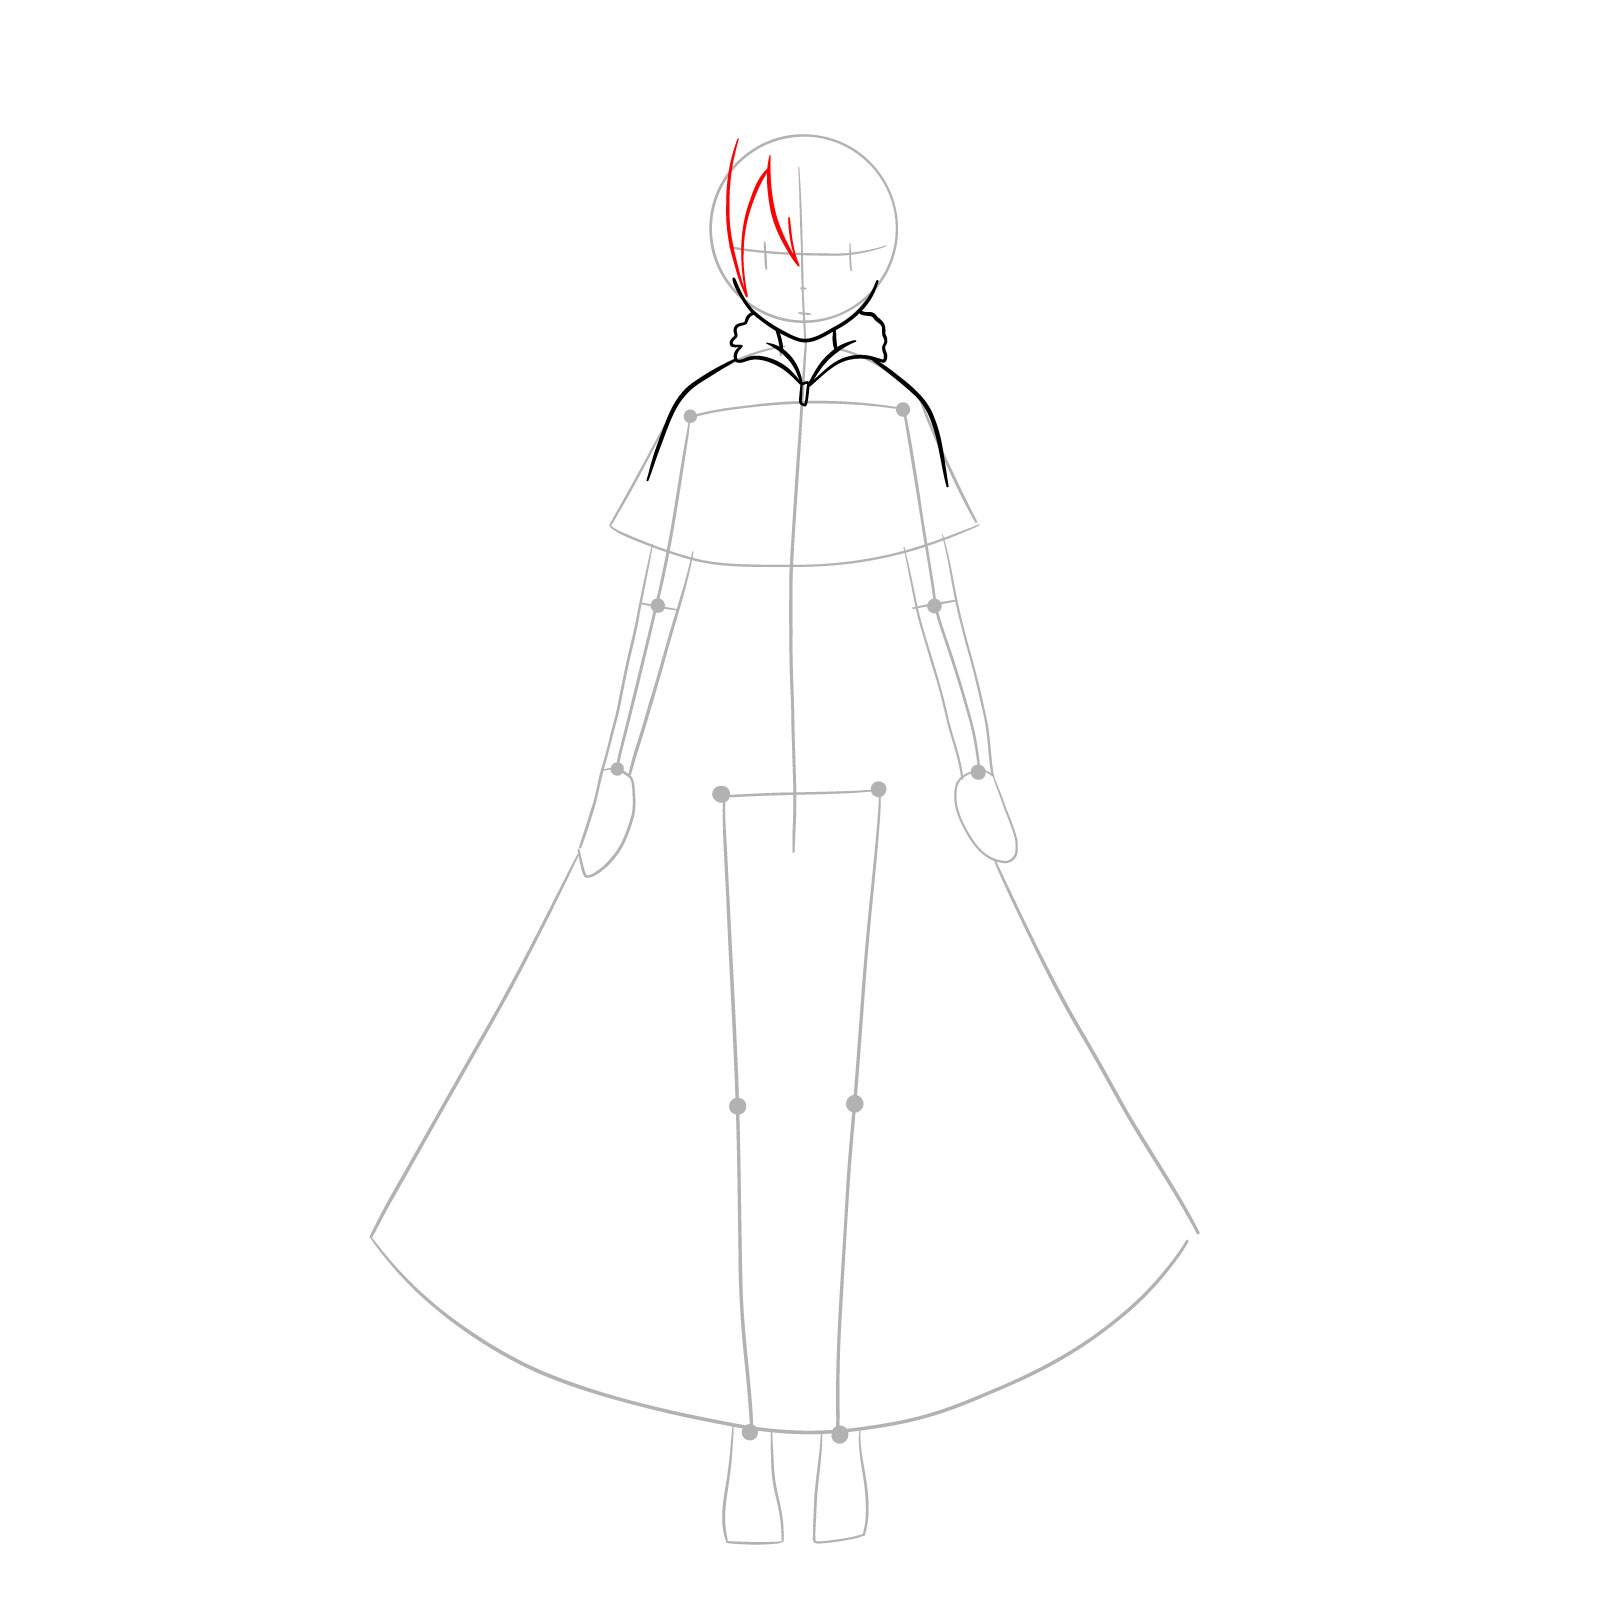
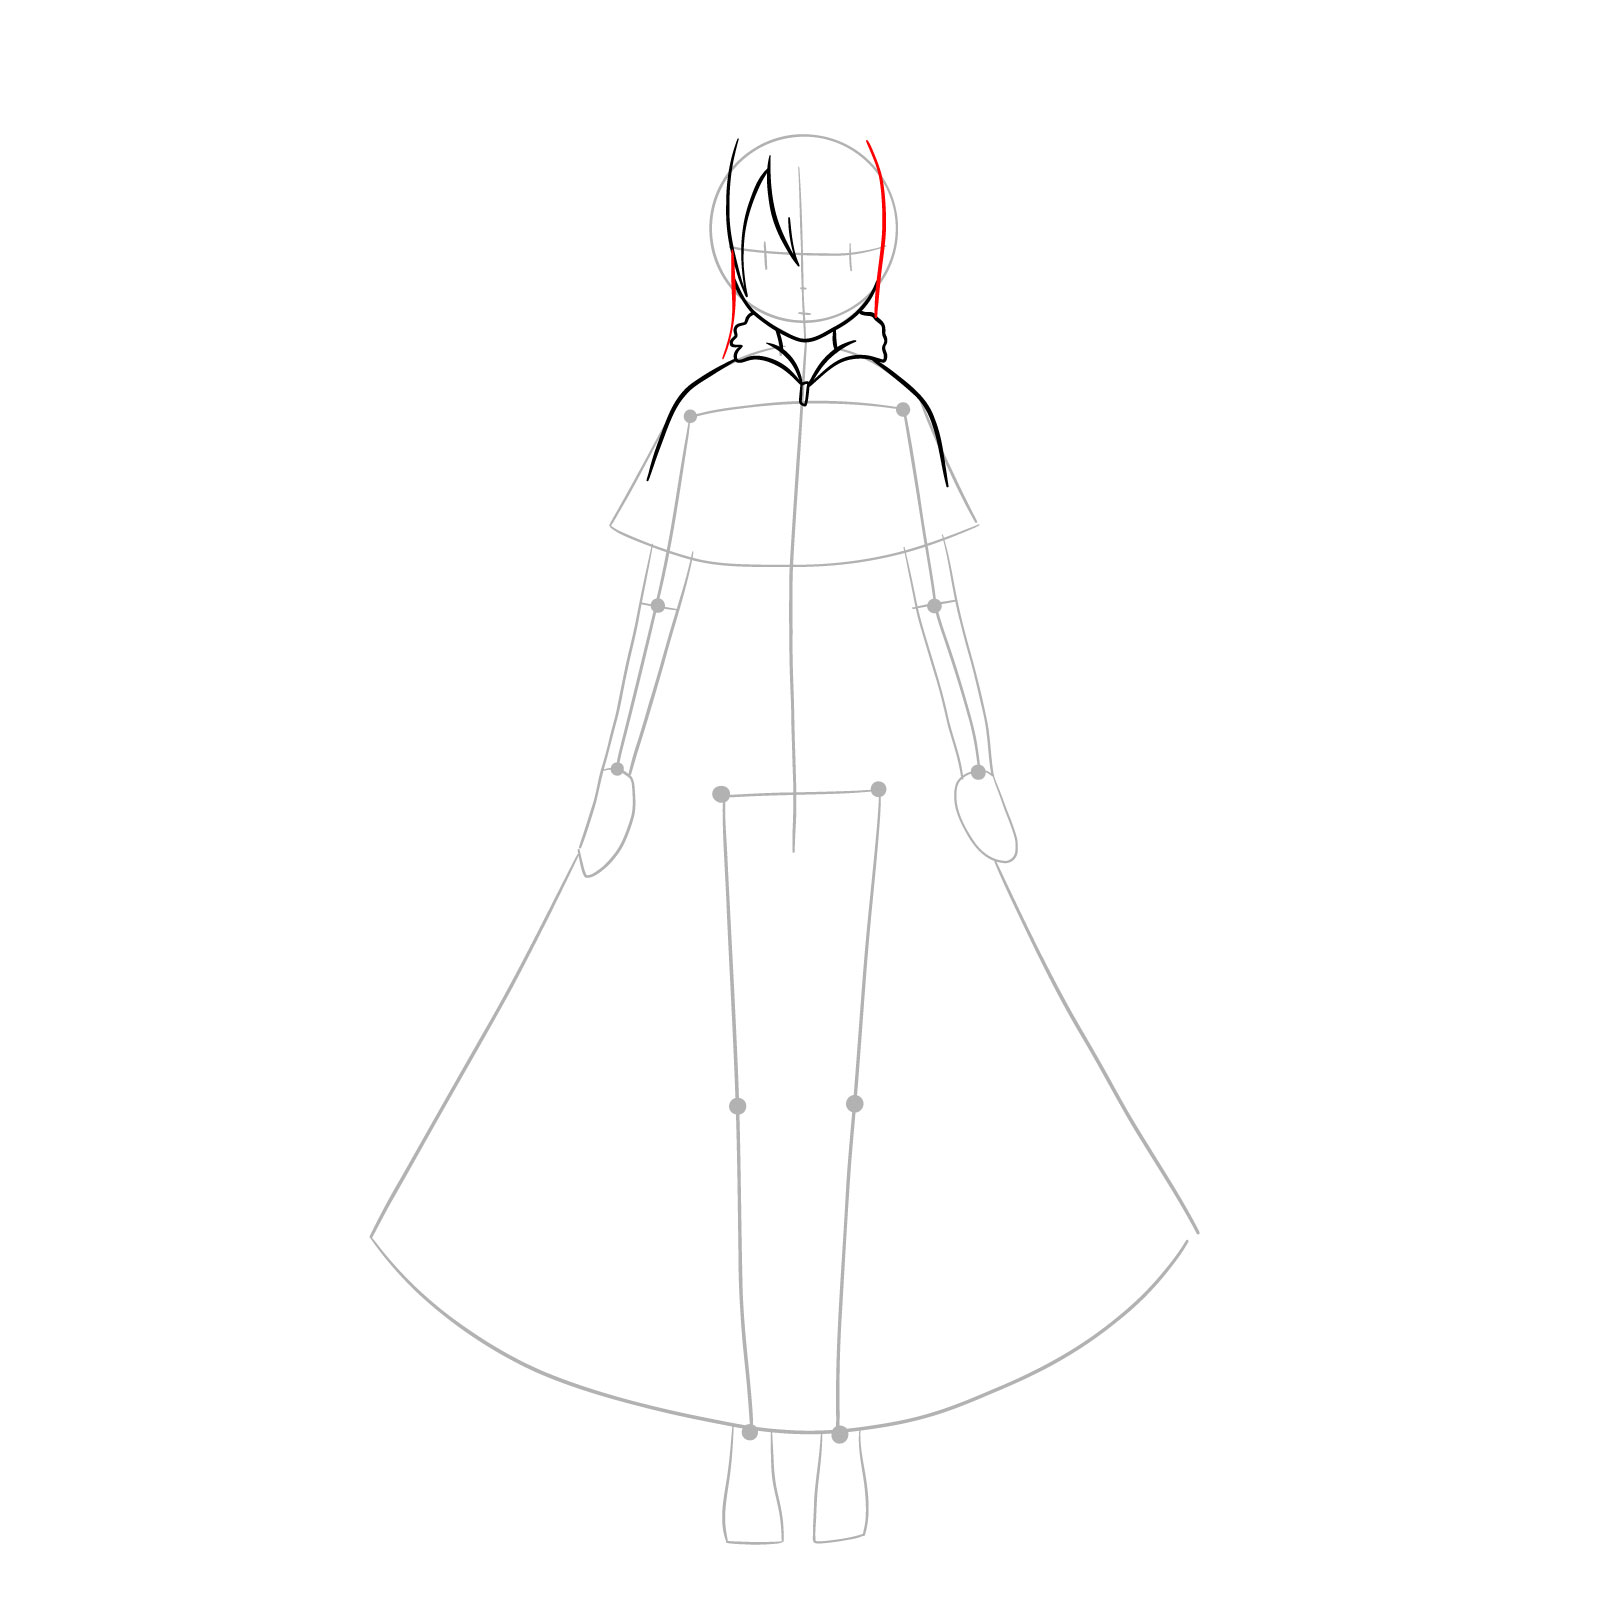
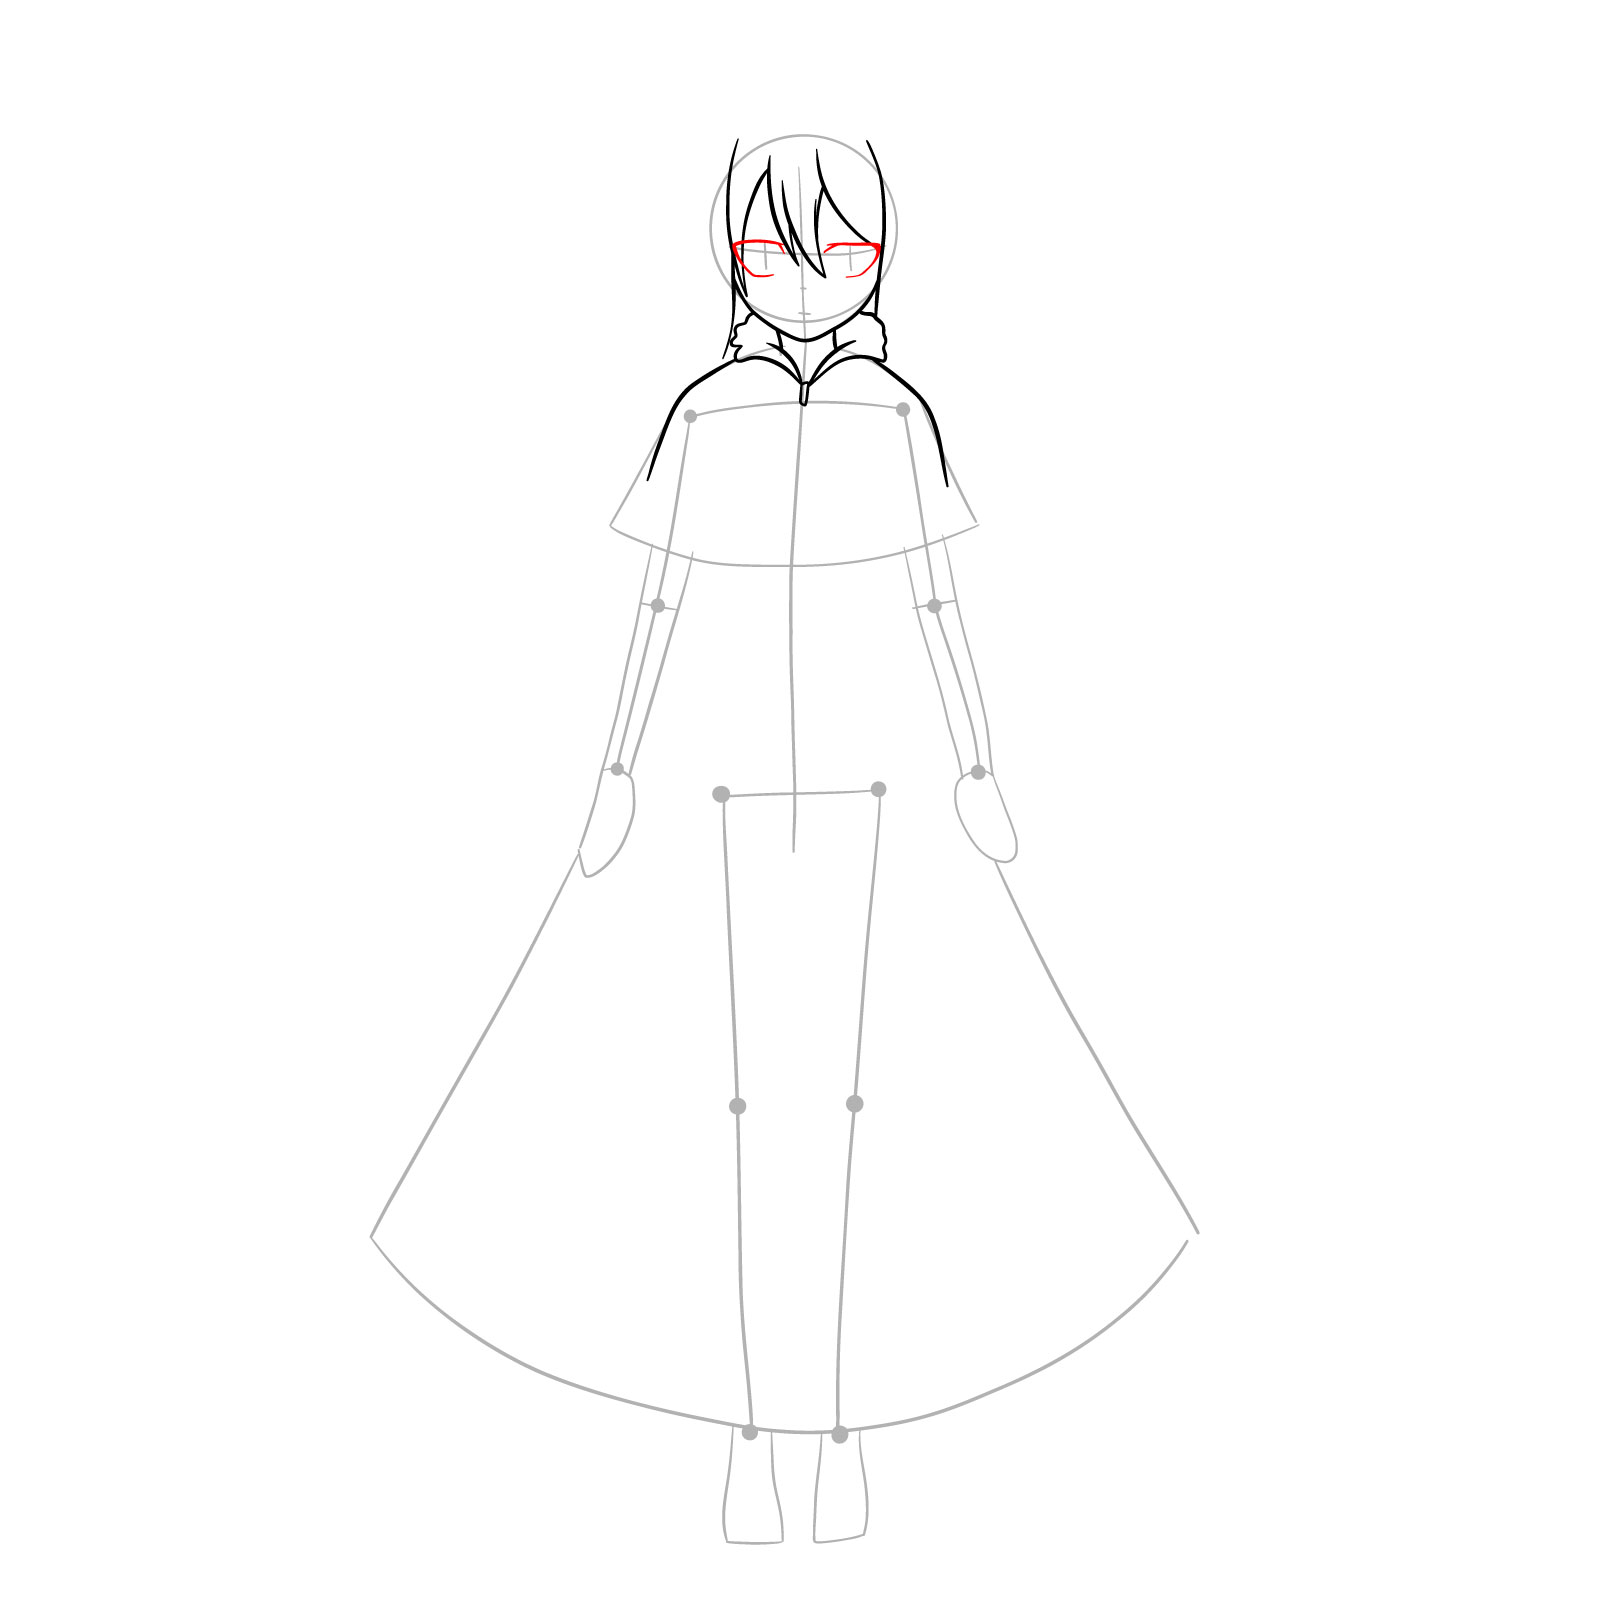
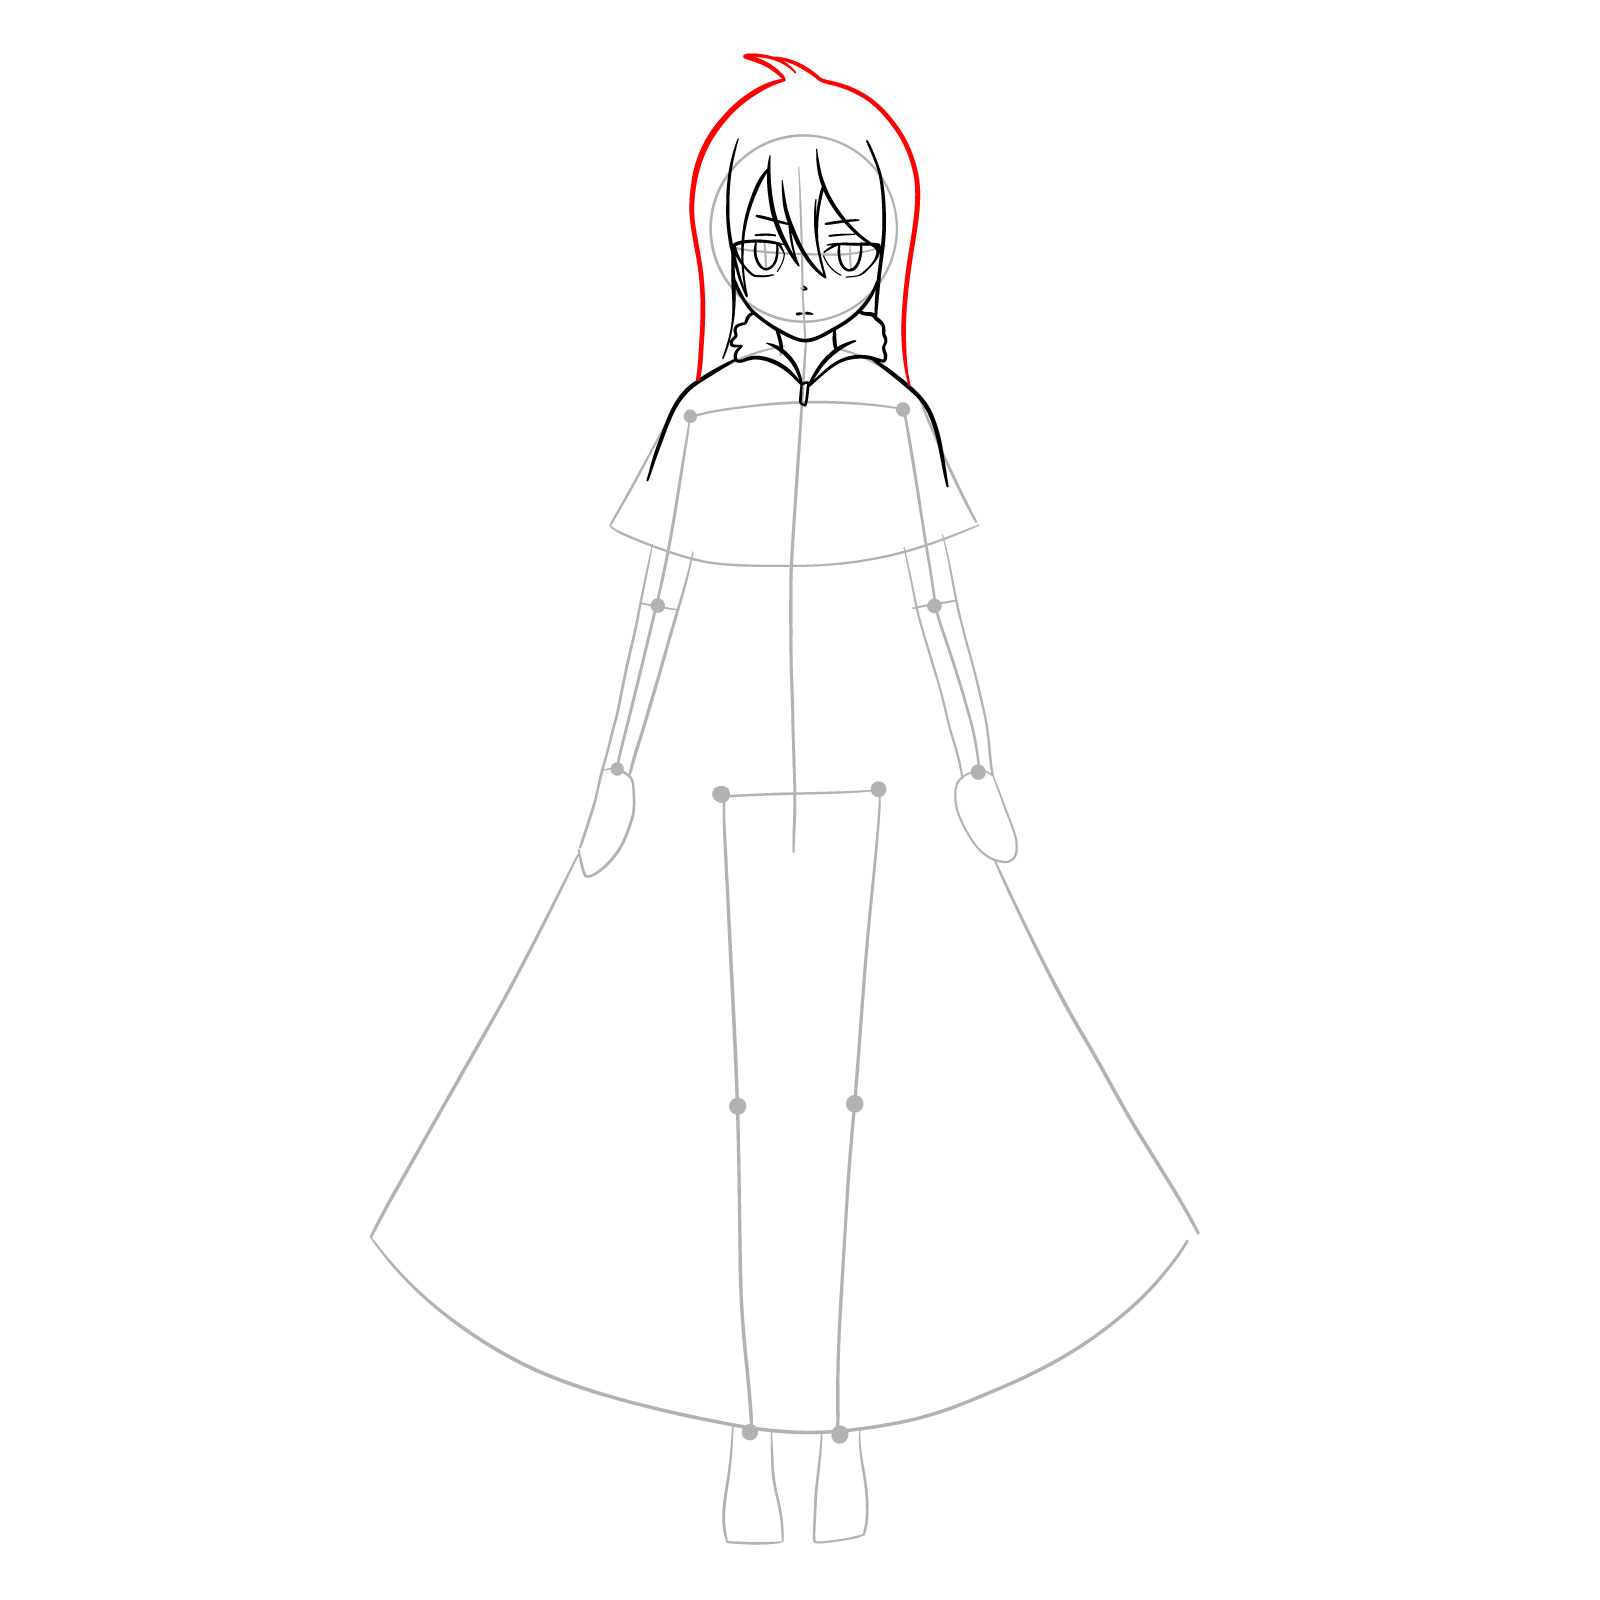
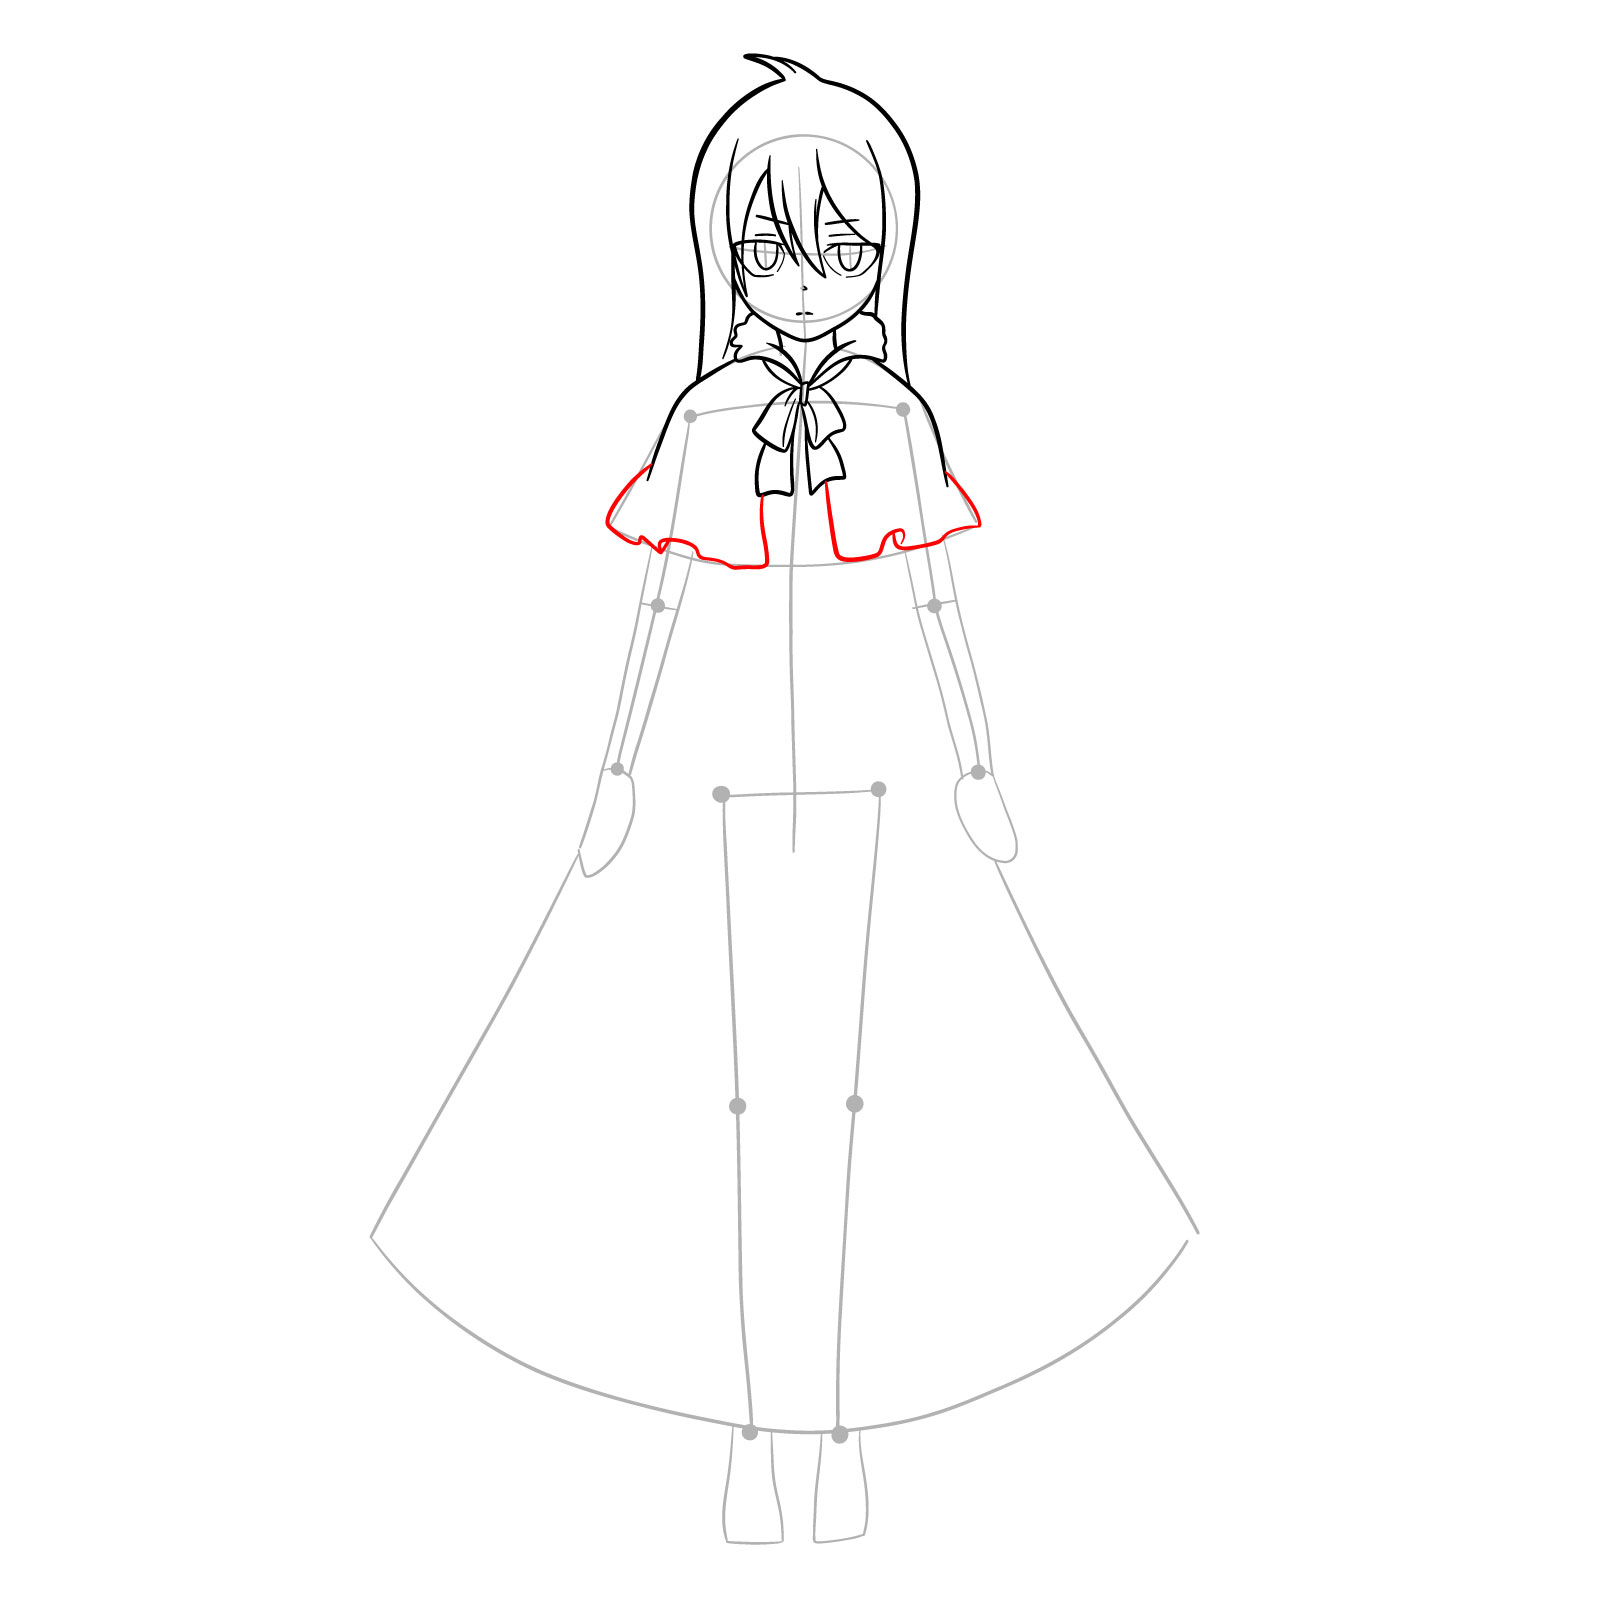
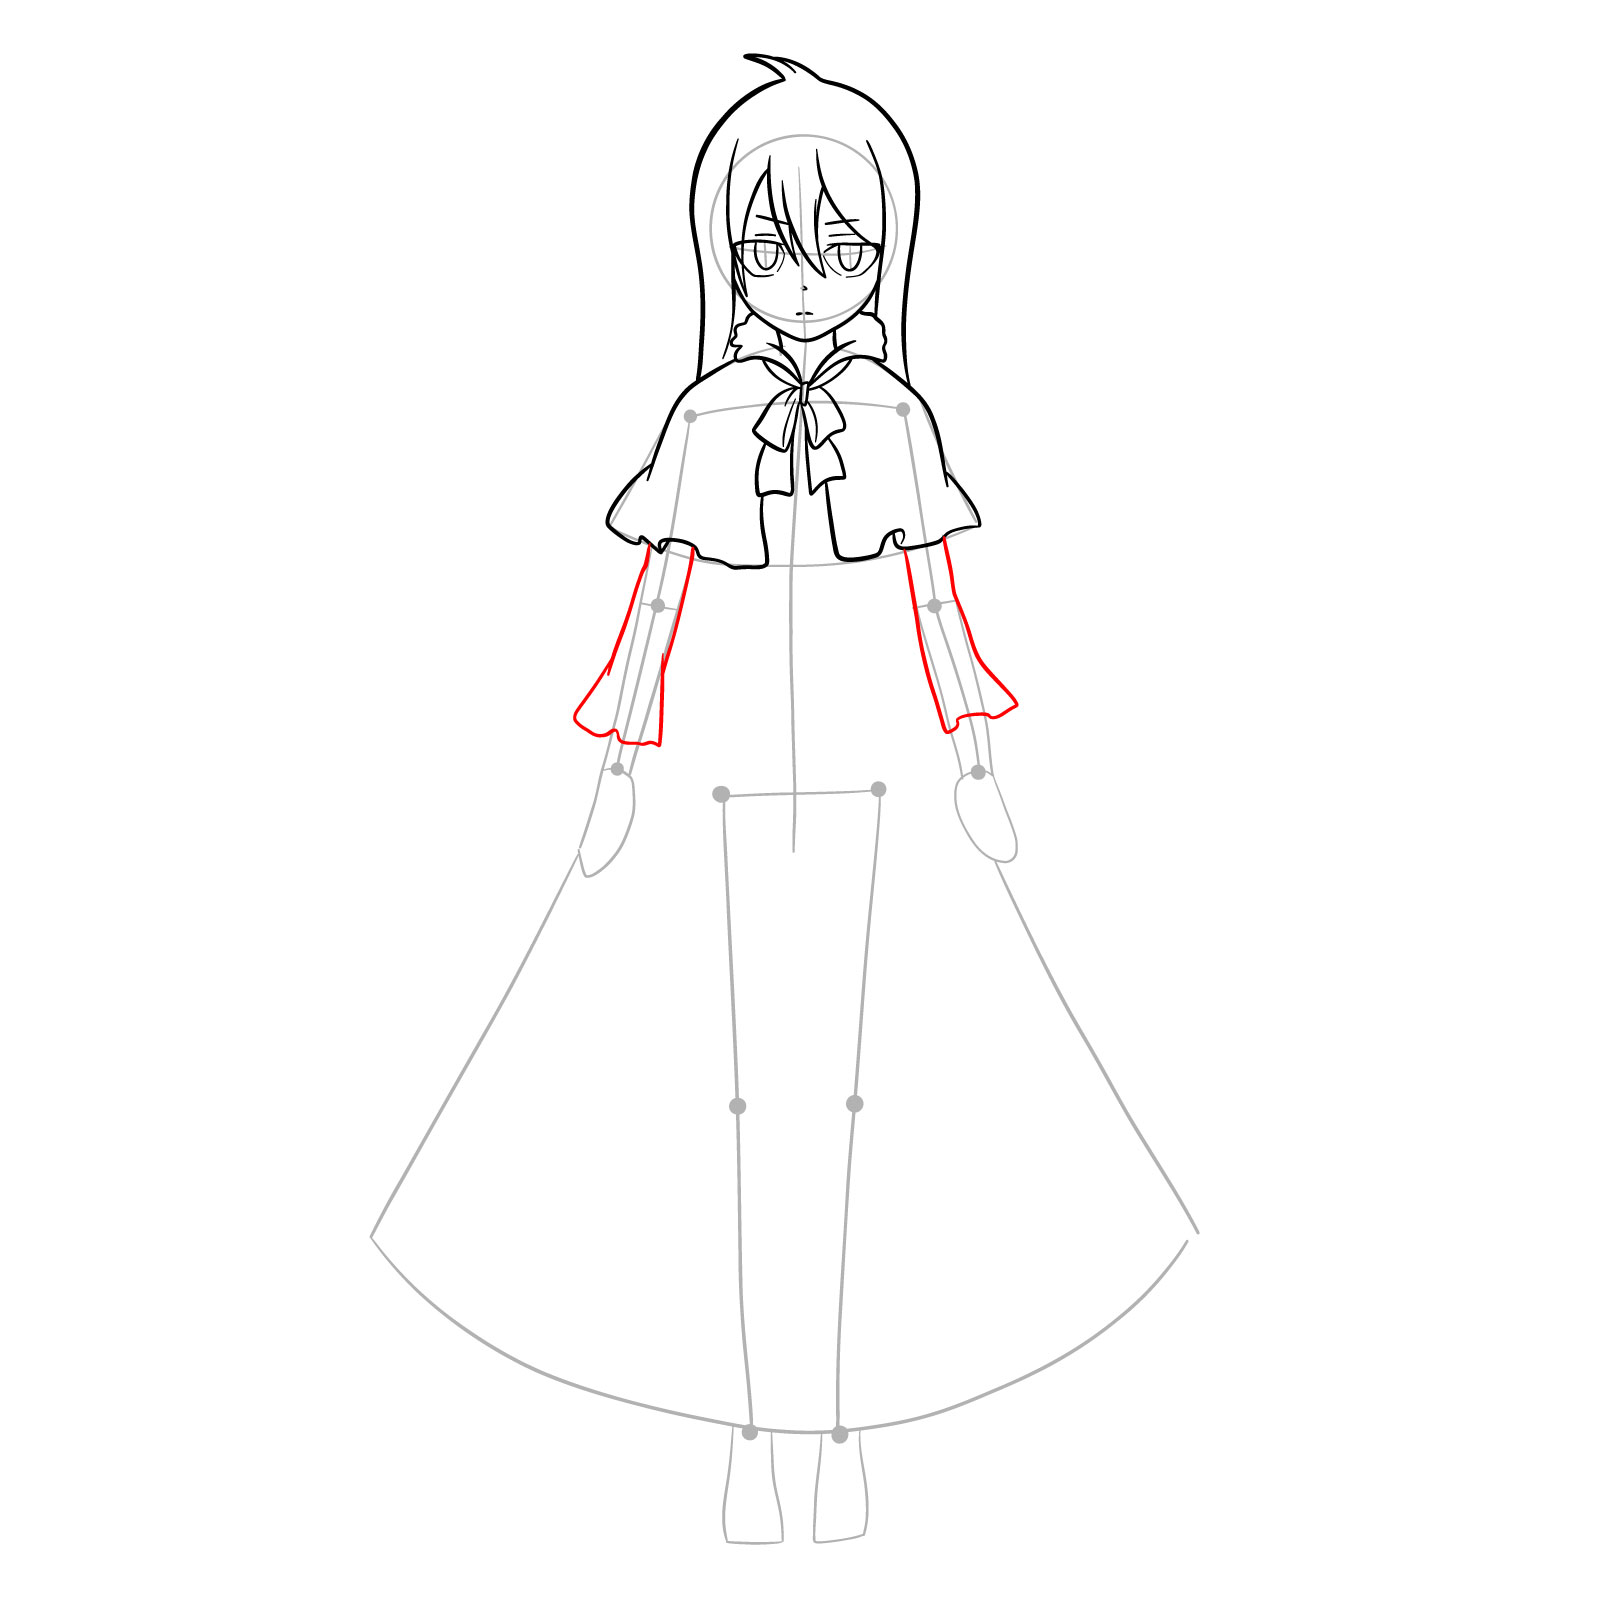
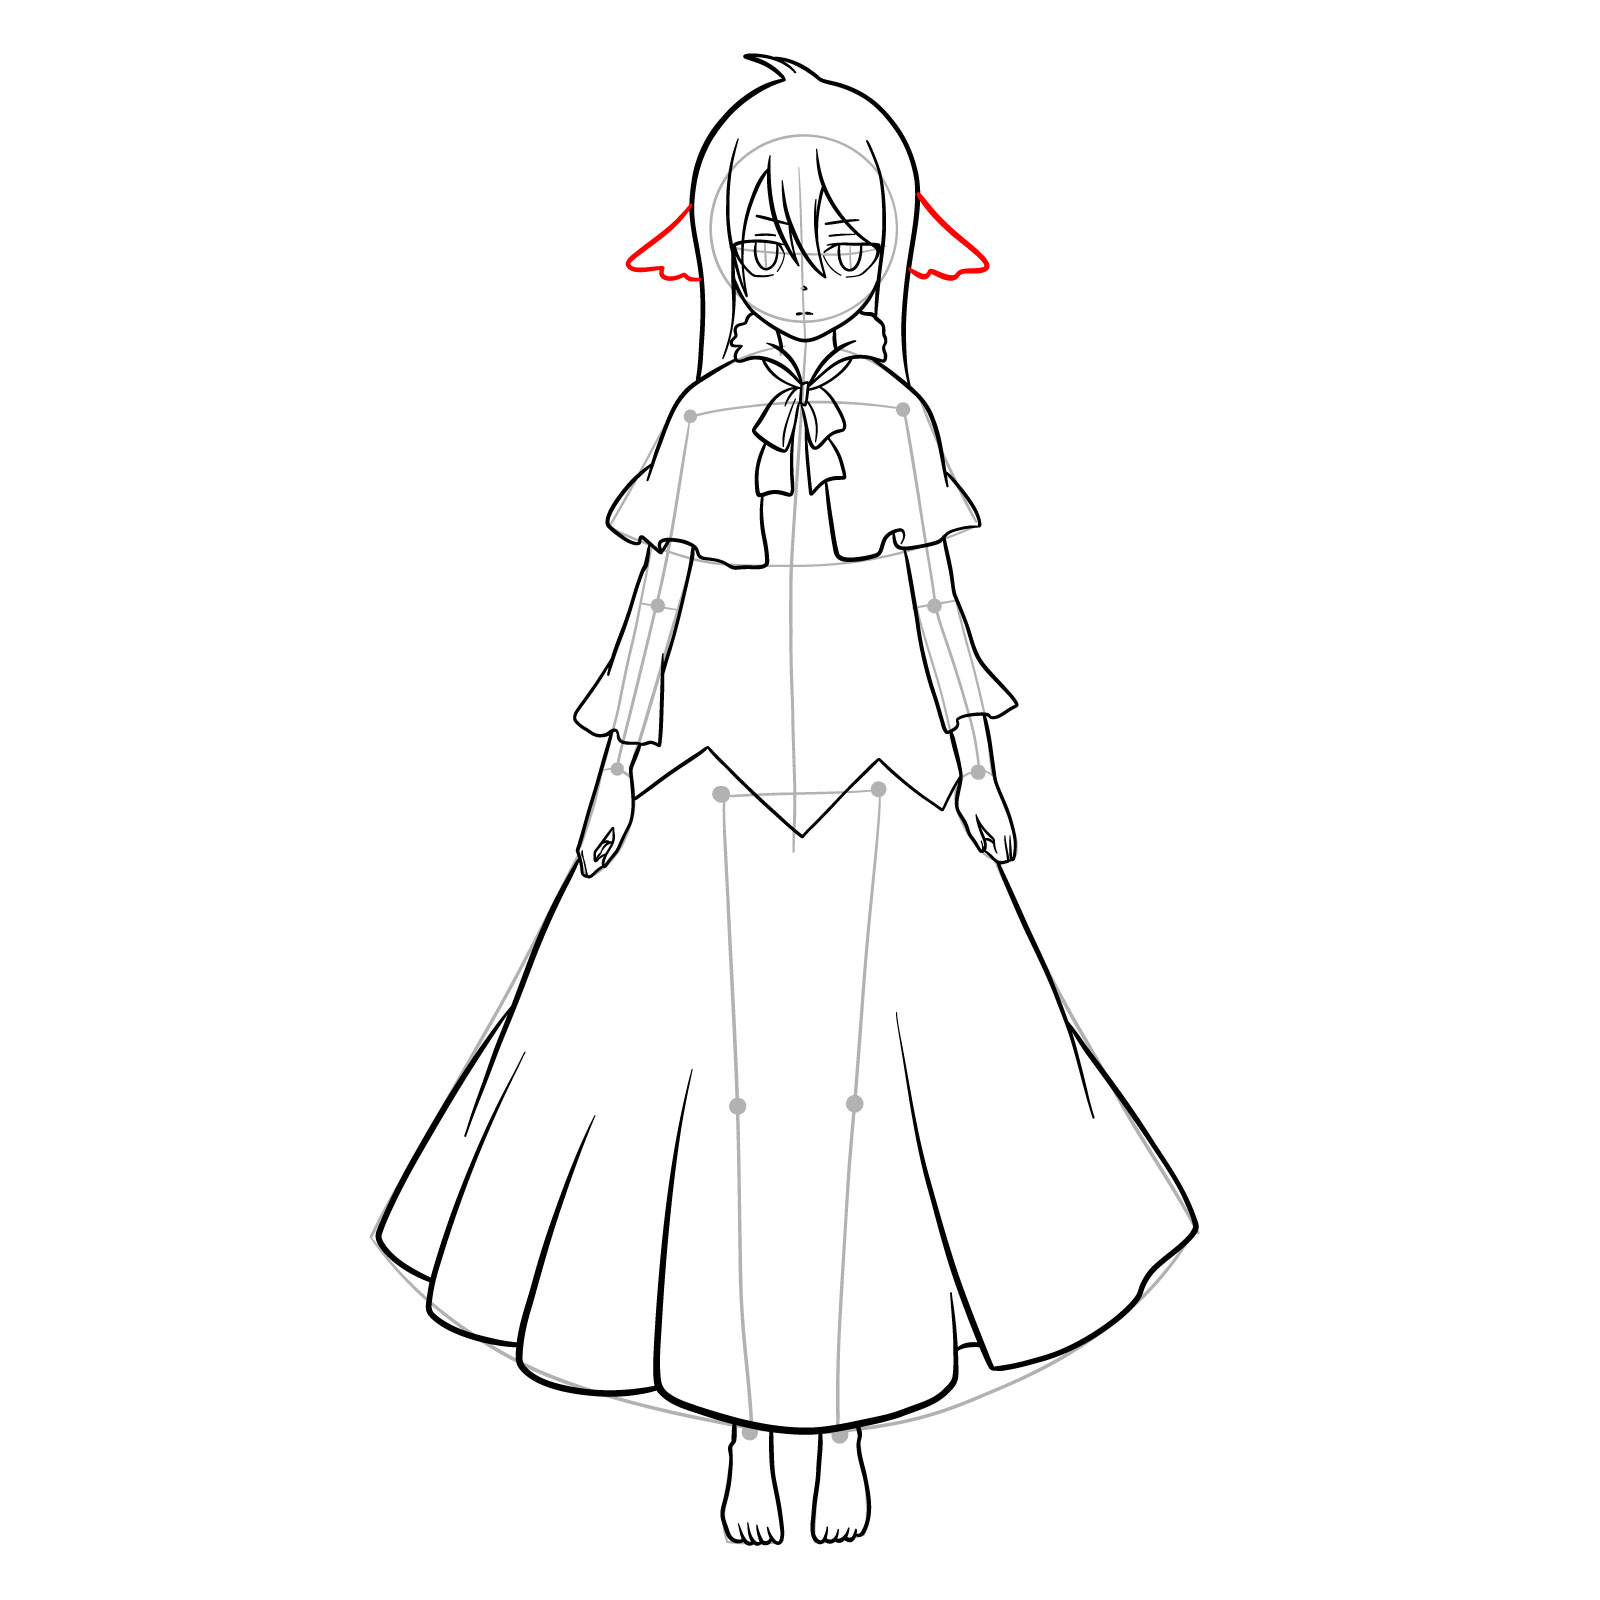
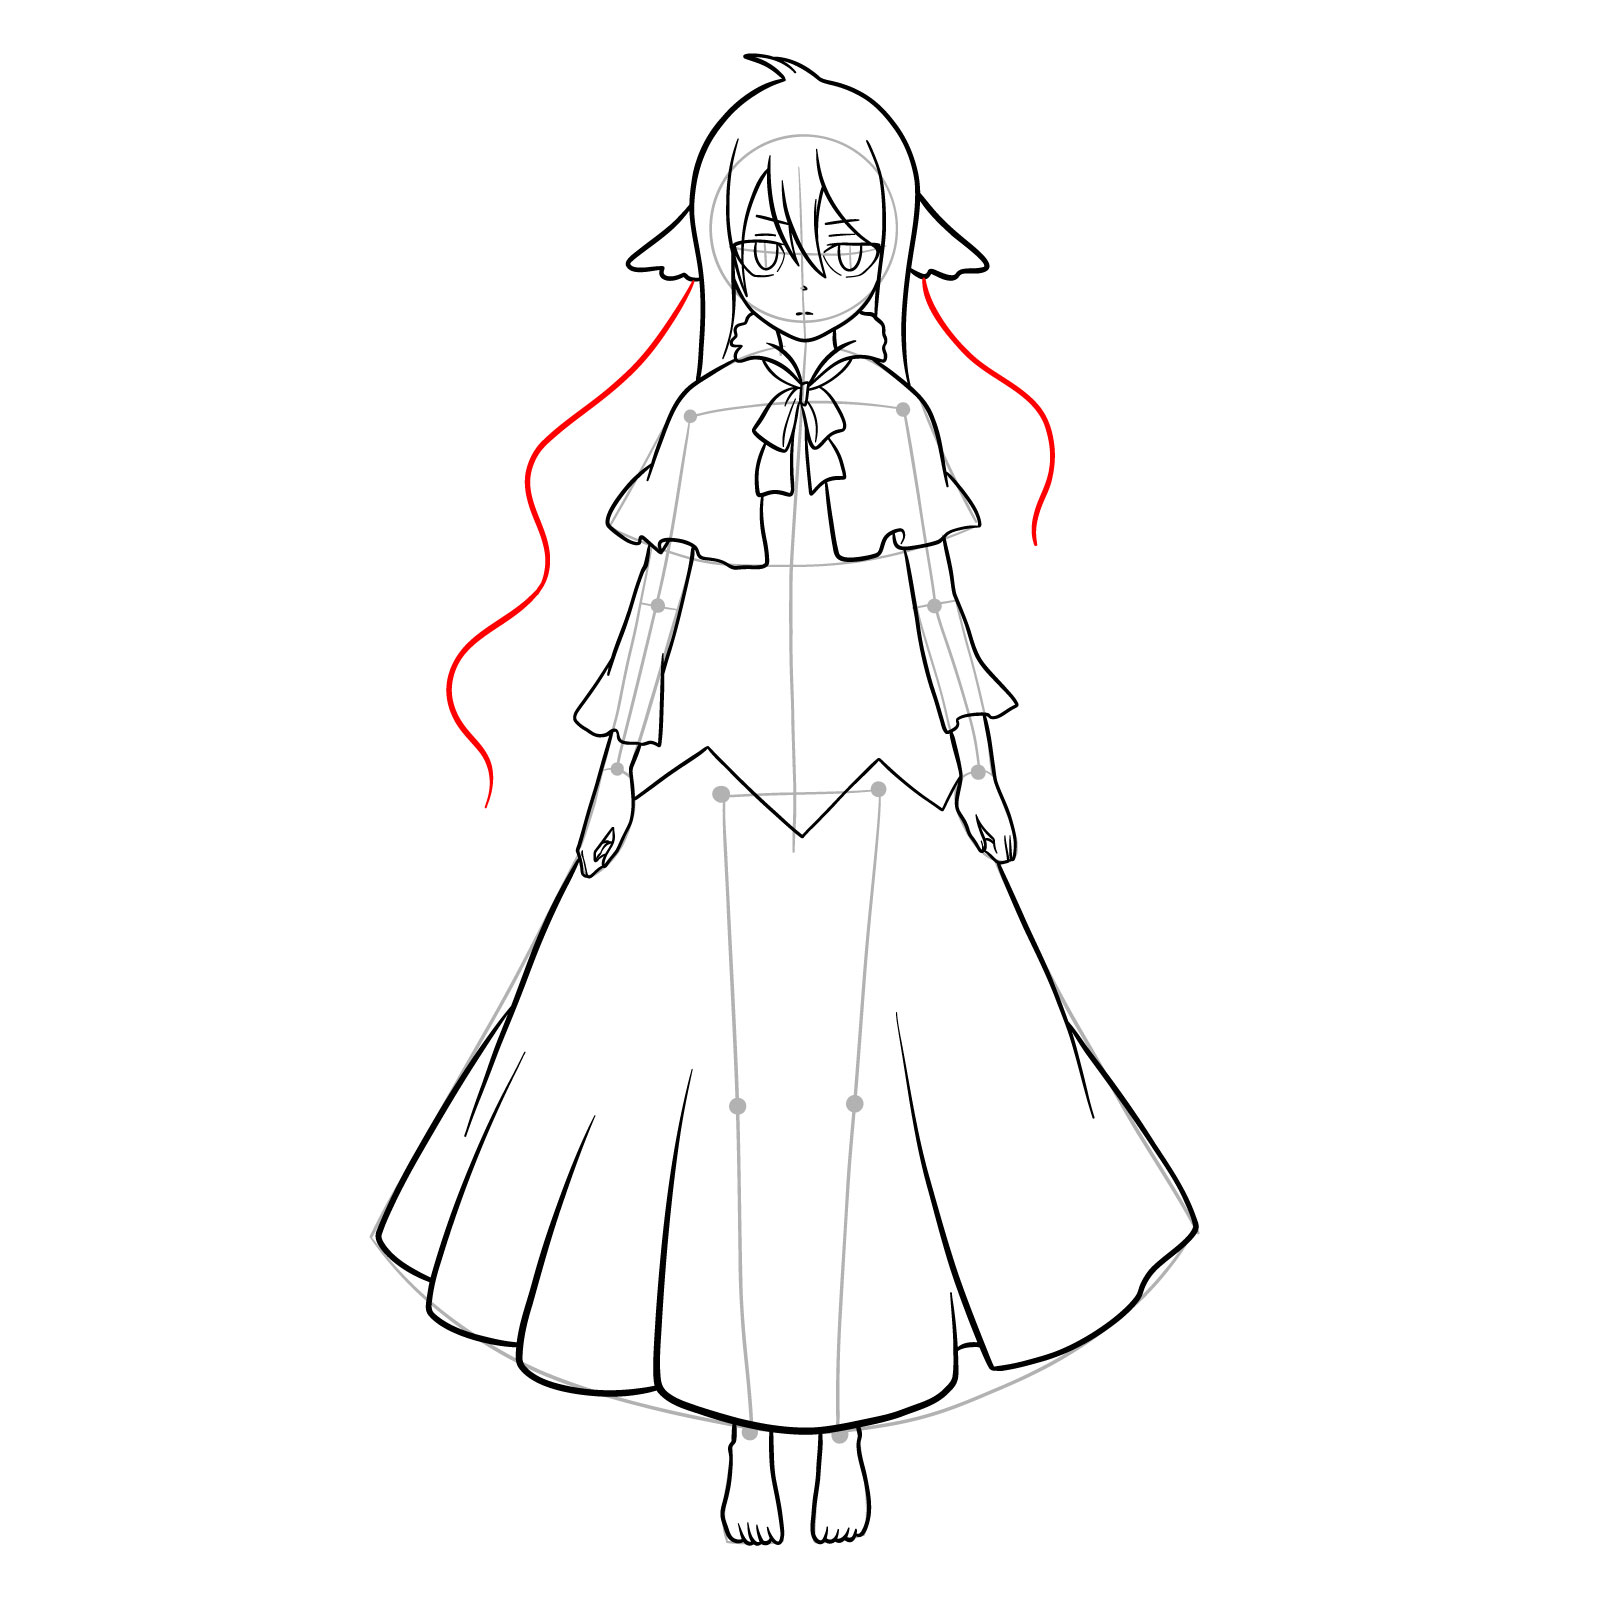
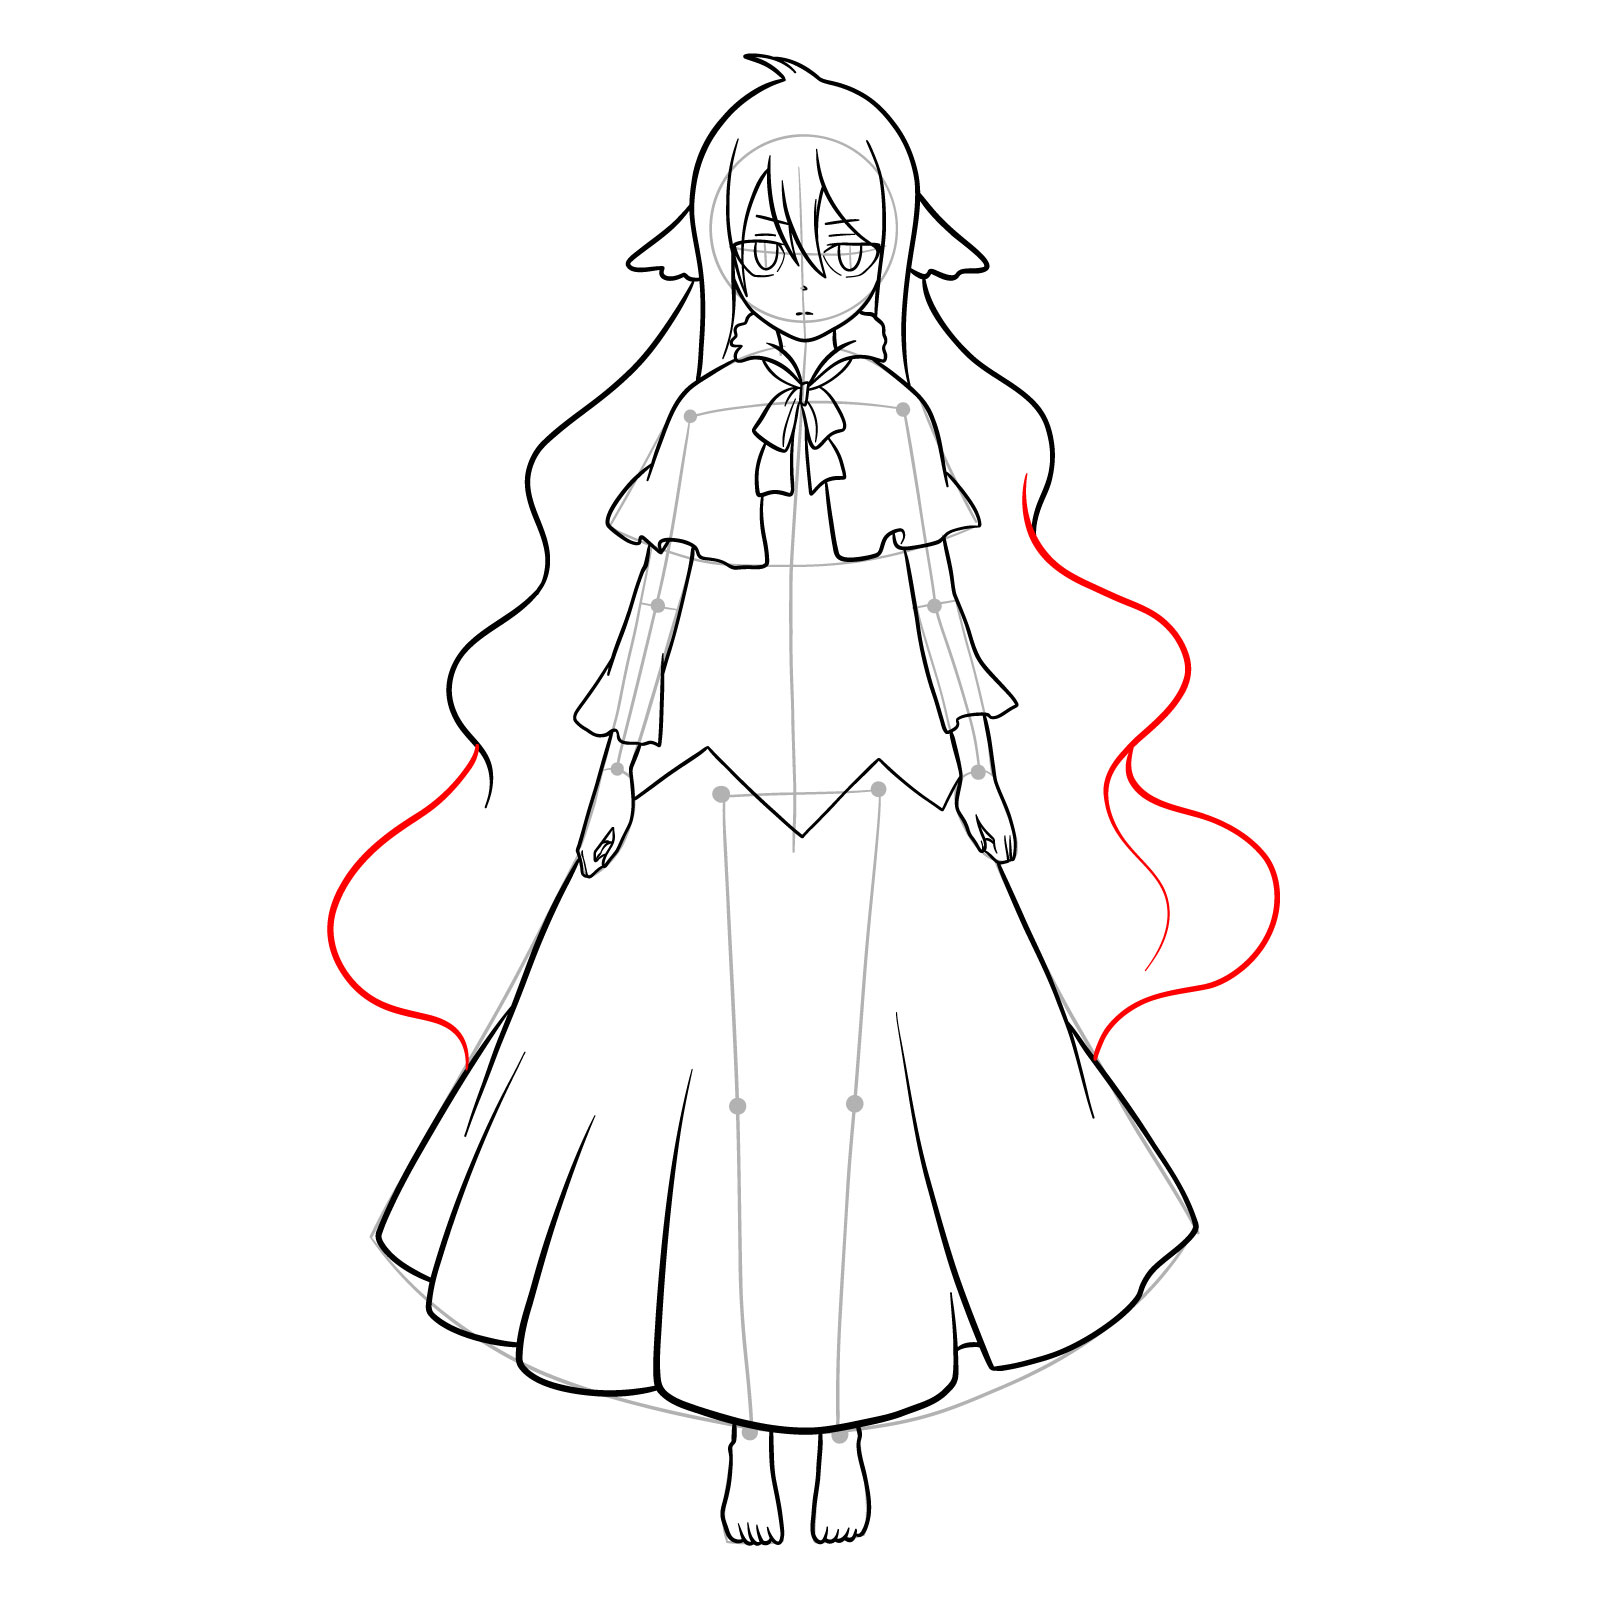
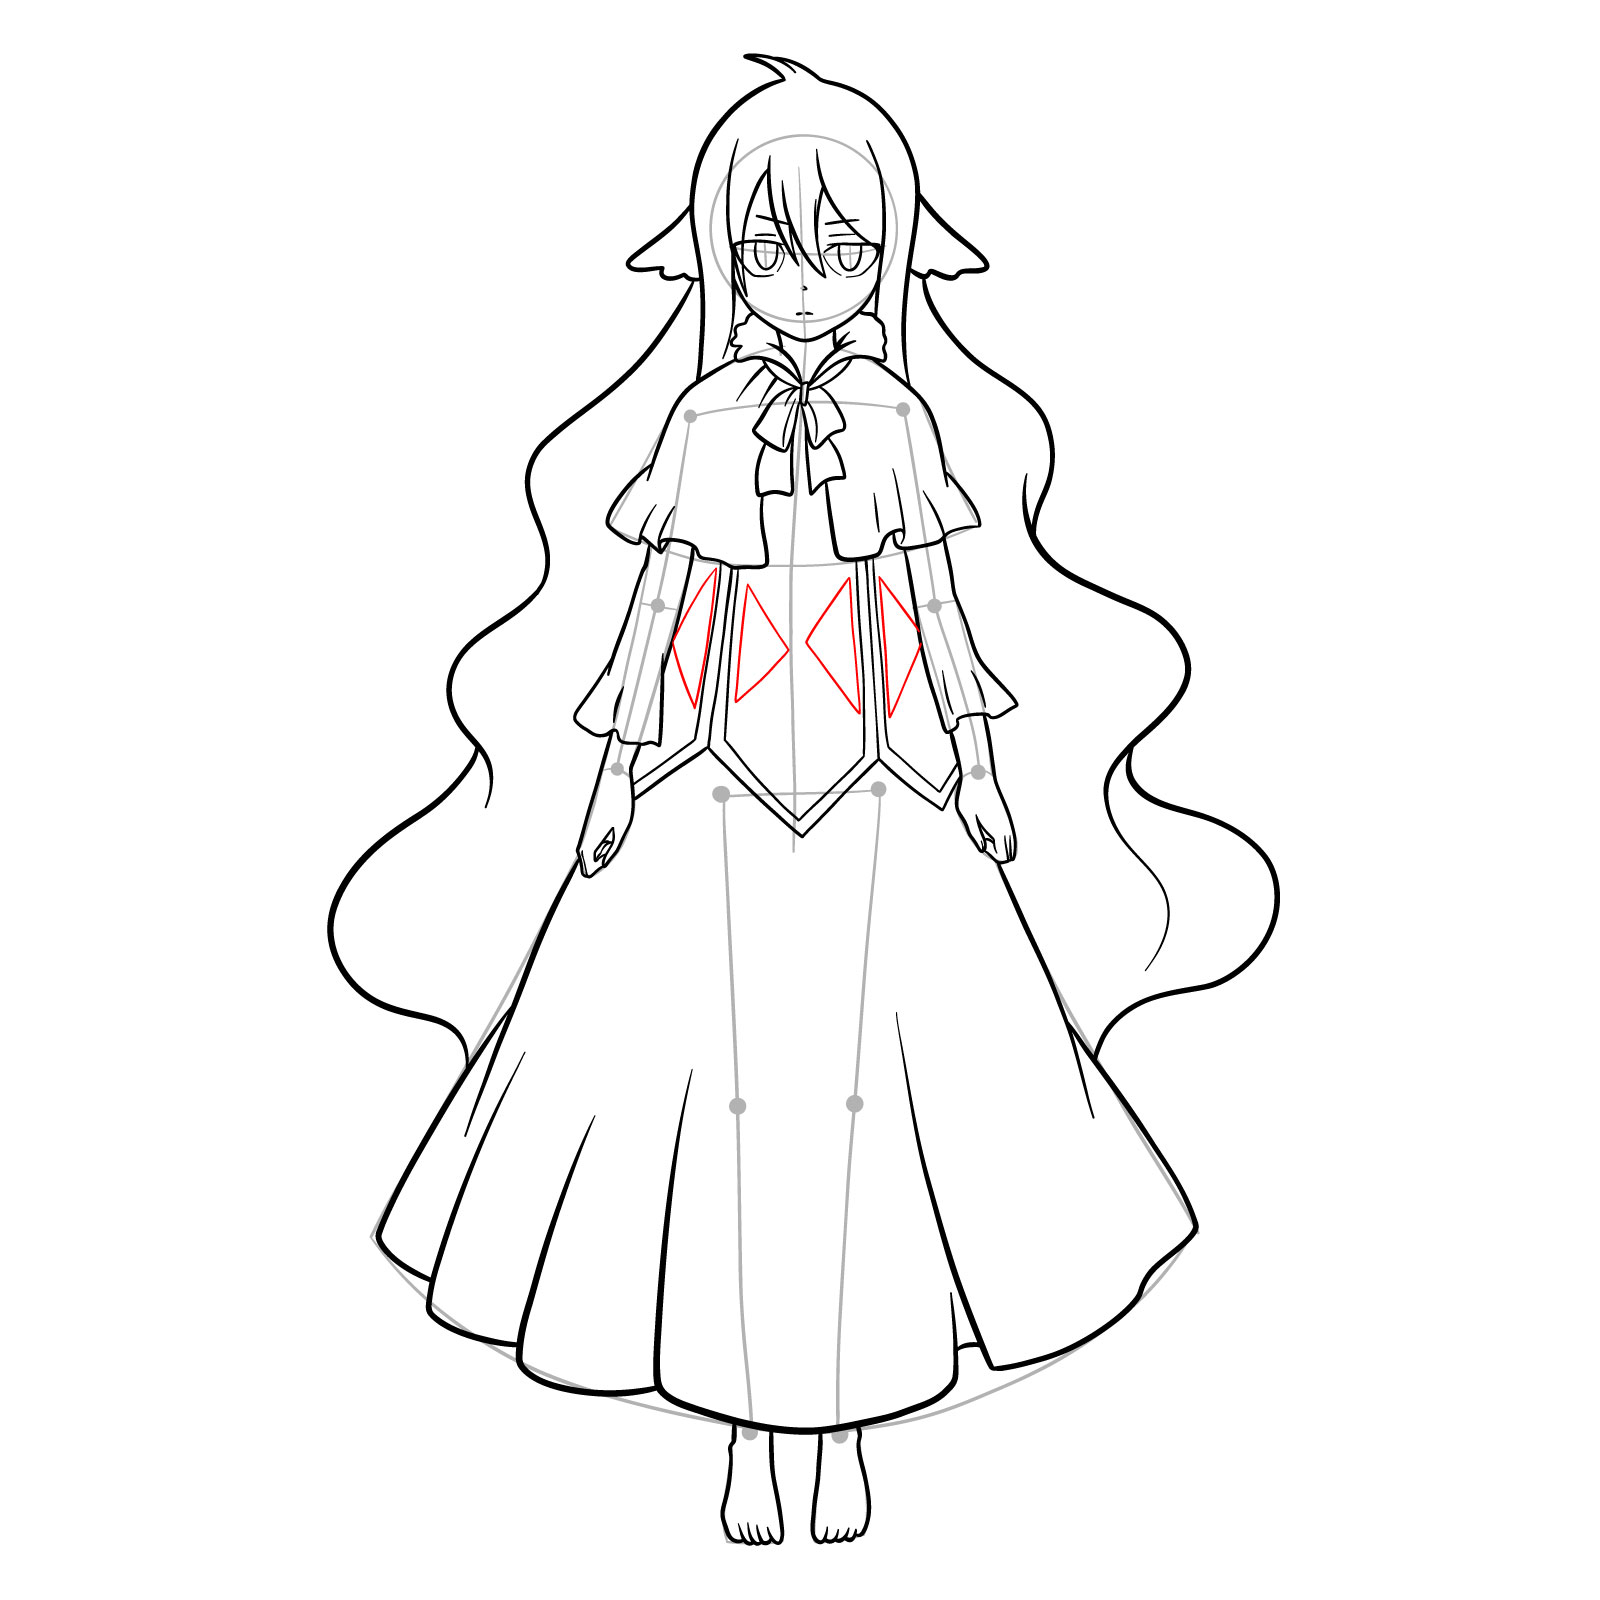
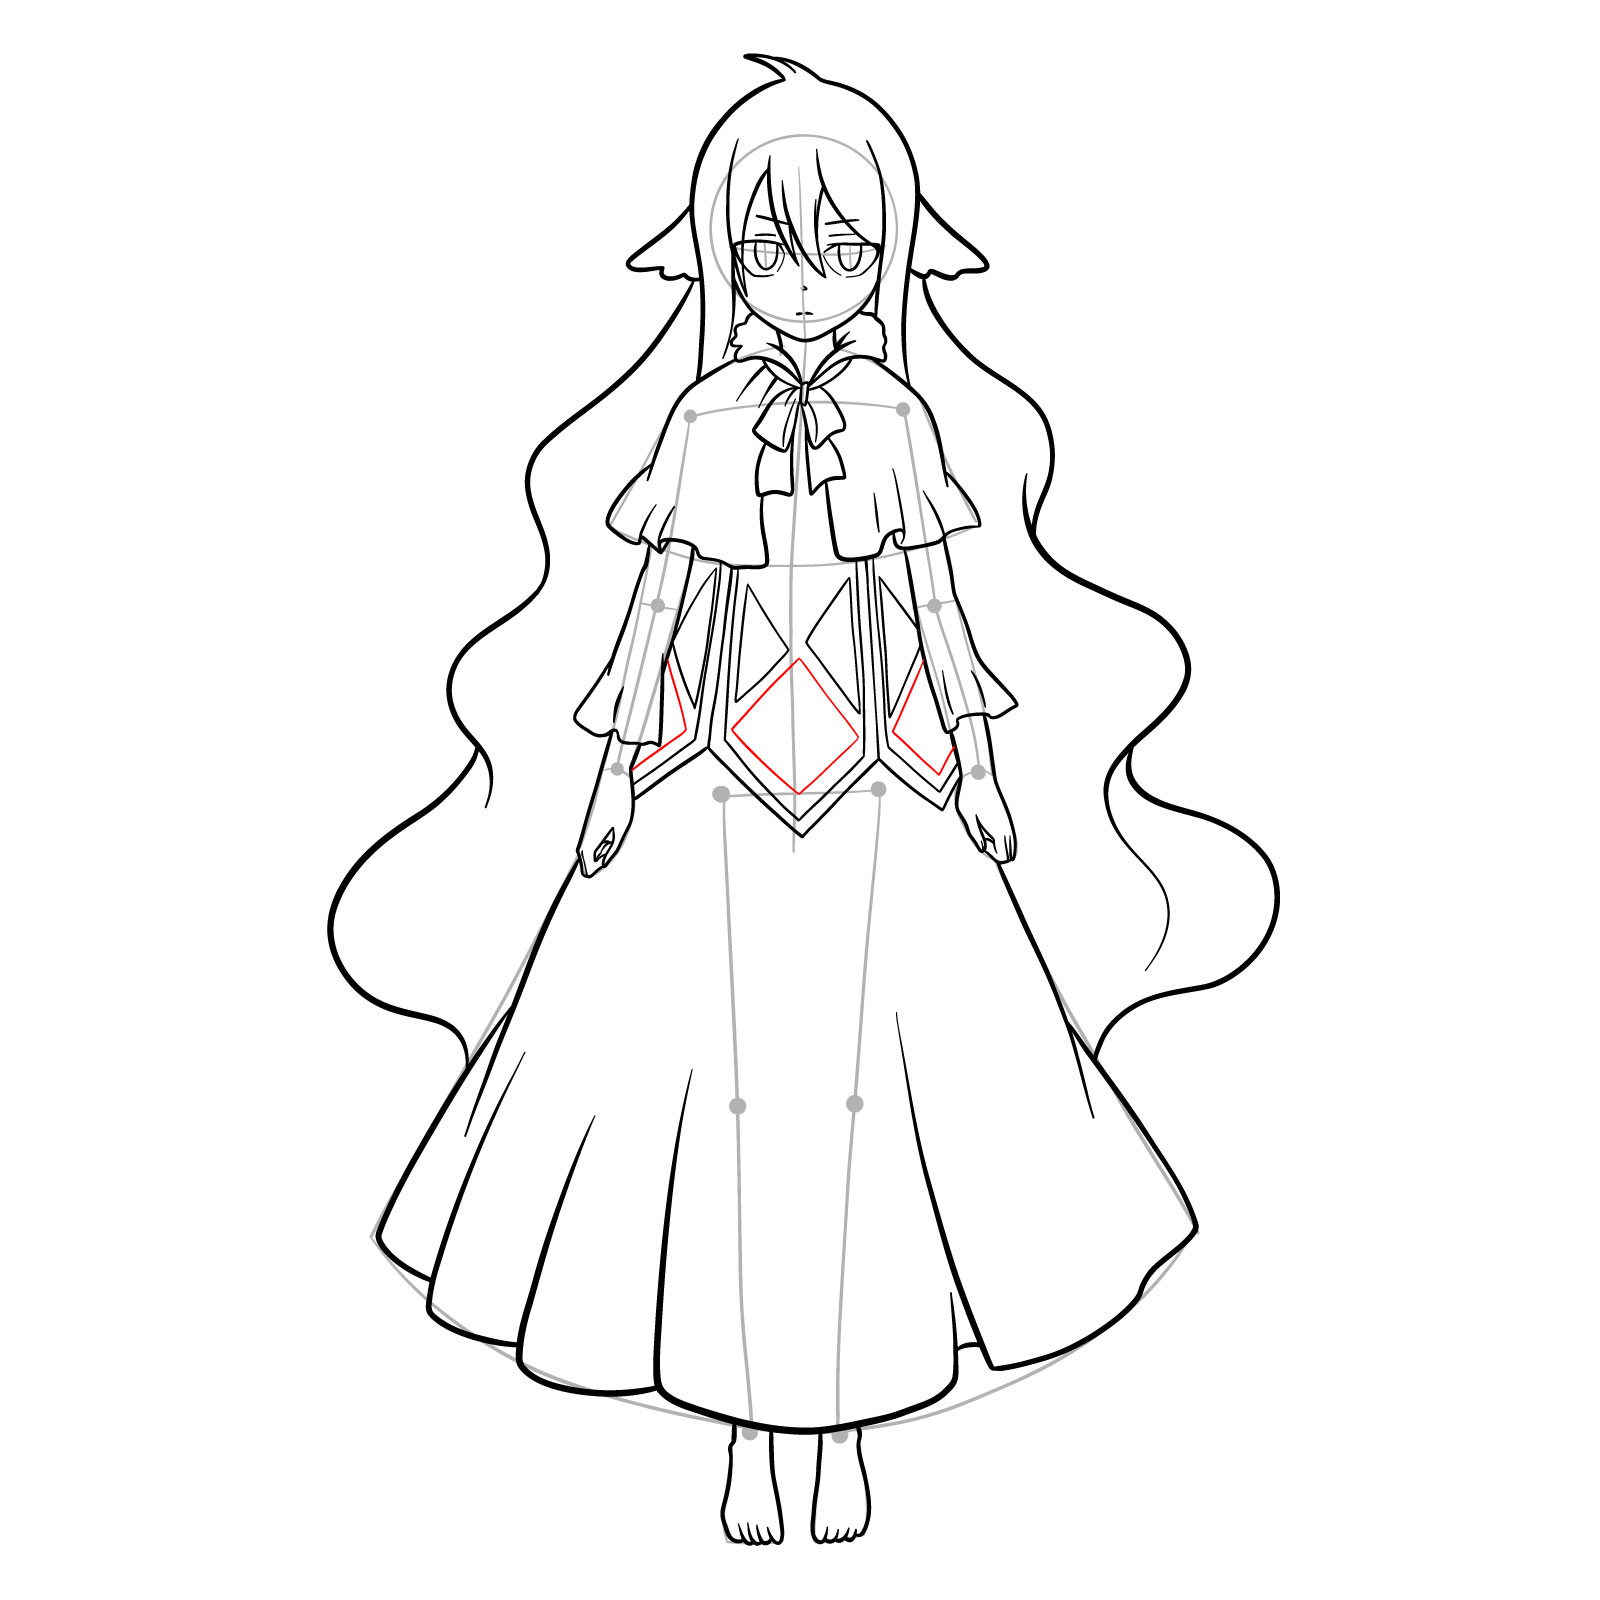
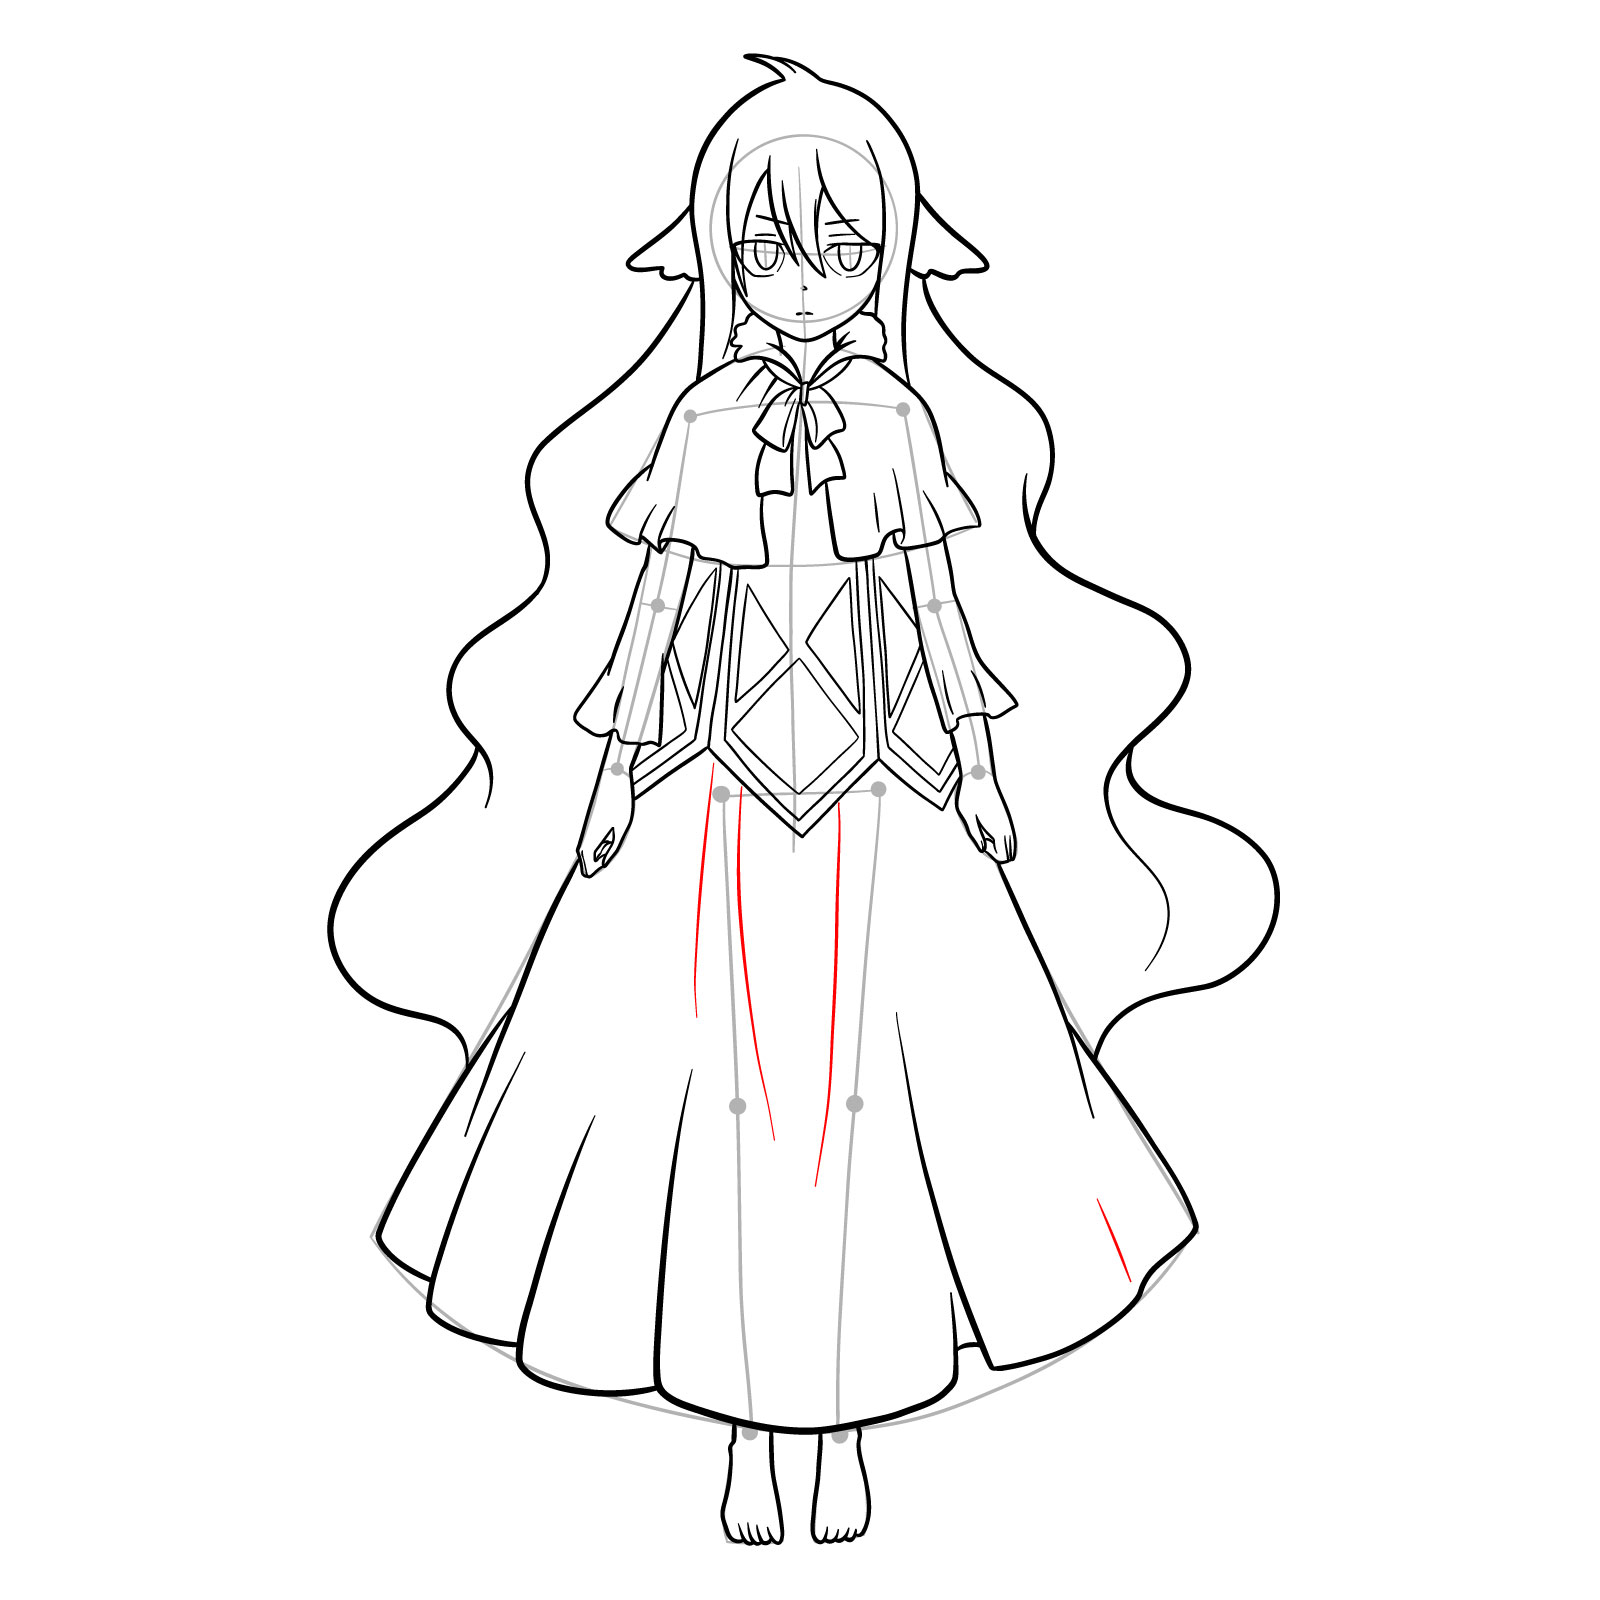
Part 2: Refining the Sketch and Adding Details
Once you’ve laid down the basic structure, refine your sketch by adding details, such as facial features, clothing, and hair. Focus on enhancing the proportions and ensuring Mavis Vermillion’s unique characteristics are well-represented.


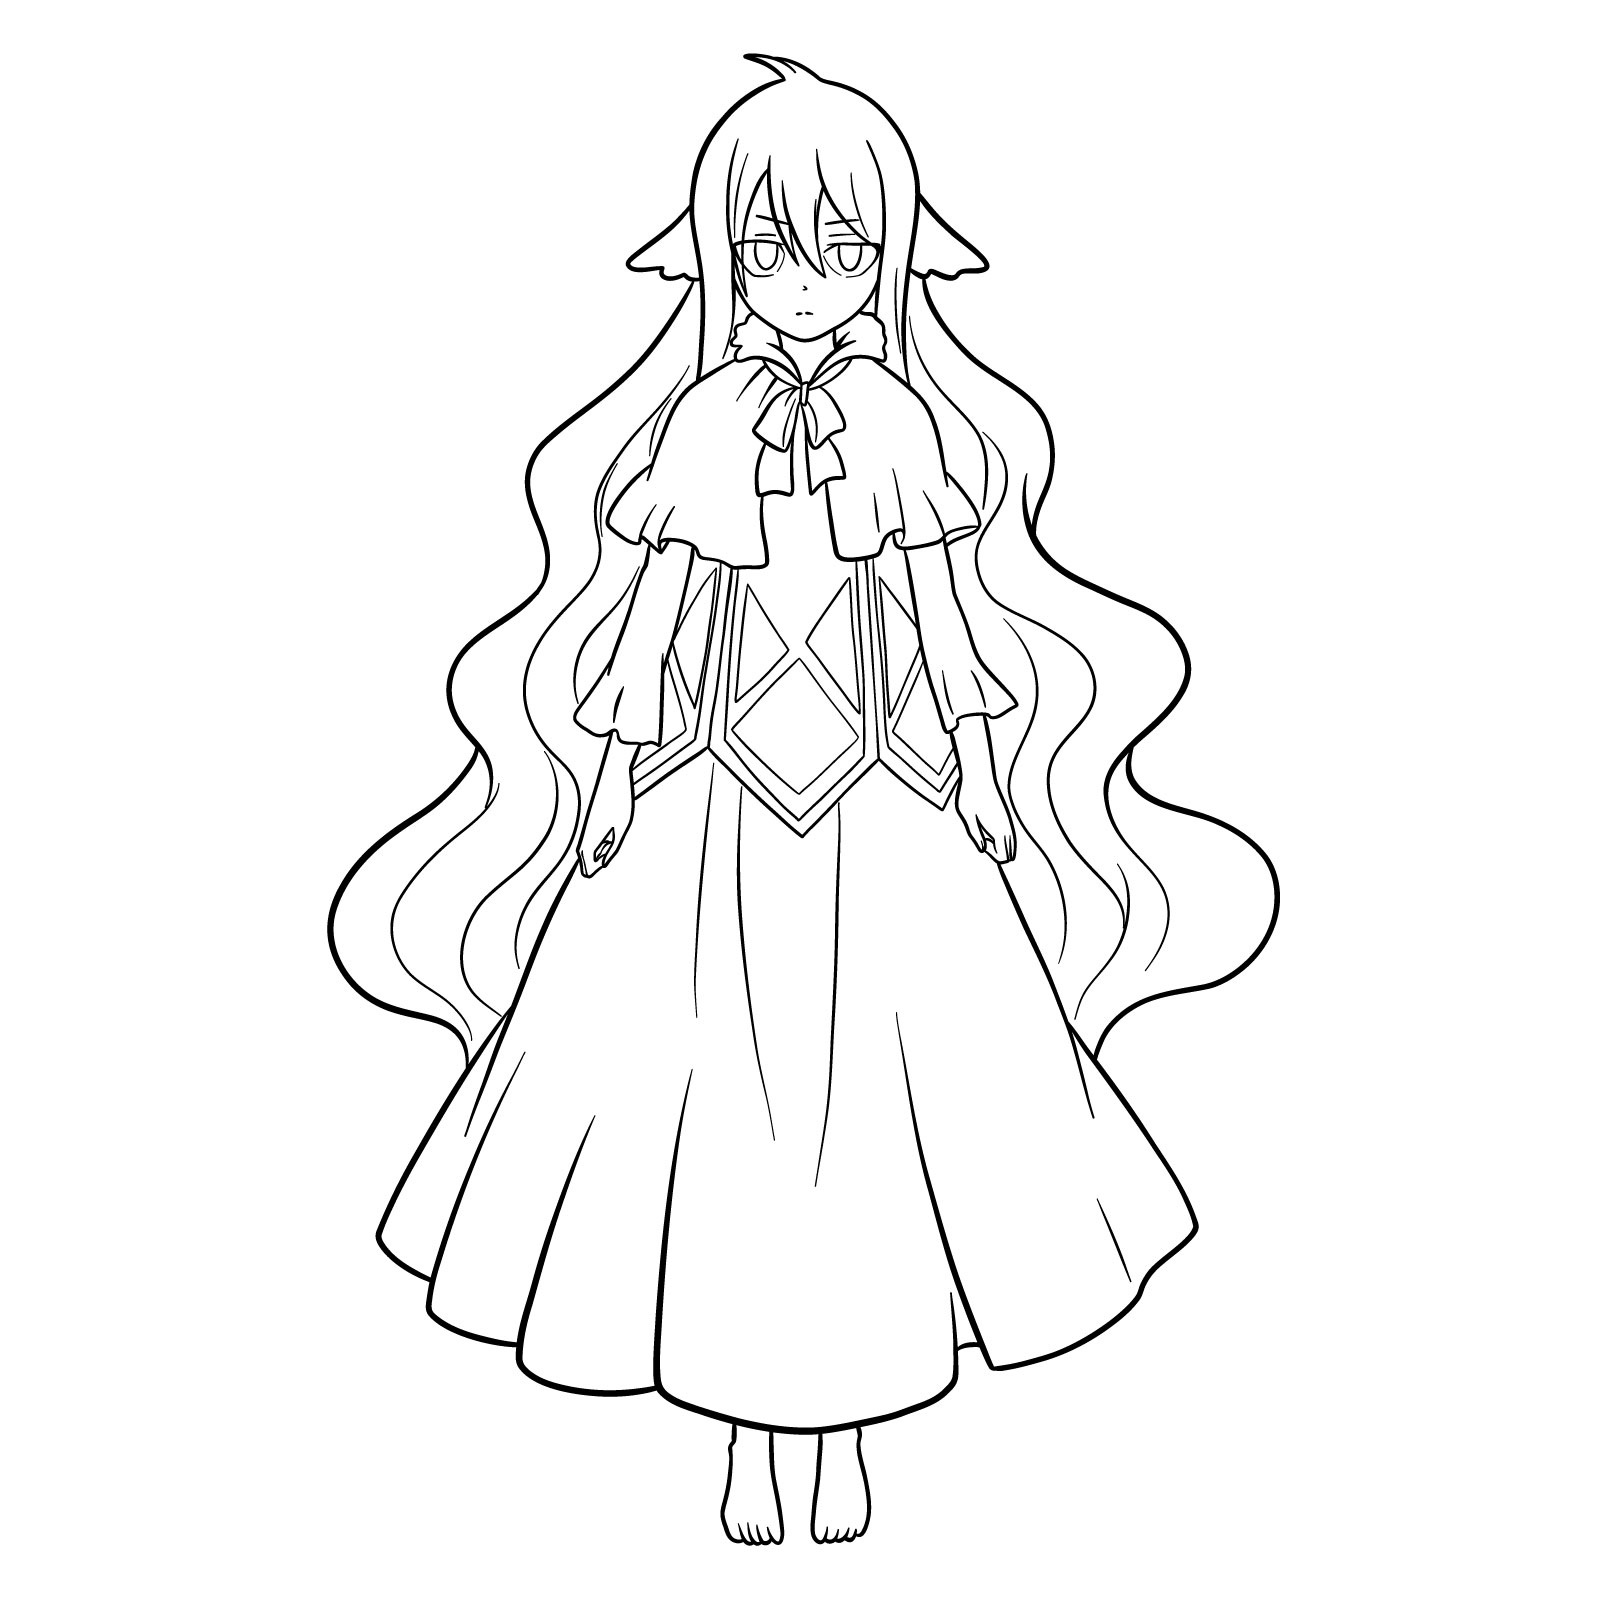
Part 3: Inking and Outlining Your Masterpiece
With the refined sketch complete, it’s time to ink and outline your drawing. Carefully trace over your pencil lines using fineliner pens or markers, creating clean and crisp lines. As you do this, be mindful of line weight and thickness, as varying the line width can help convey depth and dimension. Once you’ve finished inking, erase any leftover pencil marks to achieve a polished look.
The best way to stay current with new guides is the weekly email signup sitting at the top of this page, so go ahead and drop your address in there if you want fresh tutorials delivered straight to you. Now that you know how to draw Master the Magic of Sketching from Fairy Tail, that signup means you won’t miss whatever comes next. You can also find video versions of some guides over on the SketchOk YouTube channel if you prefer watching the process.
Did my thanks for the Adventure Time characters go through?