If you’ve been wanting to draw Momo Ayase’s face from the Dandadan anime, you’ve come to the right place. In this guide, we’ll go through the steps needed to capture her confident expression and unique style. With a little practice, you’ll have Momo’s face drawn just like the reference image.
Important Features of Momo Ayase to Pay Attention To
Momo Ayase is a central character in Dandadan, and there are a few key details to focus on when drawing her:
Hair: Medium-length brown hair, framing the right side of her face.
Eyes: Large, expressive eyes with a sharp gaze that shows her confidence.
Accessories: Circular green earrings and a black choker, both of which she wears constantly.
Facial Expression: Momo often has a serious look, which is important to capture.
Throughout the tutorial, different colors will be used to help guide you through the process:
Red Color: This is the current step you should focus on.
Black Color: These lines represent what you’ve already drawn in previous steps.
Grey Color: Basic sketch or construction lines to help with proportions and positioning.
These color hints will keep you on track and help simplify the drawing process of Momo Ayase.
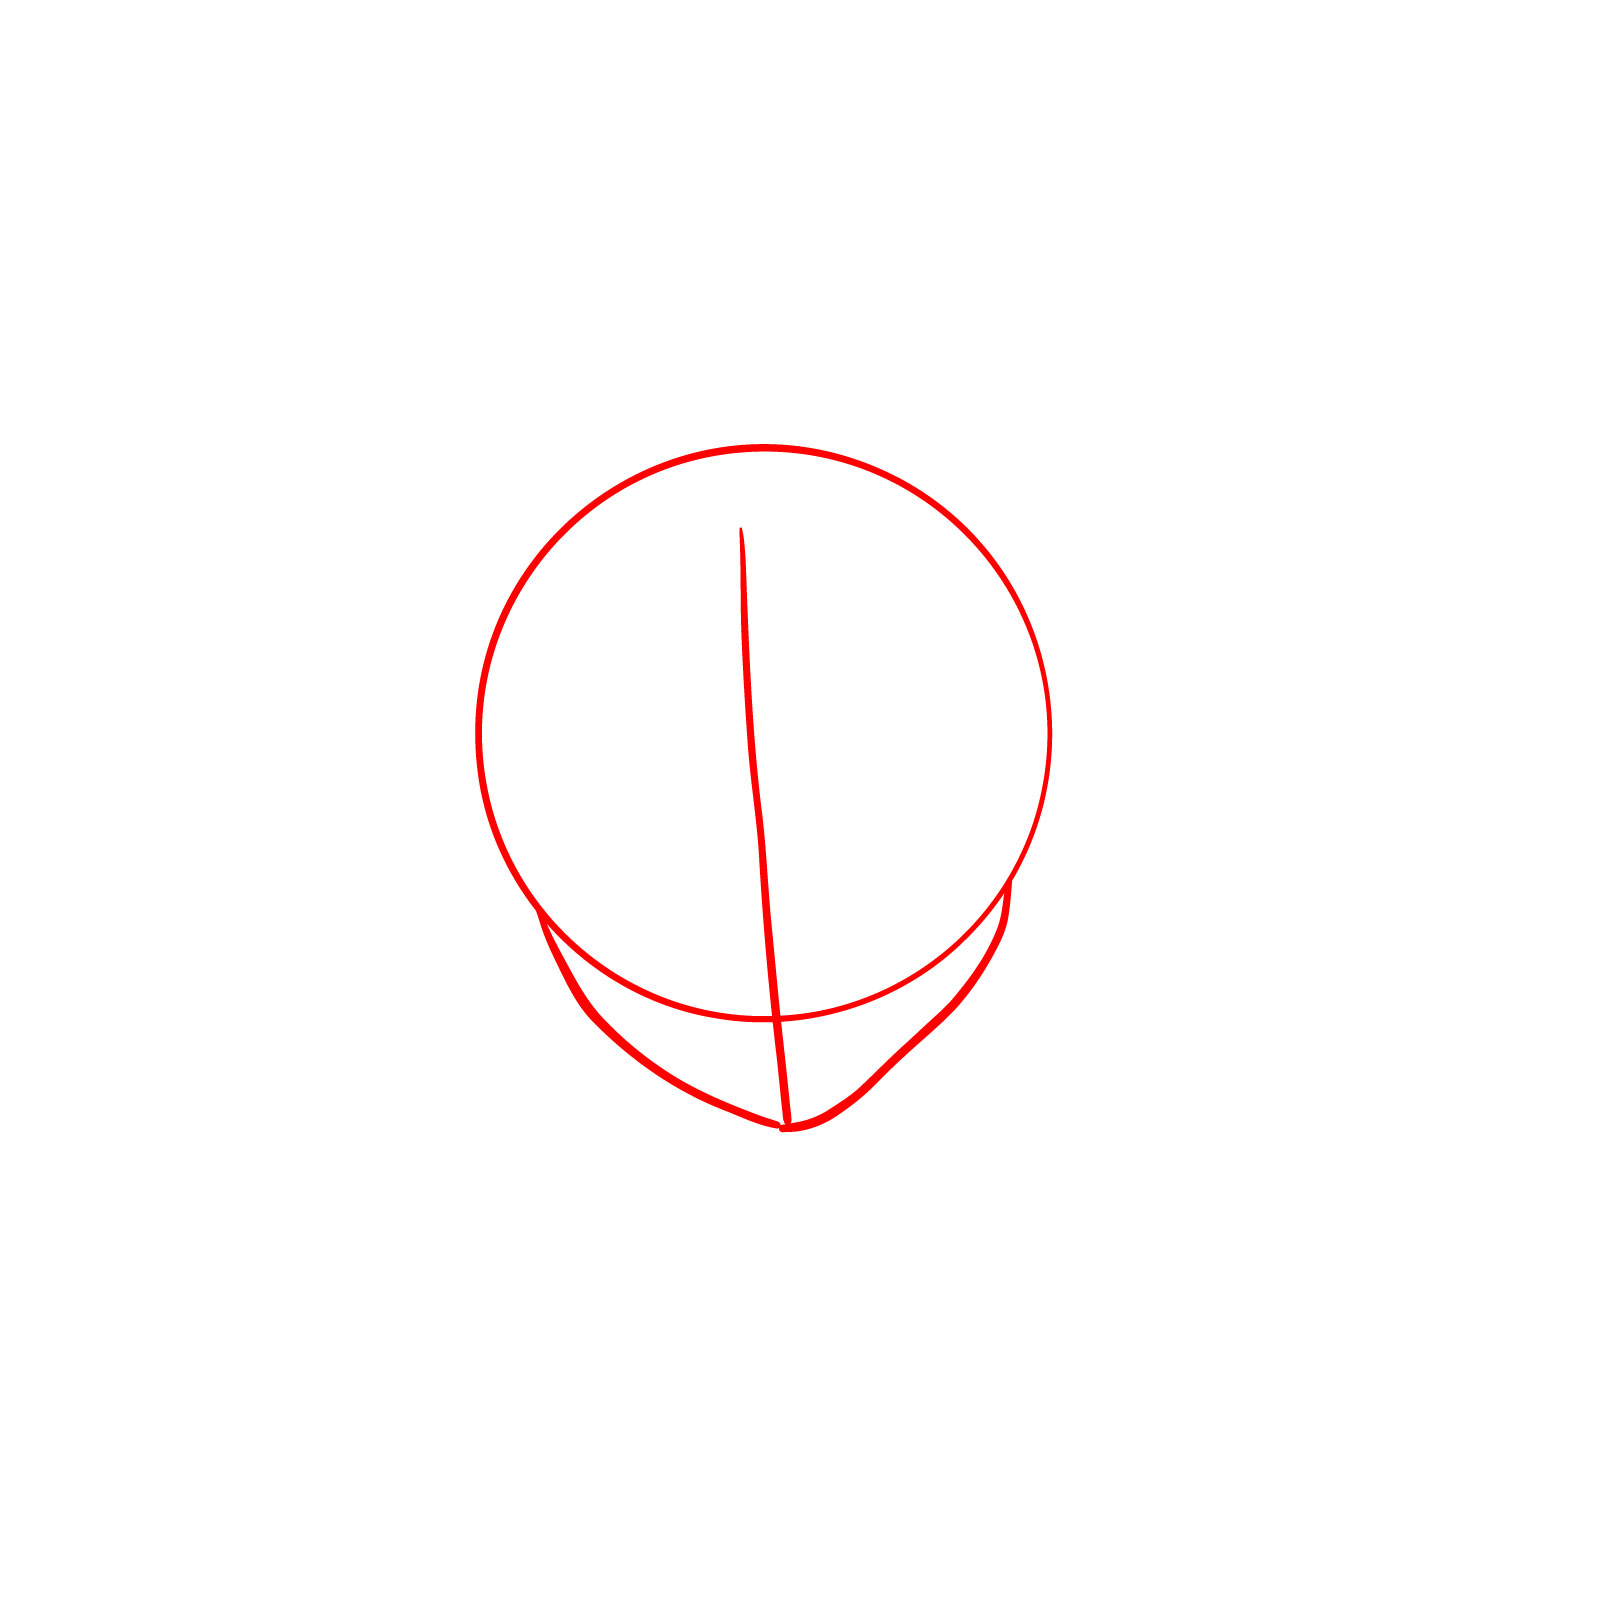
Step 1: Start by drawing a circle for the head’s base and add a chin shape to form the jawline. Then, draw a vertical line down the center of the face to divide it.
Step 2: Draw a horizontal line across the vertical one to help center the face. Add short lines to mark the positions of the eyes and nose. Sketch the ear shapes on either side of the head.
Step 3: Begin outlining the face, starting below the ear on the left side. Sketch the chin, draw the right ear, and add a small section of the hairline above the ear on the right side.
Step 4: Draw Momo’s fringe in the center of her forehead, connecting it with the hairline you outlined in the previous step.
Step 5: Sketch a strand of hair falling on the left side, along with another piece of the fringe. Add the visible part of the ear.
Step 6: Outline the main part of Momo’s hairstyle.
Step 7: Draw the inner ear lines to add detail to both ears. Outline the eyes, making sure they are large and expressive, typical of anime style.
Step 8: Add more detail to the ears and draw the eyeballs with pupils. Don’t forget the oval highlights on the bottom left of the eyeballs, a signature look for Dandadan characters. Add eyelashes and eyebrows to complete the expression.
Step 9: Sketch lines for individual hair strands within the hairstyle outline. Add small nostrils, a simple line for the mouth, and ovals for her earrings with inner volume lines. Also, draw small circles in her earlobes where the earrings attach.
Step 10: Draw the neck and add the collar of her shirt. Don’t forget to include her signature black choker.
Step 11: Outline her shoulders and add the visible parts of her clothing, including the upper part of the bow.
Step 12: Review the sketch and add any finishing touches. Use an eraser to clean up the basic sketch lines. If you choose to ink the drawing, carefully trace over the final lines with a fine-tipped pen. Once the ink is dry, erase any remaining pencil marks.
Step 13: As a final step, you can add color to your drawing. Use the reference image to capture Momo’s typical color scheme or apply your own unique choices.
If you enjoy our tutorials and would like to support the project, consider buying me a coffee! Your support helps me continue creating free drawing guides for everyone to enjoy.
I hope this guide makes it easier to learn how to draw Momo Ayase. Remember, drawing takes practice, so don’t hesitate to take your time and enjoy the process!
Once you’re finished, I’d love to see your drawing shared in the comments on Pinterest! Don’t forget to follow us on social media for the tutorial updates.
Disclaimer: All original artworks and photos used as references for the creation of these drawing tutorials are the property of their respective owners. If your work has been featured without proper credit, please kindly leave a comment below, and the issue will be promptly addressed. We greatly appreciate your exceptional art. Thank you.
Did you like the tutorial?
You can support the author of this website and also suggest your own ideas for new drawings by making a small donation here: