
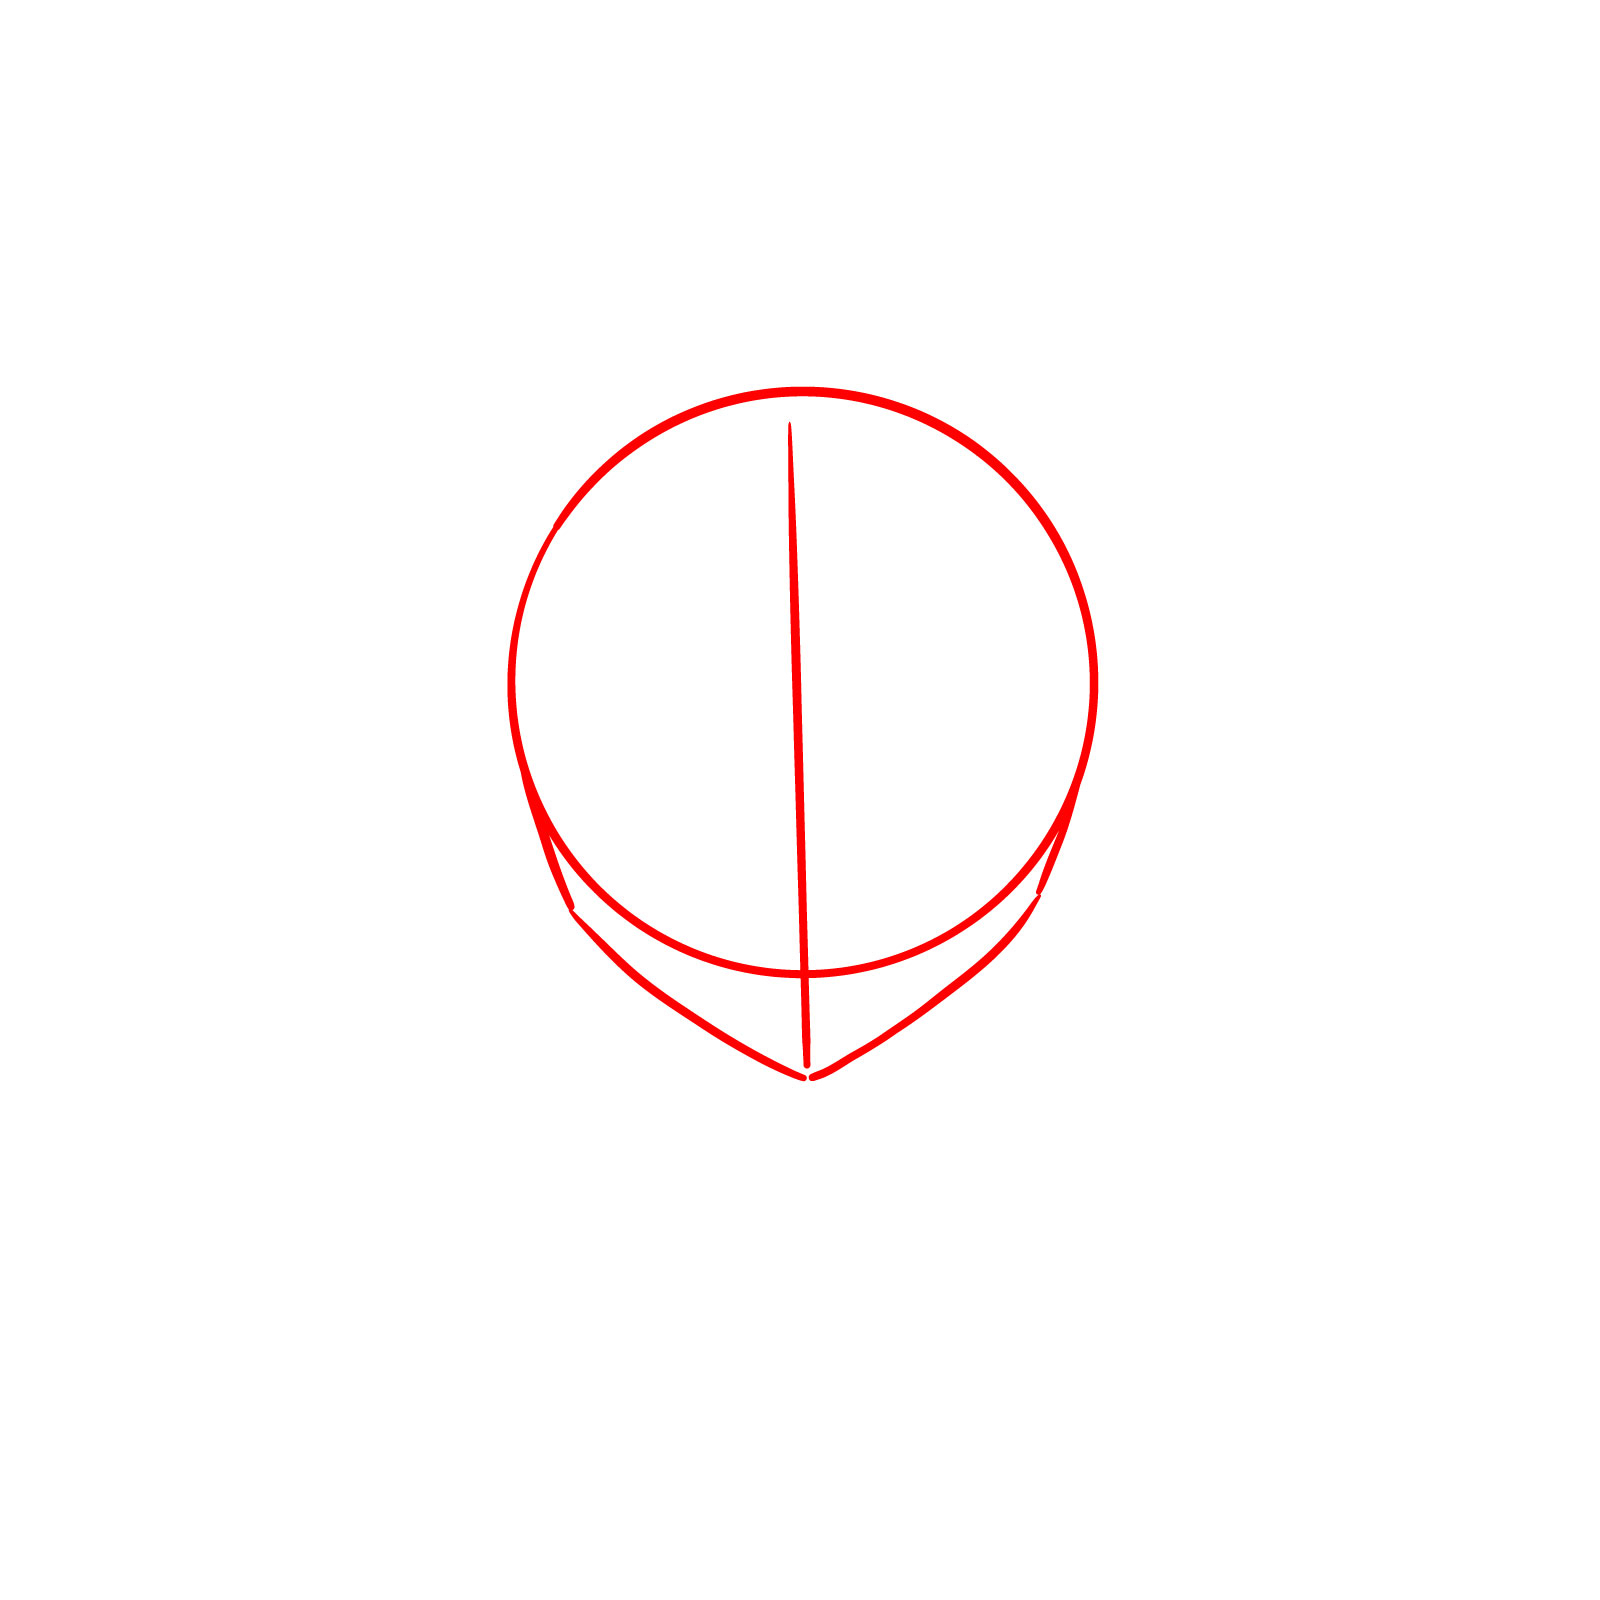
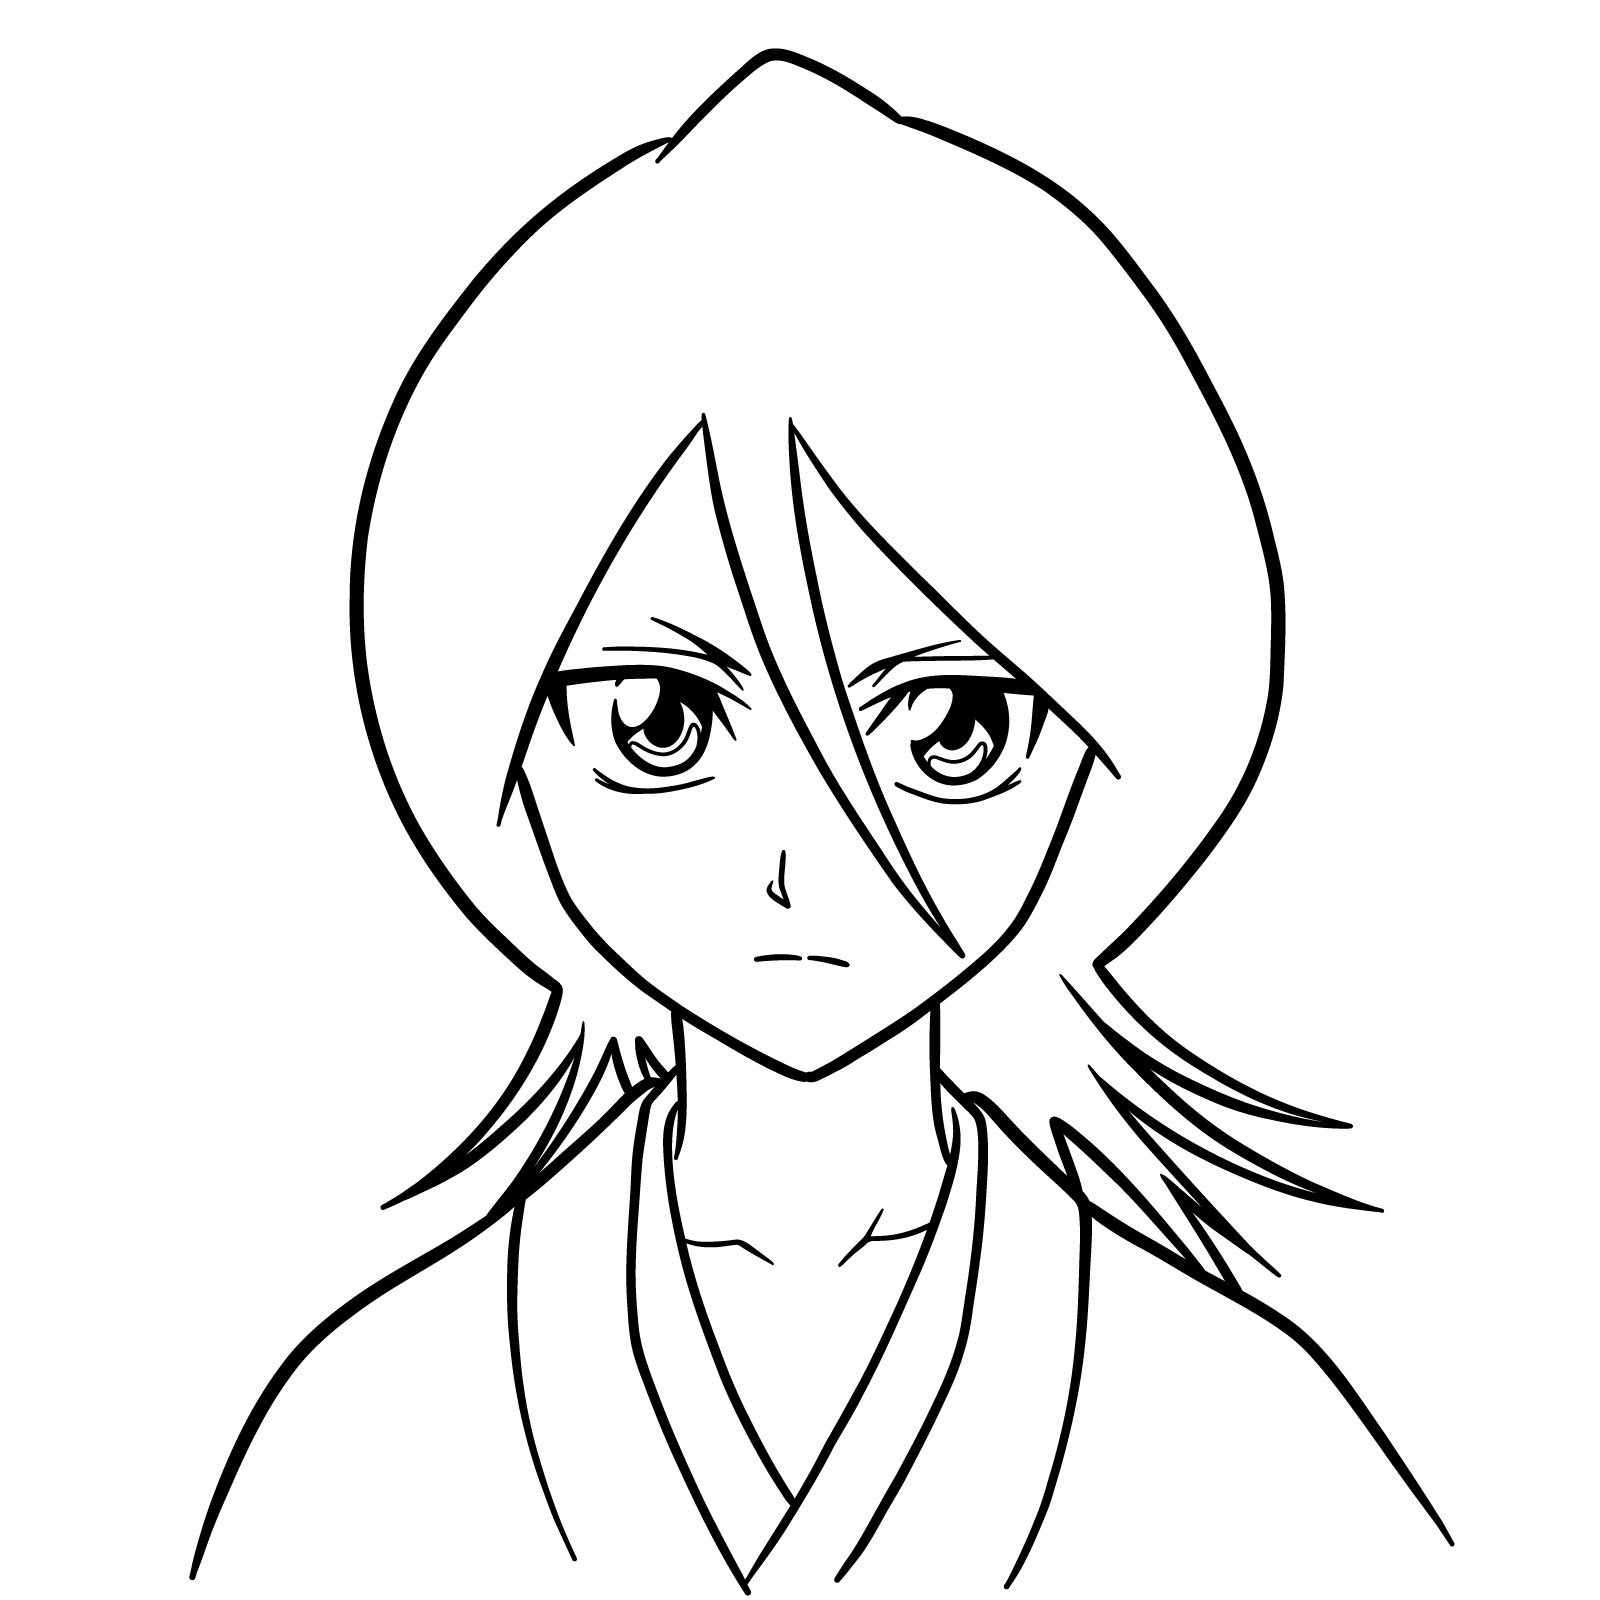
Alright, let’s get into how to draw Rukia Kuchiki’s face from Bleach anime. The good thing about this one is that it’s a head-on view, so you don’t need to deal with complicated angles. The key here is to place the facial features correctly and keep her sharp hairstyle and serious expression in mind.
Features To Focus On
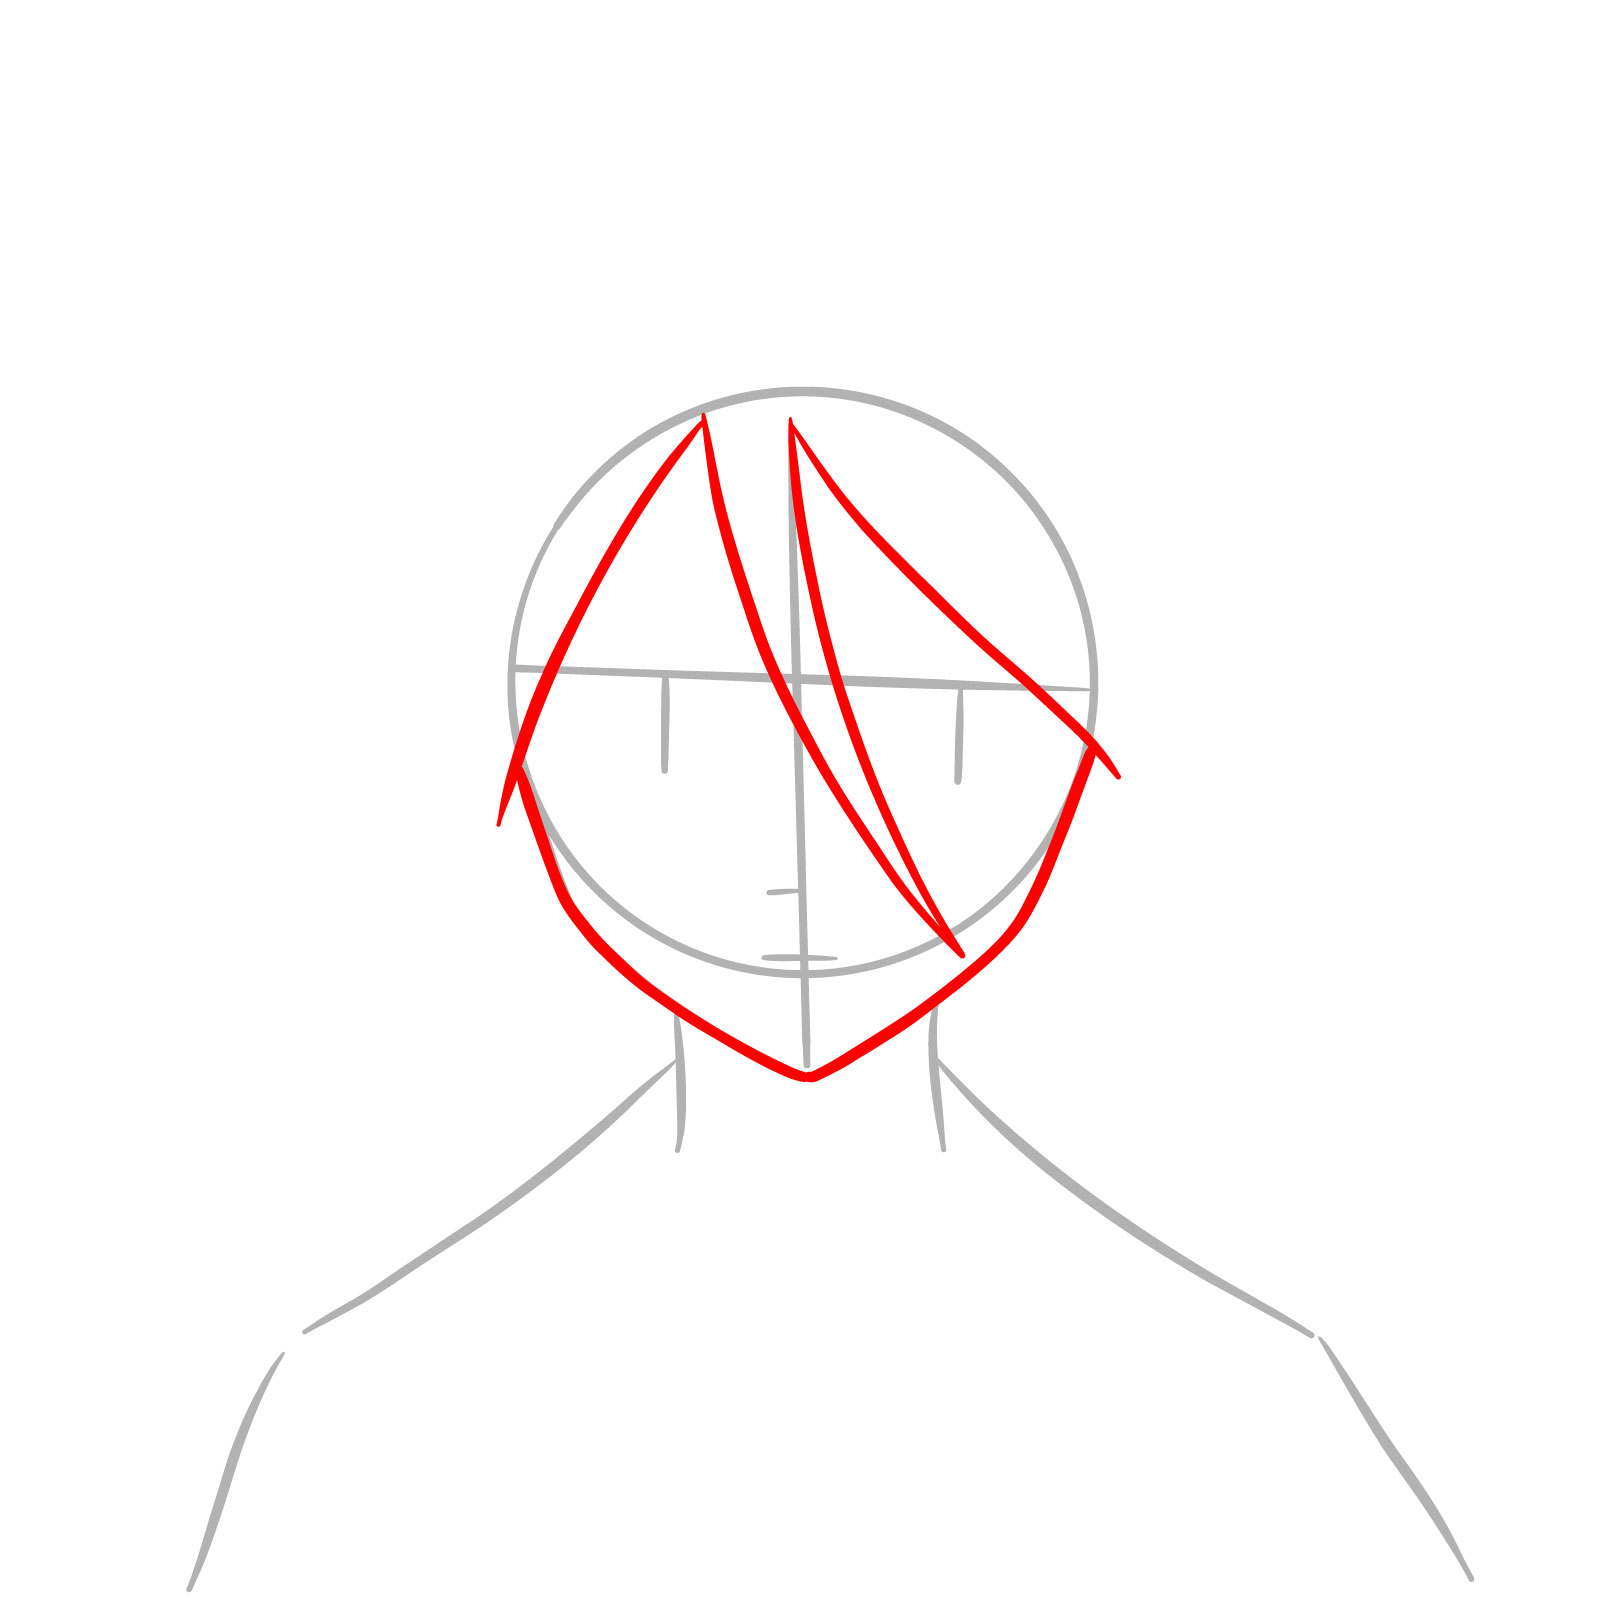
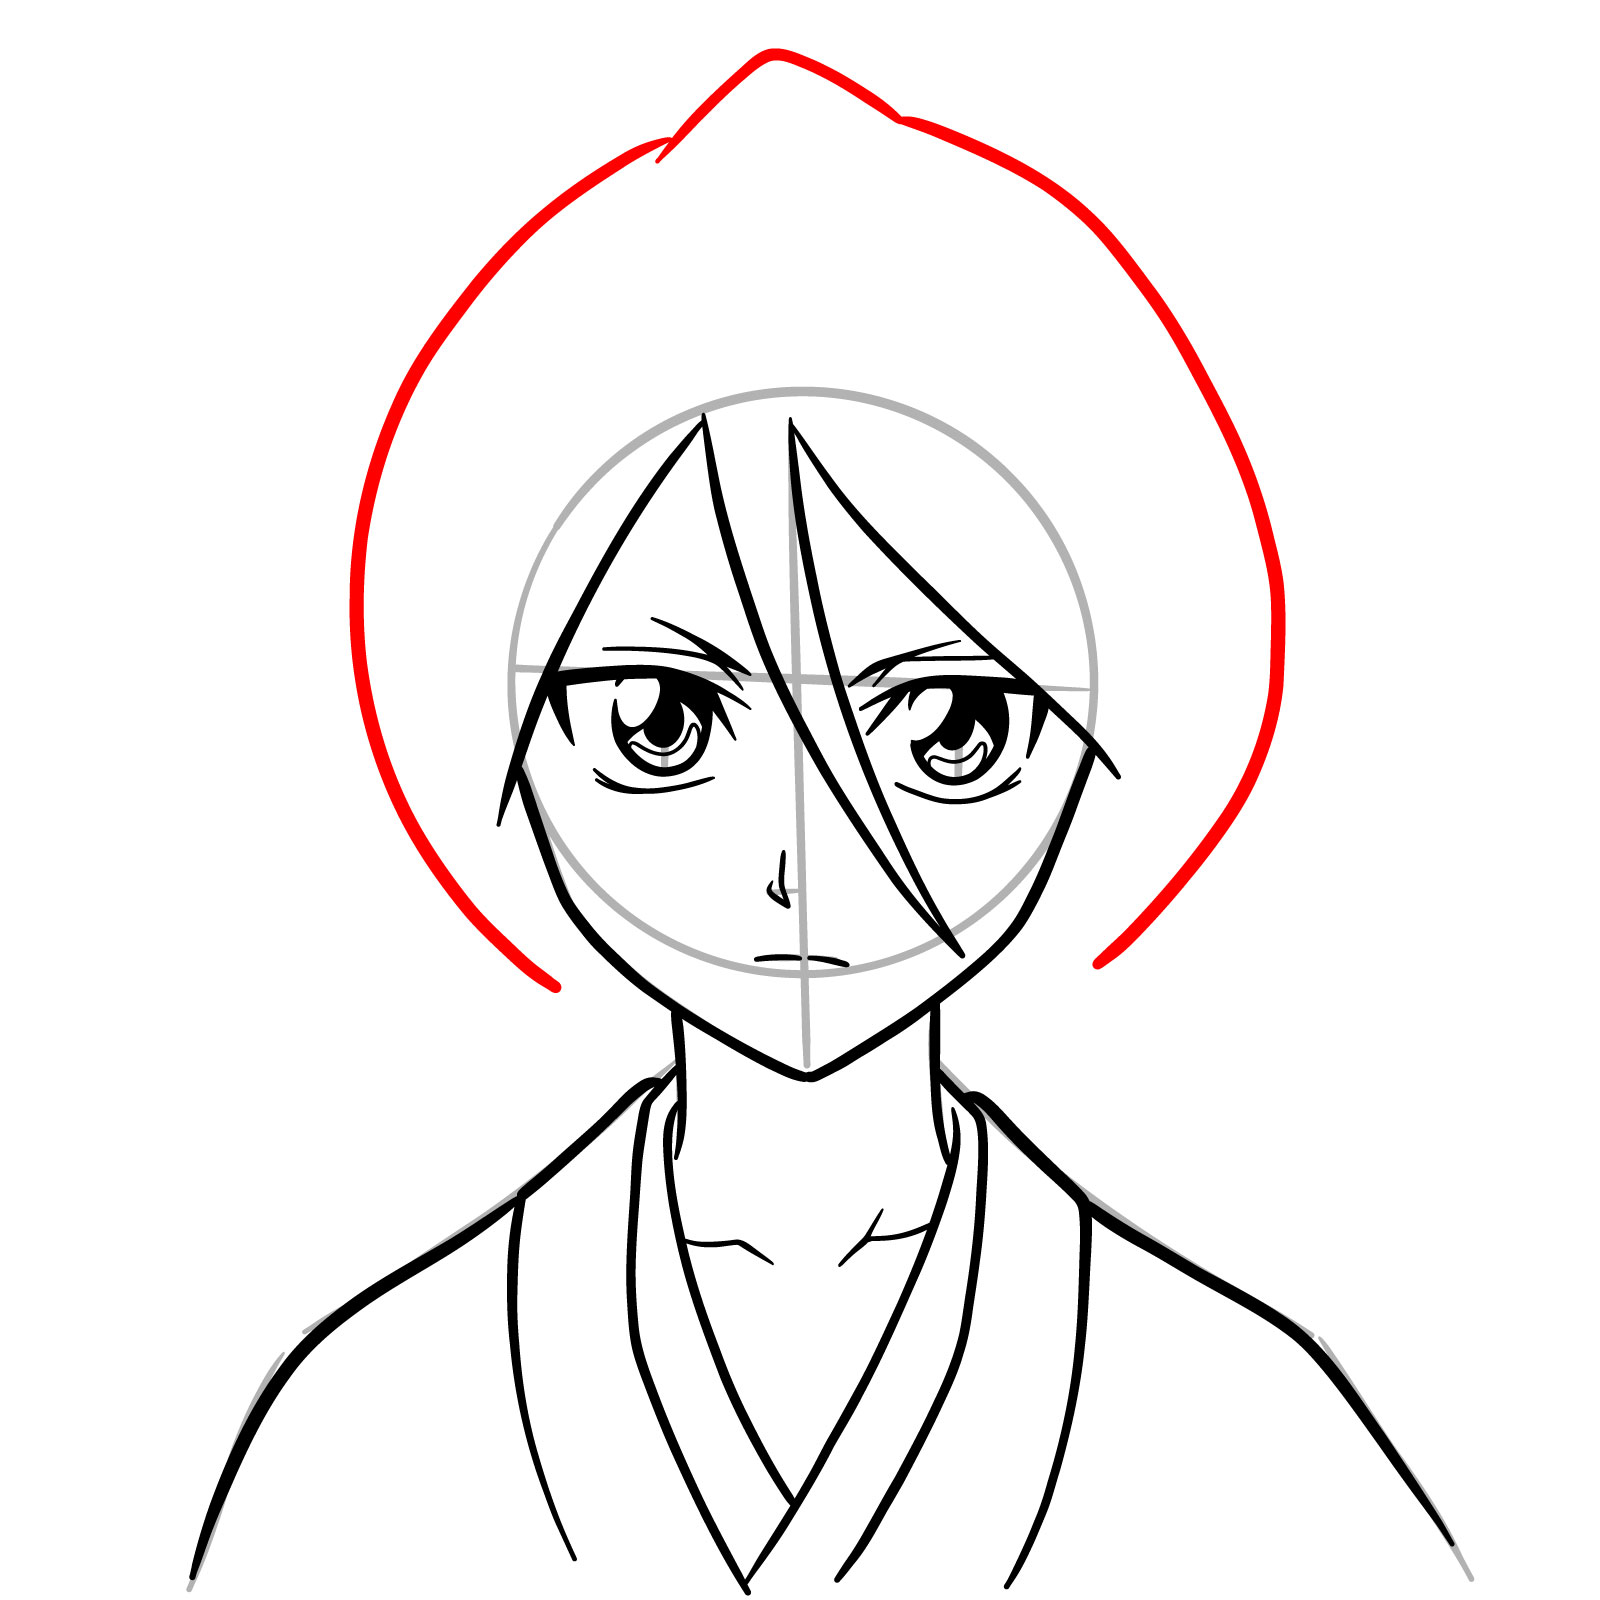
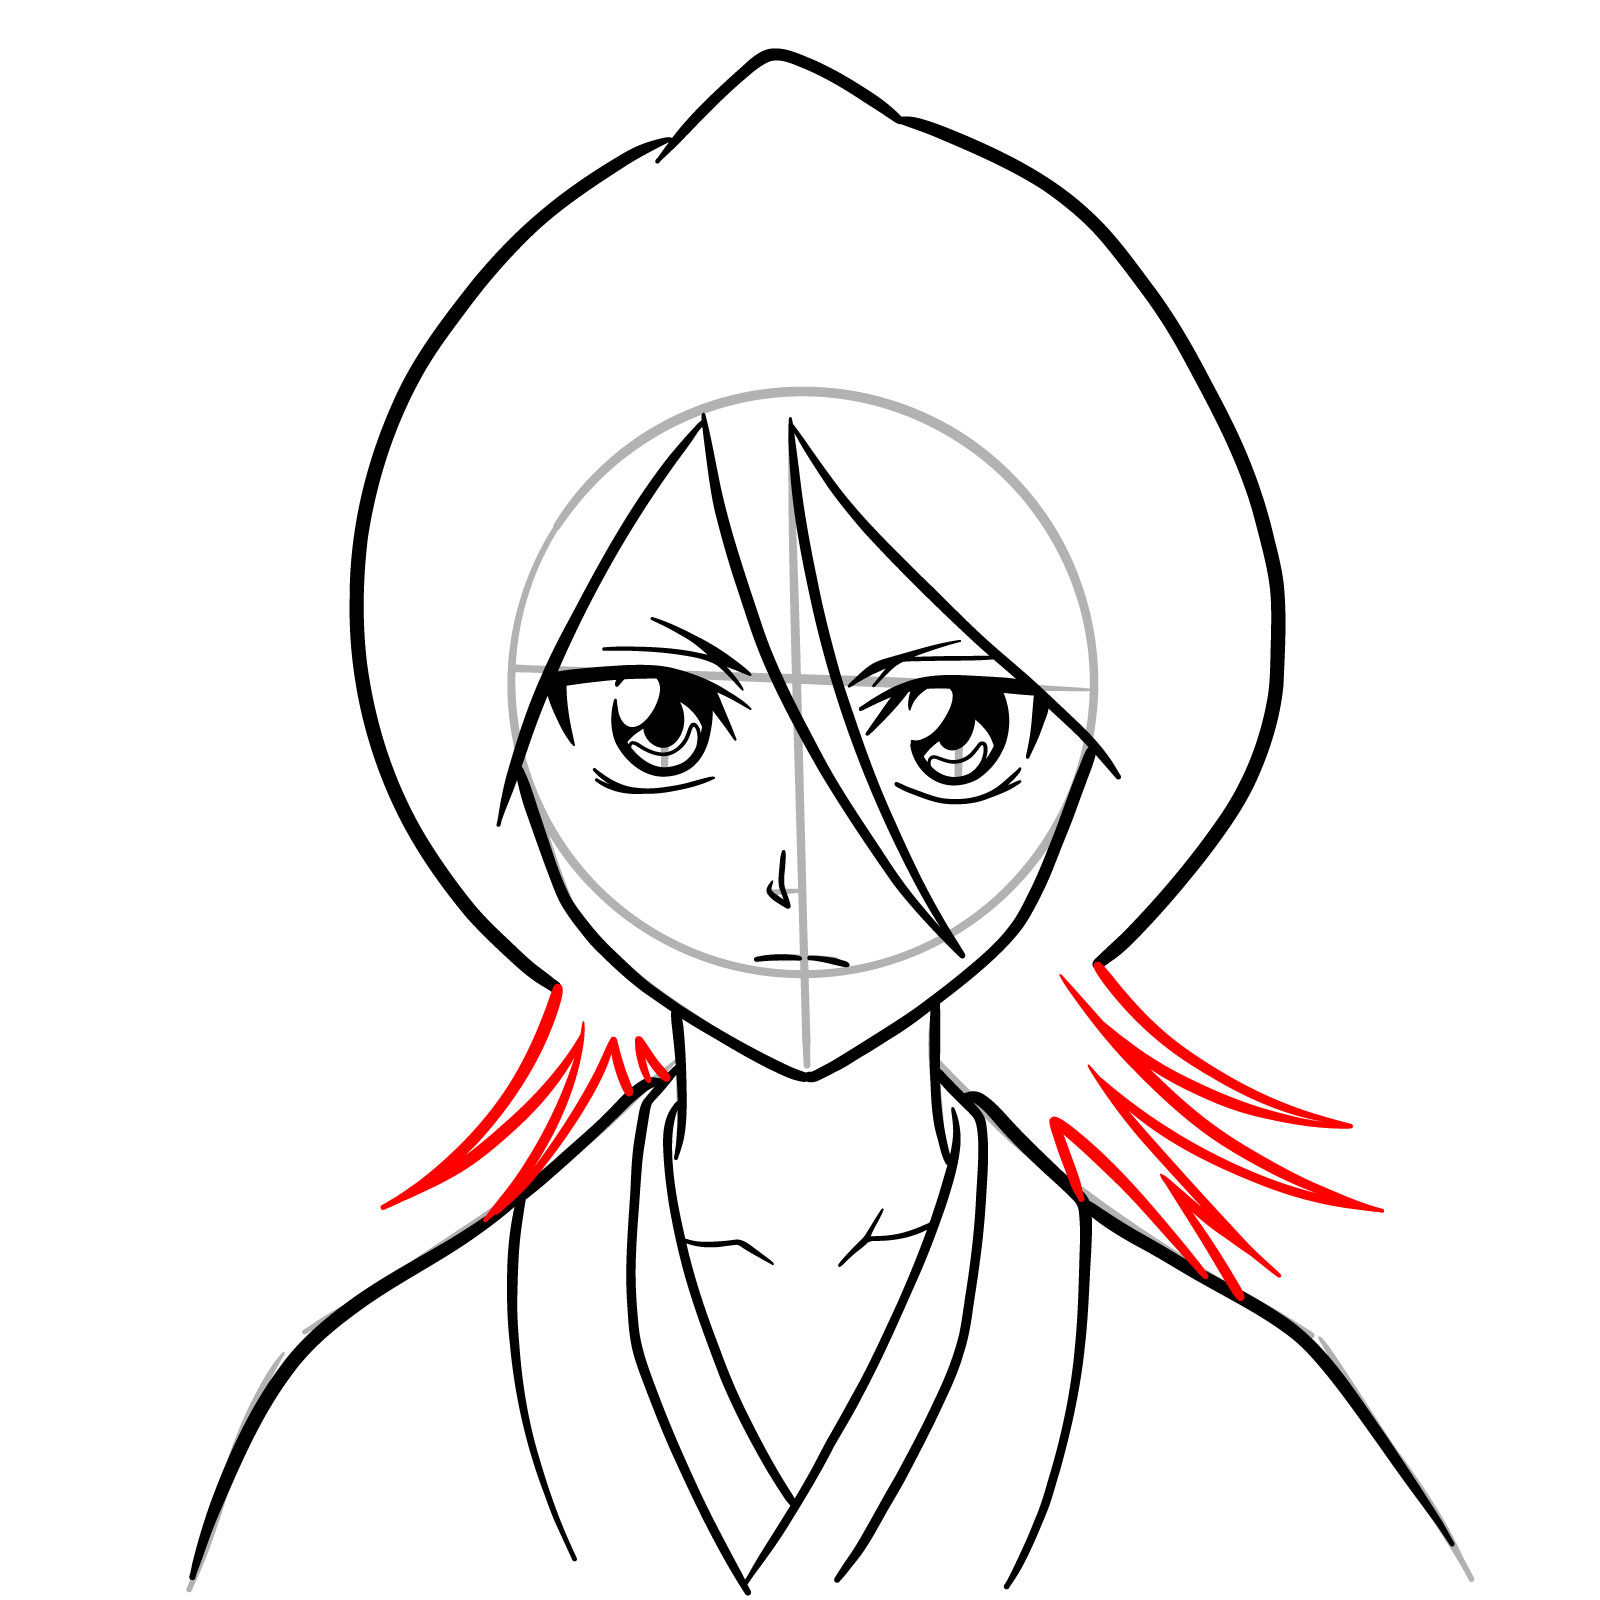
- Short, sharp layered hair with pointed bangs crossing her forehead
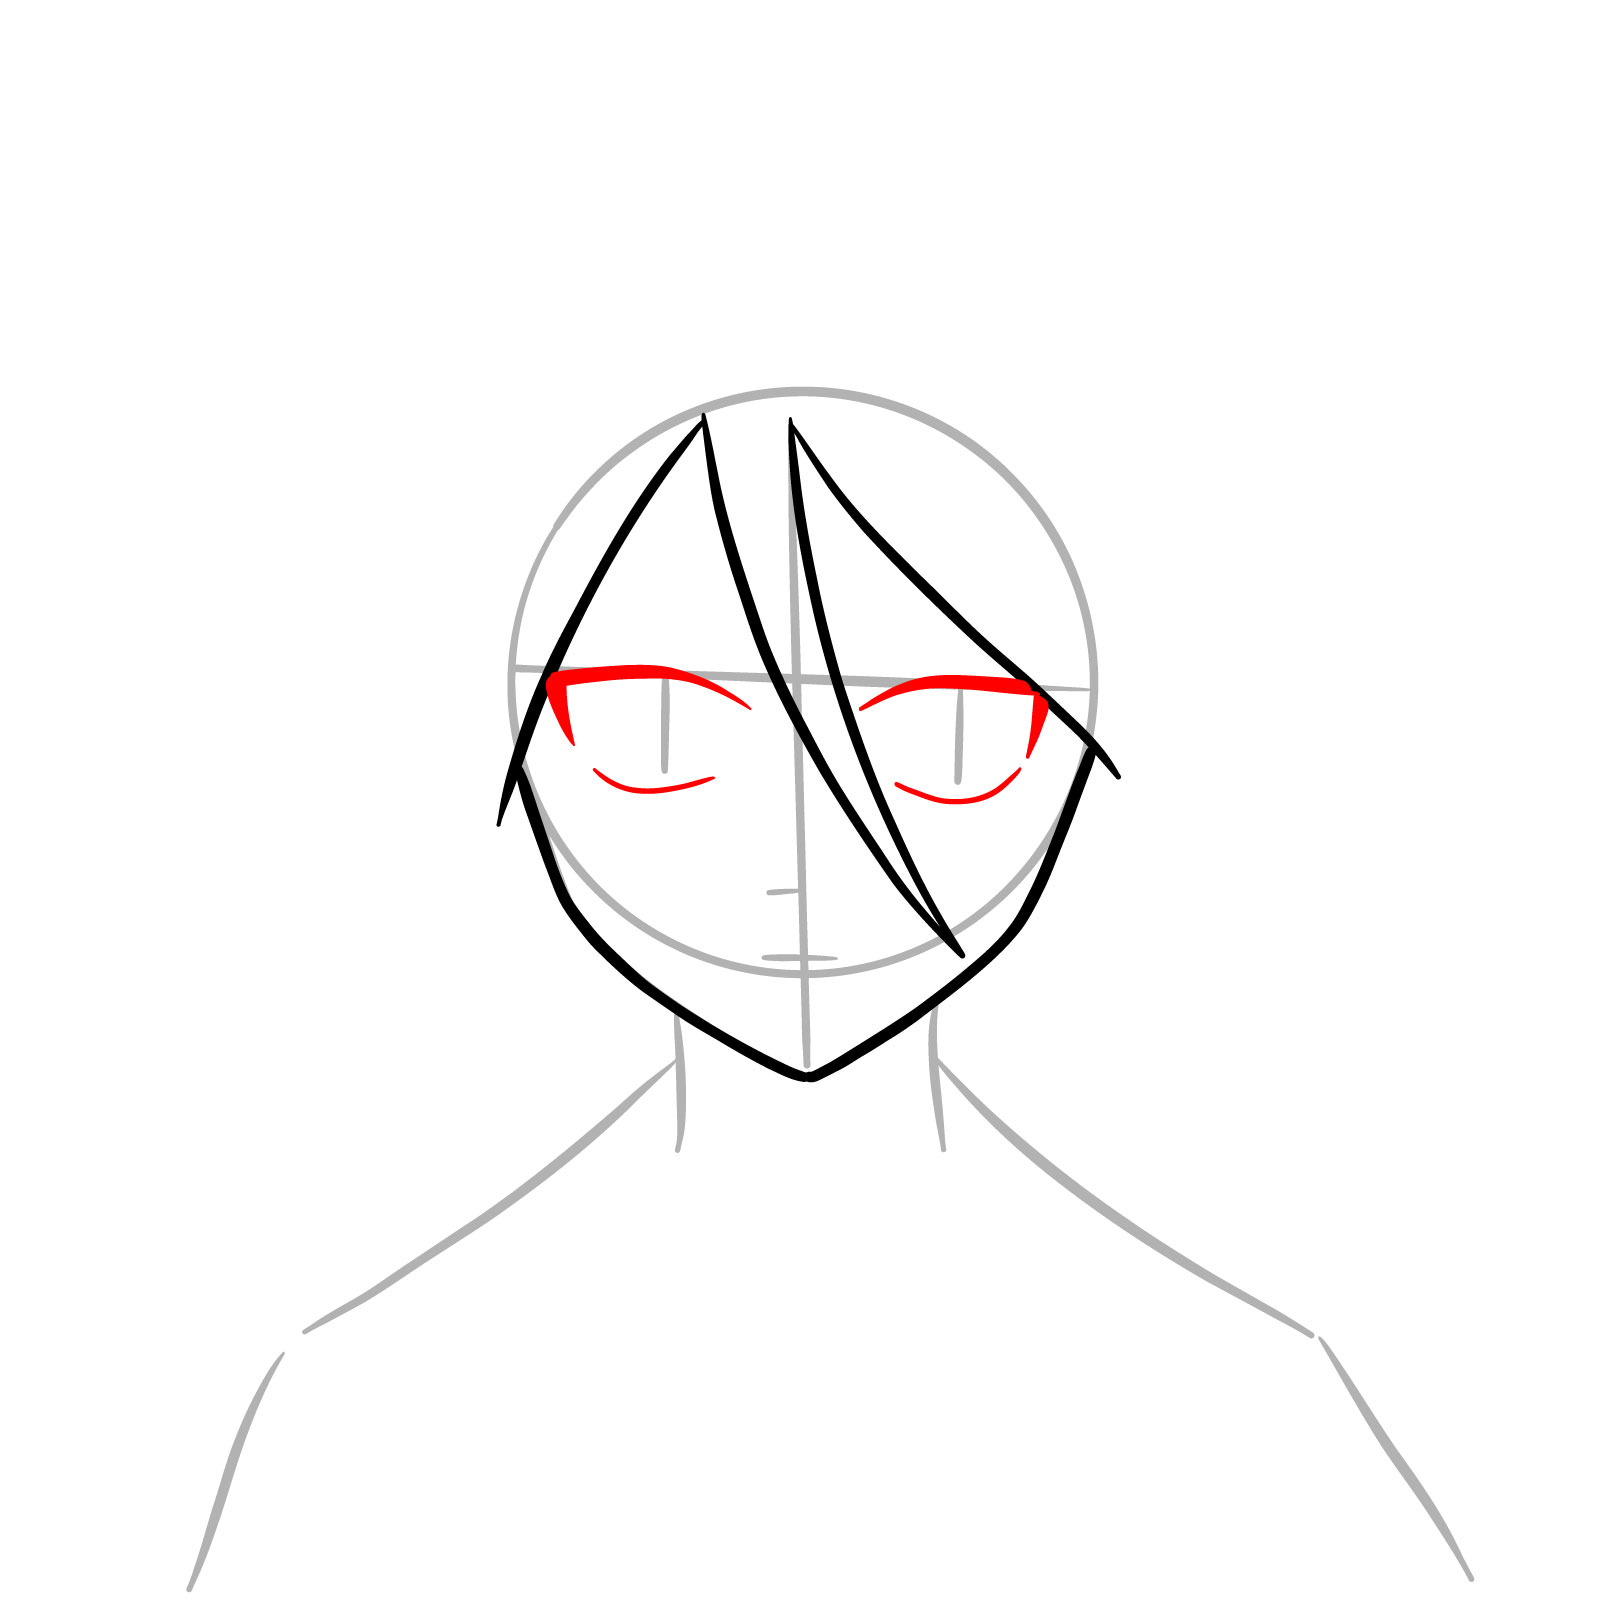
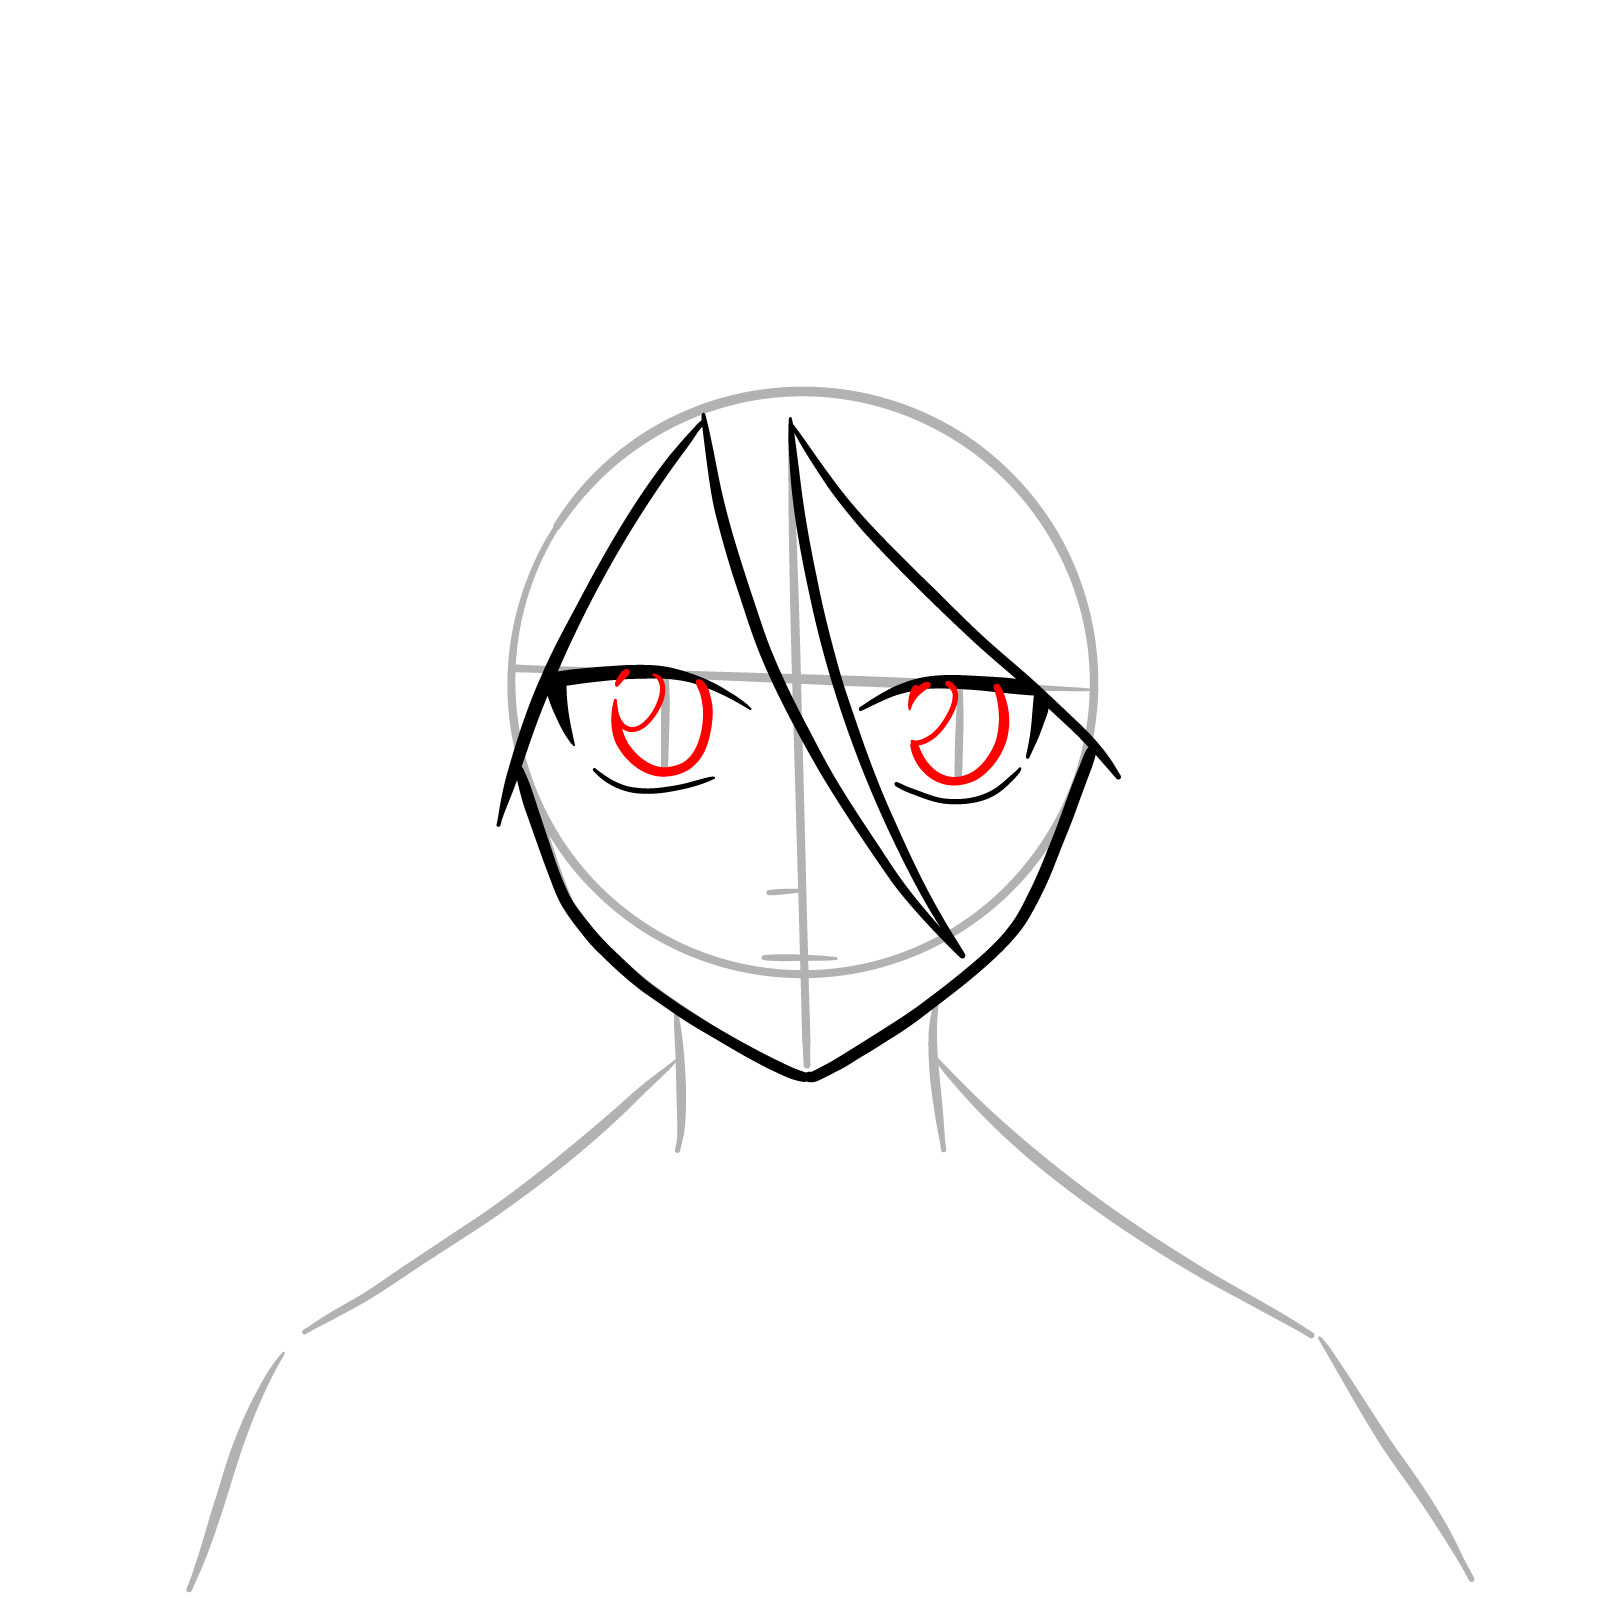
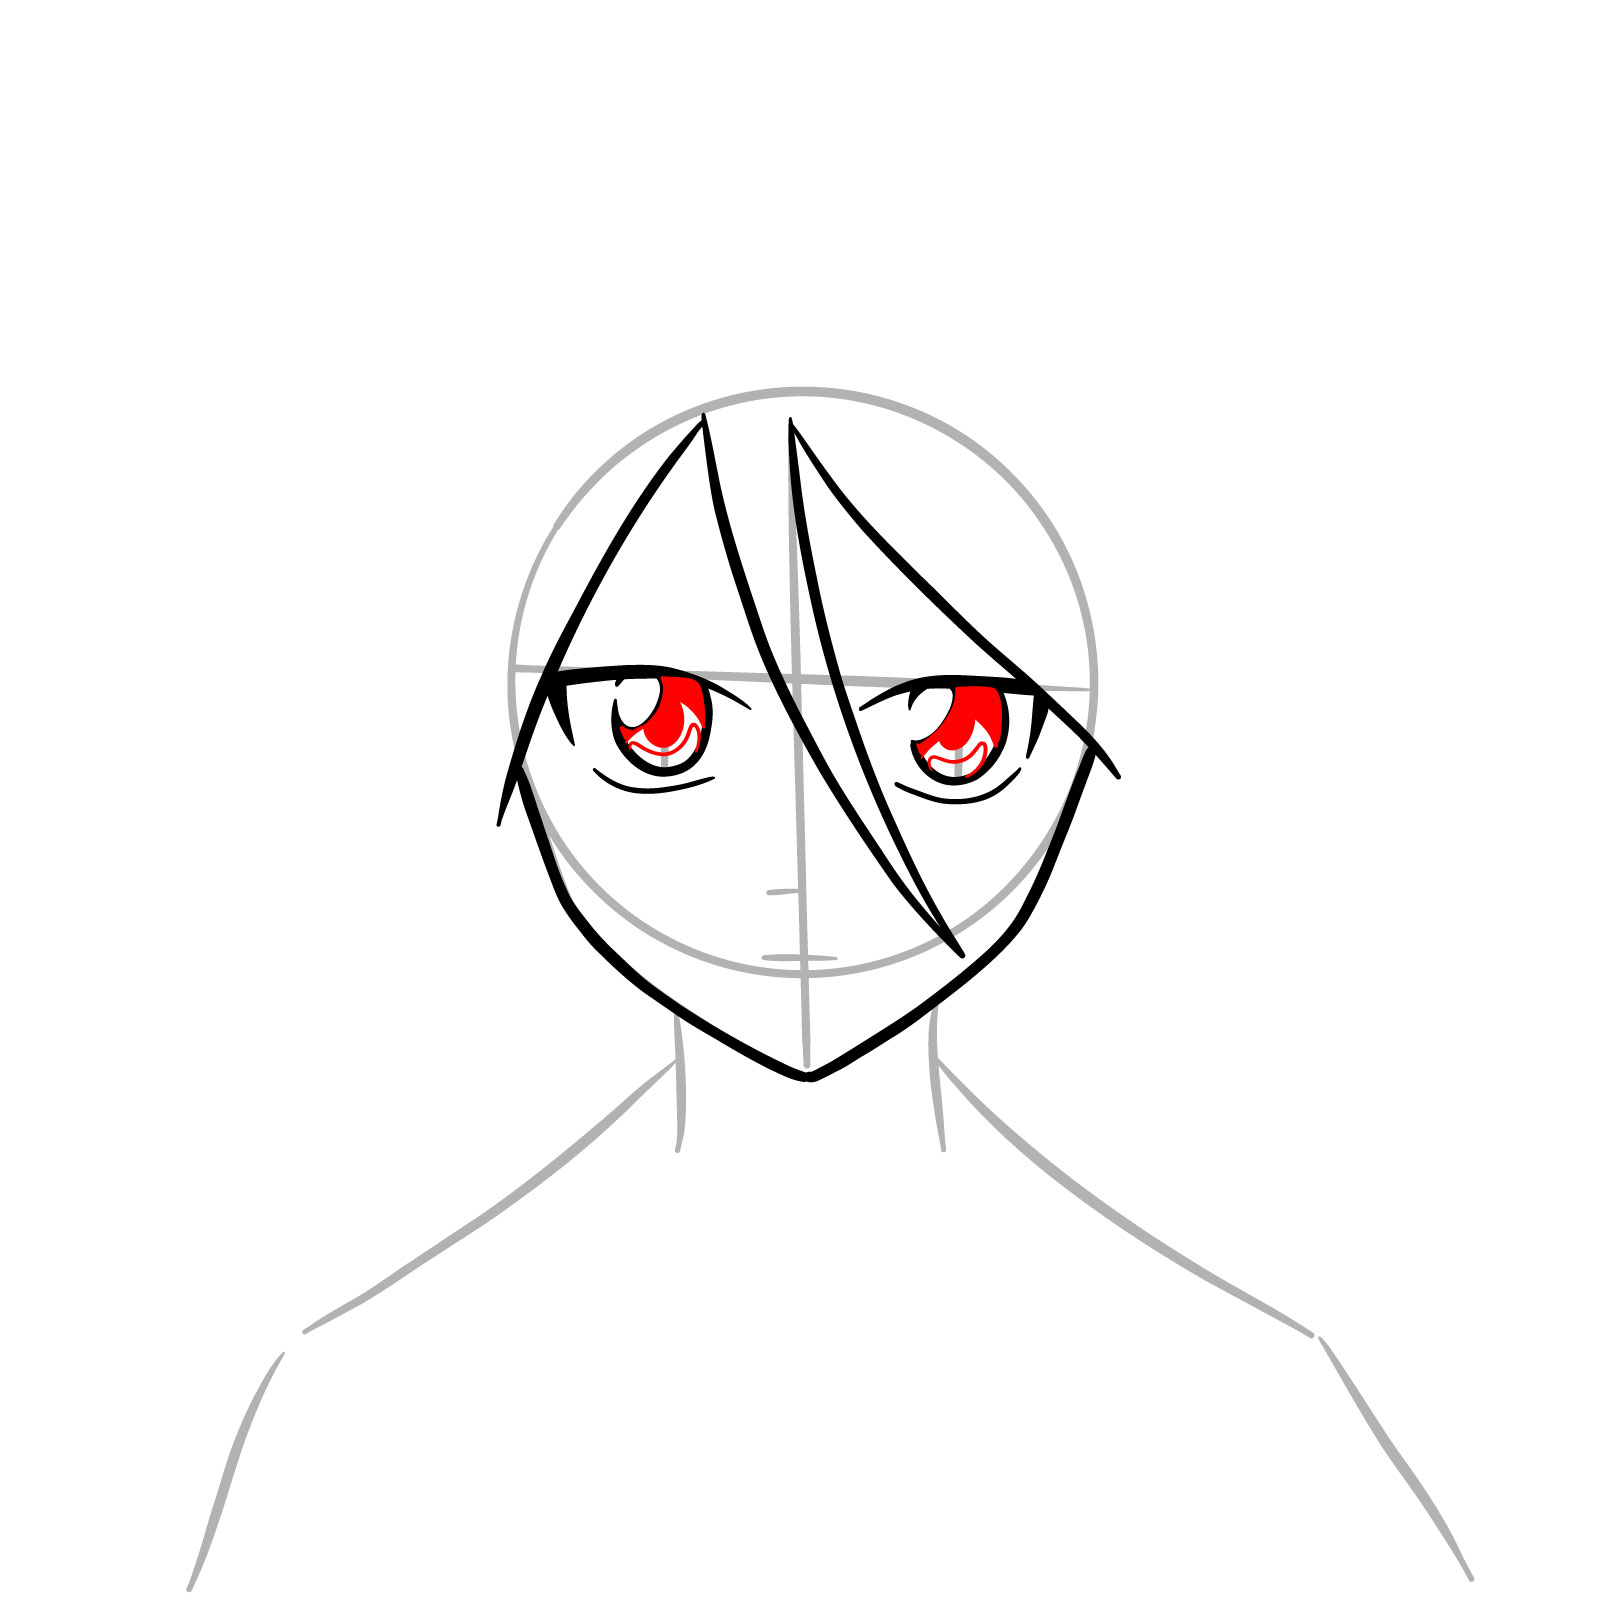
- Large anime-style eyes with simple iris and pupil details
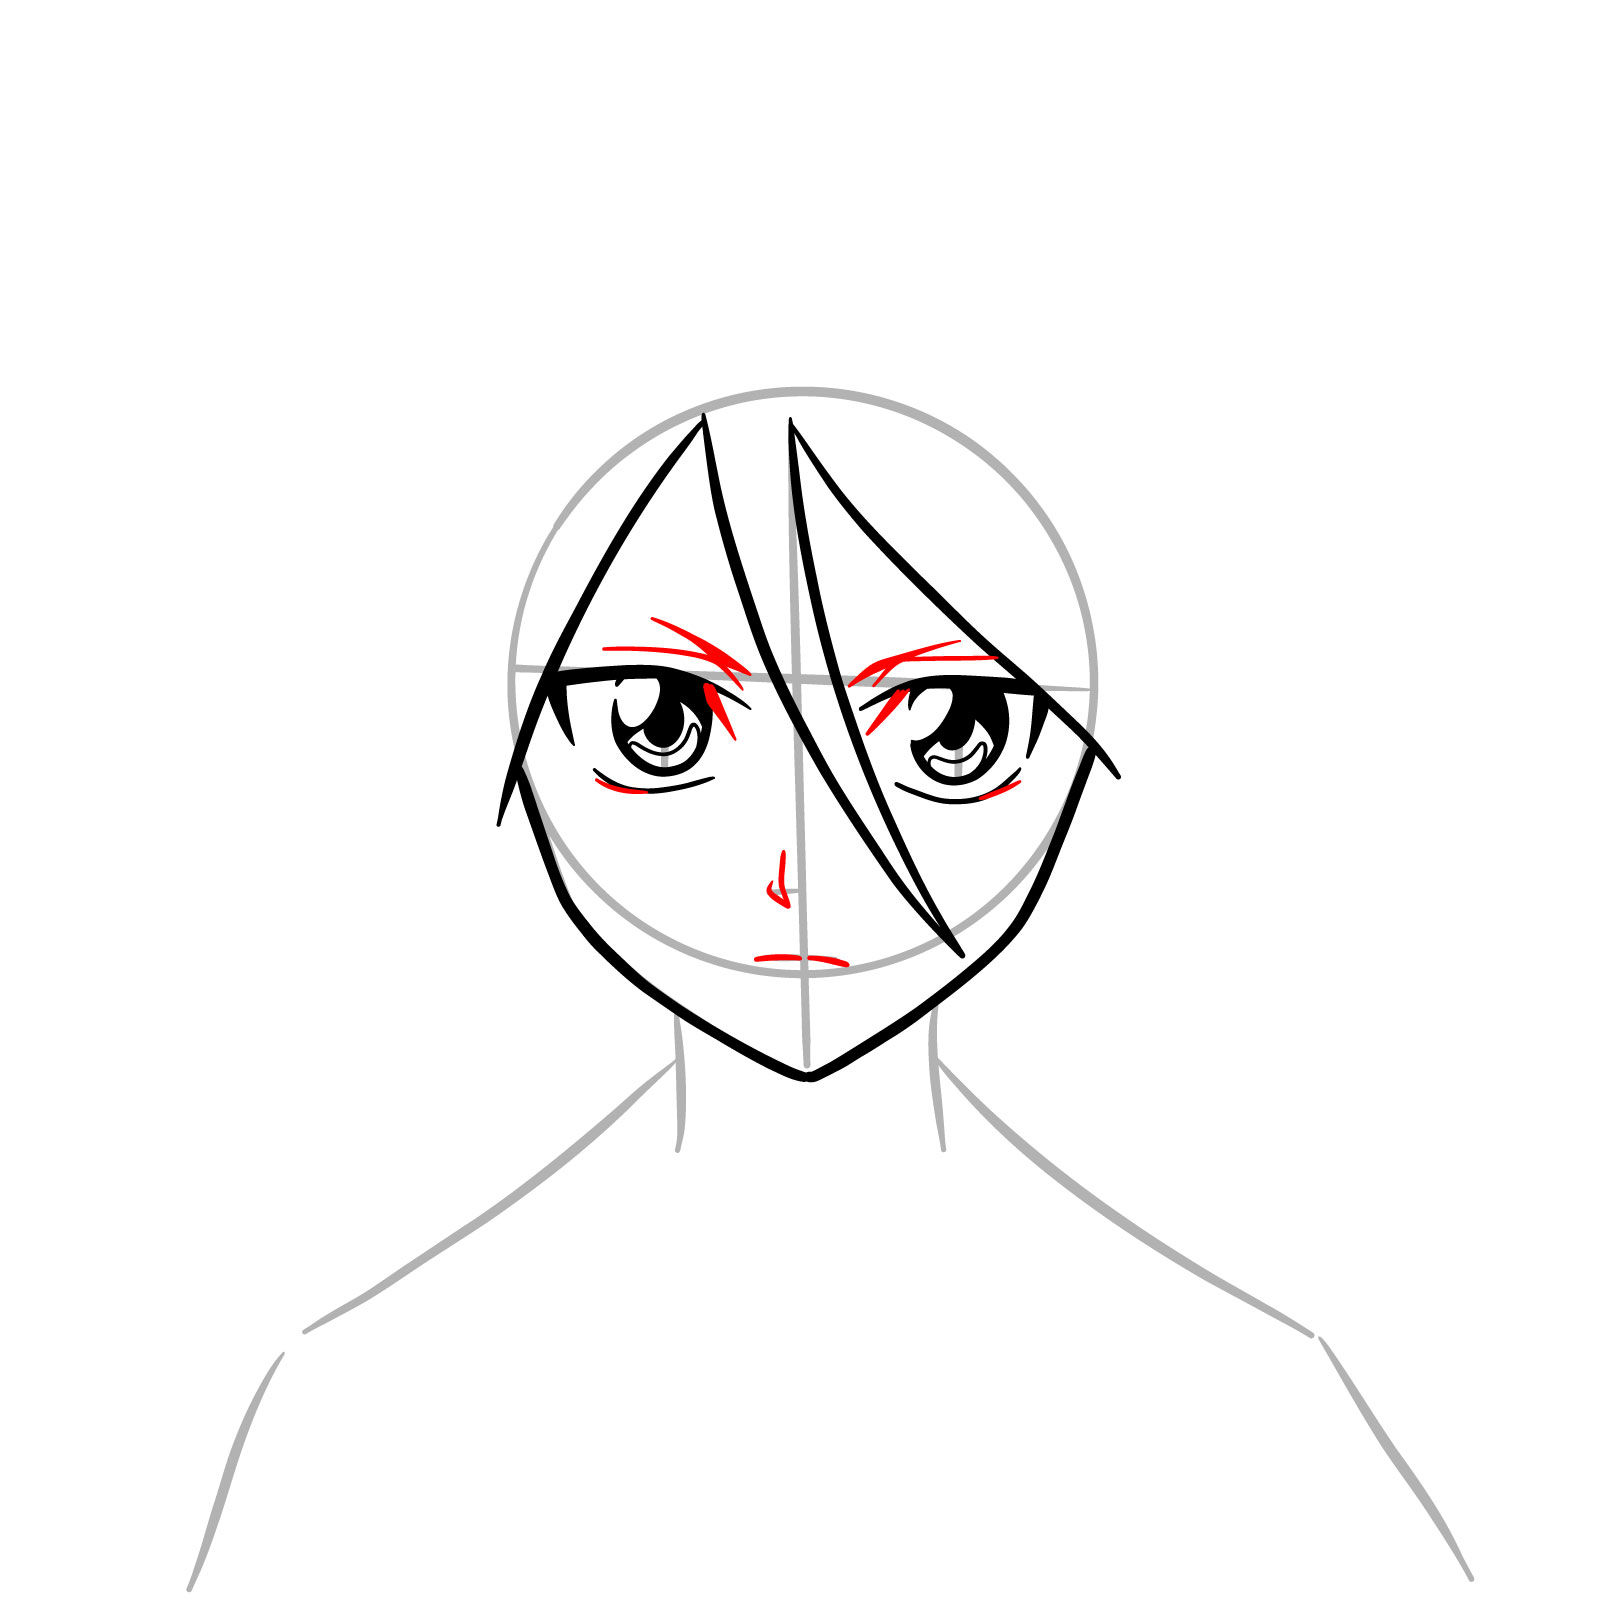
- Straight and neutral mouth with no strong emotion
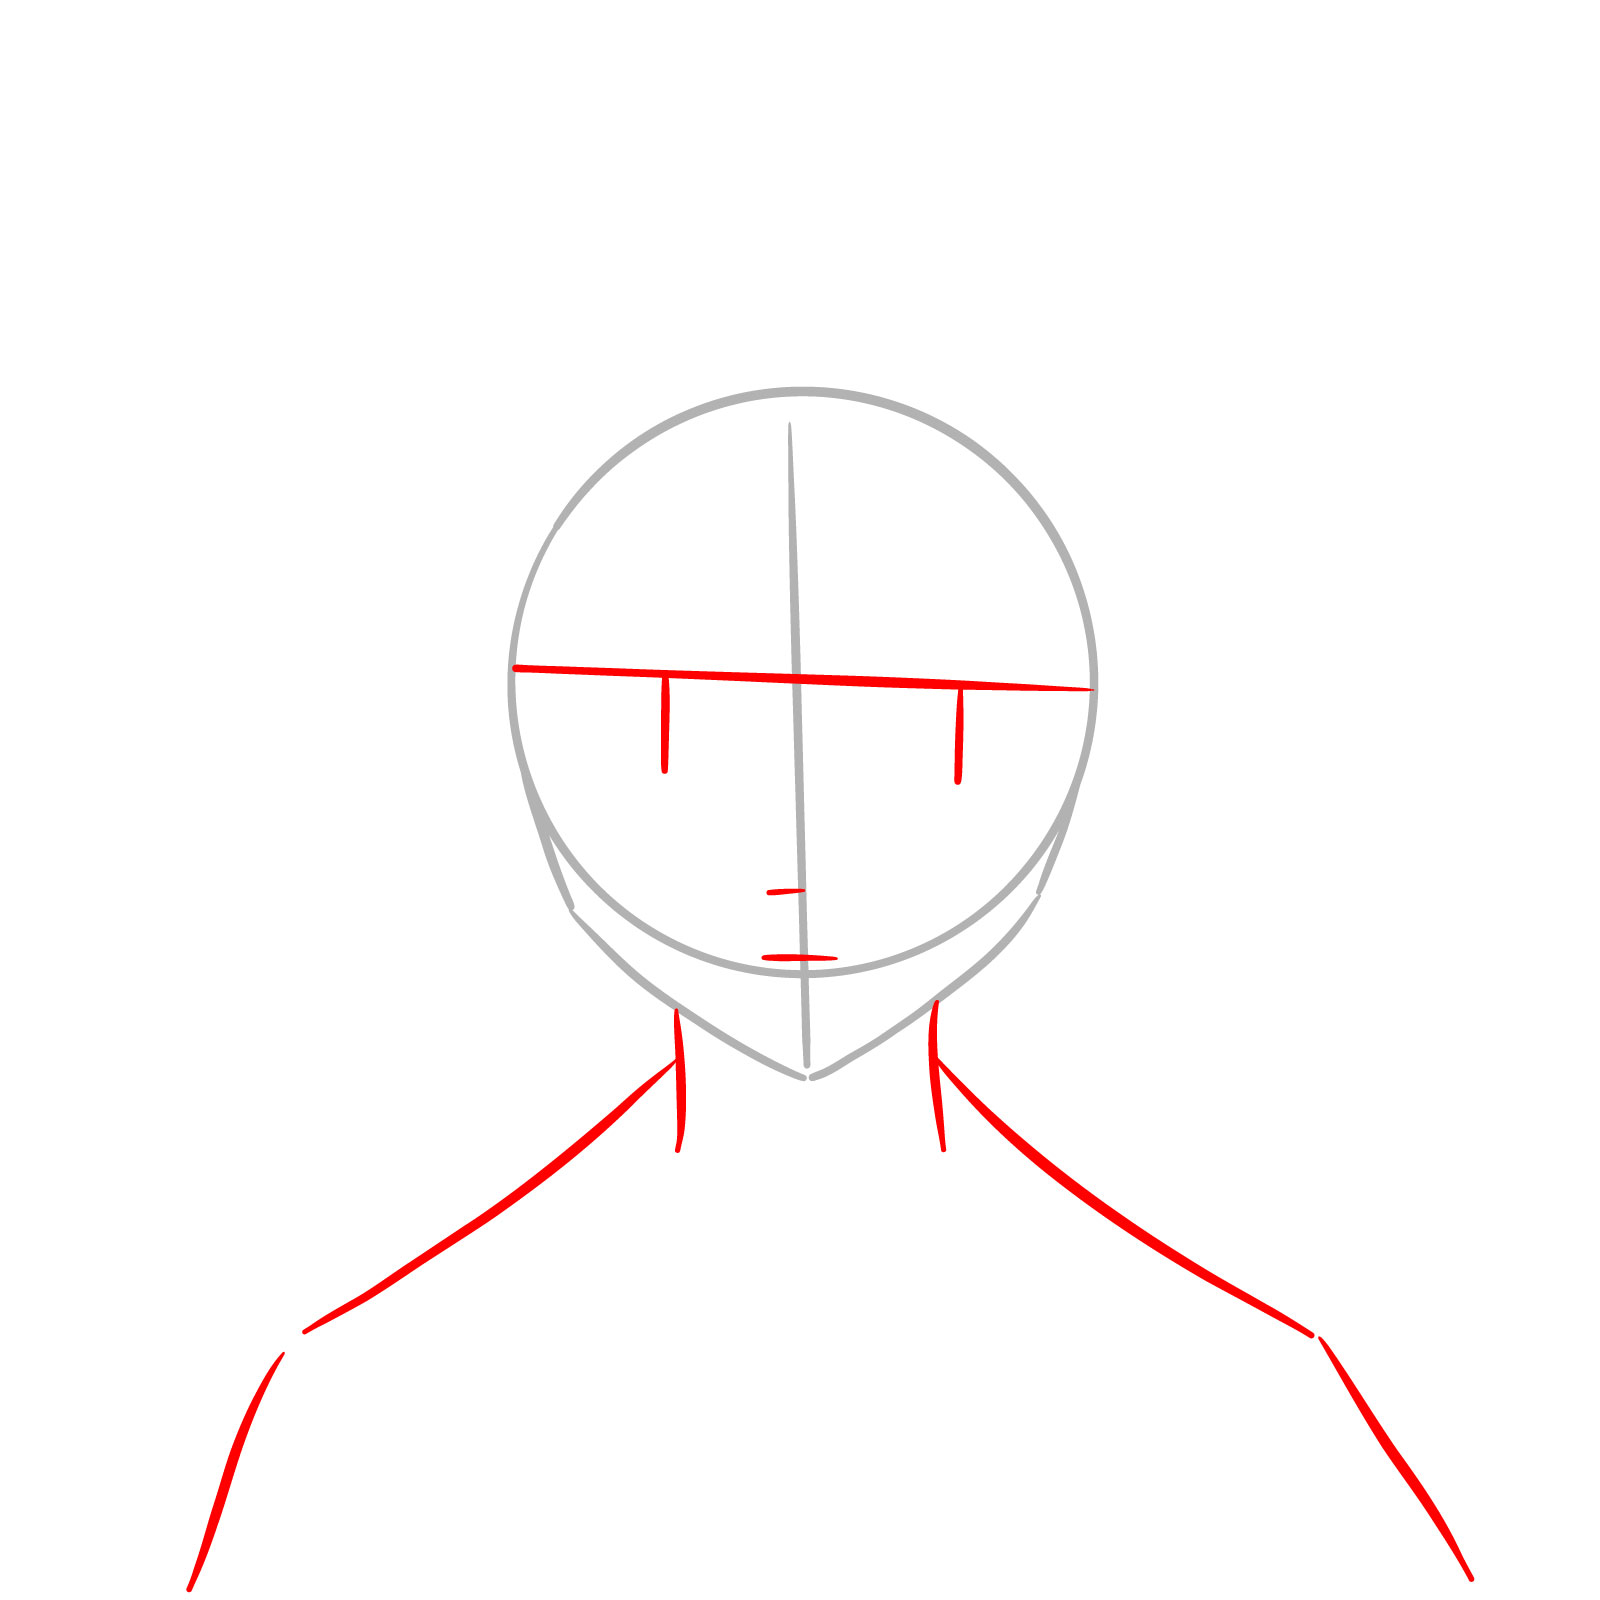
- Small nose placed close to the center line of her face
- Thin eyebrows matching the eye expression
- Classic face shape typical for anime girls
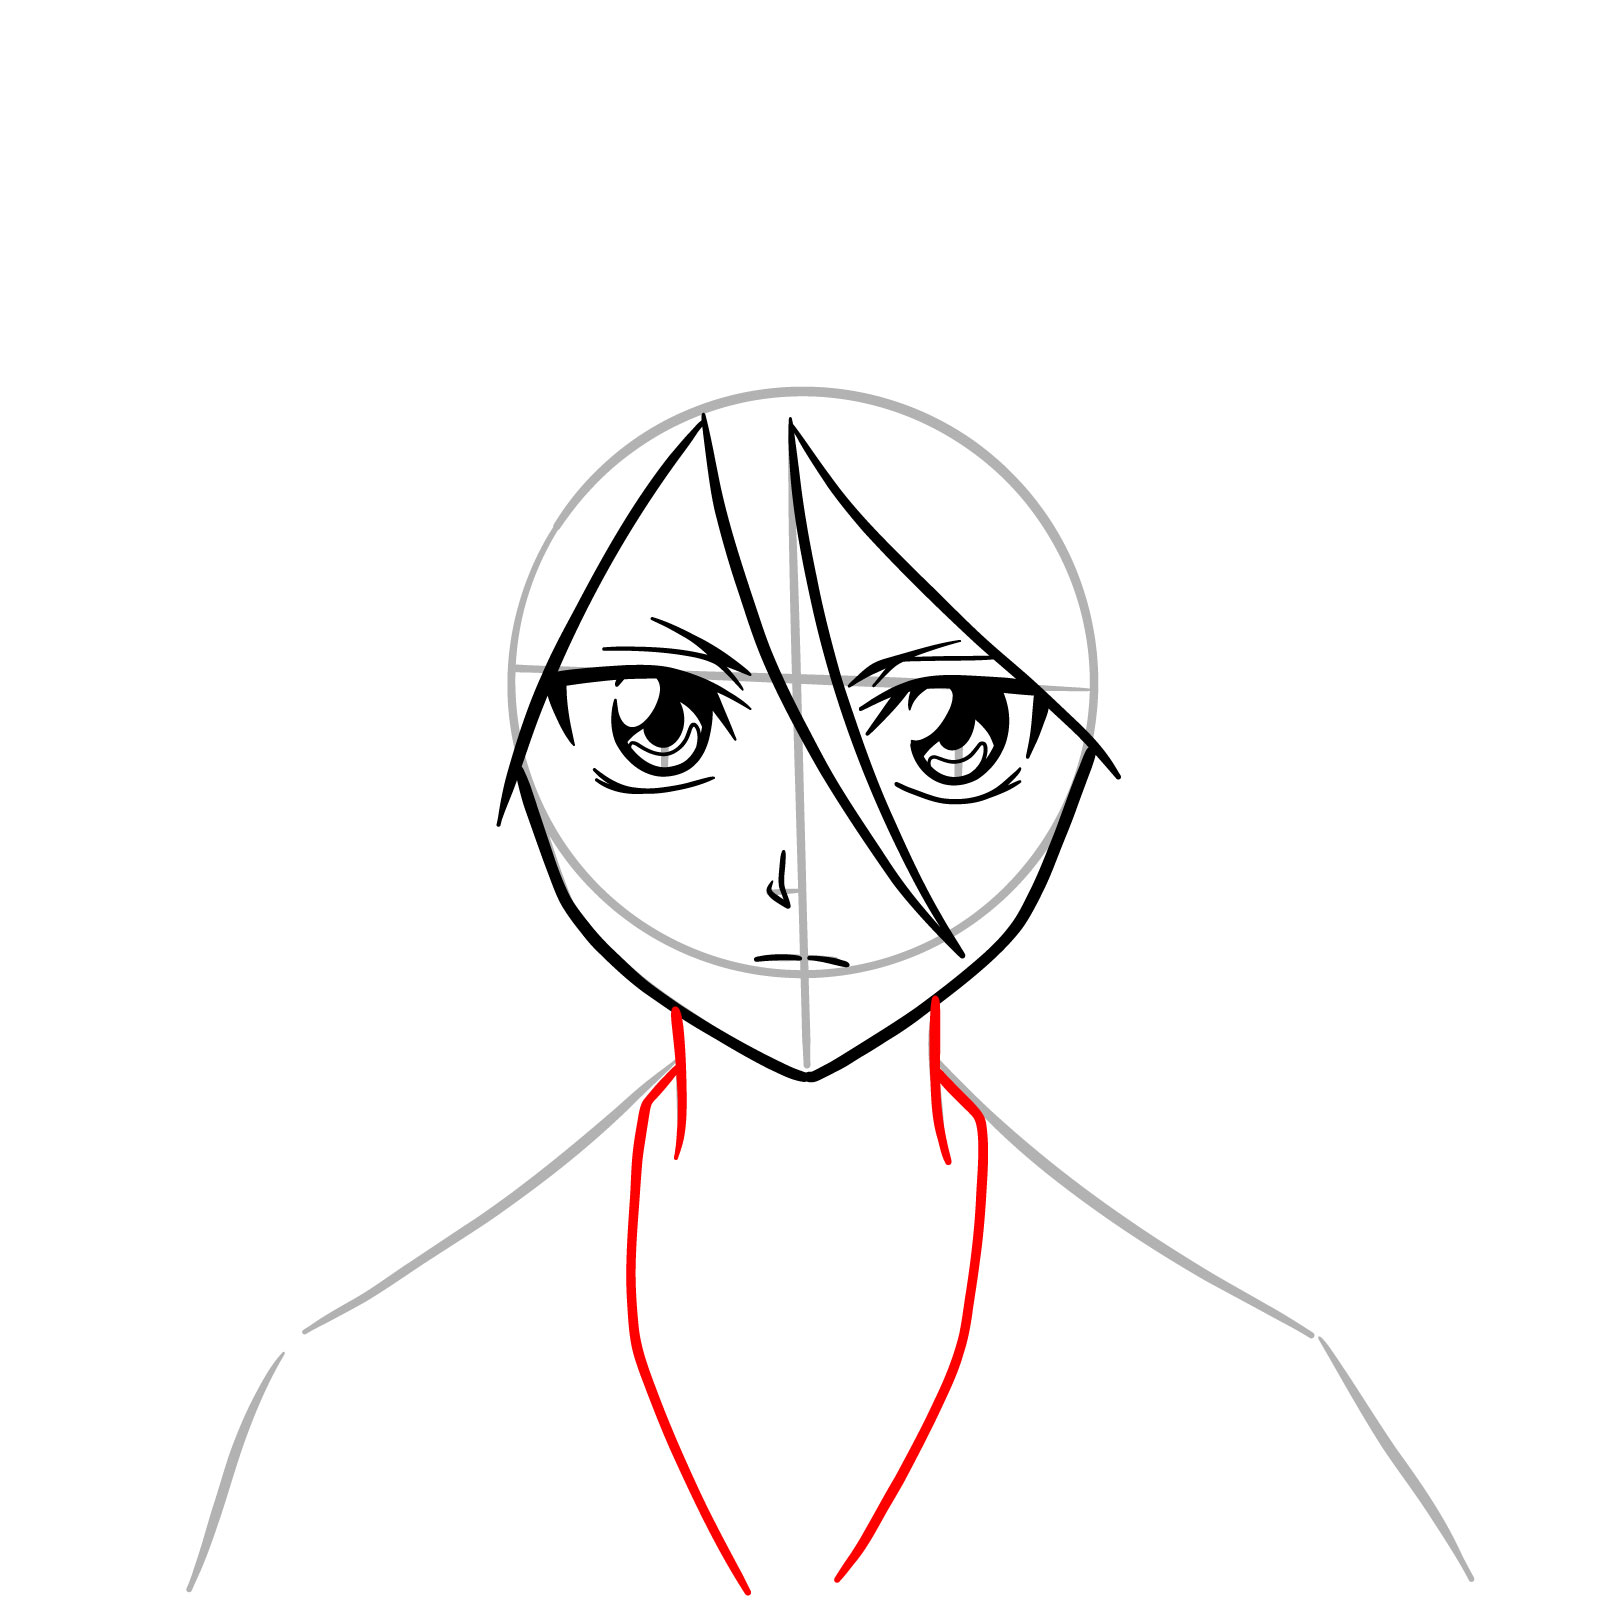
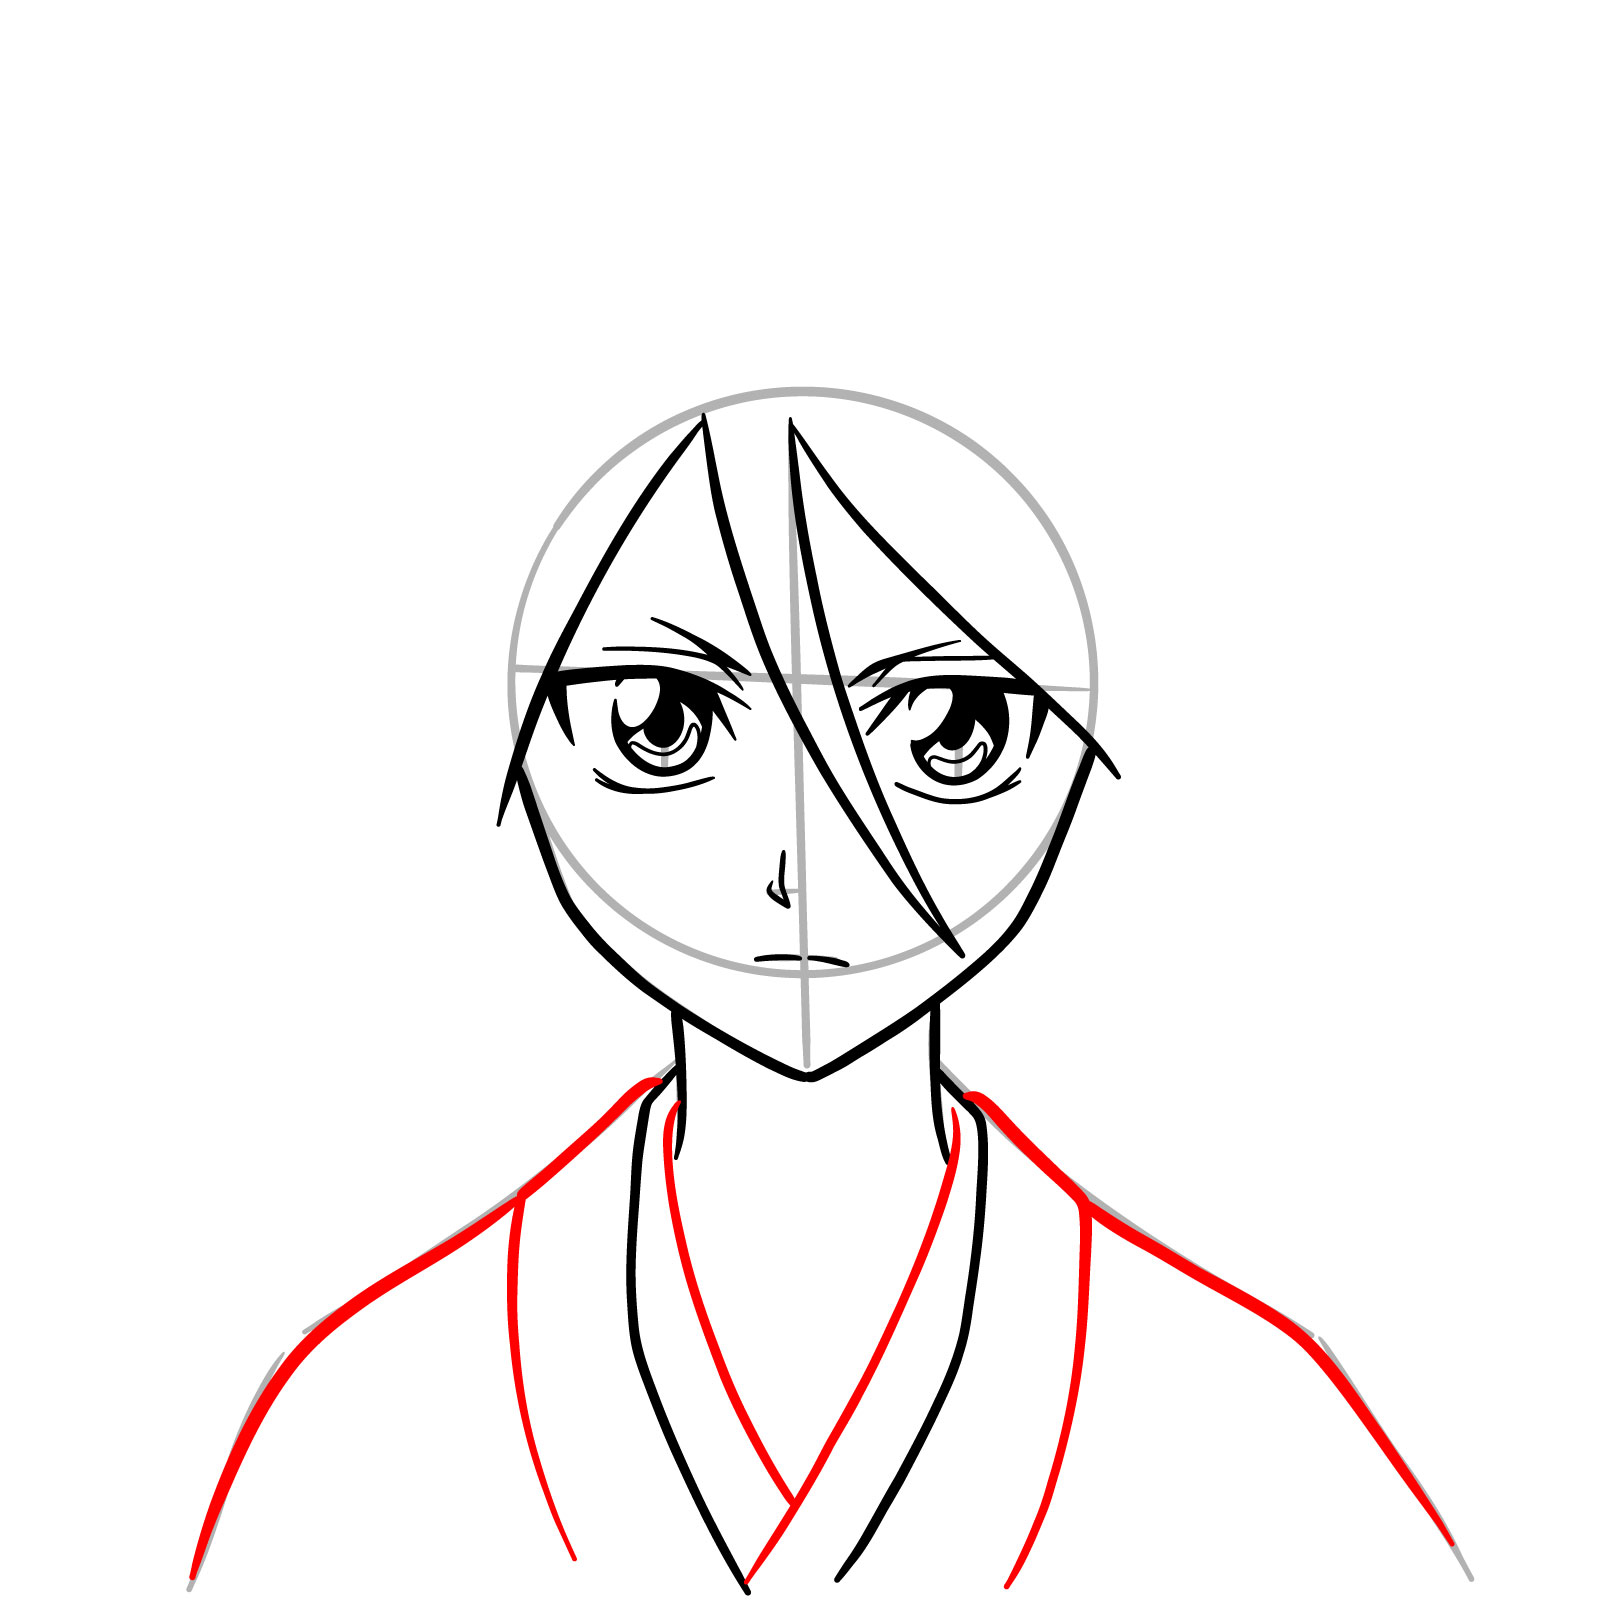
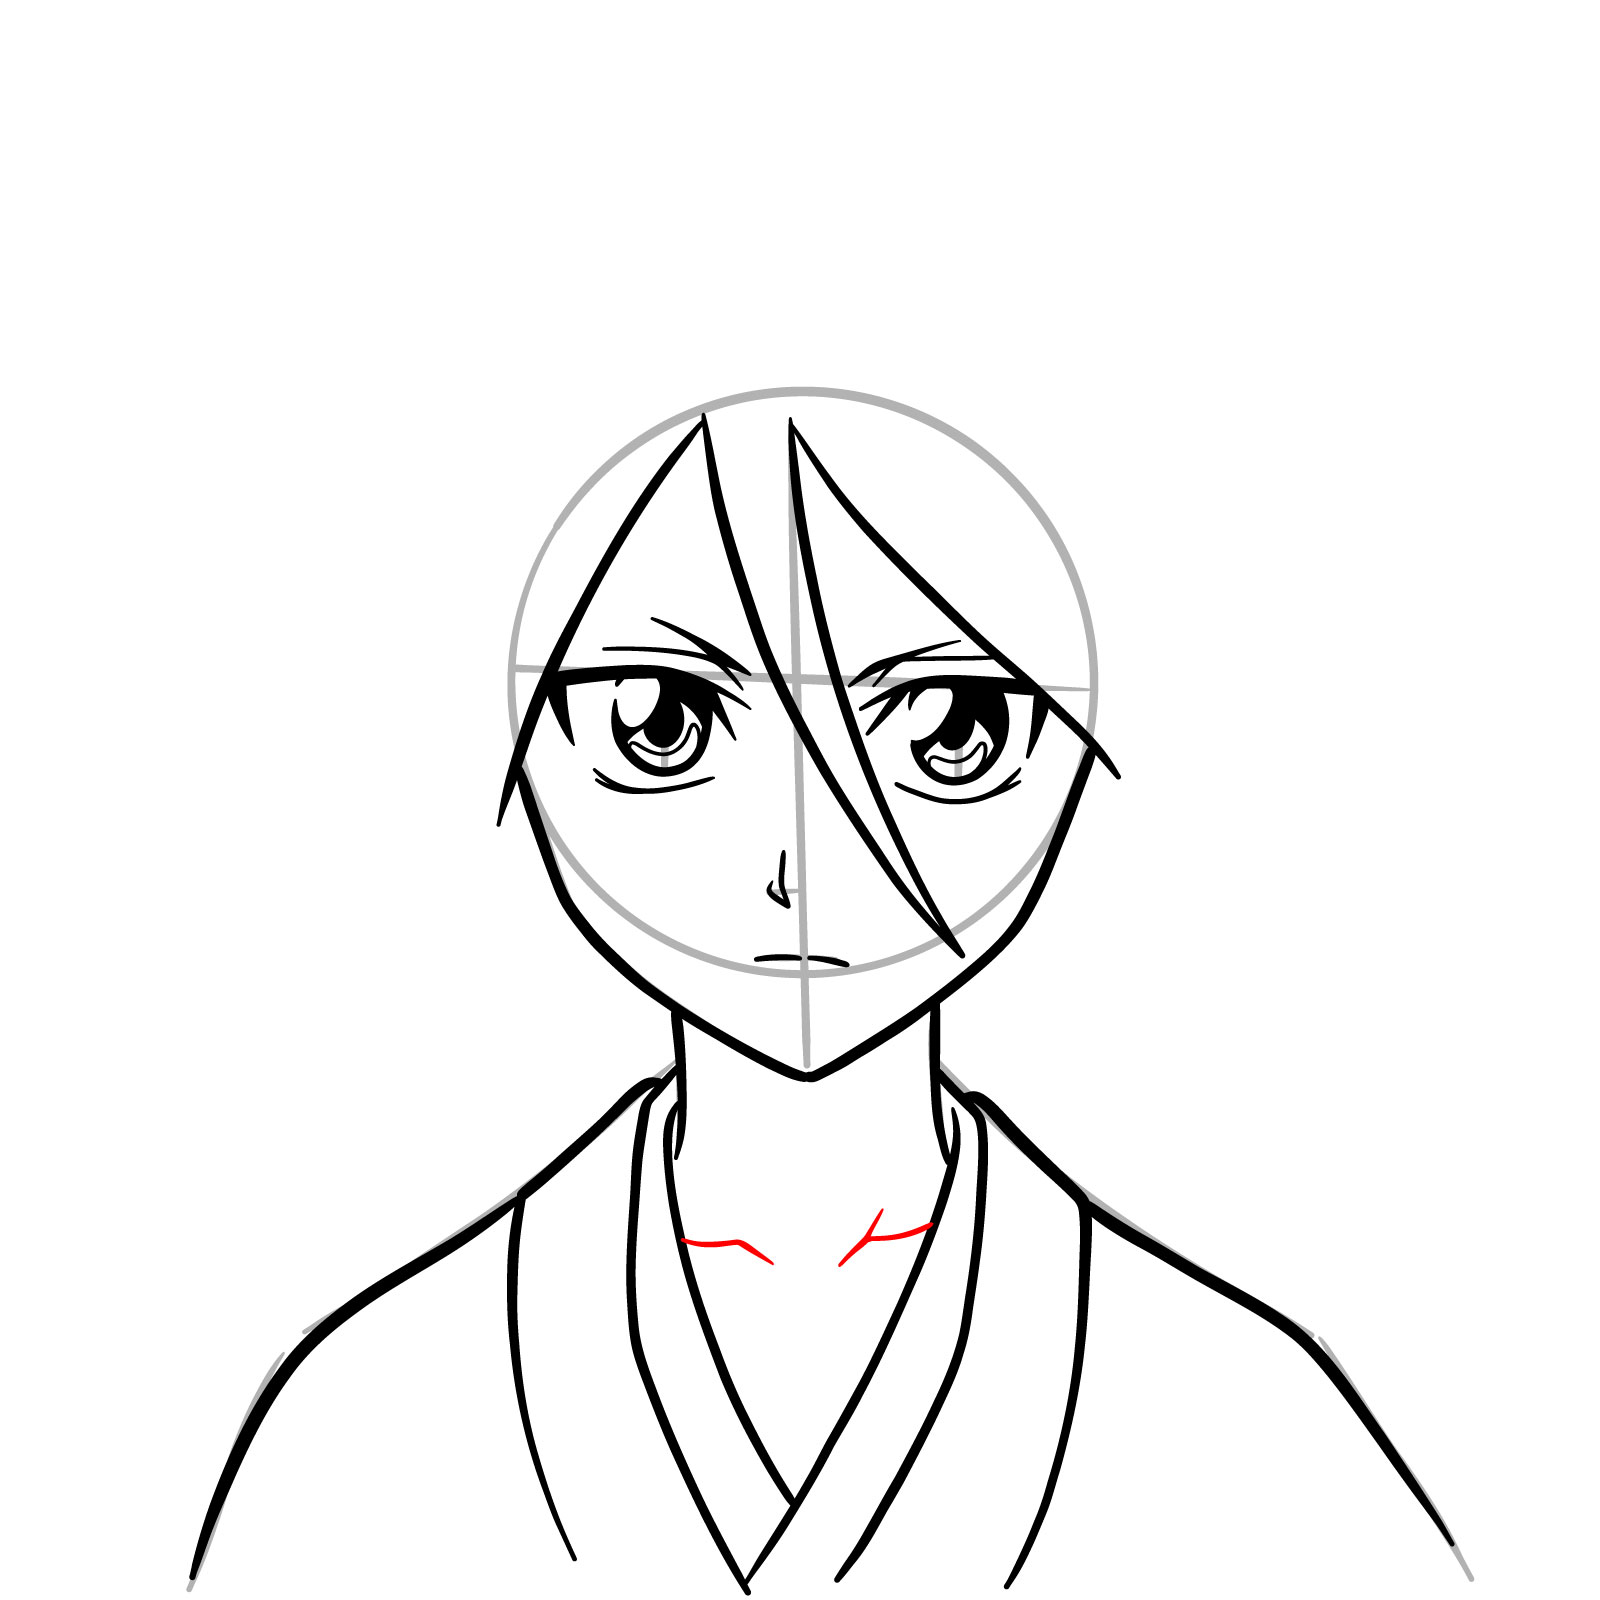
- Collar of her Shinigami uniform slightly visible
If you want more practice after this, you can try drawing other Bleach characters like Ichigo Kurosaki, Uryu Ishida, or even Rukia’s full body drawings with Bankai Hakka no Togame and TYBW outfit.
Color Code I Use For The Rukia Kuchiki Drawing Guide
Here’s the color system I’m using for the steps to make it clear:
- Red Color: shows the current step you are working on.
- Black Color: shows the lines you have already drawn in previous steps.
- Grey Color: shows the basic sketch outlines to place the elements correctly.

If you enjoy these guides and want to support the project, you can donate using this button.

Once you finish your Rukia drawing, you can share it in the comments under the pinned post on Pinterest. It’s always interesting to see different versions of the same sketch.
For more step-by-step tutorials and new guides, follow SketchOk on: