If you’ve ever wanted to learn how to draw an elephant from the side, this guide is here to make it simple and enjoyable. Elephants are iconic for their unique features, and capturing their size and intricate details can create a truly captivating drawing. Let’s break it down step by step by focusing on their most distinctive traits.
Features of an Elephant’s Side View
Large, fan-shaped ears that extend slightly backward.
A long, textured trunk that naturally curves at the tip.
Curved tusks that extend outward from the mouth area.
Thick, sturdy legs with rounded feet that support their massive weight.
Wrinkled skin, particularly noticeable on the trunk, head, body and legs, giving a realistic touch to your sketch.
Once you’ve completed your side-view elephant sketch, check the guides for the front view head and full body drawings of an elephant, and why not try drawing other fascinating wildlife like lions and wolves? It’s a great way to expand your collection of animal art.
About the Step-by-Step Guide
Red Color: Indicates the step you’re currently working on.
Black Color: Marks the lines you’ve completed in previous steps.
Grey Color: Represents the basic framework of your sketch.
These color-coded steps are designed to make your drawing process more organized and easier to follow.
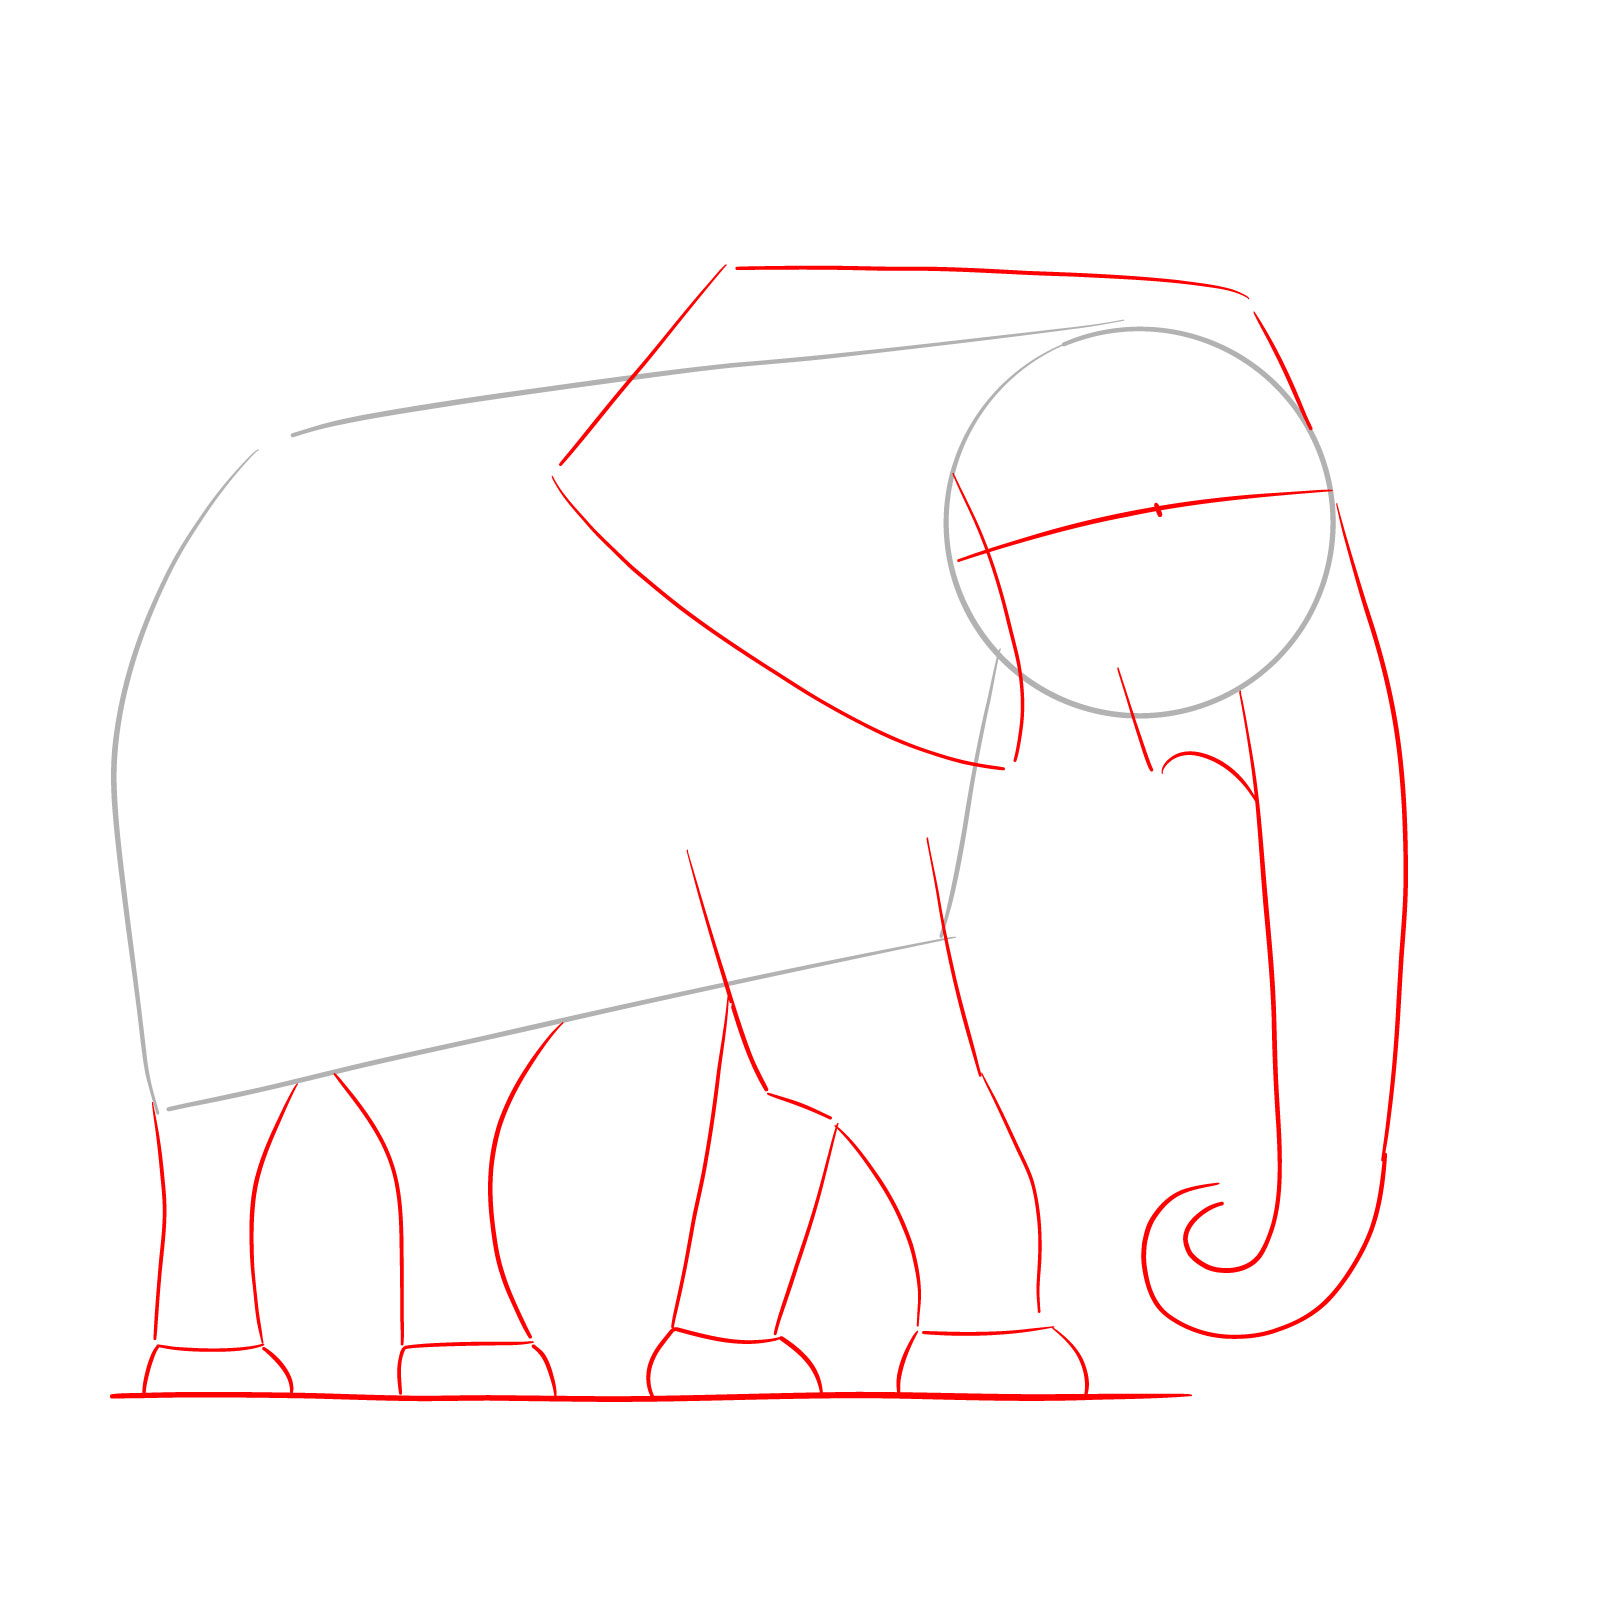
Step 1: This guide has 15 steps, and the first two will focus on creating a simple sketch to help with proportions and positioning. Use light pencil lines for easy erasing later. For this step, draw a circle as the base for the elephant’s head, and to the left of this circle, sketch the shape and size of the elephant’s body with simple lines.
Step 2: Continue the basic sketch by adding a slightly curved horizontal line in the center of the head circle. Mark a small spot slightly right of the middle of this line for the eye. Use simple lines to outline the top of the head and the ear. Additionally, use light, imperfect lines to indicate the position of the trunk and all four legs.
Step 3: Draw the top part of the elephant’s head and forehead. For the front third of the trunk, use a series of lines to represent its texture and folds, rather than one continuous line, as shown in the image.
Step 4: Outline the area where the tusk grows from, and also draw the outline of the tusk itself.
Step 5: We’ve reached one of the most recognizable features of this amazing animal. In this step, draw the outline of the elephant’s ear.
Step 6: In the upper left part of the circle used for the head, draw lines to indicate where the ear begins. Also, draw the lower part of the head between the tusk base and the ear. Complete the front part of the trunk with a series of lines extending to the tip.
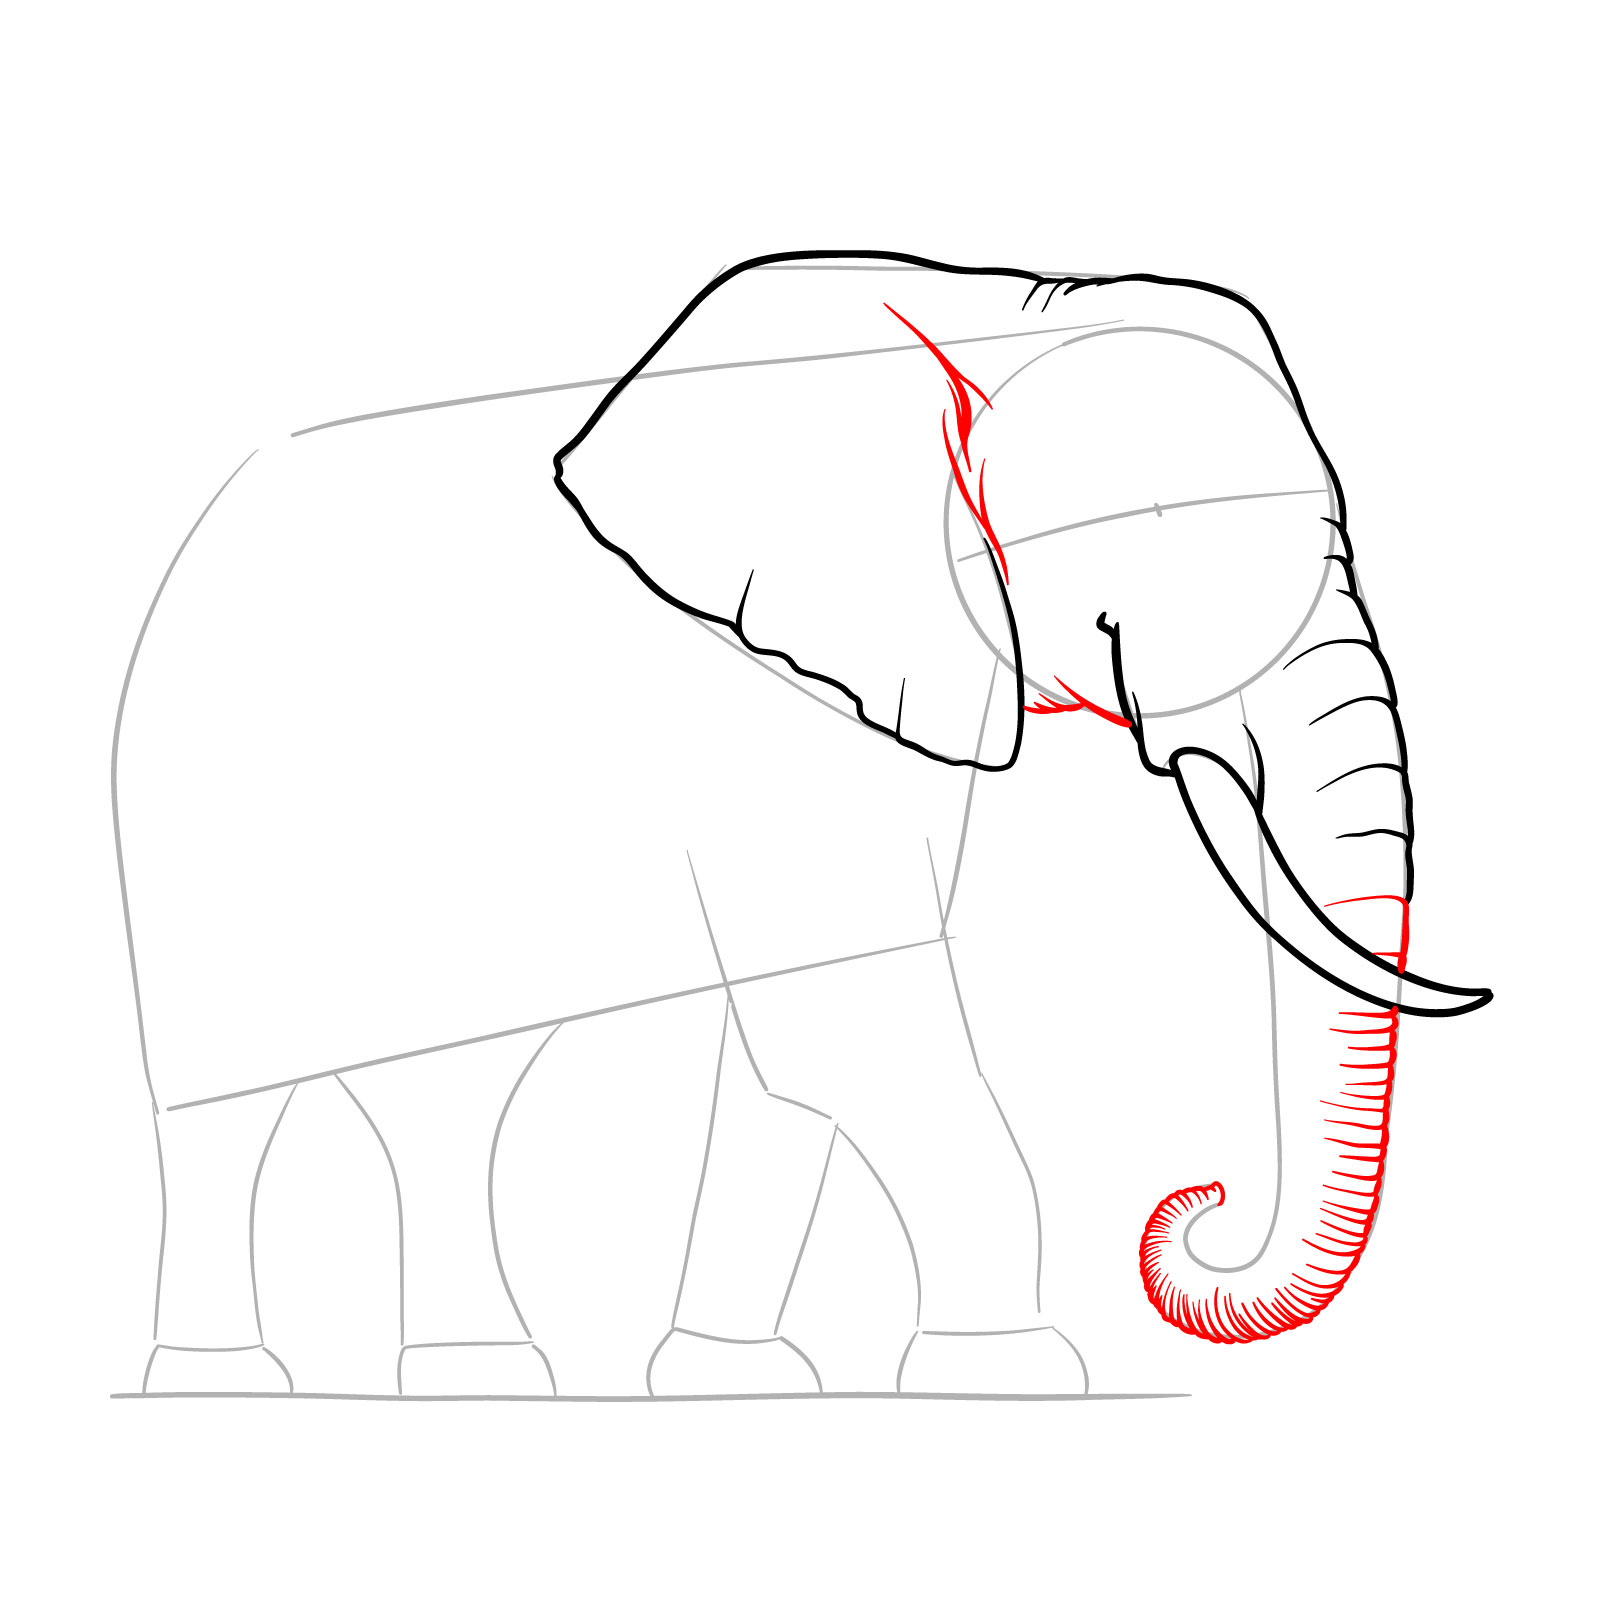
Step 7: In this step of the guide on how to draw an elephant full height side view, complete the trunk outline using a series of lines to depict the folds and texture of this body part.
Step 8: In the area where we marked the eye, draw the eye shape along with a few curved lines to show the texture and form in that area.
Step 9: From this step, we start drawing the elephant’s body. Begin by drawing the front leg closest to us. Since elephant legs are massive and have many folds, try to capture their look and add a bit of realism by following the example in the image.
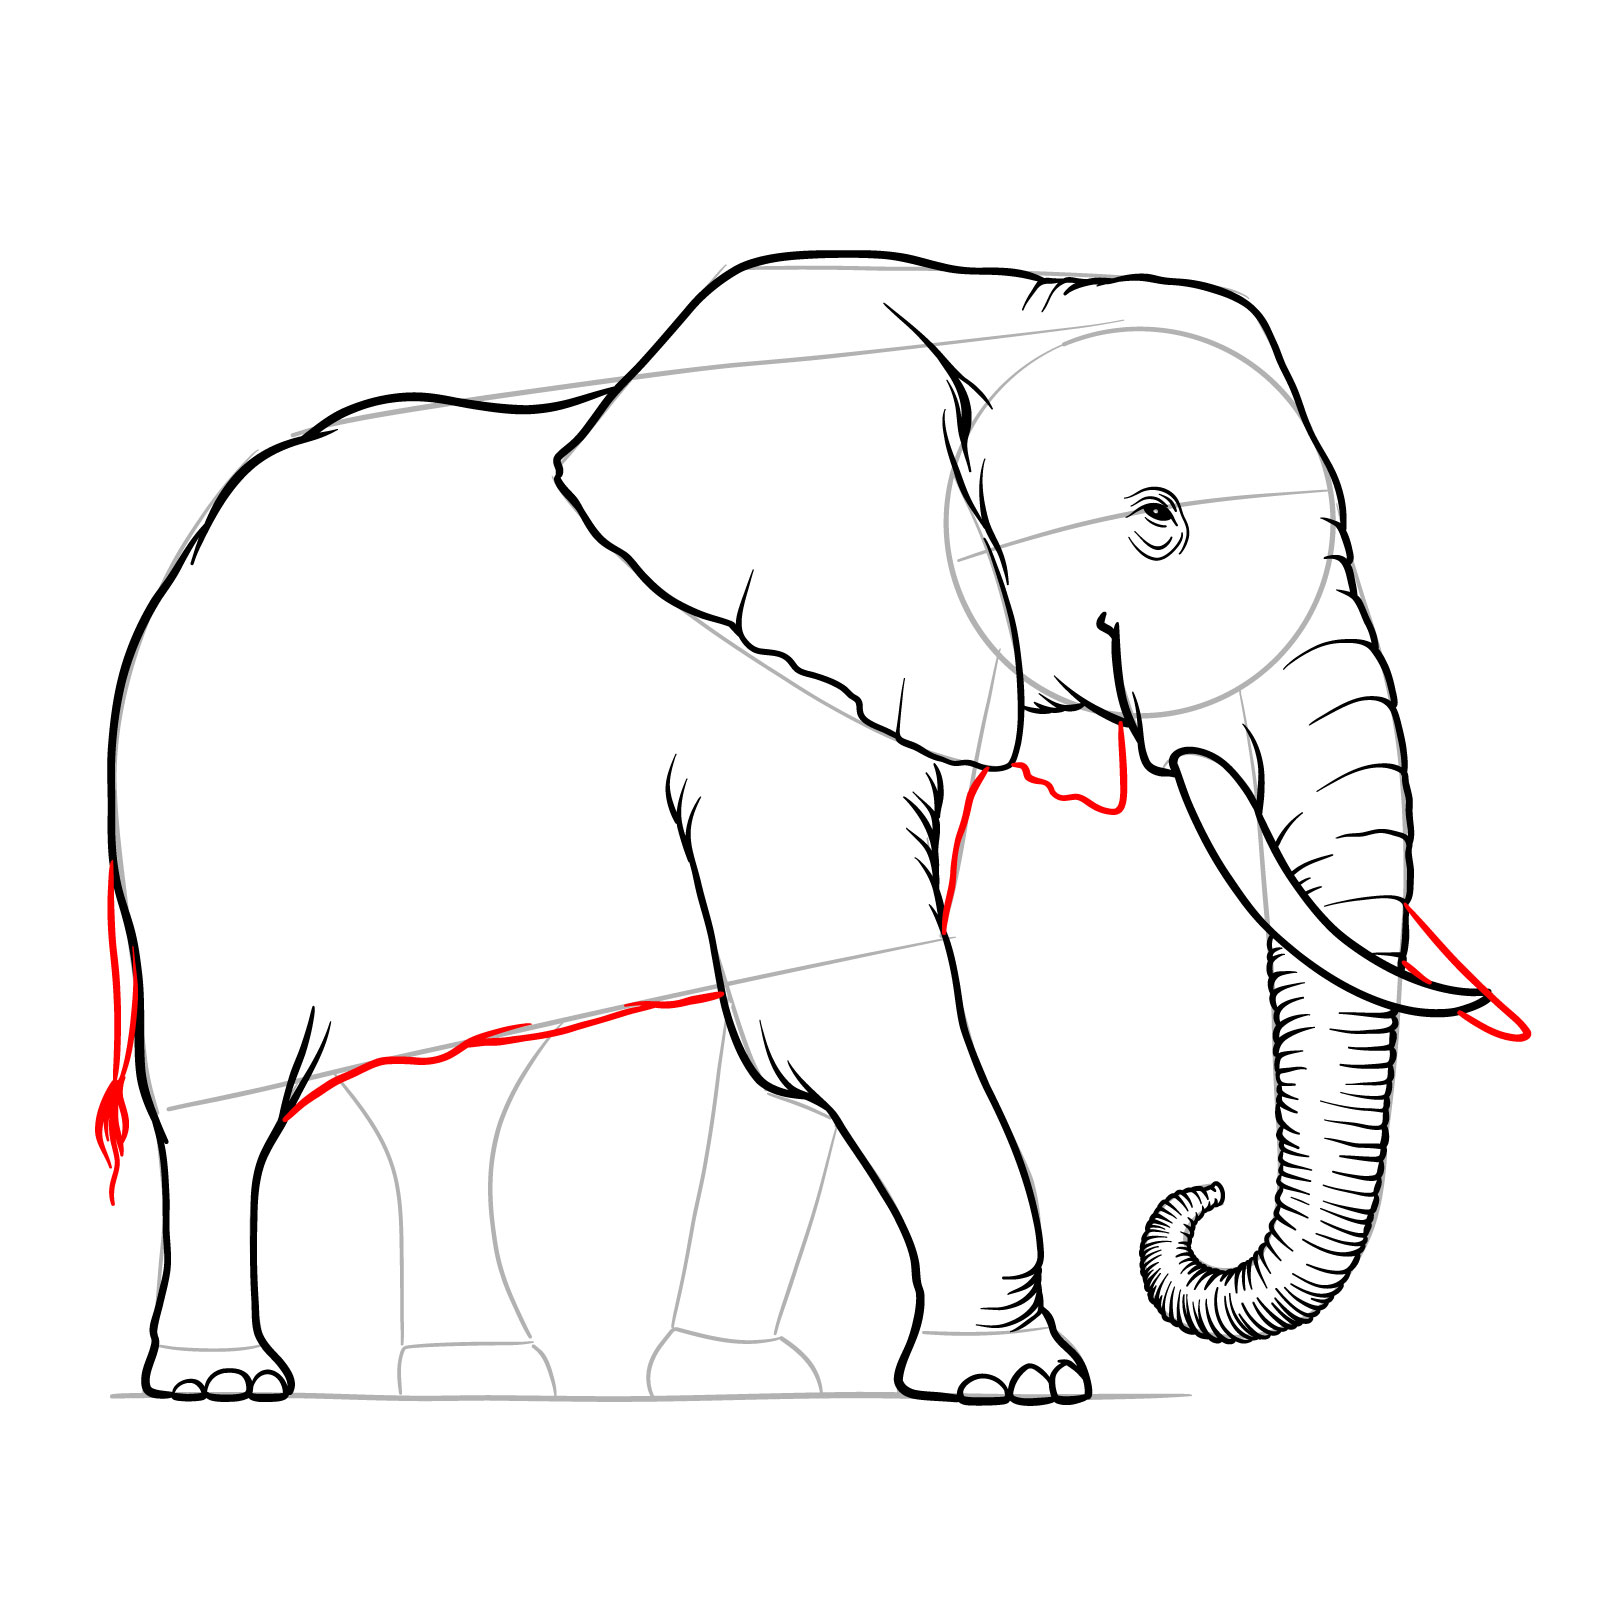
Step 10: Based on the basic sketch, draw the line for the elephant’s back and the rear part of its body. Continue this line to outline the back leg that is closest to us from this perspective.
Step 11: Use simple lines to draw the elephant’s tail, including the tuft at the end. With curved lines, depict the massive and uneven lower part of the body. Also, add a line for the front part of the body, the visible part of the second ear, and a small section of the second tusk seen behind the trunk.
Step 12: Now draw the outlines of the two legs on the opposite side, one front and one rear. Use the reference image to replicate their position and folds.
Step 13: In this final step of the guide on how to draw an elephant full height side view, add the last details to complete the main drawing phase. Include numerous uneven, curved lines on the head, ear, legs, and body to show the wrinkles, folds, and texture of this magnificent animal.
Step 14: Finish the sketch by erasing the basic guidelines from the first two steps. Refine any details, correct any missing elements, or remove any excess lines. Optionally, you can ink the final sketch with a pen or marker. Once the ink dries, erase all the pencil lines for clean, crisp lines.
Step 15: This is an optional step. If you want to color your sketch, you can use the example below or come up with your own colors and shading ideas.
Once your elephant drawing is finished, don’t forget to share it in the comments of our pinned Pinterest post. We love seeing how different artists interpret the same subject—it’s inspiring and fun!
Your support makes these tutorials possible! If you enjoyed this guide, consider donating to help me create more step-by-step drawing tutorials. Follow SketchOk on social media to stay up-to-date with new lessons and creative tips:
Disclaimer: All original artworks and photos used as references for the creation of these drawing tutorials are the property of their respective owners. If your work has been featured without proper credit, please kindly leave a comment below, and the issue will be promptly addressed. We greatly appreciate your exceptional art. Thank you.
Did you like the tutorial?
You can support the author of this website and also suggest your own ideas for new drawings by making a small donation here: