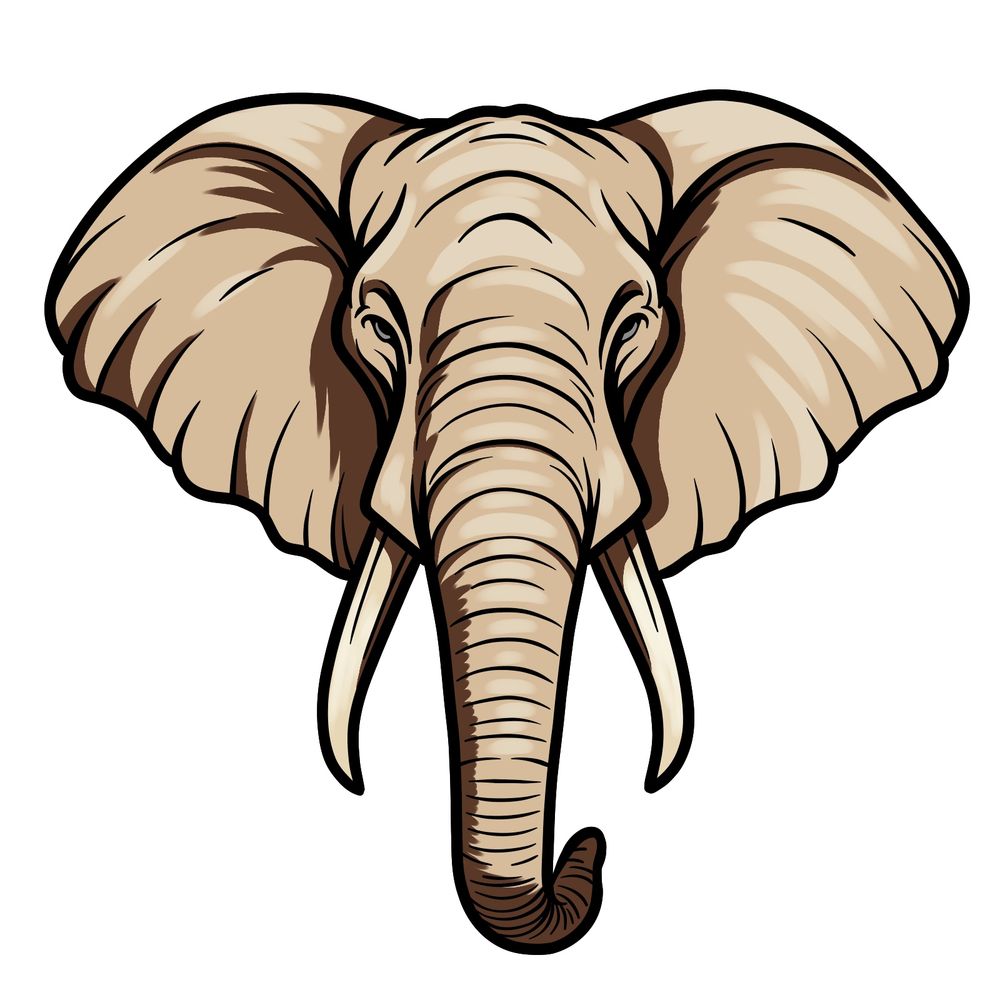
Elephants are majestic and powerful animals, known for their large ears, long trunks, and tusks. Drawing an elephant’s head from the front view is a great way to capture the beauty of this incredible creature. In this guide, I’ll take you through the steps to draw an elephant’s head, making the process simple and enjoyable.
Key Features of an Elephant’s Head
- Large Ears: Elephants have wide, fan-like ears that spread out from either side of the head.
- Long Trunk: The trunk is one of the most distinctive features, extending down the center of the face.
- Curved Tusks: Elephants have long tusks that curve outward from the sides of their face.
- Detailed Wrinkles: The skin around the face and trunk has noticeable wrinkles.
- Small Eyes: Despite the large size of their heads, elephants have relatively small eyes, positioned between the ears and the trunk.
Once you’ve drawn your elephant, you can try drawing other animals like lions, wolves, or even cats. Each has unique features that make them interesting to sketch.
Drawing Guide: Elephan’s Head
This guide is designed to make the process of drawing an elephant’s head from the front view simple and straightforward. We’ll start with basic shapes and gradually add the features that make an elephant instantly recognizable. All you need is a pencil, some paper, and a little patience to follow along. Here’s how the steps are structured:
- Red: These lines show what you should focus on in the current step.
- Black: These are the lines you’ve already drawn in previous steps.
- Grey: These lines serve as guidelines to help keep everything in proportion.
By the time you finish, you’ll have a detailed drawing of an elephant’s head that you can be proud of.
Start by drawing a circle for the elephant’s head base. Then, add a simple shape for the trunk extending from the circle. Draw a vertical line down the middle of the circle, continuing through the trunk to help with symmetry. Add a curved horizontal line in the circle for the eye placement.

On each side of the head, draw shapes that extend from the eye line, which will form the area where the tusks grow. This completes the basic sketch.

Outline the trunk, making it more defined and smoother, following the shape you sketched in step 1.

Go back to the shapes from step 2 and define them with clearer lines to give them more structure.

Draw the sides of the elephant’s head, adding more definition to the outline and connecting it to the tusks area.

Draw the eyes within the eye line, positioning them right below the top curve of the “tusks area” from step 4.

Outline the elephant’s tusks, curving them from the defined tusk area. Also, define the top of the elephant’s head.

Sketch the top part of the ears, extending them outward from the sides of the head, starting from the top.

Finish outlining the ears, making sure to show their wavy edges to capture their natural texture.

Add texture to the tusks with simple lines. Draw lines around the eyes to show more detail and add lines from the sides of the head to the top of the ears to show their form.

Add lines to the trunk and the head to give them texture. Also, draw folds in the ears.

Once you’ve completed your elephant’s head, take a moment to review it. Check that all the features—ears, tusks, trunk, and wrinkles—are in place. Erase any leftover guidelines to clean up the drawing.You can also choose to ink your sketch and then erase any pencil marks for a polished look.

Use the final colored version of the drawing as a reference to add color to your elephant head sketch.

If you’re happy with the result, you can share your elephant drawing with me on Pinterest (in the comments to this pinned article) or even add it to a growing collection of animal sketches. If you enjoyed this tutorial, be sure to check out other guides on how to draw different wild animals. Follow me on social media for updates and new tutorials, and if you’d like to support my work, consider donating on Buy me a Coffee. Your support helps me keep creating more free drawing guides!
