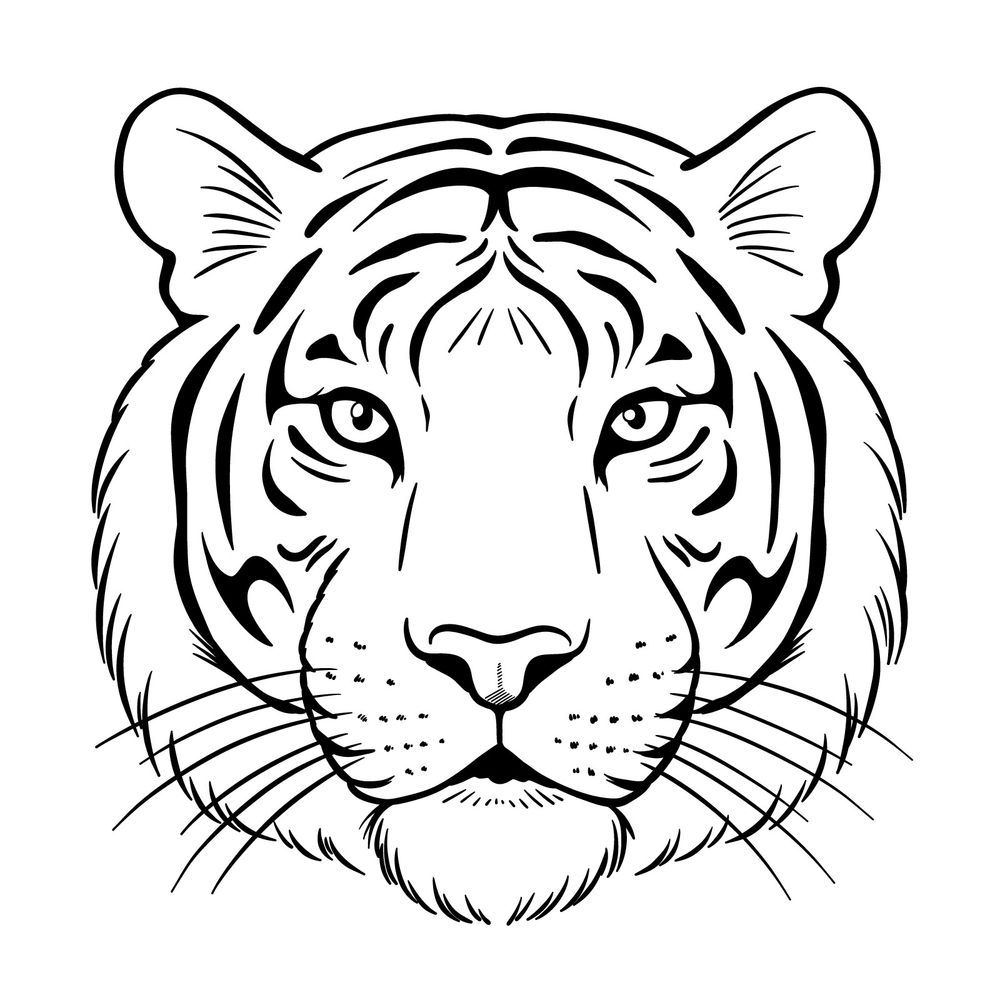
Today I’m sketching along with you to show how to draw a tiger’s head front view. It’s a simple but detailed setup where symmetry really matters. I’ll show you where to focus first so the proportions stay balanced before adding in all the smaller details like stripes and fur lines.
Main Points to Watch When Drawing the Tiger’s Head
- Head shape is wide and slightly rounded, not a perfect circle.
- Ears are set a bit apart and rounded, with light fur details inside.
- Eyes are placed slightly above the horizontal center line, with sharp inner corners.
- Symmetrical stripe patterns around the forehead, cheeks, and along the sides.
- Nose is broad and rounded, with clear nostrils.
- Whiskers spread outward from both sides of the mouth area, with soft curves.
- Chin and bottom/sides fur form a rounded shape with a little extra fluff.
If you want a good follow-up sketch after this one, you could also try drawing a lioness’ head or explore a complete guide for male lions. They’re similar but each has changes in the muzzle and fur volume that make a big difference.
How the Drawing Steps Are Organized
The guide follows a clear color-coded structure to keep everything easy to track:
- Red Color: shows the parts you should draw during the current step
- Black Color: shows the lines completed in earlier steps
- Grey Color: shows the basic rough sketch underneath everything
The guide starts with the overall head shape and the position of the main facial features. After the structure is solid, the steps move into adding the main details, fur texture and setting up the stripe designs symmetrically. Careful placement early on makes finishing easier later.


If you enjoy these guides and want to support the project, you can donate using this button:
If you’d like, you can share your tiger drawing under the Pinterest guide where artists usually post their work.
If you want to stay updated on new tutorials and ideas, follow SketchOk here:

