Ready to learn how to draw a shark? This guide will walk you through the steps to capture their sleek, streamlined form and iconic features like sharp fins and pointed snouts. Let’s break down their design to make the process fun and simple.
Key Features of a Shark’s Design
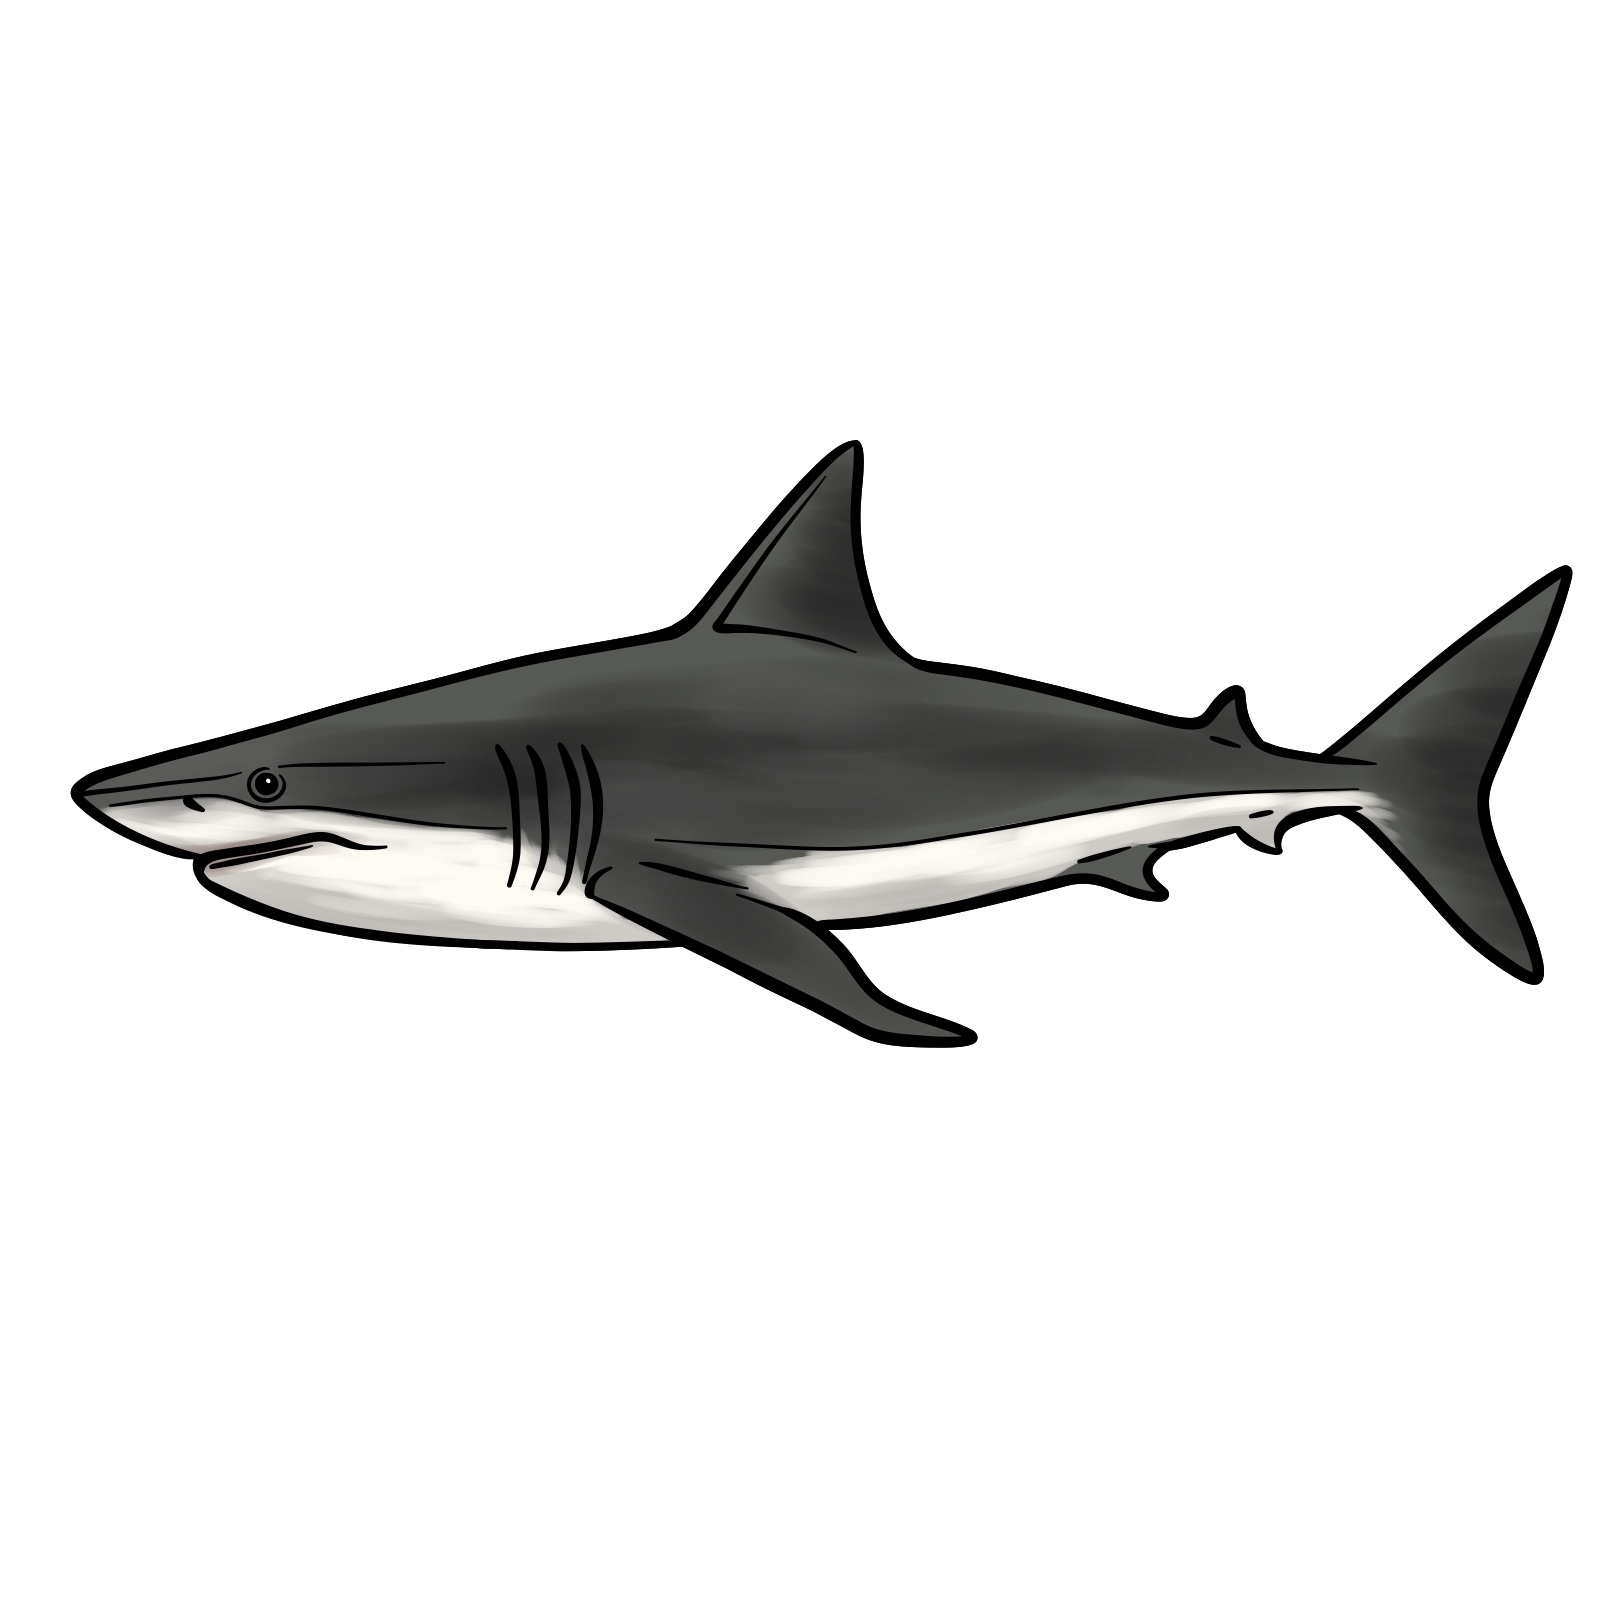
A sleek, torpedo-like body that’s built for speed and agility.
A pointed snout with small, rounded eyes positioned on the sides of the head.
A prominent dorsal fin on the back that gives the shark its recognizable silhouette.
Gills near the head, which are essential for breathing underwater.
Pectoral fins, helping with steering and stability.
A horizontal caudal (tail) fin, providing power and propulsion.
Once you’ve mastered your shark drawing, why not expand your collection with other marine life? Try sketching blue whales, dolphins, or killer whales to create a stunning ocean-themed portfolio.
Step-by-Step Guide and Color Guidelines
Red Color: Indicates the step you’re actively working on.
Black Color: Marks the lines you’ve already completed.
Grey Color: Represents the initial framework of your sketch.
These color-coded tips are designed to keep you on track, helping you organize your process and enjoy the art of drawing step by step.
Step 1: We’ll start by creating the basic sketch of the shark. Begin by drawing a horizontal rhombus using simple lines, as shown in the image below. This will form the base shape of the shark’s body.
Step 2: Now draw the visible side fin using simple lines to outline its shape. Add the lower part extending from the mouth line and another line leading to the side fin to give our shark more volume and form. Also, draw the dorsal fin and the tail fins.
Step 3: Using the initial sketch as a foundation, start shaping the shark. From the mouth line drawn earlier, draw the shark’s snout and the upper outline of the body up to the dorsal fin.
Step 4: Draw the mouth outline and the lower part of the shark’s body up to the pectoral fin.
Step 5: Using the base shapes for the side fin and dorsal fin, refine their outlines to give them a more realistic look.
Step 6: Continue drawing the shark’s body outline up to where the tail begins, and add the small fins—one dorsal fin on top and two more fins below, near the tail.
Step 7: Draw the outline of the tail fin (caudal fin) of the shark. Make sure to shape it properly for a realistic look.
Step 8: Draw the shark’s eye as shown in the image—a black circle with a small highlight. Add a partial circle around it for detail. Near the center, slightly to the left between the snout and eye, draw a small line to indicate the nostril.
Step 9: Add four slightly curved lines for the gills located just before the side fin. Also, add simple line in the lower part of the mouth, a detail line above the eye near the snout, and a small line on the side fin.
Step 10: Add lines along the shark’s body and on the dorsal fin, as well as on the small fins near the tail, to add volume and detail.
Step 11: At this stage, we’ve completed drawing the shark. Carefully erase the initial sketch and any unnecessary lines. Alternatively, you can outline your sketch with pen or ink. Once the ink dries, carefully erase all pencil lines to achieve a clean final image. This will give your drawing a polished and clear look.
Step 12: Now it’s time to color your shark. Refer to the image provided for guidance on adding colors, making your drawing more vibrant and realistic.
After finishing your shark masterpiece, don’t forget to share your artwork in the comments section of our pinned Pinterest post. It’s a wonderful way to show your creativity and connect with fellow artists!
If you enjoyed this guide and want to see more tutorials like this, consider supporting me with a donation! Your contributions help me keep creating helpful content. Follow SketchOk on social media for more drawing inspiration and tips:
Disclaimer: All original artworks and photos used as references for the creation of these drawing tutorials are the property of their respective owners. If your work has been featured without proper credit, please kindly leave a comment below, and the issue will be promptly addressed. We greatly appreciate your exceptional art. Thank you.
Did you like the tutorial?
You can support the author of this website and also suggest your own ideas for new drawings by making a small donation here: