If you’ve ever wanted to learn how to draw a dolphin, this guide will help you capture its smooth and streamlined appearance. Follow along as I break down its key features and guide you step by step.
Understanding the Dolphin’s Features
Elongated body with a sleek, curved shape.
Distinct dorsal fin on top, positioned slightly behind the middle of the back.
Long, pointed snout.
Small pectoral fins on each side.
Tail fin that spreads horizontally.
A streamlined design with minimal visible details.
Once you’ve finished your dolphin drawing, you might want to try sketching other sea creatures, such as a blue whale or a sea turtle.
About This Dolphin Drawing Guide
To make the drawing process easier, this guide uses a color-coded system:
Red Color: Represents the current step to focus on.
Black Color: Shows lines that you’ve already completed.
Grey Color: Indicates the basic sketch used for structure.
This approach keeps the drawing organized and allows you to track your progress easily.
Step 1: Let’s start drawing the dolphin without a basic sketch. First, draw a long curved line forming an arc to shape the upper part of the dolphin’s body up to the tail.
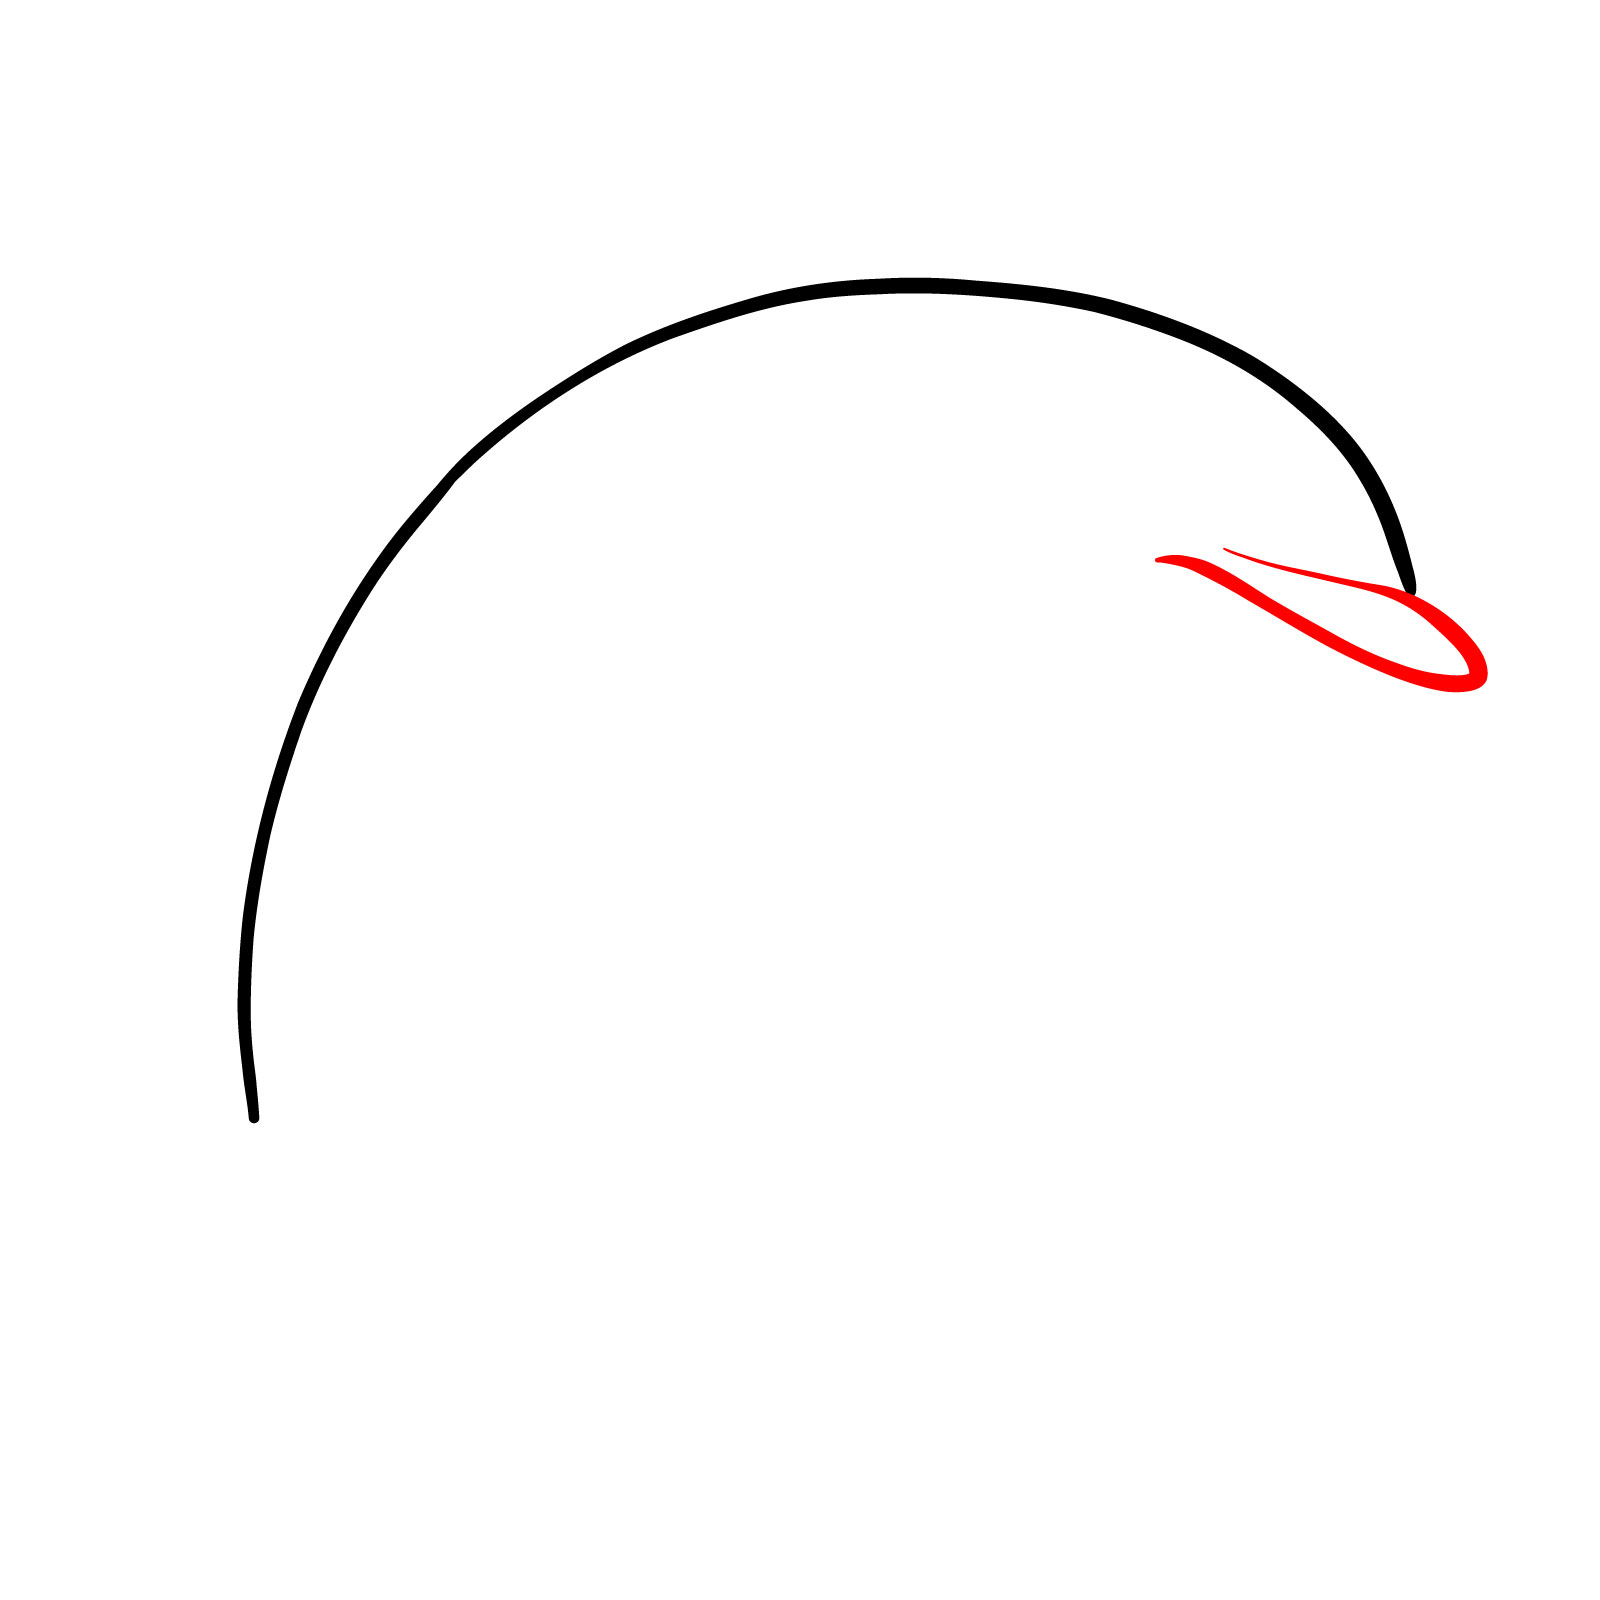
Step 2: Draw the upper part of the dolphin’s rostrum, which is the top of its mouth or beak.
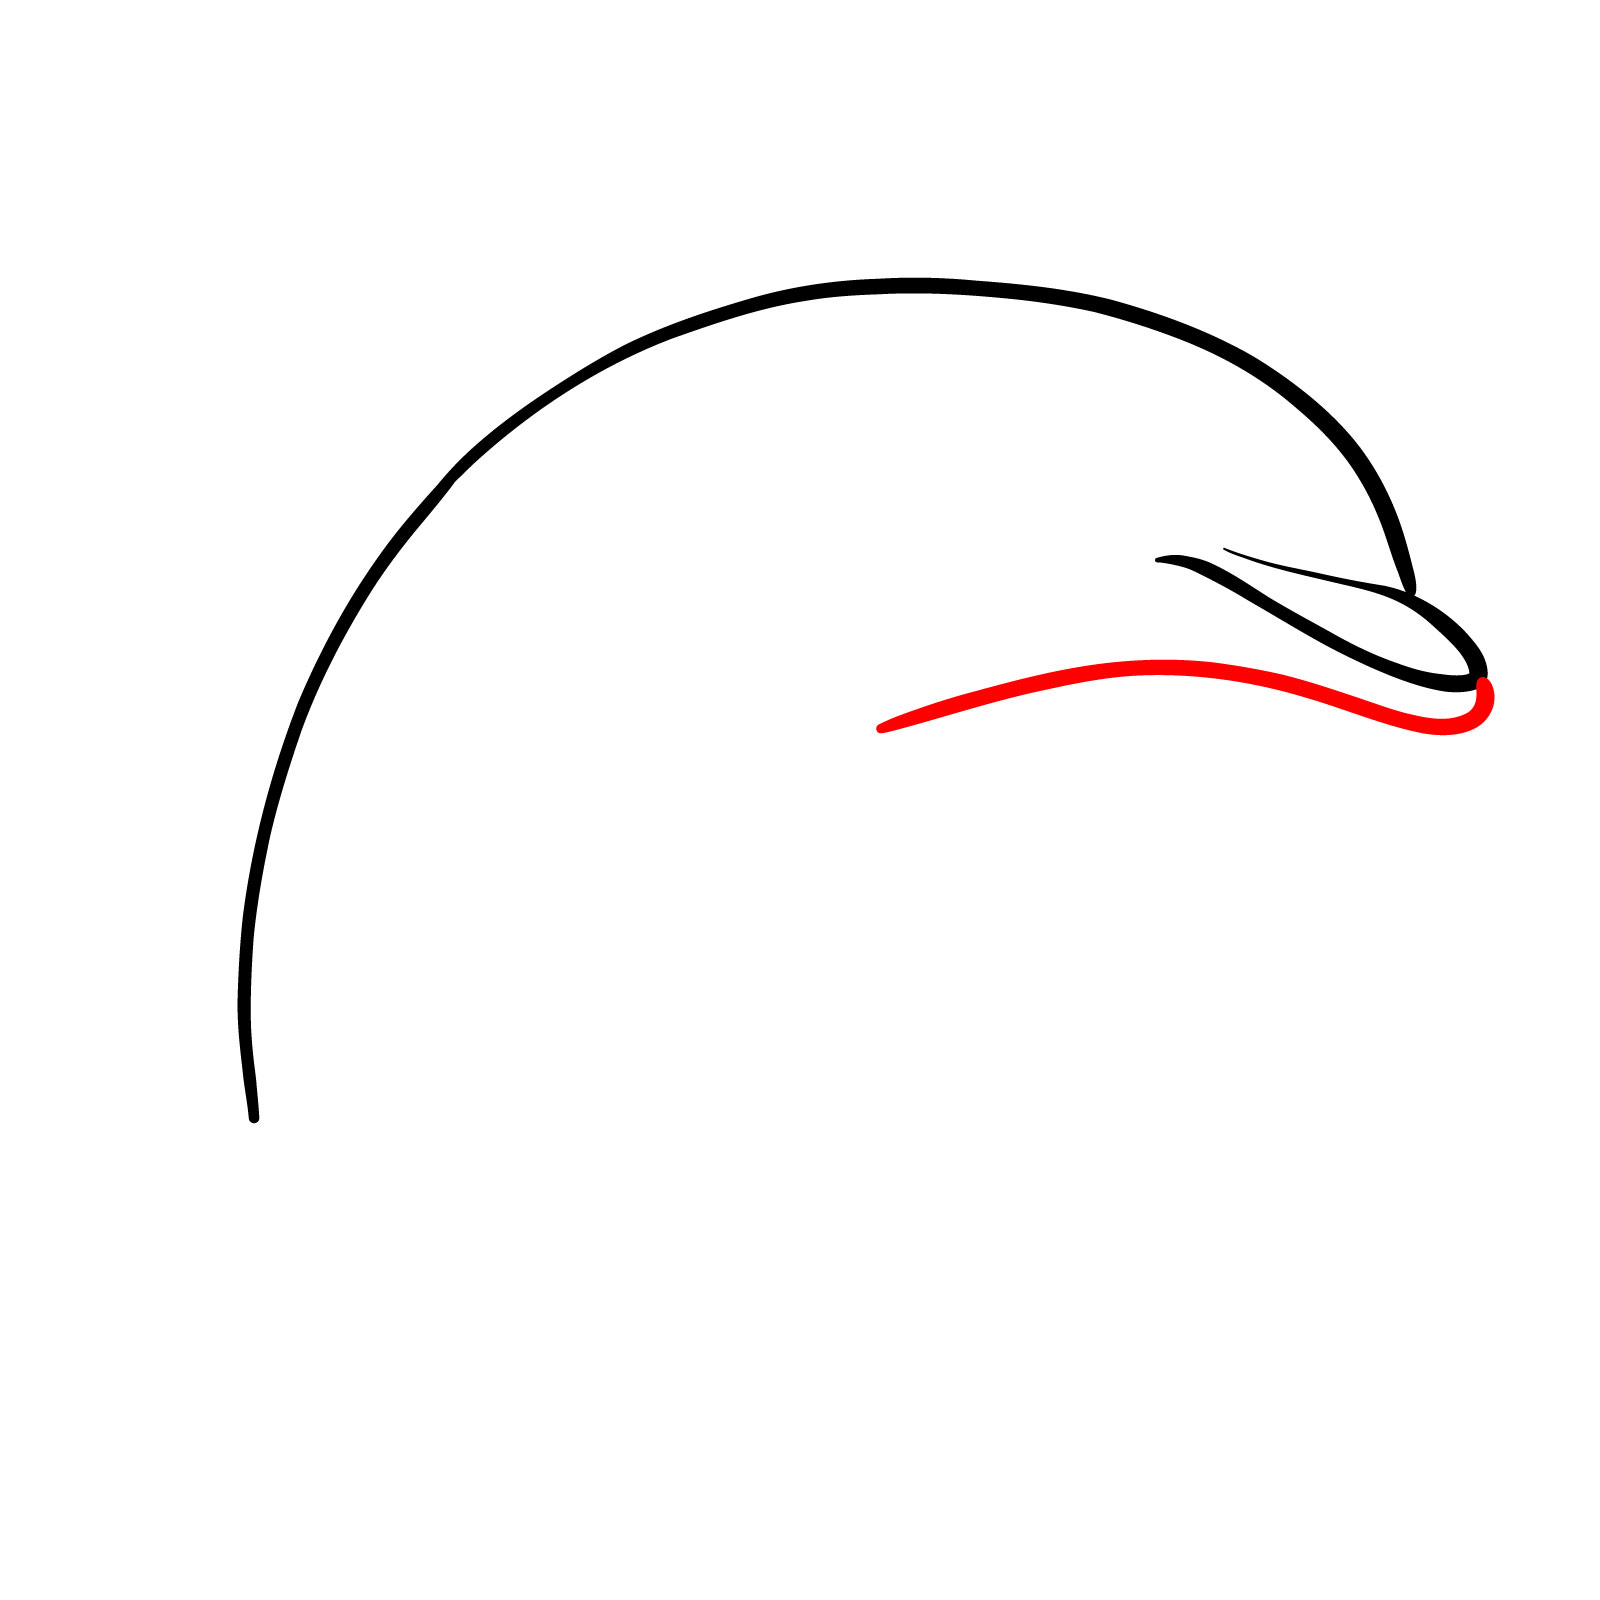
Step 3: Draw the lower part of the dolphin’s rostrum and continue this line down to where the fin will be.
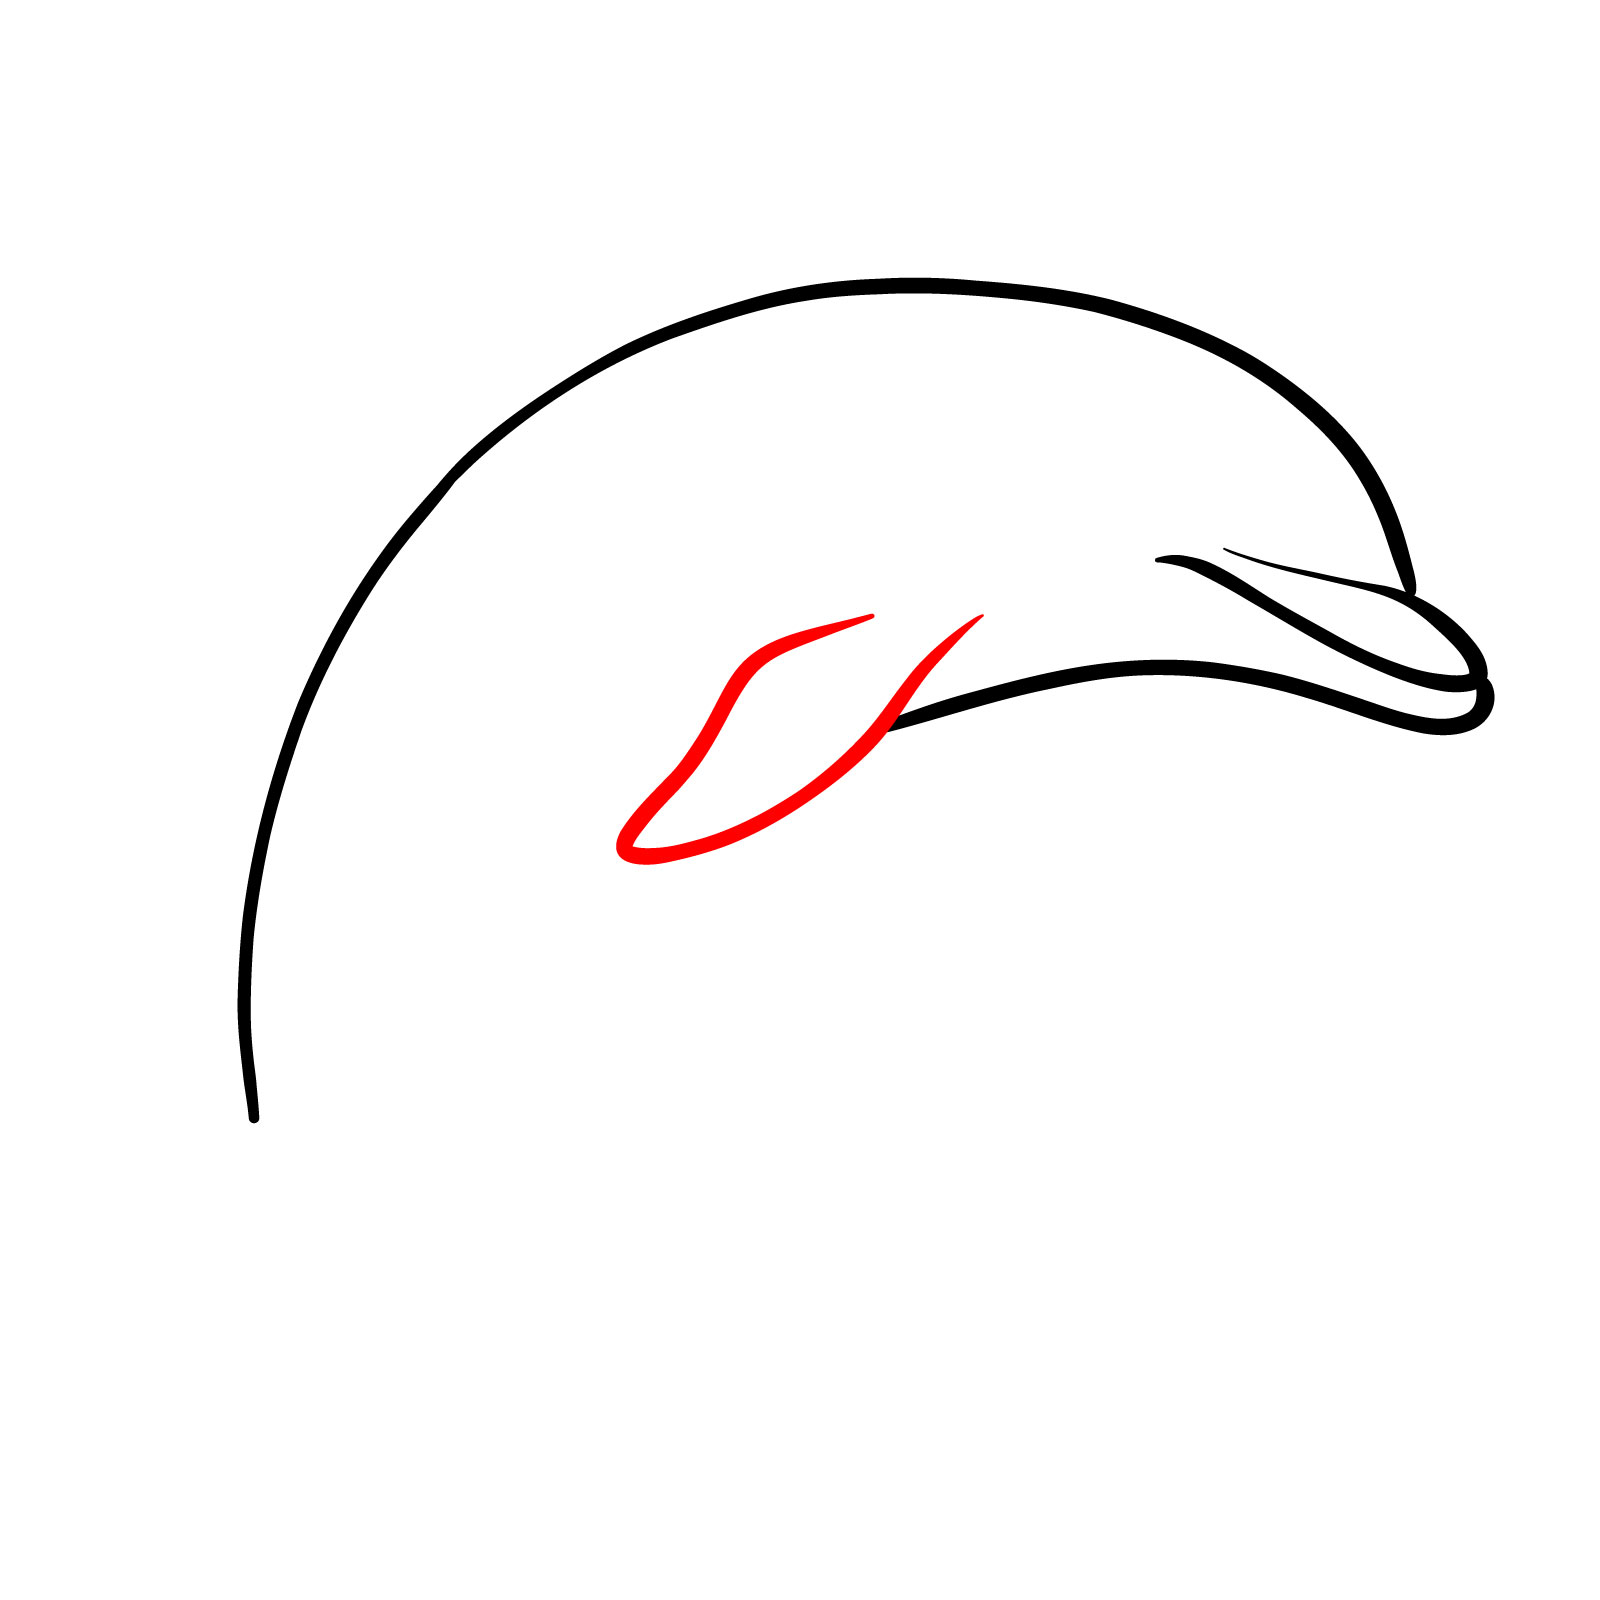
Step 4: Draw the fin that’s closer to us, as we’re drawing the dolphin from a side view.
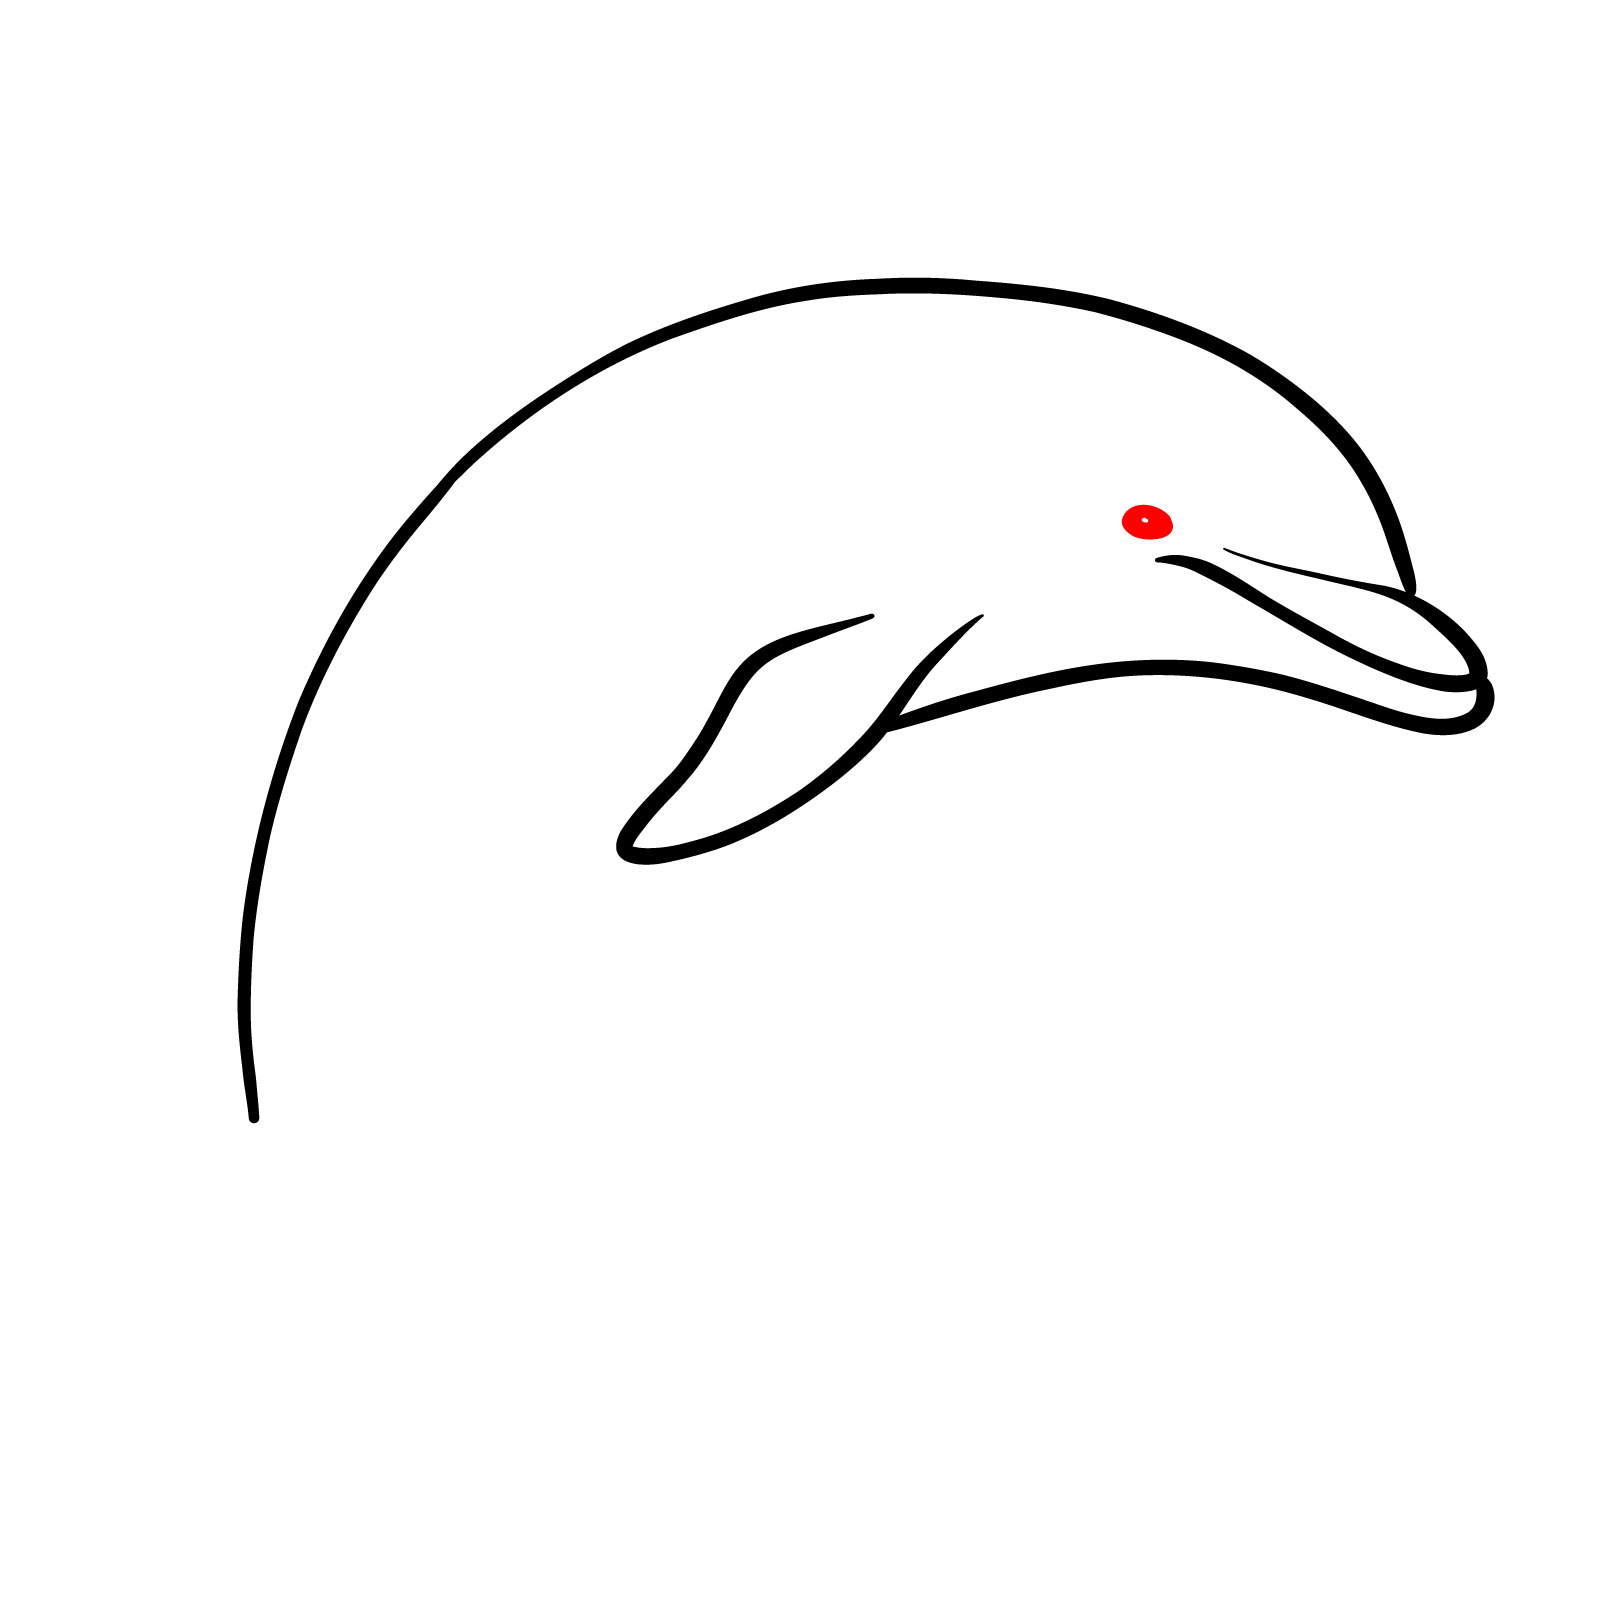
Step 5: Draw an oval near the mouth and fill it in with black, leaving a small area uncolored for a highlight. This will be the dolphin’s eye.
Step 6: Continue the line of the dolphin’s lower body from the fin down to where the tail will be.
Step 7: Draw the outline shape of the tail.
Step 8: In this step, we’ll draw the second side fin of the dolphin, known as the pectoral fin, and also the dorsal fin on its back.
Step 9: With the sketch of the dolphin complete, refine any details, add missing elements, or erase any excess lines. Optionally, you can outline your sketch with a pen or ink and then erase all pencil marks to achieve a clean, crisp drawing.
Step 10: You can also color the dolphin. Use the attached image as a reference or choose your own colors.
Your support helps me create more tutorials like this one. If you found this guide helpful, please consider donating. Every contribution makes a difference and ensures I can continue providing free resources for artists.
Don’t forget to share your completed dolphin drawings in the comments on Pinterest! It’s exciting to see your creativity in action.
Disclaimer: All original artworks and photos used as references for the creation of these drawing tutorials are the property of their respective owners. If your work has been featured without proper credit, please kindly leave a comment below, and the issue will be promptly addressed. We greatly appreciate your exceptional art. Thank you.
Did you like the tutorial?
You can support the author of this website and also suggest your own ideas for new drawings by making a small donation here: