
Drawing a bald eagle’s head is a great art practice. It’s a powerful bird with a sharp look, and learning how to draw it can be fun and easy. This guide is the second version on my website, and it’s clearer and more up-to-date than the first one I posted when Sketchok first started.
Bald Eagle’s Key Features to Focus On
Before you start drawing, it’s important to know what makes a bald eagle’s head stand out. Here are some key features to pay attention to:
- White Feathers: The bald eagle’s head is covered with white feathers.
- Sharp Yellow Beak: Its hooked beak is yellow and very strong-looking.
- Fierce Eyes: The eagle’s eyes are intense and often drawn looking serious.
- Powerful Expression: The overall look should show power and confidence.
When you focus on these features, your bald eagle drawing will look impressive and accurate. Once you’re done with the eagle, why not try drawing other birds like a crow or a sparrow?
Bald Eagle’s Head Drawing Guide
This guide uses color codes to help make each step clear and easy to follow:
- Red Color: The red lines show what you should draw in the current step.
- Black Color: The black lines show what you’ve already drawn in previous steps.
- Grey Color: The grey lines show the base sketch or guidelines to help you build the drawing.
Using these color codes, you can easily see which part of the drawing to work on, making the process smoother and easier to follow.
Start by drawing an oval for the head base. Next, draw a curved horizontal line and a curved vertical line to show the center of the head. This will help in placing the features like the eyes and beak correctly.

Now, use simple lines to form the shape of the beak. Draw a small circle on the horizontal line to mark where the eye will be. After that, sketch the basic shape of the eagle’s neck, connecting it to the head oval. This completes the basic sketch.

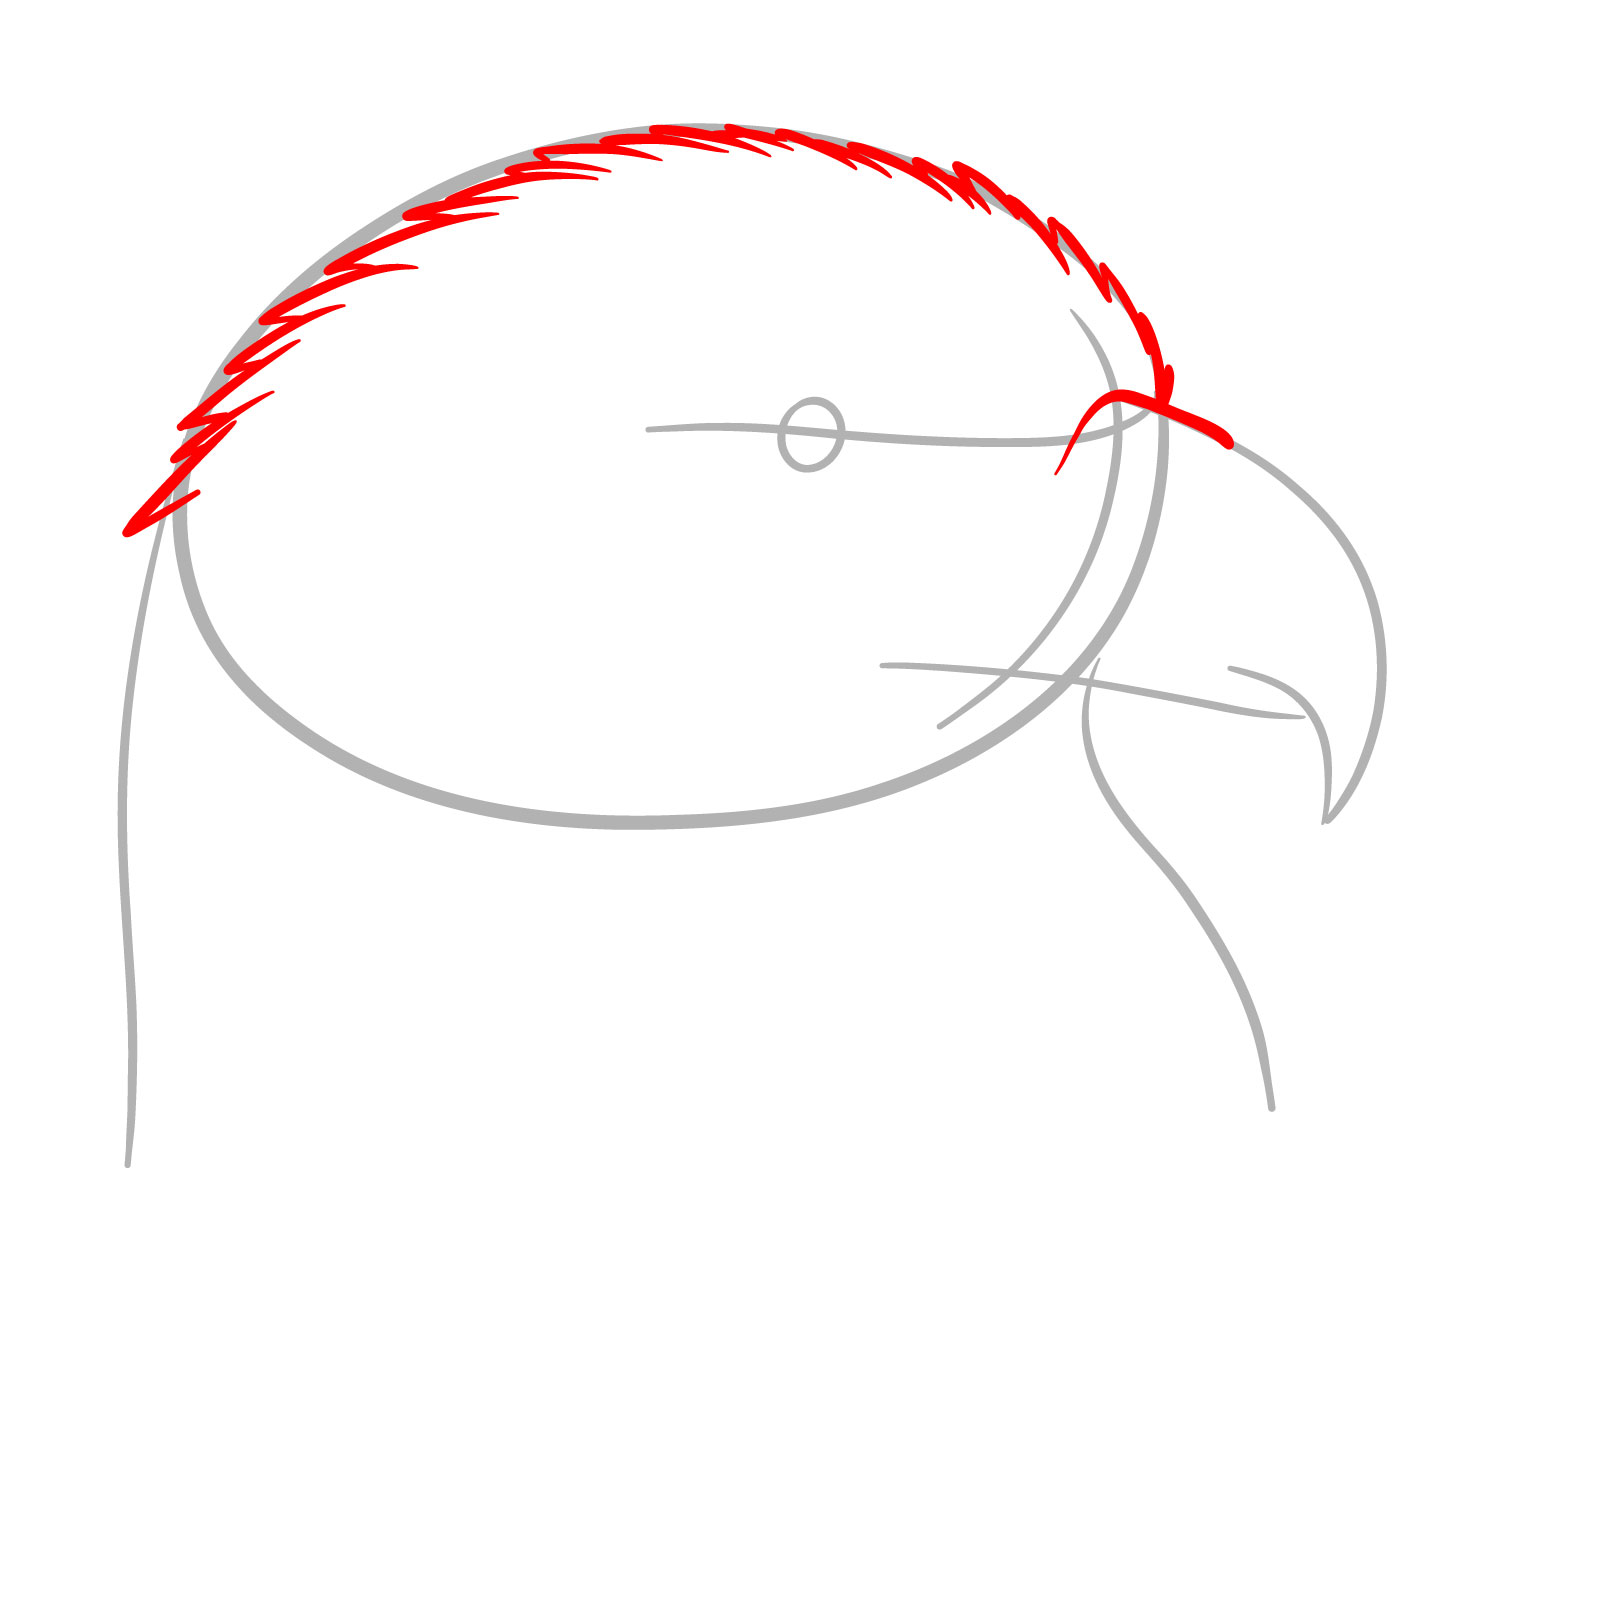
In this step, focus on shaping the top base part of the beak. Also, begin working on the top part of the head by drawing short lines to indicate feathers on the head, giving it a more realistic look.
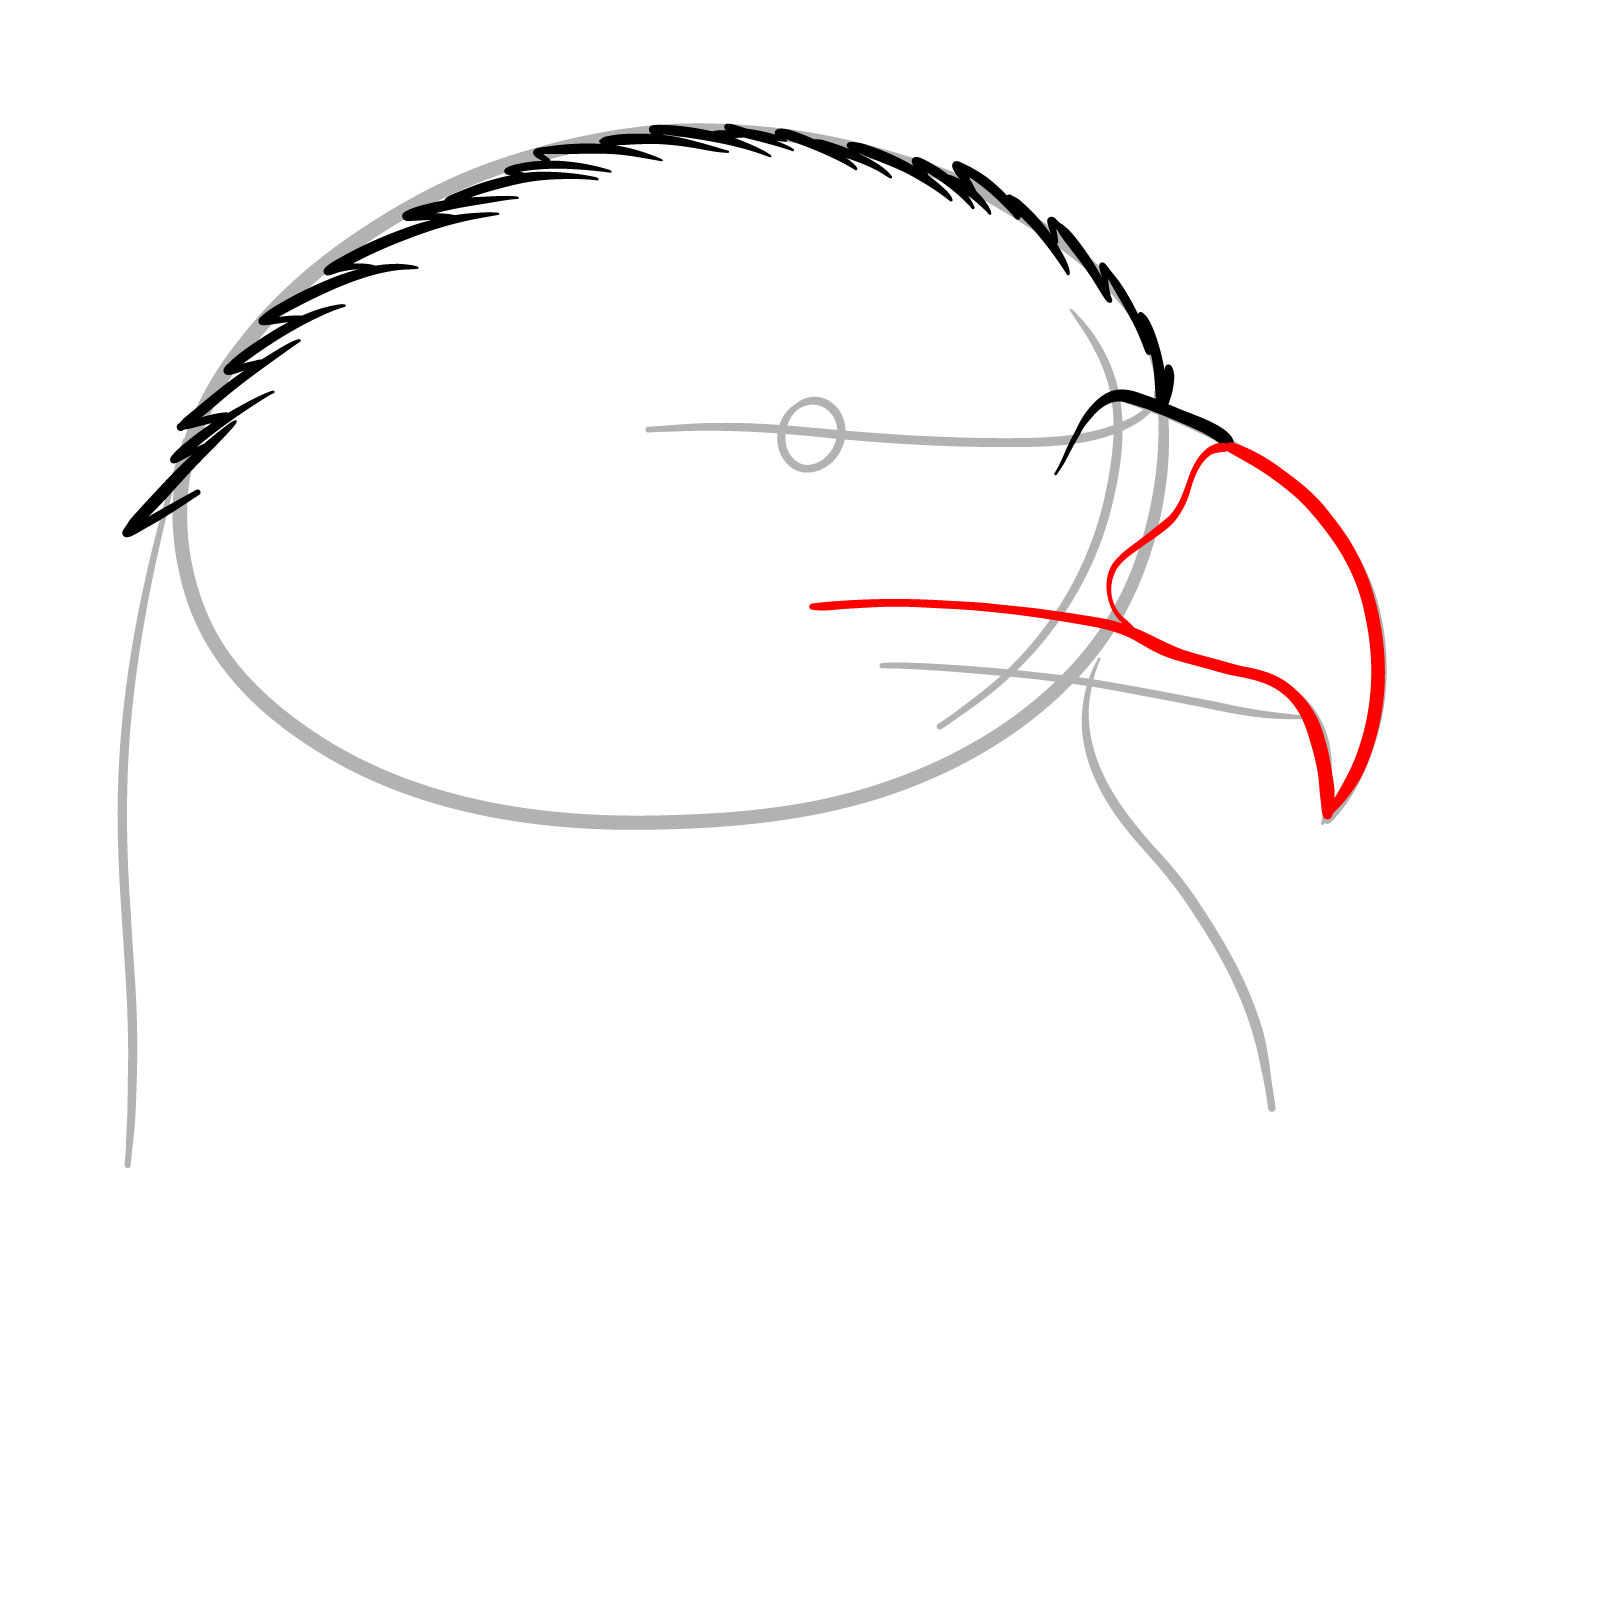
Now, add more detail to the upper part of the beak.
It’s time to sketch the lower part of the beak. This completes the overall beak structure

Next, focus on the eagle’s eye. Fill the pupil with black, leaving a small blank part to show a highlight. Then, add a nostril at the top of the beak.

Now, draw a circle around the pupil to create the eye outline.

Add short lines above and around the eye to indicate feathers.

Continue detailing and shading the eye area by adding more lines to the sides of the eye.

Now, add extra lines below and on the side of the eye and near the top base part of the beak.

Sketch the outline of the neck, adding short lines and feather shapes.

Now, sketch the visible parts of the eagle’s top body. Add additional feather shapes and lines to the head and neck to create texture, making your bald eagle drawing look more realistic.

Take a moment to observe your drawing and fix any parts that need adjustment. Once satisfied, erase the basic sketch and marks. If you prefer, you can ink your drawing at this stage. Let the ink dry and then erase any remaining pencil marks.

Use this image as a color reference to finish your drawing. Notice the shades of white and gray feathers on the head, the yellow beak, and the dark brown body. These colors are key to bringing your bald eagle drawing to life.

If you enjoyed drawing the bald eagle, be sure to check out my other tutorials and guides. You can support my work by donating on Buy me a Coffee. Every donation helps me create more helpful guides like this one!
Also, don’t forget to follow me on social media for more updates and new tutorials: